
You are using an out of date browser. It may not display this or other websites correctly.
You should upgrade or use an alternative browser.
You should upgrade or use an alternative browser.
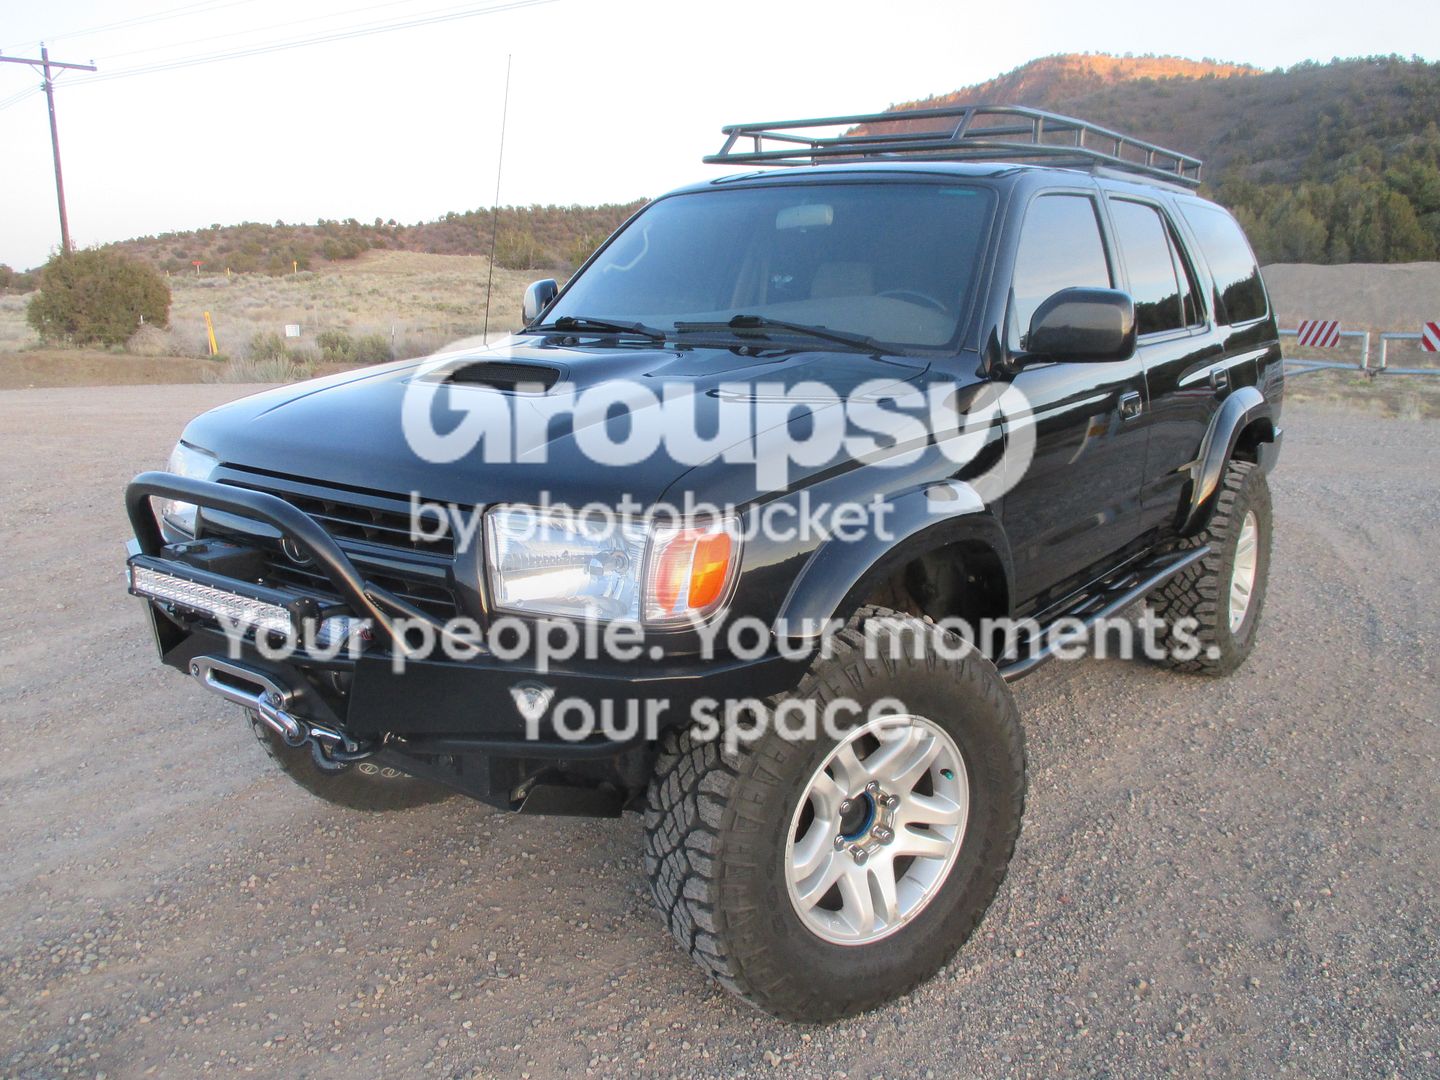
My 00' Highlander build
- Thread starter TBuzz
- Start date


TBuzz
New member
Dang man, you've been busy!!! I'm pretty sure this is the first time I've seen your build thread. I didn't know you had put one together.
The rig is really coming along, and that new front bumper is :thumb: Between you and NateMob posting pics, I'm getting tempted to change it up.
Summer's coming. Let's put a plan together for some fishing.
Also, RE this...
Really??? I've had my duratracs in some nasty weather... driving on hard pack snow, ice, powder snow, rain... you name it, and they've never left me wanting more. I'm surprised at your review.
Thanks a lot! Now that I've had a little time some things have come to fruition. The bumper is killer, ill be posting some pics of it in use later. I know Scotty is getting a lot of orders.
Regarding fishing I'll be ready and am, let's do it. Especially a trip to do some hiking...it's warming up quick.
Regarding the tires....Hands down no doubt IMO the dynapros blow them away in normal to terrible snow, ice, rain highway and road driving. Now I have no experience offroad in deep snow. I'm sure anyone else that has run both would agree. In 10 trips to purg, wolf creek and breck this year I rarely put it into 4 wheel until in the parking lot. The dynapros were just on through a major storm coming home from front range last week. Admittedly one of the worst I've driven in in 20 years and again they proved stellar.
You've been busy man! Awesome build! Sub'd
Thanks for checking it out and the compliment..
I am loving your build, since you are so detailed about all maintenance and all that.
A couple questions for you though:
Where did you get your new S/C?
Did you just buy the complete kit, and install everything and be done? (I didn't see that in there)
Did you buy/install anything else that didn't come with the kit that we should know?
Thanks!
Nate
Thanks for looking and mine is not nearly as nice as some. You can thank the frequent posters on this site as well since that's one of the places that led to my inspiration(sickness?:der
 . As well my thread is not nearly as detailed as some but it is what it is and I'll try to help with a note or two. RE the supercharger I cant say as I don't want their PM to start blowing up. Yes it was brand new with everything except manual and belt. I paid less than the ones I was trying to get via craigslist the weeks before in from WA and AZ. I think it runs fine although I live at 6500 feet elevation and haven't pushed it over 3200 rpms yet until today. At which point something was making an unusual sound. I'm ordering a 7th and a pulley manana.
 Just read from top to bottom. Sexy!! Over the little time you have had it, you sure have put a lot of time and money into it making it just how you like it.
I did notice no body lift. Any thoughts of one to come?
Thanks! yes time and money:sad:...But it is fun to drive in a way that you only understand after driving one that gets to this point. Especially after the sc and some recent offroading. Im in love in love all over again.
siickkk rig man. ive been all over this forum and your runner is really one of my favorites. good clean job man.
Thank you
Nice thread and mods.
Thanks, try to keep it going
Wow. You're moving quick!
I'm going to have to start building mine up, too.
Looking awesome so far!
thanks ..takes time and money...
Thank you much...get after it!sub'd. this truck is beautiful and a great example of what i'd like to do with mine.
TBuzz
New member
Pinch weld mod and Fender roll
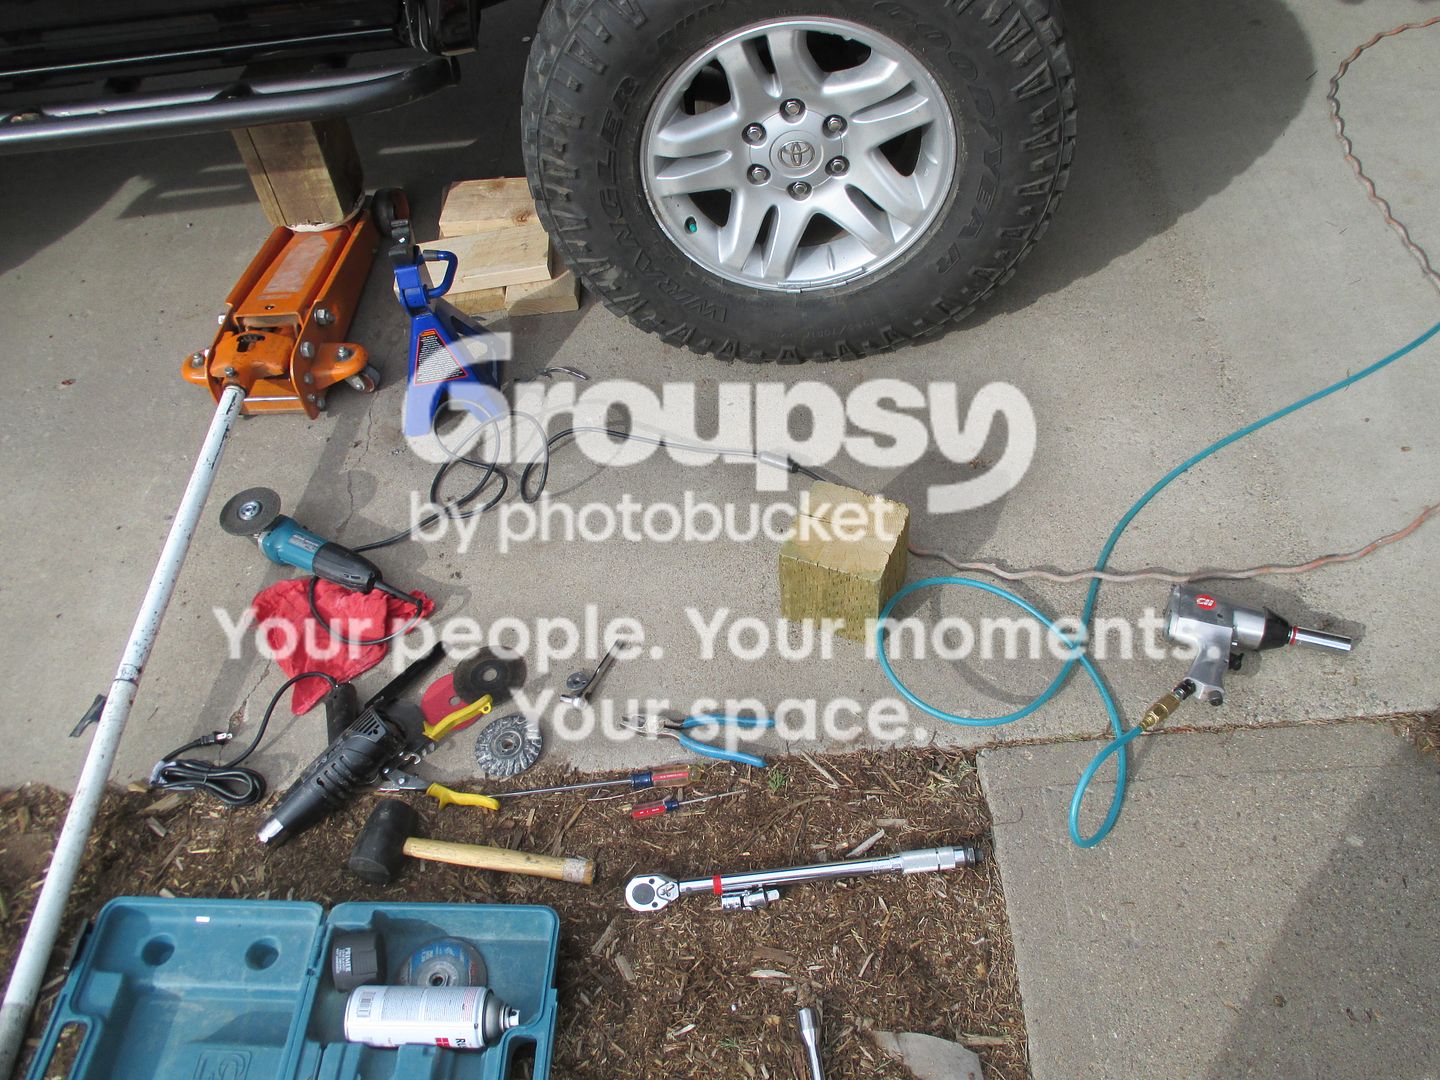
I love my alignment and have my caster set a 4. I believe that means my wheel sits a little back in the wheel well. Also I decided I like the look of the spacers for now until I get different wheels. With that in mind I get a little scrubbing in the rear of my front fenders. I had previously cut out a section of inner liner to access the pinch weld to modify it. This worked with the 265 hankooks for clearance but not the 285 dura's. So out comes this pile of tools and I get after it. Passenger side wasn't as clean so following pics from are driver side.
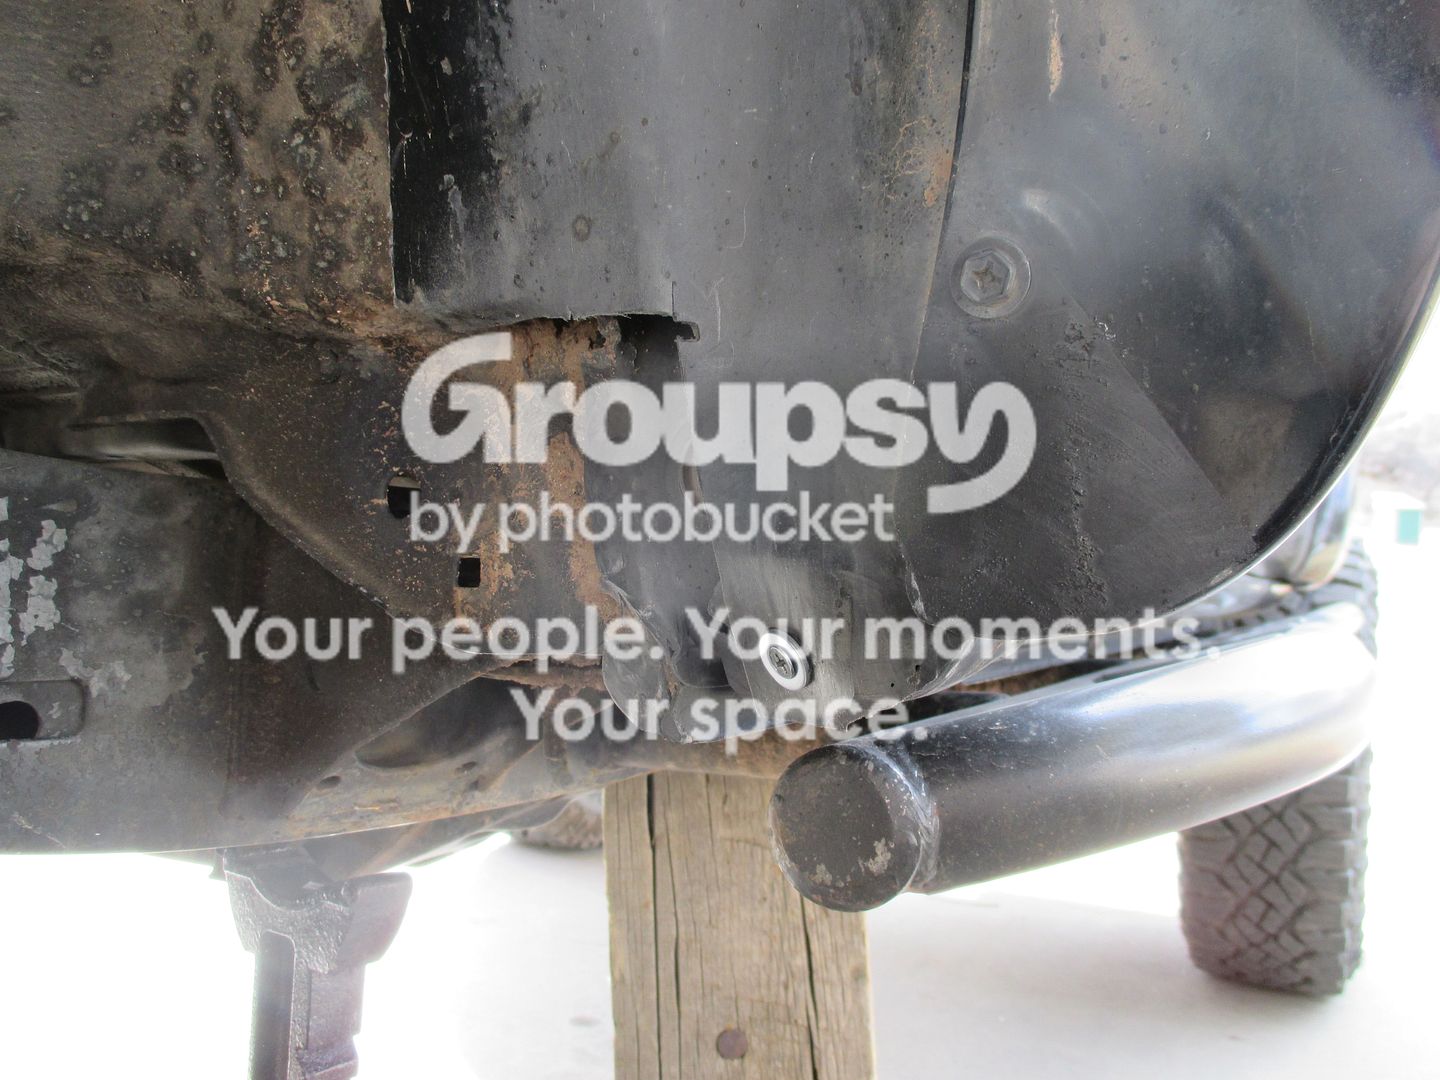
The previous pinch meld modification. I had cut the metal part of the fender and folded it in then used a small screw and washer to tuck it up.
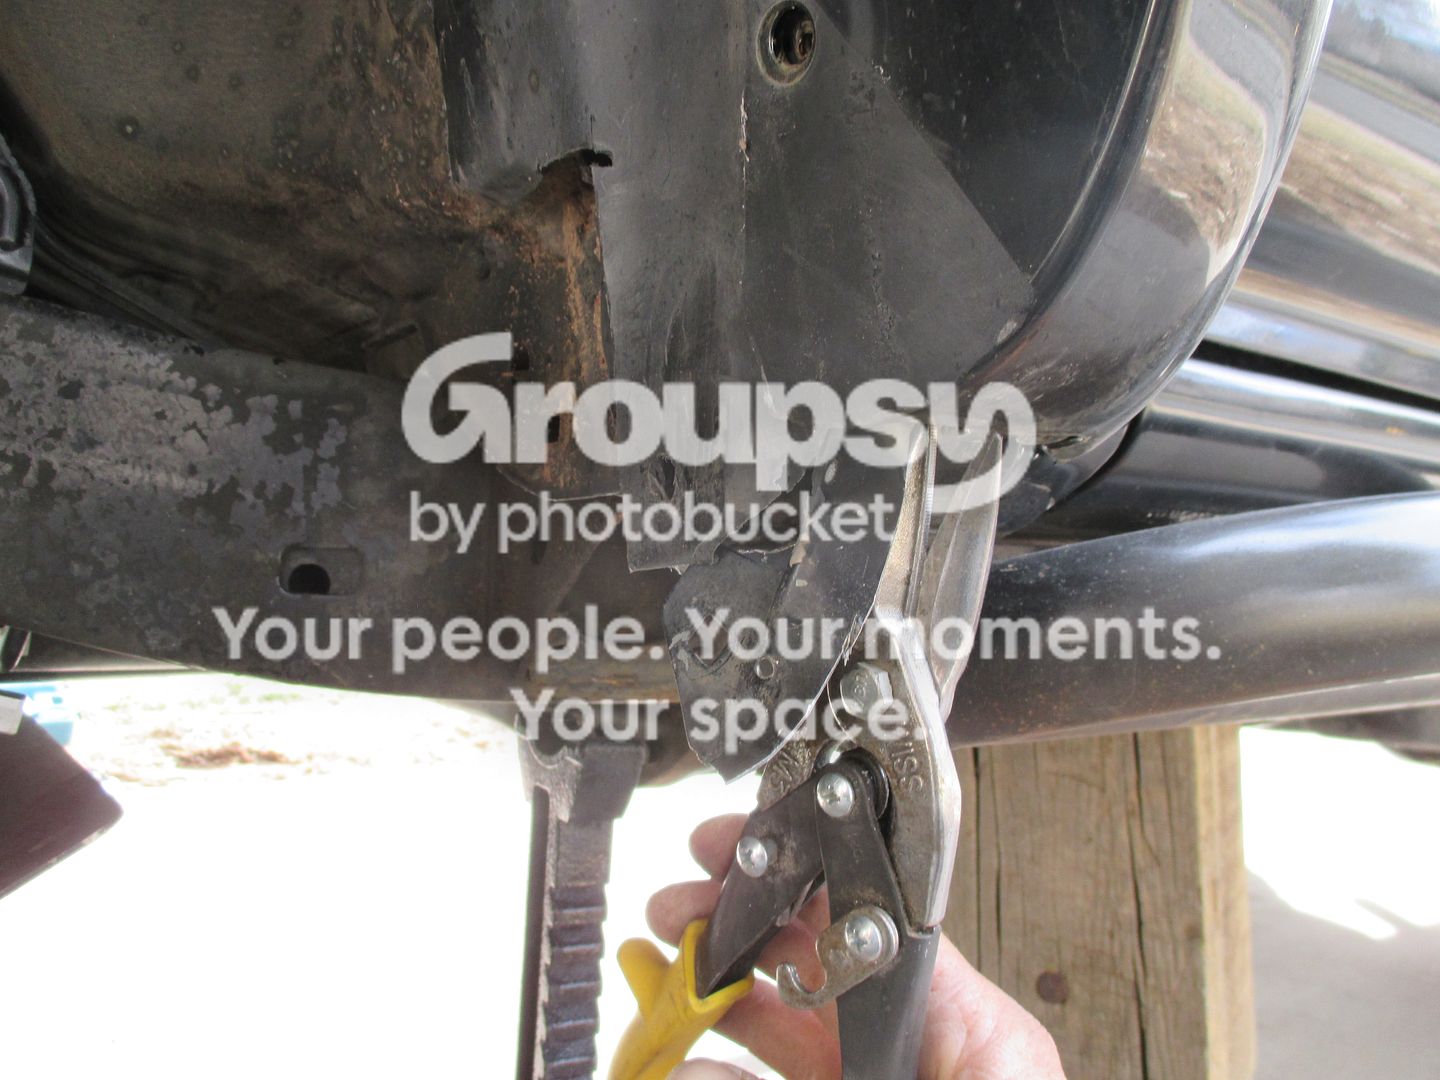
In this pic you can see where I remove the screw to gain access to the fender metal. also can see where I had grinded down the plastic part of fender and spray painted it grey. OK what I did was take those sheers and cut the metal up into the fender. I then used the blue wire cutters in pic to grab the remaining metal up inside and twisted it in. Further grinded down the pinch weld and fender metal.
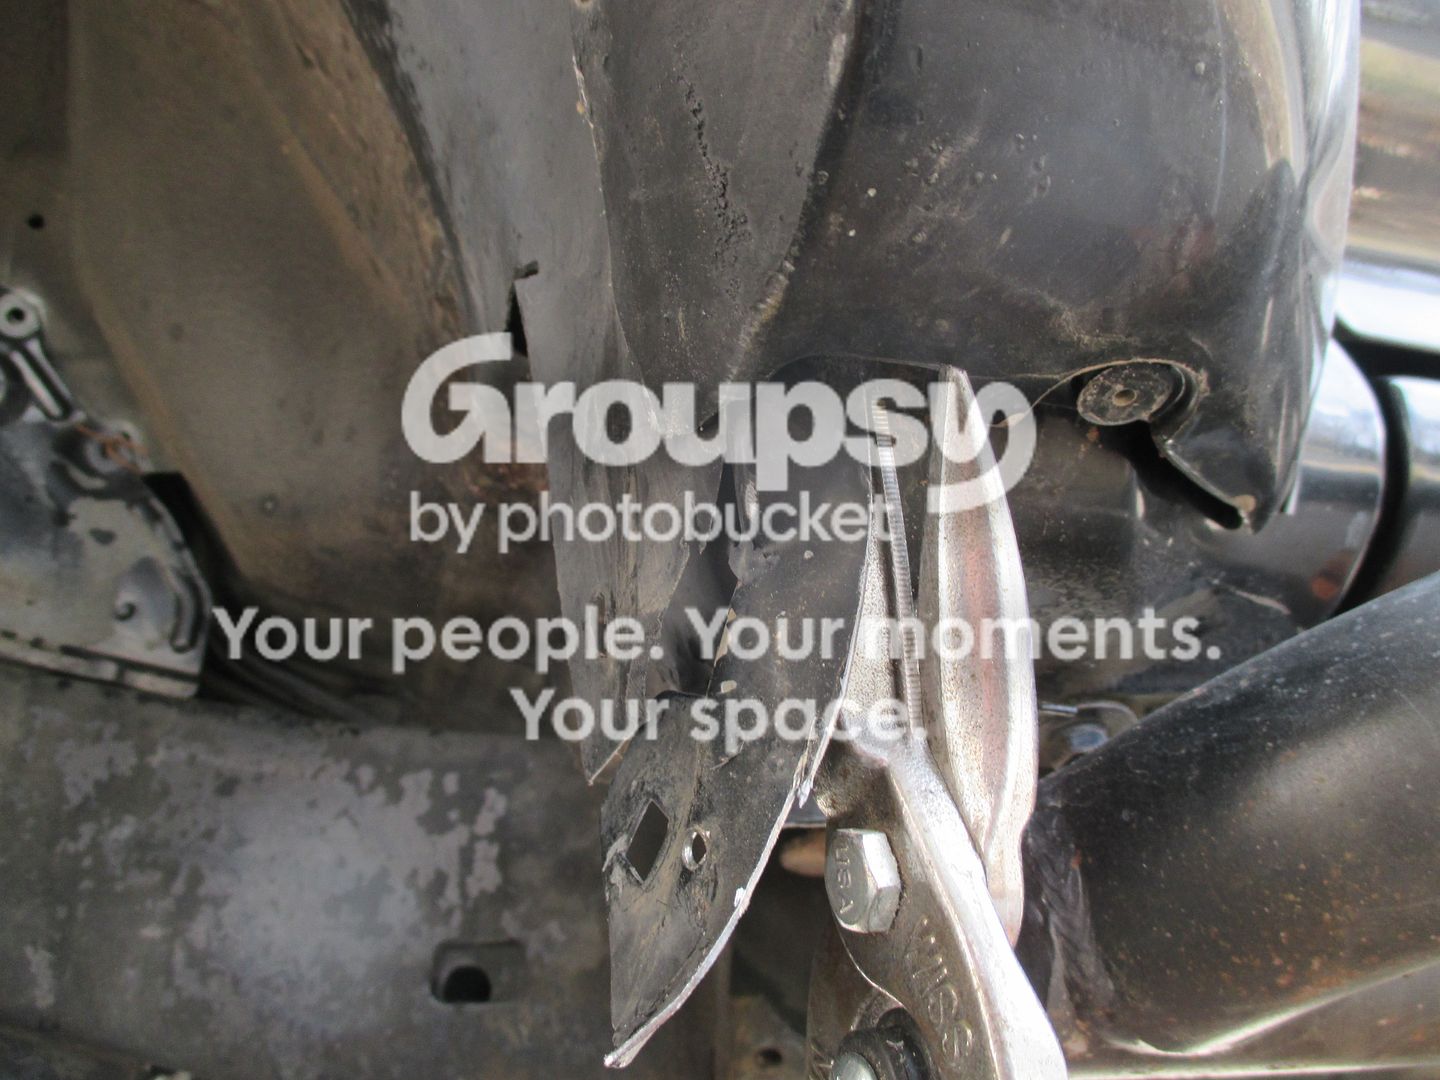
if you feel with your fingers up in the flare there is a metal frame of sort. It is what was preventing me from pushing the inner portion of the fender out of the way. with that moved back I could flex the plastic in. ENter the heat gun. I melted and shaped the fender plastic back as far is possible. It begins too distort, melt and shrink so there is a limit to what I could do. The passenger side looked like a beaver chewed on it and the driver came out like this. I was heating it and mashing with the back of mallet to form. then sprayed it. sorry bad pic.
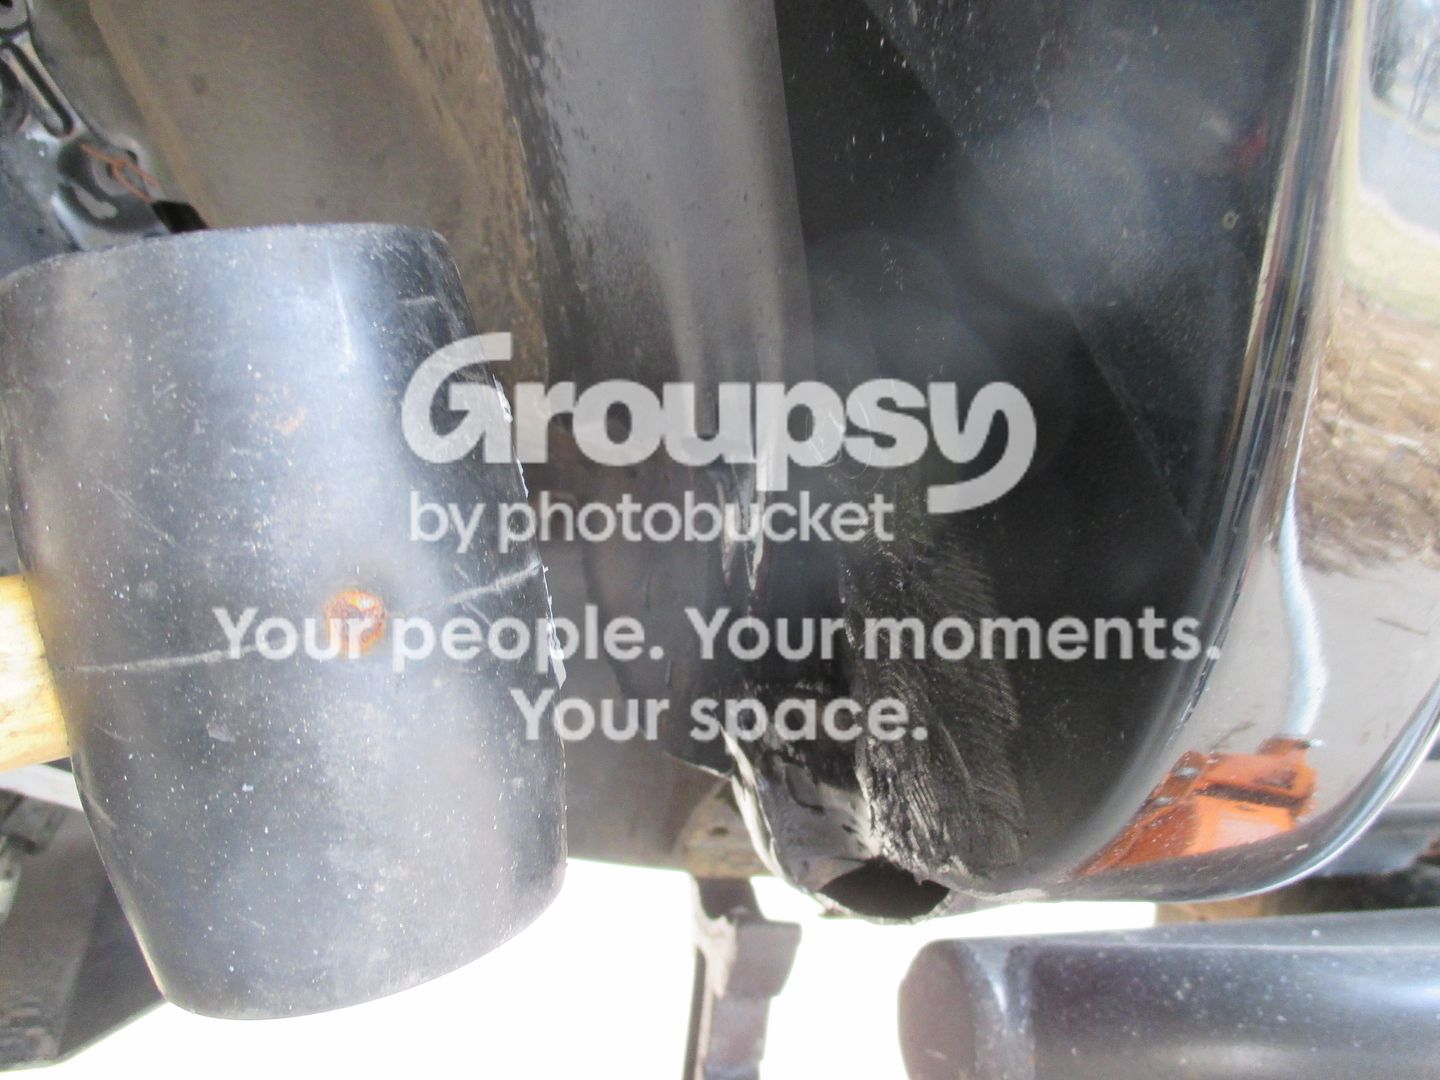
There is an open cavity there which I was trying to avoid. I will have a solution to that this week. After recent adventure I'm considering removing the flares anyhow. So 285/70r17's on tundra's with 1.25' spidertrax and this work for me through some serious stuff yesterday.
I love my alignment and have my caster set a 4. I believe that means my wheel sits a little back in the wheel well. Also I decided I like the look of the spacers for now until I get different wheels. With that in mind I get a little scrubbing in the rear of my front fenders. I had previously cut out a section of inner liner to access the pinch weld to modify it. This worked with the 265 hankooks for clearance but not the 285 dura's. So out comes this pile of tools and I get after it. Passenger side wasn't as clean so following pics from are driver side.
The previous pinch meld modification. I had cut the metal part of the fender and folded it in then used a small screw and washer to tuck it up.
In this pic you can see where I remove the screw to gain access to the fender metal. also can see where I had grinded down the plastic part of fender and spray painted it grey. OK what I did was take those sheers and cut the metal up into the fender. I then used the blue wire cutters in pic to grab the remaining metal up inside and twisted it in. Further grinded down the pinch weld and fender metal.
if you feel with your fingers up in the flare there is a metal frame of sort. It is what was preventing me from pushing the inner portion of the fender out of the way. with that moved back I could flex the plastic in. ENter the heat gun. I melted and shaped the fender plastic back as far is possible. It begins too distort, melt and shrink so there is a limit to what I could do. The passenger side looked like a beaver chewed on it and the driver came out like this. I was heating it and mashing with the back of mallet to form. then sprayed it. sorry bad pic.
There is an open cavity there which I was trying to avoid. I will have a solution to that this week. After recent adventure I'm considering removing the flares anyhow. So 285/70r17's on tundra's with 1.25' spidertrax and this work for me through some serious stuff yesterday.
Last edited:
TBuzz
New member
First time airing down
I've been aching to do some real wheeling and put some of these things to the test. So I made a few calls one the led to another and the guy that repaired my driveshaft told me who to call. Here we are getting ready at the entrance to ..I was pretty excited and didn't realize how good it was about to get.
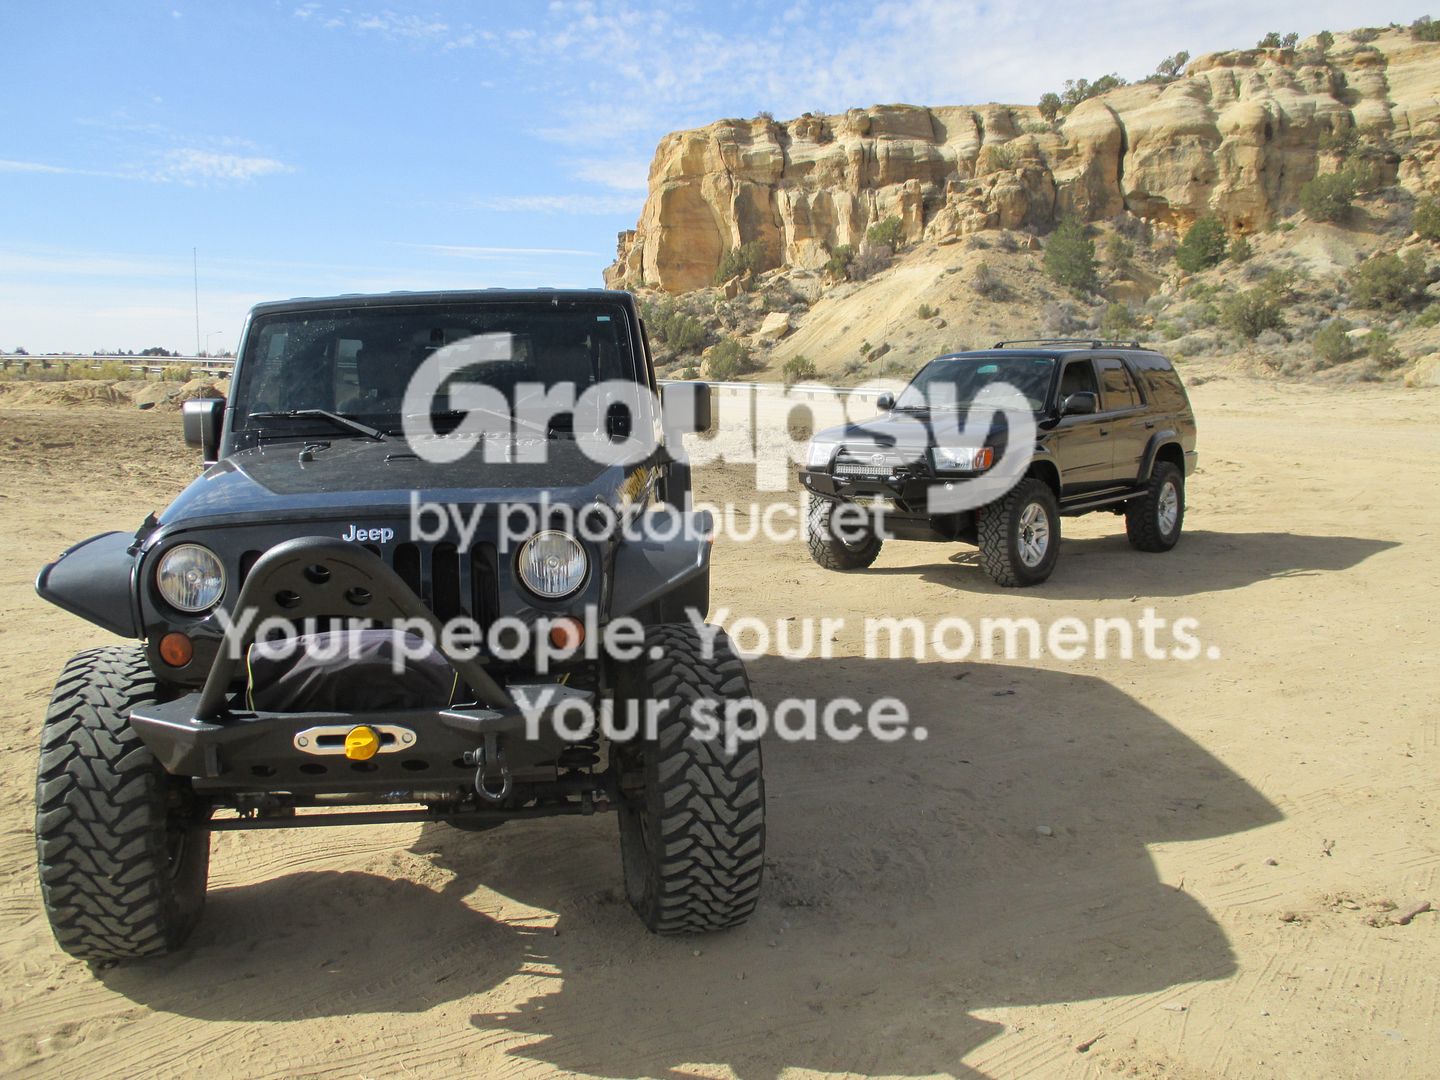
After a quick meet and greet we started airing down. This was getting real real fast, we start talking and some buggies pull up. they said "you got a newbie huh, well you're taking him to the water fall and gladiatior first right?" At that point I was starting to get a little nervous especially seeing the clearance issues my rig had comparatively speaking. My truck was looking a little clean and scar free also...this is what I'd been waiting for...or was it.:shocked:
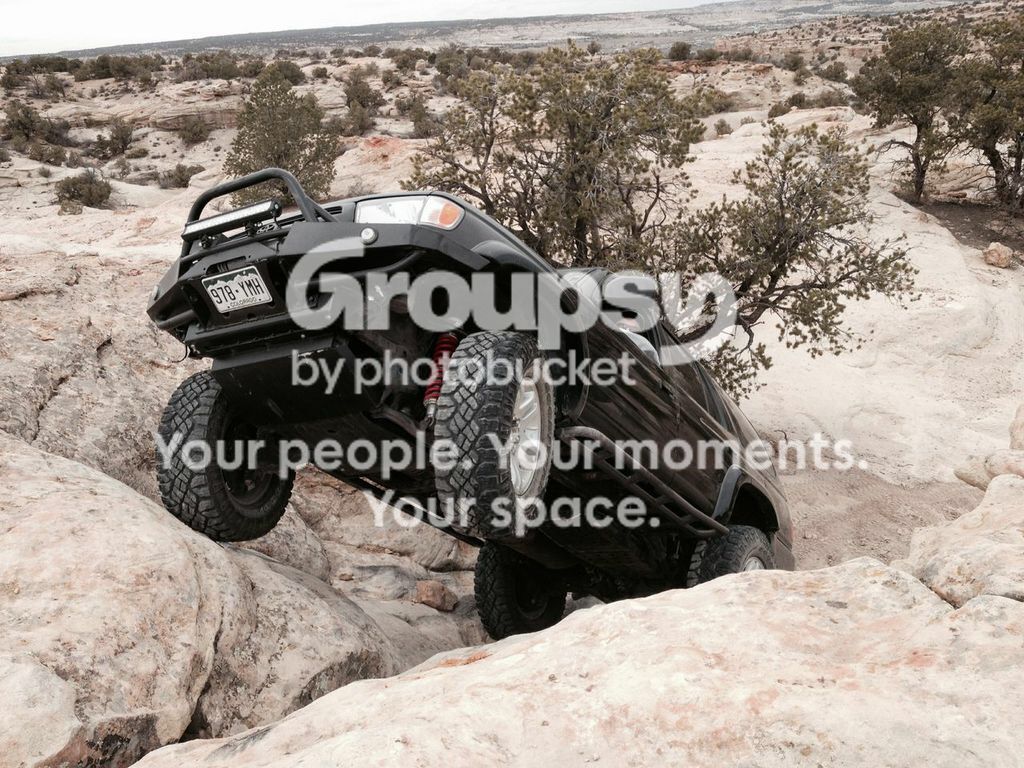
We started by going in the bottom of the lower playground area..very first climb was more serious than anything I had done in 20 years and it was now very real as my nose was pointed into the sky. Initially an unnerving feeling somewhat changed when the grippy duratracs took hold and easily bit into the rock and I eased up.
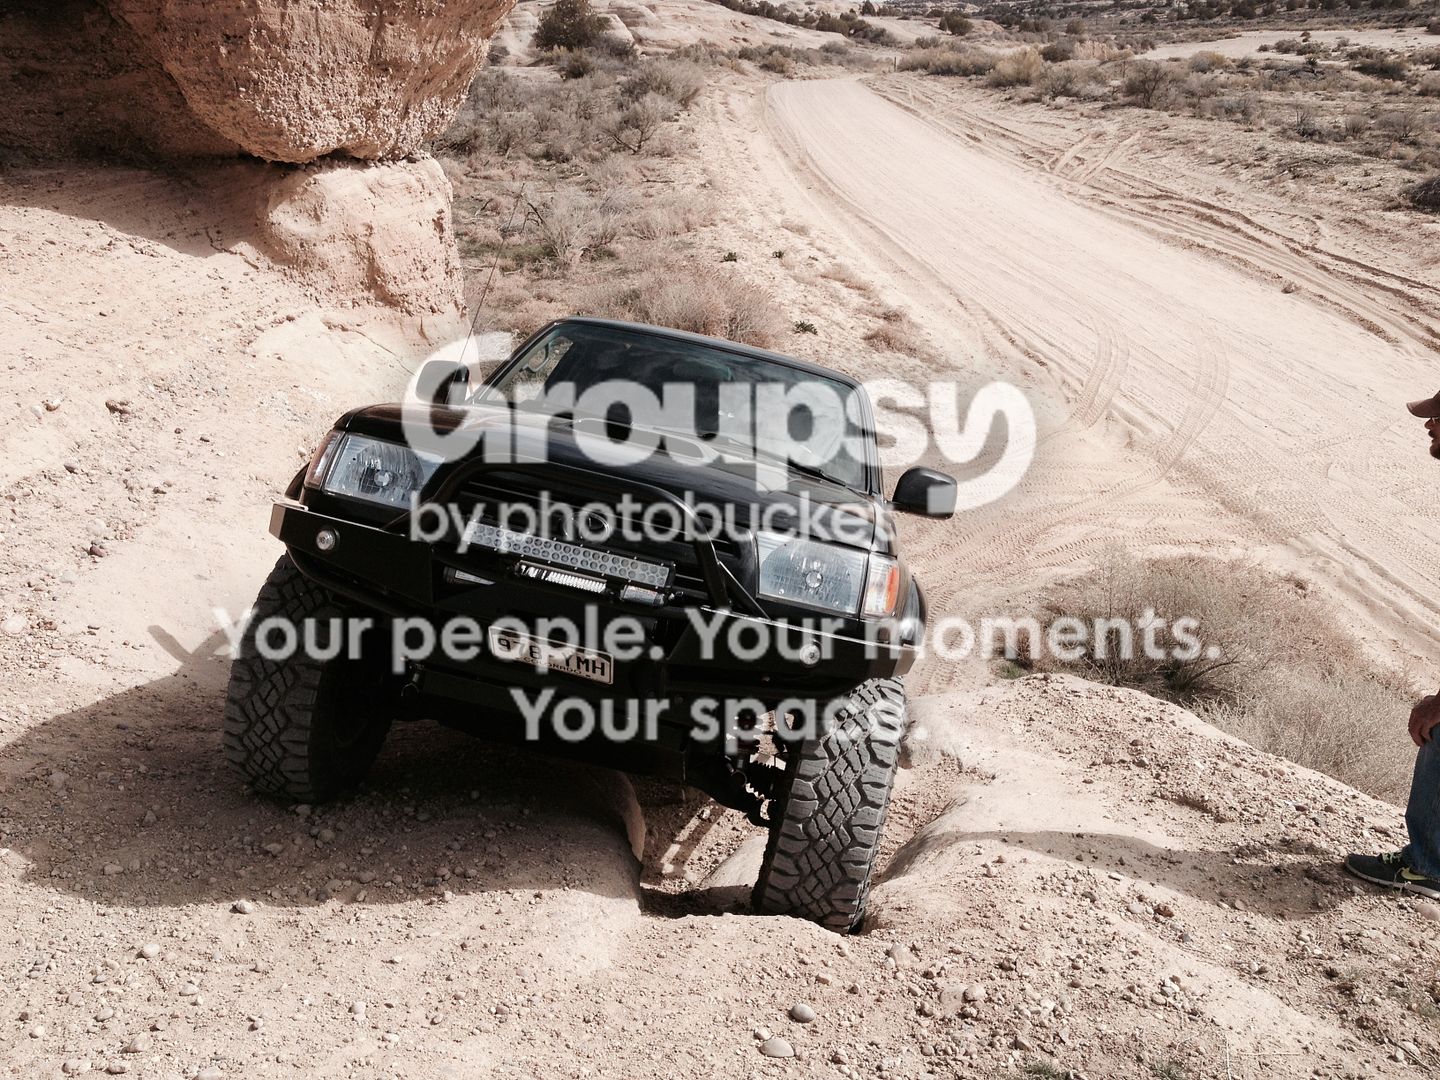
this is going to get good
I've been aching to do some real wheeling and put some of these things to the test. So I made a few calls one the led to another and the guy that repaired my driveshaft told me who to call. Here we are getting ready at the entrance to ..I was pretty excited and didn't realize how good it was about to get.
After a quick meet and greet we started airing down. This was getting real real fast, we start talking and some buggies pull up. they said "you got a newbie huh, well you're taking him to the water fall and gladiatior first right?" At that point I was starting to get a little nervous especially seeing the clearance issues my rig had comparatively speaking. My truck was looking a little clean and scar free also...this is what I'd been waiting for...or was it.:shocked:
We started by going in the bottom of the lower playground area..very first climb was more serious than anything I had done in 20 years and it was now very real as my nose was pointed into the sky. Initially an unnerving feeling somewhat changed when the grippy duratracs took hold and easily bit into the rock and I eased up.
this is going to get good
TBuzz
New member
On up and around the corner...I quickly learned the importance of a good spotter. Not only did the great spotting give me the right line, it gave me confidence. Bear in mind this was very new to me and I kept expecting the sound of breaking parts and rubbing driveshaft or skid plate using the sliders. So I do have a stupid look on my face in some photos, I,ll have to work on that.
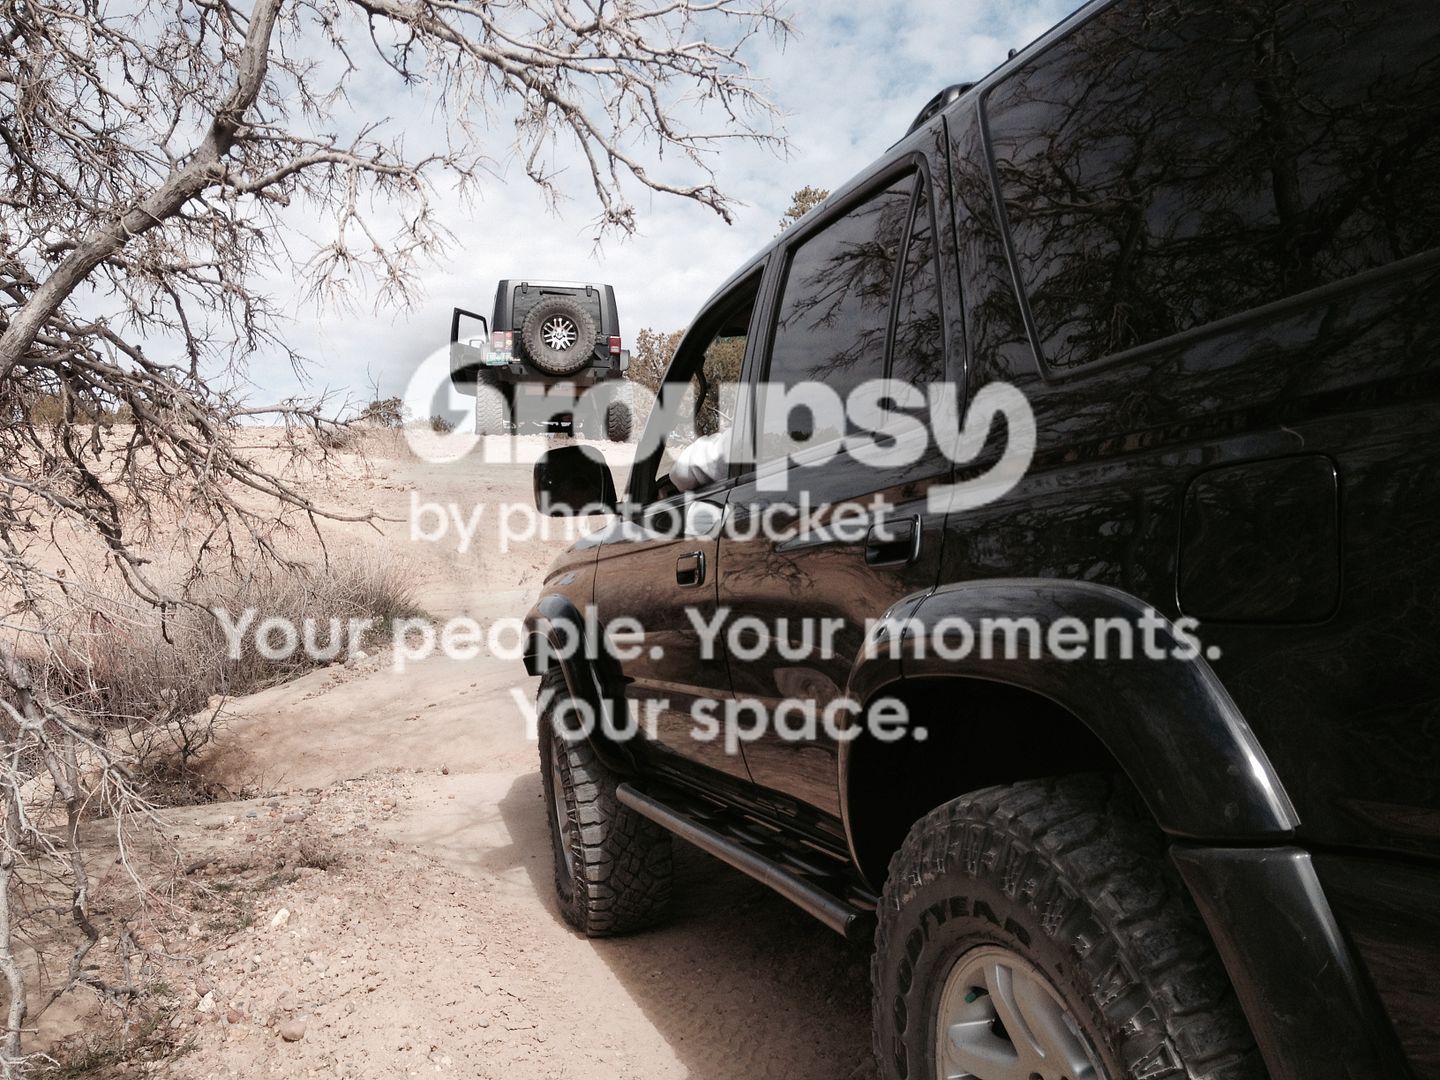
First test for the AOR bumper approach.. this was pretty damn good. It felt like my feet were on the rock.
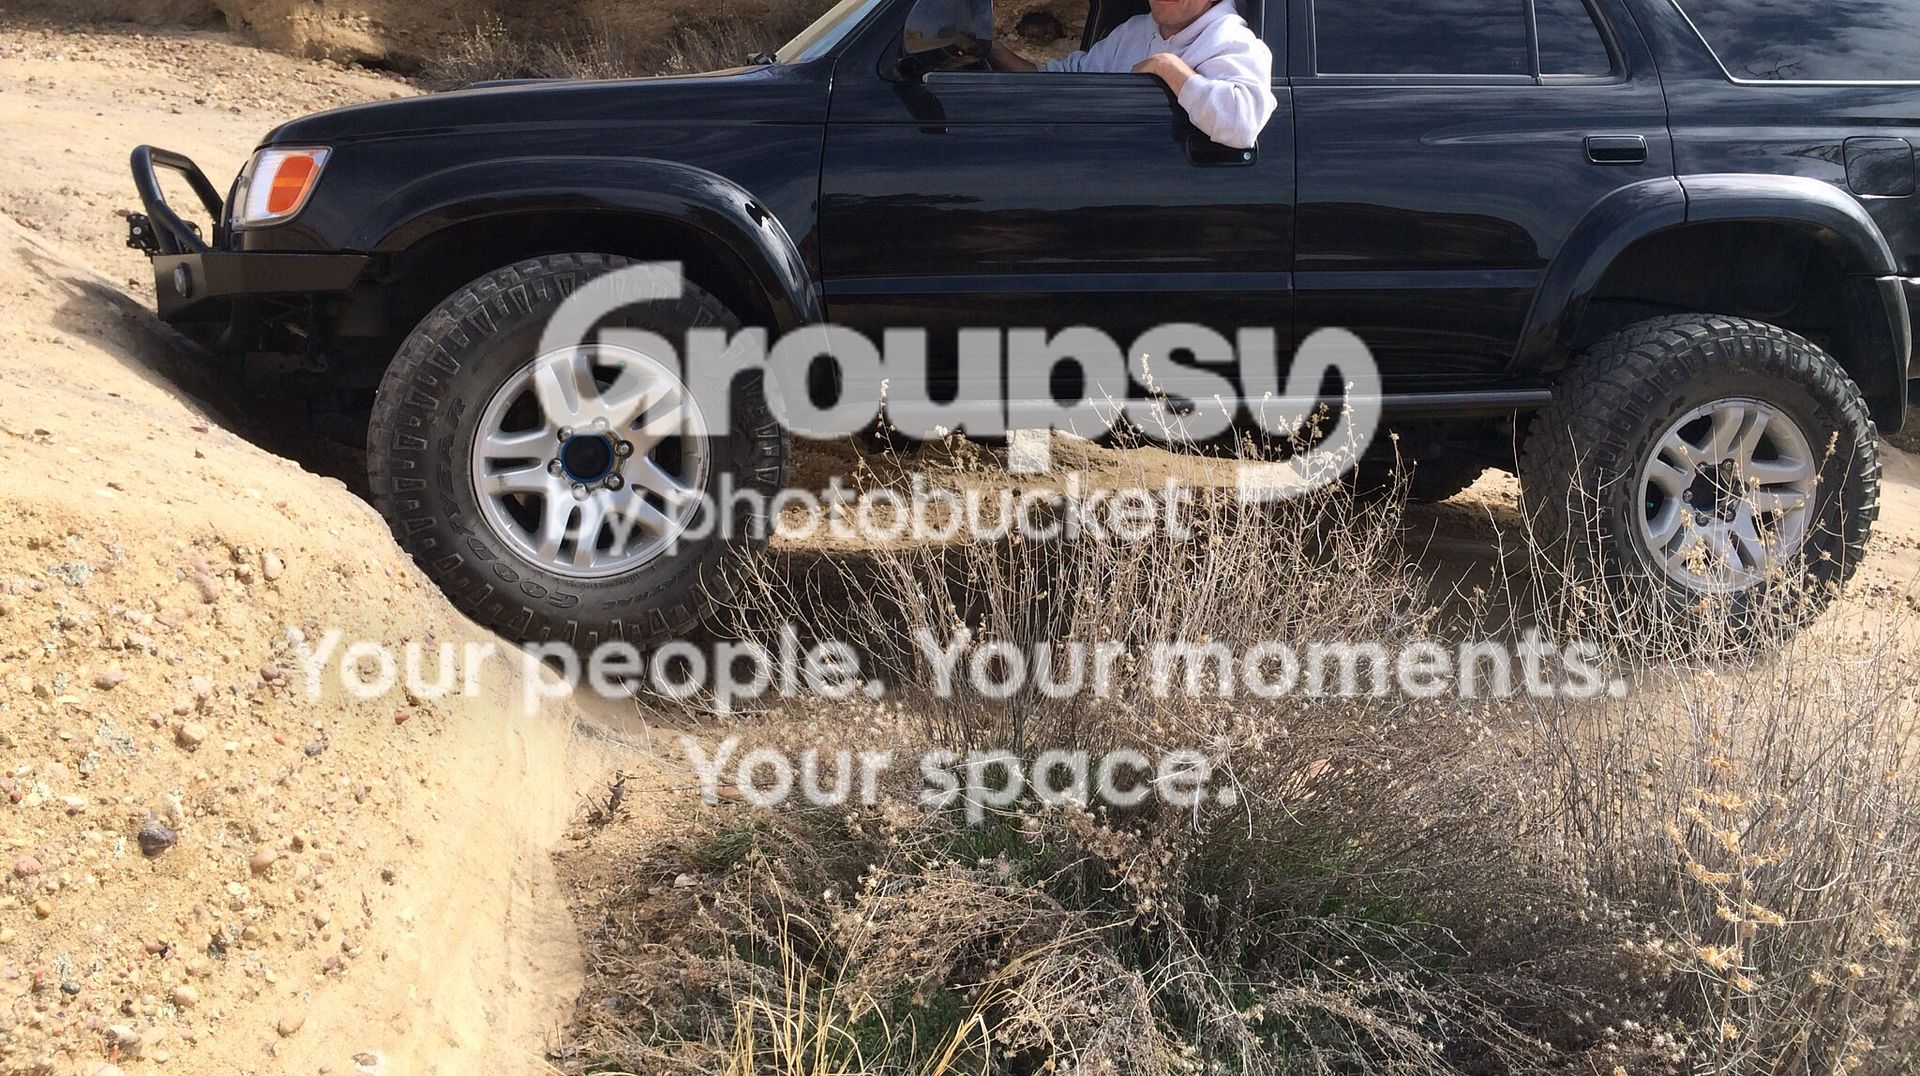
Didn't scratch the bumper or the skid plate.. I drug the hitch and spare which was to be expected. I was now thinking it might be a handicap but my guides were confident it wouldn't matter.
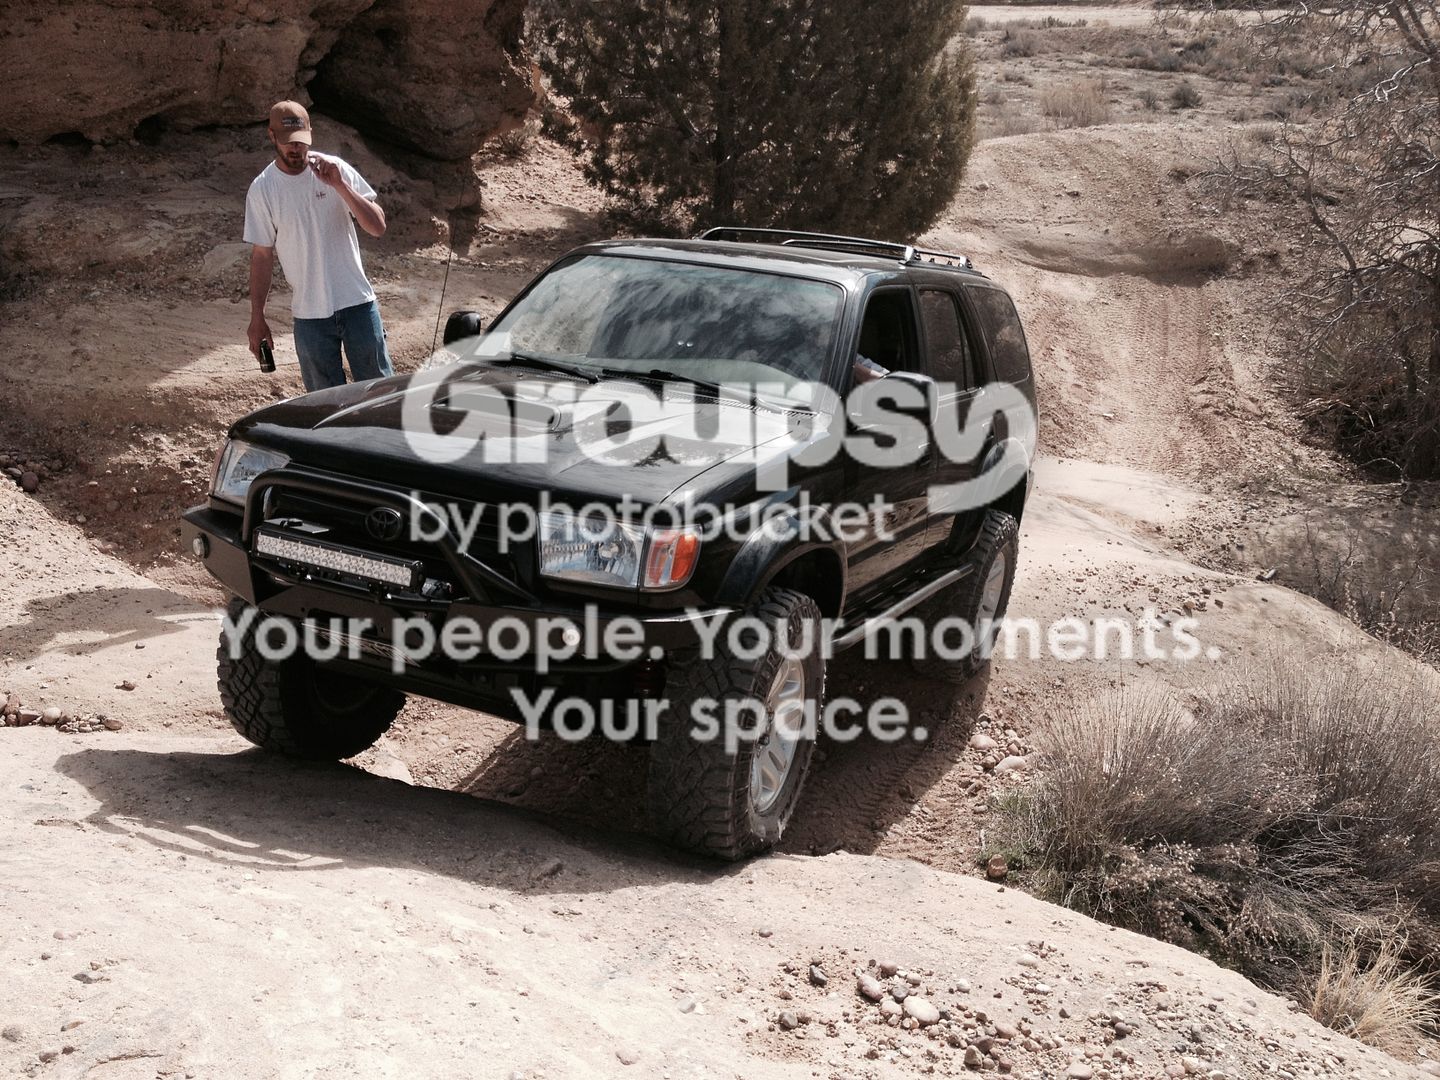
First drop,,cool to feel like I was diving into the dirt then the legs stretch out, just barely scraped the hitch.
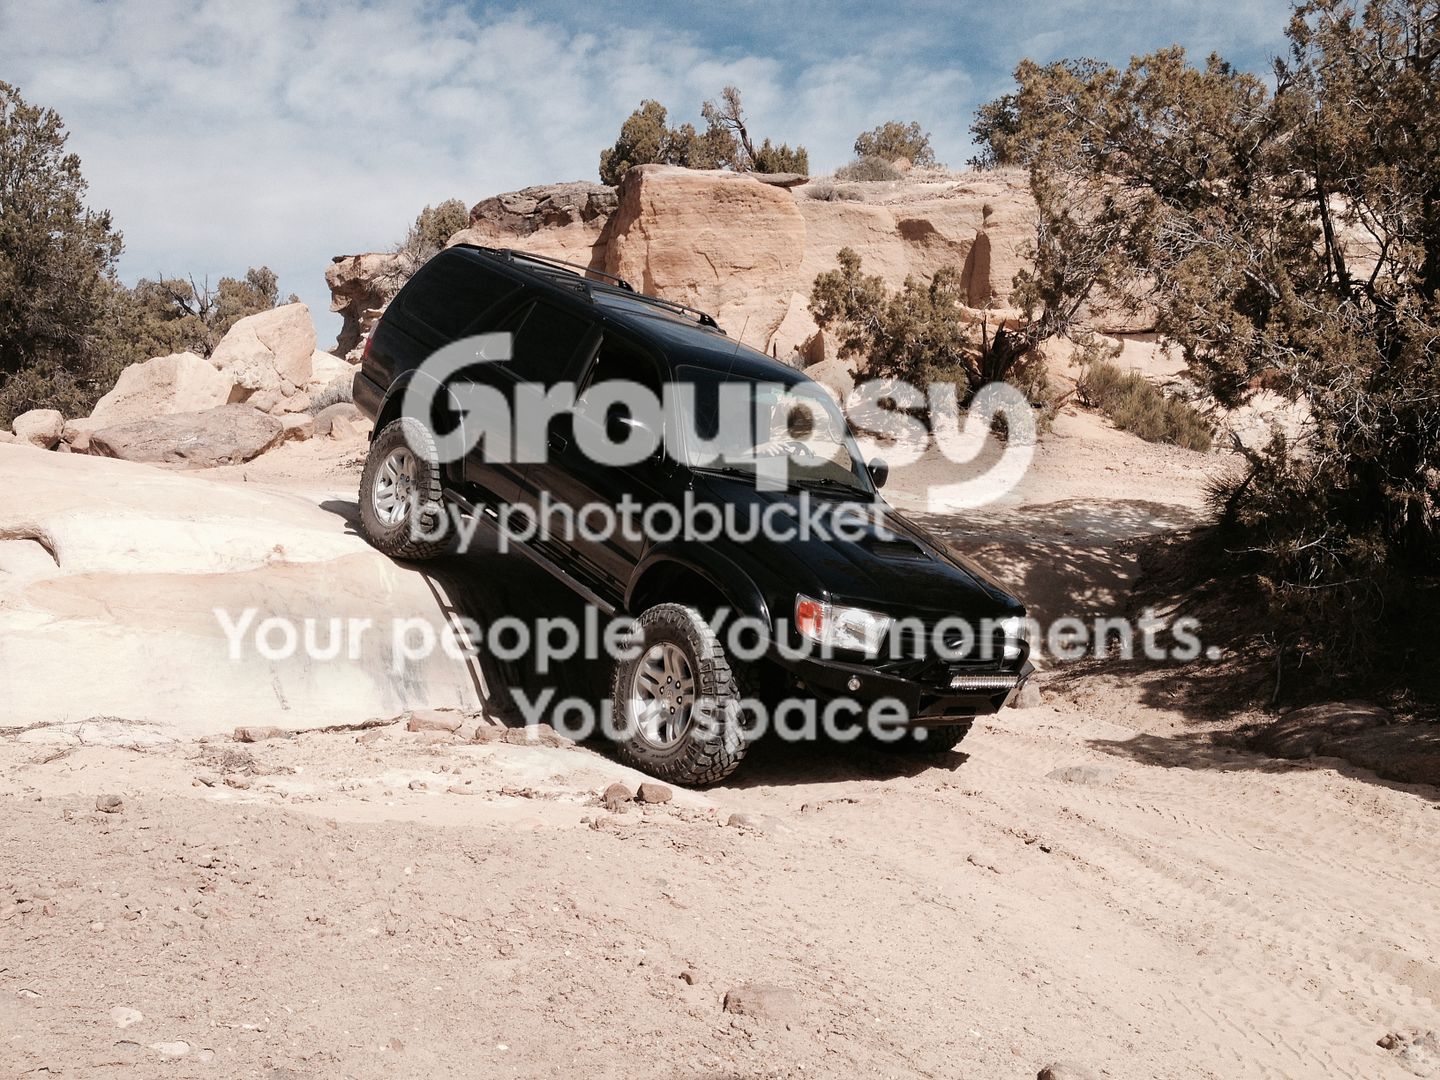
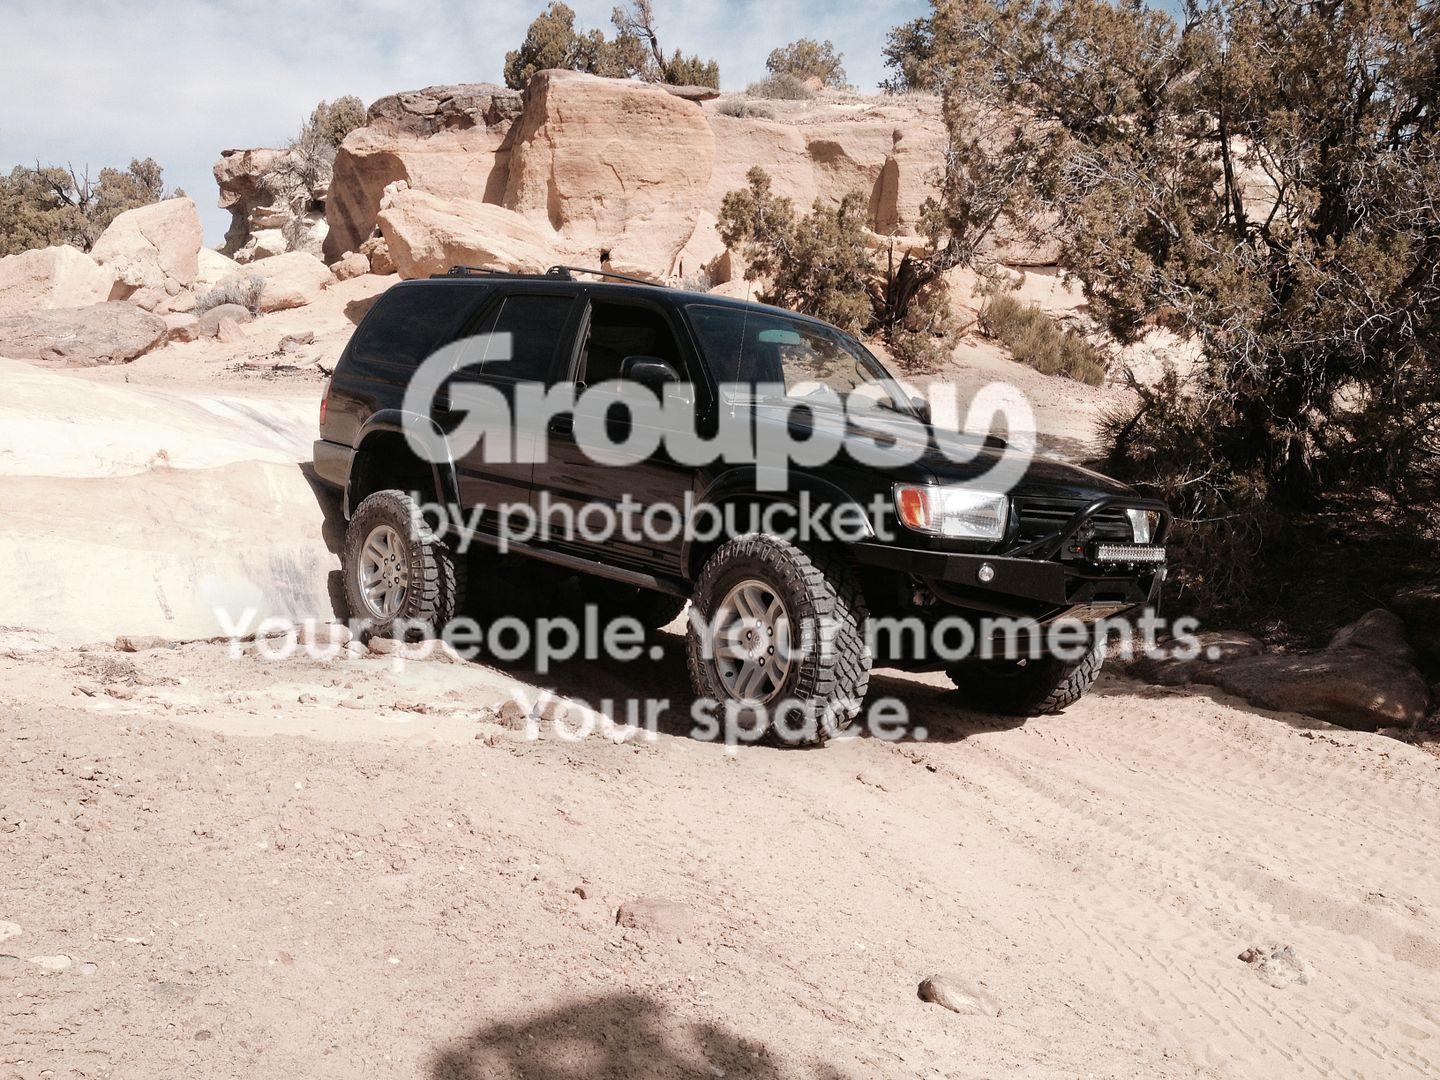
First test for the AOR bumper approach.. this was pretty damn good. It felt like my feet were on the rock.
Didn't scratch the bumper or the skid plate.. I drug the hitch and spare which was to be expected. I was now thinking it might be a handicap but my guides were confident it wouldn't matter.
First drop,,cool to feel like I was diving into the dirt then the legs stretch out, just barely scraped the hitch.
Last edited:
TBuzz
New member
We pulled up to this wall and the jeep nudged and strategically bounced twice right up it. My heart sank and I gripped the wheel
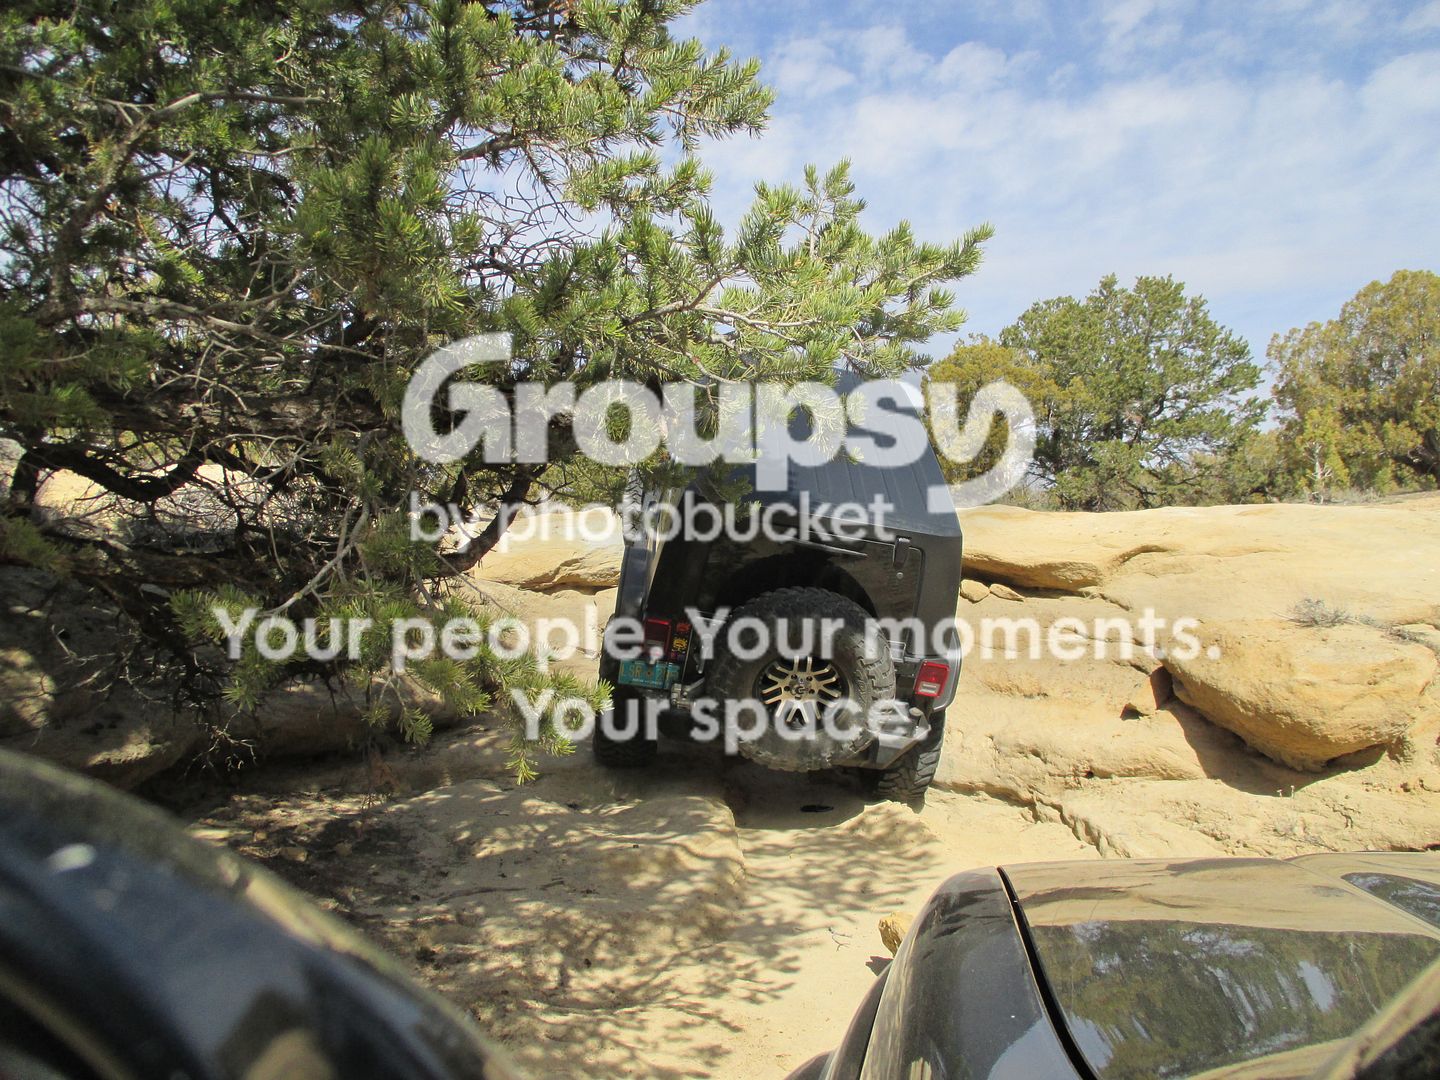
Than Cody said you can go here if you want..
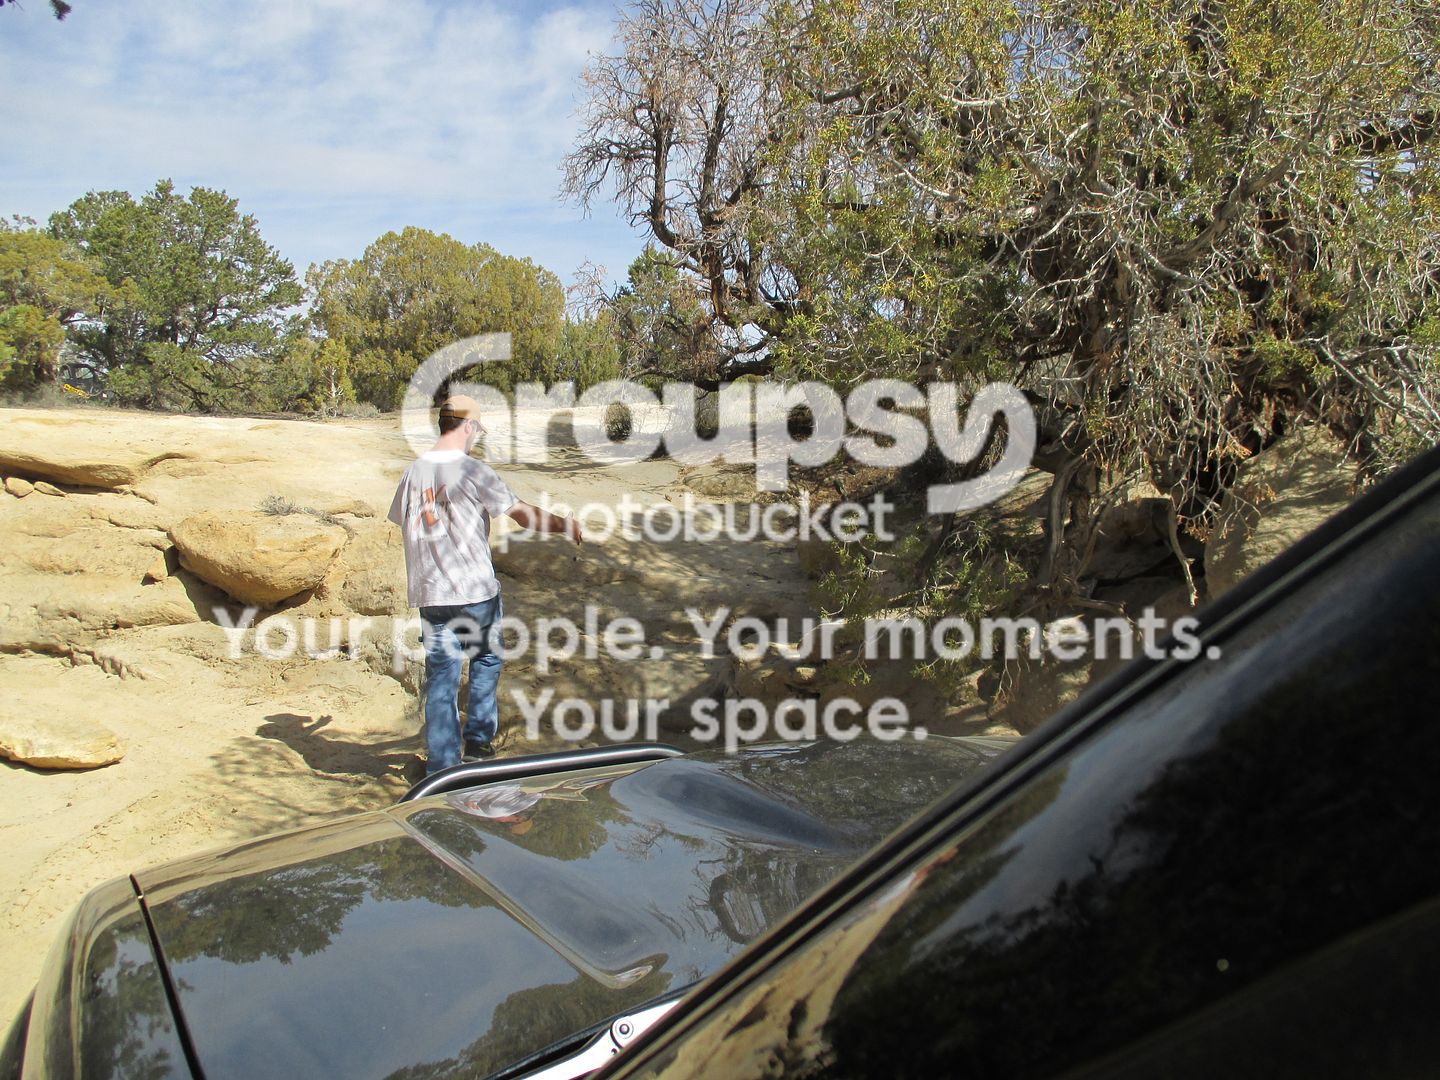
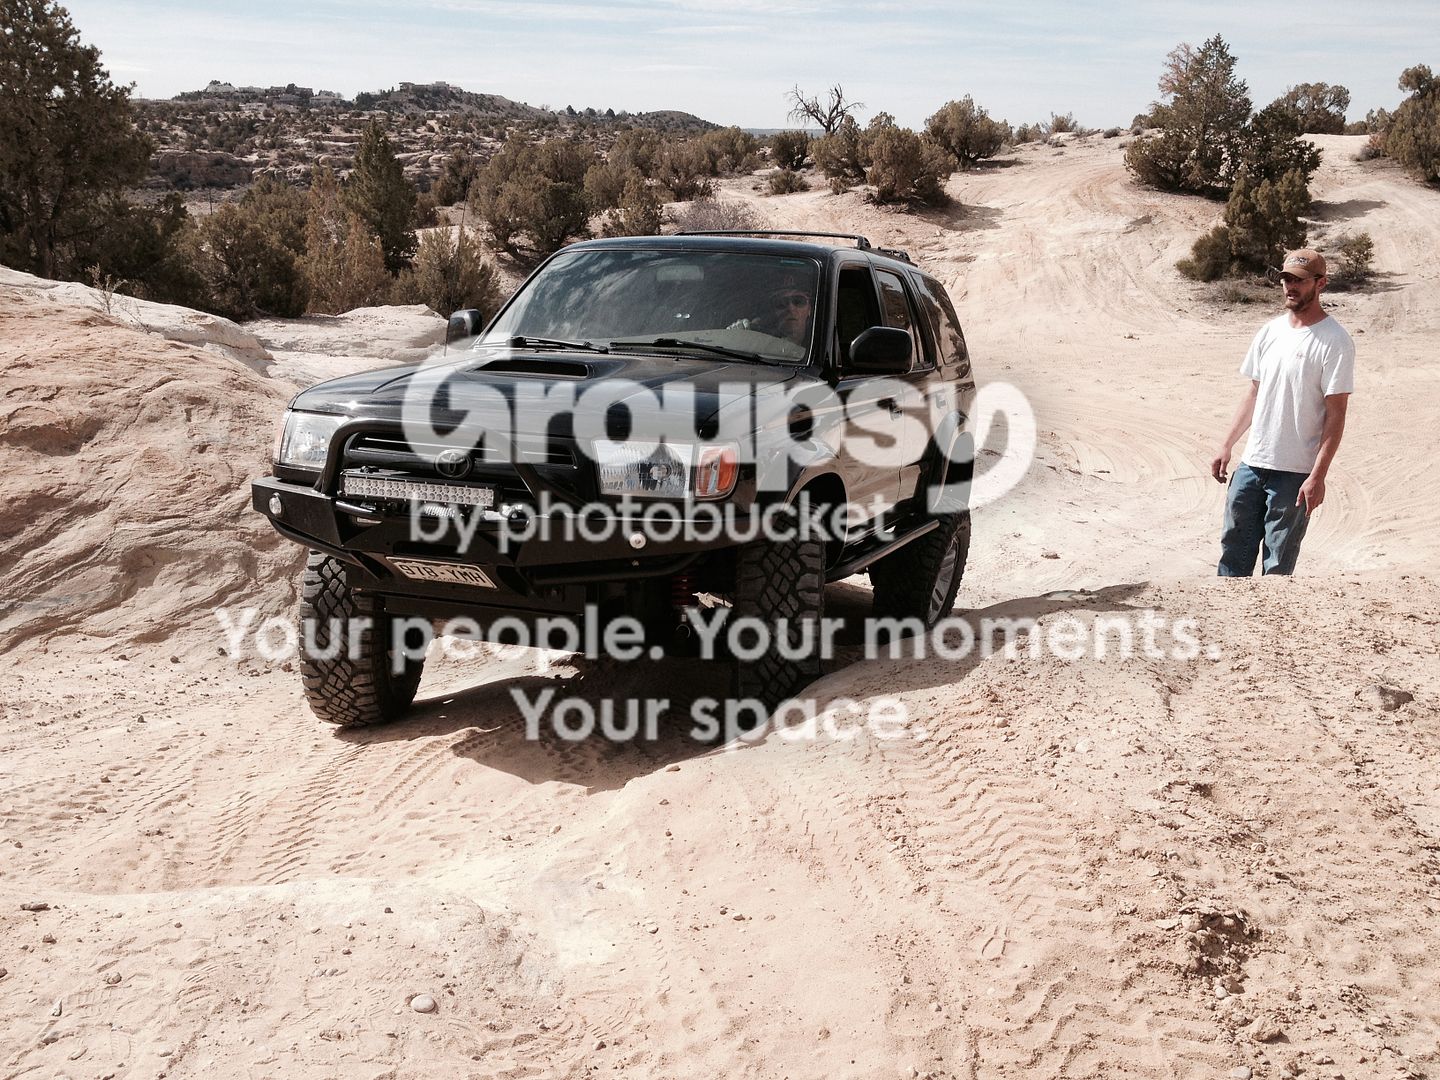
Then I learned to bump and roll. It took me 3 attempts but I made it. When I say attempt meaning I stopped as soon as I lost traction. The key was to get the front up and ease into it at 1/3 gas through the back tires making contact. I kept giving it gas after the rear bounced which made it break free. When I was able to do what was being suggested it went right up.

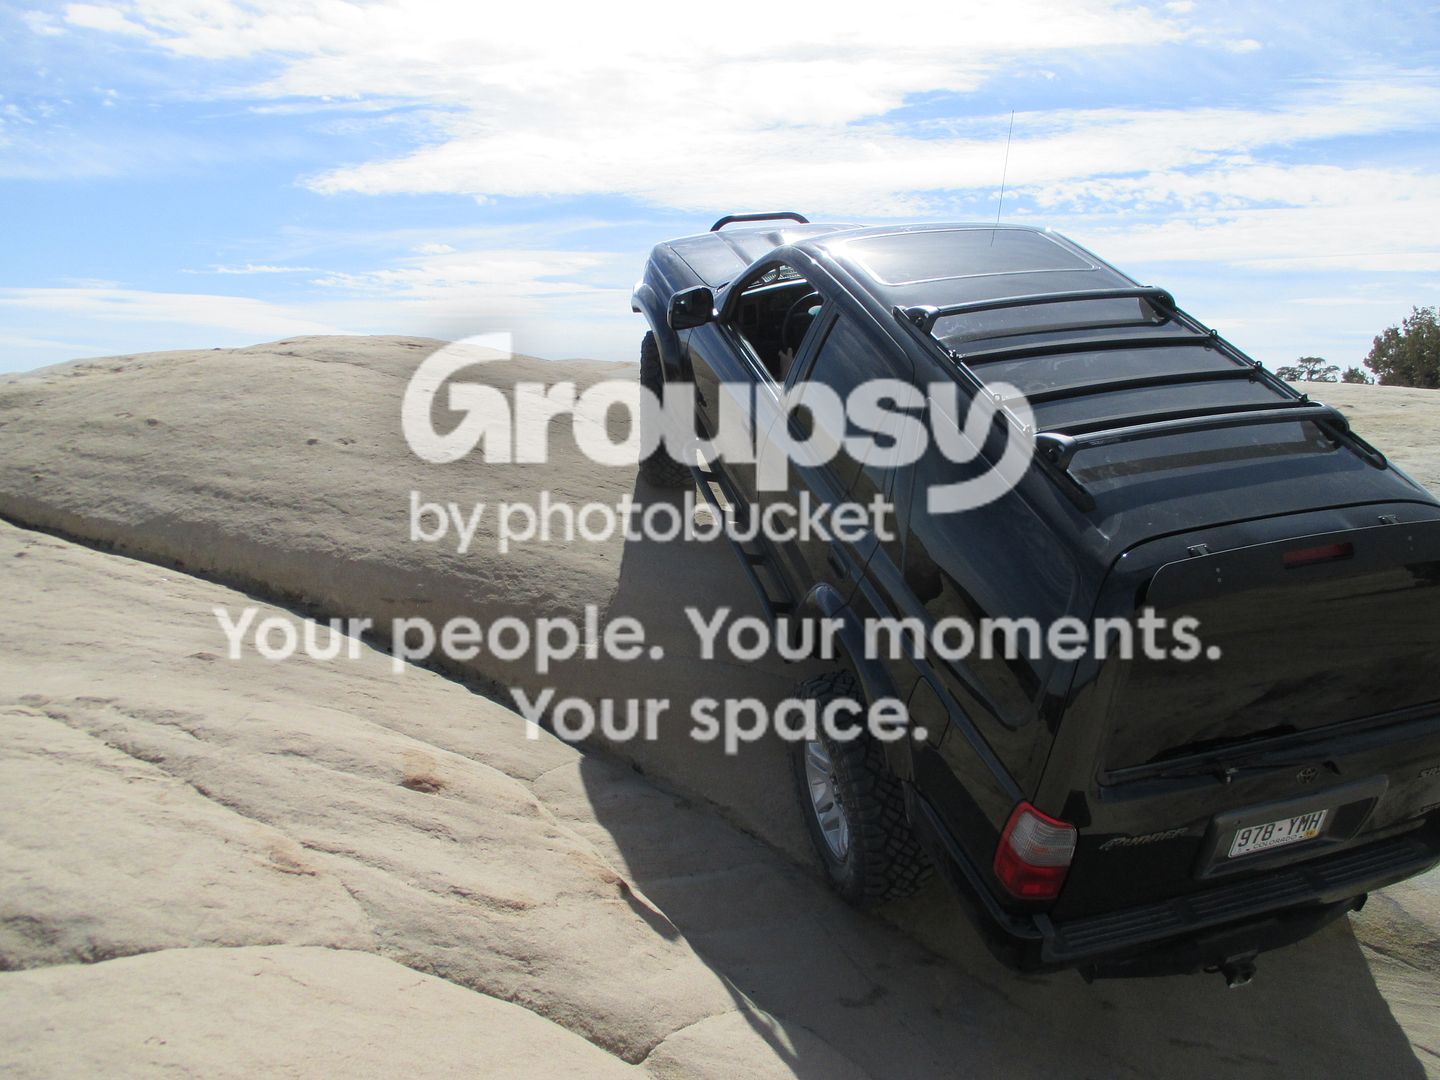
down and around and dropping in
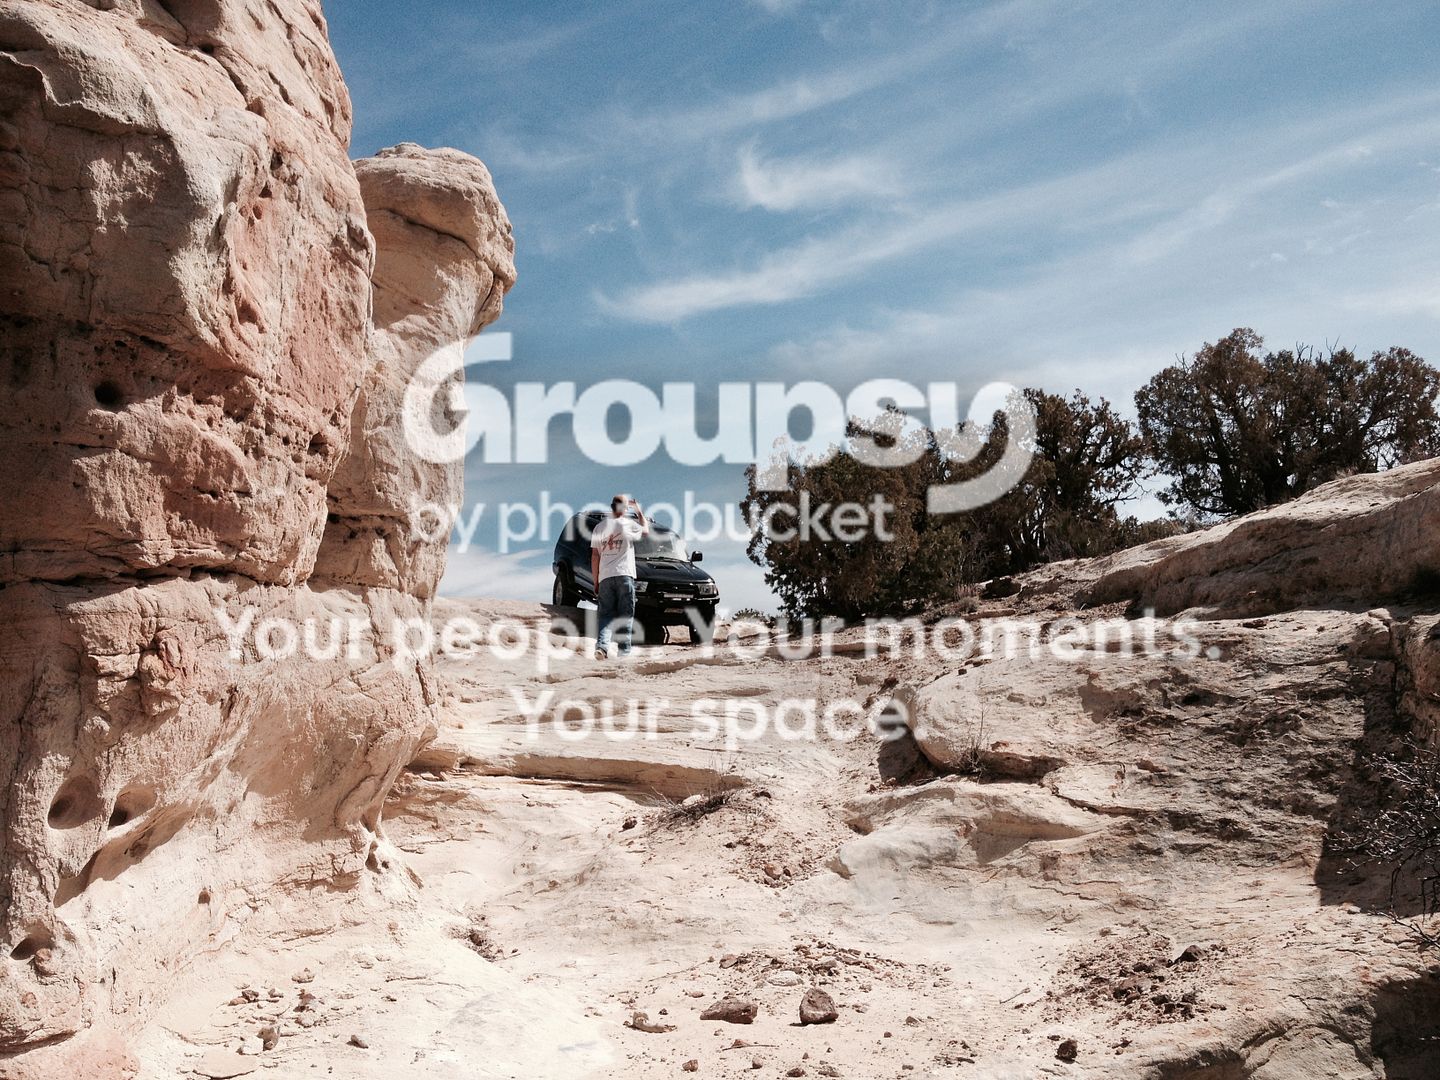
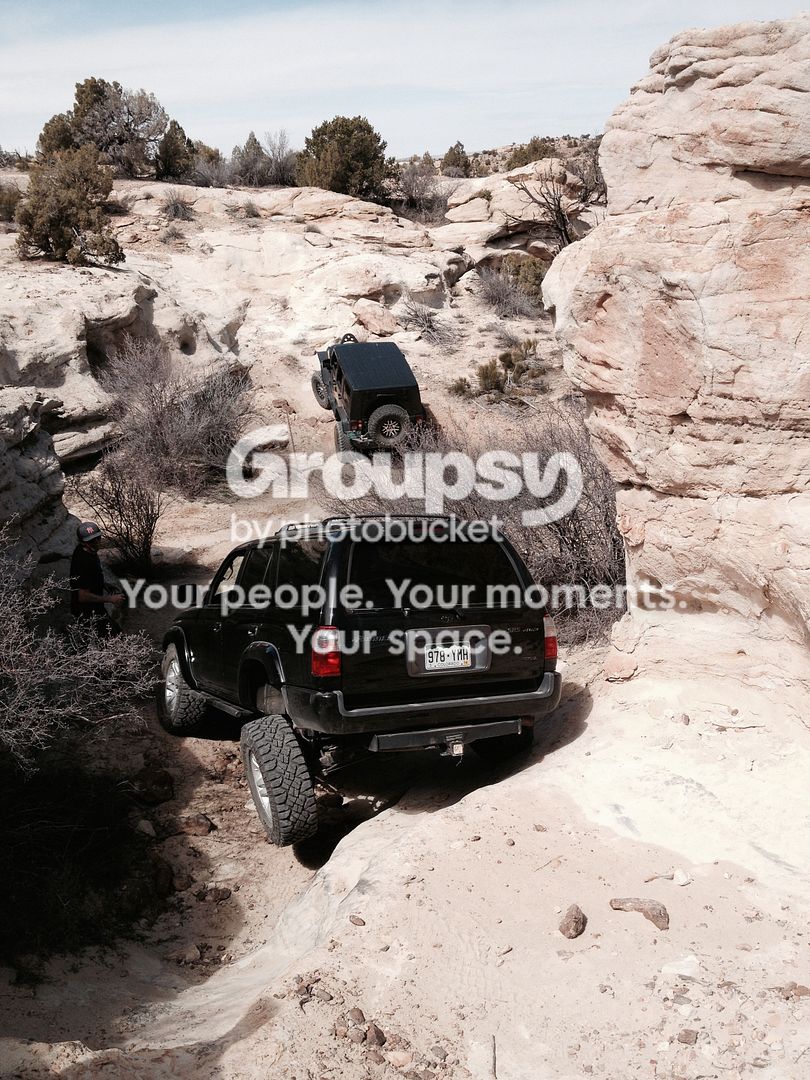
Down in the bottom you can take this way out
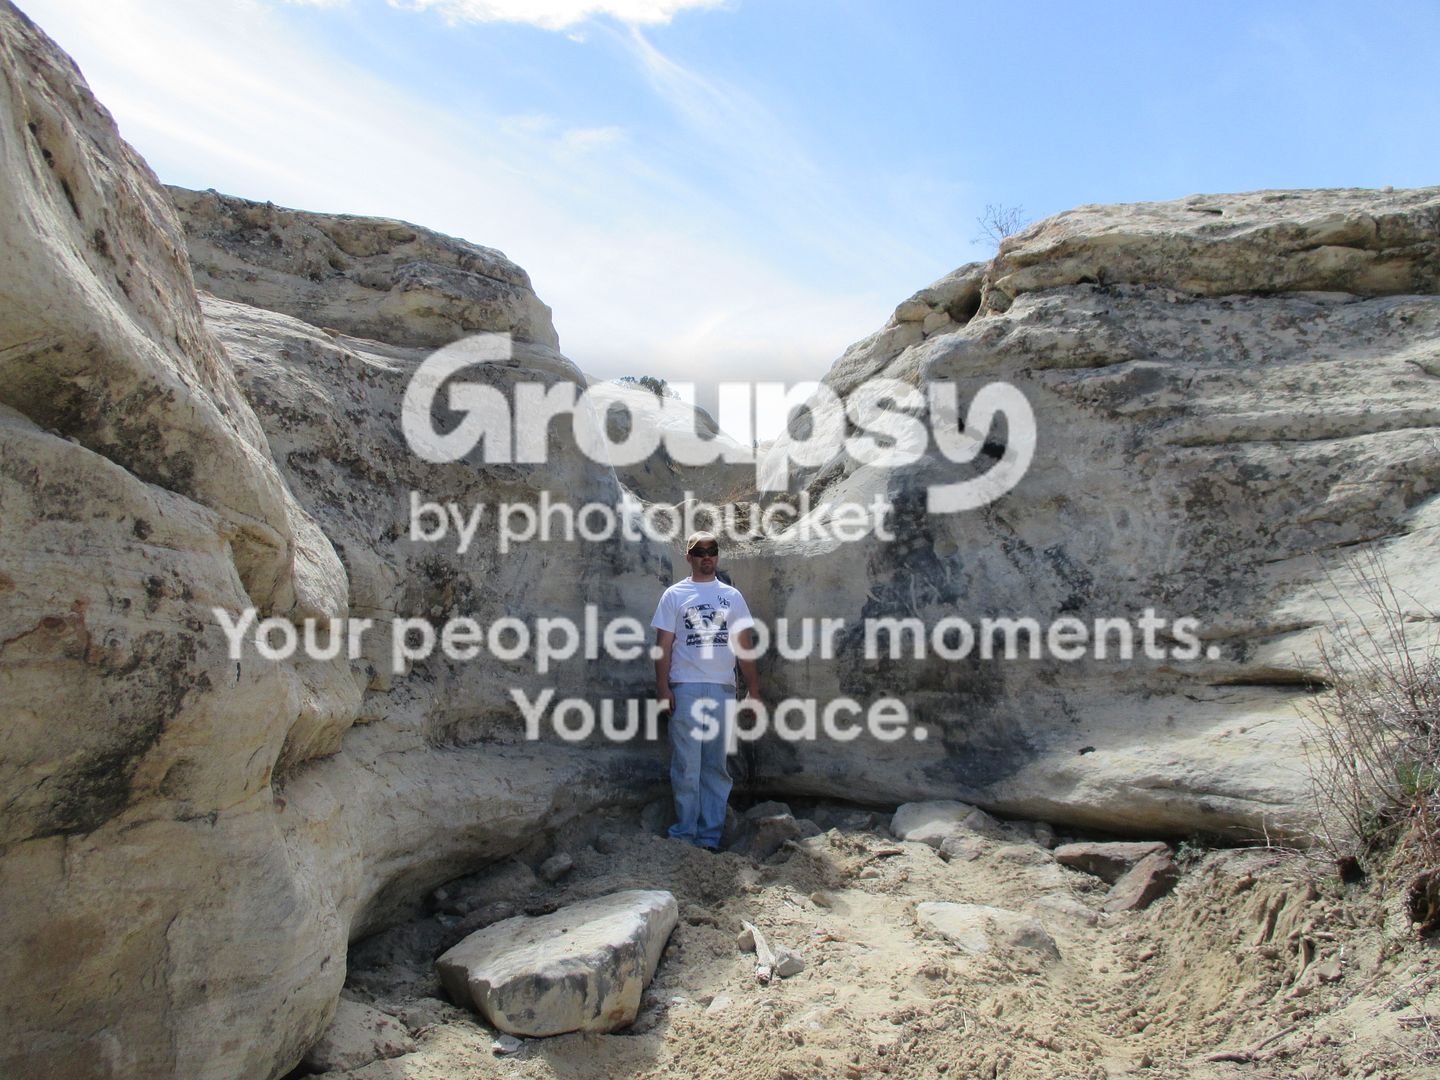
I pulled out the other side which was my MONEY shot
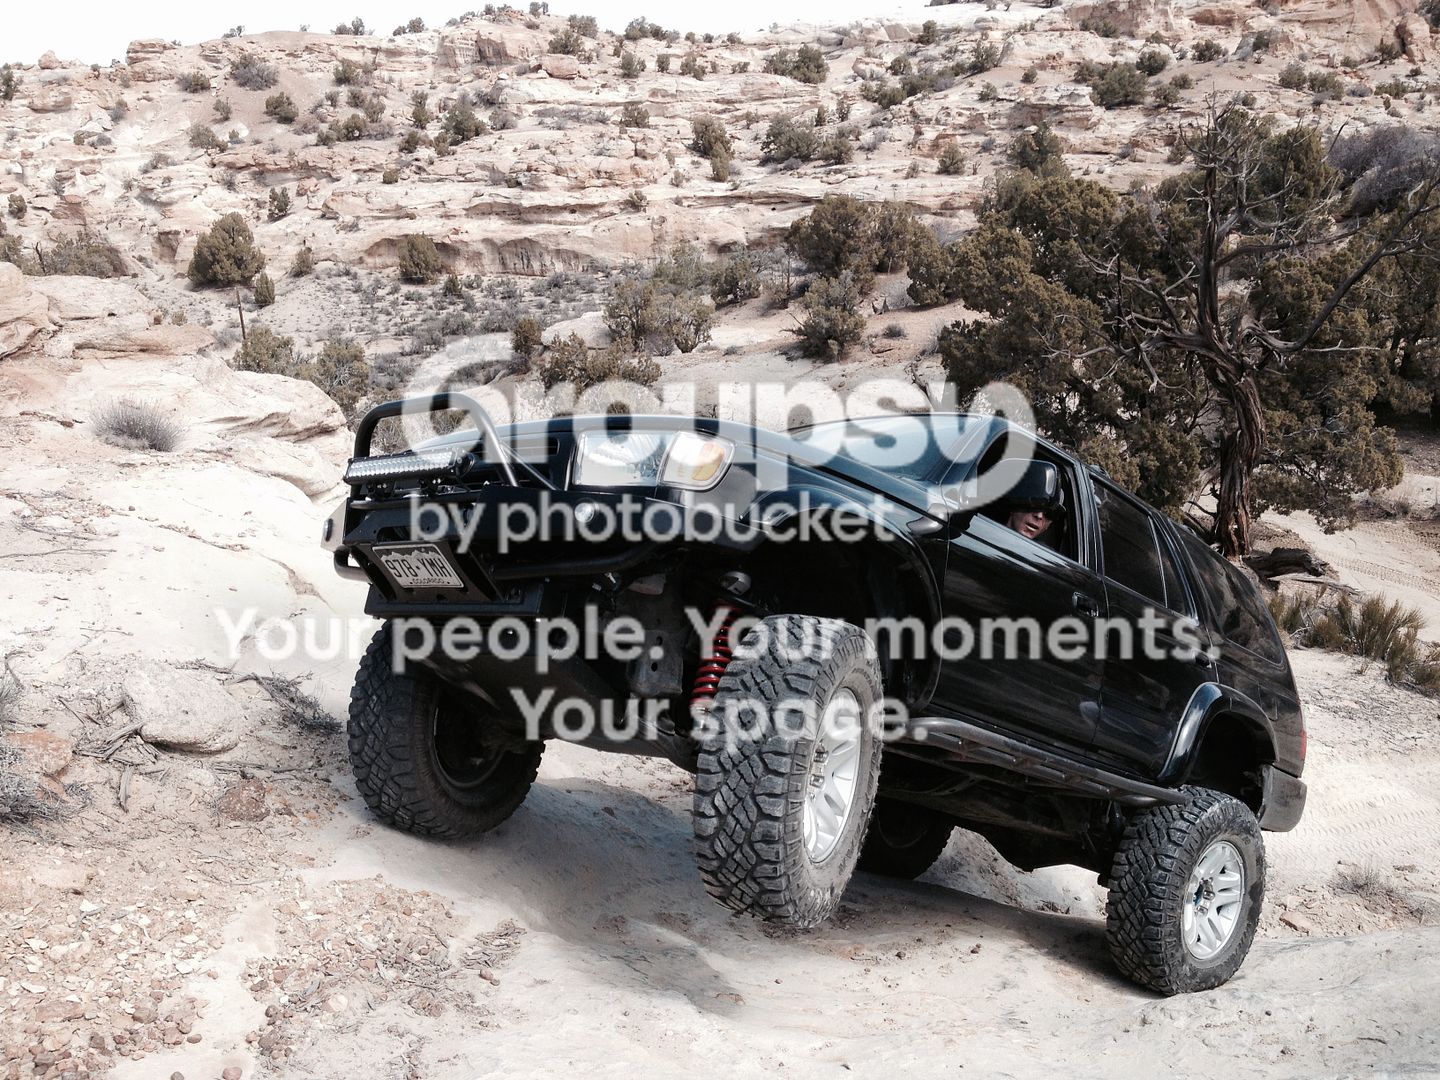
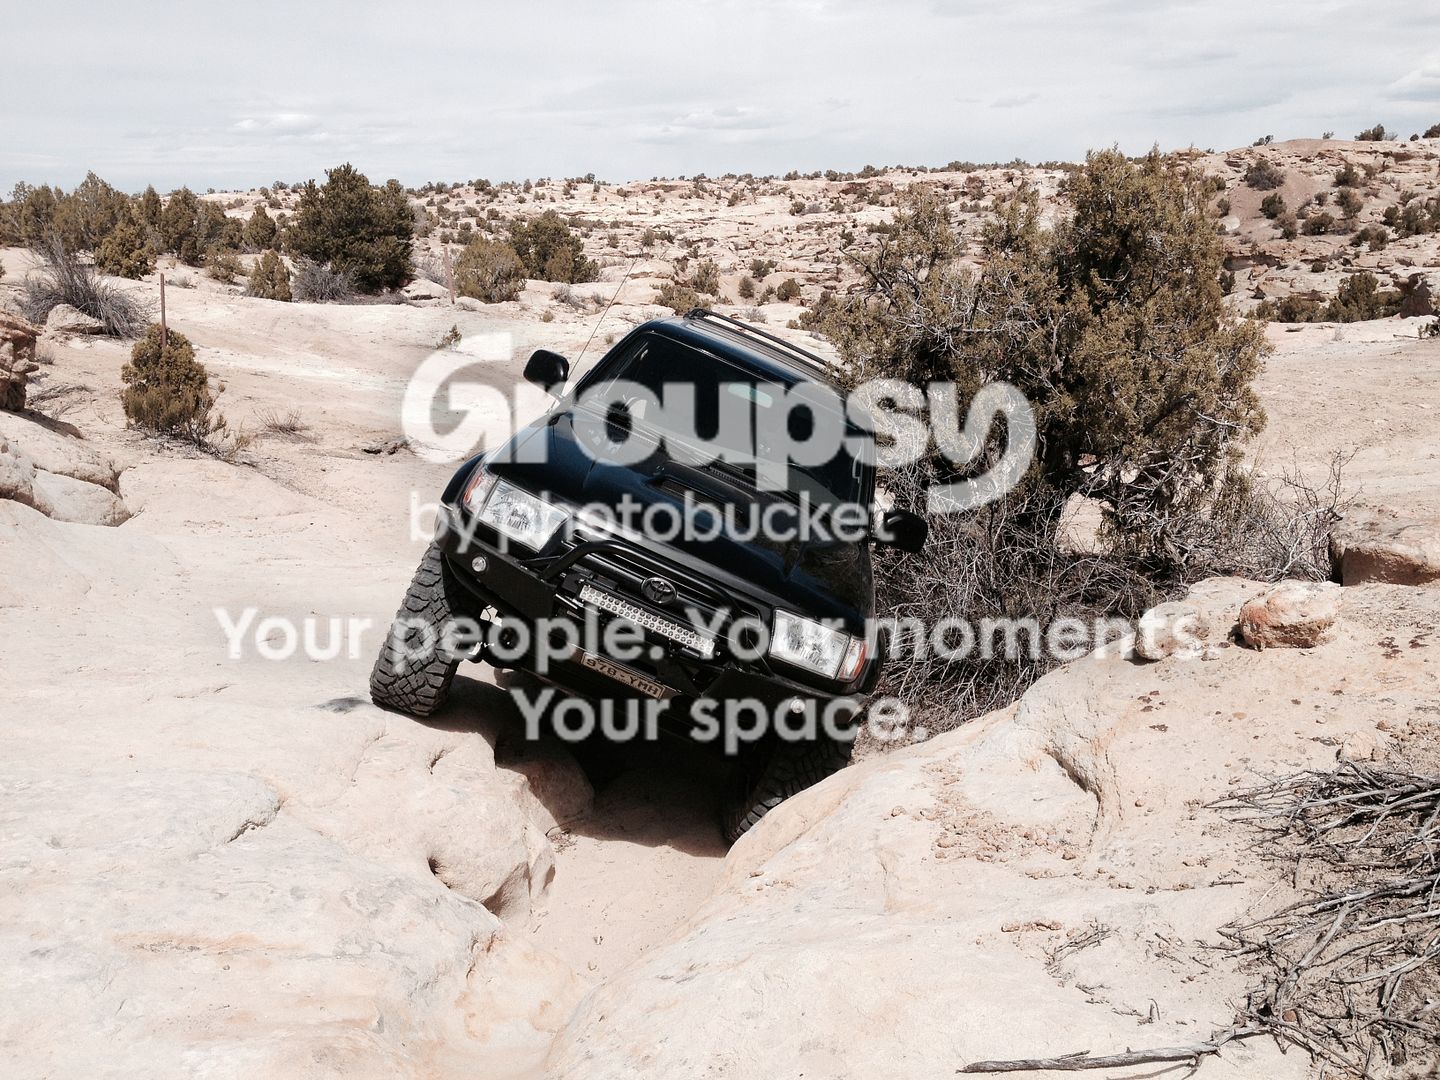
My rear tires were digging into the sand here and I had to go to the passenger side. This wasn't super easy as I had to double foot it and prevent myself from sliding into that hole. It worked out just fine
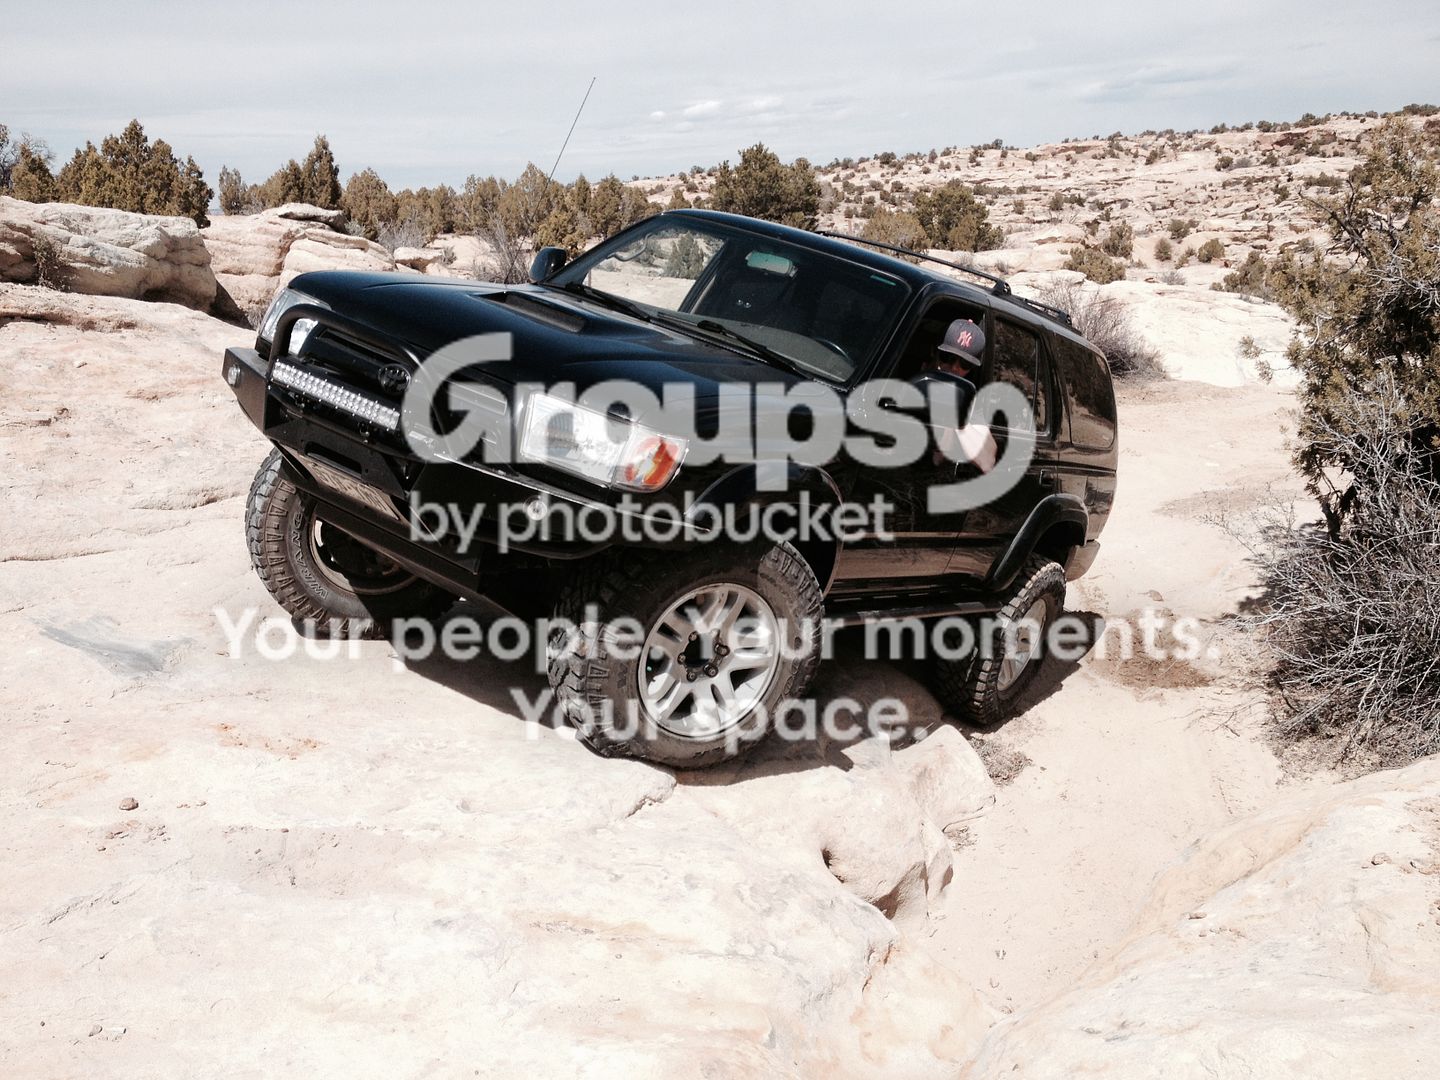
One more serious climb they said I could have made...I declined and took the by pass as I didn't feel ready and we were out...
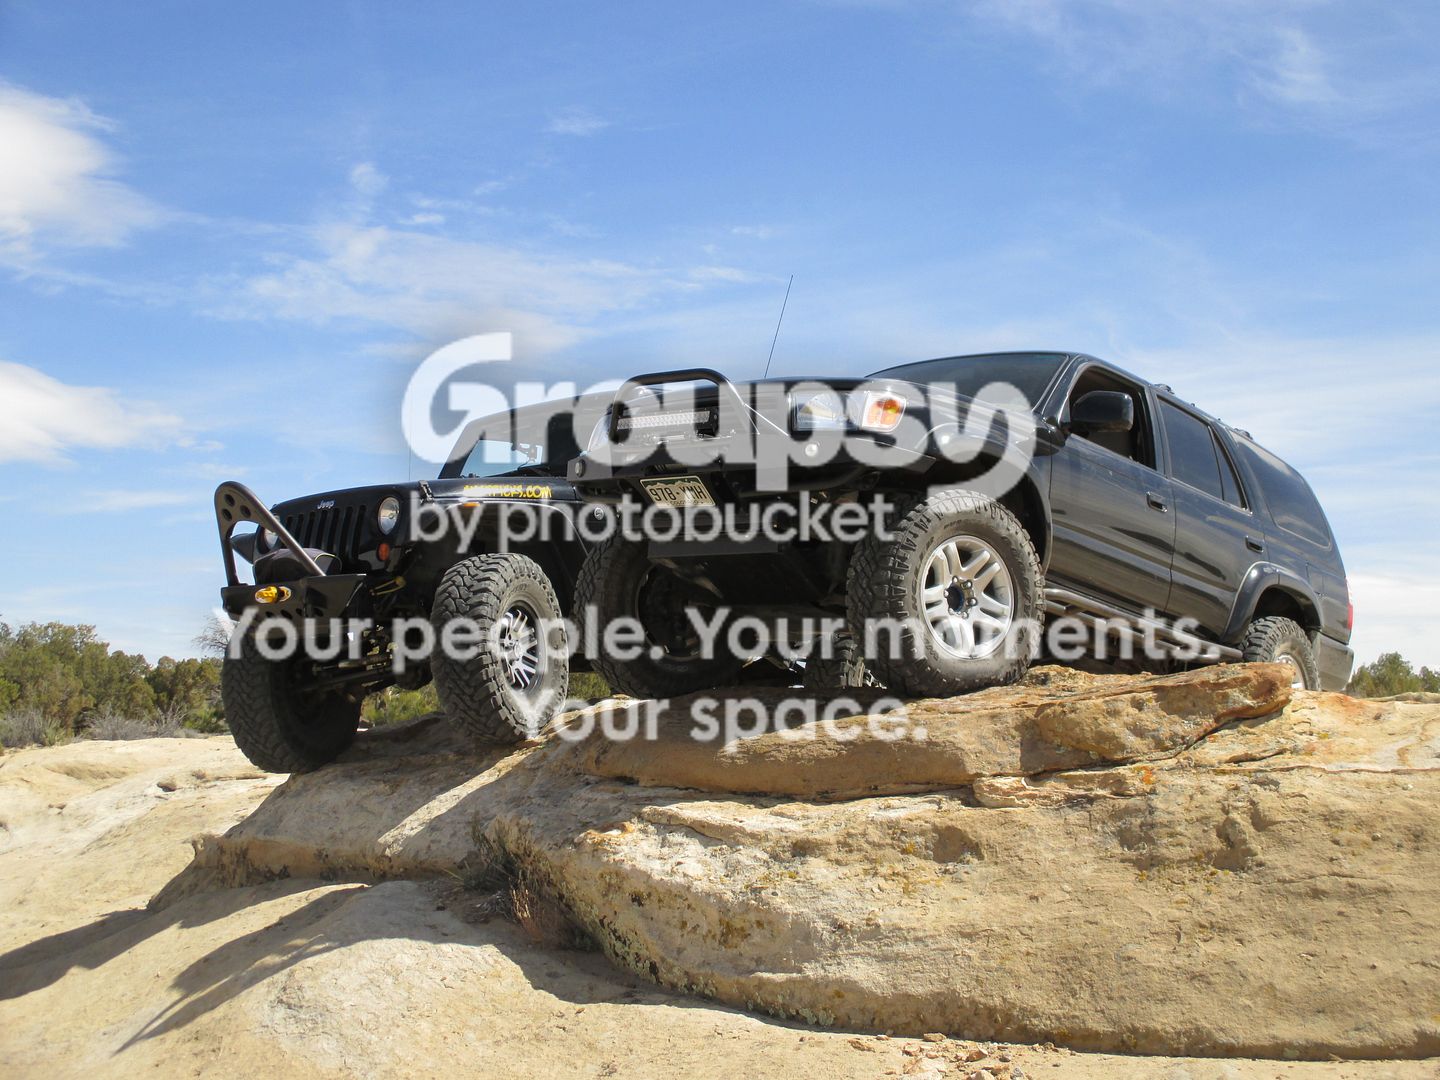
Then ran into one of his buddies on the way out in a 800 hp race buggie...Thing was bad to the bone and shot sand about 80 feet from all four's as he moved out..
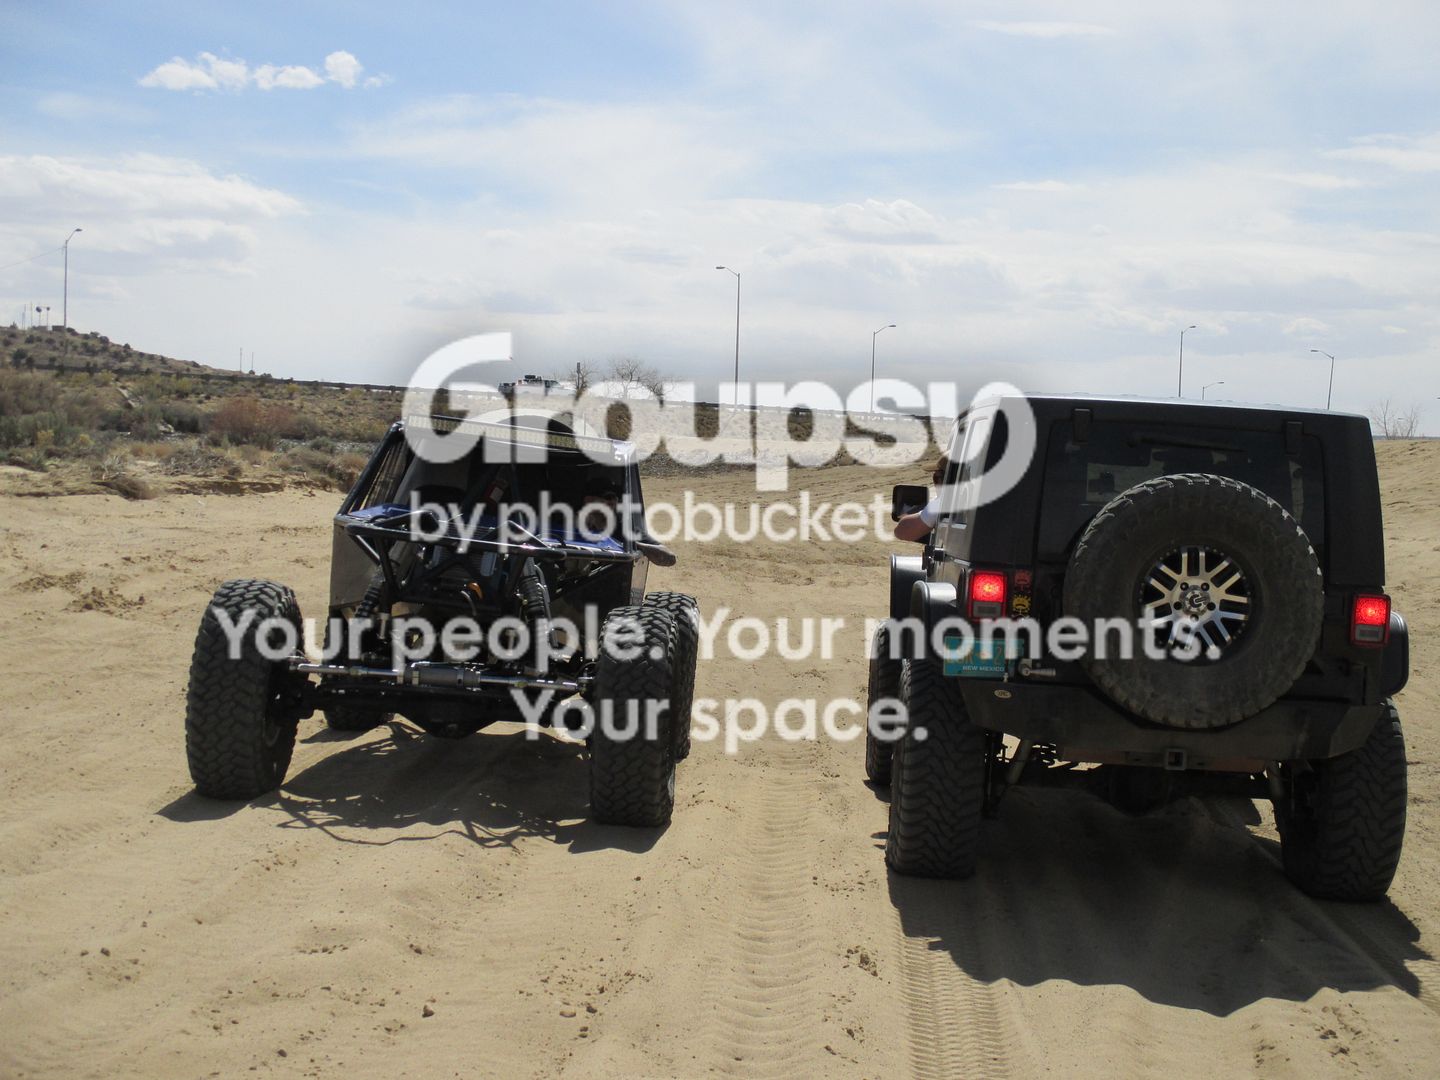
Than Cody said you can go here if you want..
Then I learned to bump and roll. It took me 3 attempts but I made it. When I say attempt meaning I stopped as soon as I lost traction. The key was to get the front up and ease into it at 1/3 gas through the back tires making contact. I kept giving it gas after the rear bounced which made it break free. When I was able to do what was being suggested it went right up.
down and around and dropping in
Down in the bottom you can take this way out
I pulled out the other side which was my MONEY shot
My rear tires were digging into the sand here and I had to go to the passenger side. This wasn't super easy as I had to double foot it and prevent myself from sliding into that hole. It worked out just fine
One more serious climb they said I could have made...I declined and took the by pass as I didn't feel ready and we were out...
Then ran into one of his buddies on the way out in a 800 hp race buggie...Thing was bad to the bone and shot sand about 80 feet from all four's as he moved out..
Last edited:

WHORERUNNER
New member
Your 4runner did great. Beautiful pics. Great build

NateMob
New member
Man this is a great build you've got going! It would be excellent if we could hit some trails this fall, I'll be keeping an eye out to see how things progress this summer.
Regarding your alignment and caster amount. If you are at +4 your tire is pushed about as far forward in the wheel well as possible. You are lucky you can get that much even after lifting, no doubt because of the LR arms.
Looks like a great first outing really putting everything to use, is this pretty close to you?
Nathan
Regarding your alignment and caster amount. If you are at +4 your tire is pushed about as far forward in the wheel well as possible. You are lucky you can get that much even after lifting, no doubt because of the LR arms.
Looks like a great first outing really putting everything to use, is this pretty close to you?
Nathan

BrianSD_42
New member
Subscribed!
Btw two quick questions .....
How much for those tires off CL? I'm looking to buy a set of used tires and I'm hoping $200 will get me pretty far if I wait.
Second question ... how has that sway bar relocate kit worked out?
:focus:
Btw two quick questions .....
How much for those tires off CL? I'm looking to buy a set of used tires and I'm hoping $200 will get me pretty far if I wait.
Second question ... how has that sway bar relocate kit worked out?
:focus:

TBuzz
New member
Man this is a great build you've got going! It would be excellent if we could hit some trails this fall, I'll be keeping an eye out to see how things progress this summer.
Regarding your alignment and caster amount. If you are at +4 your tire is pushed about as far forward in the wheel well as possible. You are lucky you can get that much even after lifting, no doubt because of the LR arms.
Looks like a great first outing really putting everything to use, is this pretty close to you?
Nathan
There will be lots of progress, I hope. I will have to farm some out though to maintain schedule and fulfill obligations. The wheeling is about 45 mins from here and is epic. Chokecherry,,there some vids of some trails out there. A lot of buggy material and enough other stuff to have a ball and fully test your rig. I'll be there again sat and Sunday putting this weeks mods and maintenance to the test.
Subscribed!
Btw two quick questions .....
How much for those tires off CL? I'm looking to buy a set of used tires and I'm hoping $200 will get me pretty far if I wait.
Second question ... how has that sway bar relocate kit worked out?
:focus:
-The Goodyears cost me $900 but they were brand new. So I basically got one for free. Th PO tried to put them on his 03 tundra and didn't know he could do pinch weld mod. I told him when I met him but he'd allready replaced them.
-Sway bar relocate is not hooked up as I pulled the sway bar early last week. No need for it as the truck handles just fine except for the rear, which is on tap for this week. Also having the sway bar mounted to it prevented me from mounting the budbuilt skid plate. I'll sell them to you for $25 plus shipping or whatever is reasonable, forgot exactly what they cost.
IndeedGreat shots. Looks like you had a fun time.
Off to work but the brown Santa is coming today
:reddance:
TBuzz
New member
Are we done yet?
Some more things came in so the 4R is getting some love. There wasn't much of an install to any of it except the 7th injector which is pretty well documented so I don't have a write up. More just an update to my build and where I'm at.
URD 7th and 2.2 pulley...For me it was a PITA to install. I thought I could solder and this wasn't the project to put that to the test. I burnt the crap out of my fingers and was not fun. It took me longer than I'd like to admit but it started without problem when finished.
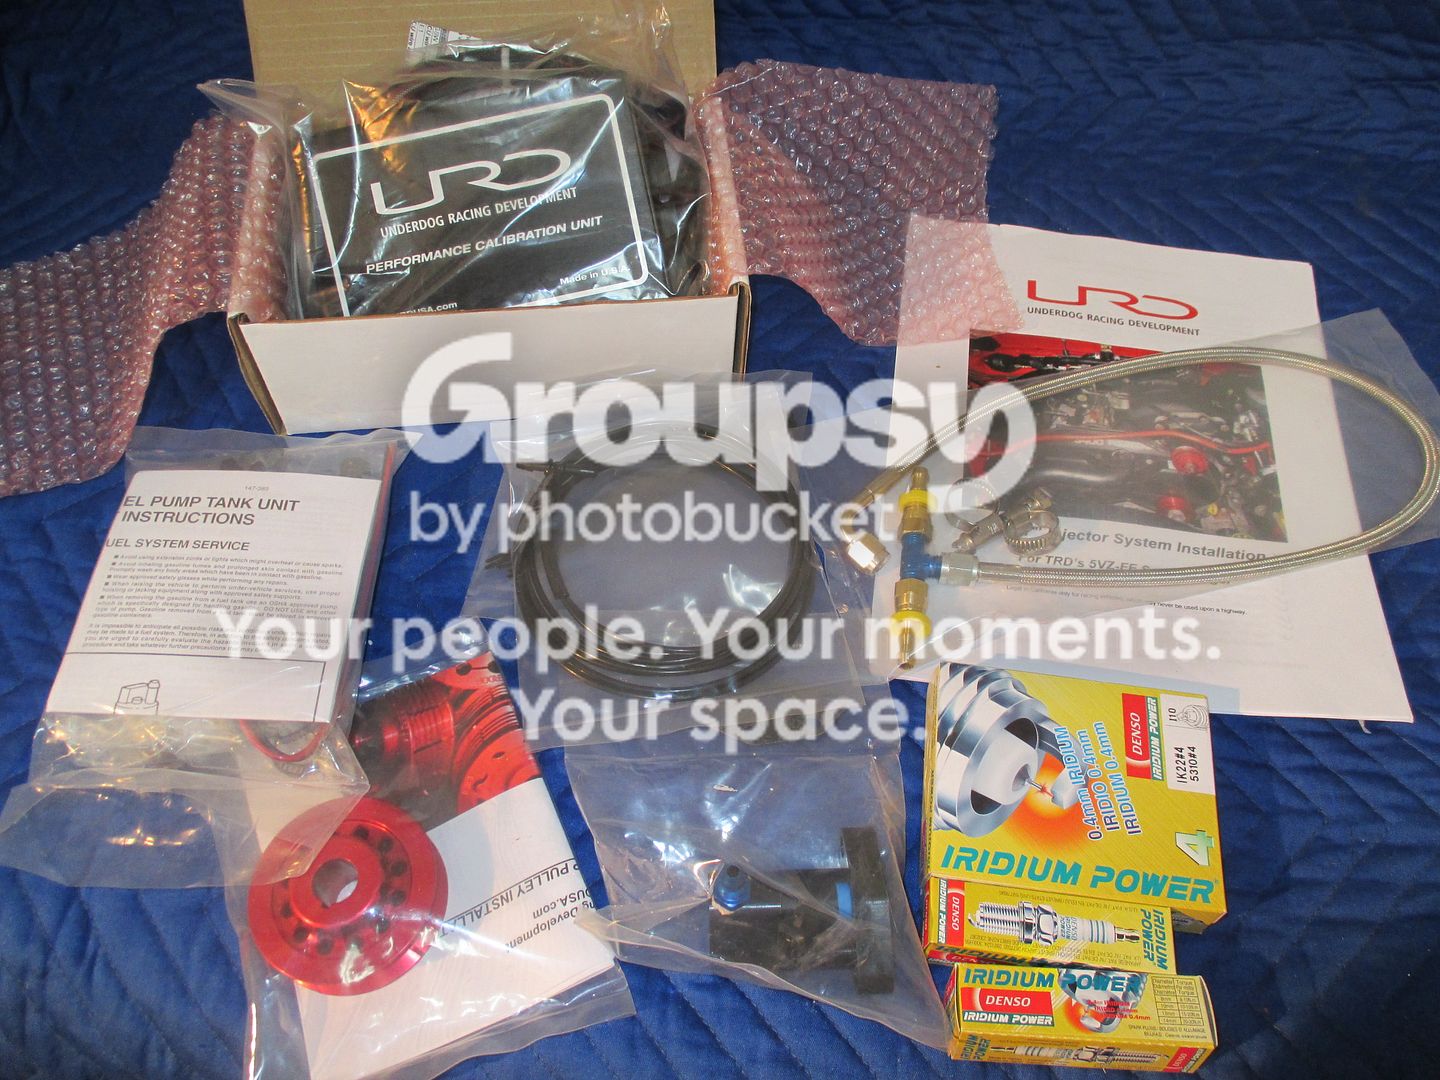
The next day all this came in
Smittybuilt fairlead
Smittybuilt shackles
Rugged Ridge synthetic winch line(got a sweet deal)
EP35 flasher
Speed airbleeders
3 of 4 OEM rear control arm bushings
OEM tranny fluid dipstick
couple parts for stereo install
New Sonoran Steel adjustable panhard bar
I have installed the panhard bar oin the original holes for upper mount of this bar. Today I will be cutting off the Toytec PHB drop bracket and going this route.
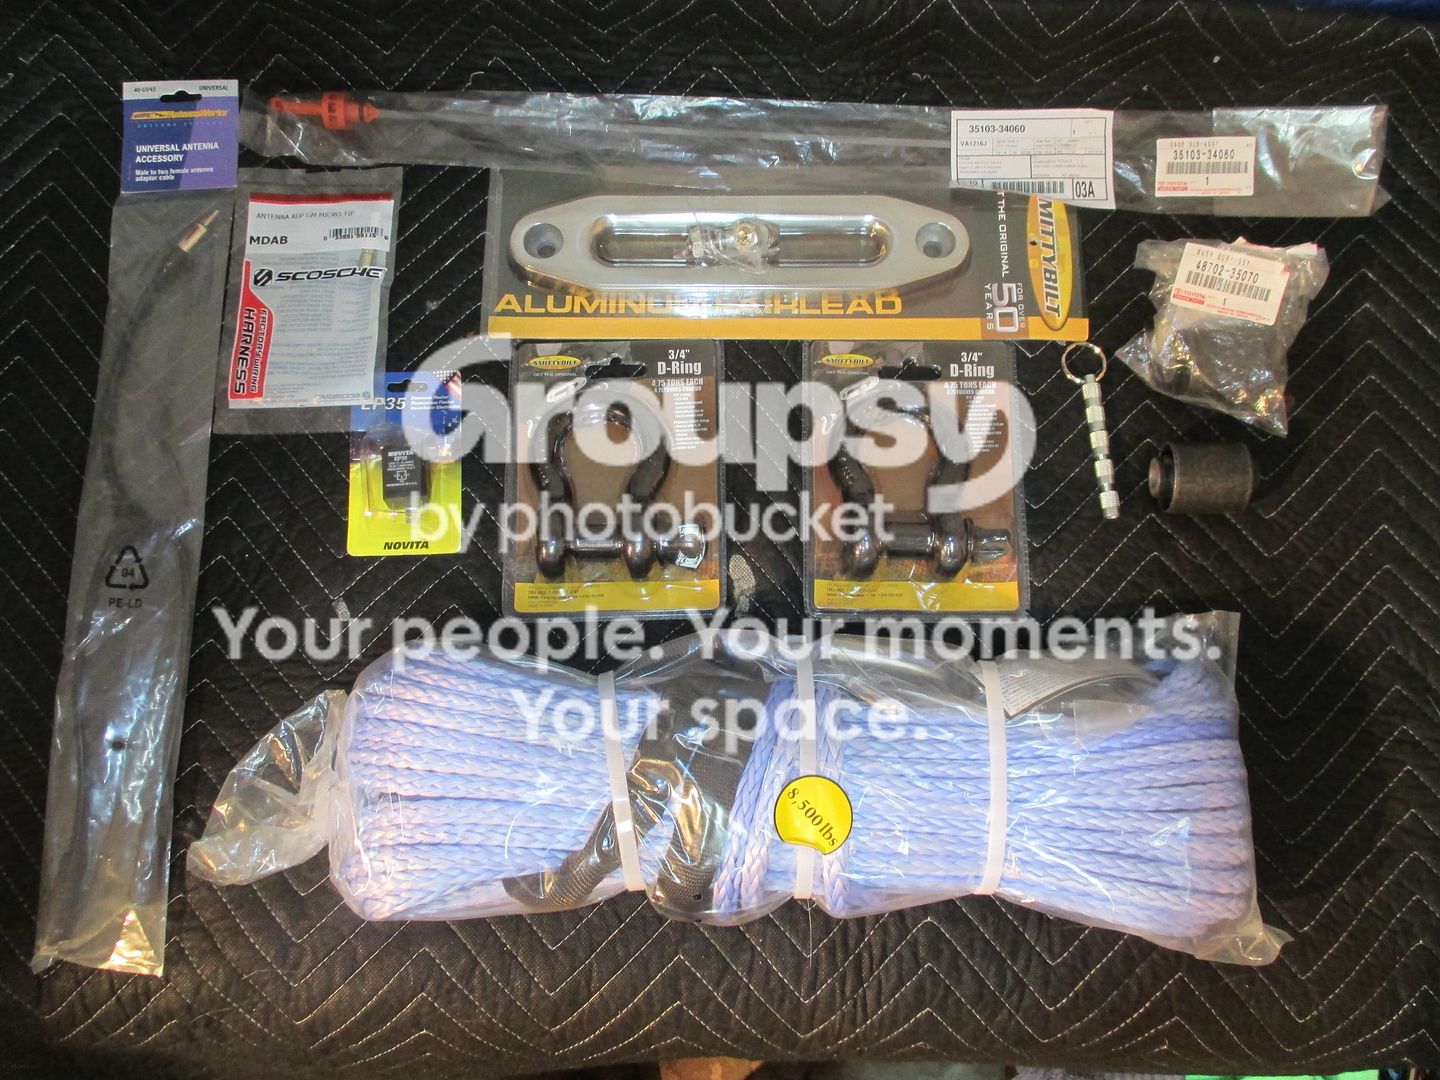
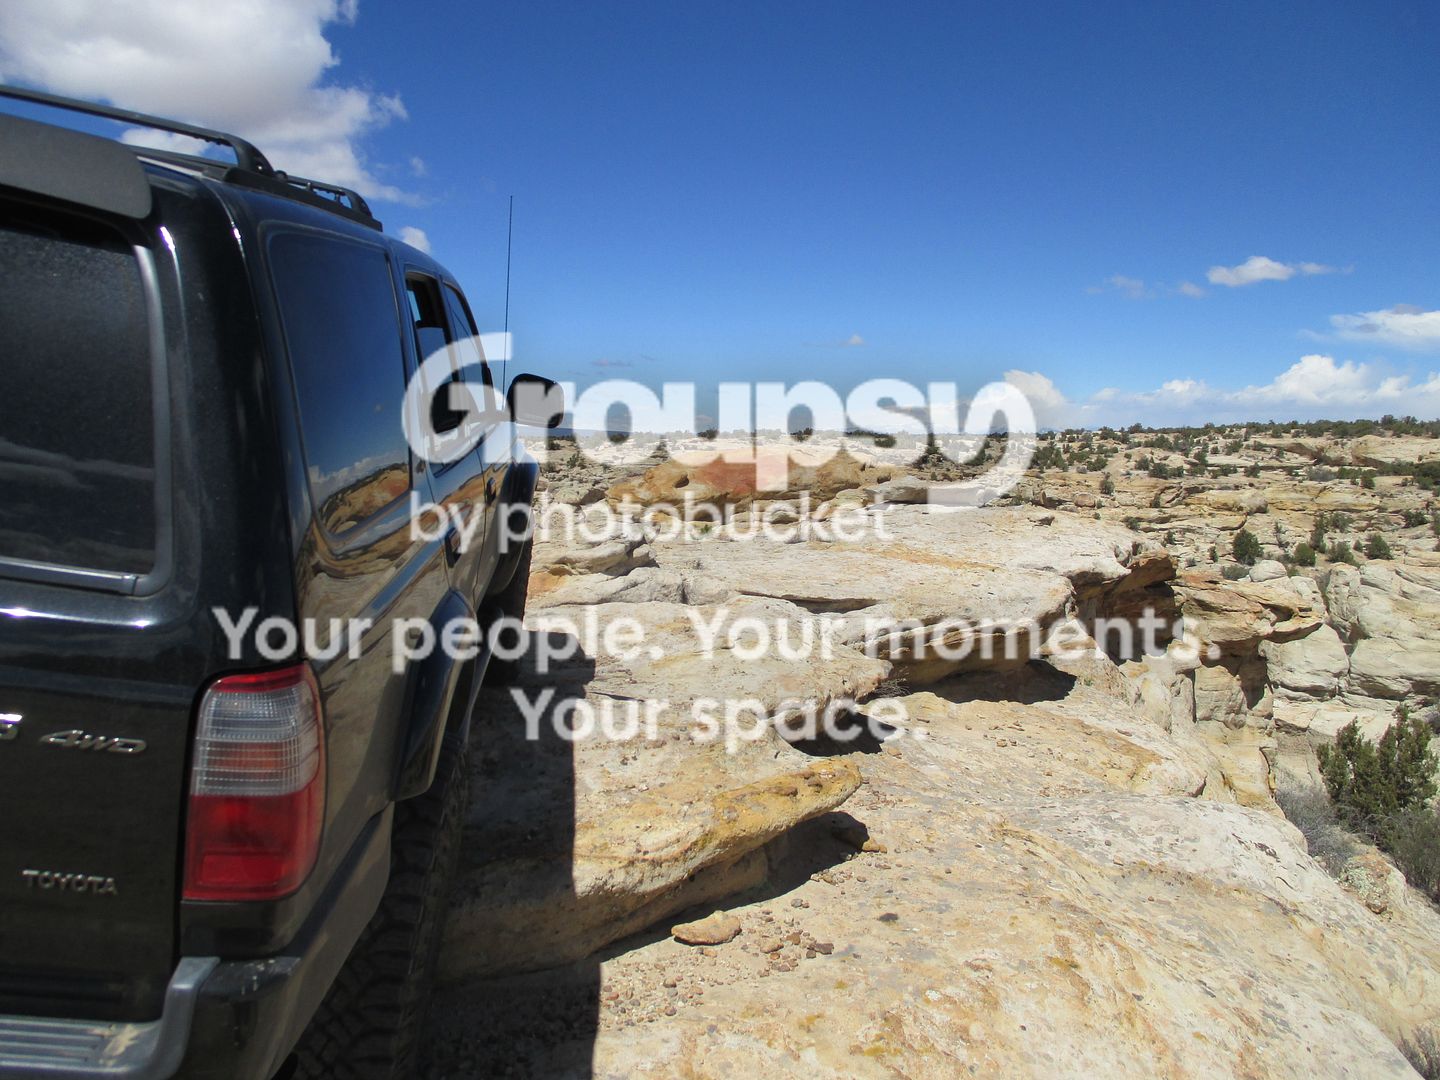
Got all that on and had to go put some miles on her to check out the 7th and build over confidence in its reliability. Took a drive down and let my wife drive a bit on the rocks..forgot to take many pics, here's one
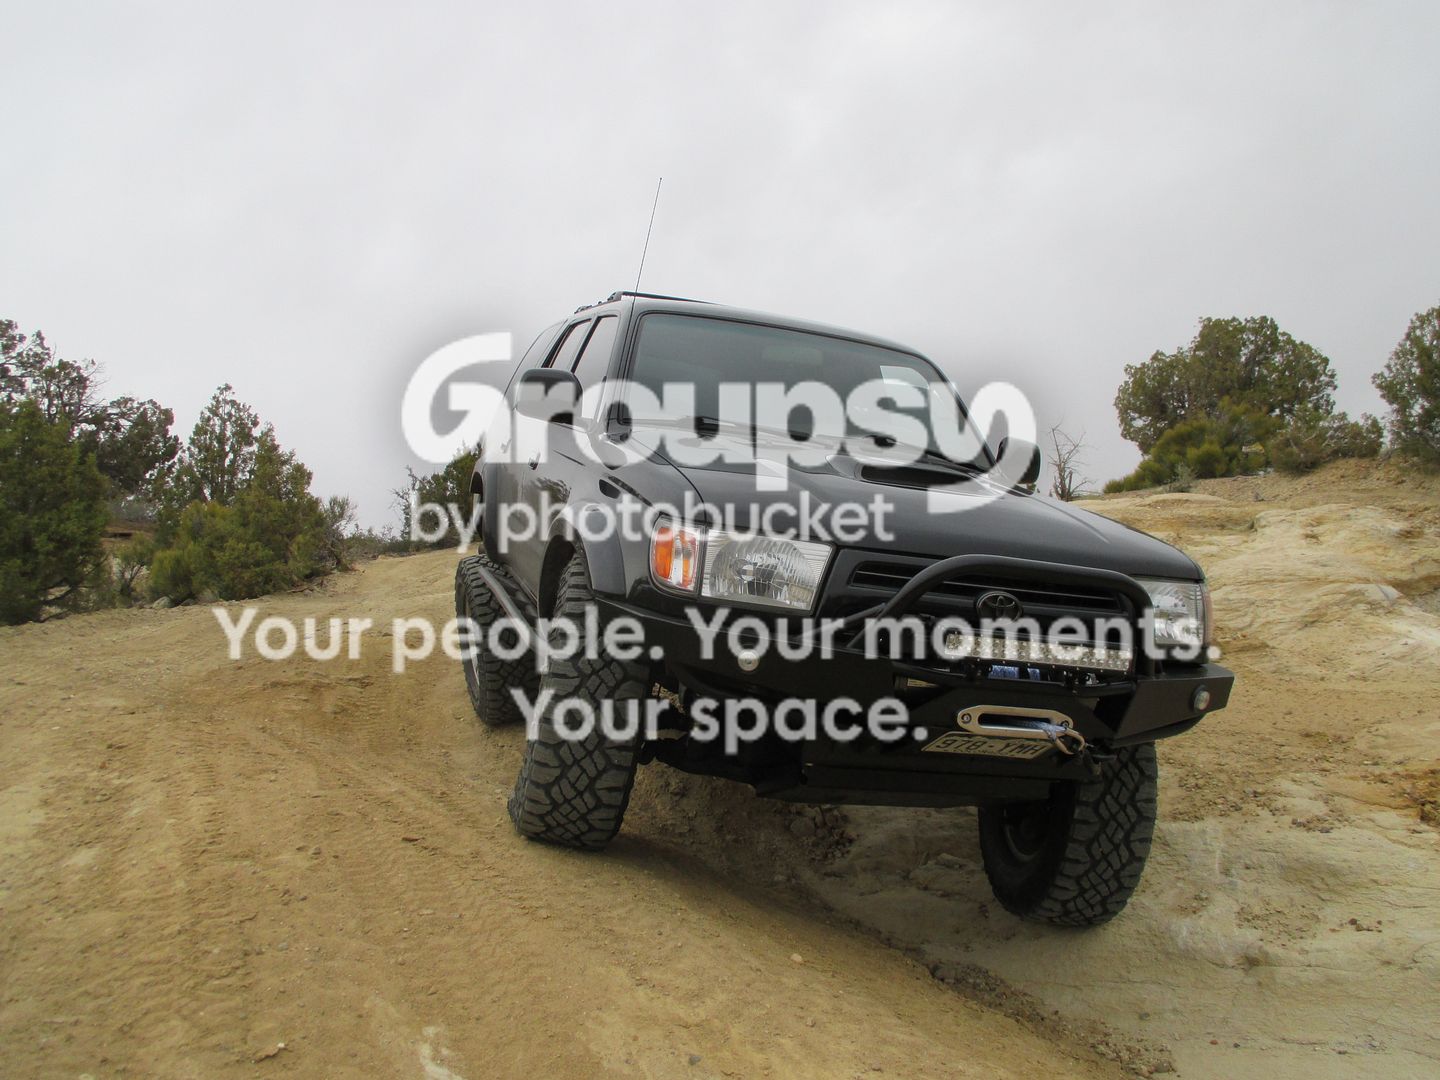
Went out again myself to feel around..My front springs have settled and I'm rubbing more on the liner. I have ordered some 861's in prep for new ass end coming. The front will be getting cranked up soon as a result. I think my truck looks funny right now. Like one of those body builders that's all stacked on top with real skinny legs. My front end is looking good but the back looks like a tall grocery getter.
Some more things came in so the 4R is getting some love. There wasn't much of an install to any of it except the 7th injector which is pretty well documented so I don't have a write up. More just an update to my build and where I'm at.
URD 7th and 2.2 pulley...For me it was a PITA to install. I thought I could solder and this wasn't the project to put that to the test. I burnt the crap out of my fingers and was not fun. It took me longer than I'd like to admit but it started without problem when finished.
The next day all this came in
Smittybuilt fairlead
Smittybuilt shackles
Rugged Ridge synthetic winch line(got a sweet deal)
EP35 flasher
Speed airbleeders
3 of 4 OEM rear control arm bushings
OEM tranny fluid dipstick
couple parts for stereo install
New Sonoran Steel adjustable panhard bar
I have installed the panhard bar oin the original holes for upper mount of this bar. Today I will be cutting off the Toytec PHB drop bracket and going this route.
Got all that on and had to go put some miles on her to check out the 7th and build over confidence in its reliability. Took a drive down and let my wife drive a bit on the rocks..forgot to take many pics, here's one
Went out again myself to feel around..My front springs have settled and I'm rubbing more on the liner. I have ordered some 861's in prep for new ass end coming. The front will be getting cranked up soon as a result. I think my truck looks funny right now. Like one of those body builders that's all stacked on top with real skinny legs. My front end is looking good but the back looks like a tall grocery getter.
TBuzz
New member
Very nice build. That area you went for your first wheeling trip looks awesome. Is that down around Durango?
Thank you. Yes it's called Chokecherry canyon, south about 50 miles.
Got some time in at a friends shop today. I went in with plans of building a rear bumper. But being short on time and lacking a hinge for swing out we opted for this....
Last edited:

TBuzz
New member
Well got the rack mostly finished and mounted. I did all the grunt work, grinding, cutting, smoothing out seams and PBR runner. We got it all tacked and assembled in about 6 hours. then he welded it up in about 2. There actually is a considerable amount of work and time in one of these. I prepped, primed, painted and installed yesterday. We still are going to add a couple tabs and some expanded metal next Monday(no more time this week). I may have it powder coated when its 100%. We used the wmw as a model but you can see it is different. There is really only one thing that I would have liked to done a little differently but my friend is a pirate 4x4 guy that isn't so much into perfection and pictures. It will more than suit my needs. I may sell it and make another if it bothers me too much.
Materials- 3 pieces of 20'x1" pipe
Labor- couldn't have been any cheaper unless u gave it to me
Materials- 3 pieces of 20'x1" pipe
Labor- couldn't have been any cheaper unless u gave it to me
Last edited:

Bandit Runner
Senior Member
Looks pretty good. So what's the one thing you would have done differently?
TBuzz
New member
Been putting in some miles and still have a laundry list of things to do...Gaining confidence in the rigs dependability though. Lots of road trips coming up, hope to run into some of you...Some vids and pics
Next similar climb my line was a little off...
But I made it..:reddance:
Next similar climb my line was a little off...
But I made it..:reddance:
Last edited:

BigFishAllDay
New member
Chris... I need you to introduce me to your friend.
I'll head up there with a couple cases of whatever beer you like... PBR... you name it. Building a roof rack has been on my short list for a long time and you guys made quick work out of it.
The rig is looking awesome, and I'm glad to see you're not afraid to use it for the intended purpose.
Last week got busy, but I saw your post in the Moab thread, and saved your contact info. We'll make it happen sooner or later. Runoff is just getting started and the high country is still frozen, so fishing is pretty much crap (imo) until June... maybe I'll see you at the TW meet.
I'll head up there with a couple cases of whatever beer you like... PBR... you name it. Building a roof rack has been on my short list for a long time and you guys made quick work out of it.
The rig is looking awesome, and I'm glad to see you're not afraid to use it for the intended purpose.
Last week got busy, but I saw your post in the Moab thread, and saved your contact info. We'll make it happen sooner or later. Runoff is just getting started and the high country is still frozen, so fishing is pretty much crap (imo) until June... maybe I'll see you at the TW meet.
Similar threads


- Replies
- 2
- Views
- 3K

- Replies
- 0
- Views
- 283
- Replies
- 4
- Views
- 5K


