nglayton
Senior Member
Not a build thread because I'm not really building anything. But lots of mods.
**Please Note** At one time all the links below were correct, then t4r.org went thru some hell'ish growth spurt, where the admins f'd up the whole thing. I corrected the links, then a forum software was hacked, then upgraded and it f'd them all up again. So I gave up trying to police them. Just know if you scroll through all the pages you'll find the write ups from the headers eventually.
**Second Note**Let's not forget the mods/owners of this site also f'd up the pictures. All of my write-ups at one time had pics. They were ether uploaded directly or hosted on my personal server. I was never a photobucket user so that debacle didn't affect me. Looking back at my hard work taking pics and writing up everything in my thread I see it has now gone all to shit. Again, thank the mods/owners for a job poorly done and not preserving years of history and info. Oddly enough if I use firefox the pics all show up, but the links are jacked up even worse. The links to the pics are correct so it's not that.
ARB Drawer install – 2011 TE with Sliding tray - Keep reading, Scroll down.........
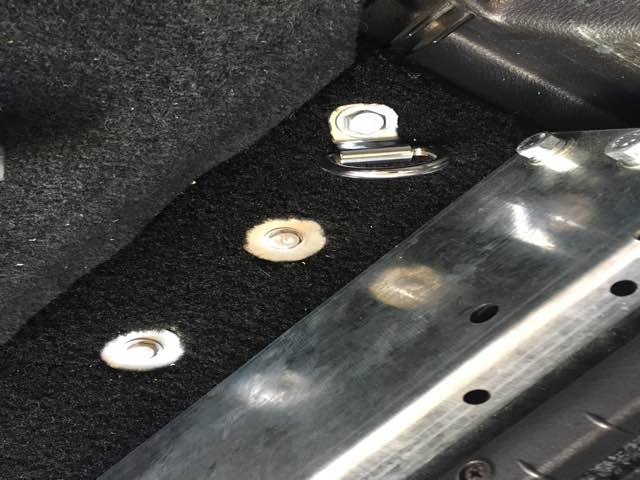
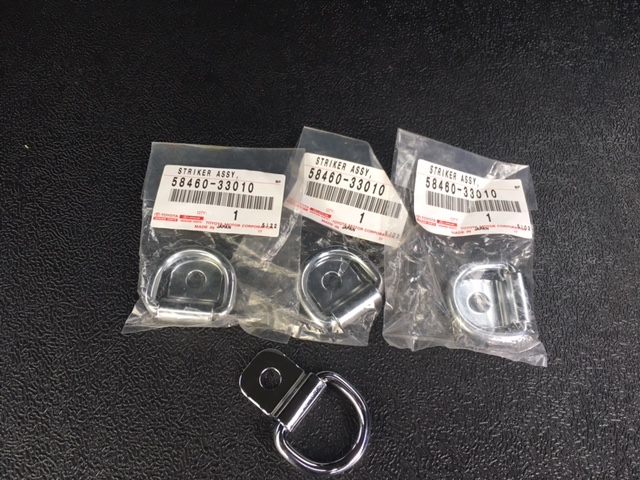
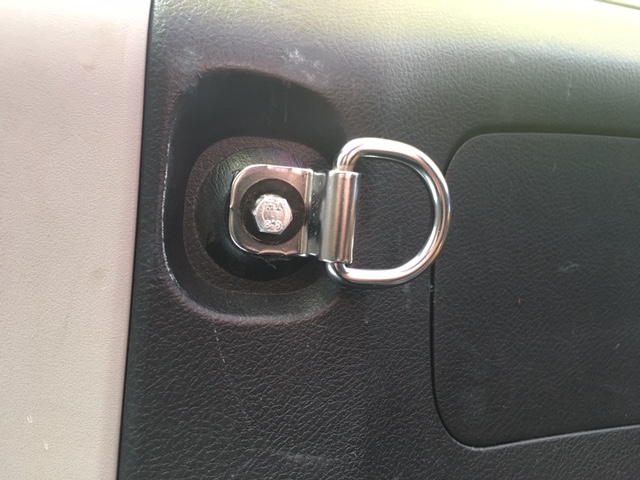
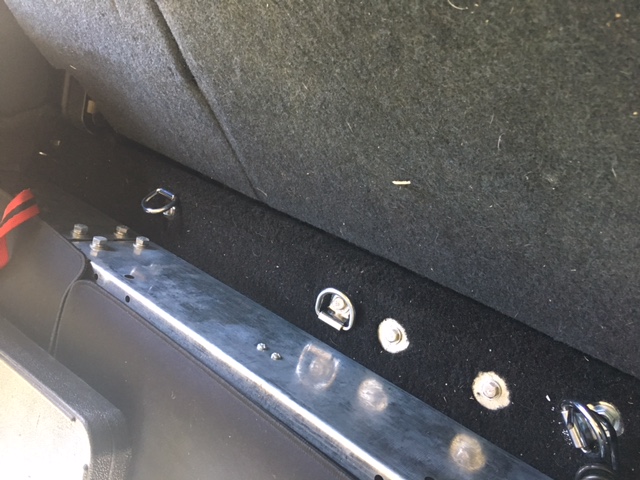
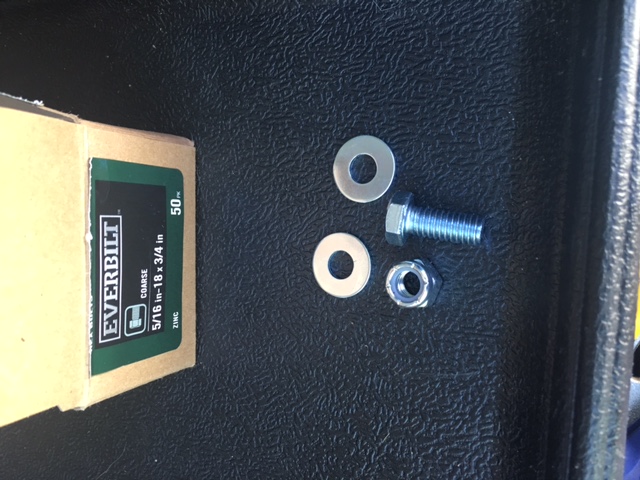
Adding More Tie Downs
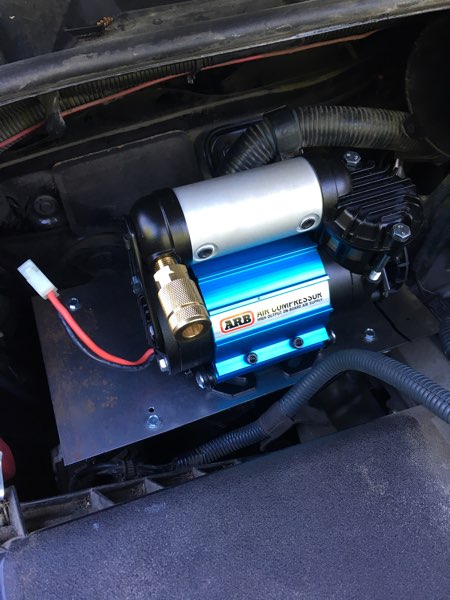
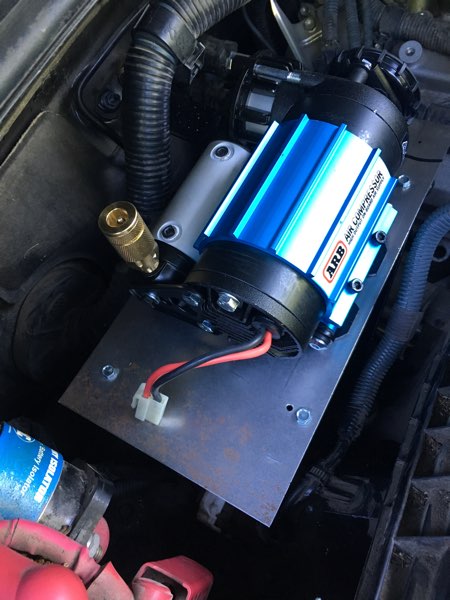
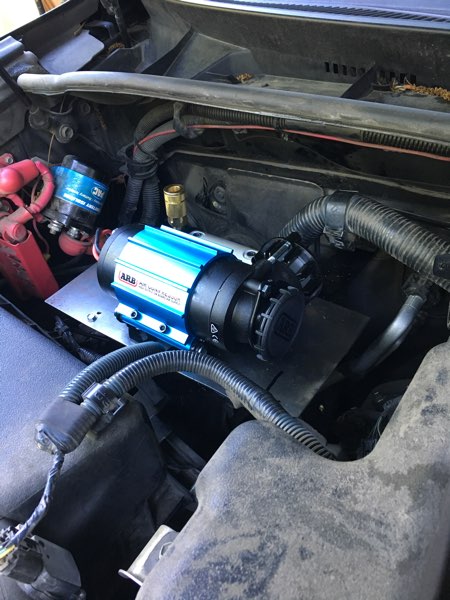
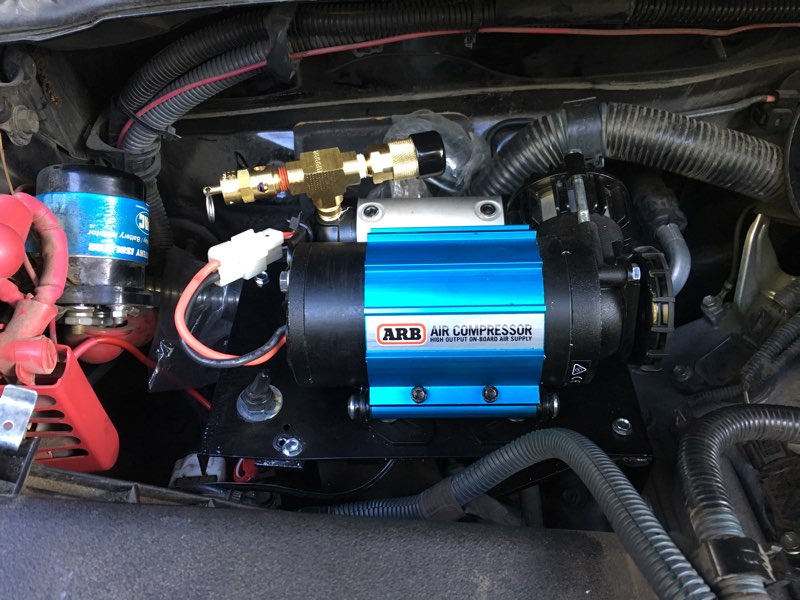
ARB Compressor Install Click here
DC Power XP-270 Install pics & Notes
Bud Built Hidden Winch Mount install
Hidden Winch install
Revtek 432 Lift Install Pics
Sleeping Deck mod
Lift Gate Strut Replacement
Brake Info
Ordering My 4Runner
Techstream
Key Programming
Dual Battery install/upgrade
TRD CAI install
Custom Group 65m Battery Tie Down
Warn ZEON 10-S Platinum Control pack relocation
Toyota OEM LED fog lights install pics
Roam Adventure Boxes!!
LED Headlight install fail - cheap products
Arc Light interior LED UPGRADE
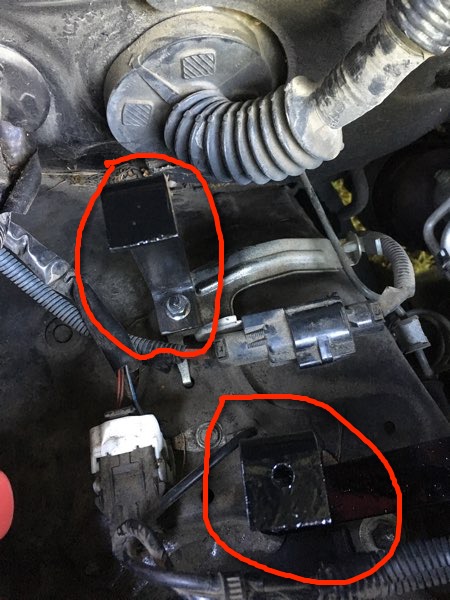
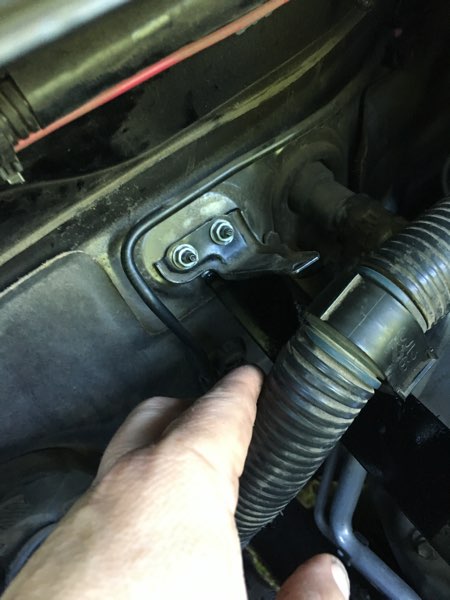
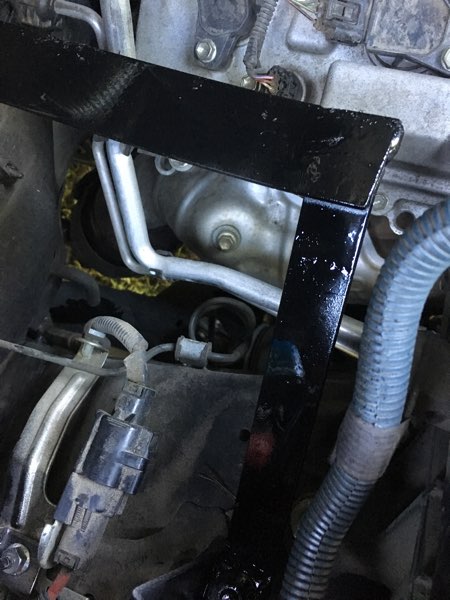
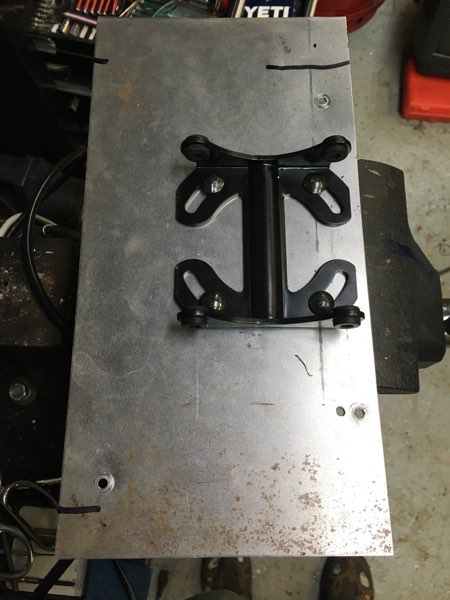
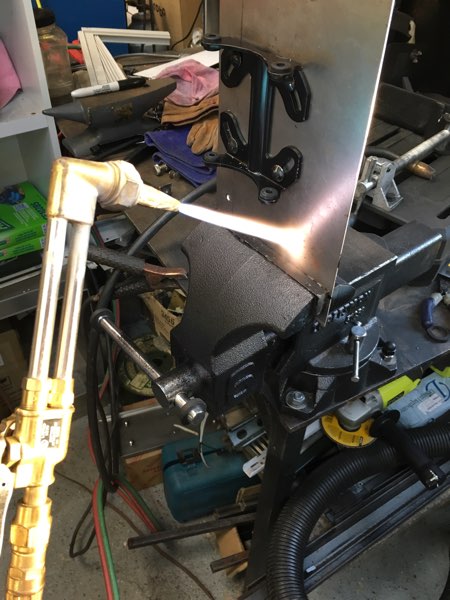
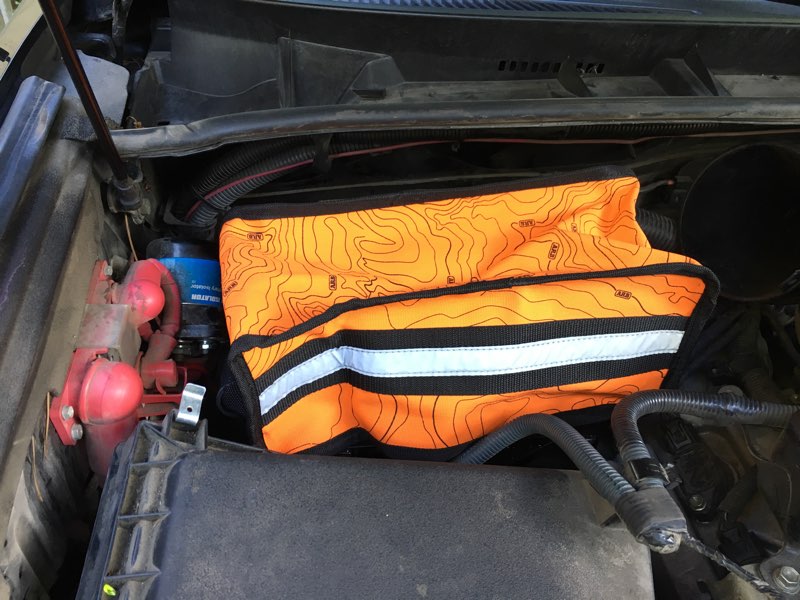
Custom Made Engine Bay Storage Tray
Remote Start via iPhone - Accessorides
Power Folding Mirror Install
Beat-Sonic TVK-10 Video in Motion and NAVI Control Bypass
Low Profile XM Antenna
Updated Tail End Lighting
Midland MXT400 Install
S-Tech Switch System
Heated steering wheel
Dasaita G13 head unit
ARB Drawer install – 2011 TE with Sliding tray
After stealing everyones ideas for about 5-6 years on this forum I decided it was finally time to make a write up of my own. Don’t get me wrong, I still stole plenty of ideas (like all of them) for this write up from [MENTION=138641]ArrArr[/MENTION] and his write up here →http://www.toyota-4runner.org/5th-gen-t4rs/231647-arb-drawer-install-overview.html#post2582276
Having a sliding tray made it a bit different and hopefully this can help someone in the future with a similar setup.
Having participated in the last group buy → http://www.toyota-4runner.org/group-buys/232373-**group-buy-arb-drawers**.html#post2595272 , I now had the exciting task of getting these babies installed. I also want to thank [MENTION=122940]ramonortiz55[/MENTION] for all of these awesome group buys he keeps putting together. He has either saved or cost me $1000’s depending on how you look at it….
I opted for the low profile drawers with the roller top. (RF945US) I was kind of hoping that this would be a plug-n-play install, but as my wife ever so kindly reminded me it was more like hope-n-pray. The only thing I really did differently than ArrArr is I used carpet over the painted board and I choose to stick with the factory OEM mounting holes rather than make my own holes.
First step is to remove the existing slide out tray and the little hidden compartment behind it. [MENTION=8206]harper7[/MENTION] has a most excellent how to here → http://www.toyota-4runner.org/5th-g...-sliding-tray-5th-gen-limited.html#post497691
Before……….
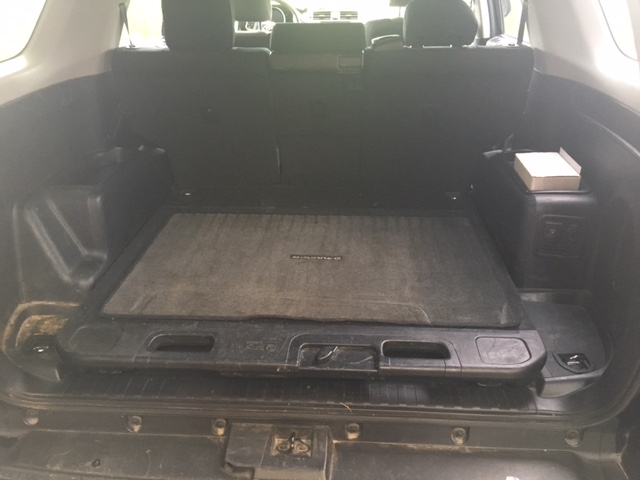
Almost there…….
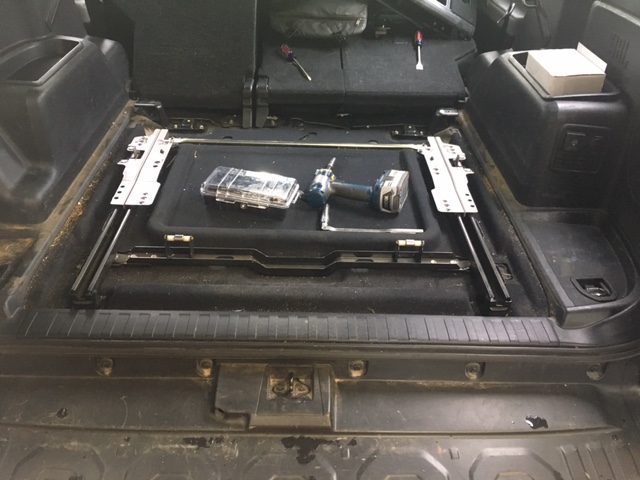
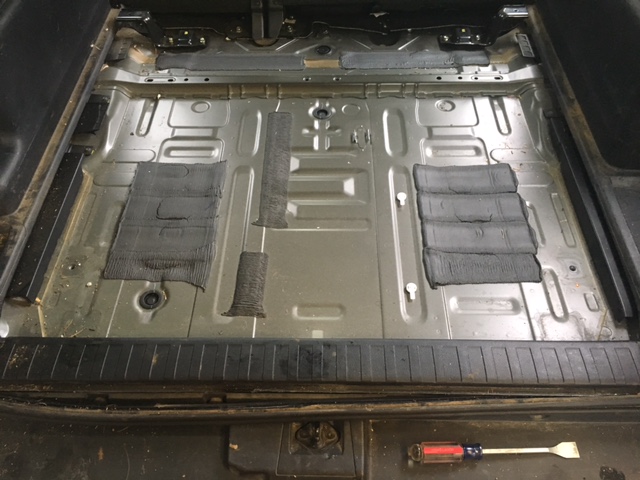
Finished tray removal. I’m still on the fence about keeping this piece of carpet in or not. It’s not the sturdiest thing I’ve seen from Toyota. I don’t think it will hold up over time. All of those raised ridges you see have hard Styrofoam under them, except the ones on the left and right near the wheel well humps. Odd design for under the sliding tray when no one can see it most of the time.
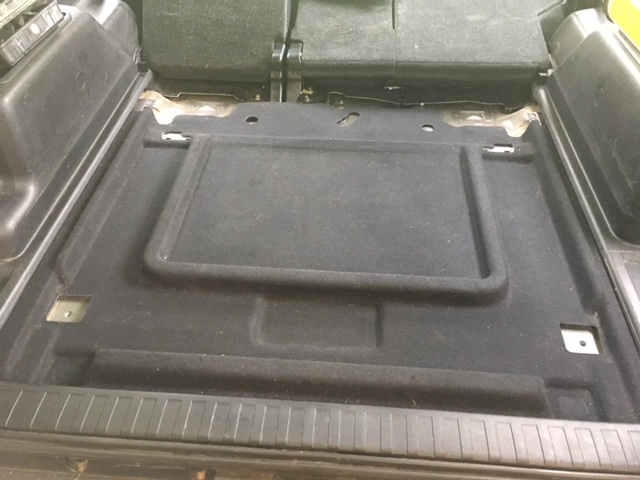
Overall this only took about 15-20 minutes to remove the whole sliding tray. Using harper7’s instruction it was really easy to do.
I also pulled the carpet up but in the end I ended putting it back in, because even though it would ultimately be covered, I wanted the more finished look. I think the carpeting will also help deaden the sound. Plus the built in foam ridges will help me keep the whole setup level. I think if I did this again or have to take it out for any reason that I will leave the carpet out and see if I can get the whole setup to sit down farther into the hole. I’m not sure how well the Styrofoam will hold up to the added weight, but I’m going to find out.
I cut the board 38” x 41.25” . I know that ArrArr cut his to 38x41, but in measuring mine it was easily 41.25” I almost cut it to 41.5” wide, but then decided to play it safe and go with only 41.25”. I used ¾” plywood, or well as close to ¾’s as I can buy these days, I believe it was actually 23/32” but the board was stamped with .6xxx thickness, so whatever, it's plenty thick enough.
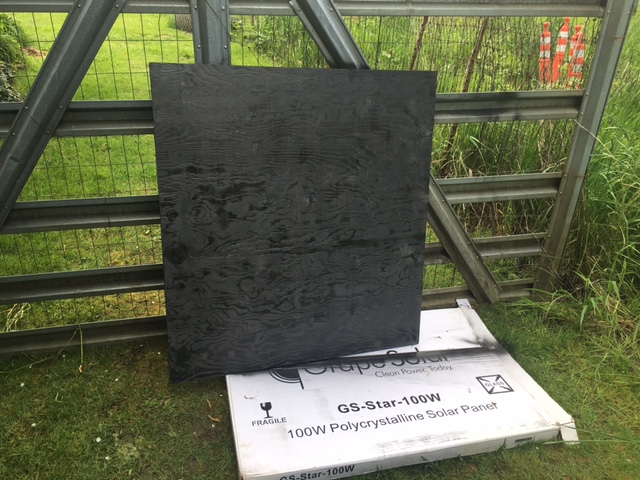
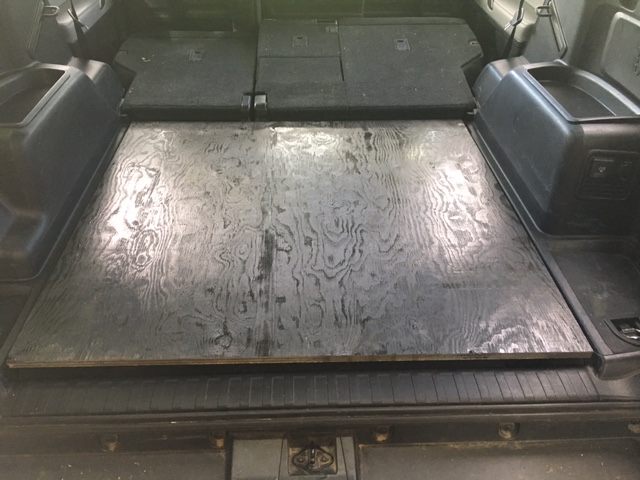
Then I painted the board black…
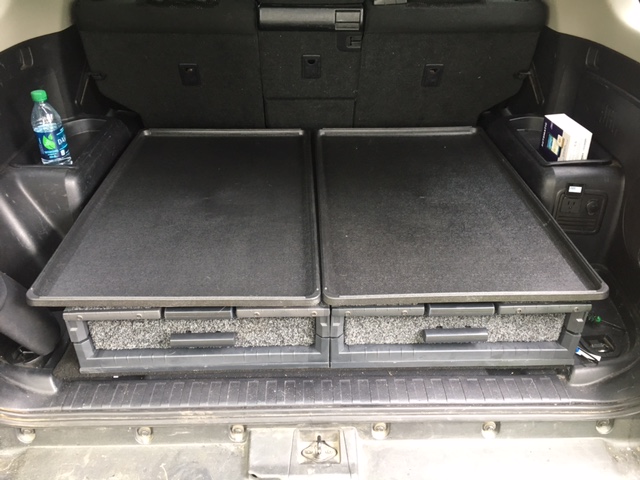
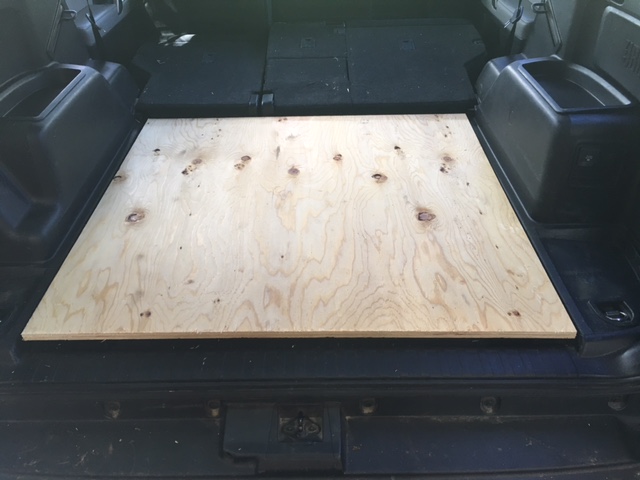
Then installed the board, it still fits perfect, but I wasn’t happy with the look………It also sits up higher than I wanted because of the oem carpet and the foam bracing under it. For now this is as good as it gets, I just needed to do something, anything and this is where I landed. if I redo this at any point I think I will take the carpeted foam humps out so this can sit lower in the bed.
So since I didn’t like the painted look, I decided as ArrArr suggested to go with some cheap black carpet. Lowes didn’t have anything but light gray, weak charcoal or jet black, so I went with the black. I bought a 6’ x 6’ piece for $27.xx but it was easily at least 2 feet too much. I purposely bought extra since it’s been awhile since I carpeted anything. I think I could have easily spent about $9 less and just bought a 4’ x 6’ piece.
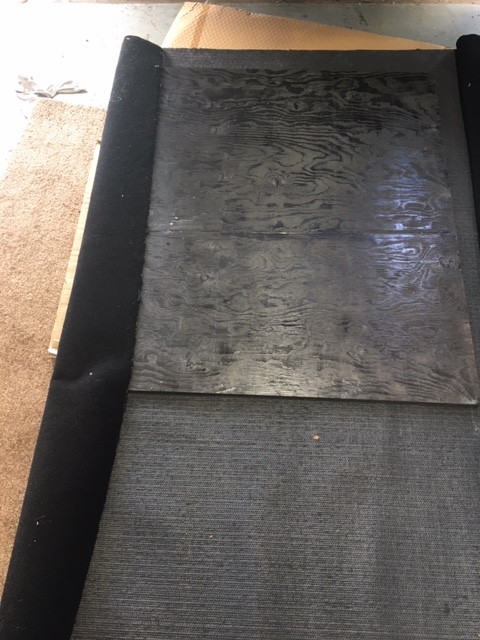
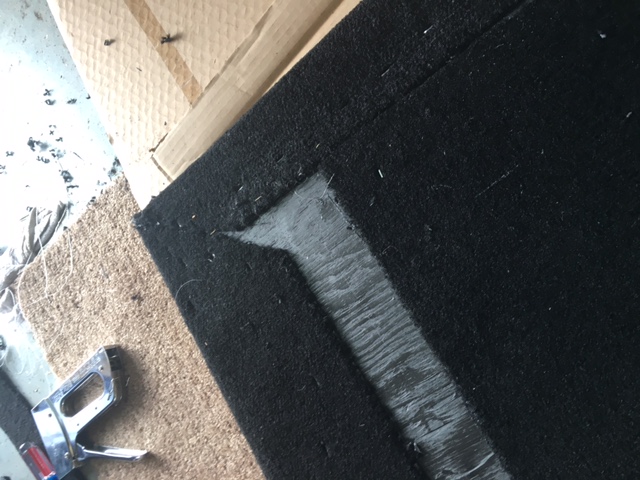
I hate corners……next time I will pay a shop to do this. But that is why I bought extra. By the time I got to the 4th corner I almost had it down pat.
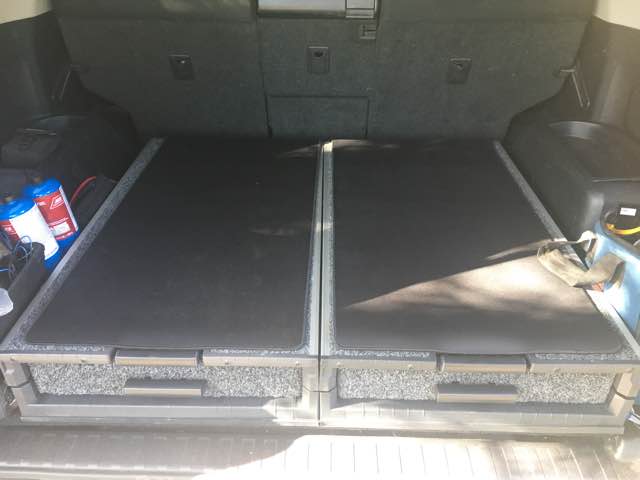
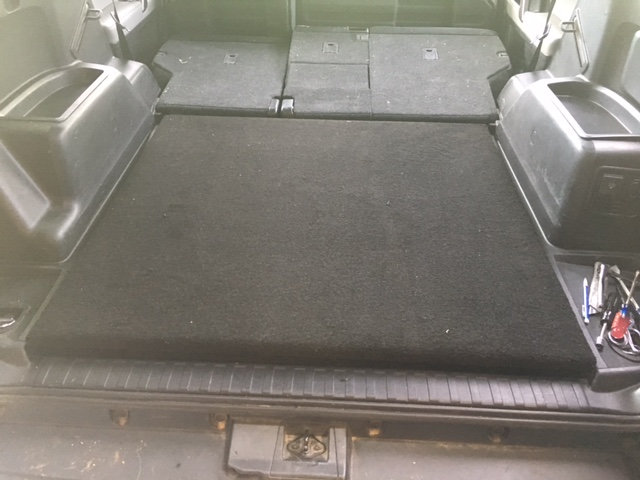
Finish product installed in the bed, fits perfect. I’m glad I didn’t go with 41.5” wide cut on the board, The added width of the carpet made this just about right. Because the board sits up so high you could almost go about an inch wider and have it fill the space completely. But at the same time it’s just low enough that it would need so tapered cuts to drop in
If I had unlimited plywood and could afford several trial and error cuts, I might do it differently. This will work out fine for round one of this project.
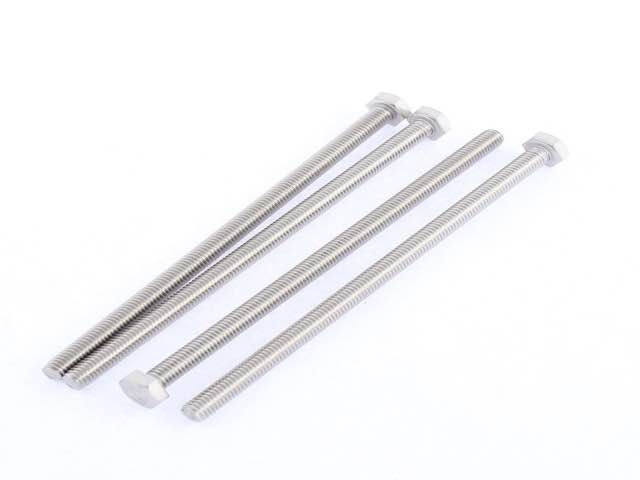
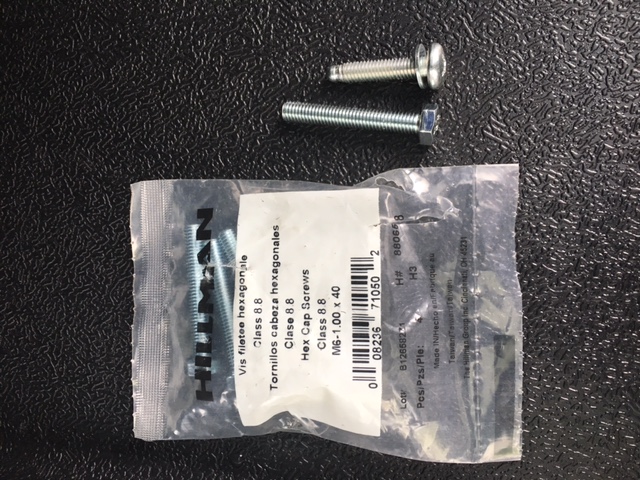
I bought some M10-1.25x100 bolts ($3.64 ea) and fix the board down by screwing down thru the factory holes that the slide out tray was attached to. I will do the same in the front with some M6 bolts, but I haven’t found any even close to long enough yet to reach down to the factory holes. Looking for M6 fine thread about 125mm long or maybe more. Lowes near me only had M6 about 20mm long. I might have to resort to Amazon to find something that will work. I will also probably install these bolts by just removing the rear seats to get in and drill the holes. Taking the whole assembly out to do this would be painful. The included ARB install/spacer kit also has some spacers that I will probably use to help keep the front leveled.
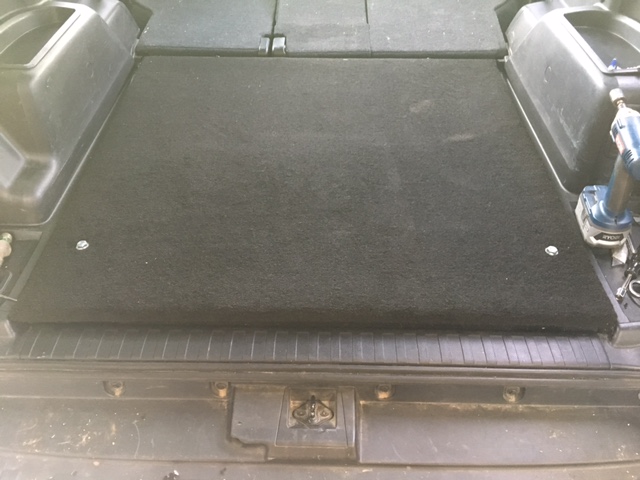
Bad picture of the M10-1.25x100 bolt and washer holding the board down. But it’s covered by the drawers, so I can’t snap a better one.
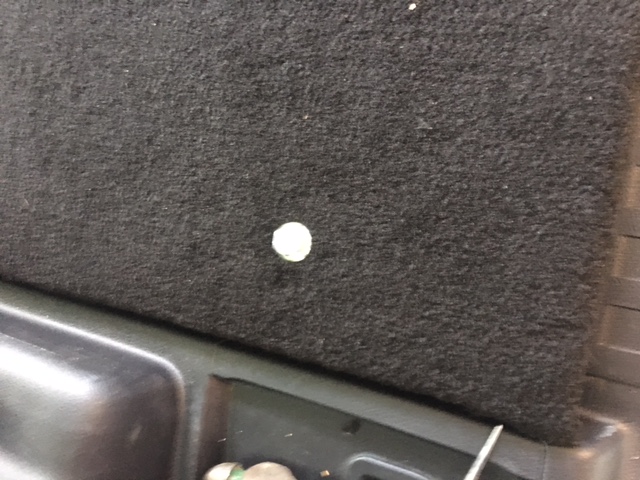
Originally I was looking for some rounded pan head style screws to fasten the board down with, but I had no luck finding them. As you can see in the next several photos the drawers completely cover up both bolts so they are hidden and it really doesn’t matter.
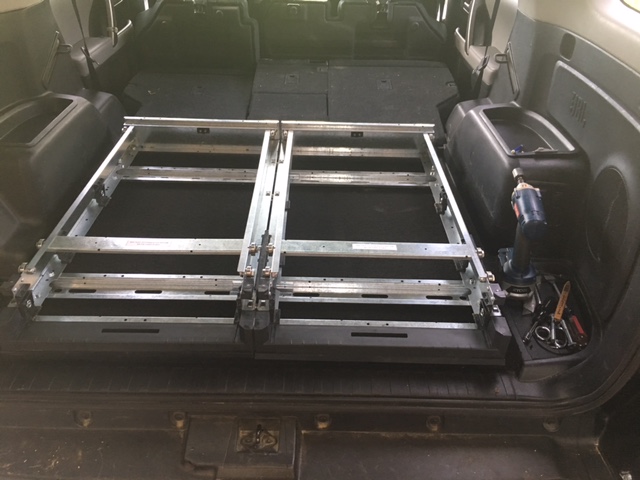
Then after following the ARB instructions for fastening the drawers together I screwed the frames down to the board.
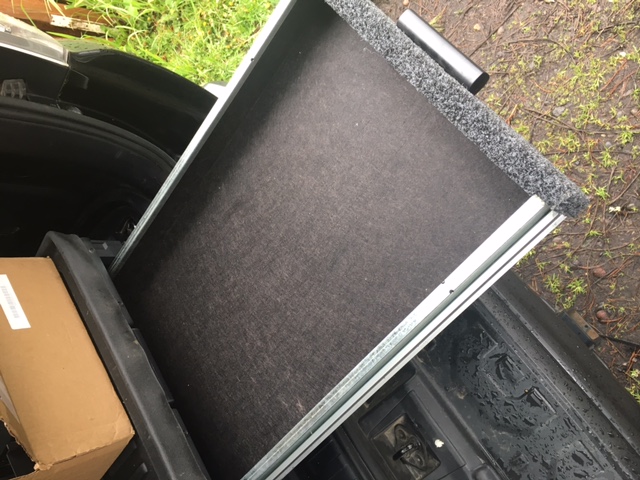
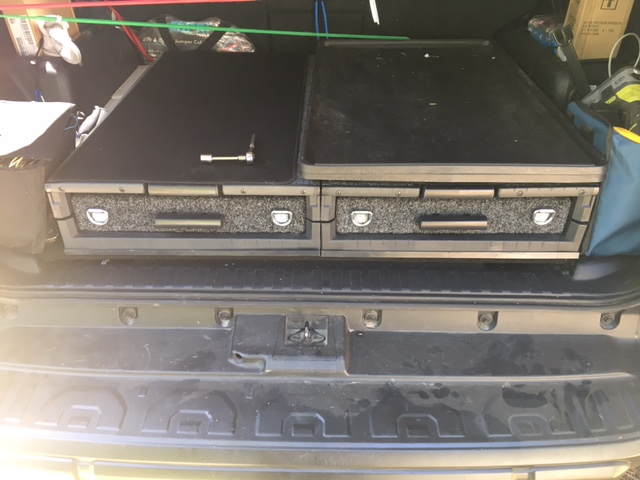
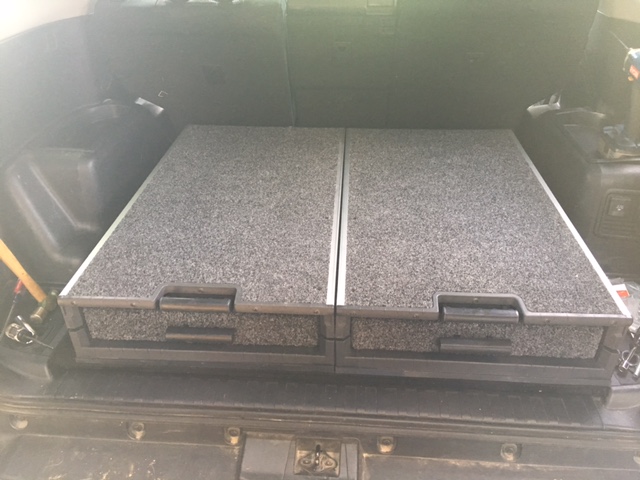
Here’s the finished install.
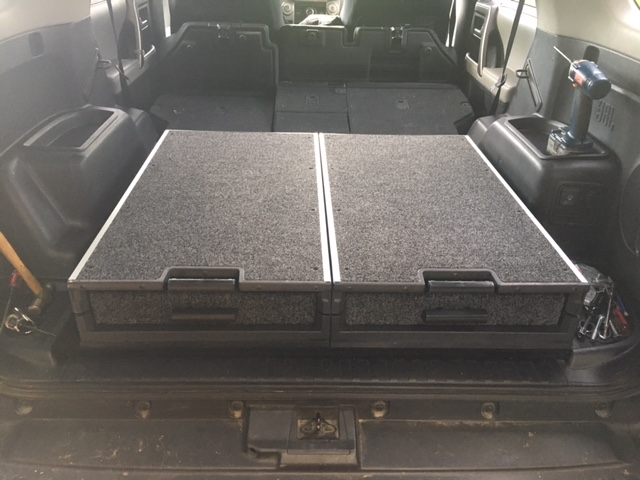
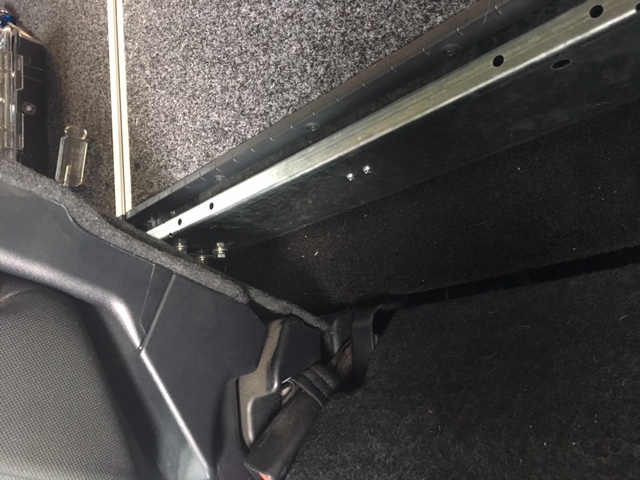
This is a couple of shots of the clearance with the rear seats folded up. Just a couple inches to spare, but it allows the rear seats to recline as normal.
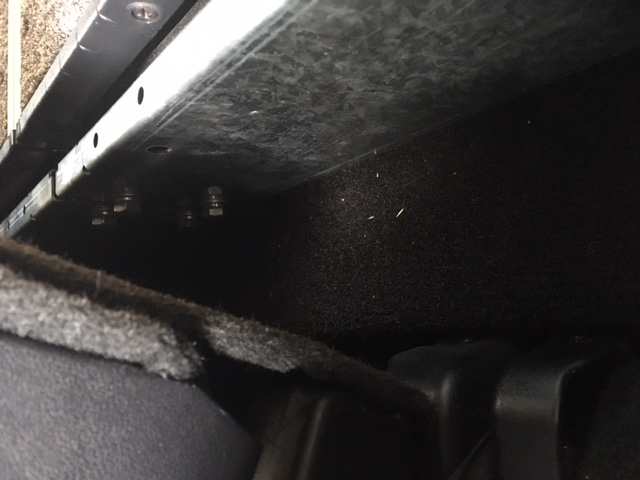
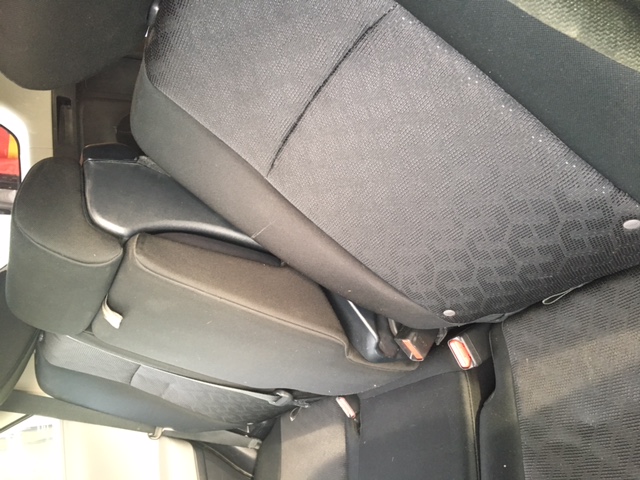
Rear seat reclined all the way to the factory stops. No problem for me, but some inquiring minds might want to know this.
Here a shot of the clearance with hatch shut. Looking straight down from the open rear window. There is about 3 inches of clearance between the drawers and the hatch. Depending on where you screw down the drawer frames this can easily be adjusted forward or backward for your preference. I was getting tired and just wanted to finish this up so I just eyeballed it. I wanted the front edge of the drawer to line up with the front edge of the board/carpet. But that was just my preference. I could have run it forward about another inch before it hit the reclined rear seats.
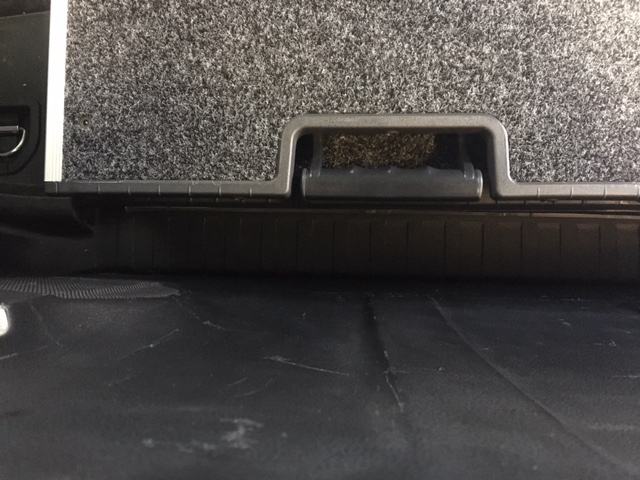
Overall this took me about 6-7 hours, but that is mostly because I had no clue what I wanted and I had to go to Lowes to buy all the supplies once I figured out what I was going to do. If I had been prepared and didn’t stop to eat lunch I could have easily been done in half the time.
First I must say these ARB drawers are rock solid quality, hands down awesome. Expensive, but excellent.
I was disappointed with 2 things in the ARB Drawers.
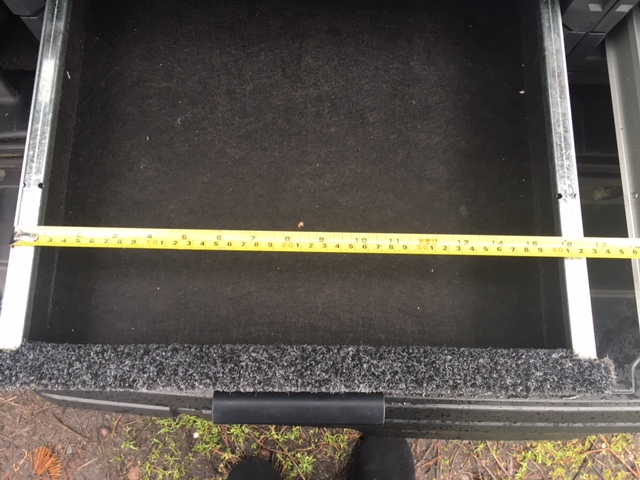
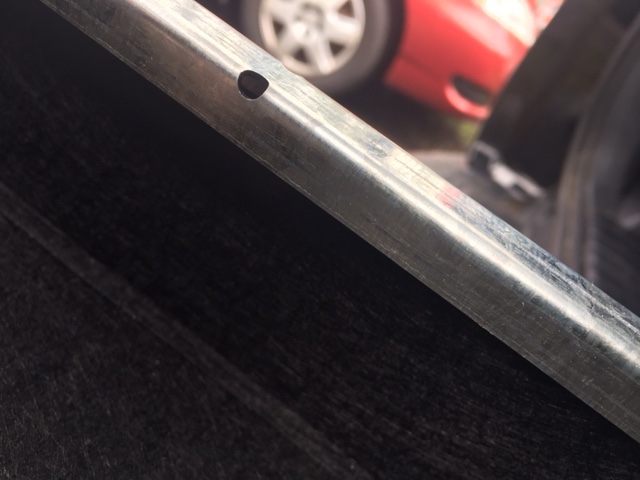
The first issue is reinstalling of the roller tops after you have them installed the drawers in your rig. It requires 4 Phillips screws getting lined up through the slide and tightened into the stop blocks inside. The outside ones on each side are rough but easy to get in since you have room behind the wheel wells to get a screwdriver on them. The ones in between the two drawers are a major pain in @$$ to line up and almost impossible to tighten. ARB should have drilled a couple of access holes in the rail on each side so you can get a driver on these screws. To top it off you are tightening them into nylon lock nuts inside so they are hard to turn even if you had straight angles. In ArrArr’s write up it appears that his drawers have these holes, but the RF945US’s don’t appear to have them. I will double check them, but if I ever take them out and off the board again, I will drill the holes myself to make disassembly and reassembly a lot easier.
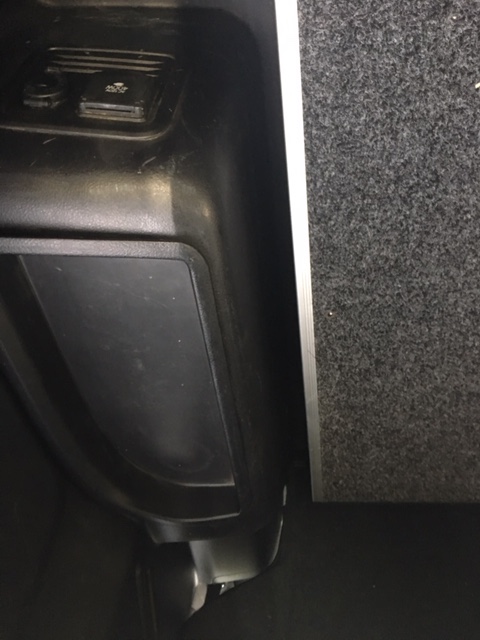
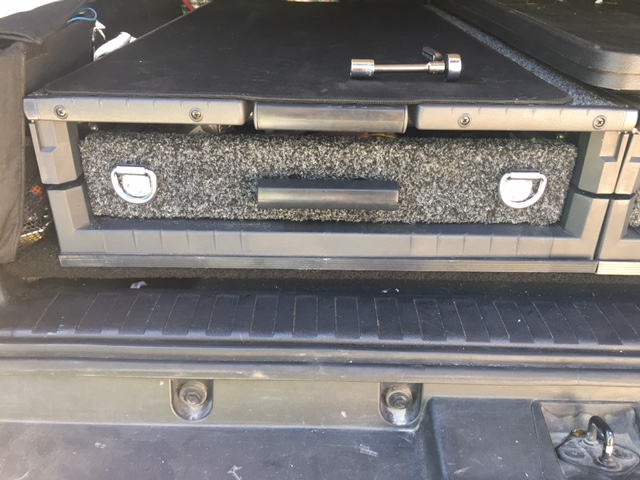
Second is shown below in the picture. It’s a small piece of plastic trim on the bottom of the drawer frame that arrived broken. It just flops around, flexing the whole time you are working with the drawers. It should have been taped down or something. I’m not really sure what its purpose is or why it’s there. I guess it’s just for looks and will eventually break off. I mounted the drawers so it hangs down in front of the board/carpet, it would just be nice if it wasn’t half broken before I got it.
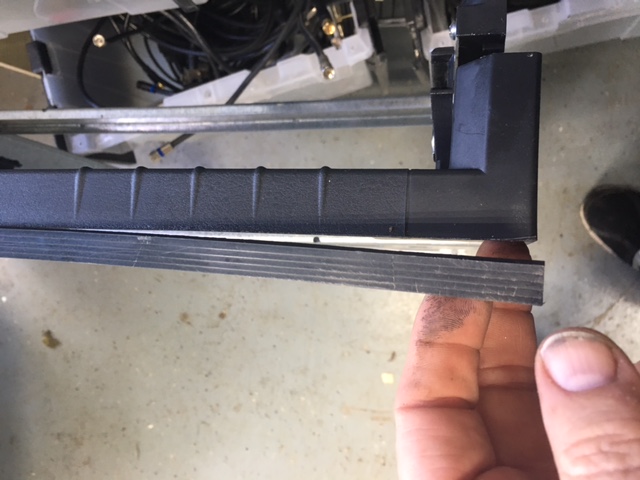
One other disappointment is no 4runner specific install instructions or side panel kit. It would be nice considering everyone that buys these for the t4r.
**Please Note** At one time all the links below were correct, then t4r.org went thru some hell'ish growth spurt, where the admins f'd up the whole thing. I corrected the links, then a forum software was hacked, then upgraded and it f'd them all up again. So I gave up trying to police them. Just know if you scroll through all the pages you'll find the write ups from the headers eventually.
**Second Note**Let's not forget the mods/owners of this site also f'd up the pictures. All of my write-ups at one time had pics. They were ether uploaded directly or hosted on my personal server. I was never a photobucket user so that debacle didn't affect me. Looking back at my hard work taking pics and writing up everything in my thread I see it has now gone all to shit. Again, thank the mods/owners for a job poorly done and not preserving years of history and info. Oddly enough if I use firefox the pics all show up, but the links are jacked up even worse. The links to the pics are correct so it's not that.
ARB Drawer install – 2011 TE with Sliding tray - Keep reading, Scroll down.........
Adding More Tie Downs
ARB Compressor Install Click here
DC Power XP-270 Install pics & Notes
Bud Built Hidden Winch Mount install
Hidden Winch install
Revtek 432 Lift Install Pics
Sleeping Deck mod
Lift Gate Strut Replacement
Brake Info
Ordering My 4Runner
Techstream
Key Programming
Dual Battery install/upgrade
TRD CAI install
Custom Group 65m Battery Tie Down
Warn ZEON 10-S Platinum Control pack relocation
Toyota OEM LED fog lights install pics
Roam Adventure Boxes!!
LED Headlight install fail - cheap products
Arc Light interior LED UPGRADE
Custom Made Engine Bay Storage Tray
Remote Start via iPhone - Accessorides
Power Folding Mirror Install
Beat-Sonic TVK-10 Video in Motion and NAVI Control Bypass
Low Profile XM Antenna
Updated Tail End Lighting
Midland MXT400 Install
S-Tech Switch System
Heated steering wheel
Dasaita G13 head unit
ARB Drawer install – 2011 TE with Sliding tray
After stealing everyones ideas for about 5-6 years on this forum I decided it was finally time to make a write up of my own. Don’t get me wrong, I still stole plenty of ideas (like all of them) for this write up from [MENTION=138641]ArrArr[/MENTION] and his write up here →http://www.toyota-4runner.org/5th-gen-t4rs/231647-arb-drawer-install-overview.html#post2582276
Having a sliding tray made it a bit different and hopefully this can help someone in the future with a similar setup.
Having participated in the last group buy → http://www.toyota-4runner.org/group-buys/232373-**group-buy-arb-drawers**.html#post2595272 , I now had the exciting task of getting these babies installed. I also want to thank [MENTION=122940]ramonortiz55[/MENTION] for all of these awesome group buys he keeps putting together. He has either saved or cost me $1000’s depending on how you look at it….
I opted for the low profile drawers with the roller top. (RF945US) I was kind of hoping that this would be a plug-n-play install, but as my wife ever so kindly reminded me it was more like hope-n-pray. The only thing I really did differently than ArrArr is I used carpet over the painted board and I choose to stick with the factory OEM mounting holes rather than make my own holes.
First step is to remove the existing slide out tray and the little hidden compartment behind it. [MENTION=8206]harper7[/MENTION] has a most excellent how to here → http://www.toyota-4runner.org/5th-g...-sliding-tray-5th-gen-limited.html#post497691
Before……….
Almost there…….
Finished tray removal. I’m still on the fence about keeping this piece of carpet in or not. It’s not the sturdiest thing I’ve seen from Toyota. I don’t think it will hold up over time. All of those raised ridges you see have hard Styrofoam under them, except the ones on the left and right near the wheel well humps. Odd design for under the sliding tray when no one can see it most of the time.
Overall this only took about 15-20 minutes to remove the whole sliding tray. Using harper7’s instruction it was really easy to do.
I also pulled the carpet up but in the end I ended putting it back in, because even though it would ultimately be covered, I wanted the more finished look. I think the carpeting will also help deaden the sound. Plus the built in foam ridges will help me keep the whole setup level. I think if I did this again or have to take it out for any reason that I will leave the carpet out and see if I can get the whole setup to sit down farther into the hole. I’m not sure how well the Styrofoam will hold up to the added weight, but I’m going to find out.
I cut the board 38” x 41.25” . I know that ArrArr cut his to 38x41, but in measuring mine it was easily 41.25” I almost cut it to 41.5” wide, but then decided to play it safe and go with only 41.25”. I used ¾” plywood, or well as close to ¾’s as I can buy these days, I believe it was actually 23/32” but the board was stamped with .6xxx thickness, so whatever, it's plenty thick enough.
Then I painted the board black…
Then installed the board, it still fits perfect, but I wasn’t happy with the look………It also sits up higher than I wanted because of the oem carpet and the foam bracing under it. For now this is as good as it gets, I just needed to do something, anything and this is where I landed. if I redo this at any point I think I will take the carpeted foam humps out so this can sit lower in the bed.
So since I didn’t like the painted look, I decided as ArrArr suggested to go with some cheap black carpet. Lowes didn’t have anything but light gray, weak charcoal or jet black, so I went with the black. I bought a 6’ x 6’ piece for $27.xx but it was easily at least 2 feet too much. I purposely bought extra since it’s been awhile since I carpeted anything. I think I could have easily spent about $9 less and just bought a 4’ x 6’ piece.
I hate corners……next time I will pay a shop to do this. But that is why I bought extra. By the time I got to the 4th corner I almost had it down pat.
Finish product installed in the bed, fits perfect. I’m glad I didn’t go with 41.5” wide cut on the board, The added width of the carpet made this just about right. Because the board sits up so high you could almost go about an inch wider and have it fill the space completely. But at the same time it’s just low enough that it would need so tapered cuts to drop in
If I had unlimited plywood and could afford several trial and error cuts, I might do it differently. This will work out fine for round one of this project.
I bought some M10-1.25x100 bolts ($3.64 ea) and fix the board down by screwing down thru the factory holes that the slide out tray was attached to. I will do the same in the front with some M6 bolts, but I haven’t found any even close to long enough yet to reach down to the factory holes. Looking for M6 fine thread about 125mm long or maybe more. Lowes near me only had M6 about 20mm long. I might have to resort to Amazon to find something that will work. I will also probably install these bolts by just removing the rear seats to get in and drill the holes. Taking the whole assembly out to do this would be painful. The included ARB install/spacer kit also has some spacers that I will probably use to help keep the front leveled.
Bad picture of the M10-1.25x100 bolt and washer holding the board down. But it’s covered by the drawers, so I can’t snap a better one.
Originally I was looking for some rounded pan head style screws to fasten the board down with, but I had no luck finding them. As you can see in the next several photos the drawers completely cover up both bolts so they are hidden and it really doesn’t matter.
Then after following the ARB instructions for fastening the drawers together I screwed the frames down to the board.
Here’s the finished install.
This is a couple of shots of the clearance with the rear seats folded up. Just a couple inches to spare, but it allows the rear seats to recline as normal.
Rear seat reclined all the way to the factory stops. No problem for me, but some inquiring minds might want to know this.
Here a shot of the clearance with hatch shut. Looking straight down from the open rear window. There is about 3 inches of clearance between the drawers and the hatch. Depending on where you screw down the drawer frames this can easily be adjusted forward or backward for your preference. I was getting tired and just wanted to finish this up so I just eyeballed it. I wanted the front edge of the drawer to line up with the front edge of the board/carpet. But that was just my preference. I could have run it forward about another inch before it hit the reclined rear seats.
Overall this took me about 6-7 hours, but that is mostly because I had no clue what I wanted and I had to go to Lowes to buy all the supplies once I figured out what I was going to do. If I had been prepared and didn’t stop to eat lunch I could have easily been done in half the time.
First I must say these ARB drawers are rock solid quality, hands down awesome. Expensive, but excellent.
I was disappointed with 2 things in the ARB Drawers.
The first issue is reinstalling of the roller tops after you have them installed the drawers in your rig. It requires 4 Phillips screws getting lined up through the slide and tightened into the stop blocks inside. The outside ones on each side are rough but easy to get in since you have room behind the wheel wells to get a screwdriver on them. The ones in between the two drawers are a major pain in @$$ to line up and almost impossible to tighten. ARB should have drilled a couple of access holes in the rail on each side so you can get a driver on these screws. To top it off you are tightening them into nylon lock nuts inside so they are hard to turn even if you had straight angles. In ArrArr’s write up it appears that his drawers have these holes, but the RF945US’s don’t appear to have them. I will double check them, but if I ever take them out and off the board again, I will drill the holes myself to make disassembly and reassembly a lot easier.
Second is shown below in the picture. It’s a small piece of plastic trim on the bottom of the drawer frame that arrived broken. It just flops around, flexing the whole time you are working with the drawers. It should have been taped down or something. I’m not really sure what its purpose is or why it’s there. I guess it’s just for looks and will eventually break off. I mounted the drawers so it hangs down in front of the board/carpet, it would just be nice if it wasn’t half broken before I got it.
One other disappointment is no 4runner specific install instructions or side panel kit. It would be nice considering everyone that buys these for the t4r.
Last edited: