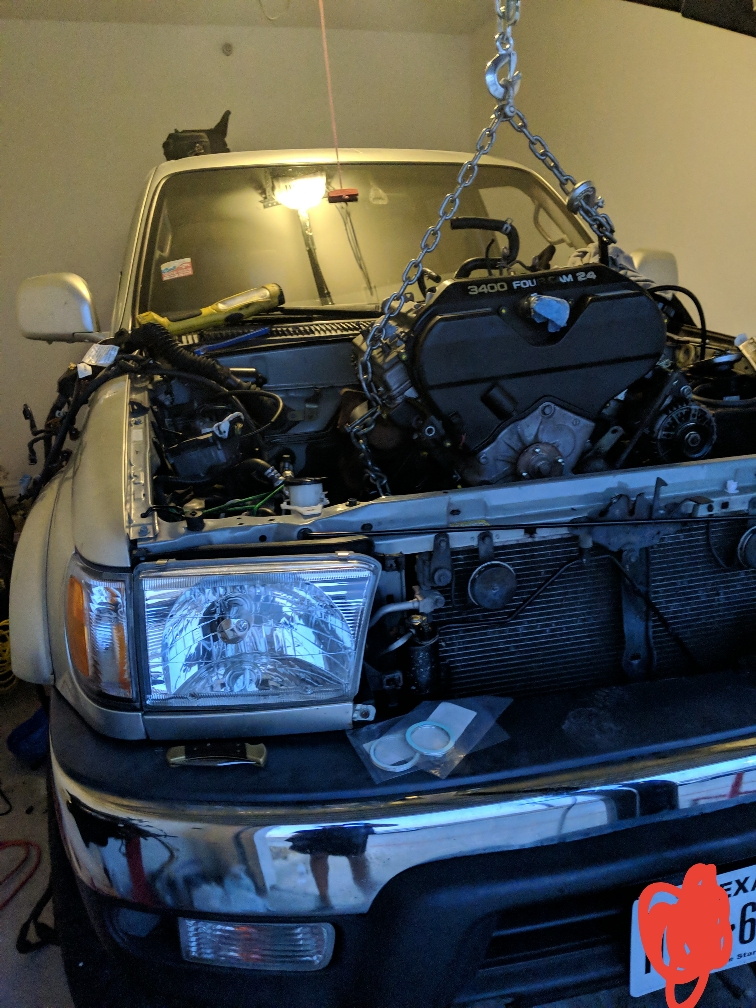
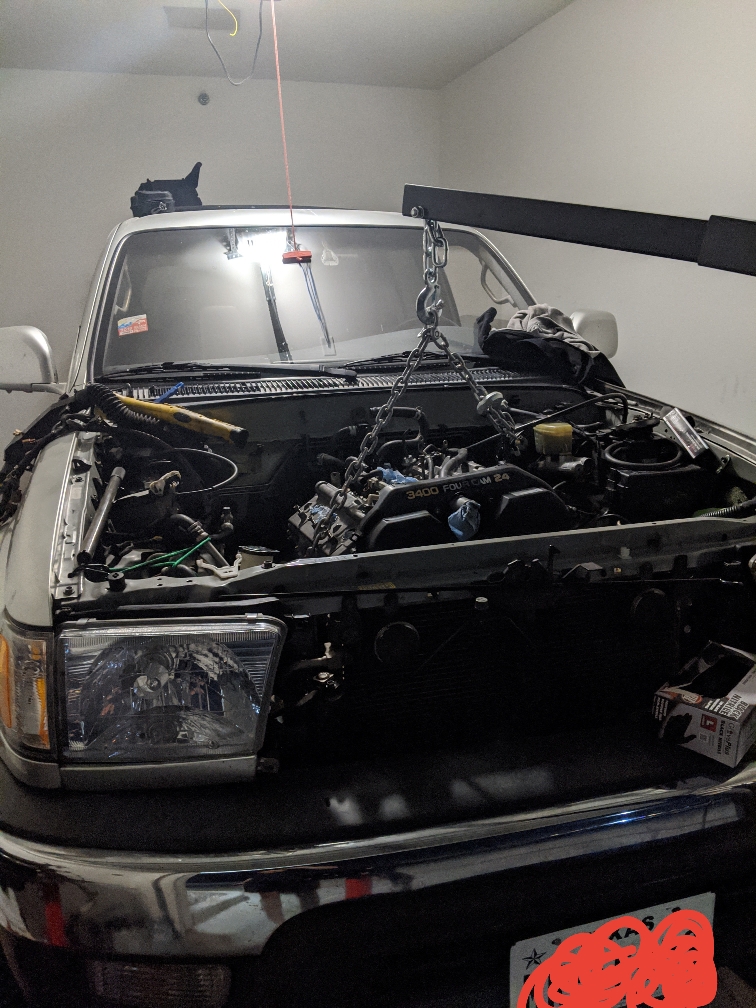
Project NoRunner: 2000 SR5 4x2 Resto

Its practice getting those timing belts on as they just fit. The loose tensioner with the load pin locked is the key. Once its started and on the right teeth. You are good to go. :)

Excellent progres.

Sent from my SM-J337V using Tapatalk
 
Engine Swap Update #3:


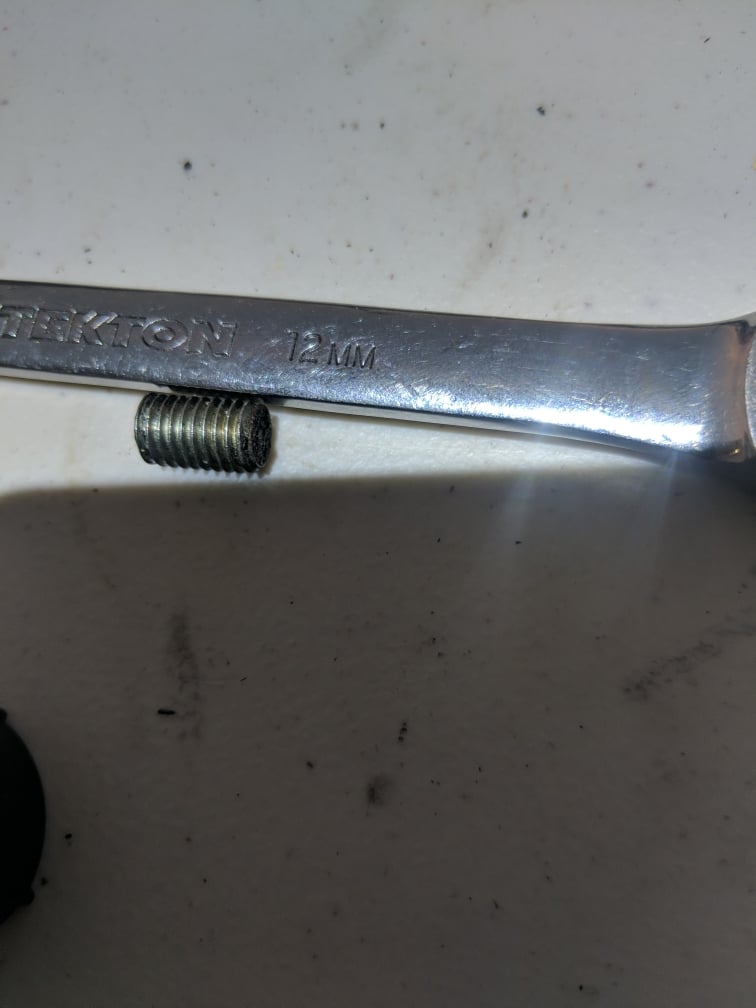
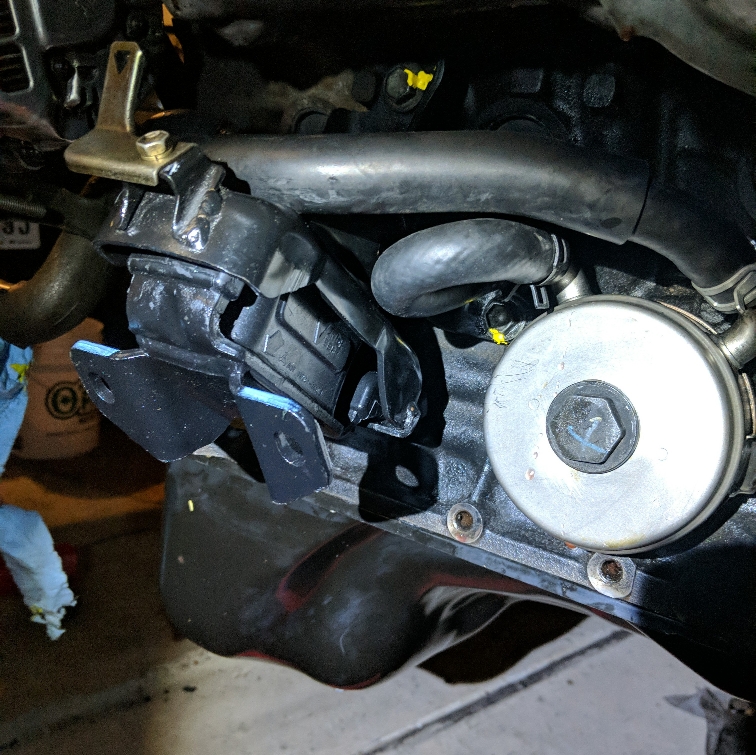
Got the second engine mount on. I swapped over the spark plugs and I got the sheared bolt out from the alternator bracket

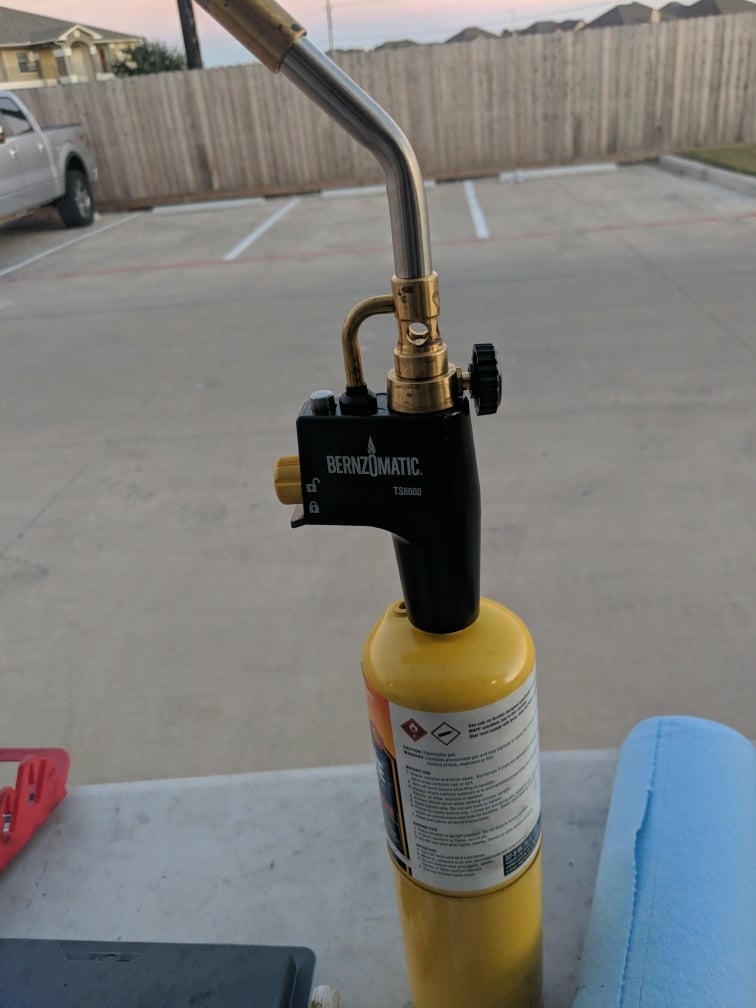
I used a MAP torch (I think that's what it's called) and I took [MENTION=164664]brillo_76[/MENTION] advice and got transfer punch set from HF: Transfer Punch Set - 28 Piece

I heated up the bolt for about 30 seconds then I got a small punch with a small hammer and it came out with zero problems.

So now I got my old alternator bracket and alternator on.

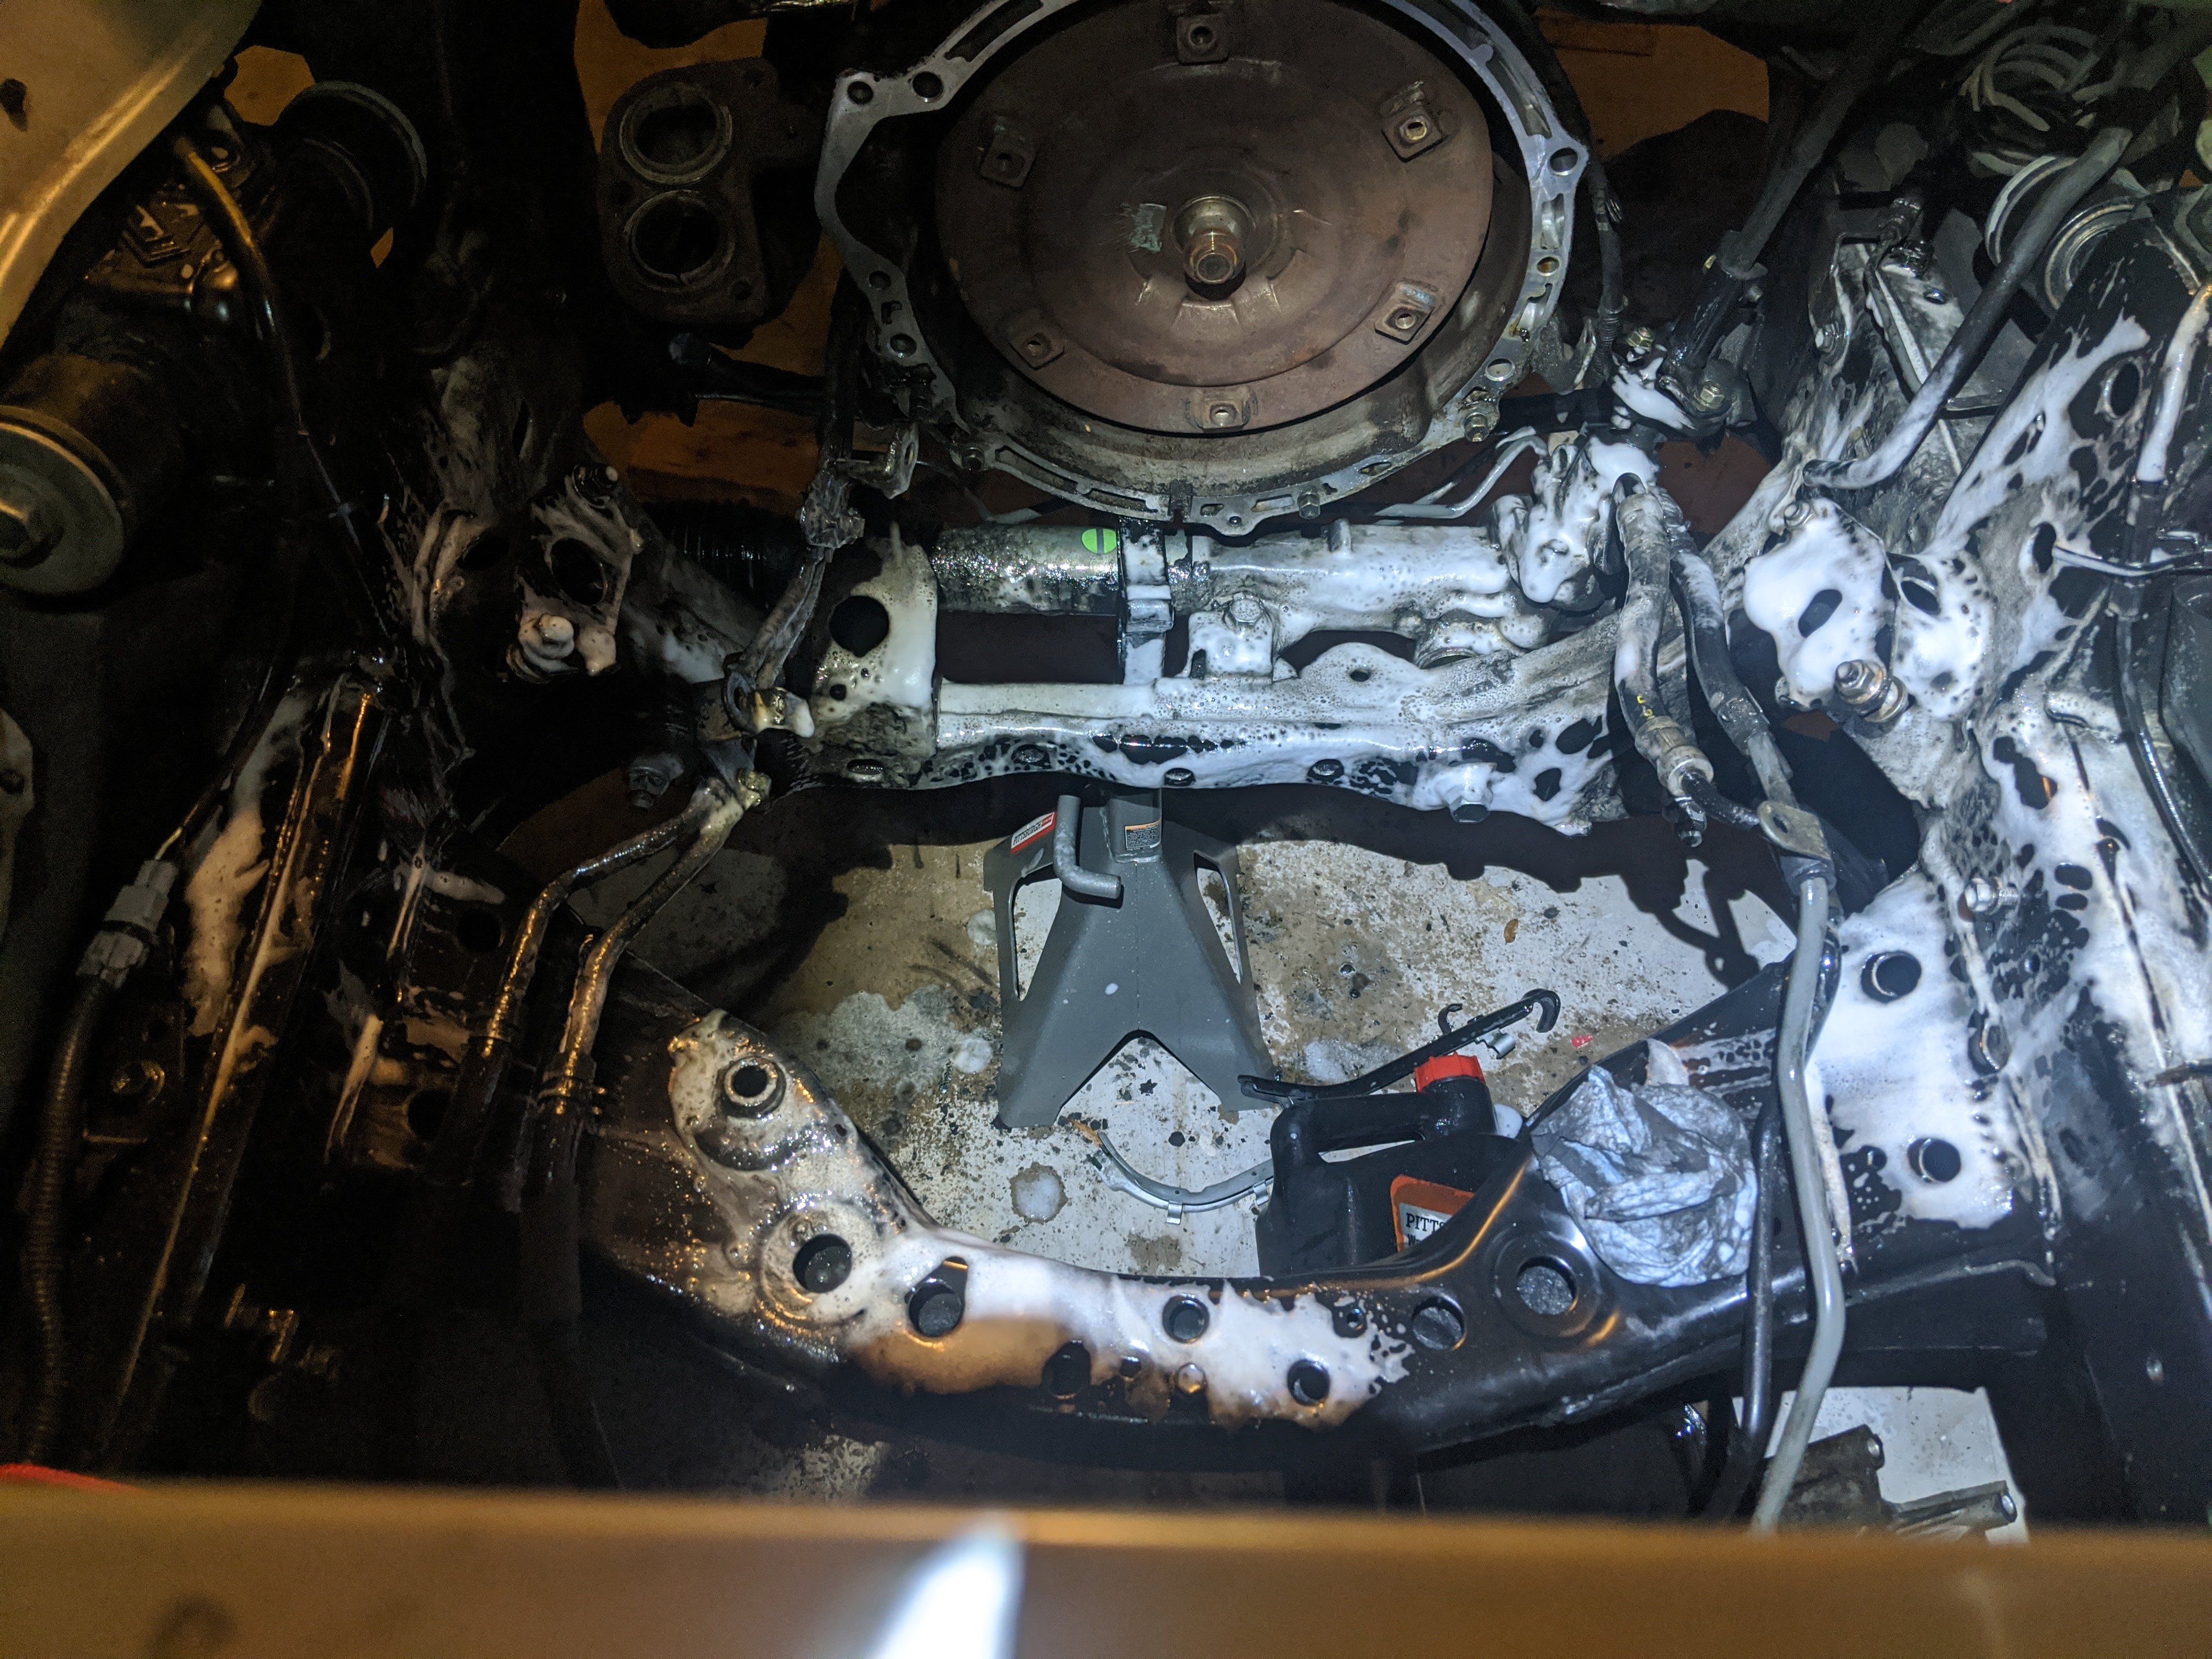
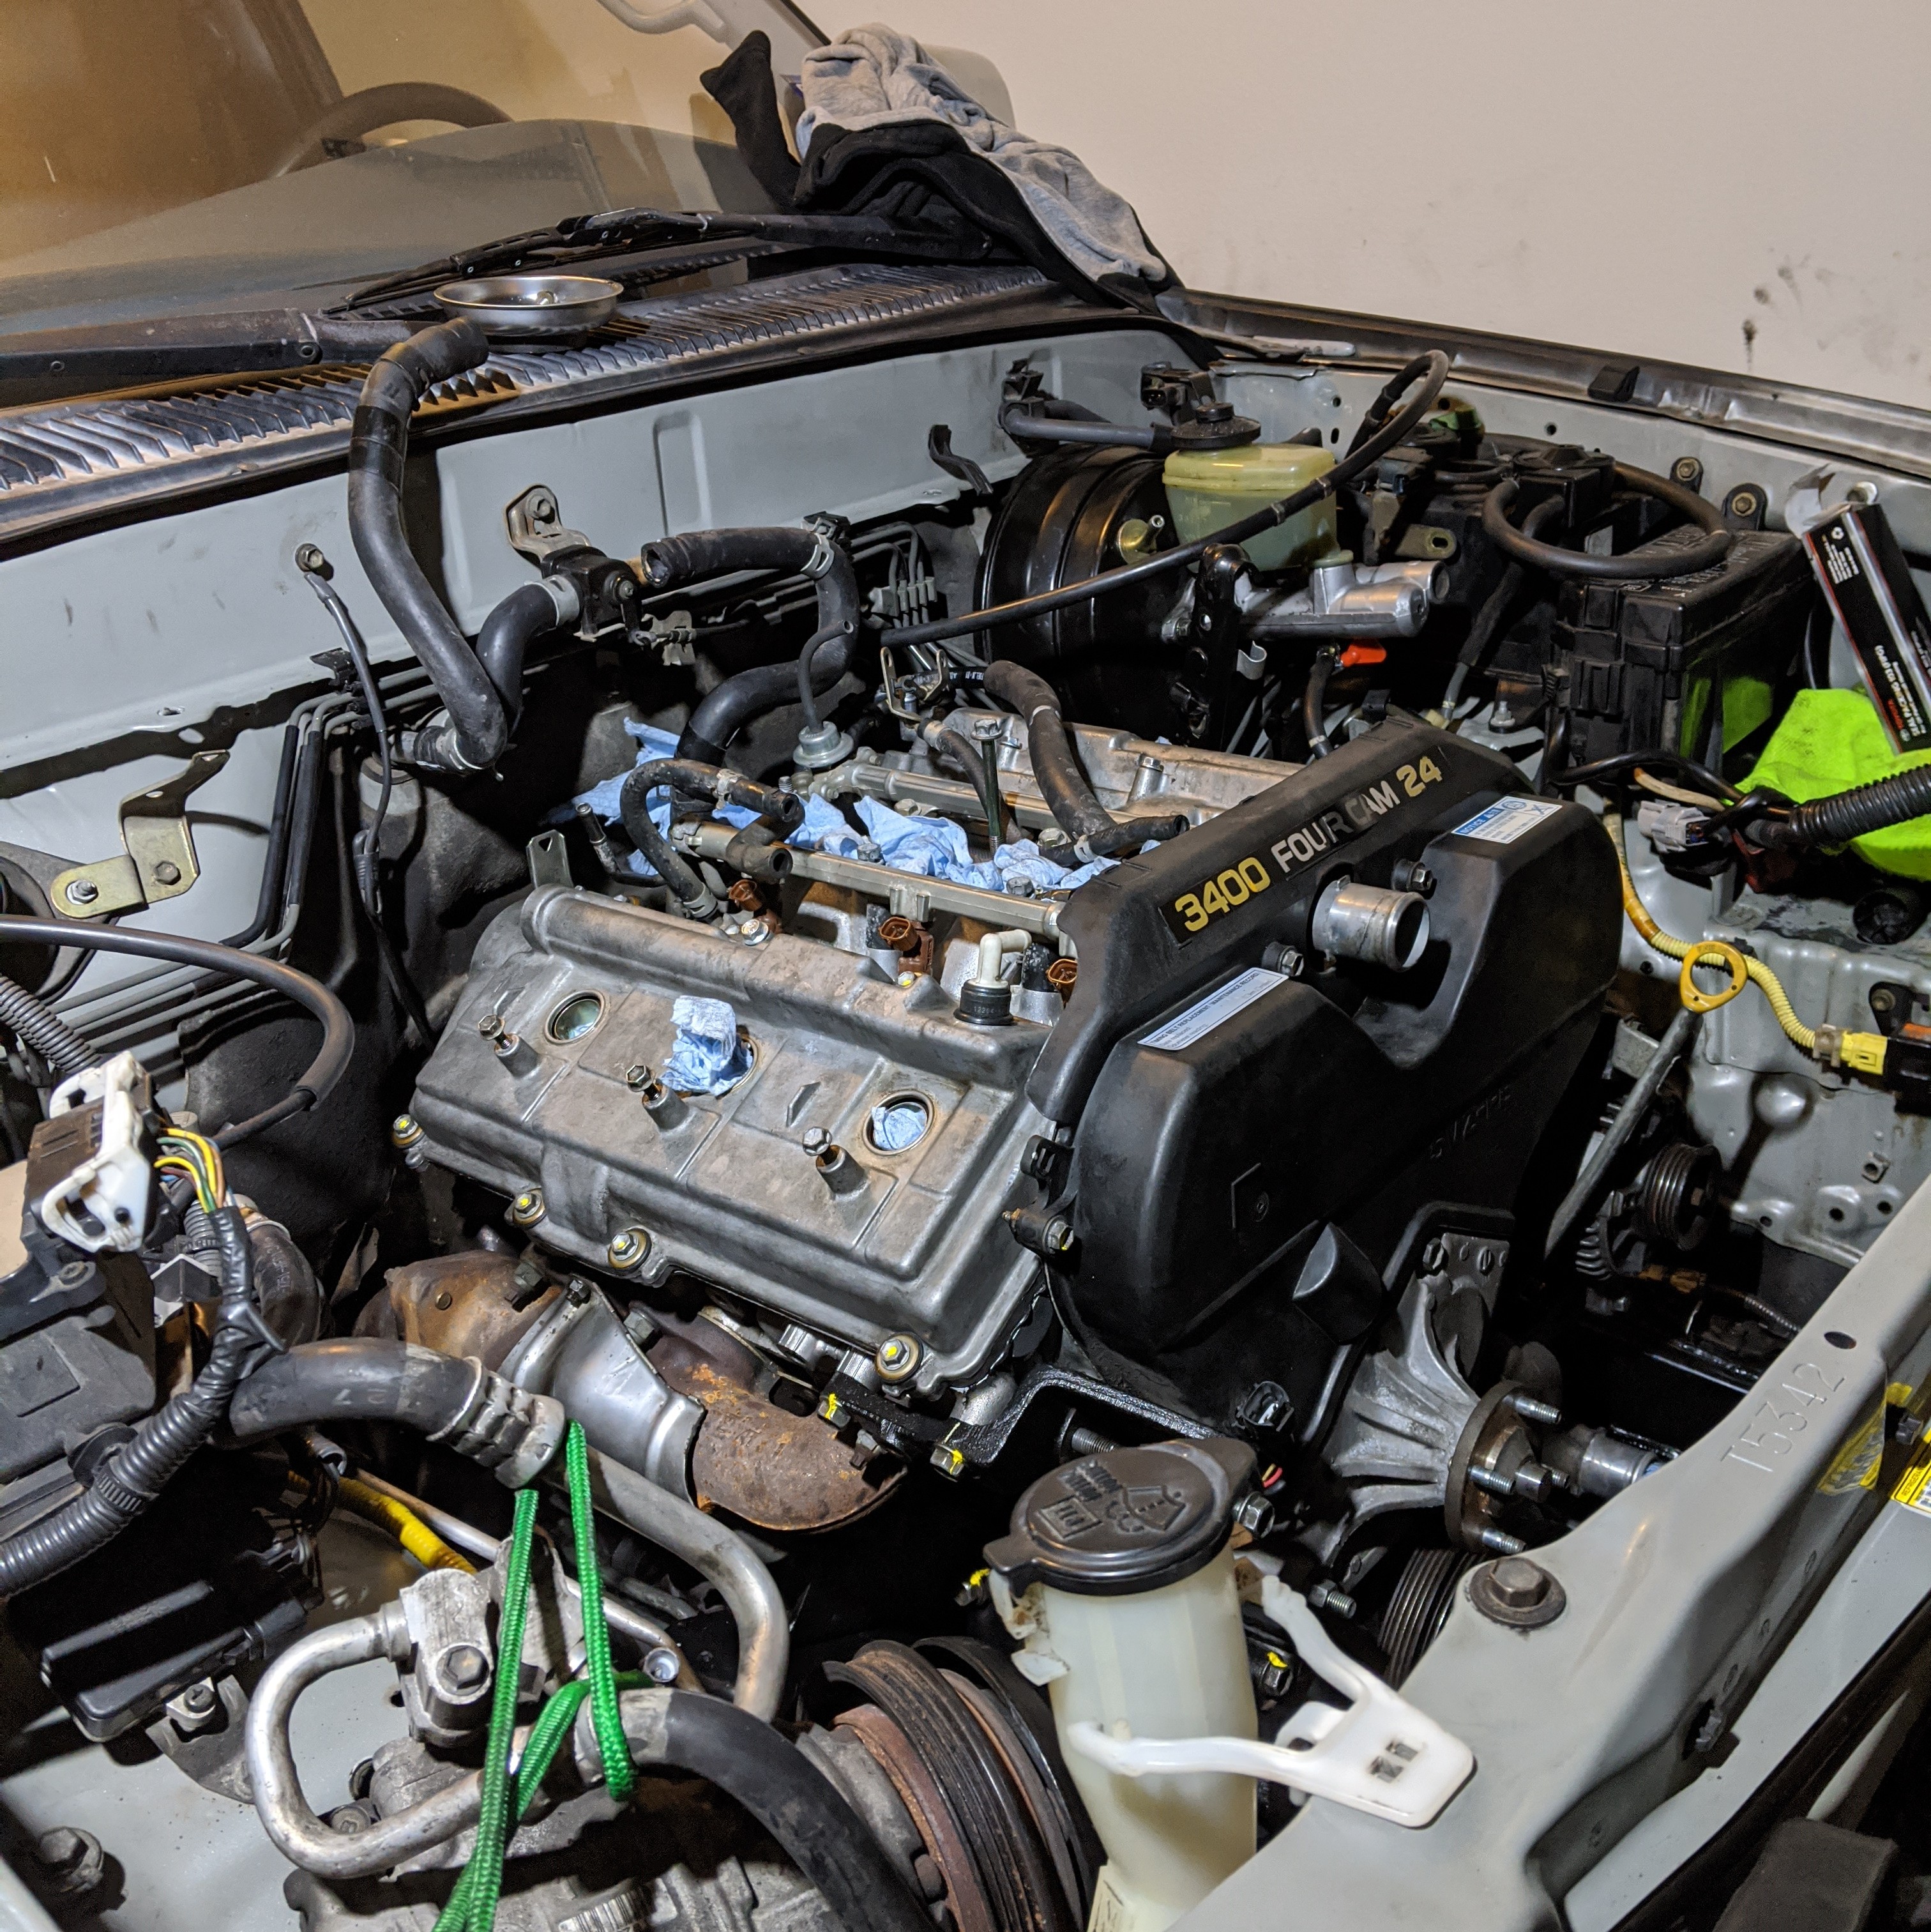
Currently degreasing the engine bay with a water based degreaser safe on all surfaces. It basically just loosens up the dirt and you can let it sit there and it won't stain anything.

Still need to replace oil cooler fittings and I'm going to drop the oil pan tomorrow and reseal it.

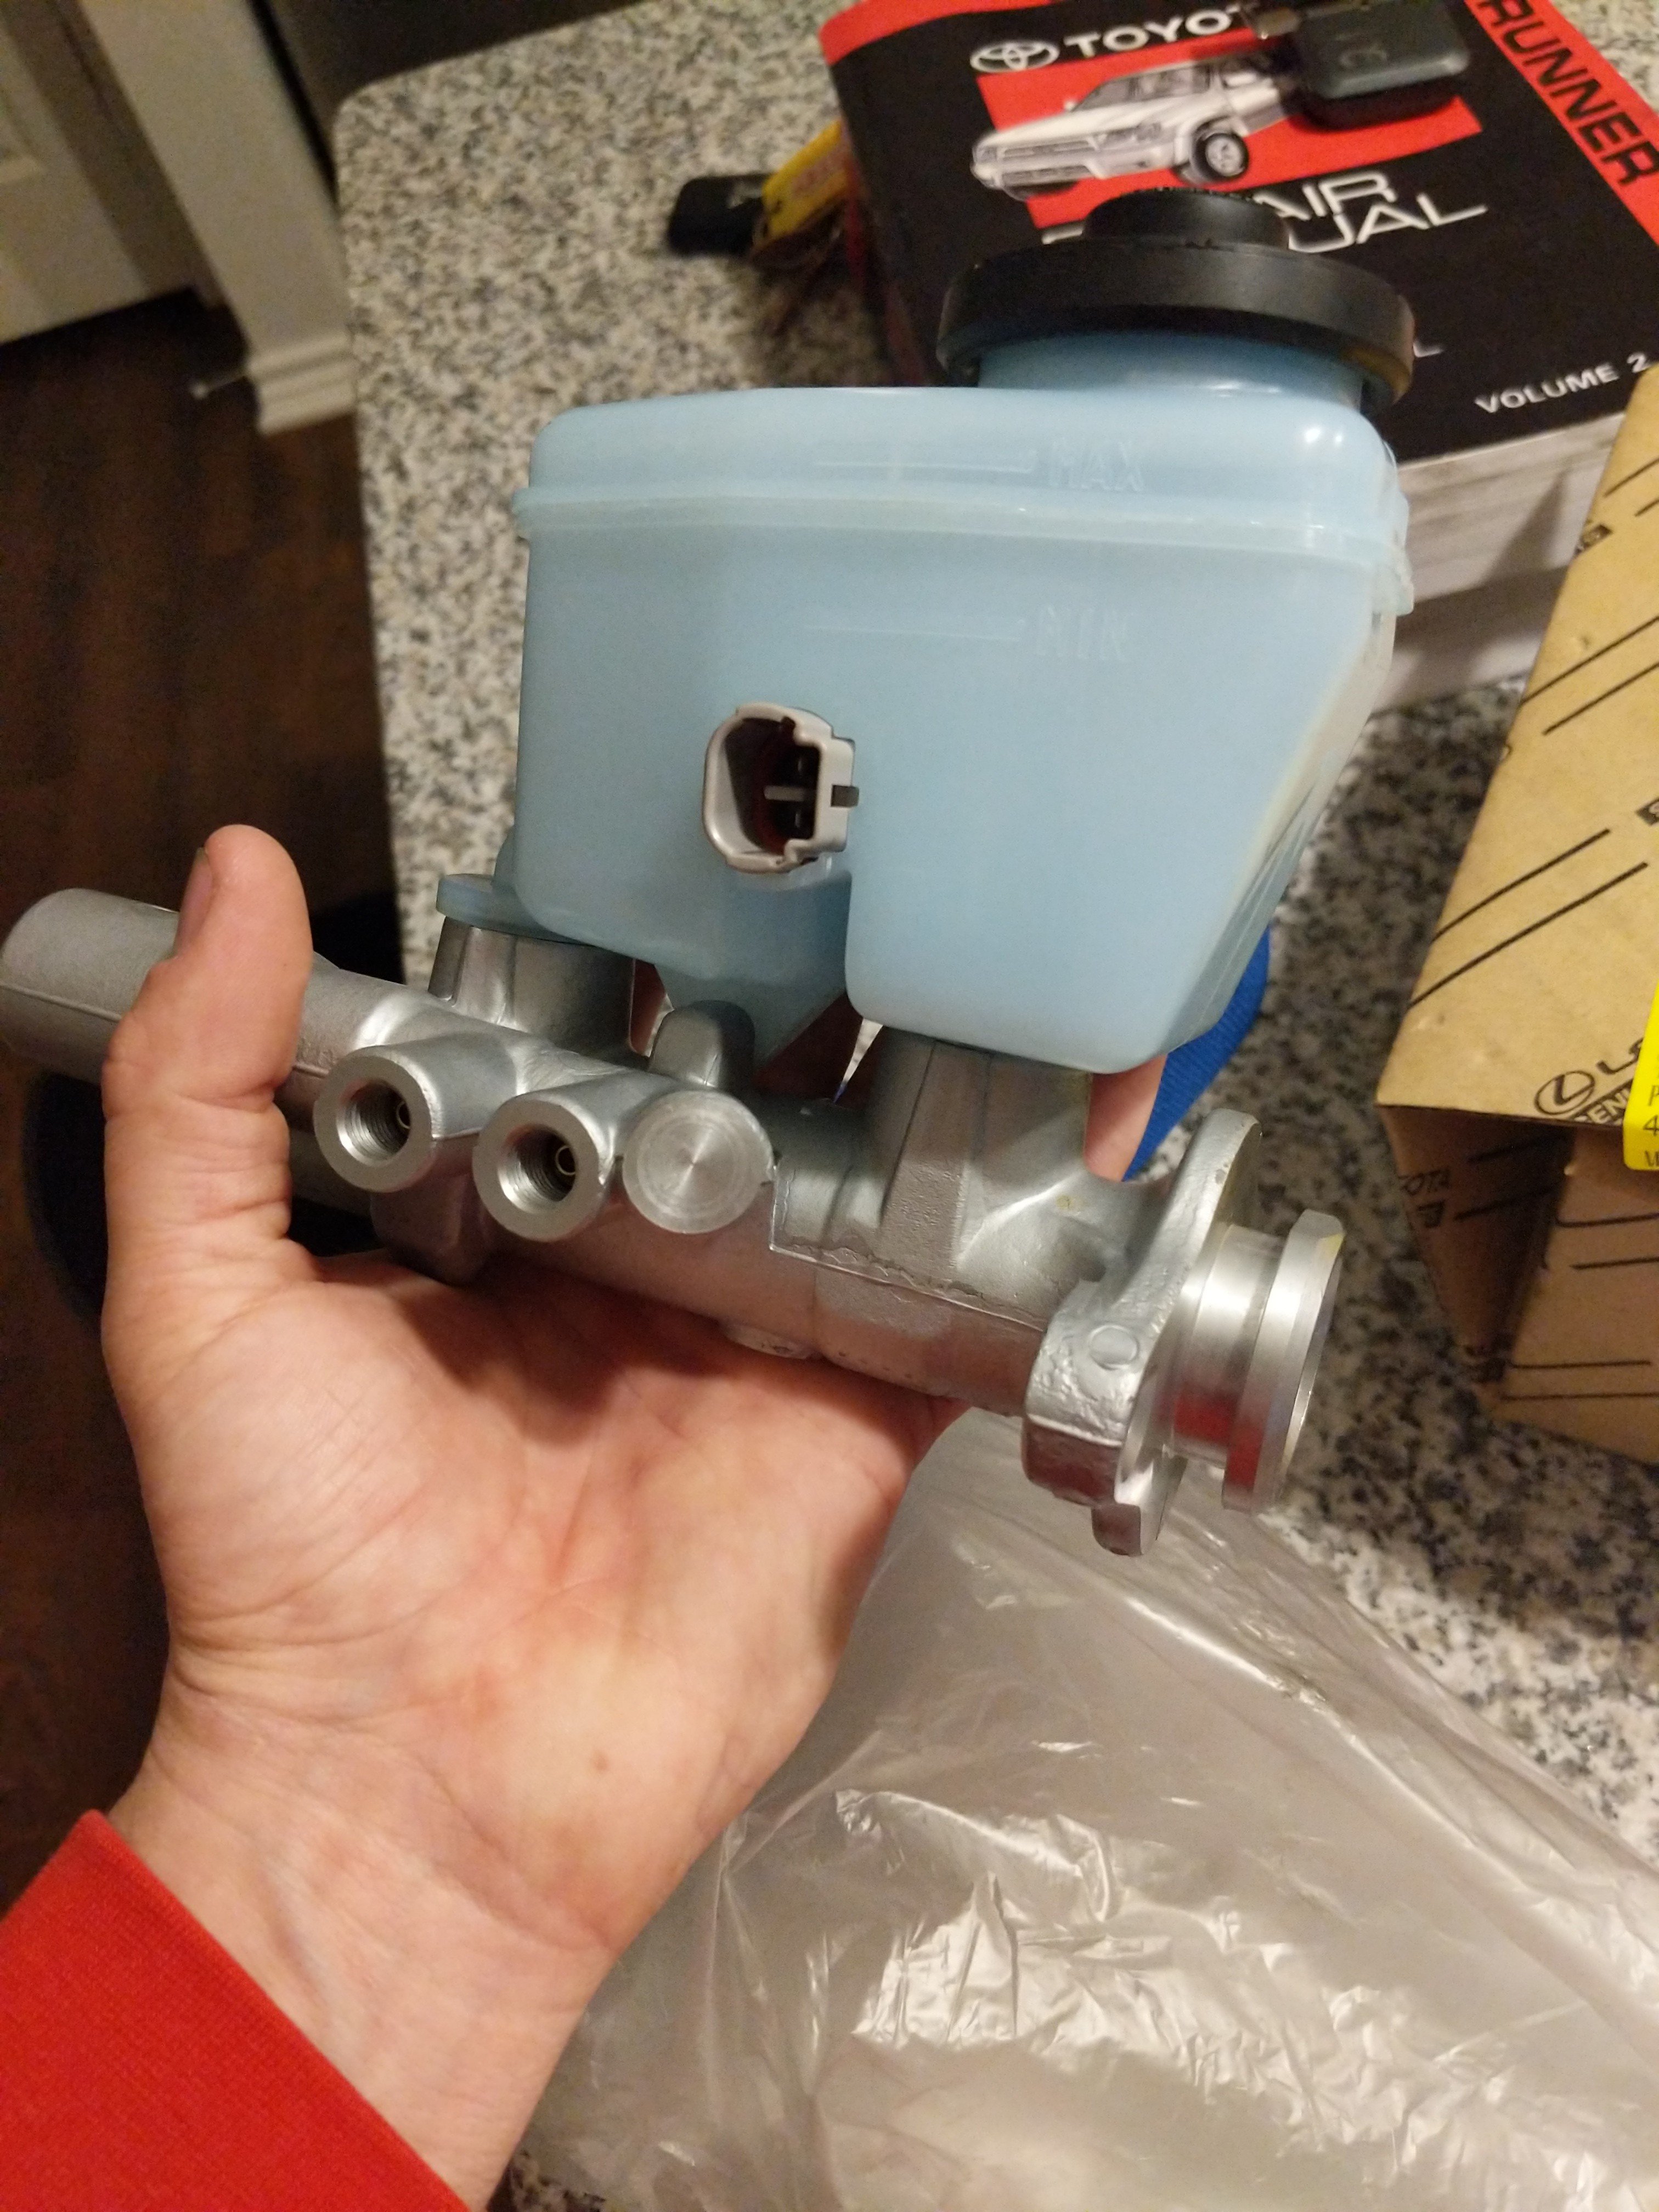
After that I'll swap my brake booster for an OEM one then I'll swap the related gaskets as well. And I'm gunna bench bleed the new master cylinder I got.

The threads on the master cylinder are 1/4inch NPT thread for anyone needing the Barb fittings. to be transparent I got 1/4 NPT thread with 1/8inch barb
970d792437ced37a54e7a51fa5a057e3.jpg
f6468671c5c2700aa0d372a7585a24b6.jpg
0c0ebb34f798e282a57b2601486a635c.jpg
cfd251a8dfac4566607c3059d4c87545.jpg


I also recommend this thread chaser kit: Amazon.com: Lang Tools 2584 15-Piece Metric Thread Restorer Set: Automotive

It has every common bolt on the Engine and I haven't found a bolt that doesn't work. And I've gone through and cleaned every single bolt that has come of the engine and chased every hole.

Sent from my Pixel 2 XL using Tapatalk

 
Last edited:
Engine Swap Update #3:


Got the second engine mount on. I swapped over the spark plugs and I got the sheared bolt out from the alternator bracket

I used a MAP torch (I think that's what it's called) and I took [MENTION=164664]brillo_76[/MENTION] advice and got transfer punch set from HF: Transfer Punch Set - 28 Piece

I heated up the bolt for about 30 seconds then I got a small punch with a small hammer and it came out with zero problems.

So now I got my old alternator bracket and alternator on.

Currently degreasing the engine bay with a water based degreaser safe on all surfaces. It basically just loosens up the dirt and you can let it sit there and it won't stain anything.

Still need to replace oil cooler fittings and I'm going to drop the oil pan tomorrow and reseal it.

After that I'll swap my brake booster for an OEM one then I'll swap the related gaskets as well. And I'm gunna bench bleed the new master cylinder I got.

The threads on the master cylinder are 1/4inch NPT thread for anyone needing the Barb fittings. to be transparent I got 1/4 NPT thread with 1/8inch barb
970d792437ced37a54e7a51fa5a057e3.jpg
f6468671c5c2700aa0d372a7585a24b6.jpg
0c0ebb34f798e282a57b2601486a635c.jpg
cfd251a8dfac4566607c3059d4c87545.jpg


I also recommend this thread chaser kit: Amazon.com: Lang Tools 2584 15-Piece Metric Thread Restorer Set: Automotive

It has every common bolt on the Engine and I haven't found a bolt that doesn't work. And I've gone through and cleaned every single bolt that has come of the engine and chased every hole.

Sent from my Pixel 2 XL using Tapatalk
Good job. I used tap and die sets for years as they are required in the rust belt.

Glad you didn't have to drill and ez out or retap. Those transfer punches are very handy. I mostly have to grind the bolt smooth and use the correct center punch to mark where to drill the center of the bolt.

Be glad your in a rust free area. As lots of times I have to do that to change a fender etc. Pa chrome as I call it is really a pain in rear.

Sent from my SM-J337V using Tapatalk
 
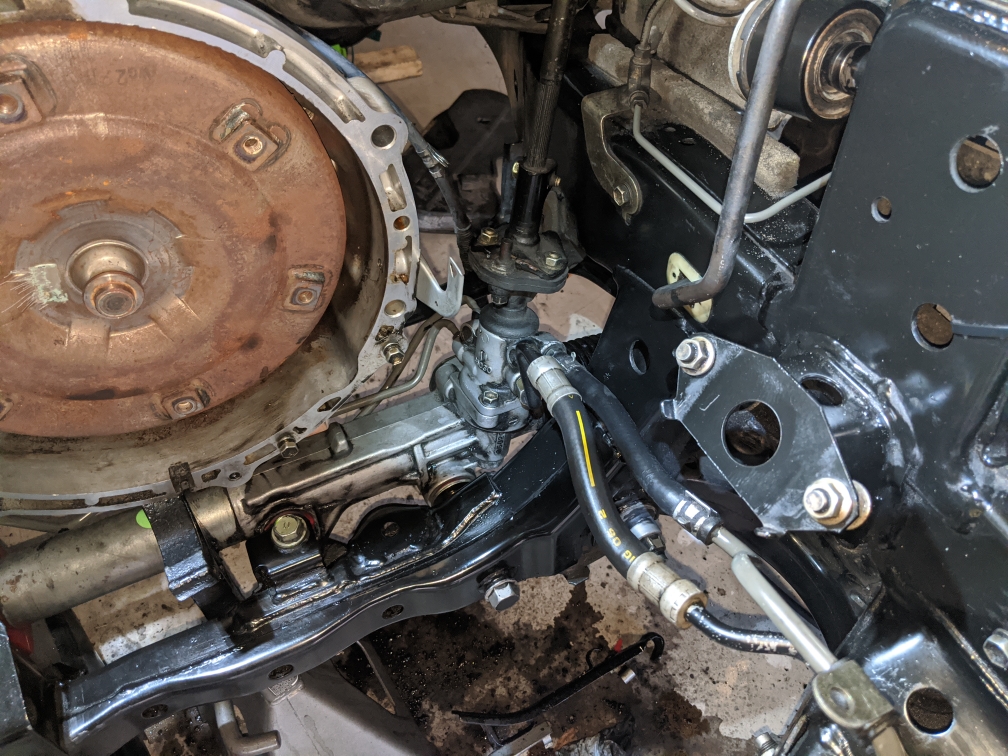
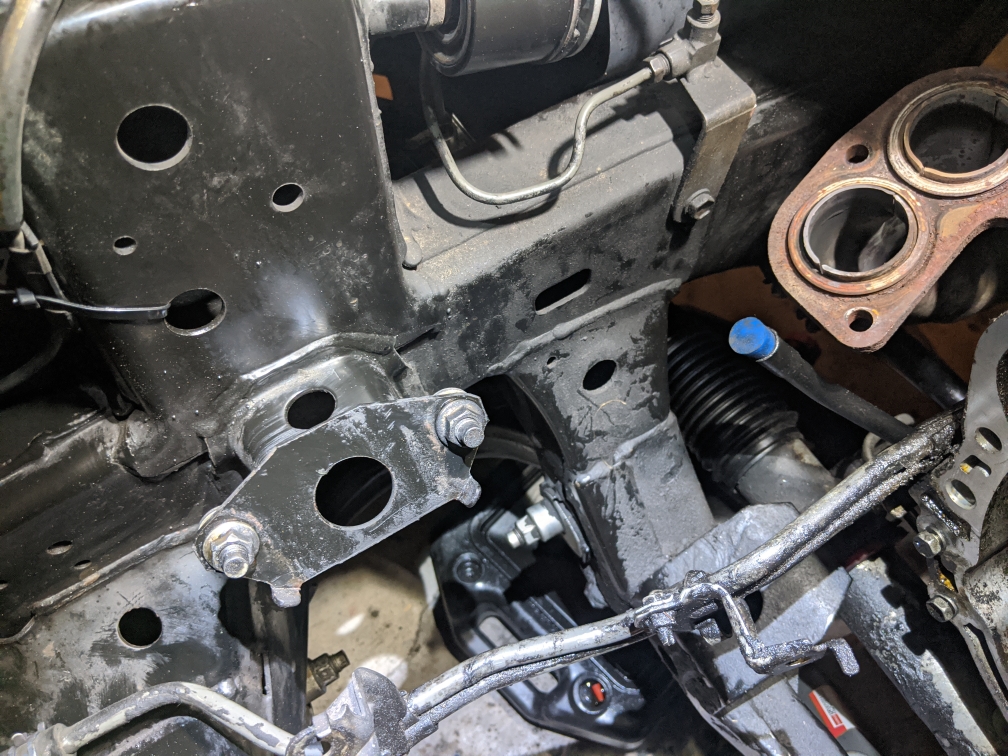
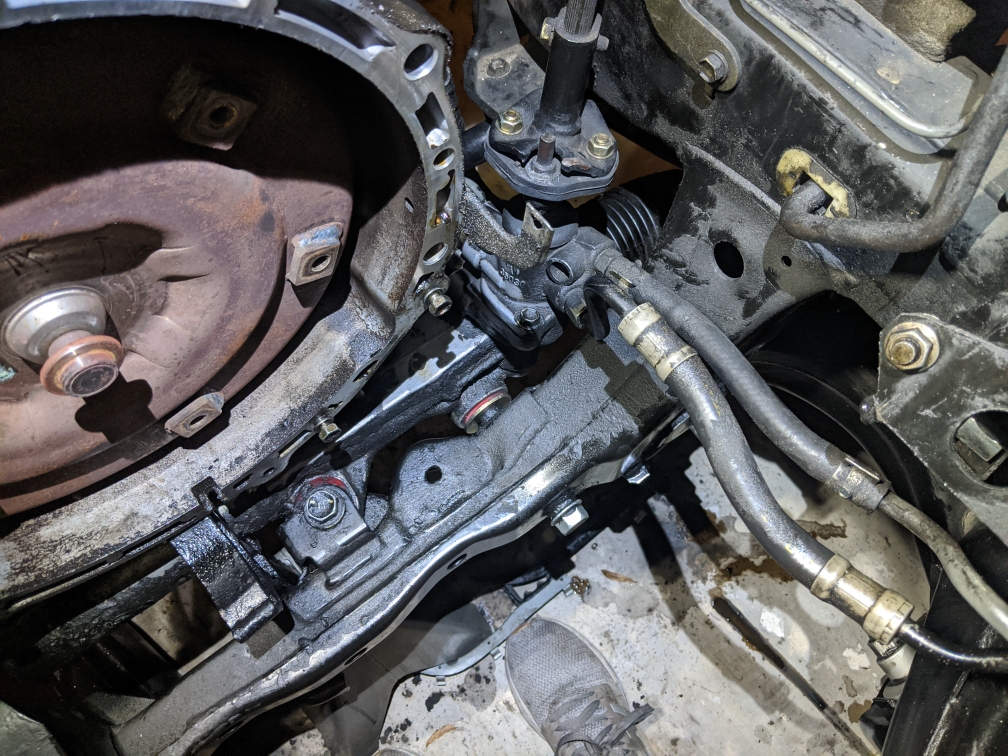
Engine Swap Update #4: Degreasing Engine Bay

Speaking of rust Free....had to use my hands and some CRC water based degreaser....I got alot of.

No access to a water hose or nothing. All my detailing stuff is at home

Overall it's a million times better pretty sure I have couple of pounds of bull crap on the frame.
710794b11dd1d91bf7daf62e02692ce1.jpg
26fd8cfc1c42484ad76b219d4e805d02.jpg
06c75436f0dc5e00bc98a287d0fd85cc.jpg
82b5c47601789dc348ebe39e09a041e2.jpg
ba3965005aa9912a82f95e008fa15a06.jpg
546b4a436921af09d38afd8f2164033b.jpg
b489d53c179f23203ef10b28b193e84b.jpg


Sent from my Pixel 2 XL using Tapatalk
 
Last edited:
Engine Swap Update #5: Rear Main Seal

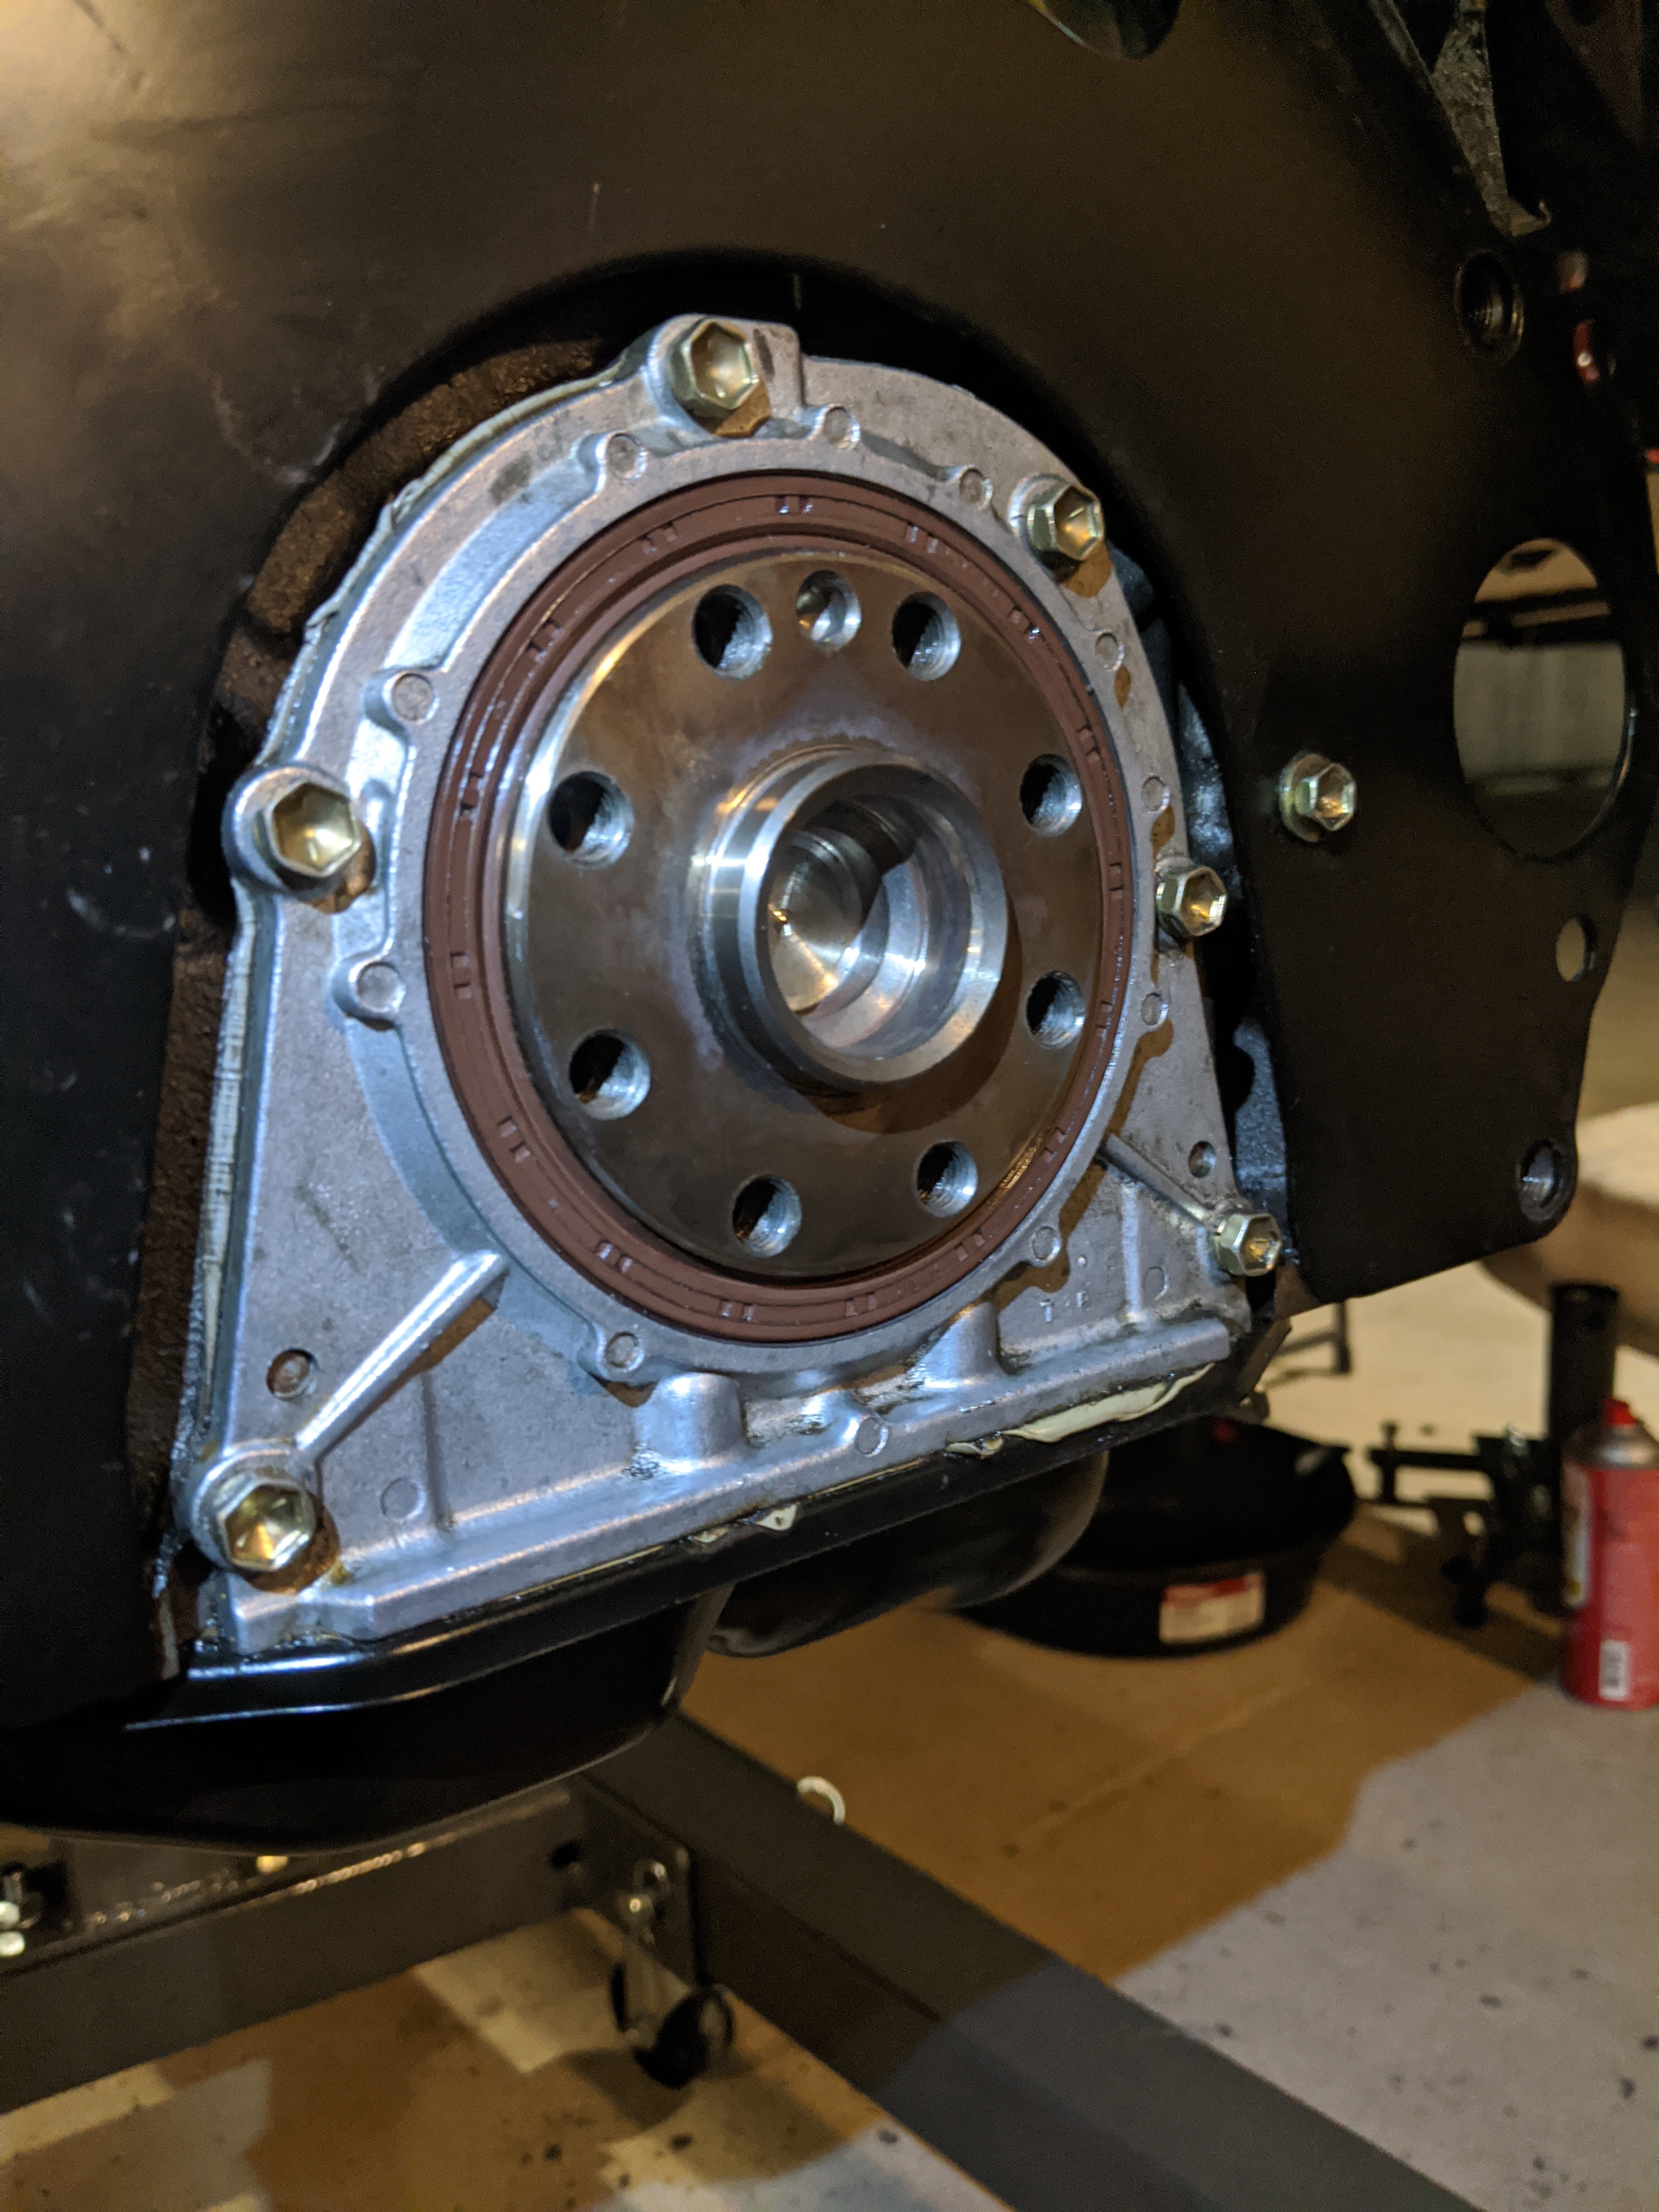
Changed out the rear main seal last night.

Special red locktite on the flex plate bolts. I did have to torch the bolts to get the old locktite residue off. Thread chaser wasn't cutting it.

Hardest part was torquing the flex plate.

I just kept the engine hanging on the hoist and use am impact to get all the bolts off and gain access to the rear main.

I also left the Engine hanging when putting the seal on. I sat down on the ground and kept the seal at eye level so I take a better look around the seal to make sure it's seated correctly. The one that was in wasn't entirely Flush with the crank seal retainer.

Per FSM it says to make it Flush....so following the book, that's what I did. Made it flush.

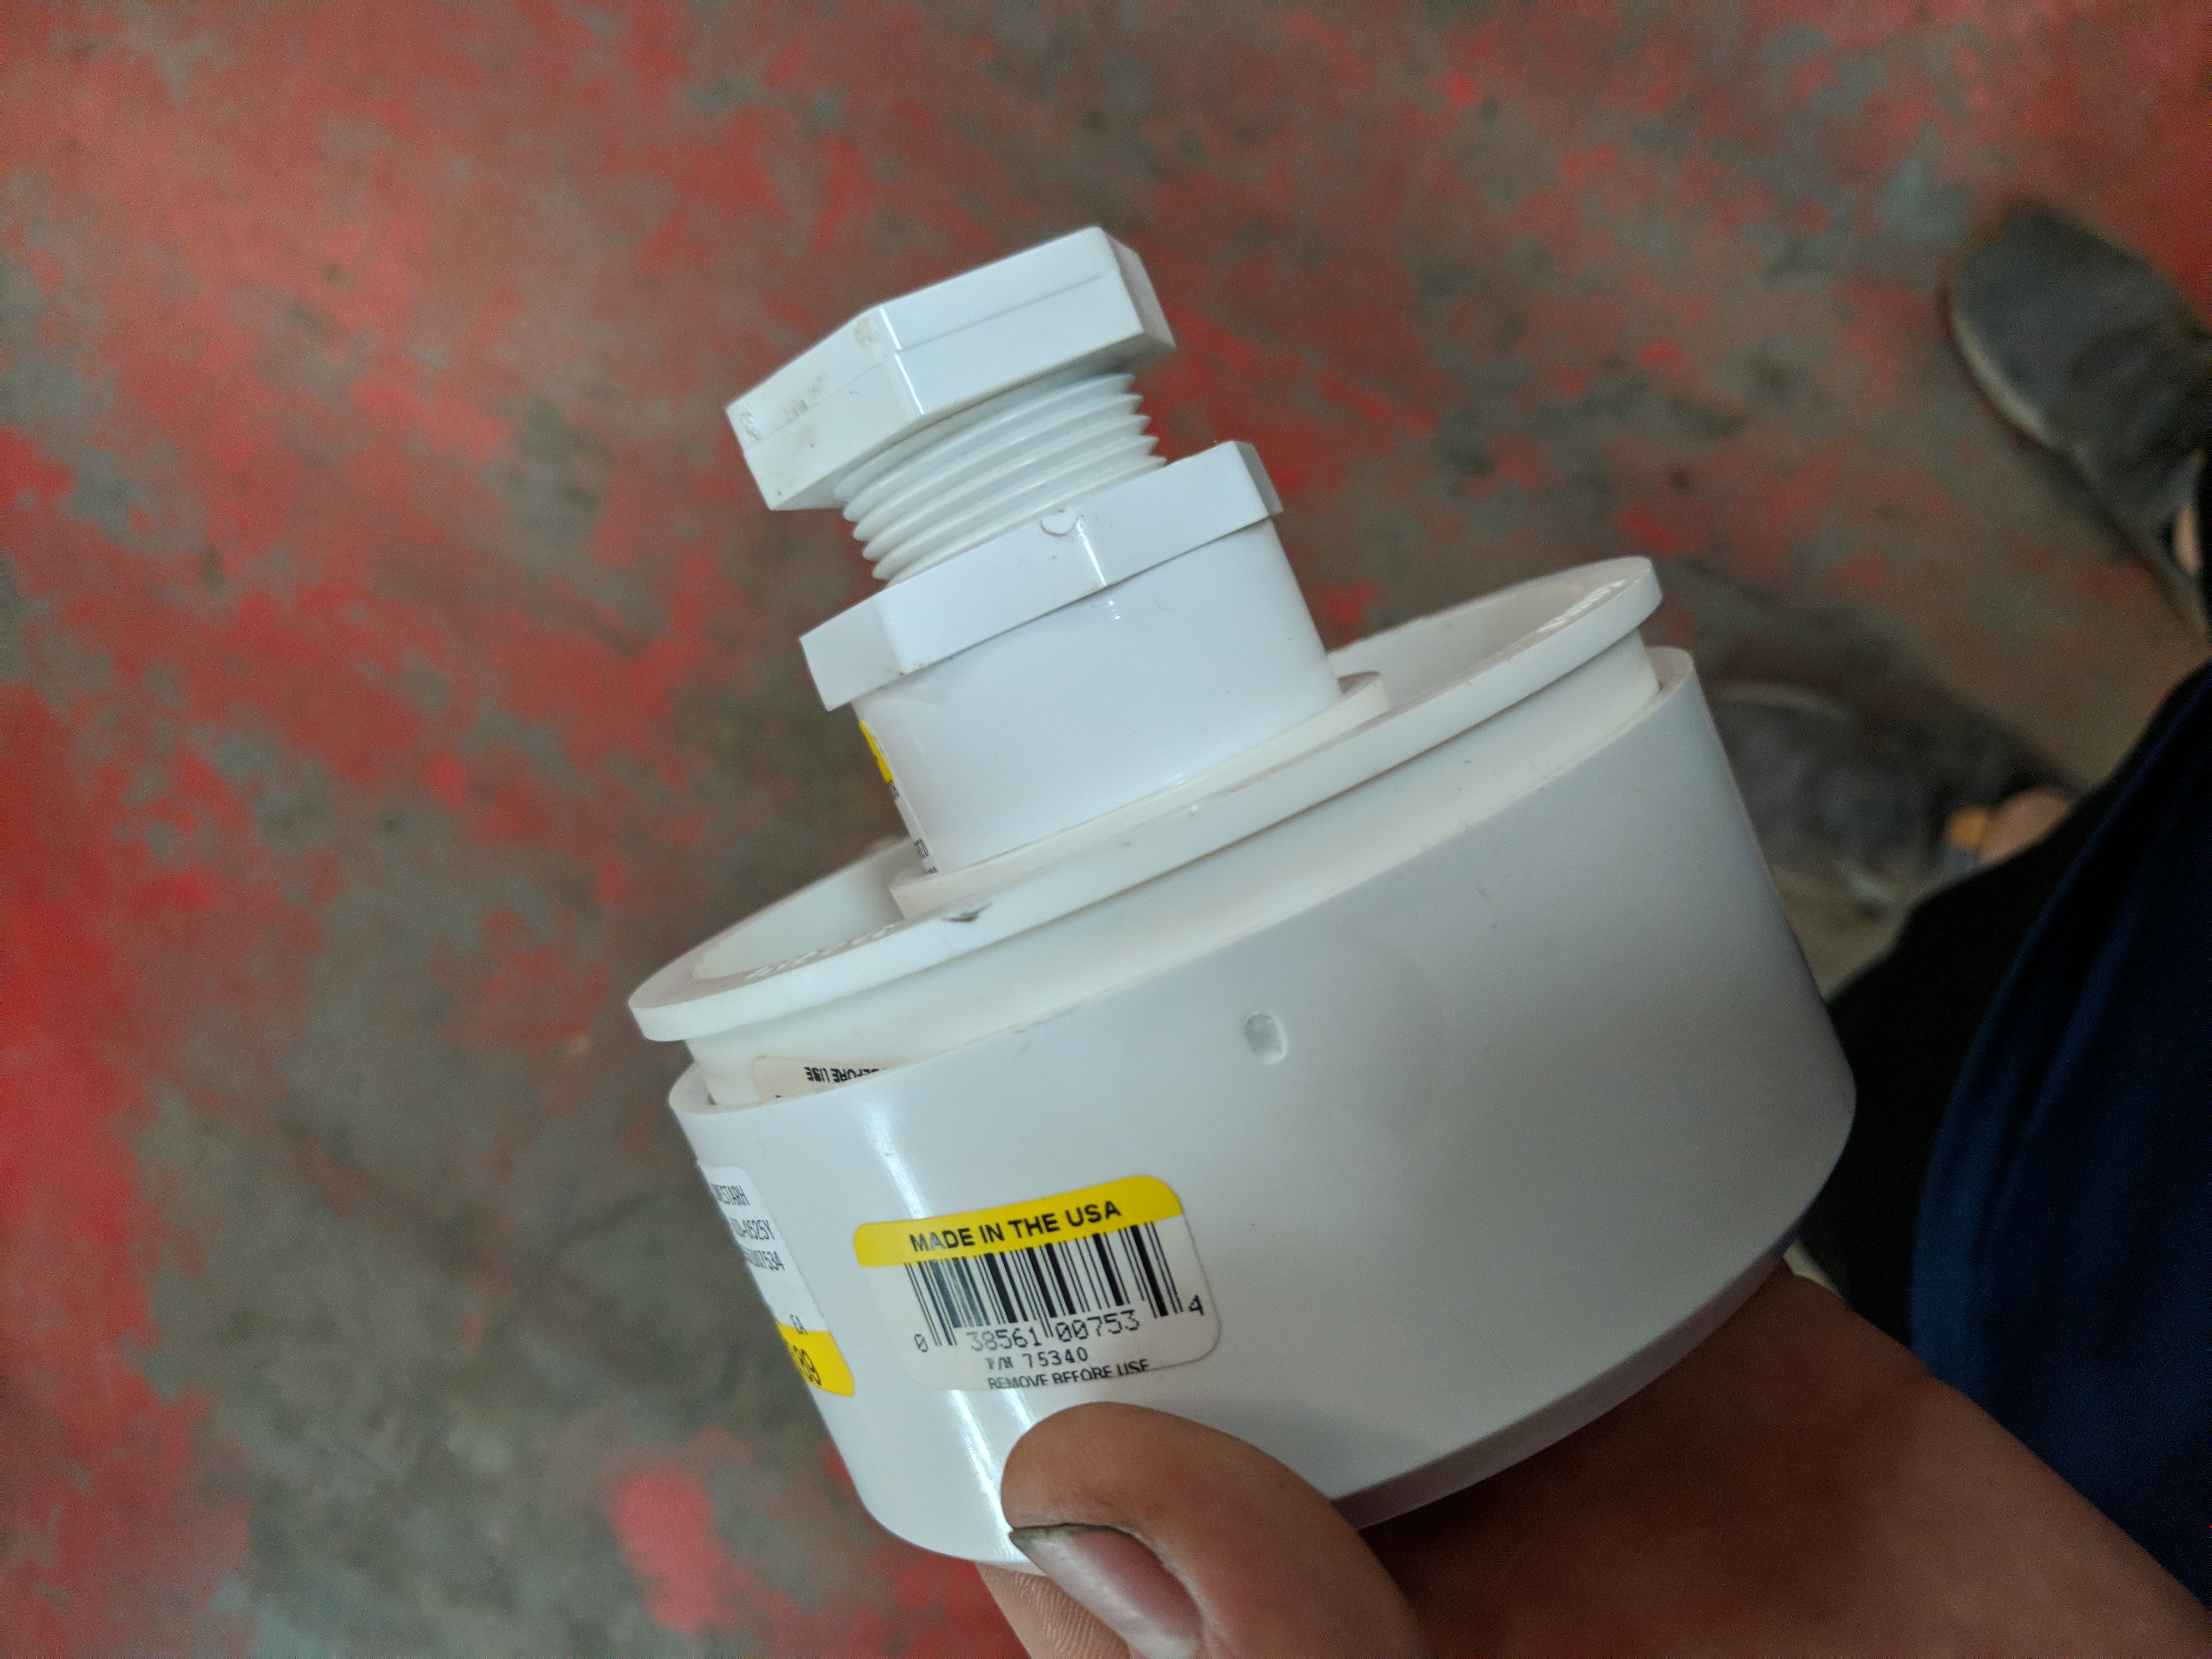
I ran to hardware store to go grab some different pieces of PVC as a seal driver

The CTC of the driveable portion of the seal is 100m on the nose. So if you can find something around 4 inch's out to out as a seal driver or with a flat bearing surface that should be good enough.

Getting the old seal out was a challenge it was in there. Made a few light scratches lol oh well. Of it leaks it leaks.
b19441ae0c9ef8abb962ec8c218bb33f.jpg
ea7c20c81f66bd741907d4687276b541.jpg
caec25d4422fee376c015292e2f81627.jpg


Sent from my Pixel 2 XL using Tapatalk
 
Last edited:
Engine Swap Update #6: She's ready [emoji16]

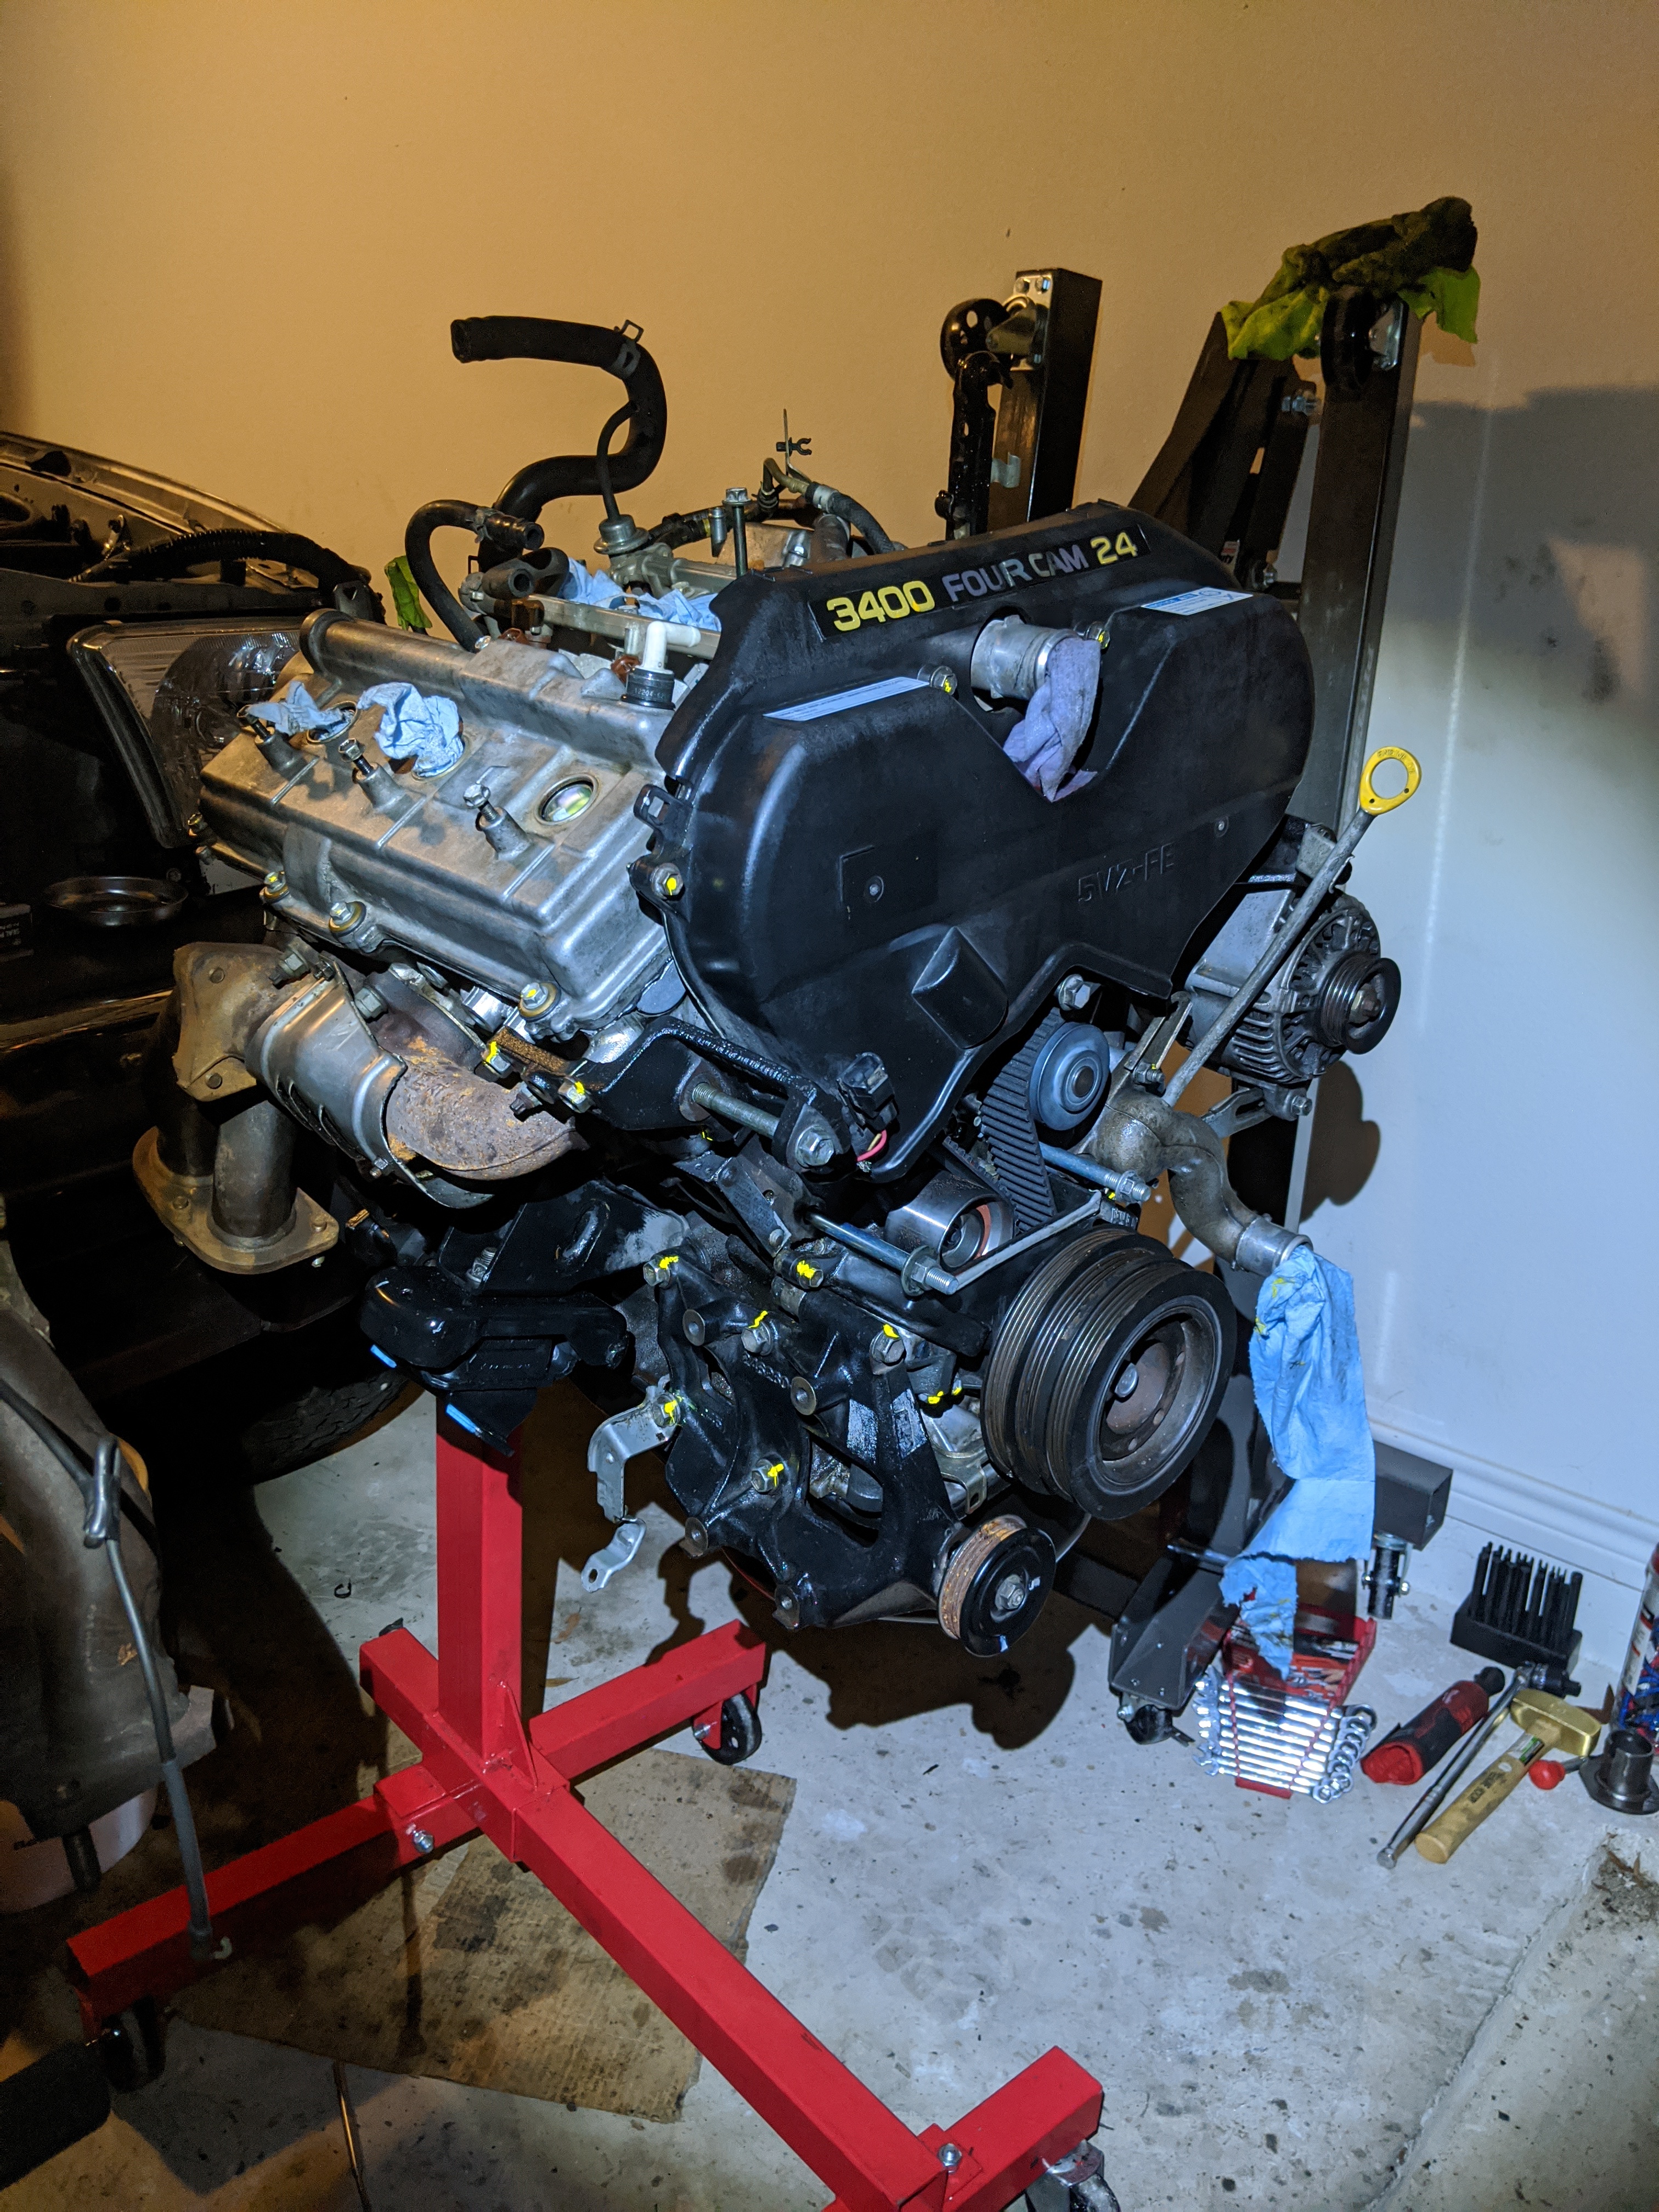
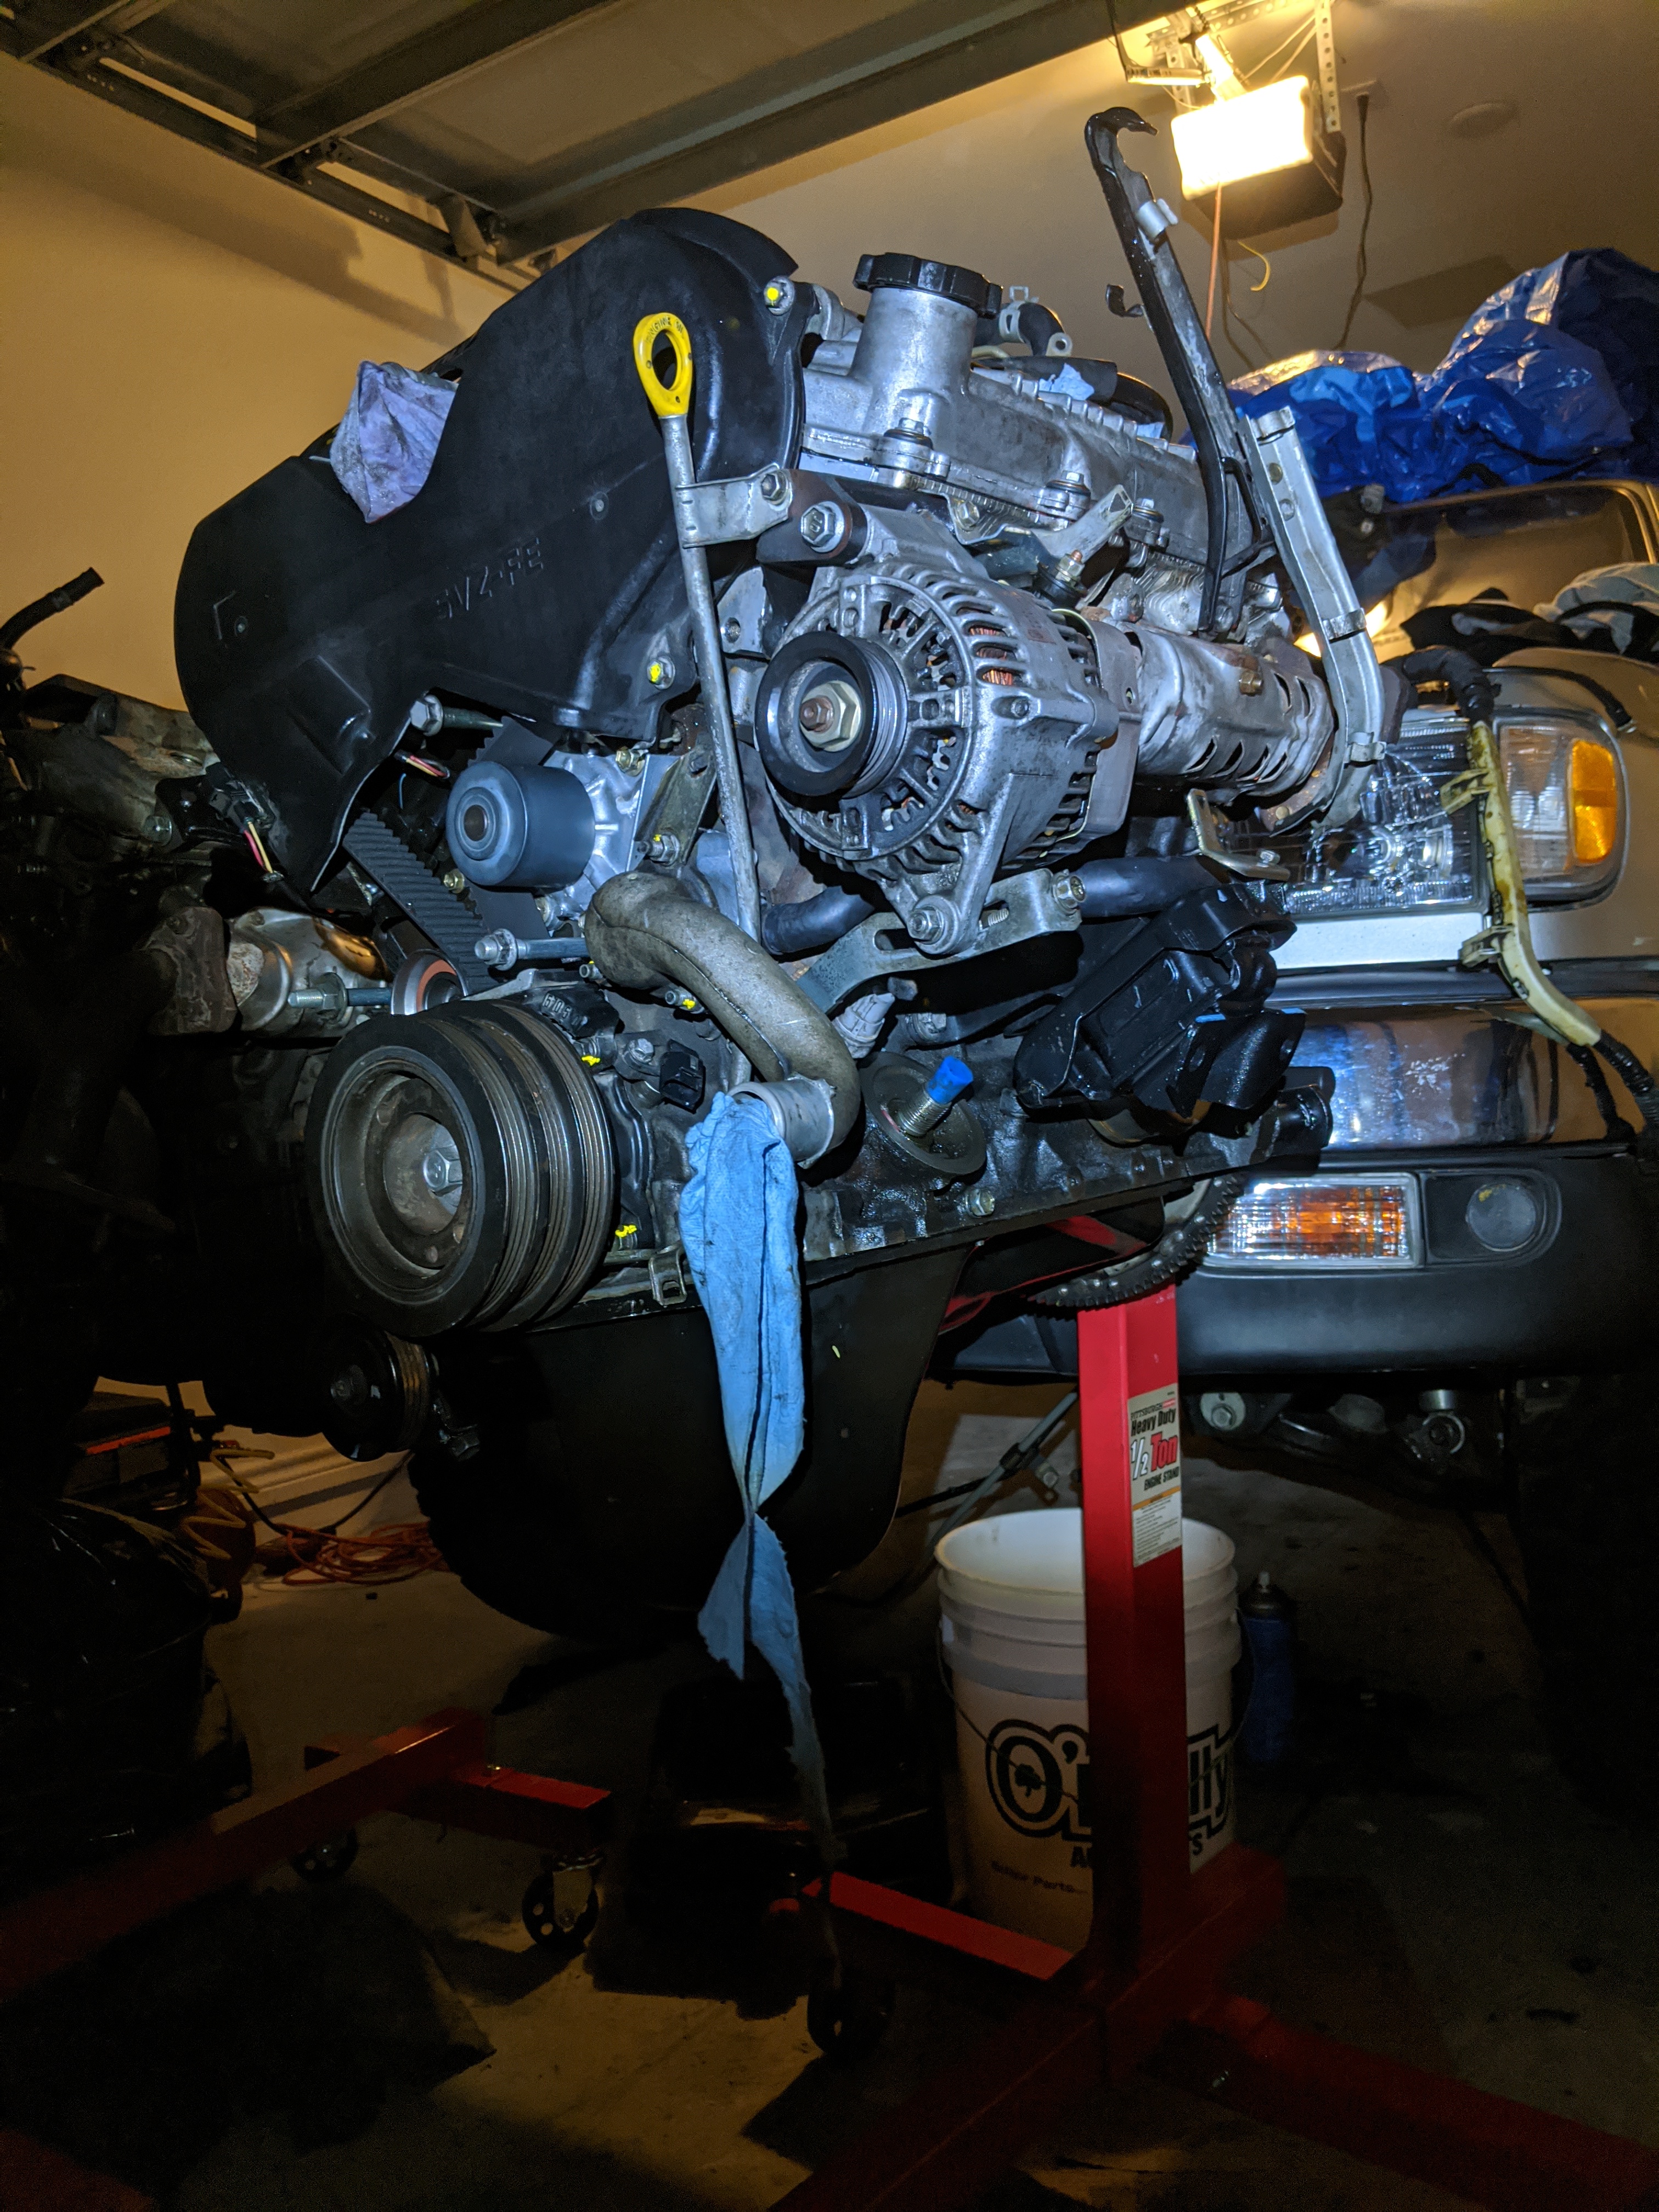
Oil pan has been sealed with fresh FPIG. I managed to use one tube of FPIG for two completely valve cover jobs and a oil pan lol

It was treat to flip the Engine over and do the oil pan this way.

Gunnna miss working on it outside the Engine.

But she is ready for her maiden voyage now. Got fresh denso plugs in her too for safe measure.

Will install engine Monday afternoon

Probably can fire it up Friday
6320ba00092866154b3886dc8fcb5972.jpg

55bb9753d19ed30bfa01be26089b2cb2.jpg

ea2421b8bdb161c8ad6ebecf50e84451.jpg
cca697a37f531be325f7817cab1e3c22.jpg
 
Last edited:
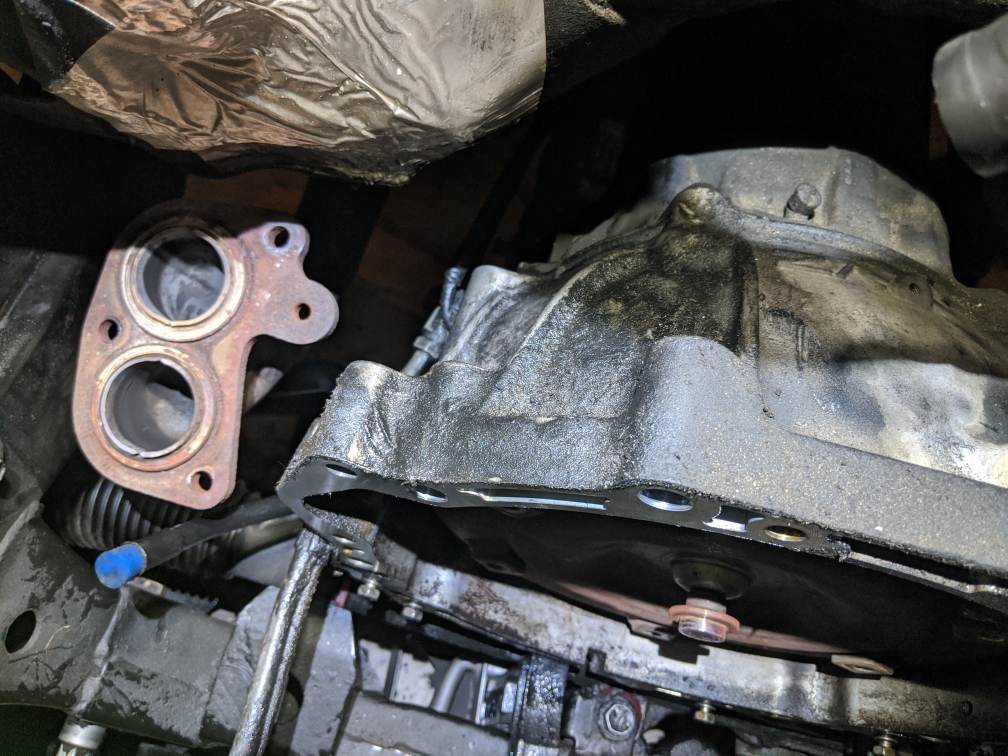
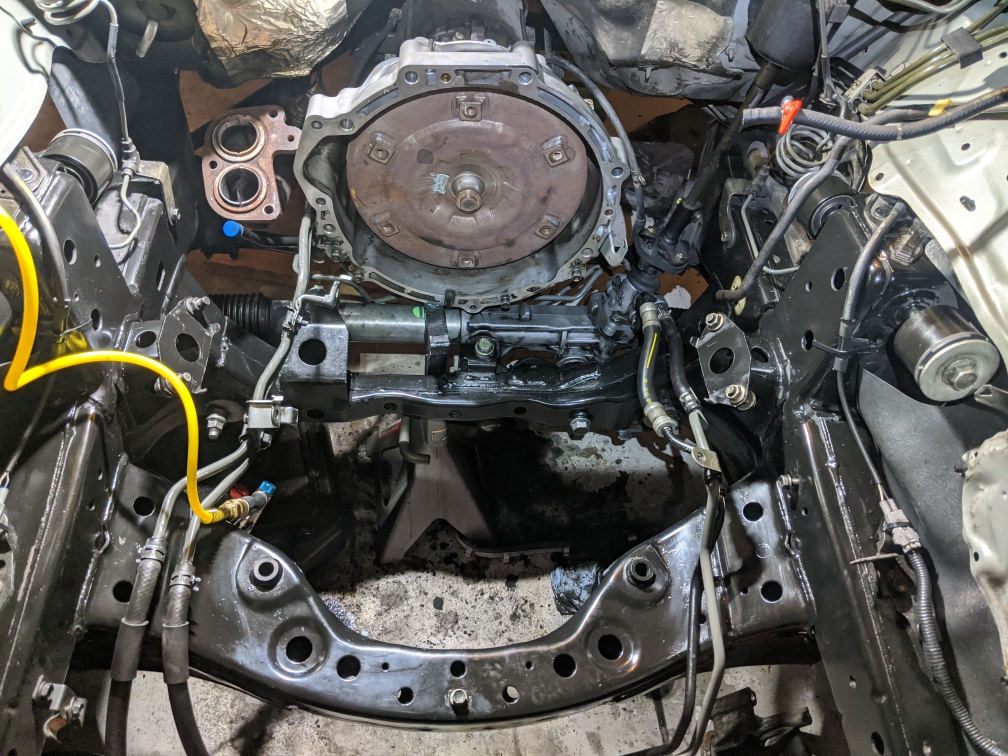
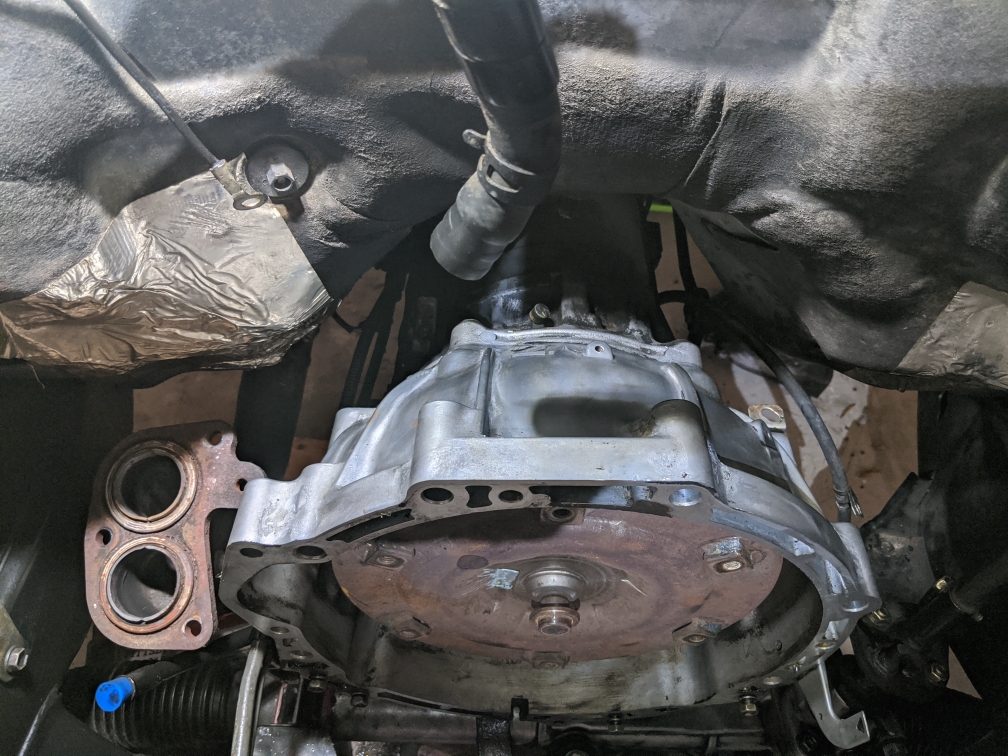
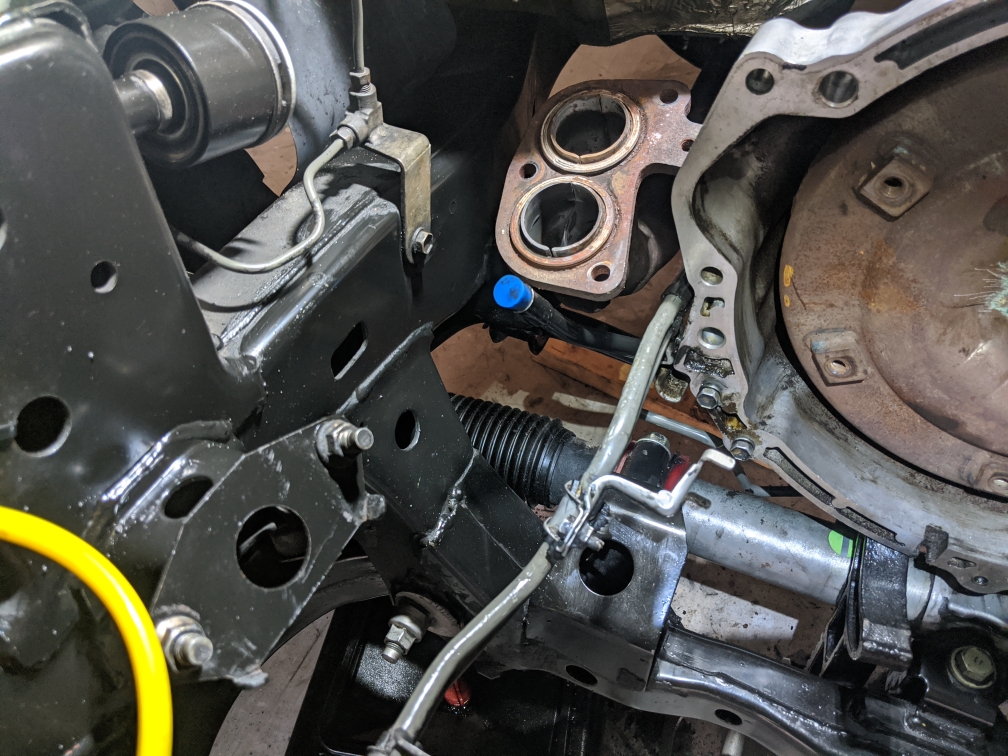
Engine Swap Update #7: Mounting Engine not so much

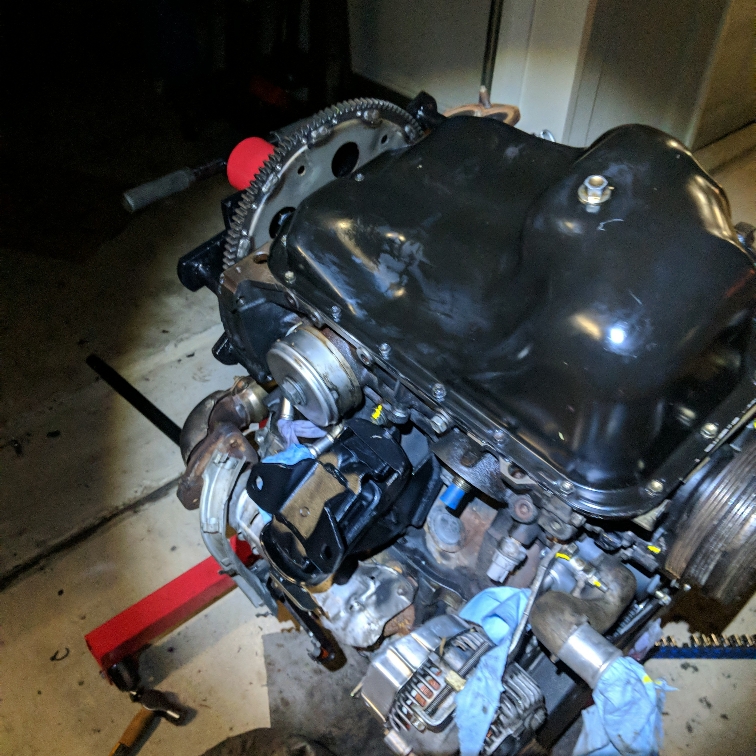
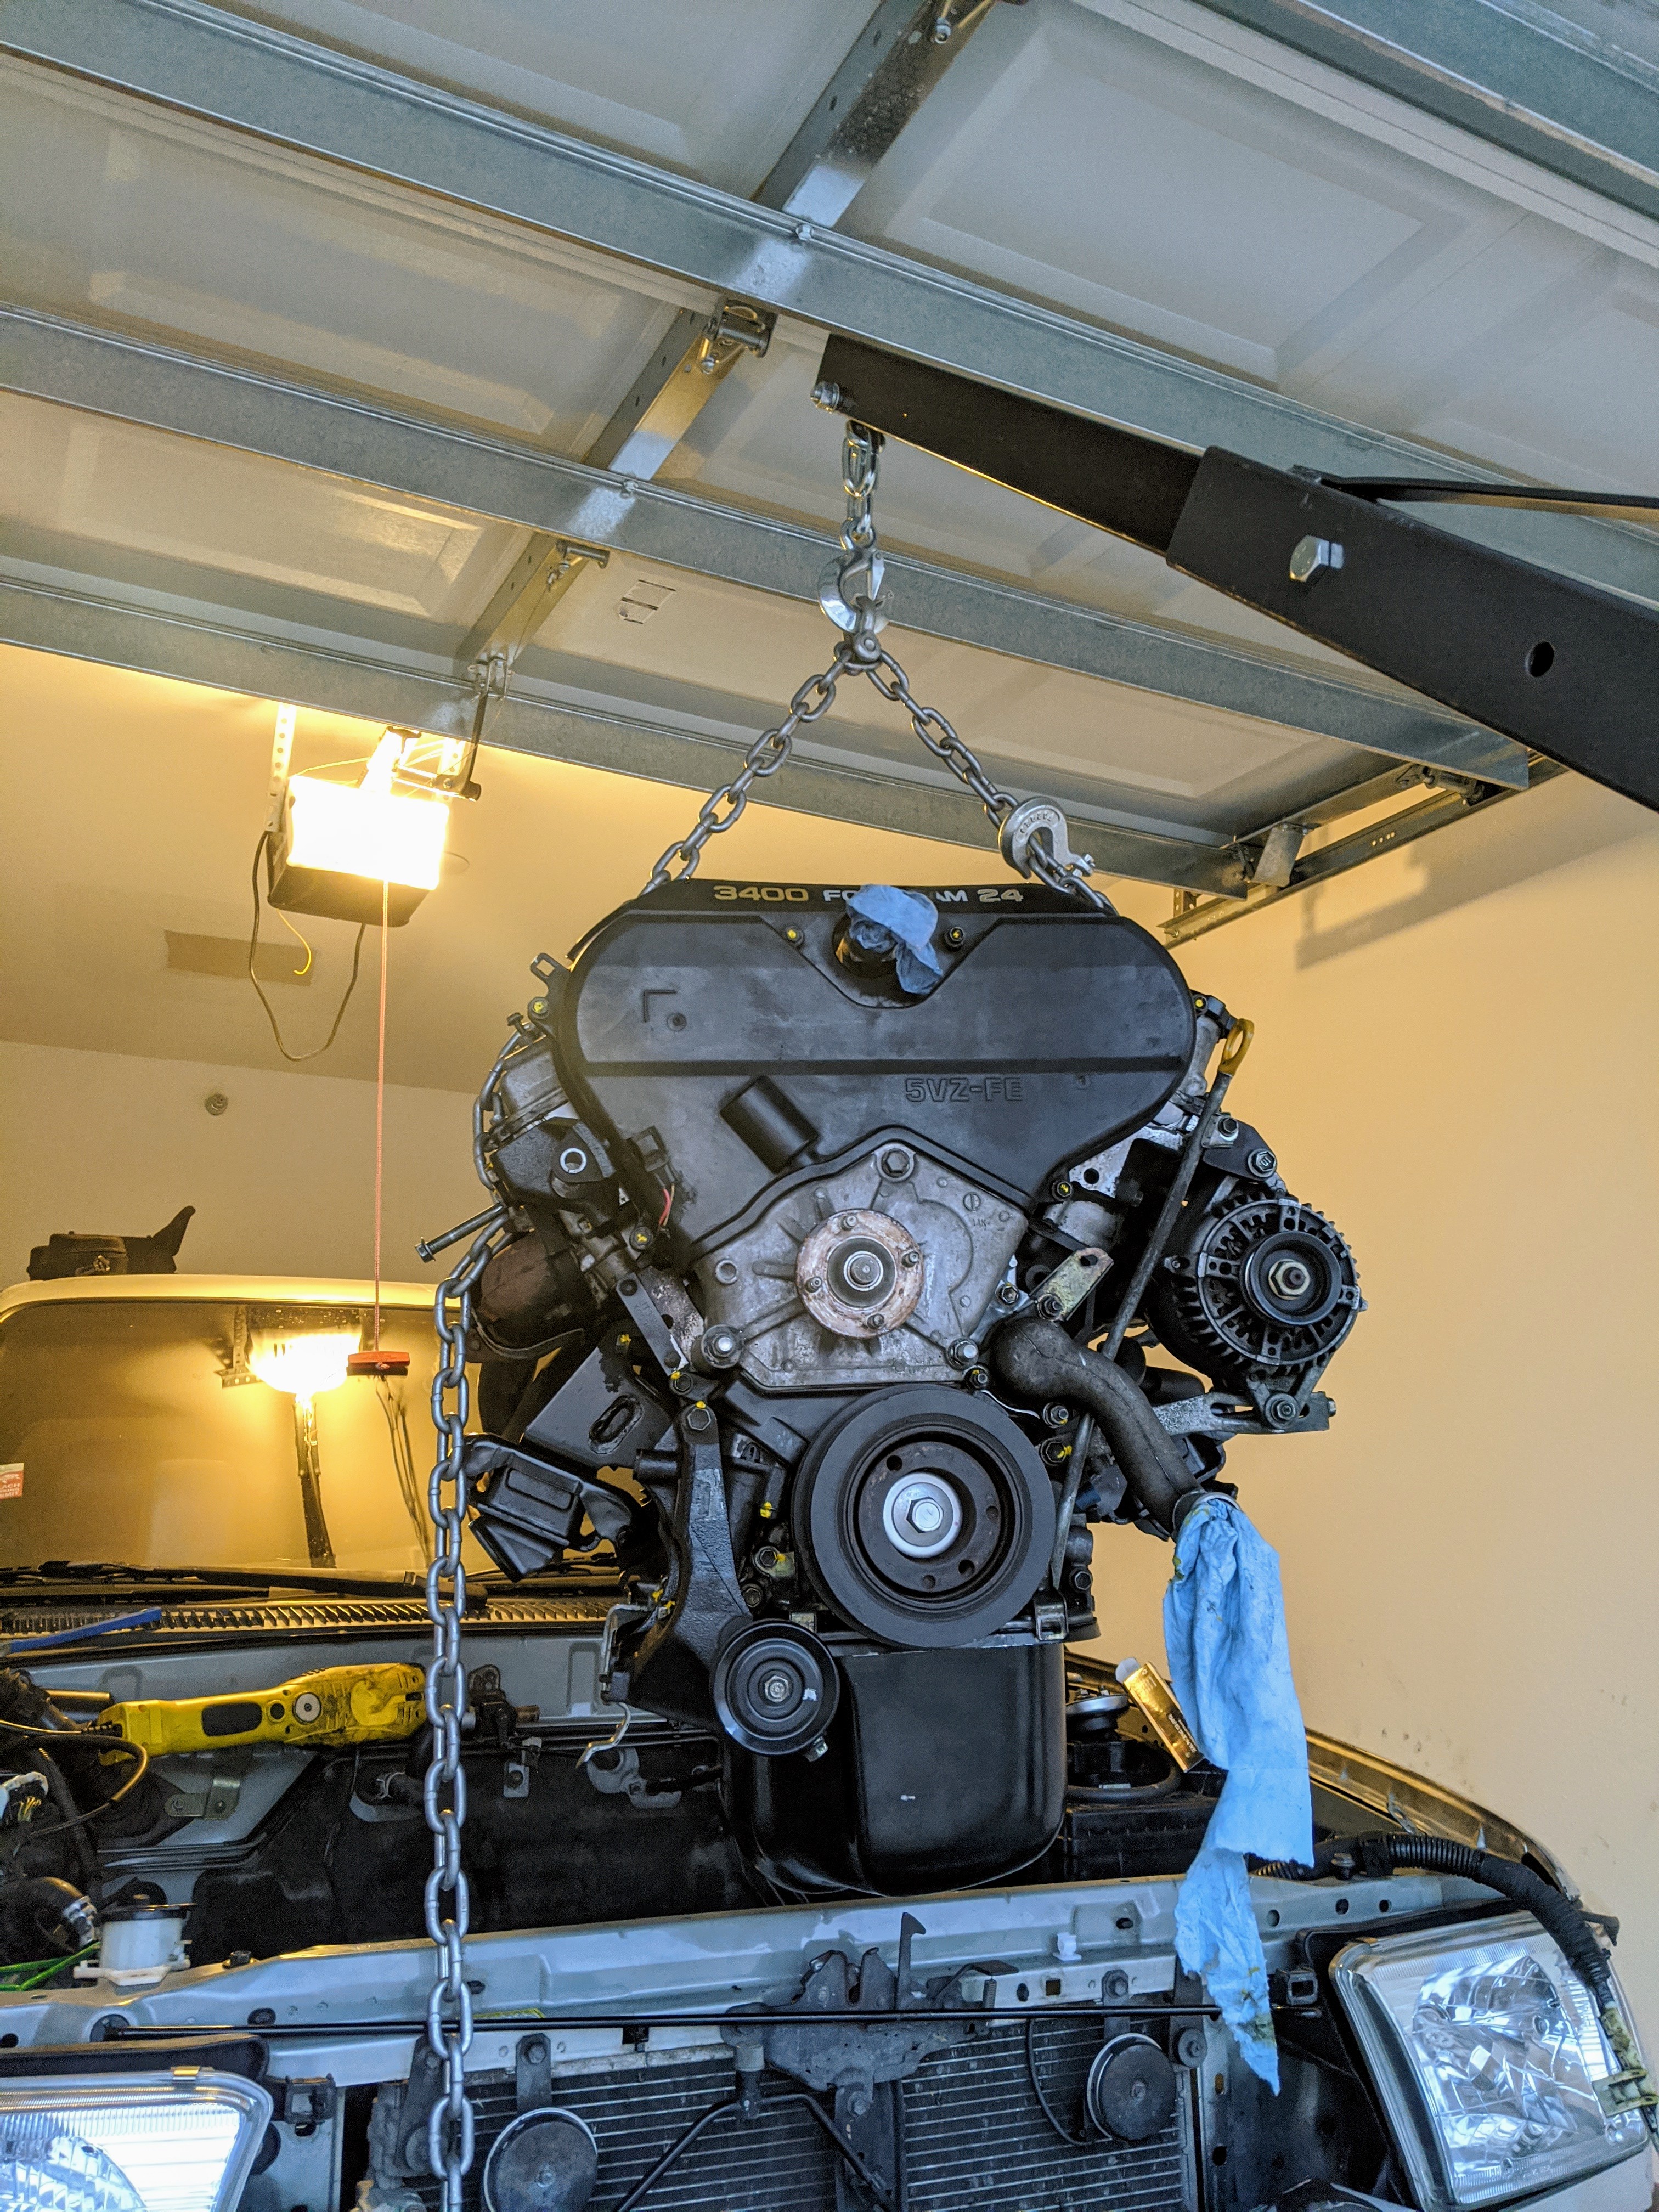
She is in the engine bay but not mounted! Lol I tired to put engine in on my own I was really close maybe a inch away but couldn't get the pins to align.

I played around with it for about an hour. You don't have any visual of the alignment pins so you really gotta go by feel and visualize it in your head

I said screw it and went to go buy a 800 lb HF transmission Jack.

So today I'm going to support transmission with jack then unbolt the cross member so I can get some wiggle room.


The transmission jack is Gunn's be super helpful because I can rotate and tilt the transmission with two knobs so in theory I should be able to get this done

It may be easier for me to pull the entire transmission back slightly then mount engine, then stab transmission back into engine after it's mounted.

Thoughts?
2e8d238343896c970e2cf5d505ddc7e0.jpg

d47e001230fb8e7fe111b4c9f2cd05d1.jpg

96085c9ac83b9111a385ff4ce7b7926f.jpg


Sent from my Pixel 3 XL using Tapatalk
 
Last edited:
I use the Harbor freight hydraulic table. I don't see why the transmission Jack would work.

Being your transmission is still in, might be easier to have an extra pair of eyes to get you lined up. :)

Sent from my SM-J337V using Tapatalk
 
I use the Harbor freight hydraulic table. I don't see why the transmission Jack would work.

Being your transmission is still in, might be easier to have an extra pair of eyes to get you lined up. :)

Sent from my SM-J337V using Tapatalk

I tired getting help, none of my coworkers want any part of it lol

Can i support the transmission from the bottom of the pan? Or do i need to support it by the outter lip (like where the bolts through the pan)
 
A leveler on the engine is the 'normal' way to do it, along with a (regular) jack under the pan to adjust the height of the front of the trans. You don't want two 'loose' items in there while trying to get them to mate up. You want that rear trans mount keeping the transmission from sliding back under the truck.

-Charlie
 
A leveler on the engine is the 'normal' way to do it, along with a (regular) jack under the pan to adjust the height of the front of the trans. You don't want two 'loose' items in there while trying to get them to mate up. You want that rear trans mount keeping the transmission from sliding back under the truck.


-Charlie
I didn't have any luck with the load leveler.

I'm Gunna put the transmission jack under the transmission and tweak it the way I need to

You bring up a good point I shouldn't have both both unsecured.

But what I can do with the load leveler I can now do with the transmission jack if not more because I have three degrees of adjustment with the transmission where as the level only had 1

Sent from my Pixel 3 XL using Tapatalk
 
Charlie is correct. I dont have 2 moving things at once. I mostly have the transmissions on the floor out of the way when I pull engines. Then get that engine back in a secured before I put the transmission back on. Just easier for me to do myself.

Sent from my SM-J337V using Tapatalk
 
I tired getting help, none of my coworkers want any part of it lol

Can i support the transmission from the bottom of the pan? Or do i need to support it by the outter lip (like where the bolts through the pan)

Bummer on the help.

I pulled my 5 speed tranny out just jacking my table against it. Wiggling off the pins then letting the table down and pulling it out from under the truck.

Tim just released a tranny removal video that may help you on your quest.
 
Got it :)

The transmission jack was where the magic happens. Once I got them relatively close, I rotated the transmission using the adjustment knobs.

Got underneath and bumped the engine by the engine mounts and just like that she was home.

I spent maybe 30 minutes getting the pins to align. Making small adjustments each time. Eventually I found if I belly surf on the driver Fender you can see 1 alignment pin, and feel around for the other.

You can't see or feel any of the pins from the passenger side.

All in two hours to get the bell housing bolts and TC torqued to spec.

Should only be a few more days now
03ecbe48aa20463caaee5512f6b19e64.jpg
 
Last edited:
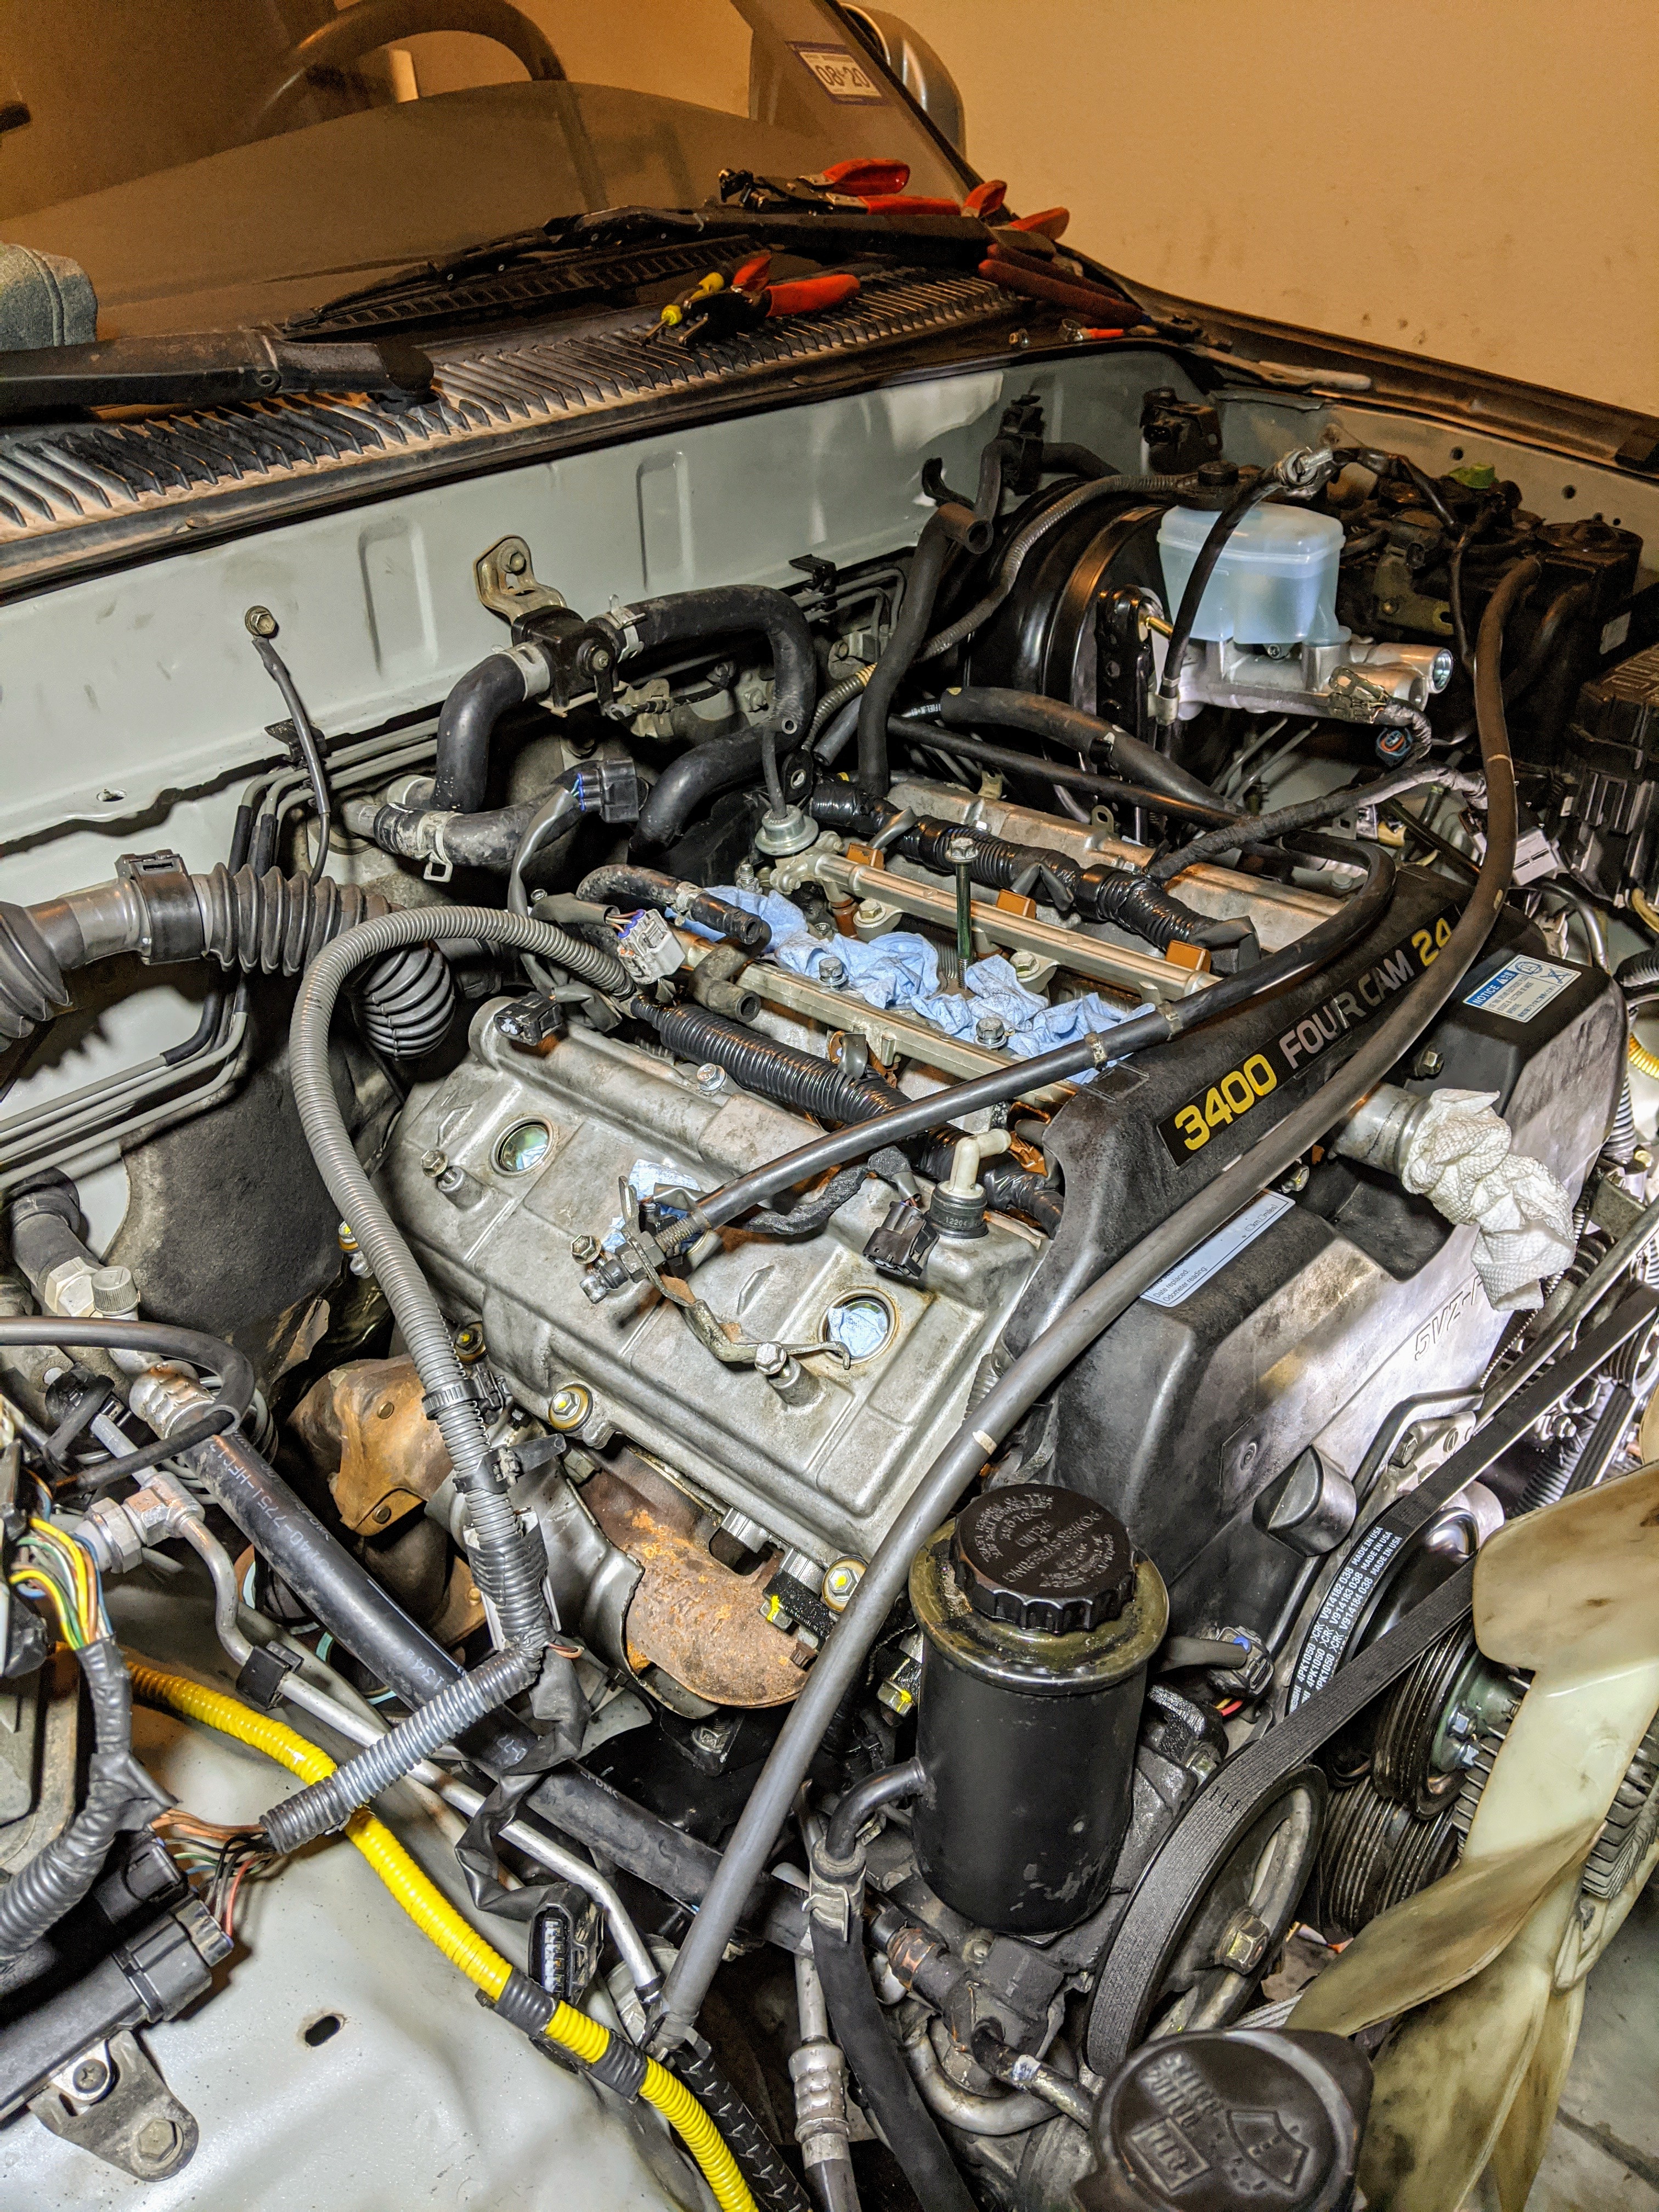
Almost there. Harness is back in I repaired a couple spots with some flame retarded corrugated wireloom. It's pretty cost effective. Cheaper than power braid and just as effective and gives a more OEM look.

So again, harness is in and plugged in, new master cylinder is in (sparkle sparkle), belt's are torqued down I got me a OTC belt tension device that makes it a breeze to set. Fuel lines and ground connected.

No AC :(

New radiator arrives Saturday still waiting on replacement starter. The first one was damaged in Transit

I actually put new denso spark plugs in as well.

This show is almost wrapped up boys!

I'm Gunna call this truck, "NoRunner" I think it's 100% on point and absolutely fitting.

Sent from my Pixel 3 XL using Tapatalk
8ffc08f061a3695b7e86c24730e77792.jpg
 
This better be OEM! Otherwise, just replace the contacts in your current (if still OEM) starter. A Denso reman is the only other reliable option. All other starters are crap.

-Charlie

Yep its an OEM starter, I got a used one coming from death cougar. He sent me one earlier but one of the female connectors broke in shipping. So he had he had to send me another and lucky for him USPS paid him for the damages.

I am not going to replace the contacts lol i know i know, i just wanna get it running this weekend.

I am going to ziptie the connection together on the current one and hope it holds.

Tomorrow should be the day.

I still gotta cross my fingers too on the front brakes dragging....the booster that was on the truck had that black gasket on the inside of he truck, and both rods on both ends of the booster were loose as could be.

The used oem one went back in, and i got the right gaskets in the right places, with a fresh master cylinder. so im praying to jesus that is the problem other wise i going to think its the ABS pump.
 

Members online

Forum statistics

Threads
278,316
Messages
3,554,109
Members
248,016
Latest member
Advally Service

Trending content

Back
Top