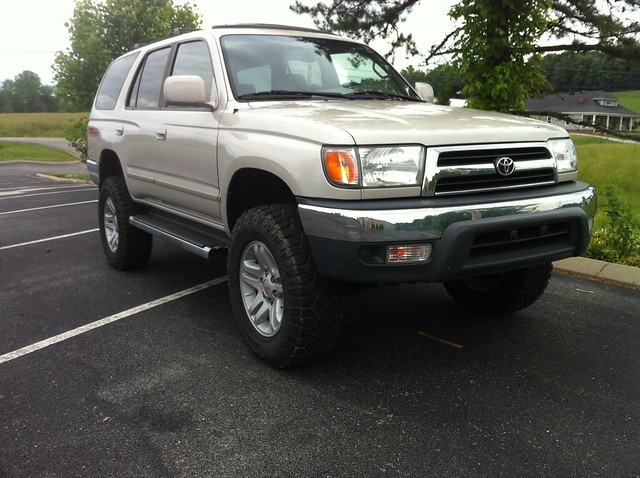
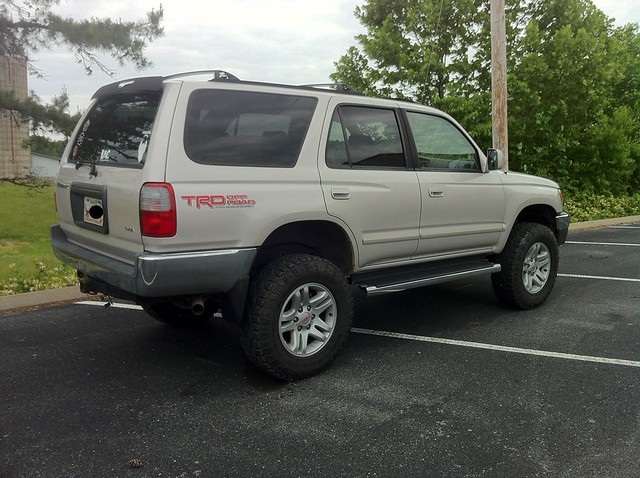
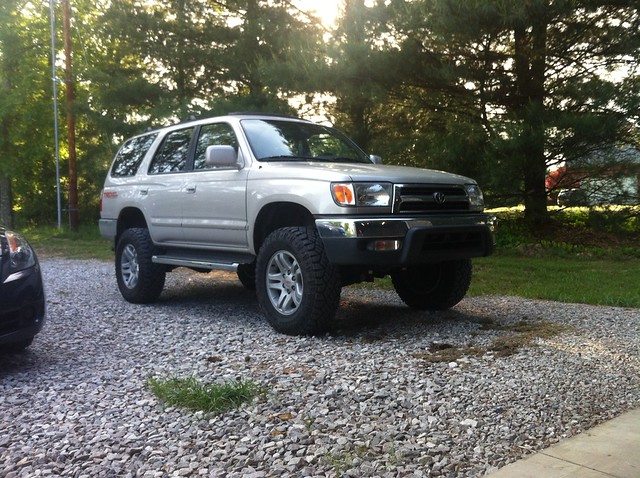
Taylor20's 99 SR5 Build

Did you do the install with the wheels on lift ramps or with a post lift? If using a post lift, did you remove the wheels? Ive heard that can make it easier to manipulate the rack.

Congrats buddy, glad you are doing well.
 
Did you do the install with the wheels on lift ramps or with a post lift? If using a post lift, did you remove the wheels? Ive heard that can make it easier to manipulate the rack.

Congrats buddy, glad you are doing well.


Post lift, I had the wheels off because I also did inner and outer tie rods and lbj's.
 
This is such an amateur thing to ask but how did you mount that maglite to trans tunnel with the carpet and everything in the way? Did you drill through the carpet and if so, how do you drill through carpet in the first place? I'd think that the bit would get wound up in the individual fibers and just create a huge mess.

 
This is such an amateur thing to ask but how did you mount that maglite to trans tunnel with the carpet and everything in the way? Did you drill through the carpet and if so, how do you drill through carpet in the first place? I'd think that the bit would get wound up in the individual fibers and just create a huge mess.

Self-tapping screws could be used, could still grab and pull the carpet but not as bad as a drill bit. I like the idea too, bummed our SR5 seats are different than the limiteds with the extra plastic.
 
Self-tapping screws could be used, could still grab and pull the carpet but not as bad as a drill bit. I like the idea too, bummed our SR5 seats are different than the limiteds with the extra plastic.

Been thinking about this a lot recently, and would taking a razor and shaving off the fibers where you wanted the bolts to go make a difference when it's drill time?
 
The light mounts come with screws that work perfect. Just figure out where you want the mounts and screw them down.
 
In preparation of the big day tomorrow. I promise my build will continue in the near future.
u9e9e7aq.jpg
 
Hey what's up nice runner! I haven't been posting much here lately so I just read ur pms! We gonna have to meet up and go wheelin sometime. Pm me ur #
 
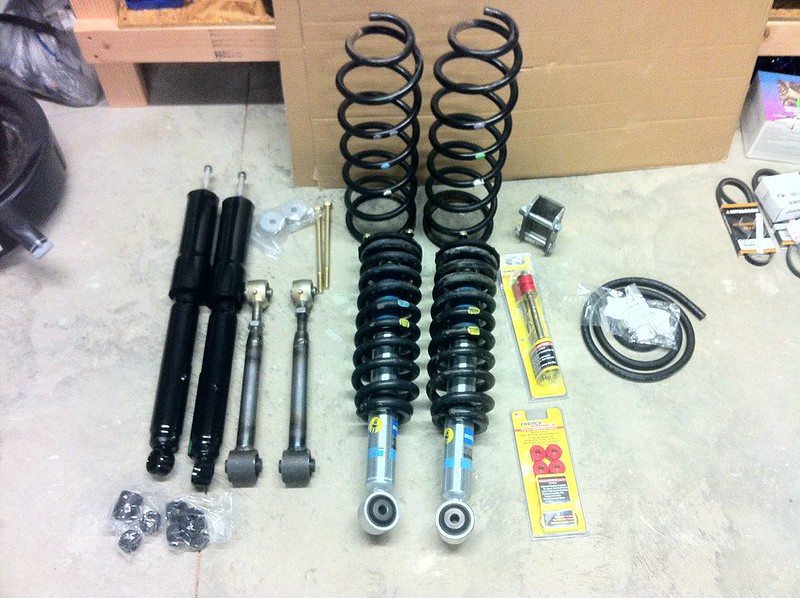
Just a small update. I have almost everything for my lift. First weekend I get a chance, it will happen!

Untitled by danieltaylor2, on Flickr

Lift consists of:
TRD springs mounted on Tundra 5100 billies, 2nd perch
Toytec diff drop
LC 8 Wraps ( Purple, Green, White & Double Purple, Dark Blue, White )
LC OE Tokico black shocks
Toytec panhard drop bracket
Energy suspension rear sway bar links
Rear adjustable UCA's
Diff breather extension

So ready to have this installed.
 
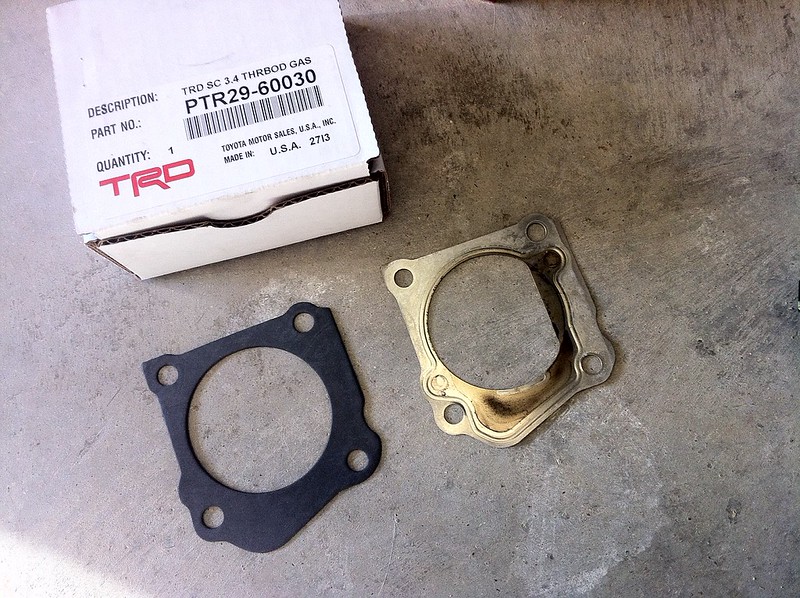
Small update today. Cleaned the throttle body and mass air flow sensor. Replace the throttle body gasket with the TRD "O" gasket. Started on replacing the fuel filter, however, the fitting for the outlet line is rusted and is rounding off. (yes I am using a line wrench. 10 years in the industry has taught me a few things). Since the line is cheap, I am ordering it and will just have some fun replacing it.


Untitled by danieltaylor2, on Flickr
 
Today I decided to replace the shifter bushings due to a small amount of play. (removed write-up info)
 
Last edited:
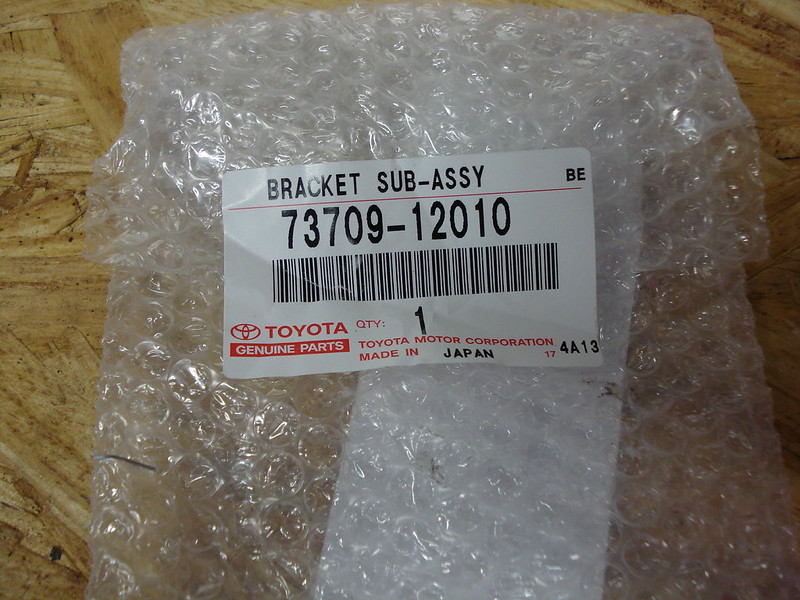
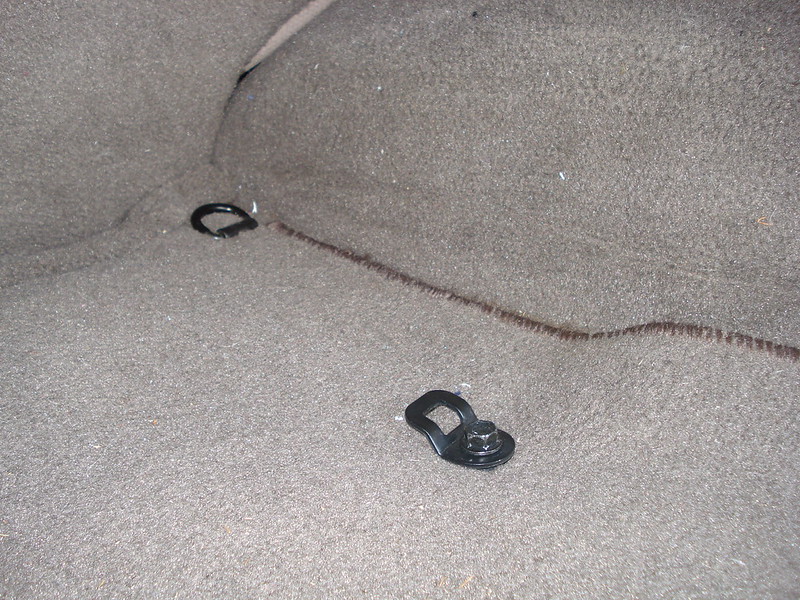
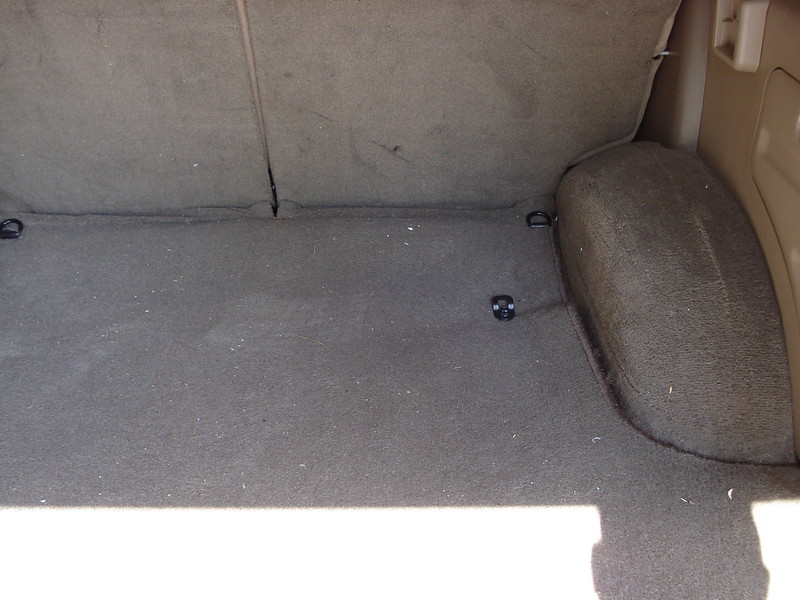
Worked on a few more things today. First was installing an add-on offered by Toyota. It is a child seat tether bracket to anchor forward facing child seats. I will be needing it eventually as the kiddo is growing like a weed. Fairly easy install. Lift up the carpet in the cargo area on the passenger side and locate the hole that is already there. Poke a hole in the carpet at that spot, screw in the bracket. Done.
DSC03897 by danieltaylor2, on Flickr
DSC03895 by danieltaylor2, on Flickr
DSC03896 by danieltaylor2, on Flickr

Up next was to finally replace my fuel filter. I also had to replace the front fuel line due to rust. Fairly easy job. For anyone that needs the part number for the fuel lines, there are 2 different numbers for front and rear:
Front side:
7/2000 or before: 77251-3D140
8/2000 and after: 77521-3D350

Tank side:
7/2000 or before: 77252-35350
8/2000 and after: 77522-35370
 
Last edited:
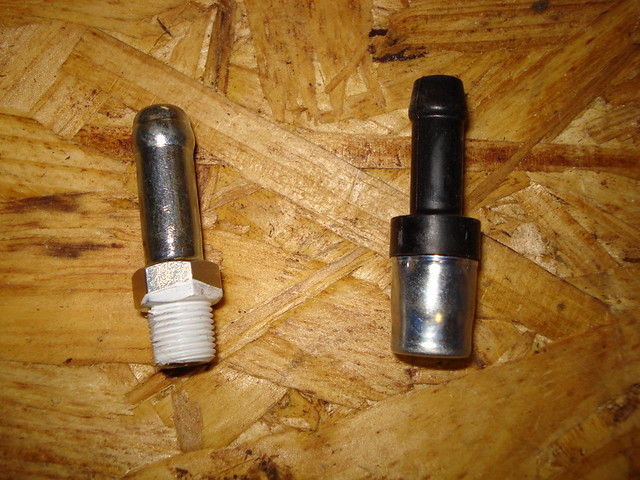
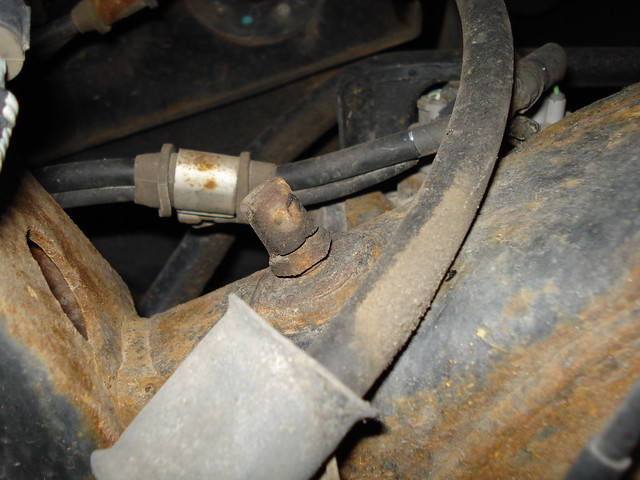
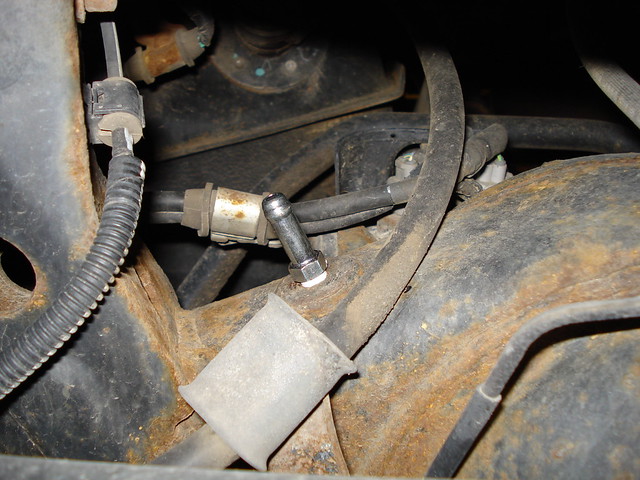
Up next was finally installing the extended rear diff breather.
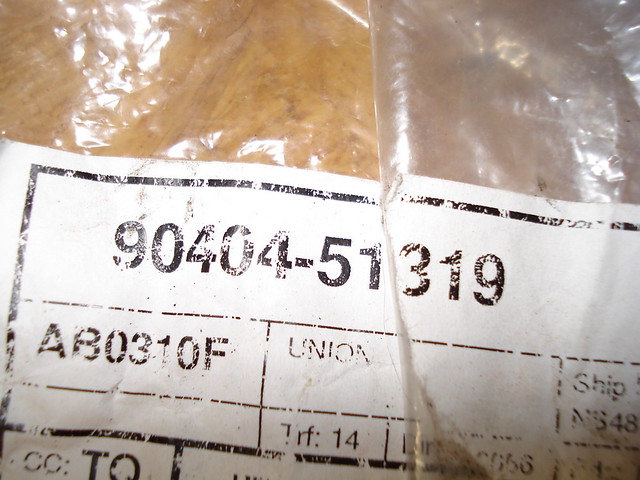
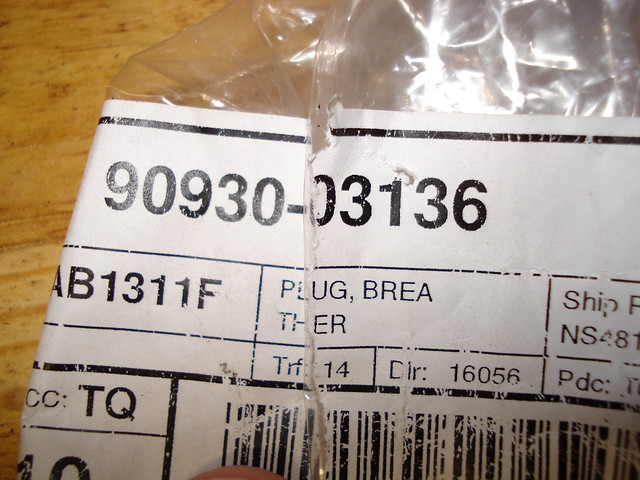
Left is the union after I added some Teflon tape, right is the new breather.


First, I located the old breather, removed it, and installed the new union.


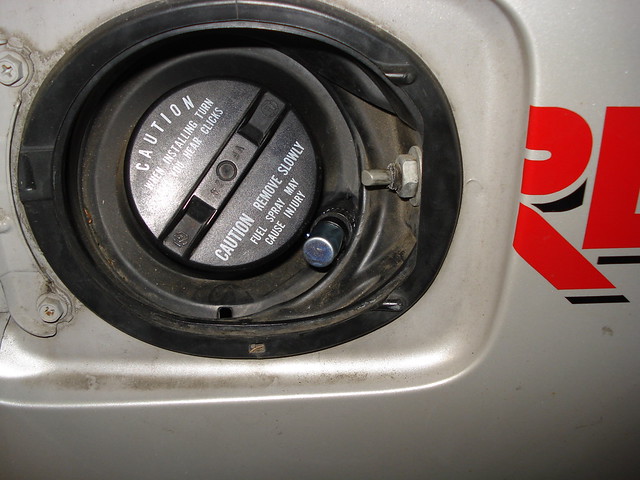
Next I removed the 2 bottom clips holding the fuel filler tube cover on, as this will make it easier to route the hose. Then I poked a hole in the gas cap area and started pulling the hose through with the new breather installed.


All done.
 
Last edited:
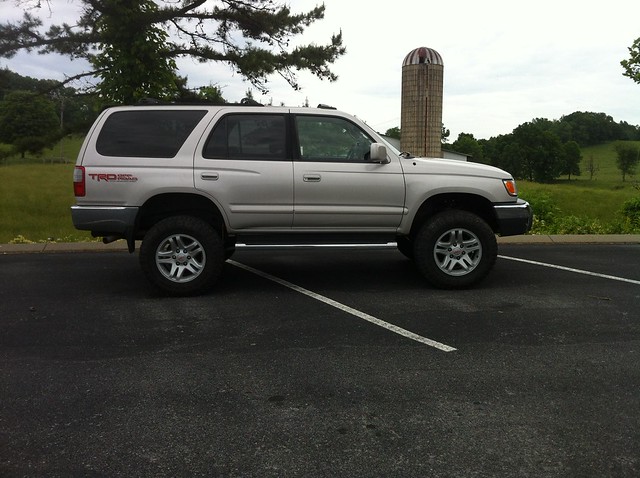
Lift has finally been installed. Need to weigh the rear down some, create a pair of extended swaybar links for the front, and replace the swaybar bushings with polyurethane on the front and rear. Then time to save up for some sliders to get rid of those nasty running boards, gotta keep the wife happy.


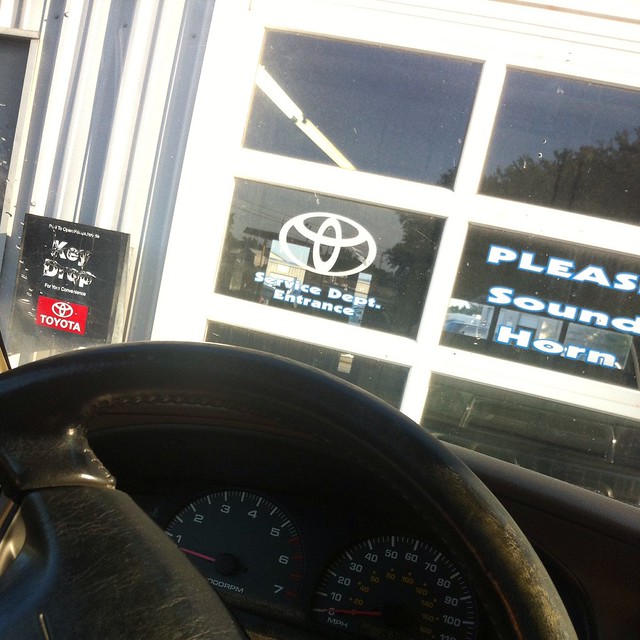
And she got an alignment from my new place of business. Finally offered a job at my local Toyota dealership as a service writer, after trying for several months.
 
Last edited:

Members online

Forum statistics

Threads
278,312
Messages
3,554,089
Members
248,016
Latest member
Advally Service

Trending content

Back
Top