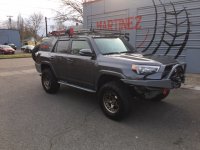
The Grey Ghost Build Thread

you might need some skid plate spacers.

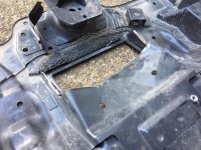
I already have spacers because of my lift. But still have the stock skid. I just had to beat and manipulate the venbt in the middle of the skid, thats what hit with the longer filter. But the shorter 1085 filter would clear fine.

Also I dont think the TRD skids or other aftermarket have a large vent sticking up do they? at least not as much
 
I already have spacers because of my lift. But still have the stock skid. I just had to beat and manipulate the venbt in the middle of the skid, thats what hit with the longer filter. But the shorter 1085 filter would clear fine.

Also I dont think the TRD skids or other aftermarket have a large vent sticking up do they? at least not as much

not sure about the TRD skids, but i can't imagine them being any different than your OEM skids in terms of clearance towards the differential side.
 
not sure about the TRD skids, but i can't imagine them being any different than your OEM skids in terms of clearance towards the differential side.

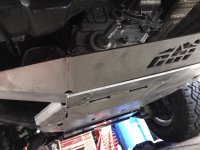
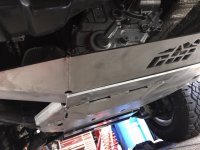
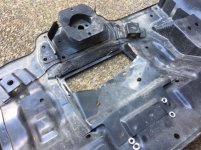
yea they are very different, Ill try to get pics later of skid. The factory one has a large mesh vent in the middle with a large steel sticking up above it, I dont think the TRD skid has that sticking up on top. Thats why the website recommends the TRD skid for clearance. Or you can just cut that spot off the factory skid like I did
 
I also finished installing my air manifold for the compressor and plumbing lines. I havn't run a line to the rear yet.

But you can see how i decided to mount the front quick connect air fitting. I can just hook a hose up in front bumper and air up tires or whatever.

What mount did you use for this compressor?
 
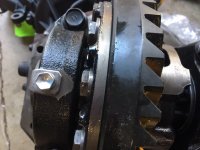
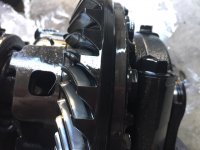
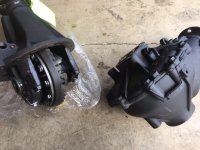
4.88 gears arrived today! What I like about East Coast Gear Supply is they build the diffs for you and you just swap them and return the old ones to get your core back, quick and simple that way.

Hopefully Ill get this done next weekend
 

Attachments

  • gearset arrived 4.88.JPG
    gearset arrived 4.88.JPG
    132.2 KB · Views: 990
Look at the difference in thickness of the 4.88 gear from the stock gear, almost twice as thick lol Had a hell of a time getting new diff to go in because the gears didnt seem like they would fit. they scraped a bit on the outside of the case going in and had to wiggle the pinion back and forth but the rear is finally in
 

Attachments

  • thick.JPG
    thick.JPG
    110.8 KB · Views: 982
  • thin.JPG
    thin.JPG
    90.7 KB · Views: 975
Front and Rear Gears are in finally, had an issue with the rear being locked and a bunch of lights flashing on the dash, turned out I had installed the rear locking motor with the internal gear in the wrong positon. Had to drain most of the oil and flip the little gear in the hole to the opposite position and reassemble. Whew! Finally done and successful test drive
 
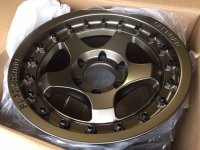
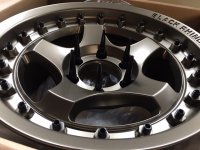
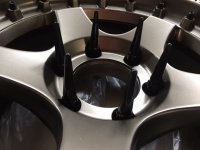
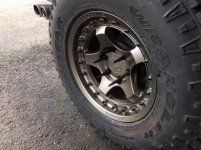
I got some Black Rhino Bantam bronze wheels and some steel black spiked lugnuts, gonna look badass once I get them mounted. I was gonna wait for the 35" tires but I can't wait lol Gonna mount them now
 

Attachments

  • first look.JPG
    first look.JPG
    111.2 KB · Views: 895
  • first lookwithspikes.JPG
    first lookwithspikes.JPG
    108.5 KB · Views: 905
  • first lookwithspikes2.JPG
    first lookwithspikes2.JPG
    83.2 KB · Views: 895
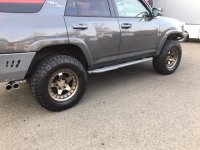
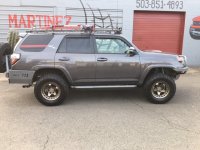
Mounted! I don't care what the haters say it looks bad ass lol some people just have different tastes though. But it definitely looks mean
 

Attachments

  • installed.jpg
    installed.jpg
    53.9 KB · Views: 885
  • side right shot.JPG
    side right shot.JPG
    134.9 KB · Views: 986
  • side shot1.JPG
    side shot1.JPG
    130.2 KB · Views: 852
  • front side shot.JPG
    front side shot.JPG
    128.7 KB · Views: 839
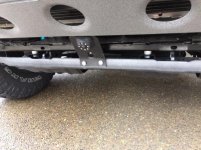
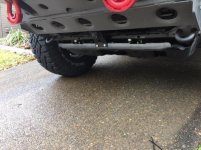
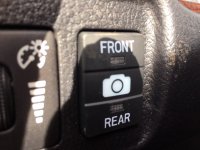
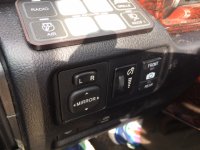
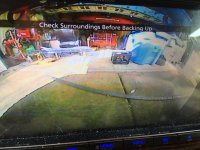
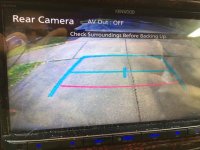
Today I installed the wiring and switch from anytimebackupcamera.com so that i can utilize my rcok camera and with the flip of a switch can view the front or rear camera at any time while driving.

I realize its not the best placement for the front camera as it will get hit. Later I will move it up into one of the holes on the bottom of my bumper to better protect it.

But the idea of being able to see over a drop off im going over or see a potentially dangerous rock underneath will be useful I think.
 

Attachments

  • camera1.jpg
    camera1.jpg
    58 KB · Views: 785
  • camera2.jpg
    camera2.jpg
    56.4 KB · Views: 771
  • button close.JPG
    button close.JPG
    98.1 KB · Views: 758
  • button far.JPG
    button far.JPG
    117.3 KB · Views: 780
  • front view.JPG
    front view.JPG
    136.3 KB · Views: 773
  • rear view.JPG
    rear view.JPG
    124.3 KB · Views: 761
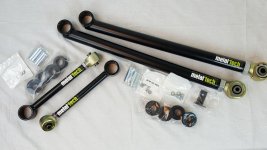
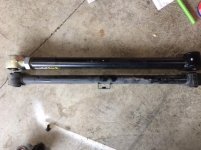
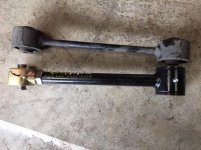
I got my Metaltech 4x4 rear links installed this week. he uppers you can see a huge difference in size the lowers I don't know how much stronger they are or not but feel heavier. The main point hough is just being able to adjust them slightly longer about 1/4" to compensate for the 3 inch lift and put the axle and pinion angle back where they should be.
Im also gonna order the panhard correction kit soon and get that welded in
 

Attachments

  • ordered.jpg
    ordered.jpg
    93.5 KB · Views: 926
  • lower compare.jpg
    lower compare.jpg
    46.4 KB · Views: 891
  • uppers compare.jpg
    uppers compare.jpg
    50.9 KB · Views: 892
I am impatient, I hate waiting but I ordered an SSO roof rack with extra cross bars and my CBI skid plates in aluminum.
 
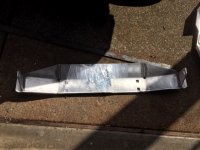
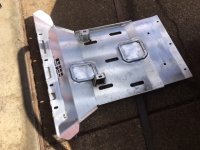
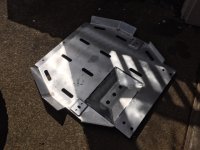
Ok so I just got my CBI front and rear skids today installed and this is my experience. These were the aluminum front and rear.

First, man the clearances for the holes are super tight so it took a lot of wrangling to get them all on and bolt holes lined up. Had to use the bolts themsleves and a ratchet to bring everything together.

You definitely need to run a M8x1.25 tap into the bolt hole for rear crossmember because the factory paint in the threads will not allow you to thread in the bolts.

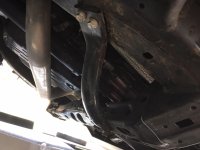
The instructions need to be updated with a few things. I also found that I had to remove the factory braces ant the rear crossmember, that was not in the instructions at all.

Also, I was missing several of the 3/8-16 nuts so I had to run to the hardware store.

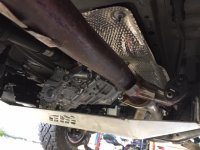
You can see in one pic below that my URD Y-pipe just barely clears by 1/4" I think the factory Y-pipe would hit it for sure!
 

Attachments

  • crossmember bolt.JPG
    crossmember bolt.JPG
    64 KB · Views: 858
  • crossmember for rear.JPG
    crossmember for rear.JPG
    131.6 KB · Views: 857
  • crossmemeber flange.JPG
    crossmemeber flange.JPG
    70.3 KB · Views: 863
  • crossmemeber from rear.JPG
    crossmemeber from rear.JPG
    108.1 KB · Views: 878
  • exhaust clearance.JPG
    exhaust clearance.JPG
    63.4 KB · Views: 859
  • factory braces.JPG
    factory braces.JPG
    85 KB · Views: 905
  • front skid.JPG
    front skid.JPG
    133 KB · Views: 867
  • rear skid mounted.JPG
    rear skid mounted.JPG
    112.7 KB · Views: 866
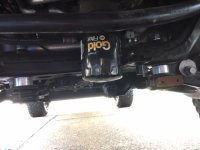
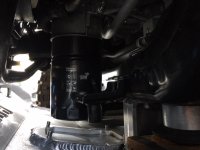
Also I had installed the Baxter Performance oil filter adapter a couple weeks ago so I could use a regular spin on oil filter.
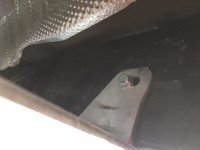
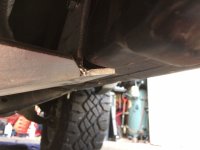
I had to modify the factory skid to clear the filter I used because of the piece sticking up on factory skid I had to hammer that a bit and cut some out.

With the CBI skids it cleared great with 3 inches to spare so that was another plus and seems easy enough to replace filter without removing the skids now.
 

Attachments

  • rear skid.JPG
    rear skid.JPG
    122.2 KB · Views: 859
  • rear skid mounted.JPG
    rear skid mounted.JPG
    112.7 KB · Views: 858
  • oil filter front.JPG
    oil filter front.JPG
    84 KB · Views: 871
  • factory skid modded2.jpg
    factory skid modded2.jpg
    59.2 KB · Views: 814
  • factory skid modded1.jpg
    factory skid modded1.jpg
    55.5 KB · Views: 823
  • oil filter clearance.JPG
    oil filter clearance.JPG
    89.5 KB · Views: 676
Last edited:
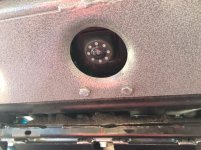
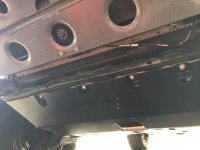
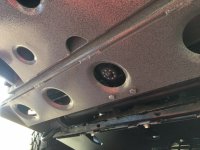
I had also temporarily mounted my rock camera on the factory skid before so after installing the CBI skids I finally got around to installing the rock camera up in a hole in bottom of bumper which protects the camera better anyway.

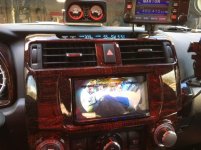
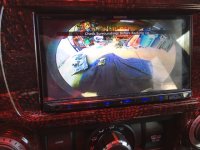
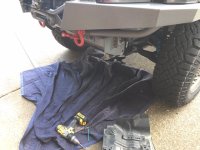
the pic of the work blanket under front of vehicle then seeing the front view on the screen gives you an idea how super wide of view this camera is lol

And you can see I painted the front skid with the matching toyota touch up paint, I know its gonna get scratched up but figured better blending in a bit than standing out
 

Attachments

  • new mounting up close.jpg
    new mounting up close.jpg
    54.9 KB · Views: 823
  • new mounting1.JPG
    new mounting1.JPG
    95.1 KB · Views: 861
  • new mounting2.JPG
    new mounting2.JPG
    126.5 KB · Views: 861
  • front view dash.jpg
    front view dash.jpg
    50 KB · Views: 819
  • front view new mounting.JPG
    front view new mounting.JPG
    126.8 KB · Views: 856
  • blanket for comparison.JPG
    blanket for comparison.JPG
    124.4 KB · Views: 876

Members online

Forum statistics

Threads
278,307
Messages
3,554,053
Members
248,016
Latest member
Advally Service

Trending content

Back
Top