This bushing side job while the driver seat and some interior trim is removed has proven to be more time-consuming than expected. I won't tackle the ham radio and switch box install until next weekend....
Here's the driver side plate and bushing, from under the A-pillar.
The support I was using did not allow for sufficient space though. This is what I came-up with, and I was not excited with this set-up. Having the sliders really limits the ability to lift the body.
Notice the large washer atop the 2x2 to help prevent the seam weld from splitting the wood...
It worked, but it was not a good feeling putting my hand in there. I shoved some scrap wood to help keep the body elevated, should this support fail.
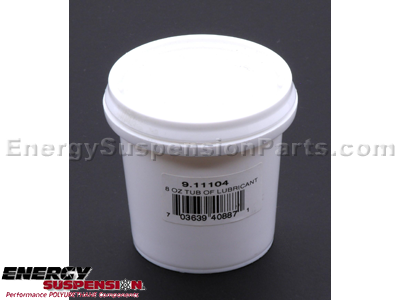
Although the instructions make no mention of grease, and none is included, I have a "tub" of Energy Suspension's Formula 5 Prelube.
For those who have not used this stuff, it is amazingly sticky for grease. On other rides I experimented with ES grease substitutes, and this stuff is pretty special. Definitely use nitrile, latex gloves, or something like those. You'll likely need several pairs for this project. Because it's so sticky, no photos to share at this time...
Minus tightening everything up to 25 ft-lbs, the driver's side is done.
Knowing that the A-pillar body mount bushing was the most difficult, I attempted that first on the passenger side. Dang, my Makita cordless impact would not break free those two bolts. Used plenty of penetrating oil, different types, to no avail. Found my air impact wrench, and that didn't do it either. Went back to using a breaker bar, and I could feel the socket not staying square and I was at risk of rounding nut. And that did start to happen...
I then applied some heat.
Remember earlier I mentioned the spider web? Well, look what the heat drove-out to dangle above me (left/center of image).
The first inclination is to drop everything and roll-out from under the truck. But, I was holding the torch so I needed to keep my composure...
Before turning off the flame, I hit the spider with some more heat.
I know black widow sider webs alright... And the damn thing was not dead! The Wolverine boots did that moments later...
As I believe I stated earlier, these nuts are 15mm. The bolt heads on top, 14. I have not wrenched on a 3rd gen as much as many here, but I believe 15mm is not all that common. I have three bolt/nut extractor kits and NONE have a 15mm. Go figure. I checked online, and only a couple include a 15mm. I really don't want to buy yet another kit...
Due to family events, time with the kids, I only had a few hours this weekend. Frustrating ones for sure...
I think I'll next break-out the vice grips, and if that doesn't do it, I'll split those nuts. One nut is almost off. Either way, buying two new bolts & nuts.
EDIT/ADD: Got the new hardware (M10 1.5 - 30mm, class 10.09) for the mounts under A-pillars. Decided to get four and replace the other side too.
I was finally able to remove the bolt on the passenger side! The new bolts installed on the driver's side, with copper anti-seize.
Finally got all of the parts from Corbeau to complete the recline mechanism swaps...
With the body mount bolts out, I wire brushed them, used a rust dissolver and cleaned them up.
And of course paint...
I did say the Energy Suspension grease is sticky!