Continued:
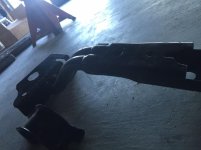
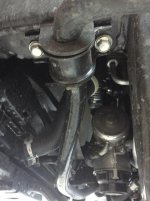
5. I simply left the sway bar and brackets under the truck, they didn't get in the way there.
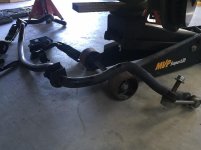
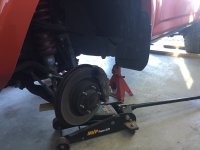
6. Remove the two bolts located directly under the rotor to free up the CV joint for the needed mobility to get the coil-over out once it's detached. The bolt is located directly above the sticker on the floor jack behind/under the rotor, fyi and there are two of them.
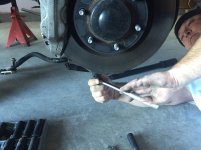
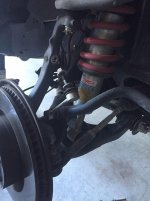
7. Remove the bolt on the bottom of the shock and the three at the top. Be sure to take a picture prior to removal and mark the back bolt to distinguish it from the other two for proper placement when re-installing. I used a sharpie and put a dot on the top of it. If one person moves the upper UCA around, it will help you get the shock out much easier and will prevent you from scratching it all up.
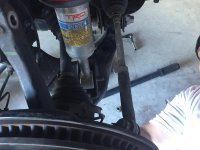
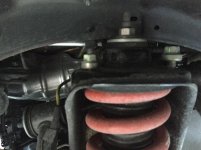
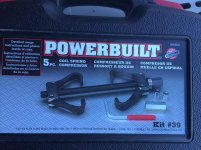
8. I went to Advanced Auto and they run a rental buy back program for the spring compressor, you will need TWO. You buy it, use it and return it for a FULL refund, nice eh? I only got one and man did I regret it. It makes the spring tilt to the side it's installed on and once you add the bottom spacer, getting the top nut, washer and washer centered was a PITA. Here it is:
9. Once you have the springs compressed, the top bolt should come off easily, if it doesn't then the spring needs to be compressed more. If you try to take it off when it's still too tight the kinetic energy in the spring will hurt you badly and very quickly. BE CAREFUL HERE.
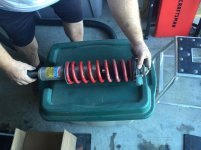
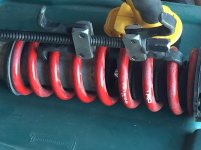
I had to stop taking pictures here as my hands were being used on the install so I will just walk you through the rest without them.
10. Once you remove the top nut, washer and washer off, gently remove the shock from the spring.
11. Take the bottom stock spacer off, put the thick spacer on in its place.
12. Place the spring back on the shock and be sure the washers are all in their respective places they came off of.
13. Re-attach the top rubber grommet, washer and nut. Once re-installed, tighten it down until it stops and use the very top portion of the shock to hold it from spinning while tighten the nut.
14. Be sure to add the small spacer to the top of the fully assembled coil-over before you install it back.
Sidebar.....since I only had one spring compressor on the spring it twisted the spring to one side and then popped off before I had reinstalled it. As you can imagine this was a pretty big problem. I put it back on but was very weary of it coming off again so this is when I used some common sense to help me out. I put only the washer and the nut on, until I had the coil-over back on the truck. I put everything back together, sway bar, shock etc from beginning to end and put the tire back on. Once the truck was taken off the jack stands and lowered back to the ground, the weight of the truck made getting the grommet to fit properly WAY easier. We actually repeated this "mistake" on the other side to save worrying about the spring compressor popping off. Two spring compressor's should prevent this, but if you only have one, there is another way.
The rear was basically by the book as far as the instructions state, loosen the sway bar, the link ends and drop the axle to remove the stock springs. I took the spare out for easier access. Be sure to jack the rear end up HIGH because the new springs are quite a bit bigger and you will need the extra travel space. Good luck, hope this helps someone and feel free to ask questions.