2014 Warthog
New member
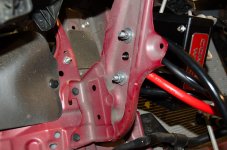
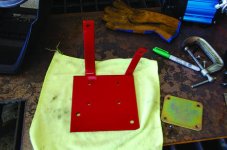
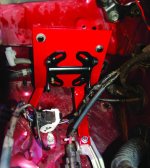
On the back side, I added a couple of larger washers for a more secure mount.
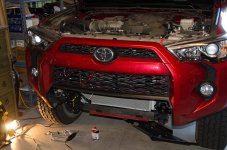
Bumper cover back on! Looking a bit less like a wrecked vehicle...
Installing bumper:
Tip: This is from [MENTION=105481]3wbdriver[/MENTION]. There are several threaded holes that may have paint or powder coat in them making threading bolts into them difficult. If you have a 3/8 16 tap, run it through the threaded holes to clear the threads before mounting the bumper. (Two on each side of the bumper and two on each of the bumper cover brackets that came with it)
I didn't get any pictures of this part because it took both people to do the work. I put a 1x6x12 in board on top of my floor jack, then a towel over that. Then we lifted the bumper onto it. Because the bumper is so front heavy, I straddled the jack and held it up while my buddy jacked it up high enough to slip the two mounting plate hooks over the frames mounting plate then lowered the jack just enough to hook them on (THANK YOU SO MUCH FOR THOSE HOOKS SSS!) Two people might even be able to manhandle the bumper onto the hooks without a jack, but the jack made nice easy going...
I then tightened down all the bolts. Just a couple problems. I mounted the light bar too far back and it was pressing in on the grill a LOT. So had to take it off and re-drill

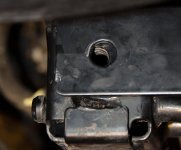
This was the second problem... ALL of the other holes aligned perfectly, but not this one. The quality and alignment of the bumper is excellent, but not all truck frames are perfectly identical. In the future, these mounting points should have slotted and slightly wider holes to account for frame irregularities.
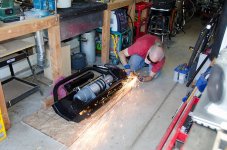
No bother, other than taking the bumper off for a second time. But any excuse to get out the plasma cutter is welcome

After looking at the picture I can see I kind of dodged an expensive bullet. I should have covered the winch spool, I could easily have ruined a $300 winch line. Looked at it closely and nothing burned thank goodness.
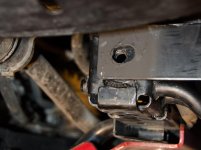
NOW it's aligned!!!
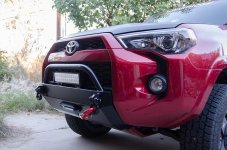
Viola! Looks freaking awesome

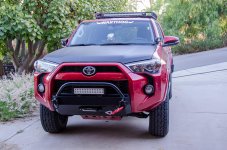
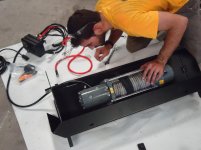
An upper skid plate, winch mount, light mount and tow points all in one little package.
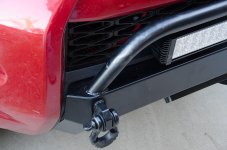
Close-up of the cutout. The black on black hides it nicely thanks to my previously dipping that part of the bumper. (Pardon the copious smudges of anti-seize on the bar :/)
Now should I dip the upper bar too like the pro?
I got the light hooked up but some finish work on the bumper cover, the entire winch electrical hook up, remount the stupid license plate (looks so clean without it) and massive garage cleanup wait me tomorrow...
Attachments
-
 FrontBumper9.jpg105.6 KB · Views: 4,194
 -
 FrontBumper10.jpg132.1 KB · Views: 4,249
 -
 FrontBumper11.jpg81.3 KB · Views: 4,253
 -
 FrontBumper12.jpg138.7 KB · Views: 4,260
 -
 FrontBumper13.jpg79.1 KB · Views: 4,180
 -
 FrontBumper14.jpg127.9 KB · Views: 4,195
 -
 FrontBumper15.jpg138.7 KB · Views: 7,417
 -
 FrontBumper16.jpg85.5 KB · Views: 4,216
Last edited: