What did you do to/in your 5th Gen today?!

Today I installed a set of [MENTION=135198]Dane2992[/MENTION]'s LED under hood light kits. WOW, what a nice addition!

DSC_0845-X2.jpg


DSC_0838-X2.jpg
 
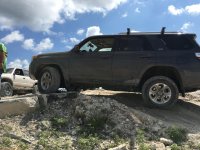
Tried to make it to Mud Caves via Canyon Sin Nombre but got lost in the Vallecito wash (wide wash and unmarked trails made it tough). Instead of camping overnight made the call to drive back home since the wind was too strong to spend the night outside.


I really like your set up. What suspension/tires are you running?
 
Installed 5100's x4, OME 884's & Daystar rear spacer. Would have gone with rear springs but all say on 2010+ models you get a full 2" with so called 1.5" springs. Was looking for 2.5" in the front and 1.5" in the rear to give a 1" rake.

Ended up at full 3" in front. Got a bit of reverse rake now, hoping the fronts will settle a bit. Test drove it and tore up the front tires quick. Did a "hockey stick" toe align after so I can make it to the alignment shop tomorrow.

Only took 3 hours for entire job.

E.


Did the front ever settle?
 
LOL very true..
Dem LEDs still sexy.. and would do wonders lighting up the dark cave behind the tailgate instead of those tiny candles Toyota put in

The good thing is that these "tiny candles" can withstand 5W of heat (it has enough space around the bulb to provide good cooling for LED) and 5W LED (true power, no marketing BS) can give quite good amount of light (about 500 lumens wich is equivalent of 30-40W household incandescent bulb). Two of them can do magic in that "dark cave"). All you need is two good LED bulbs with zero mods (My version of Interior LED lights.). A am talking about true 5W bulbs, not bulbs that have 50W LED chips running at 1W power.
 
Installed my Metal Tech sliders. Extremely well designed. KDSS wasn't an issue, just unbolted two bolts for the lines and slid the mounting plates behind the lines. With Jack stands and floor jack it took me 2.5 hours by myself.

E2800083-B3A0-4EB5-BBB0-4F9C7B81FF29_zpsjh9rl33y.jpg~original


9E9CEBBD-466B-4926-A97B-5DA53AE23865_zpsjq7csaor.jpg~original
 
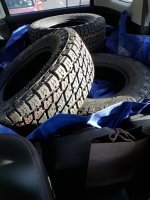
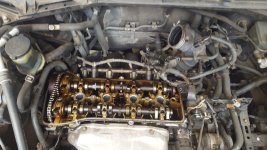
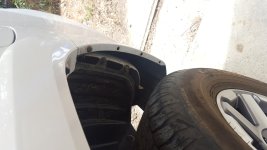
First dropped it off at my lady's work and picked up her Rav. After changing out her valve cover gasket I picke the runner back up and removed the rear mudflaps. Now having new tires mounted before the Cleghorn run.
 

Attachments

  • 20160521_115736.jpg
    20160521_115736.jpg
    143.1 KB · Views: 1,013
  • 20160521_141714.jpg
    20160521_141714.jpg
    130.1 KB · Views: 974
I added the 3D printed TRAIL badge to mine:

IMG_8872c.jpg


IMG_8874c.jpg


I used tiny, rare-earth super magnets to hold it on. They really grip tight!

So far I've only done one badge, because I under-estimated how many magnets I would need. I have more magnets on order, should be arriving today or Monday.
 
As with everything I do, nearly an hour and a half for initial installation. Probably take 15-20 minutes next time. Now to test....
 

Attachments

  • image.jpg
    image.jpg
    127.7 KB · Views: 968
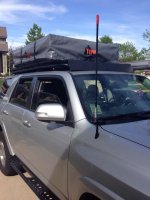
Dipped the end caps of my roof rails. Looks much better.
f4d25ccb250080701b989b67f859f58c.jpg


2016 SR5P 4wd - FN wheels countersteer X - 265/70 BFG KO2 - Bilstein 5100 (1.75 setting) - NFab side steps - TRS Morimoto 4300k HID kit - NOKYA yellow fogs & DRLs
 
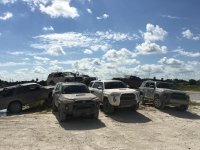
Went out with the Florida 4Runner group @ Lazy Springs Recreation Park.
 

Attachments

  • image.jpg
    image.jpg
    136.5 KB · Views: 932
Last edited:

Members online

No members online now.

Forum statistics

Threads
278,316
Messages
3,554,124
Members
248,016
Latest member
Advally Service

Trending content

Back
Top