What did you do to/in your 5th Gen today?!

I got my replacement net from Raingler in record time! Ordered it on Tuesday, arrived and installed on Friday.

Extremely pleased with this new net! Thanks Ed & [MENTION=219594]Raingler_Nets[/MENTION]
42439183630_42efad1cbc_k.jpg

Hey , how close does the net sag down? if your 6 feet, will it touch?
 
Was just there today getting my rear bumper installed. Good group of folks.

Definitely agree! We hung around and talked to Chris for nearly an hour before actually heading out! Surprisingly, my wife is usually bored when it comes to talking about cars but said she enjoyed the whole conversation.
 
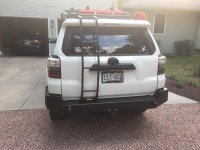
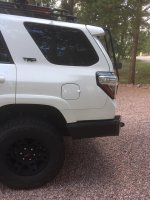
Had my Hefty Fabworks rear bumper installed today. Done with my build for the 40th time now. :)
 

Attachments

  • ToyRear2.jpg
    ToyRear2.jpg
    83.8 KB · Views: 1,036
  • toyrear1.jpg
    toyrear1.jpg
    88.4 KB · Views: 1,050
Anyone see what I see?

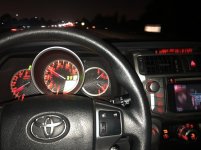
Going 55mph 28.9 mpg with 285s driving like a soccer mom
 

Attachments

  • A14B0EEB-4D7C-42BD-ADD3-E3CE6FD6D1A7.jpg
    A14B0EEB-4D7C-42BD-ADD3-E3CE6FD6D1A7.jpg
    127.5 KB · Views: 977
For low beam I went with Auxbeam F-16 Series
I had this laying around from my old Audi
Fow High beam I Got LIGHTENING DARK 10000 I love the color and brightness of these for back roads I couldn't ask for more..... Well maybe fog light Mod, which I have plan of doing Today!!
And last but not least Fogs are this LIGHTENING DARK H11 these I had bought for low beams but I swap them and to be honest I can't tell the difference. I know these H11s are way to bright for fog lights.
FYI both the Auxbeam and the lighting dark took some modifying to fit in the housing had to trim about 1/4 of the fan housing/fin.

....Nice!....Thanks for the info and the quick reply!...:thumb:

...so how would you compare the new lights to the OEMs?...
 
Last edited:
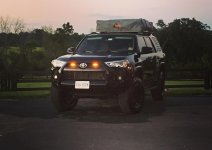
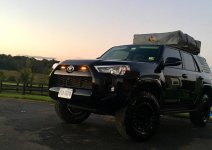
Installed amber grill lights!

After reading RockCreekOverlands write up on their website, I order all the supplies they used the total was ($50 on amazon and I got 3 extra ambers) so for just the 2 light set up would be $35... not Bad for a small diy mod to set apart from most.

Anyways the write up is great, did the entire instal with a pair of needle nose and a heat gun (for shrink tube) used electrical tape for double insurance but that was it. I didn’t time it exactly but it took about 45min to an hour. And that’s more than likely due to my perfectionist ways.

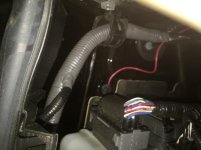
All you do is zip tie the ambers to the gril, wire the ambers to a single ground and hot, connect the ground to engine bay ground, used a engine bay pass through to get your hot to the fuse panel under the steering wheel insert fuse adapter and voila the ambers will run anytime the ignition is on or on accessories mode!

Here are some pics, the one engine bay pic shows the pass through and the cover pops right back once the wire is through!
 

Attachments

  • 61EC3A06-6D1D-4B21-8BAC-DD4168F0AB12.jpg
    61EC3A06-6D1D-4B21-8BAC-DD4168F0AB12.jpg
    76.4 KB · Views: 936
  • 8613F199-E71A-4996-95AA-B9AB2CE9F620.jpg
    8613F199-E71A-4996-95AA-B9AB2CE9F620.jpg
    81.8 KB · Views: 939
  • 6208B934-691A-45F9-9997-3D234BAE7BB4.jpg
    6208B934-691A-45F9-9997-3D234BAE7BB4.jpg
    109 KB · Views: 917
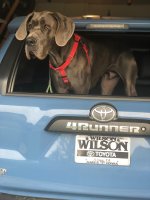
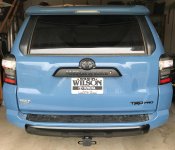
Blacked out the rear emblems

Pretty minor mod, used the “oem” kit from southeast Toyota.
 

Attachments

  • 2F41523B-C400-4955-AEF3-DF26136C40FA.jpg
    2F41523B-C400-4955-AEF3-DF26136C40FA.jpg
    122.8 KB · Views: 882
  • 438A0D32-0AD2-4BF9-93FF-368D10D7E6A9.jpg
    438A0D32-0AD2-4BF9-93FF-368D10D7E6A9.jpg
    127 KB · Views: 890
where do you normally get your copper wire? It's getting harder and harder to find good copper cable.

Try A Boating/Marine supply. Defender marine in Connecticut they will cut to length. Marine grade wire and cable has a higher strand count and much better insulation.
 
Just picked up this same kit. Installing sometime in the next week or so. Glad you're liking the ride! What did you go with for rear springs? And what notch did you set the 6112s at?

I wasn’t interested in lifting the truck so I used the factory rear springs (thinking I could easily replace them if I didn’t like the ride) and the Bilstein fronts that came with the struts. I followed the instructions and set the snap ring on the drivers side at the third grove from the bottom and the passenger side was in the first grove from the bottom. I’m happy with the ride and stance. Its firmer but not as firm as the TRD Pro...

The factory shocks were too weak and the spring was over powering the shocks. If I pushed down on the rear bumper, the truck would bounce 3 times before stopping. Towing a 800lb trailer with 80lbs of tongue weight for 6 hours was exhausting due to the bouncing from the rear.

Also, I rented a spring compressor for the struts but there was not enough clearance between the 2.5” strut and the spring to safety use the compressor. I took the struts/springs to an off road shop and they assembled the struts for $25 and a $10 tip:)

Good luck with your install...
 
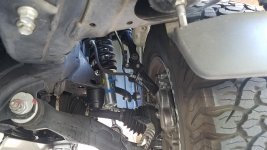
After running the raked-out rig for a few weeks, I finally got time to install the front half of my OME lift along with SPC UCAs. Still need to get into the alignment shop, but it already feels way better than stock suspension.

Driver and passenger within 1/8” of each other and rear sitting 1/2” higher than front. Way better than I had hoped for. :frog:

LgSB1vG.jpg

DNJeJr7.jpg
 
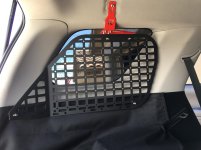
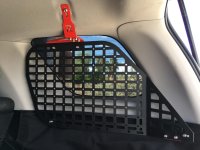
Finally painted and installed my Rago Molle panels. Had to do a little mod to my Canvasbacks to get it to fit, but I think it turned out pretty nice,
 

Attachments

  • image1_1.jpg
    image1_1.jpg
    126.7 KB · Views: 659
  • image2.jpg
    image2.jpg
    123.5 KB · Views: 648
Last edited:
Finally painted and installed my Rago Molle panels. Had to do a little mod to my Canvasbacks to get it to fit, but I think it turned out pretty nice,
Sorry for the upside down pictures.

What do you plan on mounting up there? I've only got the driver side; snatch strap, first aid kits and doggie bags, and the sharp airborn projectiles of course. Still looking for other sharp things or doodads to mount in the voids
 
Finished install on the sso slimline and smittybilt winch [emoji4]
7d36adaac7d3a801cd8f399555f23518.jpg
4dcf78c77673d06e2c03f6a637eee56b.jpg

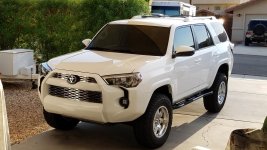
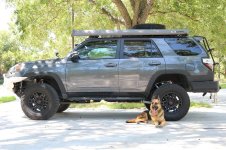
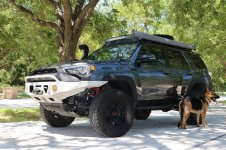
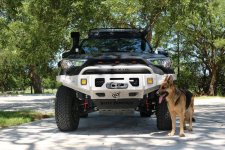
4Runner Photo Game thread had a "find your doppelganger" challenge the other day, while no 2 are going to be 100% alike, I'd say we have pretty similar setups
(Mag Grey Trail/OR P, Gobi rack, ARB snorkel, Shrockworks sliders, amber BD fogs, Rago brackets w BD ditch lights, suspension lift w JBA UCA, aftermarket bumper/winch, HIDs and of course raptor grill-lights. even have some SCS wheels that are going on soon)
and although I'm working out of town, we're both in Houston. maybe I'll run into you at some point
 

Attachments

  • IMG_0014.jpg
    IMG_0014.jpg
    137.7 KB · Views: 853
  • IMG_0017.jpg
    IMG_0017.jpg
    137.9 KB · Views: 841
  • IMG_0038.jpg
    IMG_0038.jpg
    139.1 KB · Views: 848

Members online

Forum statistics

Threads
278,316
Messages
3,554,124
Members
248,016
Latest member
Advally Service

Trending content

Back
Top