What did you do to/in your 5th Gen today?!

Kudos to you for putting together a proper solution instead of jury-rigging it! I see a lot of drywall screws and Simpsons brackets on these pages too often... :doh:

Thanks man! Any less and I think I'd lose my machinist cred, lol. I have friends that build like that and it's hard not to give them a world of shit for some of the stuff I see them do.

Wait till you see the v2 brackets I designed last night...
 
Is it just me or would the nightshade look better if the Toyota sombrero was smoked chrome too? The same goes for the one on the hatch and the 4Runner letters. Probably just me...

JMHO, they needed to be Matt black in heepin’ in the “murder” theme (least ways on the MBM ones). Don’t know the durability of the “black” chrome, but it wouldn’t have bothered me if it was matt too. Did the “sombreros” on my center caps with Plastidip. Most likely just my opinion. HAH! BTW, I believe Canadian ‘Runner sombreros (front and rear) we’re left chrome.
 
Last edited:
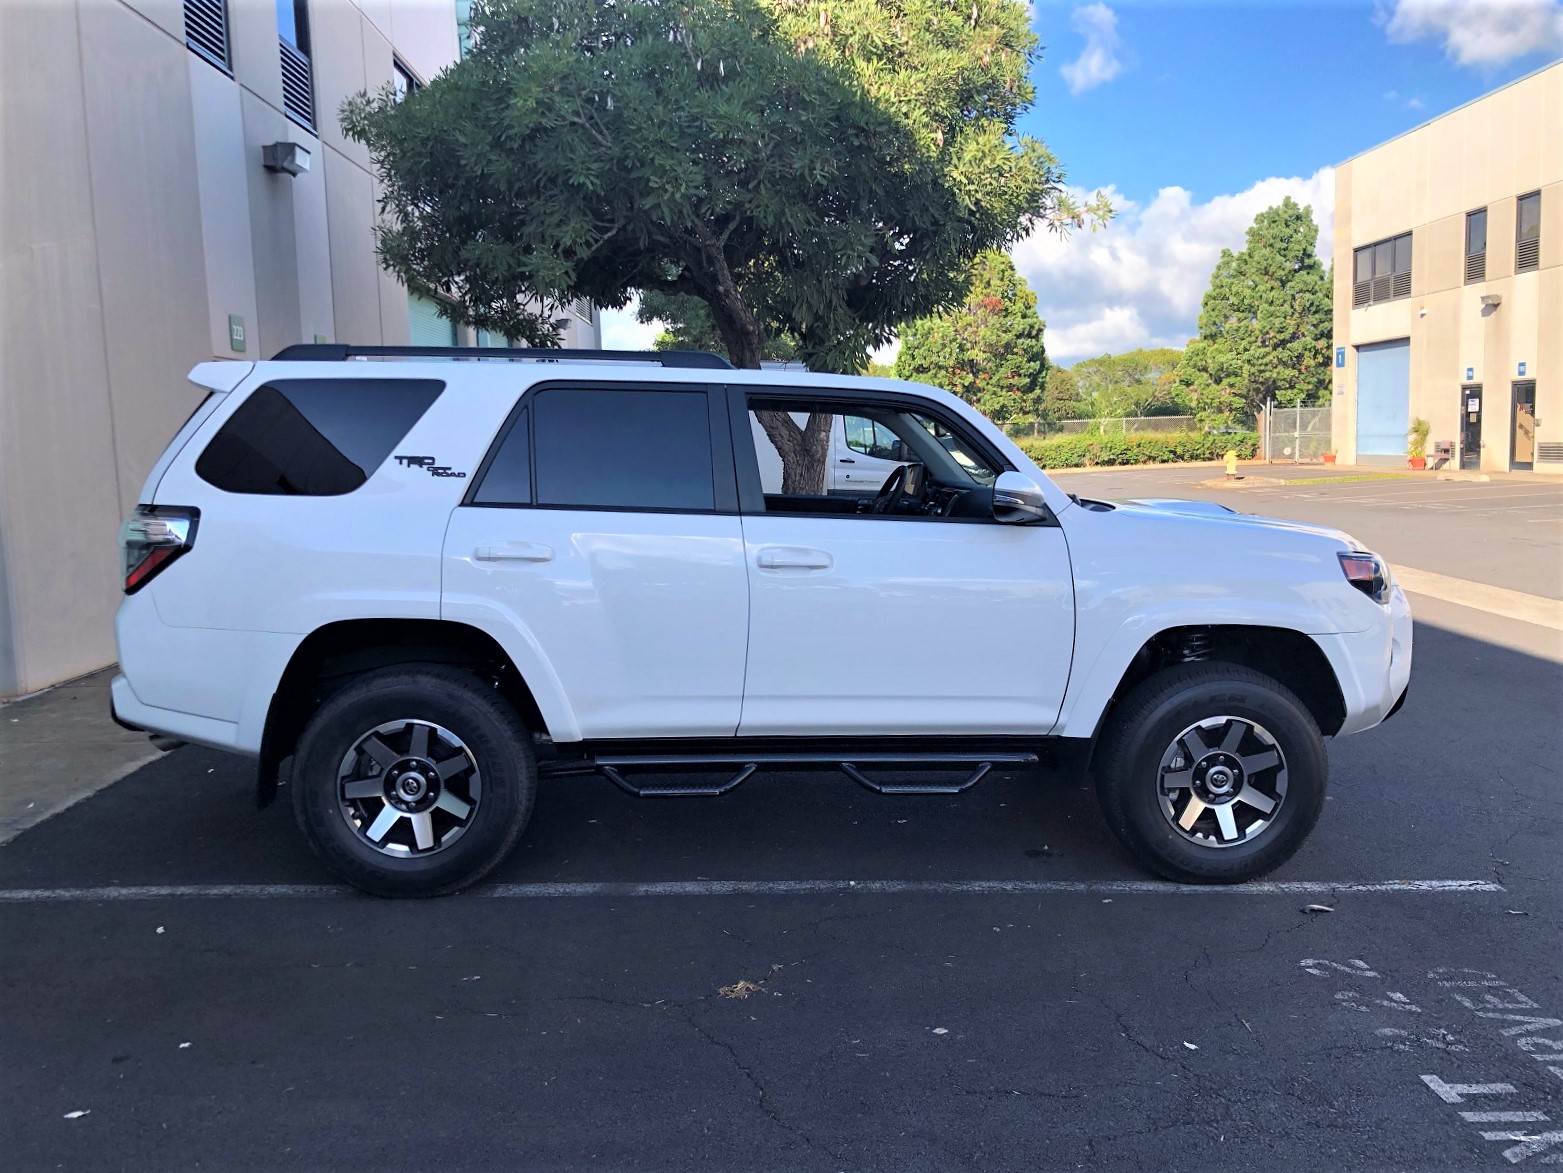
Added front Toytec coilovers set 2.5 / Rear Eibach springs were supposed to lift 1" gave me 1.75. Tires are stock 265's wild peaks.
Left with 1" of rake
20190711_184537-2016x1512-jpg.29381

20190711_140721-jpg.29382
 
How difficult was it to remove the OEM mirrors? As well as put in the Rav4 mirrors?

Like 97BlackAckCL said, it's easy.

Use a screwdriver or a wide trim tool, a folded up rag to protect the housing, and just pop it out, prying from the bottom. If it doesn't release all 4 clips, you can just keep lifting up, or pry from the top.
When the clips release, be aware that there is a heating board that the mirror is attached to, so you will have to unplug the connector it the upper inboard side of the mirrors.
Then plug in the connector in the new mirror(s), and pop it back in place.

I took the whole housing apart to put LED bulbs in the puddle lights.

If you need a video guide, look up Precision LED 5th Gen on youtube, and fast forward through the interior bulb replacement part, and they show you how to take the mirror out without any tools.
 
Nice. Even if they're expensive, it's nice to finally have options for a true retrofit set of projectors instead of jamming LED bulbs in halogen projectors (like I have). Are these all LED or do they have HID lows?


I agree. Finally a quality set. I'm like you, I ran 4800k XD HIDs in stock housing. Nice to finally have a real set with proper cut off.


Update from XD, pricing will be around 1100-1200 (which is amazing compared to current offerings) and Available August or Early September.

e959adaa3cd9dae13b60aeb1cc1bb006.jpg
 
Tinted my front windows and added gray TRD rims.

next week I'll be installing my remote start and alarm that will also power up and down all windows.
02c50c5f5ddcedf9616a3a71dfe7fd39.jpg
5438a93543a6990a2c26b10ece41c268.jpg
a74a8b7f0630f8a5c520f29f396fdd0f.jpg


Sent from my SM-N960U using Tapatalk
 
Was doing a little figurin today. Hmm... need some little base to mount to.
 

Attachments

  • 30cal.jpg
    30cal.jpg
    136.3 KB · Views: 913
  • 50cal.jpg
    50cal.jpg
    136 KB · Views: 912
It doesn't get hot enough to damage anything at all. The plastic intake box is right there and it's perfectly safe. Don't over think it.
 
Last edited:
Finished modding my Detours of Maine spare tire carrier, painted it and installed. Still need to wire the license plate LED, but hopefully that wont take too long. Should keep me satisfied until im ready for a full metal bumper.

TosLhoz.jpg

b9Z5H7E.jpg

VkbScb6.jpg
 

Members online

No members online now.

Forum statistics

Threads
278,316
Messages
3,554,124
Members
248,016
Latest member
Advally Service

Trending content

Back
Top