What Did You Do To Your 3rd Gen Today?

Status
Not open for further replies.
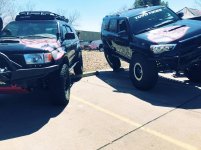
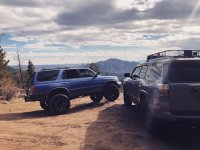
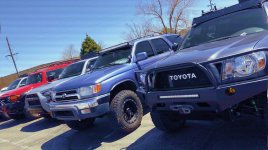
Sparked some ideas from sweet rigs last weekend in Denver.
 

Attachments

  • toy1.jpg
    toy1.jpg
    110.8 KB · Views: 603
  • toy3.jpg
    toy3.jpg
    104.9 KB · Views: 606
  • toy5.jpg
    toy5.jpg
    136.8 KB · Views: 610
  • toy2.jpg
    toy2.jpg
    128.6 KB · Views: 604
  • toy4.jpg
    toy4.jpg
    104.8 KB · Views: 607
I just simply took mine for a little drive and make a trip to the recycling center/ landfill to get rid of some junk from my storage unit. I've been driving the Civic for the past 5 days, getting used to driving a car again. I love driving the t4r, I just don't like burning $75 in fuel each week driving it around.
 
I just simply took mine for a little drive and make a trip to the recycling center/ landfill to get rid of some junk from my storage unit. I've been driving the Civic for the past 5 days, getting used to driving a car again. I love driving the t4r, I just don't like burning $75 in fuel each week driving it around.

You use $75 in fuel a week??? Wow!!
 
I just simply took mine for a little drive and make a trip to the recycling center/ landfill to get rid of some junk from my storage unit. I've been driving the Civic for the past 5 days, getting used to driving a car again. I love driving the t4r, I just don't like burning $75 in fuel each week driving it around.


$75 a week?
What kind of fuel are you running ?
I only use cheveron premium and from bone dry empty it’s $60.
 
Lifted

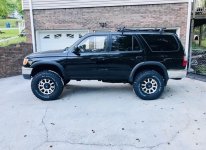
Finally pulled the trigger on the lift.

D3kxCLv.jpg


F: Tundra 5100 & OE Coils on 5th Perch
R: Tundra 5100 & LC 8 Wraps

I love the feeling of fresh struts (the OE struts were 100% shot).
 
Finally pulled the trigger on the lift.


D3kxCLv.jpg


F: Tundra 5100 & OE Coils on 5th Perch

R: Tundra 5100 & LC 8 Wraps


I love the feeling of fresh struts (the OE struts were 100% shot).


Looks a little too high up front. I think in the 3rd gen FAQ are some standard measurements of what’s acceptable before you start breaking stuff. It looks like you maybe have 1” of down travel?


Sent from my iPhone using Tapatalk
 
Looks a little too high up front. I think in the 3rd gen FAQ are some standard measurements of what’s acceptable before you start breaking stuff. It looks like you maybe have 1” of down travel?


Sent from my iPhone using Tapatalk

I think i am under 2" of front lift, but it is hard for me to visualize because it was sagging since I've owned the truck. I will go take a hub to wheelwell measurement to be sure, but it never came to mind that I would be pushing it with the OE coils.

FWIW, it is a temporary measure for me to get my 5100's on the truck and replace the totally dead rear coils with the LC's i had laying around. The front coils will be getting swapped with Toytecs or TRD's (If I can actually find a set) pretty soon.

edit: Just measured- F: 23" R: 24 1/4" -Thats way more than I thought.
 
Last edited:
picking it up after work from the alignment shop after replacing the old rusted steering rack with a new one. This will be the first time ever enjoying it after a year of ownership and a long year of replacing worn out parts and neglected maintenance from PO. Hoping to install the new/used KOs I got a week ago this Saturday.
 
Last edited:
B&M trans cooler, amsoil 12k oil and filter change, rotate tires. Set for summer. Took about 2 hours all told.
dd7e252de3abe082ddf6bb63a699a0a7.jpg


Sent from my iPhone using Tapatalk
 
Installed led headlights, fog lights, interior bulbs, instrument cluster & A.C. led bulbs. Then washed & waxed.
57ce8b4b9d64a6354d8b11ca966e3ea8.jpg
47b1e99b25248052fe7ed7408523e885.jpg
4117a6d9220b6da0c97a205a9ee2868e.jpg


Sent from my SM-G950U using Tapatalk
 
Well I received my ARB pump up kit from wheelers and installed it.
Also made a trip to Lowes and got some needed accessories cause he quick attachment wouldn't let me cover the compressor and installed that as well.
75bb1bee3d0fea8540b7d5dde577fdb1.jpg
Did a pressure test and it's all good to go!
38f3874bf2cfe17e8f4d6cf79ad20789.jpg

Also replaced my brakes and rotors cause that was needed.

And installed my Yellow Top Battery.
Overall a successful day.


looks good and clean install. how or what did you use to mount it in the storage space?
 
new (to me) 98 T4R 5speed

Hey guys, recently purchased a '98 T4R SR5 5 speed with 201k miles. Wondering if there's anything I should look at right away to go ahead and replace/check since I don't know the history of the car? Only thing I know is timing belt was replaced around the 130k mark. I'm not super mechanically savvy but trying to learn thru this forum.

It's getting new valve cover gaskets on both driver and passenger sides to address a small oil leak so, while they're in there, should I have them do anything else?

Just trying to be proactive as I want to own and drive this car for a long time!

Thanks
 
Air bags, raised the bumper for the body lift, and cut the useless (now too small) spare tire out.
I'll add a bit of a write up to my build thread.
9dd4660fc0562c20000bfda3c1e9bf90.jpg
804300c47eb1748e988ab0a8127baaa6.jpg
67a3e2f09413256f73c42be6c4930b11.jpg


Sent from my Pixel 2 XL using Tapatalk
 
It's getting new valve cover gaskets on both driver and passenger sides to address a small oil leak so, while they're in there, should I have them do anything else?

Just trying to be proactive as I want to own and drive this car for a long time!

Thanks

If you are going as far as the valve covers, check and record the valve clearances. They likely don't need adjusting but good info to have. Will only take 1/2 hour more to do. And the PCV valve grommet is best changed with the valve cover off the engine.

Have you looked into everybody's favourite ball joints? Should be #1 on any list.

Have fun.
 
looks good and clean install. how or what did you use to mount it in the storage space?

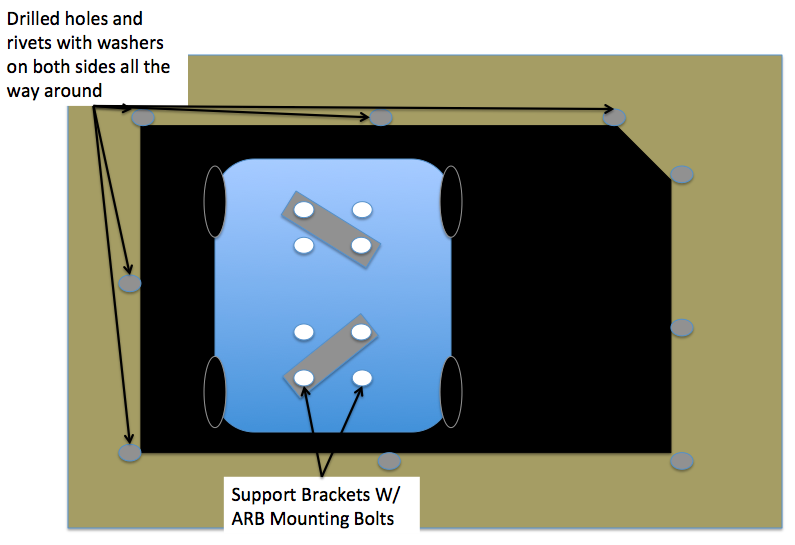
Well I drilled out the rivets holding in the fabric clips and used the metal brackets off the back as supports and put them at an angle on the back for extra support. And I put rivets all the way around cubby with washers on both sides of the trim so the rivet wouldn't stretch the plastic. (I drilled holes and used rivets because previously I took out the plastic for extra storage space but luckily i kept the plastic but I broke all the mounting clips in process of removing it.) And honestly it worked pretty good. It was just a ***** to lift the whole side wall trim with the weight of the compressor by myself trying to line up the clips lol

But looks kinda like this.
7606250f6548ba7d1a1f7d9b4a0254a5.png
 
Last edited:
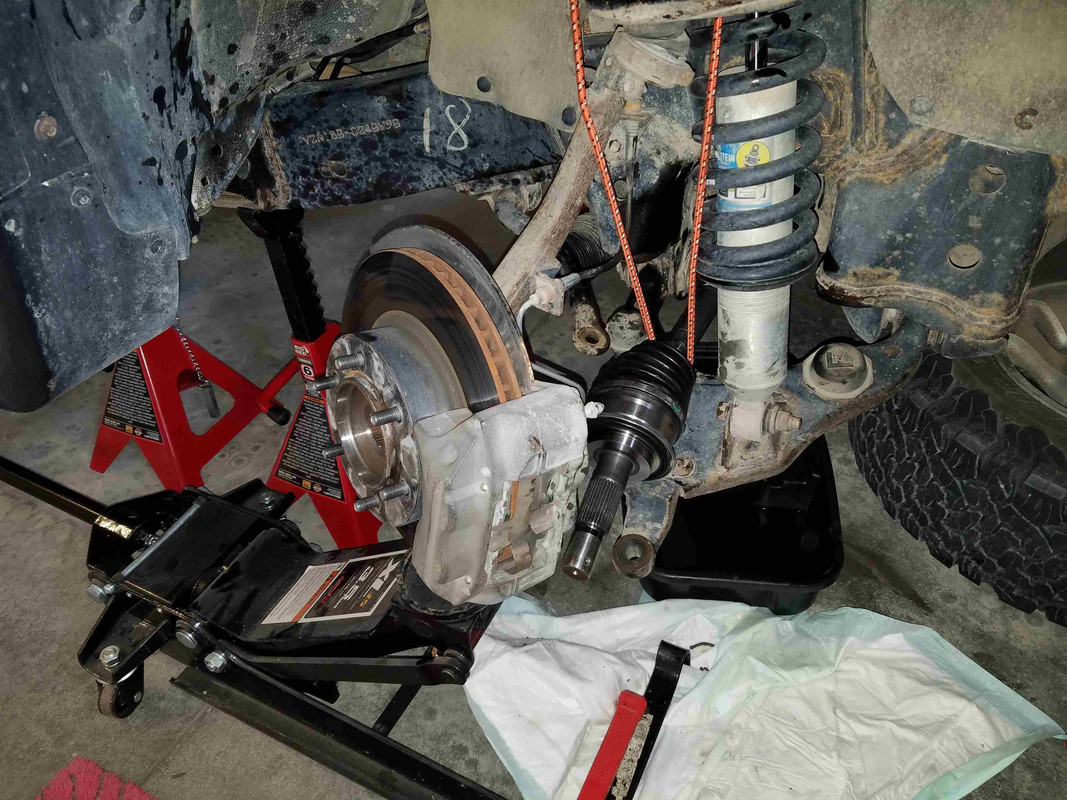
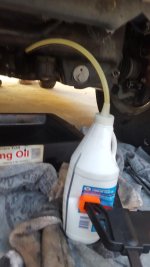
Finished up the new rear axle bearings, seals, brakes, shocks, diff fluid, then did the front diff fluid..... with my redneck fluid pump.
 

Attachments

  • thumbnail (9).jpg
    thumbnail (9).jpg
    59.9 KB · Views: 455
Status
Not open for further replies.

Members online

No members online now.

Forum statistics

Threads
278,316
Messages
3,554,114
Members
248,016
Latest member
Advally Service

Trending content

Back
Top