What Did You Do To Your 3rd Gen Today?

Status
Not open for further replies.
Thanks! Yeah it’s surprisingly useful. My swing out spare tire will be on the passenger side. Pics with mirror deployed below!

Thanks for the pics, that is awesome. I have my spare on the driver side so looks like it won't be much help. I might have to try and build my own version with the mirror on the passenger side haha.
 
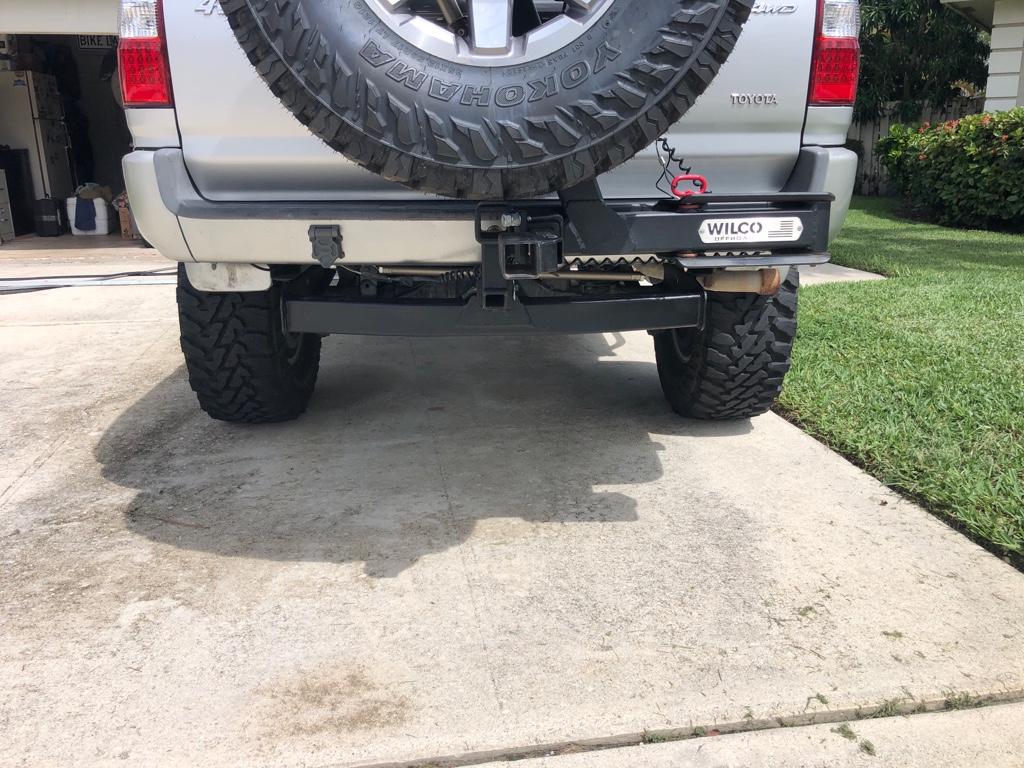
Installed a junkyard factory hitch and a Hopkins 43415 wiring converter kit, thank you guys and this forum for all the great info & howtos

23qFSt2.jpg


G2YVxVf.jpg
 
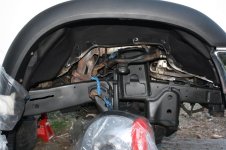
manifold/cat connection... the studs rust themselves into the pipe flange, requiring you to cut them off and drill them out.

I have the opposite issue, my bolts keep backed themselves out of the header flange. Im afraid I am going the torque the bolts in half. I think I might have to get higher grade hardware and just use my big torque wrench. I've had to retighten them like 3 times now

kSjZzW0.jpg
 
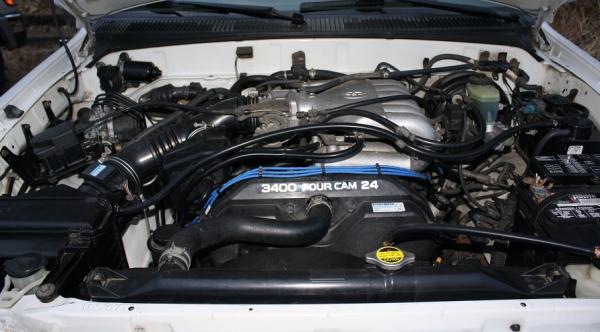
Got under the hood and replaced about 8 or 9 vacuum lines with new silicone ones and new clips. Also did the radiator overflow hose and new clamps.
onsiteman-albums-1996-3rd-gen-work--picture59143-1996-silicone-hoses.jpg

I am hurrying to get all this done before the weather changes. I am working outside with all this.
Have a great day all.
 
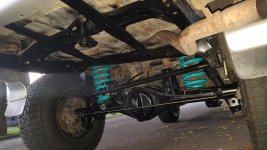
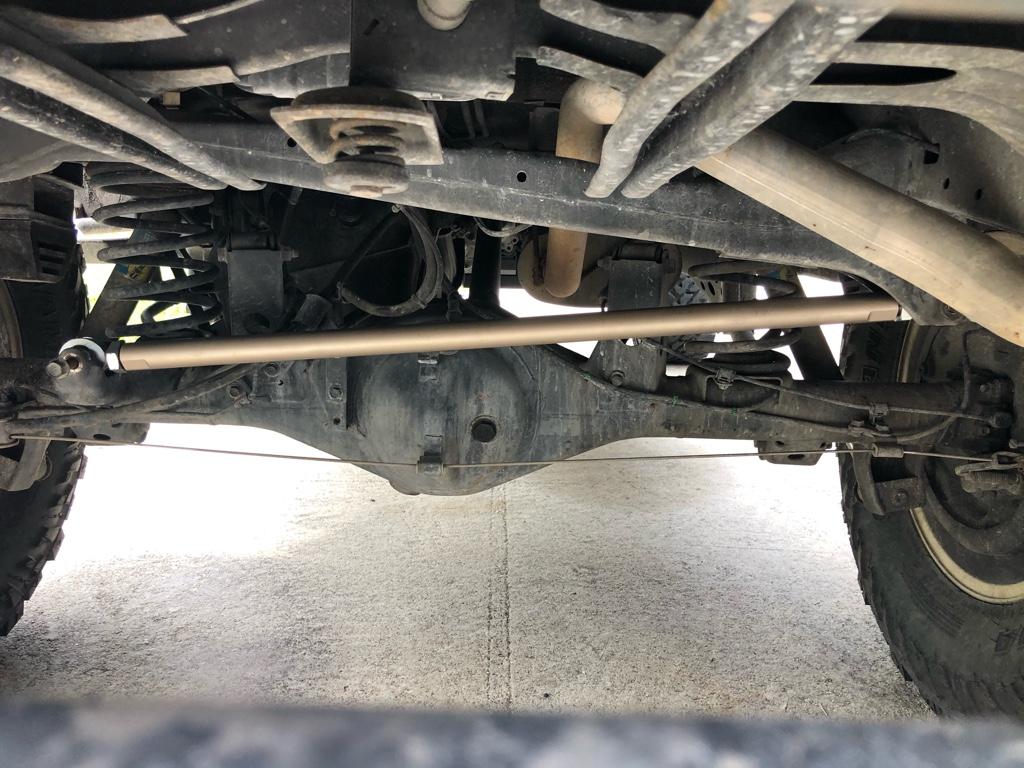
Was started with getting rid of what very little rust I had on my frame/axle turned into touching up all of it. Exhaust is definitely next. Got a little nozzle coming to get some spots inside the frame too since I noticed some orange poking through the holes but it's pretty sparse, worst of it is pictured above the tailpipe actually
Hit it with a wire brush and scraper, 2 coats of rust converting primer, then 3 coats of farm paint (on top of the loads of good paint already there). Front and back side, but didn't feel like doing the bumper mount since it will be tossed eventually for a tire carrier, and outside of frame is near perfect
Little overspray here and there but it won't be noticeable with a nice coat of mud - doesn't have to be pretty, just has to work :artist2:
 

Attachments

  • 20201006_184227.jpg
    20201006_184227.jpg
    138.5 KB · Views: 292
We are prepping for GSMTR 2020 in late October. There are things I’d wished I had done a while back but better late than never.

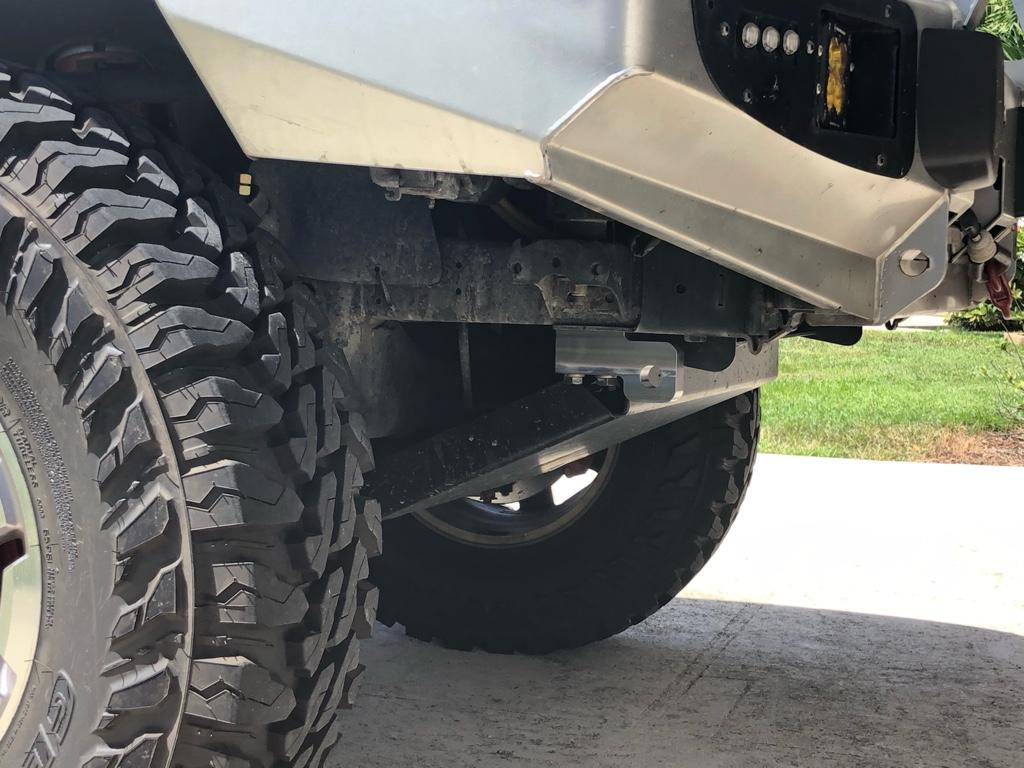
4crawler Recovery points
1c01ca2be9846e9b0d344dfd94f44ca7.jpg


e5f43ba5638f9a16841a1e06da13368a.jpg


Then I flipped my hitch (cut & weld) to get the swing out higher off the ground.

070ebb8f20a9a918b32d3ba5cbb942cc.jpg


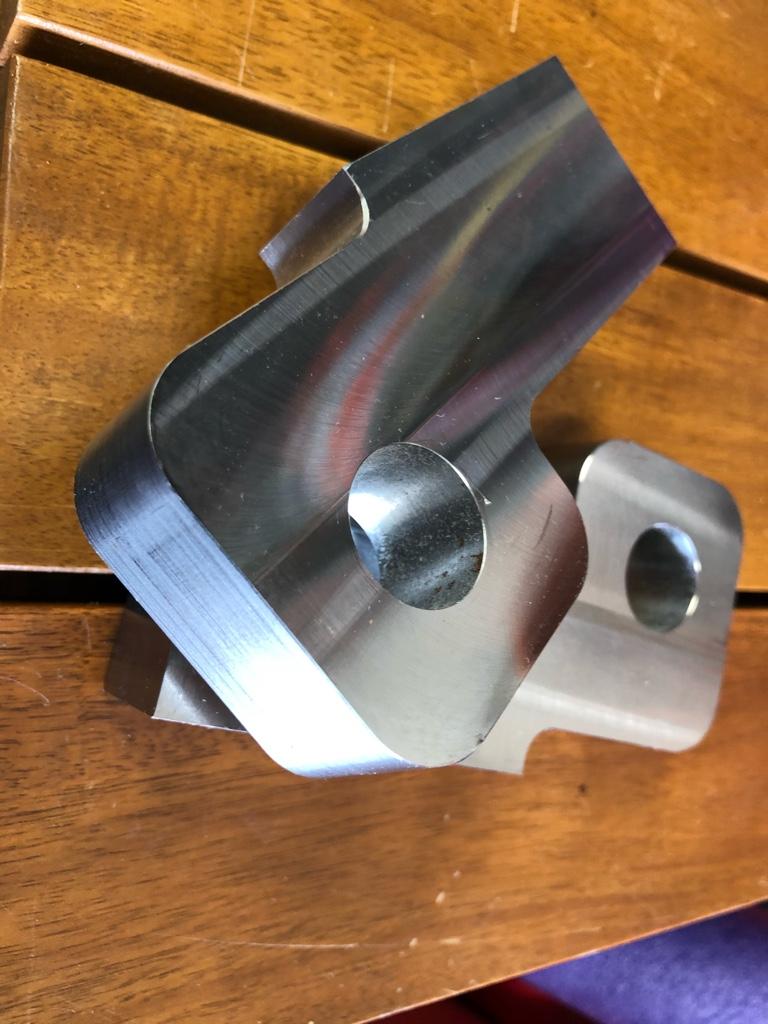
A new panhard from Front Range Off-road paired with Eimkeith Panhard Correction Brackets. (Photo is pre correction)

cefd7d4ae11eecc6c009b6d3c315894e.jpg


Sent from my iPhone using Tapatalk
 
I've been driving my 1997 4wd conversion for 3 days now (reminder to self to update signature :trophy:). FINALLY got around to an alignment shop on my lunch break today. It drives a little better, but I must have been pretty close already because it's not a night/day difference. The results sheet shows a few line items out of spec. Anything to worry about?
agFyGc9.jpg
 
Roscoe on the move - with USA Flag

I've been wanting a way to fly Our USA Flag for a long time. Got this from "Drive a Flag". Excellent quality. Removes quickly. Flag flies well at 55 MPH.
I think it would do OK at Interstate speeds too.

.....and I finally figured out how to attach a pic. All I needed was some time...
 

Attachments

  • Roscoe on the move.jpg
    Roscoe on the move.jpg
    135.2 KB · Views: 406
Kept on going with the rust control up front. I don't just shoot it with a spray. I have a process.
Wire wheel on a angle grinder to get the big stuff.
Cordless drill with a wire wheel to get into a bit smaller areas.
Dremel with a little wire wheel.
Hand brush with a very stiff wire brush.
Clean with soapy water then simple green.
Mask off a bunch of things. I hate over spray and that everything coated look.
Do the wheel wells with Duplicolor brand undercoat.
Do the rusty things with Rust Reformer from Rustoleum.
Matte black paint to finish.
I like the way it is coming out. I have 1 more well to go. JBA UCA's are in Thursday so those will spice it up a bit along with those new coil overs and Tundra brakes!!:whoo:
First shot is where we started, second is where we are today!! Cannot wait to get the rest finished up and see how she sits after all this.
Have a great day all
 

Attachments

  • 1996 wheel well 21.jpg
    1996 wheel well 21.jpg
    137.2 KB · Views: 392
  • 1996wheel well test.jpg
    1996wheel well test.jpg
    112 KB · Views: 390
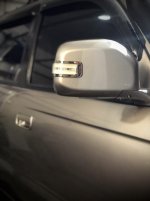
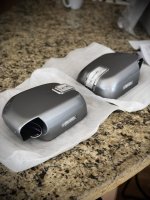
Attempted to install LED mirrors today... 3h later and a bunch of cuss words the passenger side is on, albeit not yet wired up. The screws holding the internals in are super soft and held in with dabs of lock tight from Toyota. In addition, need to cut OEM harness to get the wires through the grommet and solder back together. Will tint the lenses smoke xpel ultimate when everything is done.
 

Attachments

  • 7AC3CCB5-F141-4CCE-AC55-B030F7CBDD4A.jpg
    7AC3CCB5-F141-4CCE-AC55-B030F7CBDD4A.jpg
    61.3 KB · Views: 384
  • DD004924-0899-4092-A13B-A94D809FD0E0.jpg
    DD004924-0899-4092-A13B-A94D809FD0E0.jpg
    129.9 KB · Views: 383
Baby steps

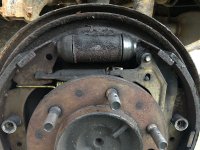
Removed passenger drum on new 2000 SR5.
Even has some brake shoe left. And a bit of rust.
Betty never ceases to amaze me.
 

Attachments

  • 24341130-6408-426B-8267-07A40F8A8BE7.jpeg
    24341130-6408-426B-8267-07A40F8A8BE7.jpeg
    109.1 KB · Views: 381
Attempted to install LED mirrors today... 3h later and a bunch of cuss words the passenger side is on, albeit not yet wired up. The screws holding the internals in are super soft and held in with dabs of lock tight from Toyota. In addition, need to cut OEM harness to get the wires through the grommet and solder back together. Will tint the lenses smoke xpel ultimate when everything is done.


I really like those!


Sent from my iPhone using Tapatalk
 
Attempted to install LED mirrors today... 3h later and a bunch of cuss words the passenger side is on, albeit not yet wired up. The screws holding the internals in are super soft and held in with dabs of lock tight from Toyota. In addition, need to cut OEM harness to get the wires through the grommet and solder back together. Will tint the lenses smoke xpel ultimate when everything is done.

Those three screws are a PITA to get out for sure. I have found that using a real JIS screwdriver rather than a Philips can make a big difference. All the "Philips" screws on our trucks are really JIS which is a non-cam-out design unlike a real Philips.

You probably already know this but info for others reading!
 
ffbfa3e95c689e630e921cb470527d38.jpg


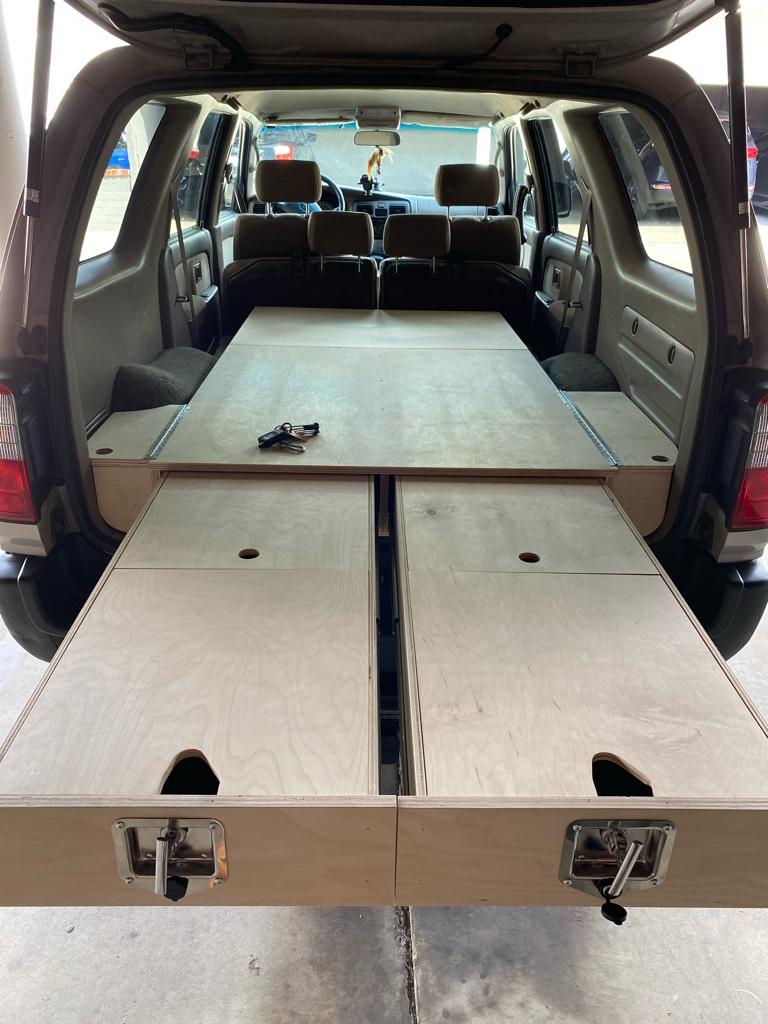
Shout out to Solid Wood Worx for the sleeping platform and slide out drawer system super sick!! Can’t wait to put this to use!


Sent from my iPhone using Tapatalk
 
Transfer case blown?

Hi. I'm not sure if I'm posting this to the right spot, but I have a 99 3rd gen 4Runner. I pride myself on its condition, however I made the poor choice of allowing my daughter and her friends to use it. Apparently, while driving down the road at approximately 30 mph, it was jammed into four low.. Now, the transfer case acts like it is stuck in neutral.. I can move it from two high to four high to four low like normal, but it won't grab any gears, and in park, it rolls like it's in neutral. When I put it into drive and reverse, I can hear what sounds like parts moving within the transmission or transfer case, but the vehicle won't go into gear. There's no grinding, and no resistance when shifting the transfer case. It starts normally, so I don't think it's the flexplate.. I'm guessing it could be the actuators within the transfer case? Is it completely shot? Any advice would be helpful, I always try to do my own work, but I'm stumped on this one.

Thanks!

 
Last edited:
Status
Not open for further replies.

Members online

Forum statistics

Threads
278,316
Messages
3,554,111
Members
248,016
Latest member
Advally Service

Trending content

Back
Top