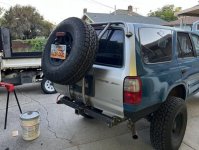
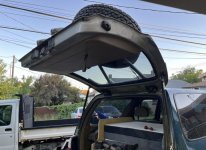
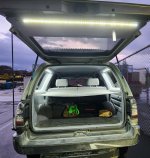
[MENTION=623942]hstaker[/MENTION] Incredible work on your hatch tire carrier! What was your main motivation for this design?
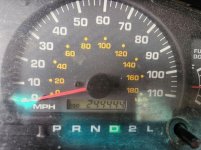
hit 244444 miles
just broken in
would post a pic but cant remember how on this forum,easy on taco. tundra and other forums
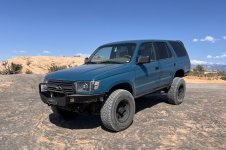
Couldn’t seem to post this until now, but last week I finished my front bumper and then headed to Moab with my friend. We did Fins n Things and Hell’s Revenge.
I was feeling super confident on Hell’s Revenge, but we both chickened out on Hell’s Gate. We did complete the Staircase though. My friend’s 4th gen had a hard time (maybe I’m just a bad spotter?) but my Cassie made light work of it with the rear locker.
The front bumper sticks out a couple inches farther than I would’ve preferred, but surprisingly I had no issues with approach angle. I only scraped once on both front and back, but that’s because we were rushing to get back to town and I went down a pretty big ledge. In my defense, it was 104 degrees and I wasn’t thinking straight.
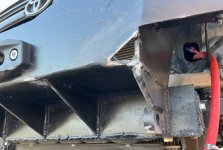
Overall I’m very happy with how the bumper looks. My winch should fit snugly in there and hopefully not block too much airflow through the radiator. No idea where I should mount the control box though.

No idea where I should mount the control box though.
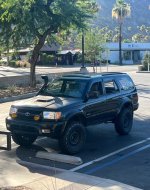
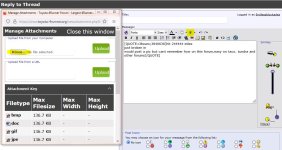
I've never done it from a phone but if you have a picture on a computer, hit Reply, then the Paperclip icon then Browse to the photo you want to upload. I find that the photo size can be an issue and I reduce them to no bigger than 1400 pixels in any dimension.......
I've always hoped I'd have the cojones to try it first time there, but I get the feeling that the first time is a bit more mentally challenging that you'd think.
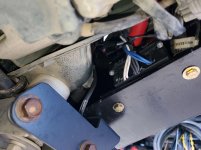
Look for space inside the wings of the bumper. You might need to strip the control box down to bare bones. I did that on my coastal offroad bumper. Works great! It is tight, but there was zero room with my setup and that was where it fit.
I second attaching the box inside the bumper wing. I also did mine with a SB X20 inside a Coastal Closed-Top kit.
I cut an oblong hole to feed the wires though and drilled 4 holes to match the box. The attached pic
poorly illustrates the cutouts on the passenger side main vertical plate. Snugged up great, just allowed
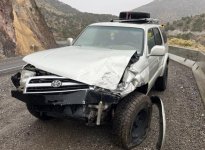
the hardwired remote option to fit, and didn't have to extend any wiring. I wish I had pics, but that version got smushed
by an inattentive driver. Winch/associated wiring (and frame) survived though!