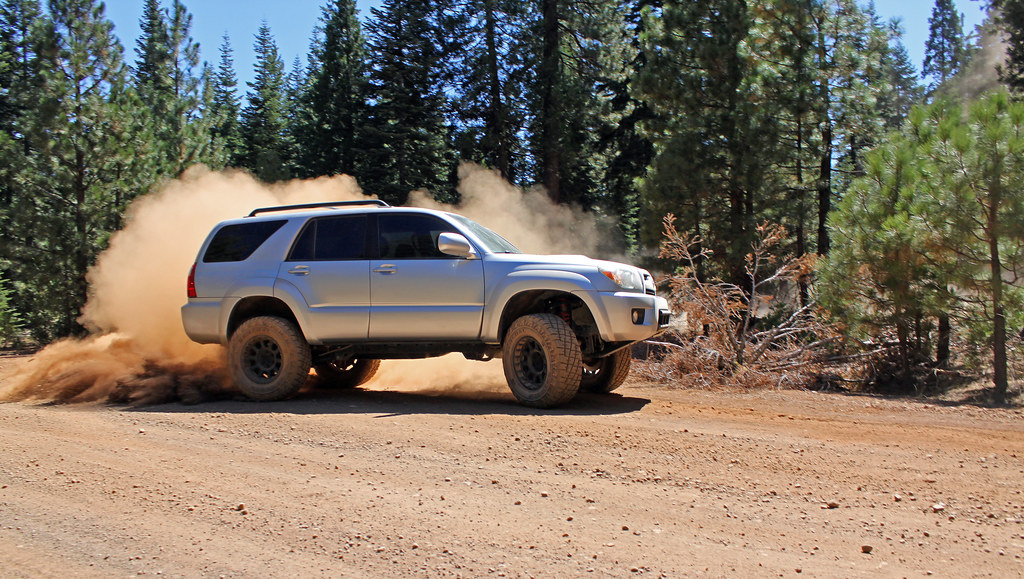
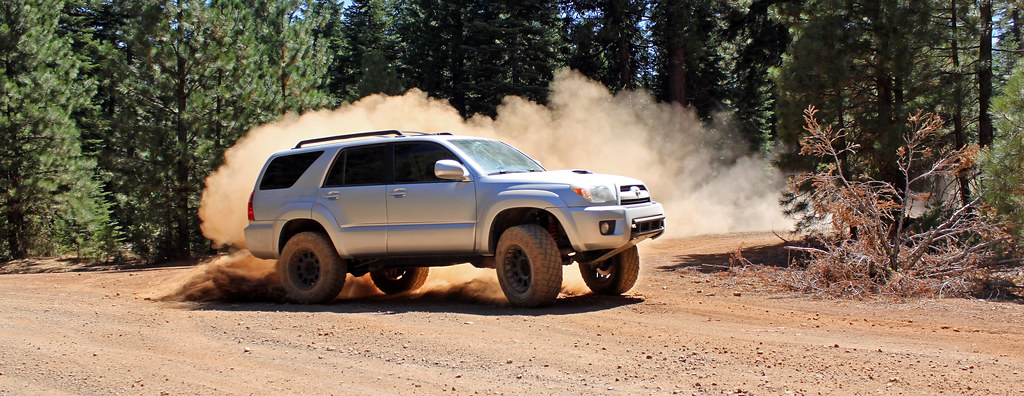
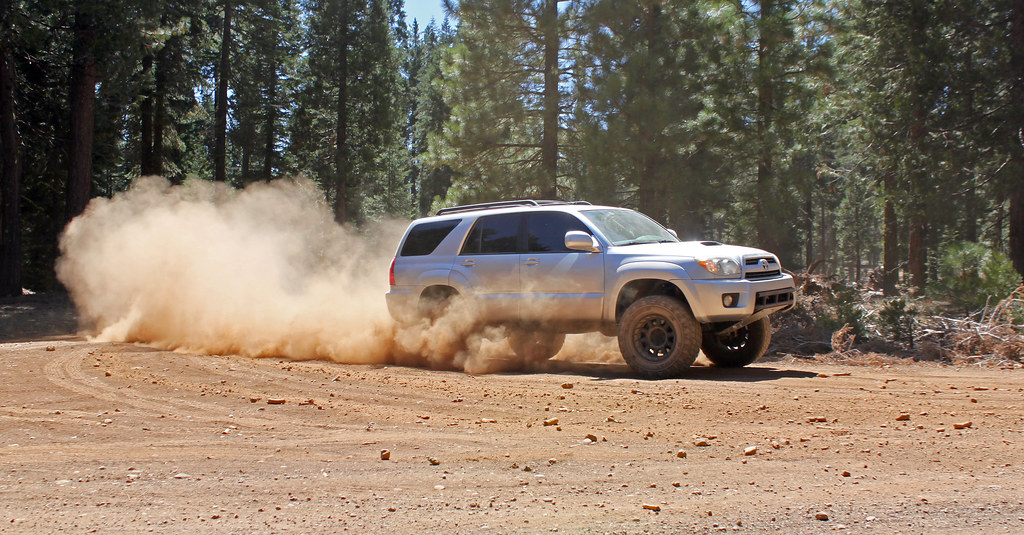
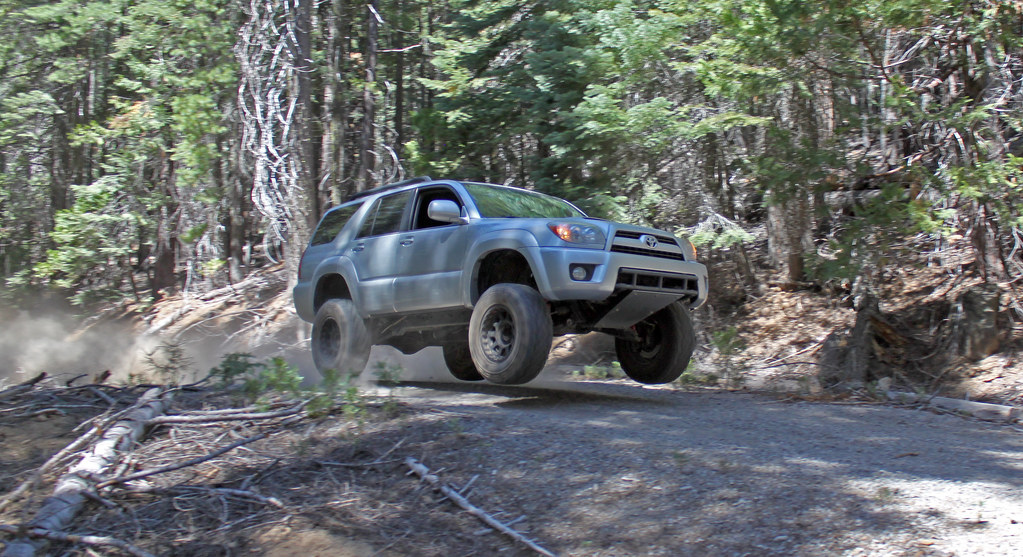
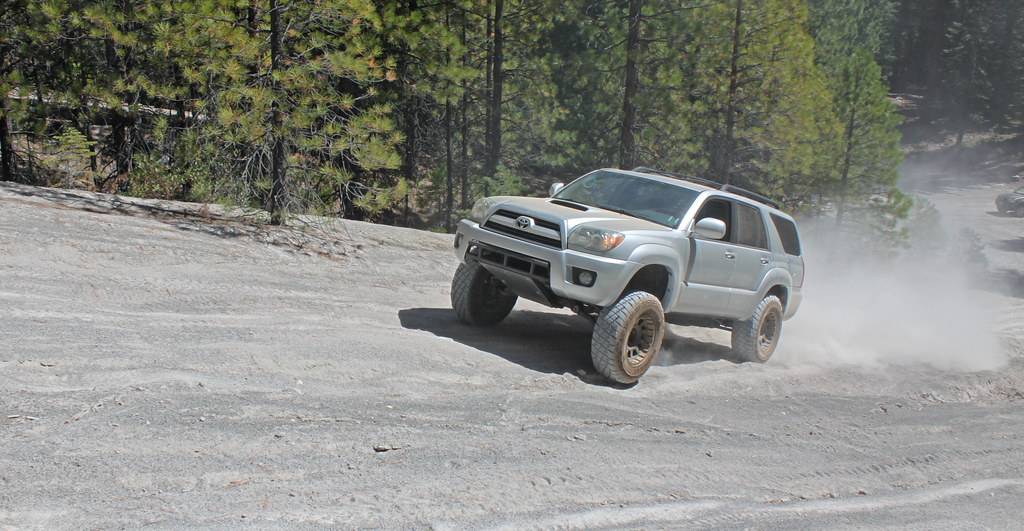
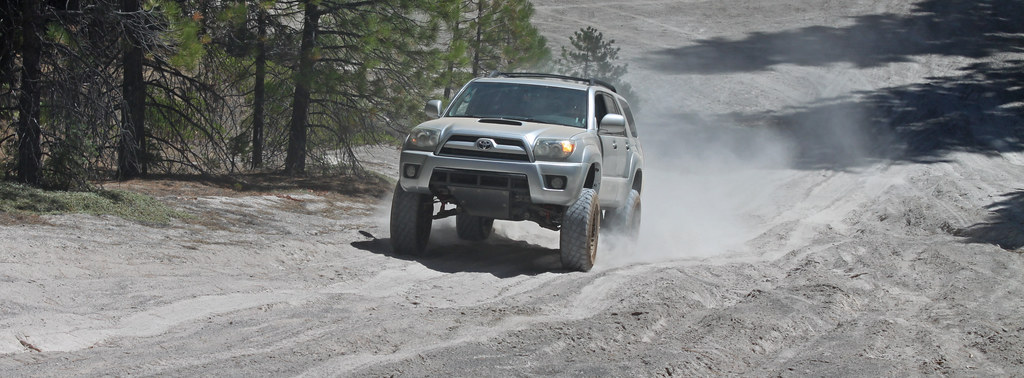
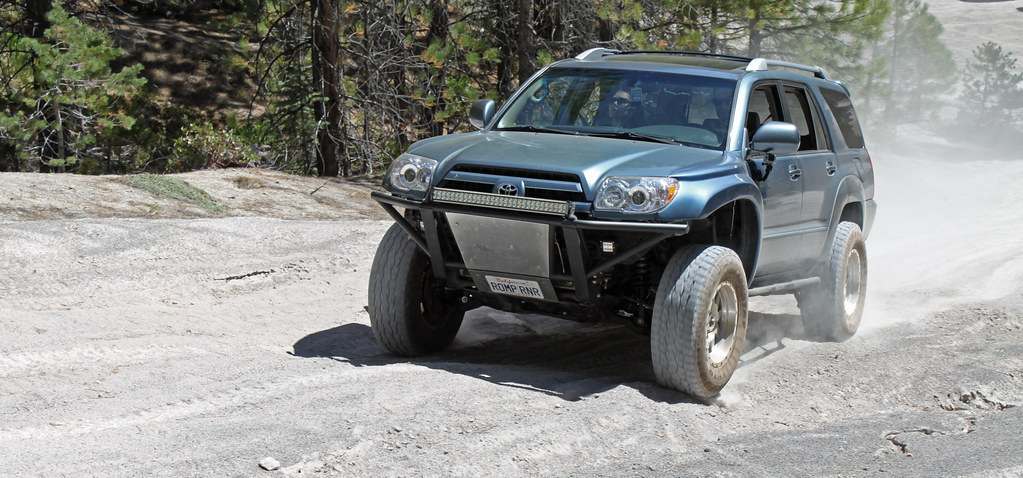
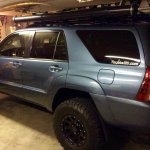
What did you do with your 4runner today?

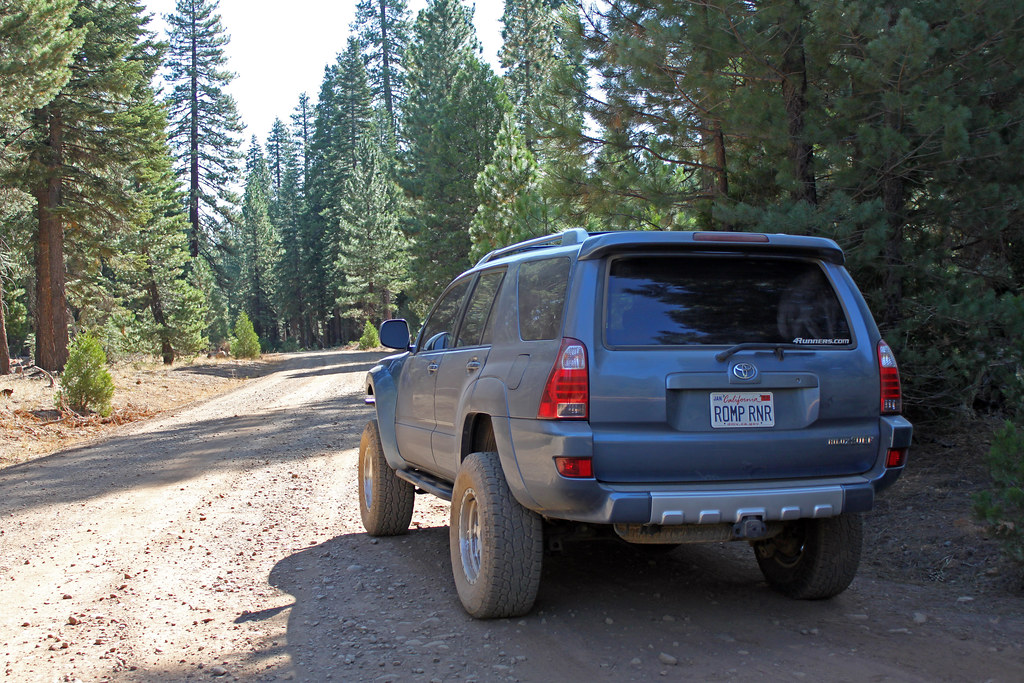
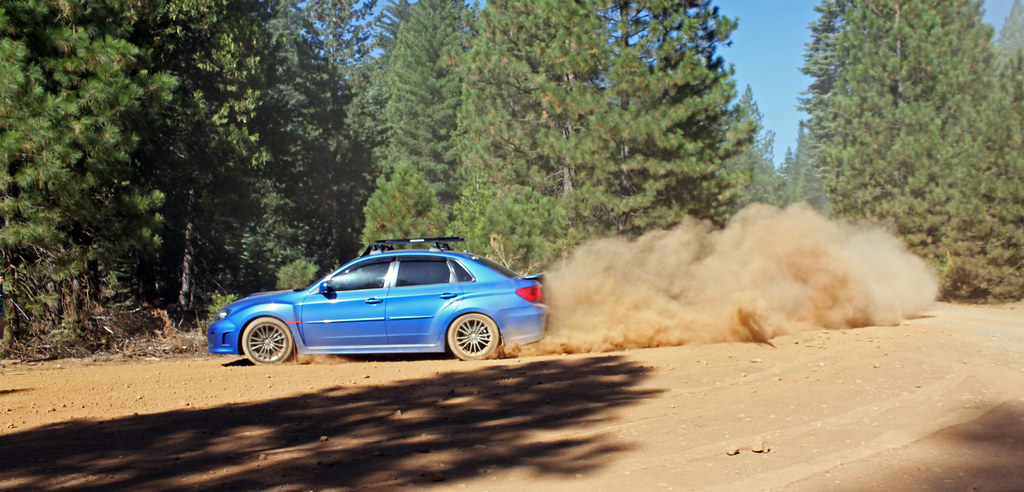
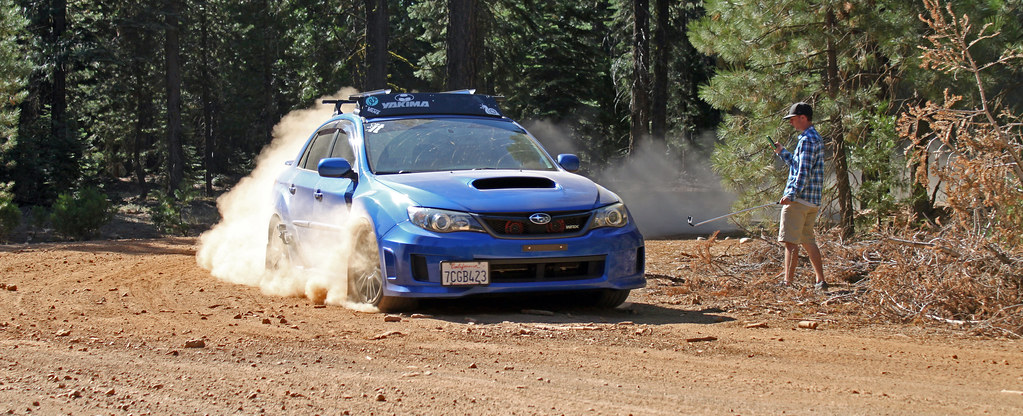
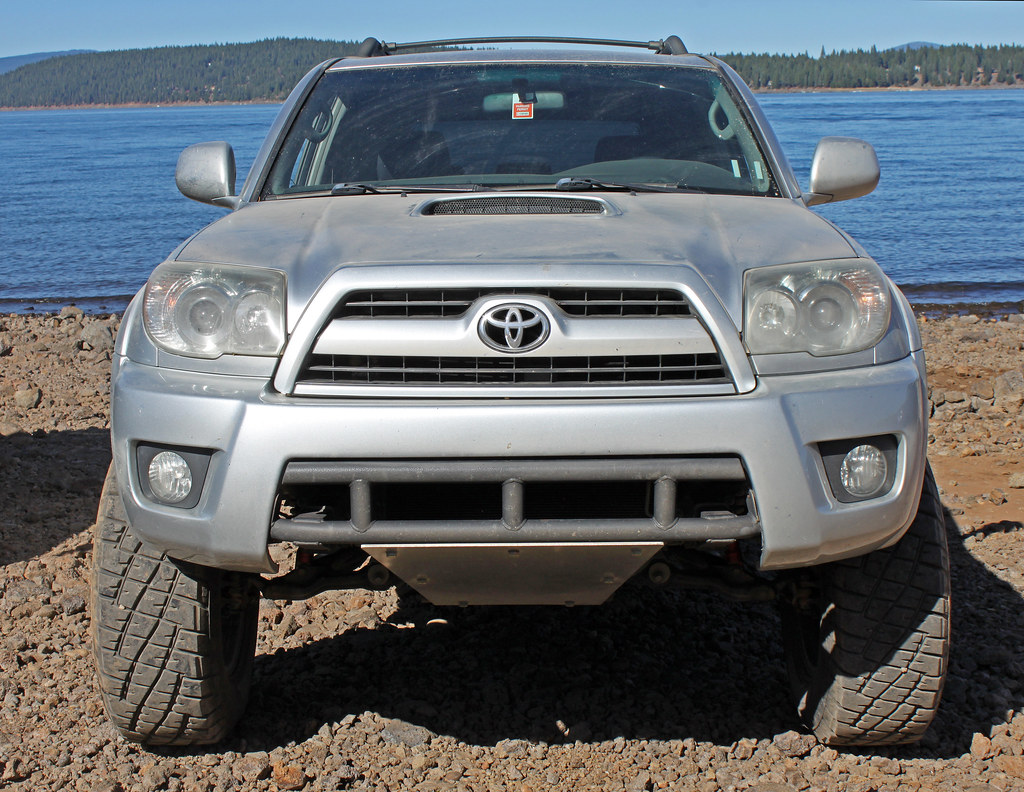
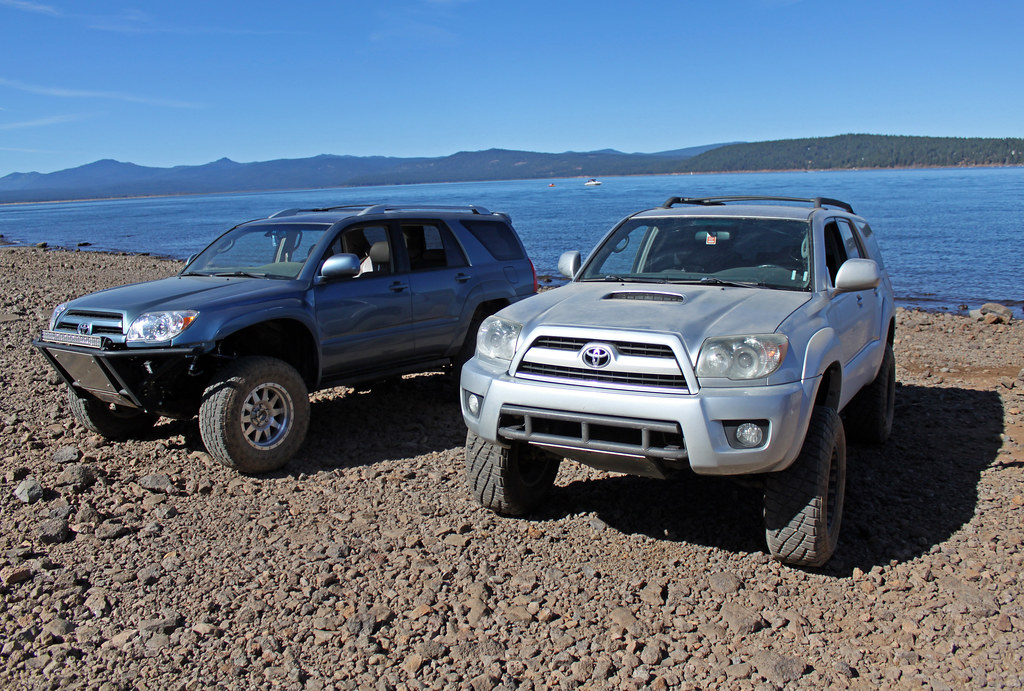
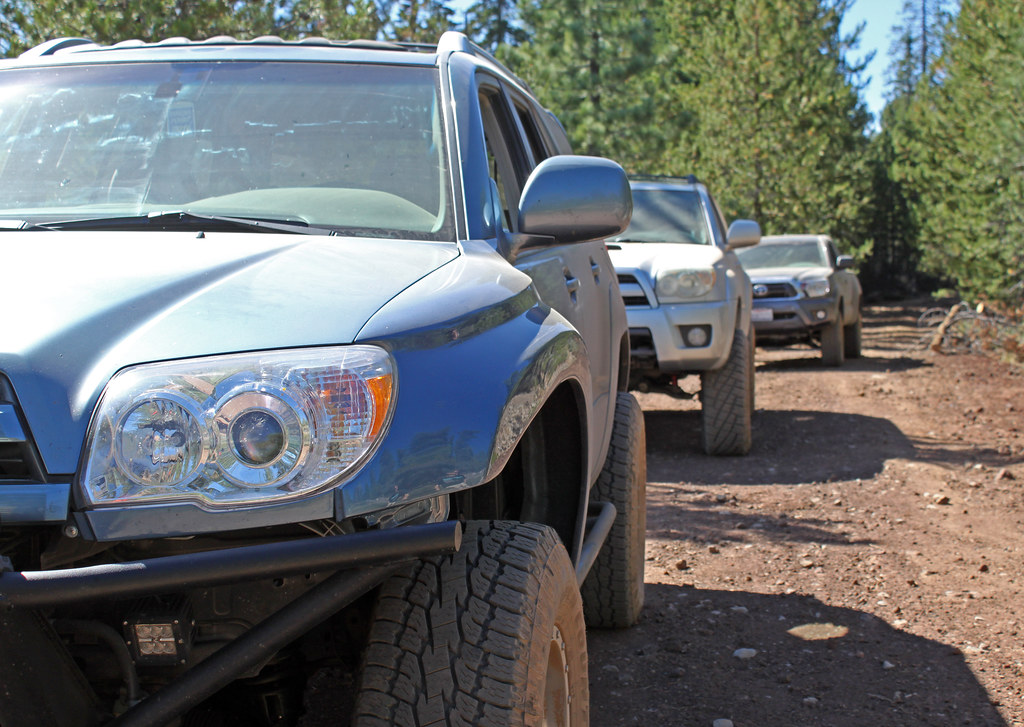
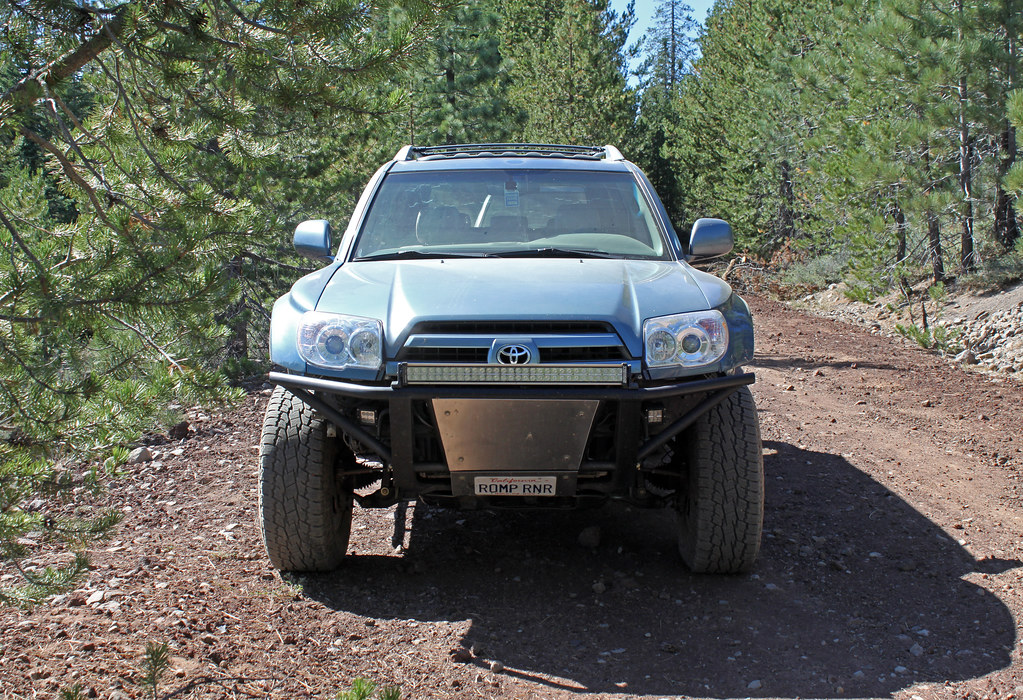
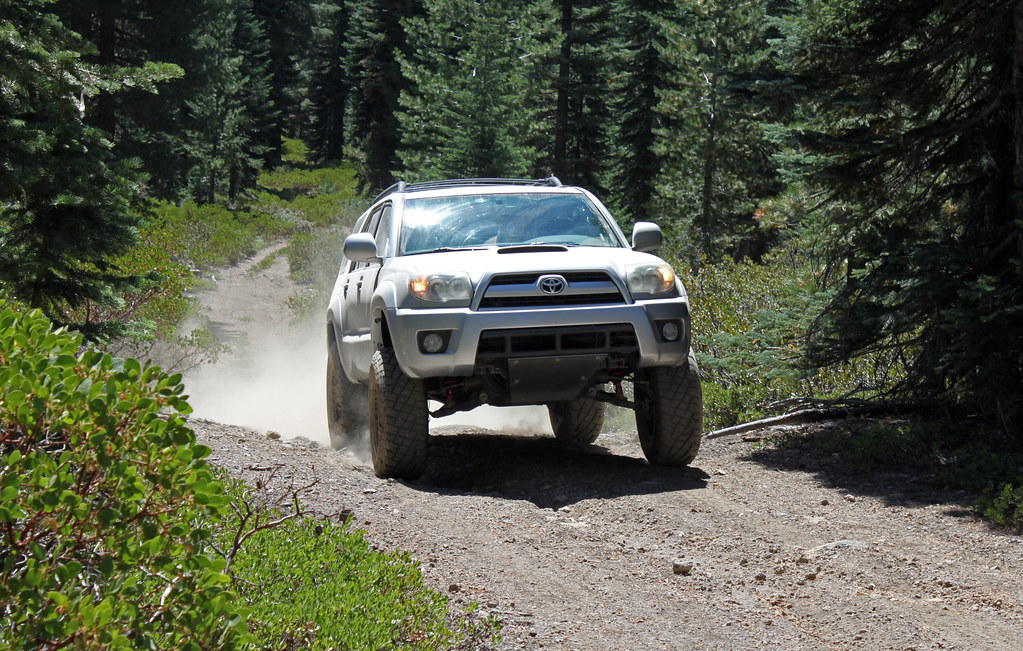
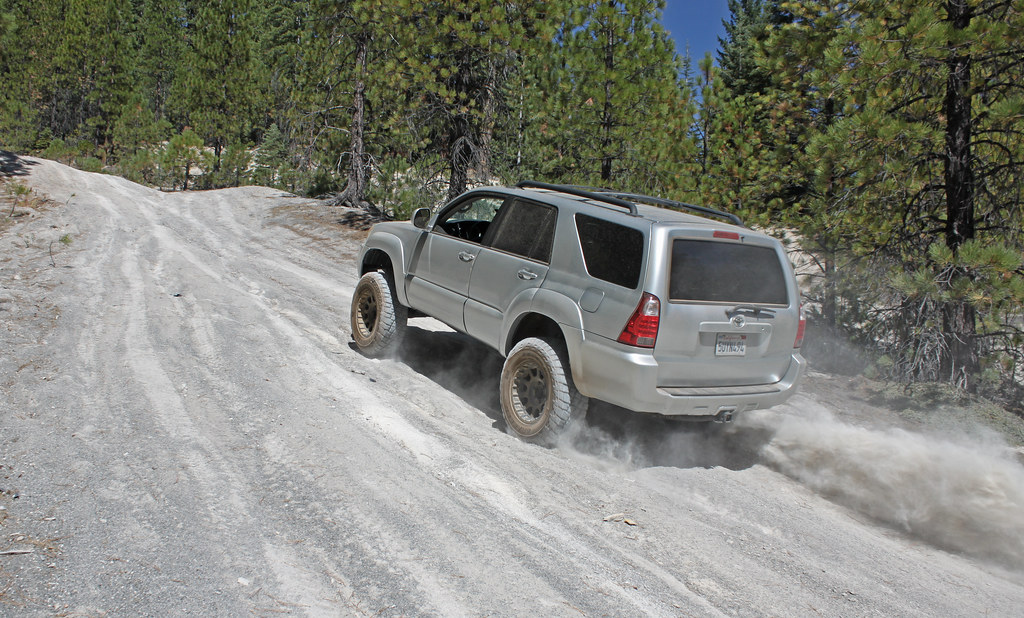
Went out with some friends for some trigger therapy and found an easy trail with a decent view
7763074ef1773f8f044227604b7b1228.jpg

Here's the aftermath
74f254e62f60ad384c9160d86f76813d.jpg
 
Finished up the lift today. All told, 11 hours. That's including a couple shopping trips for a torque wrench and some blades for the sawzall. I had to cut the rear shocks off.

End result: Pretty well leveled. I didn't take measurements so not sure what I gained, but I'm guessing 2 in the rear and 3 in the front.

171.jpg~original


Spring/Shock/sway bar link.

169.jpg~original


link comparison:

168.jpg~original


In progress bro lean:

166.jpg~original


front stock vs 5100:

164.jpg~original


Camburgs and 5100/OME 885:

165.jpg~original
 
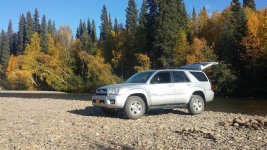
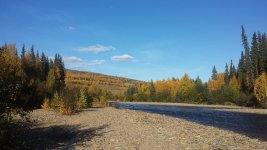
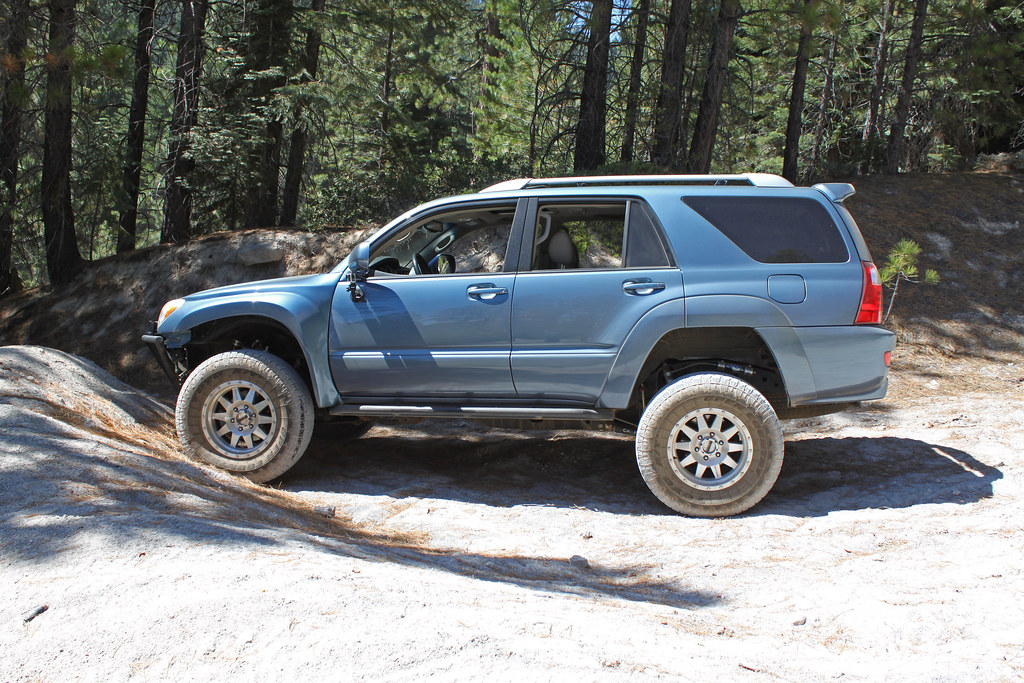
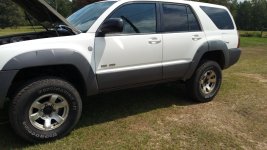
Went and scouted some roads/trails. Found a nice spot to camp on the river bank for the next time the wife and I need to get out of town for a couple days.

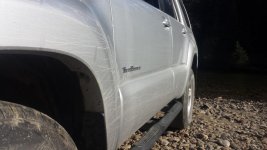
Also, these stock 4th gens have painfully low ground clearance. :ohwell:
 

Attachments

  • 20150906_170230.jpg
    20150906_170230.jpg
    135.2 KB · Views: 681
  • 20150906_170259.jpg
    20150906_170259.jpg
    135.4 KB · Views: 643
  • 20150906_170354.jpg
    20150906_170354.jpg
    95.5 KB · Views: 652
cleaned headlights

I spent alittle time and cleaned my oxidizes headlights. I used mothers polishing compound, micro fiber cloth, and a sander.

before

after
 
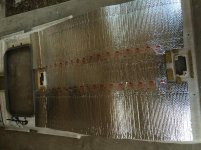
Took the headliner out, rattle proofed the underside, then lined the underside of the liner with heat reflecting foam. Not sure how much heat it will help discipat, but has to be better than just plain foam.
 

Attachments

  • image.jpg
    image.jpg
    135.5 KB · Views: 717
[MENTION=87687]LTDSC[/MENTION] Wrapped up my 03-05 to 06-09 facelift today. After getting the grill all fitted the other day, the last thing i had to do was to make a longer rod for the secondary hood release. The rod for the stock 03-05 grill is a couple inches shorter than the 06-09 grills. I got lucky and made the correct bends at the correct length on the first try.


Painted the rod black and scratched that project off the list. I am really happy with the facelift.
 
Last edited:
I painted my light cups on the SW bumper with an amazing primer/rust inhibitor called Sika Primer-206 G+P...this is used as the primer before windshields are installed to prevent and stop all rust from occurring...after sanding the cups with 80-grit sandpaper for the primer to adhere to, I taped off the light cups very well as this stuff will NOT come off no matter what...or at least once it dries a bit...nonetheless, I no longer have any surface rust occurring and hope this solves my issues with the rust...

The Primer:


The Close up:


The Beast:


I also touched up areas on the roof rack that were showing wear from being used with the primer...if you own a SW front bumper, I suggest priming the inside of the light cups so they do not show any signs of surface rust in the future...plus, it accents the lights better too...
 
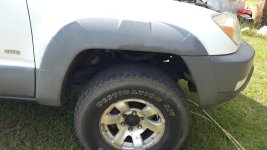
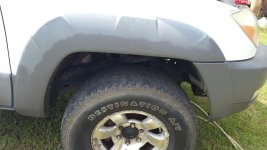
It was not today, but this past weekend I attempted the heat gun method for restoring my grey cladding. Figured I would share the results with anyone interested. The results are more dramatic in person.

Before: (It was the same on both sides)
20150903_141346.jpg

Mid way:
20150903_142103.jpg

20150903_142658.jpg

After:
20150903_141335.jpg


I will post the same thing in the picture thread. If anyone has any questions (although its pretty cut and dry) let me know through PM.
 

Attachments

  • 20150903_141346.jpg
    20150903_141346.jpg
    137.3 KB · Views: 594
  • 20150903_141335.jpg
    20150903_141335.jpg
    138.3 KB · Views: 611
  • 20150903_142103.jpg
    20150903_142103.jpg
    137.7 KB · Views: 641
  • 20150903_142658.jpg
    20150903_142658.jpg
    135.5 KB · Views: 557
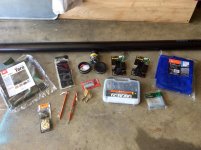
i ended up going with 4" pipe instead so theres a lil more room with all the poles and tarp, stakes, guy line, and lights to not damage things being so cramped. I cut out the center section about 15" from each end half way through and mounted three hinges allowing it to open down .
Still need to paint a few things black like the clamps, and poles.


image.jpg


Will post pics tomorrow with everything out and extended.
 

Attachments

  • image.jpg
    image.jpg
    130.9 KB · Views: 557
Last edited:
Changed the spark plugs. I had a feeling they were still the original densos. Indeed they were.

Went with ngk laser iridium. Feels immediately noticeable. More power and more responsive. Not too complicated, took maybe an hour.
 
Black headlight mod

Tried my hand at the black headlight mod. Not to bad, just have to be patient.


Also did some plasti dip on the grill.
 
Last edited:
Another lesson learned....lol

When i got my Demello bumper installed it left a huge gap under my stock 03-05 grill. This is the reason i decided to buy an 06-09 grill. When i got the chrome grill i just started working on it by sanding, priming, painting, wet sanding and polishing. This is where that second pic left off

I figured the hardest part would be to make the longer rod for the secondary release. I went out and pulled my old grill and installed the new one. Lowered the hood to see how close it was......it wasn't even close to fitting. I spent several hours cutting, grinding and test fitting. I finally gave up and put my old grill back on. Today i decided to give it another stab. I ended up cutting over an inch off the bottom, just above the bottom cross bar. The metal frame has an "L" shape to it across the bottom. I cut the vertical portion off, leaving the flat part. This did make it slightly weaker so i installed small screws all the way across the bottom holding the frame to the bottom of he grill. It is plenty strong now. I still have to make the longer rod but that can happen another day. Just glad to get this part done. Better pics to come

Wow, that is crazy that you had to cut that much off, the paint looks good, is that color matched?
 

Members online

Forum statistics

Threads
278,316
Messages
3,554,111
Members
248,016
Latest member
Advally Service

Trending content

Back
Top