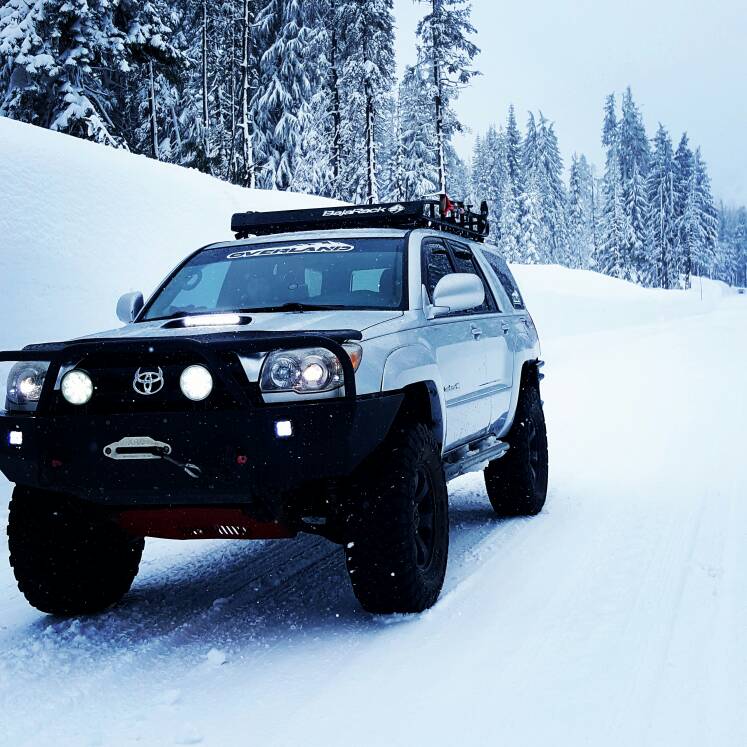
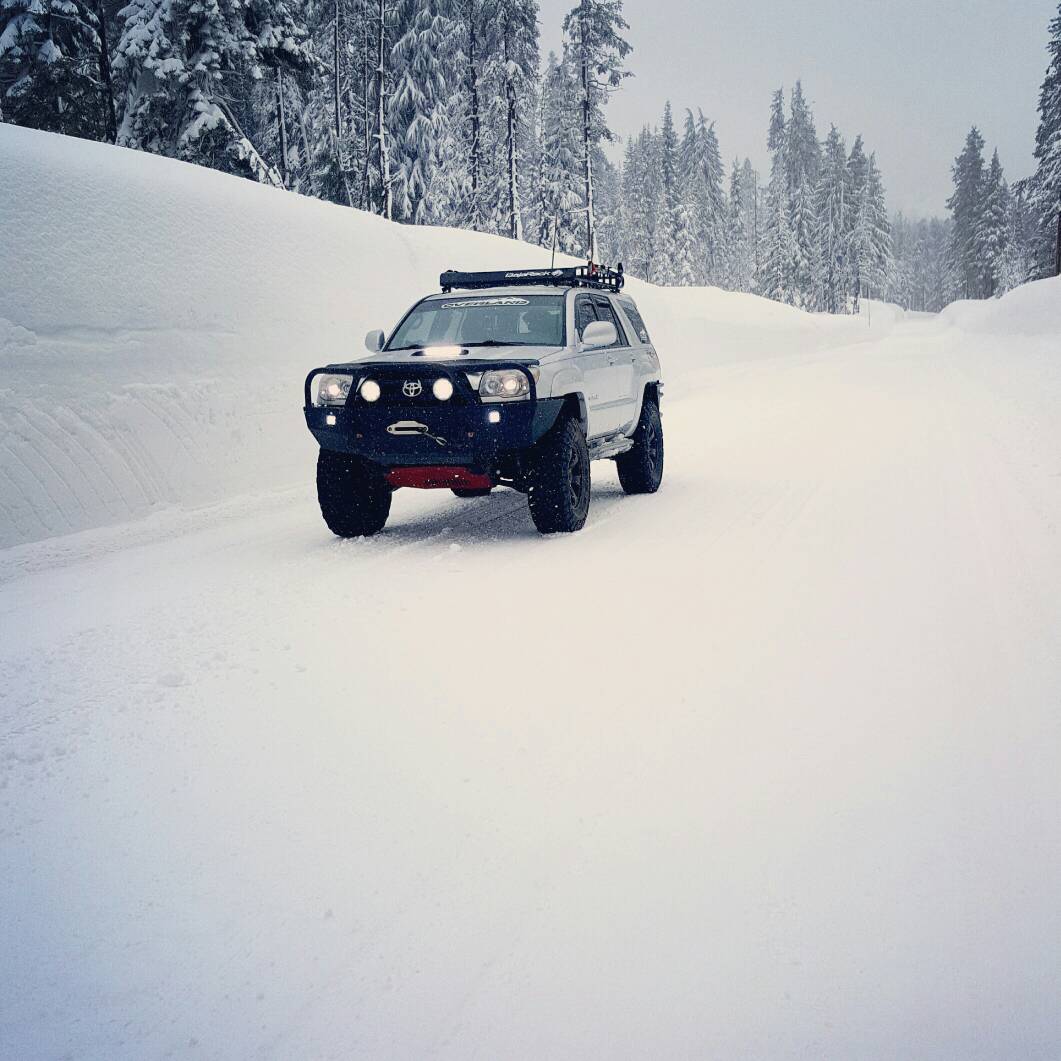
What did you do with your 4runner today?

Got the 4x4Labs rear bumper back from powdercoat this weekend. Got the stock bumper cover mostly trimmed right to fill in the body lift gap (there's a bit more to do but it'll work for now). Scepter cans are on order. Next up are extra reverse lights, sorting out something to light up the license plate, and cutting some mudflaps to fit without looking absolutely terrible.

IMAG0617.jpg~original
 
Last edited:
I know someone has already replied regarding this, but I wanted to also weigh in and offer my two cents.

All credit for disassembly of the seat comes from this post. I followed it to a T and had no issues with disassembly or re-assembly.

As the other poster noted, took about an hour to two hours to take the seat apart. Wasn't difficult at all, just tedious work. I actually used zip ties instead of hog rings, as it helps to prevent short circuiting of the heating pads. I read about it a loooong time ago on this board and shelved it until I was ready to do the mod. Also, using zip ties was considerably faster, as I have read.

I used these heated seats. I wanted so badly the OEM ones (or at least the backlit ones that fill the blanks), but everything I read on this forum, as well as some FJ cruiser ones, noted how difficult the wiring was in regards to voltage and using a heated seat with a hi-off-low switch vs a dial switch like the OEM one. In the end, though, I really wanted a high quality unit and went with the Dorman one. I bought two kits, but in the end only installed them on the driver's seat. My wife has heated seats in her Infiniti and never uses, so I knew she wouldn't care for them in my car. In the picture, the switch on the left is for my lower back and butt, and the one on the right is for my upper back and thighs. I am a tall guy so there are times when I only want the upper back on for dry heat for a kinked back or sore muscles from work.

Wiring took me considerably longer since I wanted the switches in the OEM location and wanted to keep the wiring and relays in the seat cushion and not underneath it. I tapped into two unused locations in the cabin fuse panel which were hot on ignition only. I used 15A fuses in the Add-A-Fuse, and there is a 10A in-line fuse in the actual heated seat wiring.

Though I was working on other things in the car when I installed these, it took me probably 6 hours. However, I went really slow as I have never taken upholstery apart in any vehicle before, and as the other poster pointed out, I could do this much quicker now that I have already done it once.

Hope this helps. I can answer any additional questions people have.

 
I found the light button while on an FJ Cruiser forum looking for wiring info on another project. I really liked it cause I haven't seen it around all that much, and it was specific to my needs. It's used for my footwell lights; my daughter likes them on when we are driving at night so she can see her surroundings.

Part#: PT297-35072-LS
Connector: 90980-10957

Let me know if you have any further questions!

Where'd that light button come from? I could definitely use one of those so that my roof lights have a different button from my bumper lights...
 
Installed 4300k hid kit along with some new fog and turn housings. Messed up the driver side fog though. Went to wipe them down and I must have used it previously to debadge with goof-off. Started melting the plasitc instantly. So now I need to get a new one of those.

Nothing has really gone right since I got this thing just over 2 weeks ago. My local toyota dealership finally got a check from the selling dealership to complete work on the actuator replacement. So it goes tomorrow night to start work on Wednesday. Figured while its there they might as well replace the transmission screen and fluid change. Next up is timing belt and front caliper replacement. I think the driver side is starting to freeze up.
 
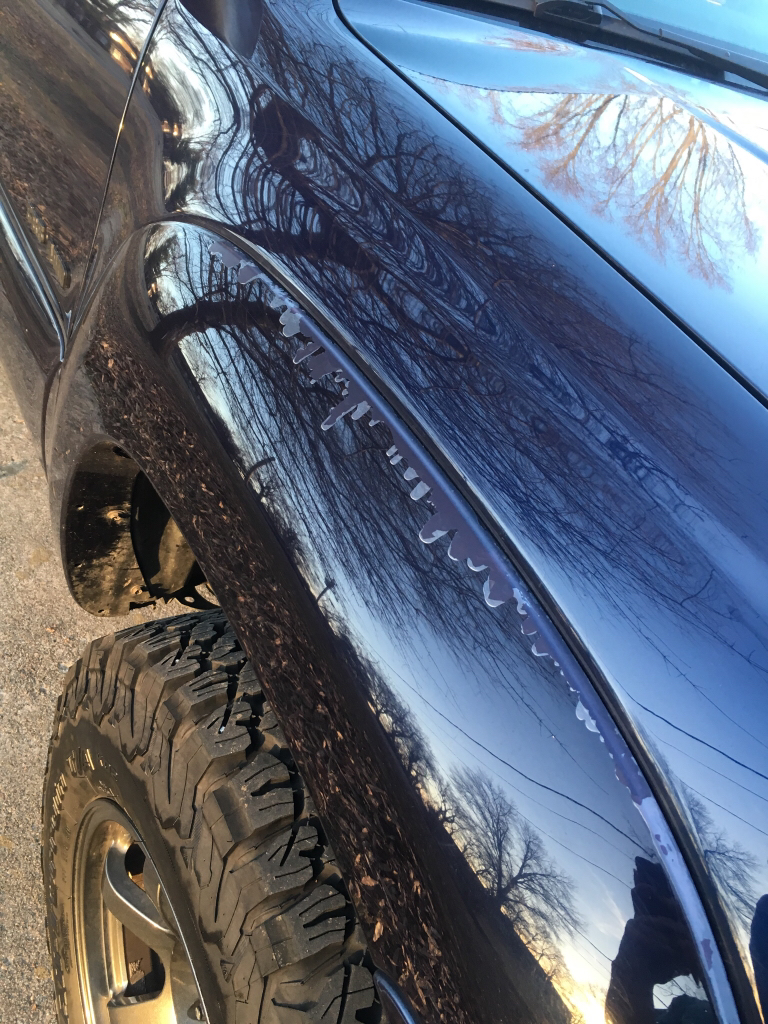
Any of you guys have any suggestions on the best/cheapest way to repair this chipping clear coat on my fender flare...it drives me crazy

441eb7ebe2ffece211128d9596362e62.jpg


Sent from my iPhone using Tapatalk
 
Any of you guys have any suggestions on the best/cheapest way to repair this chipping clear coat on my fender flare...it drives me crazy

441eb7ebe2ffece211128d9596362e62.jpg


Sent from my iPhone using Tapatalk


Body shop will probably be expensive if you dont mind a little project tape it off and sand and paint. Just an idea :artist2:
 
Any of you guys have any suggestions on the best/cheapest way to repair this chipping clear coat on my fender flare...it drives me crazy

441eb7ebe2ffece211128d9596362e62.jpg


Sent from my iPhone using Tapatalk
You need more trail pin striping. Lots more. It will make it a lot less noticeable.

Sent from the Far Side
 
Body shop will probably be expensive if you dont mind a little project tape it off and sand and paint. Just an idea :artist2:


That's what I was thinking, sand it as good I can then spray clear over it myself. I'm thinking about having the whole thing repainted in a few years anyways, I was just thinking maybe someone else had this Problem and could share how they fixed it for cheap


Sent from my iPhone using Tapatalk
 
That's what I was thinking, sand it as good I can then spray clear over it myself. I'm thinking about having the whole thing repainted in a few years anyways, I was just thinking maybe someone else had this Problem and could share how they fixed it for cheap


Sent from my iPhone using Tapatalk

If you do this yourself, I would recommend that you respray the entire fender flare or you'll notice where the OEM and new clear come together, and make sure when you sand that you do "wet sanding" with the correct type sand paper, start with 400 grit in the area where it's chipping and work your way up to 1000 to 2000 grit to smooth out the clear coat, you don't need to start with 400 grit on the entire flare use the finer paper only where there's no chipping, use a water hose while sanding to keep it wet and to flush away the sanding dust, once you start seeing the colored paint on your sand paper you need to go real easy or you'll risk takng it down to primer.

When you respray it with clear do 2 to 3 thin coats, let each coat dry throughly and do a very light wet sanding with the finest paper, ending with the final coat.
 
Last edited:
agreed with the above comment...and you should definitely use a 2k clear if you don't have a gun try the spray max 2k clear In a rattle can, it's automotive 2 part clear with hardener just in rattle can form. work awesome and lays out very nice, it'll match your factory clear nicely
 

Members online

Forum statistics

Threads
278,316
Messages
3,554,113
Members
248,016
Latest member
Advally Service

Trending content

Back
Top