What did you do with your 4runner today?

I found some MotoMetal 18" wheels at the junkyard on Sunday. Got a used set of 275 Hankook tires from the local tire shop. I've got some rubbing now, so some plastic will get trimmed this evening.

Before:
0i1ciZl.jpg


After:
pvJW3Oo.jpg
 
I found some MotoMetal 18" wheels at the junkyard on Sunday. Got a used set of 275 Hankook tires from the local tire shop. I've got some rubbing now, so some plastic will get trimmed this evening.

Before:
0i1ciZl.jpg


After:
pvJW3Oo.jpg

Damn nice looking junkyard wheels! I’ve never seen a full set of nice wheels in a junkyard. Generally one, or more are damaged from the incident that brought the car in to the yard in the first place.
 
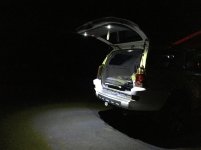
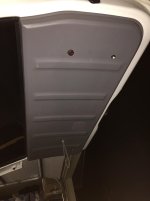
Another project I completed recently during self isolation was to address rear hatch area illumination. This was in combo with a recent post regarding reverse LED light bulb installs.
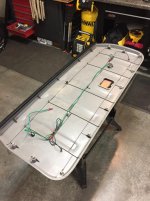
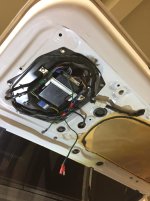
I kept this all within the hatch itself. Found a power wire on constant and tapped into that. Added a switch and some LEDs. I planned on 4 lights but the two button lights I installed were the right amount of light. Simple clean install and happy with the results.
I ended up with extra button lights and I used those to wire together on a string to make a “trouble light” that can reach all corners of the vehicle. It plugs into the port for my trickle charger to get constant juice.
Magnets can help hold these lights to assist with maintenance or camp chores.
I can add a photo if anyone is interested.
 

Attachments

  • 321ED019-EDC2-4FDA-9DE4-C219130F8DA2.jpg
    321ED019-EDC2-4FDA-9DE4-C219130F8DA2.jpg
    134.5 KB · Views: 347
  • 643EE794-288D-4E1C-B102-FF844B182414.jpg
    643EE794-288D-4E1C-B102-FF844B182414.jpg
    121.3 KB · Views: 347
  • 4347633A-E52C-4289-9618-568A971DC872.jpg
    4347633A-E52C-4289-9618-568A971DC872.jpg
    129.7 KB · Views: 350
  • 32D20F8A-D127-458B-B44F-1744679DF76A.jpg
    32D20F8A-D127-458B-B44F-1744679DF76A.jpg
    122.1 KB · Views: 360
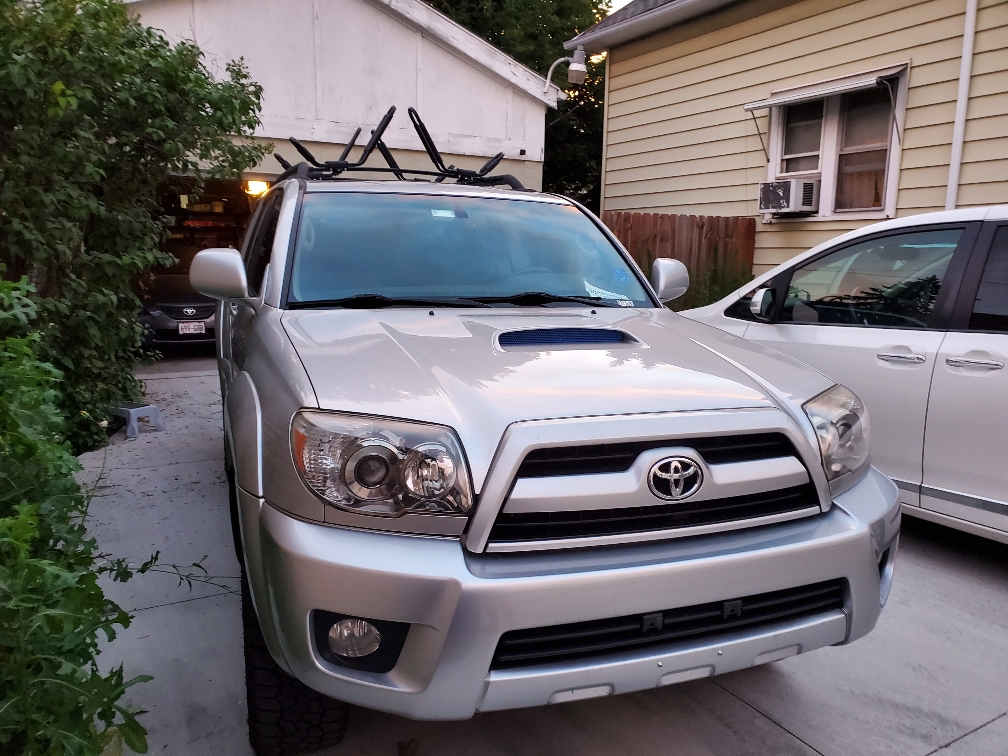
Not today but I had 2 weeks off so I did some work on my '04 4runner.
Our Wisconsin winters are hell on a vehicles underside.

Replaced the rear brake lines, calipers, pads & rotors, intermittent steering shaft, radiator & resealed a leak in the thermostat housing plus the water outlet o-ring.
Last fall & winter I replaced both CV axles, lower control arms, tie rod ends and lower trailing arms.

Next things on my bucket list are the upper trailing arms, gas tank straps plus I want to get rid of the xreas suspension and get normal shocks instead.

She only has 146,000 miles and by the time I'm done I'll have a brand new vehicle!
 

Attachments

  • 2004 Toyota.jpg
    2004 Toyota.jpg
    133.3 KB · Views: 355
I gave up trying to fix the stupid POS shift actuator for the transfer case on my V8 4x4. It had leaking seals so the housing filled with oil and the motors stopped working. Pulled it off, replaced the shift shaft seals and the o-ring to seal it to the transfer case but I can't get the motors/gears timed and it just beeps at me. Gave up and unplugged the actuator so i can drive it without it beeping at me. I might play with it some more but I'm going to gather the parts to do an FJ tcase swap and get rid of the crappy electronic shift tcase.
 
I gave up trying to fix the stupid POS shift actuator for the transfer case on my V8 4x4. It had leaking seals so the housing filled with oil and the motors stopped working. Pulled it off, replaced the shift shaft seals and the o-ring to seal it to the transfer case but I can't get the motors/gears timed and it just beeps at me. Gave up and unplugged the actuator so i can drive it without it beeping at me. I might play with it some more but I'm going to gather the parts to do an FJ tcase swap and get rid of the crappy electronic shift tcase.
There's an entire setup on tw for $1k.

Link below

Fj Tacoma Tcase swap parts | Tacoma World

Sent from my SM-G986U using Tapatalk
 
installed the auxbeam 8 gang panel. Only wired up the lightbar to start, but i'm pleased with how it ended up working out. It will help me justify adding another 1,400 lights to the truck.

28ZudiO.jpg
 
There's an entire setup on tw for $1k.

Link below

Fj Tacoma Tcase swap parts | Tacoma World

Sent from my SM-G986U using Tapatalk

Thanks. Saw that already. Guy wants to sell as a package for local pickup only. He's in Sacramento, I'm in Tucson. So no go there.

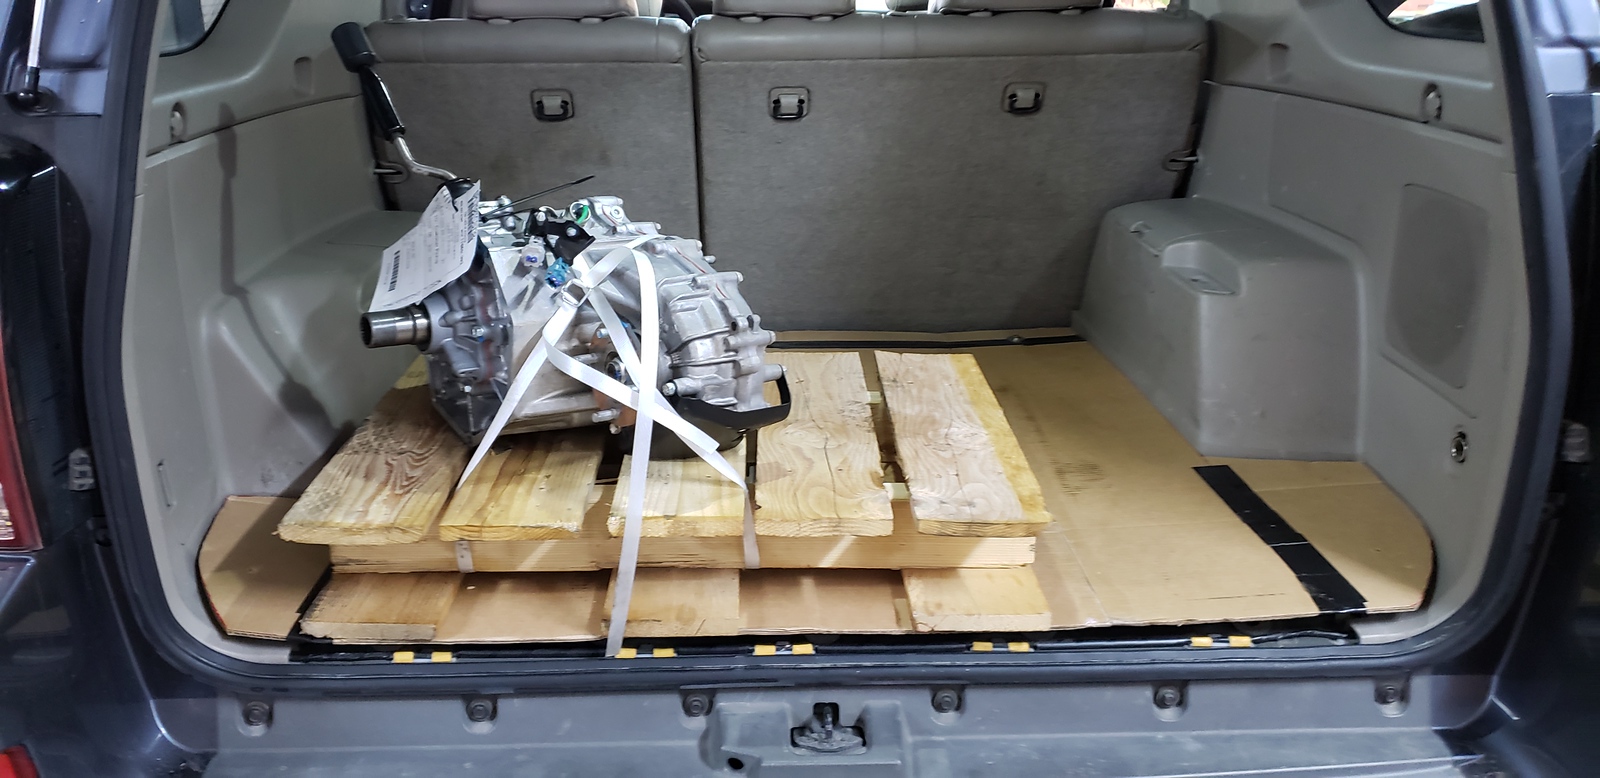
I've got all the parts on order already. Locally sourced the tcase, picking up Friday. Placed my order with RST for the rest of the parts needed today as well.

Is this a straight swap into the v8?

Not sure, I had just seen the ad so I mentioned it. Maybe [MENTION=459231]xtremewlr[/MENTION] has more knowledge.

Sent from my SM-G986U using Tapatalk

Yes and no.

The tcase bolts up no problem, the front ADD axle swaps out without issue. There is a little wiring to do and you have to cut a hole in the center trans tunnel for the shifter(s) to come thru. Then you also have to have both front and rear driveshafts lengthened since the FJ case is skinnier. And swap out or modify the oil pan so it clears the ADD housing on the front axle.

Otherwise, straight swap and you end up with a part-time 4wd V8.

 
Thanks. Saw that already. Guy wants to sell as a package for local pickup only. He's in Sacramento, I'm in Tucson. So no go there.

I've got all the parts on order already. Locally sourced the tcase, picking up Friday. Placed my order with RST for the rest of the parts needed today as well.


Yes and no.

The tcase bolts up no problem, the front ADD axle swaps out without issue. There is a little wiring to do and you have to cut a hole in the center trans tunnel for the shifter(s) to come thru. Then you also have to have both front and rear driveshafts lengthened since the FJ case is skinnier. And swap out or modify the oil pan so it clears the ADD housing on the front axle.

Otherwise, straight swap and you end up with a part-time 4wd V8.

Sending you a PM rn.
 
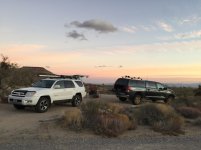
Again not today but recent. This is the first project that got me on a tear of mods. A recent Mojave Trail trip (photo attached) exposed that I had a wheel bearing failing.
I came to this site to help diagnose and seek guidance. Thanks to you all.
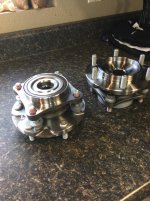
Easy repair, I purchased my wheel bearings from a local NAPA with life time guaranty. Figuring if they go bad I’ll just replace again. No problem. I got the tools and skills.
I’d like to give just one piece of advice. I saw you tube videos of guys hammering away at the bearing assemblies, sledge hammers, slide hammers, heat, gear pullers, all sorts of heavy effort. I found it fairly easy.
Of the 4 attachment bolts, I took opposing bolts, spun the hub to align those 2 bolts to the back of two opposing wheel studs and then just backed out the bolts and used them to equaling push out the hub assembly. Like 5 minutes and it was off.
If you look at the left hub in the photo you will get a sense of how the bolts push on the assy. As they back out. Push on the studs and you have many treads working for you. There you go.
More recent things I’ve done coming as this site really inspired me. Trying to play catch up with the maintenance and mods recently performed
 

Attachments

  • E8EF7A65-59A7-4942-90EB-06157A38E620.jpg
    E8EF7A65-59A7-4942-90EB-06157A38E620.jpg
    128 KB · Views: 375
  • 3FB8F8B9-933B-4D5E-80F9-A0B4CAB4945C.jpg
    3FB8F8B9-933B-4D5E-80F9-A0B4CAB4945C.jpg
    137.6 KB · Views: 377
Mounted some more cheap lights to the bumper using the auxbeam panel. really starting to look like a thrift store sport coat out here.

btoSvCA.jpg
 

Members online

No members online now.

Forum statistics

Threads
278,316
Messages
3,554,112
Members
248,016
Latest member
Advally Service

Trending content

Back
Top