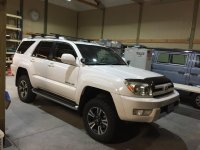
What did you do with your 4runner today?

this looks nice. How did you scribe it so well, and what finish did you put on that?

I did what extremewlr has done, cut a cardboard template to get a fairly accurate fit then trace it on a 3/4" sheet of birch plywood...however since I didn't have a large enough piece of cardboard handy, I ended up using several smaller pieces and made sure my measurements were spot on. I applied several coats of brush on polyurethane to the plywood to give it a wear/stain/water resistant finish.
 
Last edited:
I did what extremewlr has done, cut a cardboard template to get a fairly accurate fit then trace it on a 3/4" sheet of birch plywood...however since I didn't have a large enough piece of cardboard handy, I ended up using several smaller pieces and made sure my measurements were spot on.

I'm using 3/4" maple faced plywood for mine. Wanted a hardwood to hopefully stand up to abuse a little better than standard plywood. And it looks nicer, although I plan on paint mine black and probably bedline the top face.

I used a single, large box for my template. Had to cut it up but it was enough material to make the pattern. I'm keeping my rear seats in place though. At least for now. Plan on building storage boxes after.
 
Nice work, looks great.

Thanks! Are you going to place the plywood over the carpet? I tried that and there was no support, it was spongy in the middle so had to come up with a solution for long term rigidity...so I framed up a sub-floor and bolted it to the pre-existing bolt holes in the back of the 4Runner, once assembled I insulated the sub-floor and added a vapor barrier.

Ah4OBxR.jpg


KzOWJsU.jpg
 
Last edited:
Thanks! Are you going to place the plywood over the carpet? I tried that and there was no support, it was spongy in the middle so had to come up with a solution for long term rigidity...so I framed up a sub-floor and bolted it to the pre-existing bolt holes in the back of the 4Runner, once assembled I insulted the sub-floor and added a vapor barrier.

Ah4OBxR.jpg


KzOWJsU.jpg

Oh I like that! I had planned on going over the carpet but I think I like your idea a little better. I can probably use the unused half of the plywood sheet I have for the support like you have.
 
Oh I like that! I had planned on going over the carpet but I think I like your idea a little better. I can probably use the unused half of the plywood sheet I have for the support like you have.

I used one 1"x 4"x 8' board, one 1"x 6"x 8' board, and two 1"x 8" x 6' boards...built drilling out pocket holes with pocket hole screws and plenty of wood glue. It was fairly cheap, around $30 in lumber and makes for a far more stable platform to mount a sheet of plywood on top. I used 2 of the bolt holes where the factory cargo deck attached right behind the back seats and the two bolt holes where the D-rings are near the rear hatch.
 
Once again part of my recent self Isolation projects on the 4RNR. What started out as a need to replace the ventilation control lights that had gone out (thanks to this site again for the info) I ended up with a 1/2 dozen mods.
I ended up finding maybe 8 dash bulbs Blown out that I had not realized. During which I decided to install a GTA Bluetooth adapter, which I’m super happy with, and seems to bring my JBL infinity sound system into the 21st century.
While doing that it seemed obvious I should add some USB ports and decided to go with the quality Bluesea product.
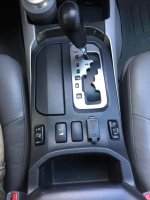
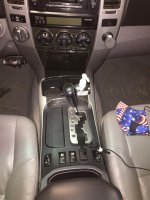
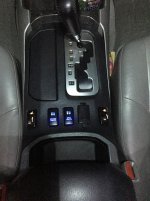
Deciding to put that into the center console, made me evaluate The location of the DAC switch. So off it went to be relocated next to the 4WD lock switch. Suddenly I had two available switch locations available. Hmmmm, what to put there. Hint is in the photo. To be shared next.
Also added a MOB phone mount which is the bomb and the best I’ve found.
While I was working on the interior and had an illumination fixation going on I did the Interior LED bulb conversion. And I was just getting started.
I’ve owned all of the first 4 Gen 4RNRs and the first 3 all got mods. It’s taken 17 years to start on this one which I bought new in 03. It’s been so good, but I think the girl is appreciating the recent attention.
 

Attachments

  • CAAC2A68-B94E-41BB-AE3B-D1C059305892.jpg
    CAAC2A68-B94E-41BB-AE3B-D1C059305892.jpg
    132.2 KB · Views: 470
  • A8D0DE4D-F749-46AA-98A9-BD8B6FC392F5.jpg
    A8D0DE4D-F749-46AA-98A9-BD8B6FC392F5.jpg
    127.8 KB · Views: 457
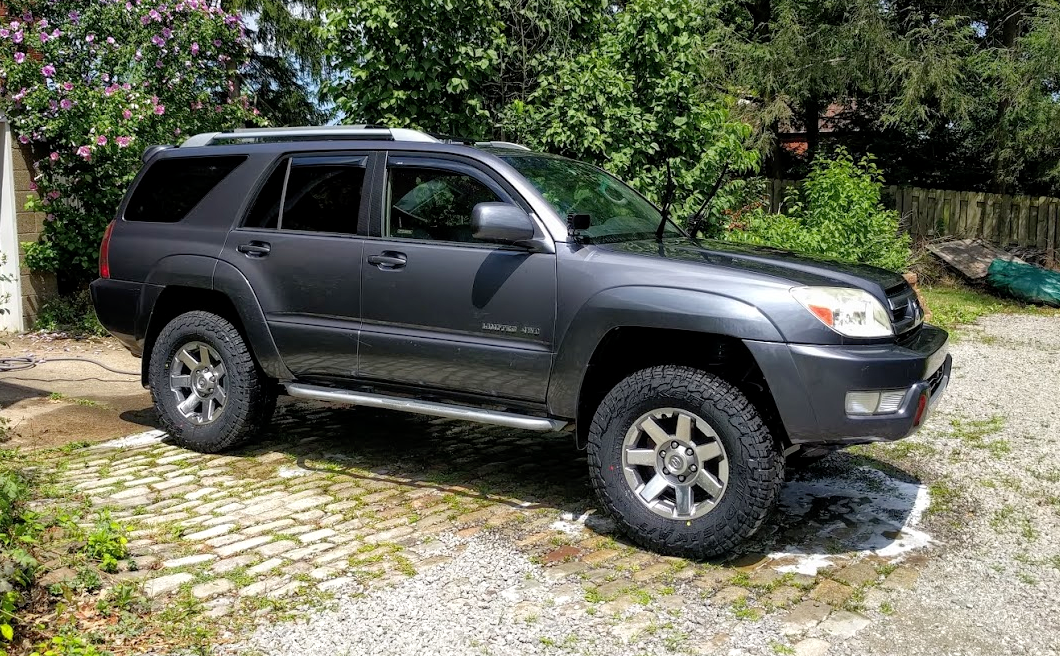
Picked up some new wheels the other weekend and had the local tire shop put in the order yesterday....got the call at 8:30am the tires were in....they had me in and out in 15 minutes. Did a quick wash job and now ready to head out camping for the weekend....

4runner-new_shoes.PNG
 
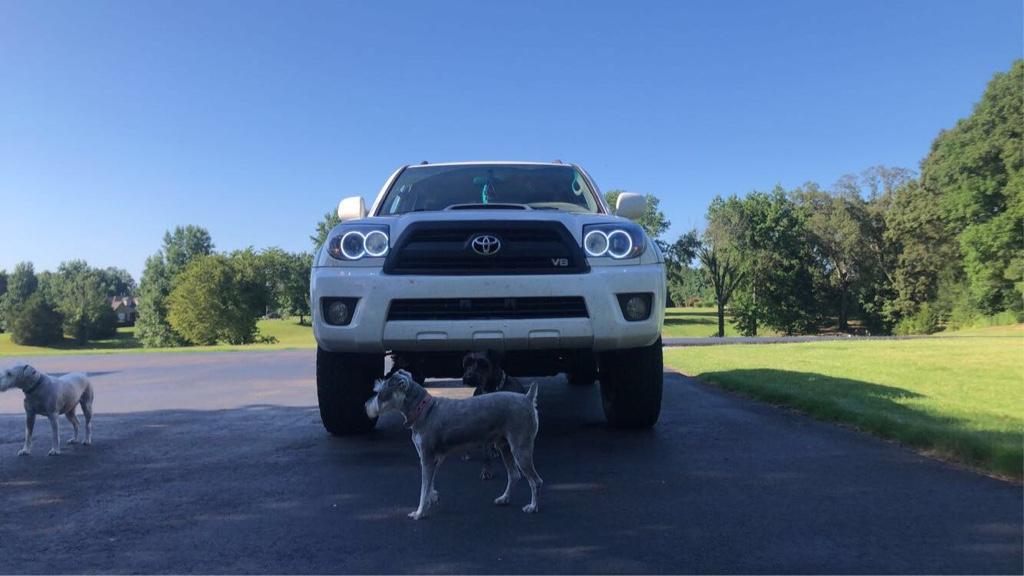
Spent most of yesterday installing a halo kit that I bought from Oracle Lights. I’m super happy with the results. Woke up this morning after waiting on the sealant to cure and put everything back together. The only thing I’m concerned about is fitment. These halos fit perfectly on OEM headlights but the ones I got from the local body shop (I was backed into while I was away from the 4r and it completely destroyed my grille and both headlight assemblies as well as bending my hood upwards) are apparently differently sized. The rings that go around the high beams didn’t stick all that well due to the fitment issue so I applied some fast-curing epoxy to make sure they wouldn’t fall off. Wired to my DRL’s. The dogs seem to like it :)
fe4086a5e37c570e3d1f8ef7667cab3e.jpg
 
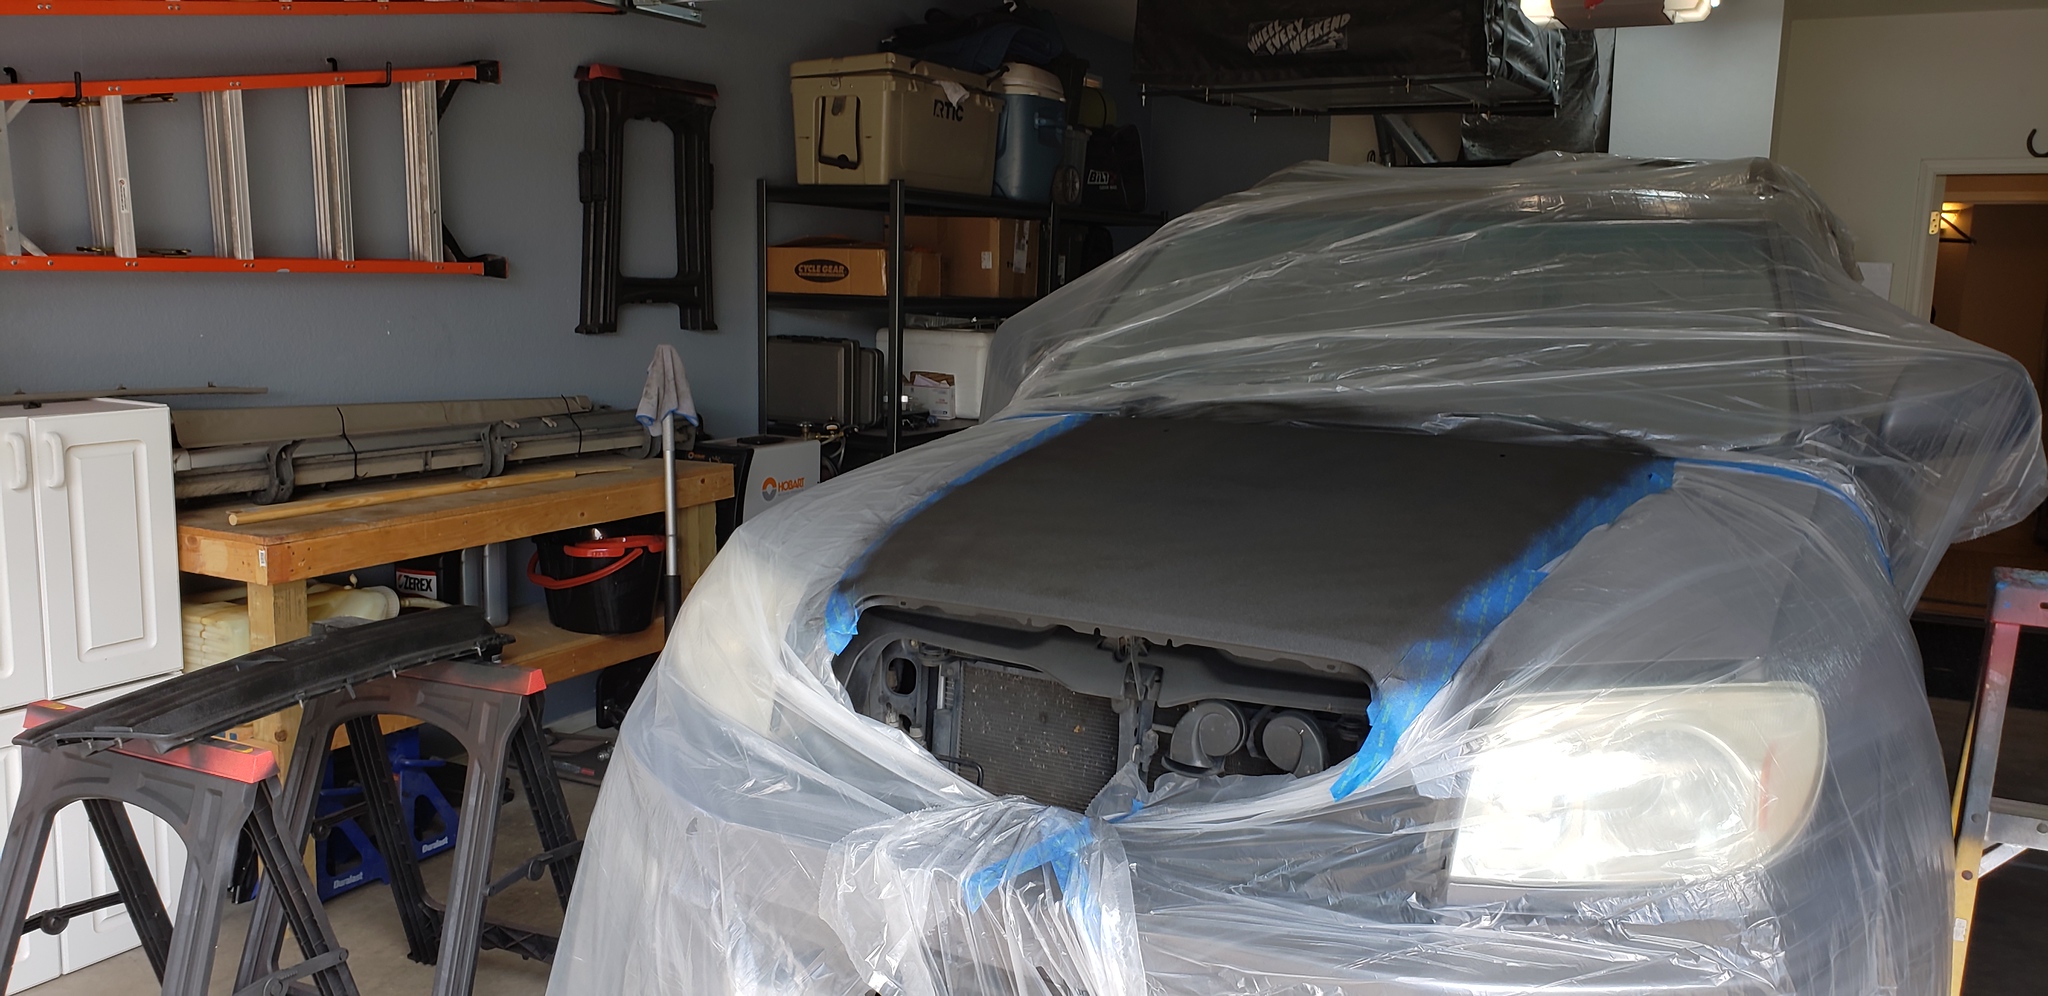
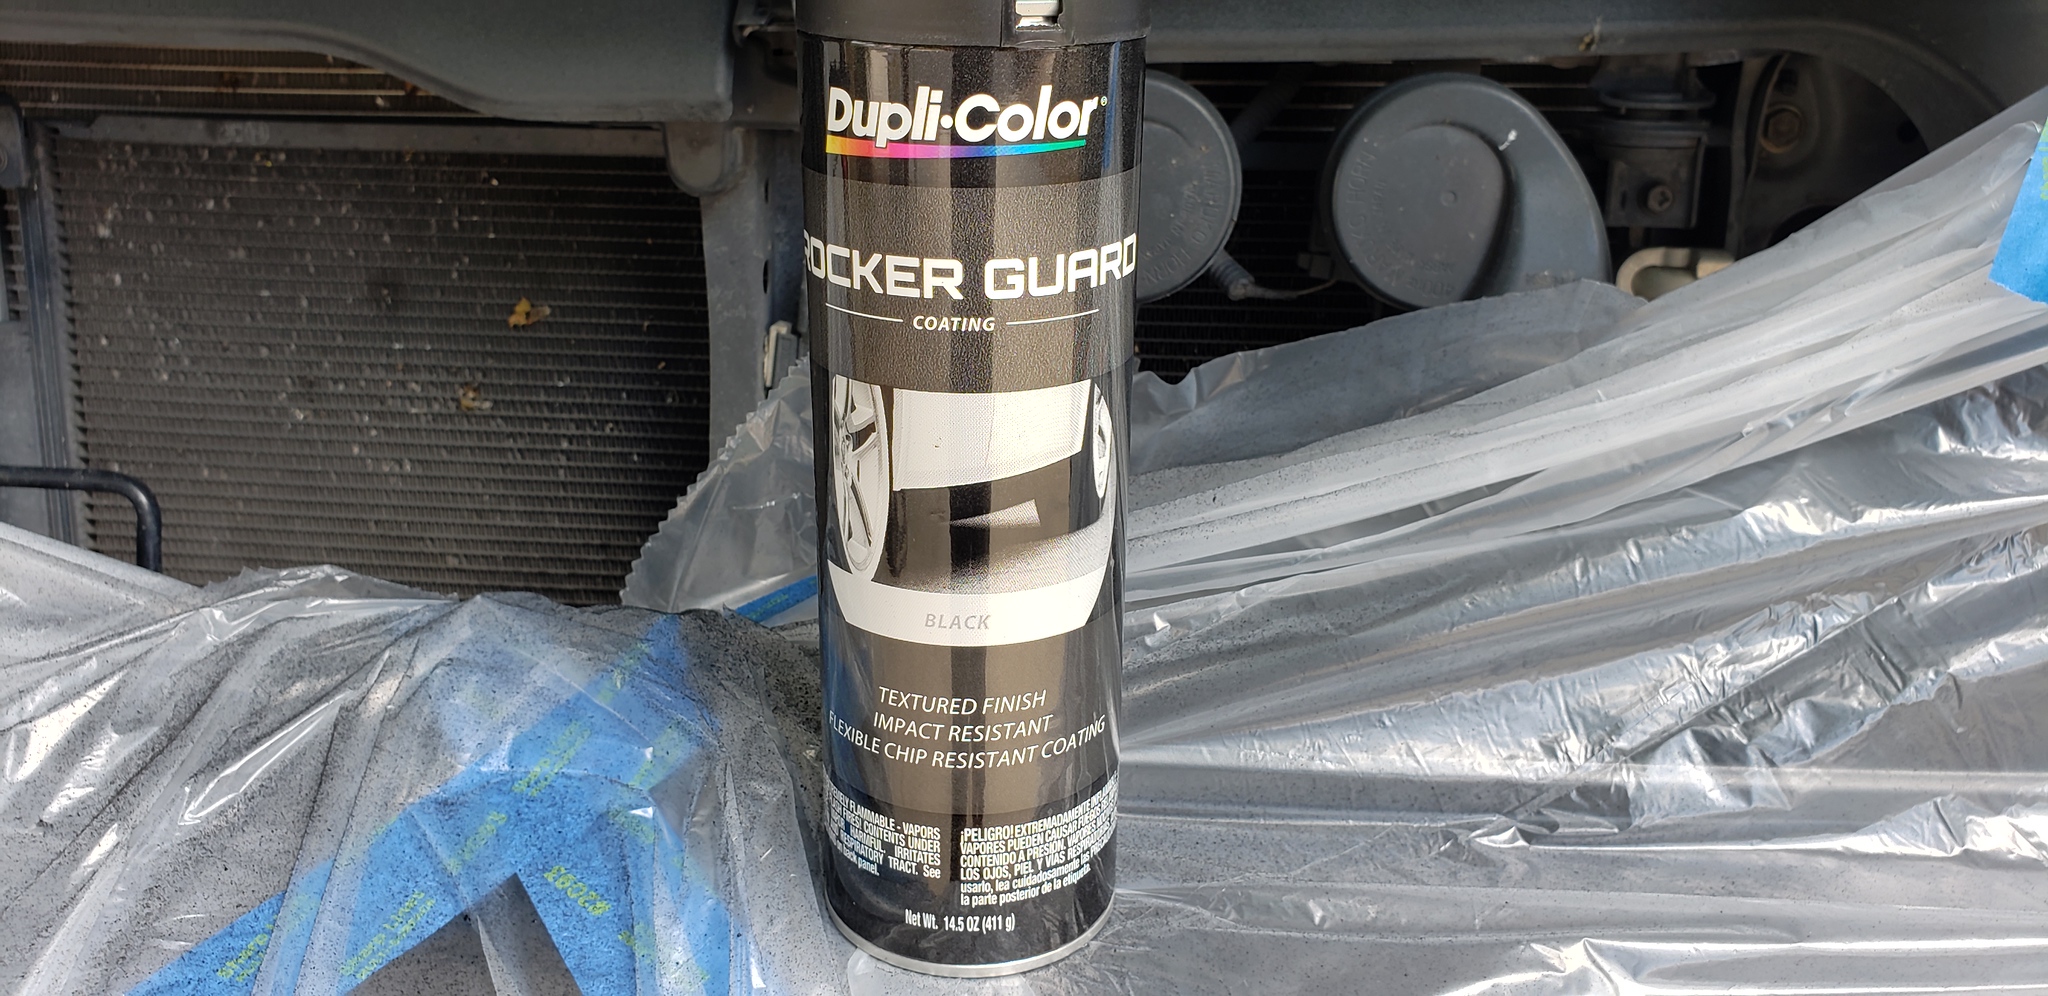
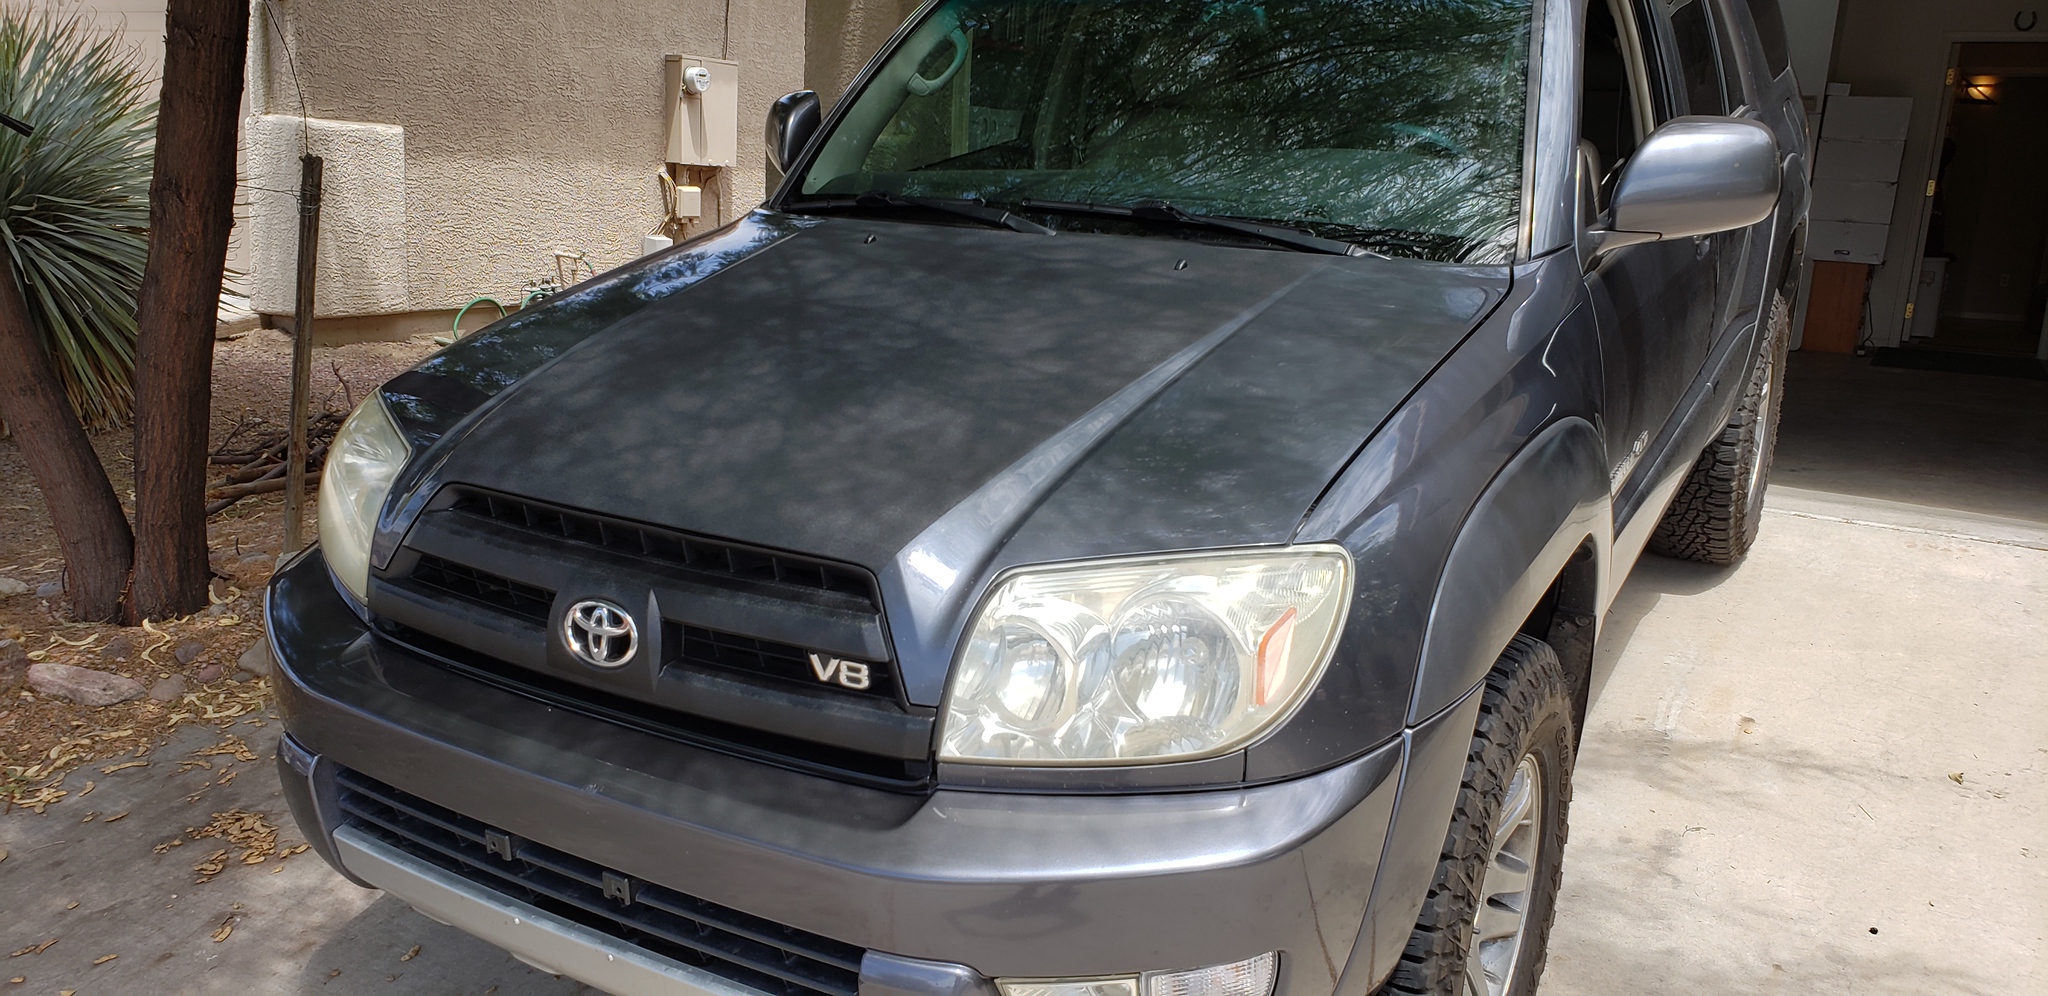
I decided I really hated the way the hood blackout looked with the matte finish paint and decided to repaint it a 3rd time. Used Duplicolor rocker panel black paint this time. Slightly textured. Painted the hood and grill with it. I think I like it so far.

20200725_104131-X4.jpg


20200725_104205-X4.jpg
 
Finally, after 13+ years of purchasing my 4Runner I got around to replacing the head unit. I was tired of the aux cable dangling out of the center console and the input was giving me fits again after replacing it a few months ago. Installed a Pioneer FH-700BS using the Crux SWRTY-61S interface which maintains the steering wheel controls(except mode feature). The Metra kit I ordered was for a limited so I’ll have to wait till the correct one arrives to fully complete the project but I’m pleased with the overall upgrade. And as much as I’d like to share pics I can’t get any to upload.
 
Finally, after 13+ years of purchasing my 4Runner I got around to replacing the head unit. I was tired of the aux cable dangling out of the center console and the input was giving me fits again after replacing it a few months ago. Installed a Pioneer FH-700BS using the Crux SWRTY-61S interface which maintains the steering wheel controls(except mode feature). The Metra kit I ordered was for a limited so I’ll have to wait till the correct one arrives to fully complete the project but I’m pleased with the overall upgrade. And as much as I’d like to share pics I can’t get any to upload.


lol....mine will be 18 in Nov and still have the stock head unit with the tape deck and cd changer. I have been debating getting a new head unit but the GTA Car Kit has been working just fine.
 
lol....mine will be 18 in Nov and still have the stock head unit with the tape deck and cd changer. I have been debating getting a new head unit but the GTA Car Kit has been working just fine.

I was gonna go that route with the gta kit but this pioneer hu and wiring kit off amazon was only about 185 bucks. I plan on upgrading the speakers in the not so distant future as well. Maybe it’s just wishful thinking but it also sounds better. This is light years better than the auxiliary tape deck input I had so I could listen to my Discman in my GMC High Sierra back in the day lol.
 
About a week ago I replaced the weatherstrip for the rear window.


Today I planned on doing both front axles w/seals and lower control arms but between heat, 3 herniated discs and doing everything on the ground that didn't happen.
Driver side done. Ran into small issue with the low control arm but I figured out a way around it.

I did install a spacer on the strut to see if it would lift up the passenger side but it did nothing.. FML
 
lol....mine will be 18 in Nov and still have the stock head unit with the tape deck and cd changer. I have been debating getting a new head unit but the GTA Car Kit has been working just fine.

Mono.75 I think your build post was the one that convinced me to go with the GTA Bluetooth. I’m very happy with it and also the factory head unit. On my 2003 4RNR. I’m sticking it hit as long as holds up.
This forum has provided a ton of good advice and inspiration.
 
Routine maintenance. Cleaned air filter (just got it 3k miles ago so I didn’t replace it), changed oil & oil filter, and rotated tires. Gotta get around to checking the things that start to break around 250k miles.. fuel pressure, compression, etc. etc. If someone could tell me what I need to be looking for, let me know!
 
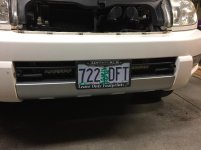
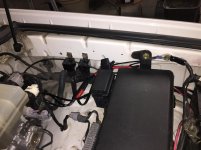
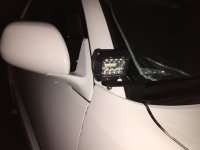
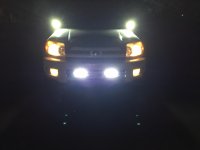
Part 2, continuation of my last self isolation projects post. After getting into the dash and moving the DAC switch I decided I would use the 2 available center console switch locations to add some needed lights. Decided to go with some driving lights I figure I could conceal well and some ditch lights. The CBI ditch light brackets are first class and a well worth purchase. I went with some cost effective NiLights I picked up on Amazon. If these fail I’ll upgrade, but at least the wiring and mounts will be sorted out. I’m using some available threaded bolt holes in the left apron for the relays. And then for the driving lights I was looking for the most secure bolting options. So I added some “nut serts” in the reinforcement. So the most direct and secure mounting I could find. Removed a bit of the bumper grille to allow the light to shine through. Overall very happy with the way it turned out and not a ton of investment, just some time on my part. I think the pictures help tell the story.
 

Attachments

  • 976B7D2C-0E85-4864-B55C-D108A8898E80.jpg
    976B7D2C-0E85-4864-B55C-D108A8898E80.jpg
    135.5 KB · Views: 424
  • 64EAC6F1-9A69-4C6A-8470-E43EC07675F7.jpg
    64EAC6F1-9A69-4C6A-8470-E43EC07675F7.jpg
    117.9 KB · Views: 419
  • 938928FA-B17D-4BCF-A658-FB526E3F27AB.jpg
    938928FA-B17D-4BCF-A658-FB526E3F27AB.jpg
    124.3 KB · Views: 416
  • 785DFF6D-0617-4323-B618-51C82B41A52D.jpg
    785DFF6D-0617-4323-B618-51C82B41A52D.jpg
    110.1 KB · Views: 424
Couple additional photos for the last post. Showing the switches, illumination and another view of the ditch lights.
 

Attachments

  • B0941D12-5C1D-45E3-9867-A297C2894729.jpg
    B0941D12-5C1D-45E3-9867-A297C2894729.jpg
    136.4 KB · Views: 420
  • 6572289D-47EE-4420-B5A5-559FDCF881C3.jpg
    6572289D-47EE-4420-B5A5-559FDCF881C3.jpg
    158 KB · Views: 440
  • 71101BB0-C72B-493F-8FF5-B3844DD802F5.jpg
    71101BB0-C72B-493F-8FF5-B3844DD802F5.jpg
    124.3 KB · Views: 429

Members online

Forum statistics

Threads
278,316
Messages
3,554,113
Members
248,016
Latest member
Advally Service

Trending content

Back
Top