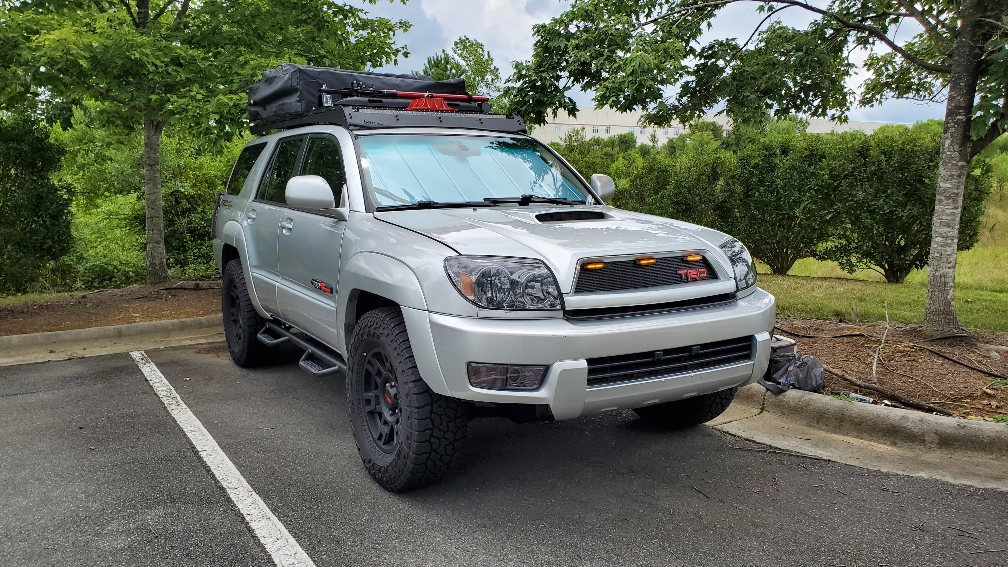
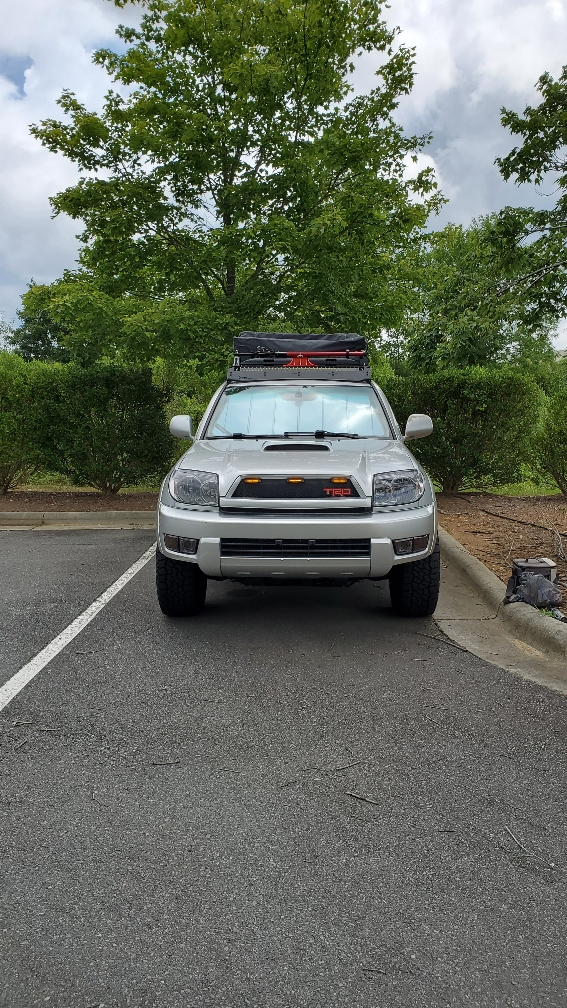
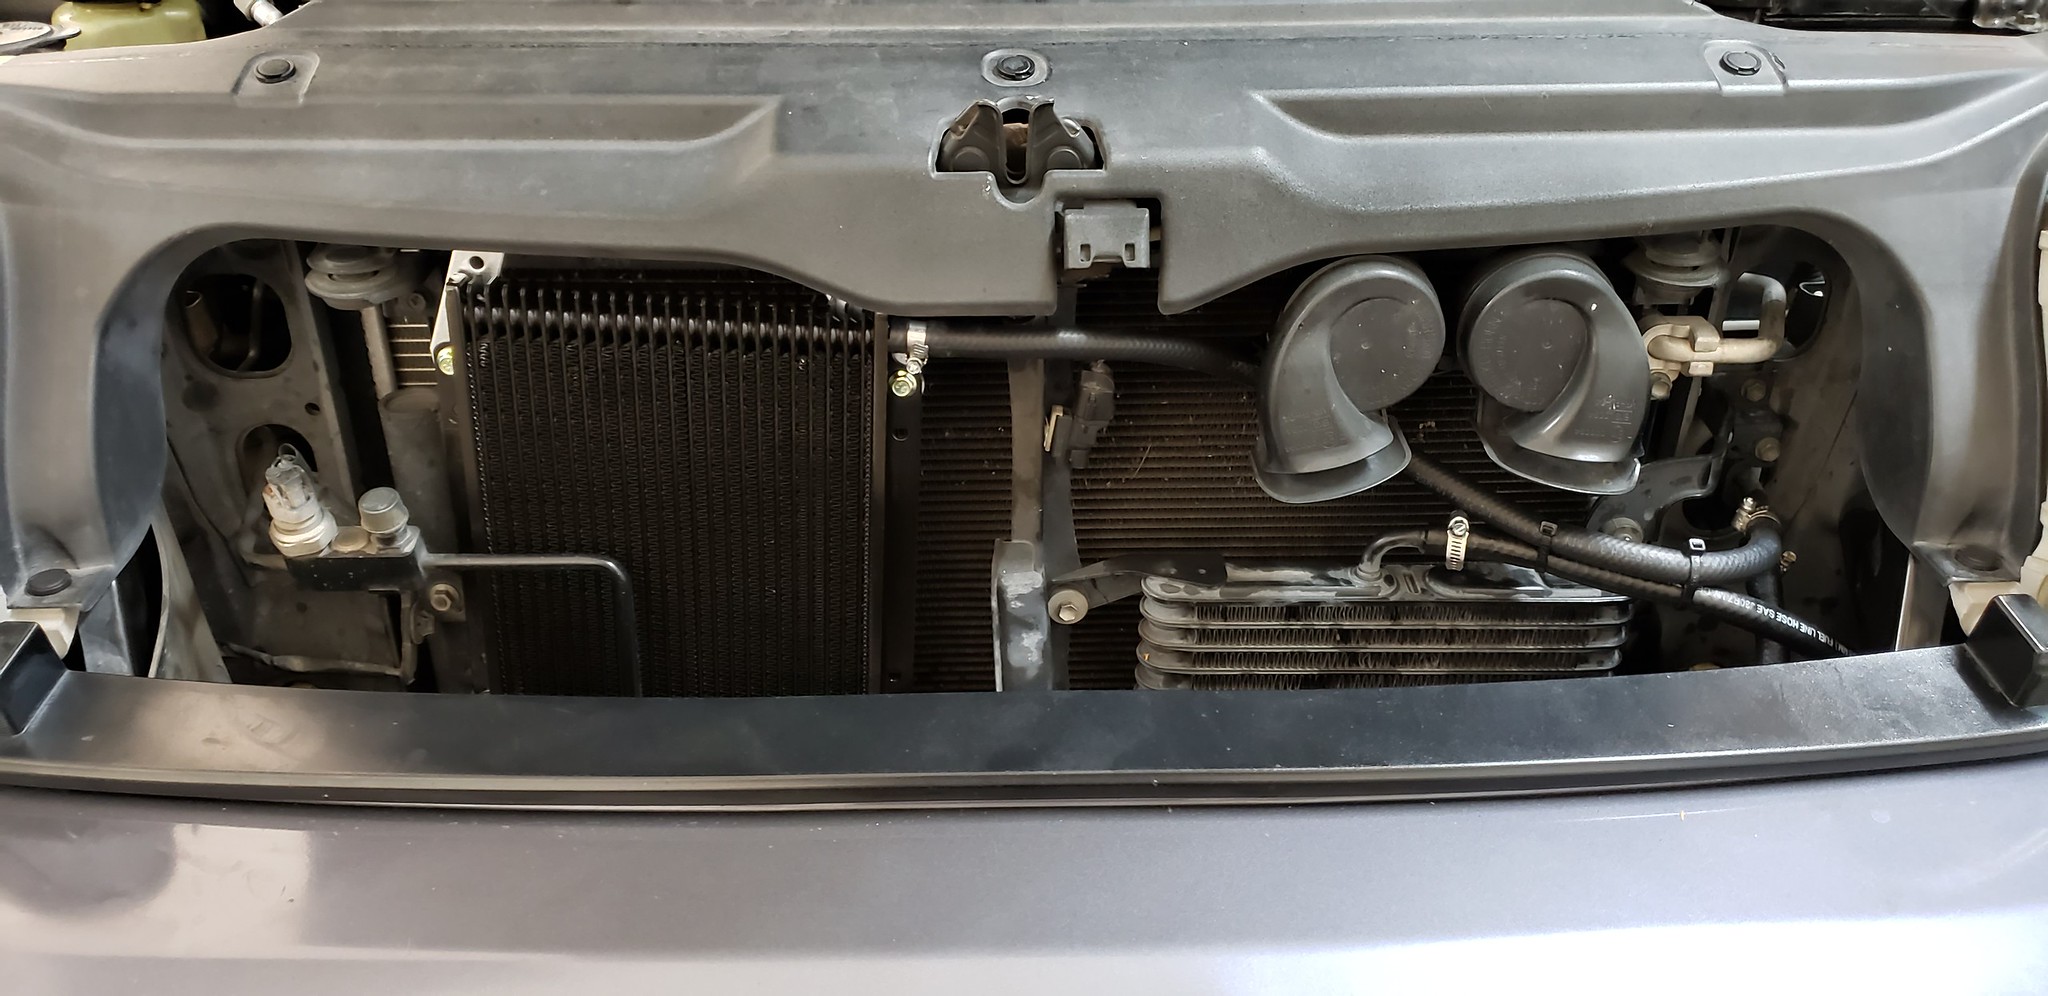
What did you do with your 4runner today?

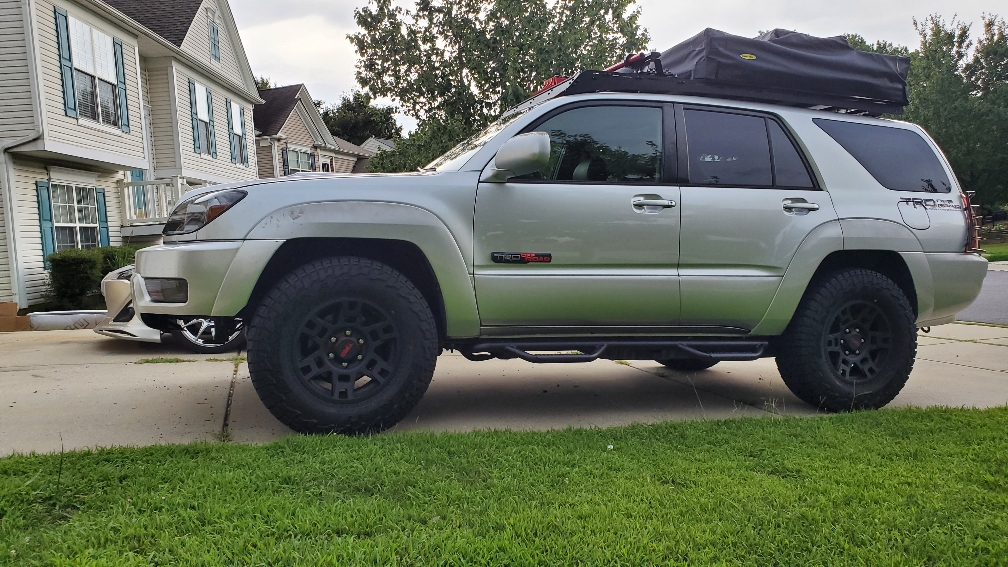
while waiting on the rest of the lift to deliver I decided to tackle the recovery gear mounting on the roof rack.

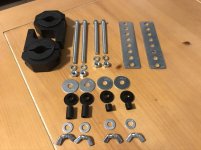
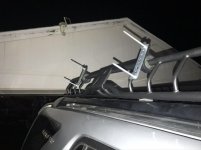
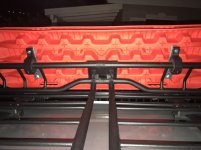
Made some custom stand-off mounts from a steel square tube to mount the Hi-Lift jack mounts in a way that would allow me to use the jack to lock down the traction boards.
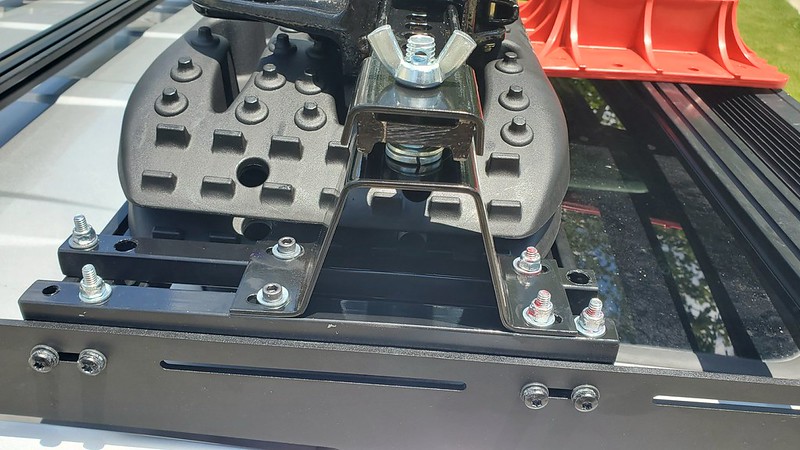
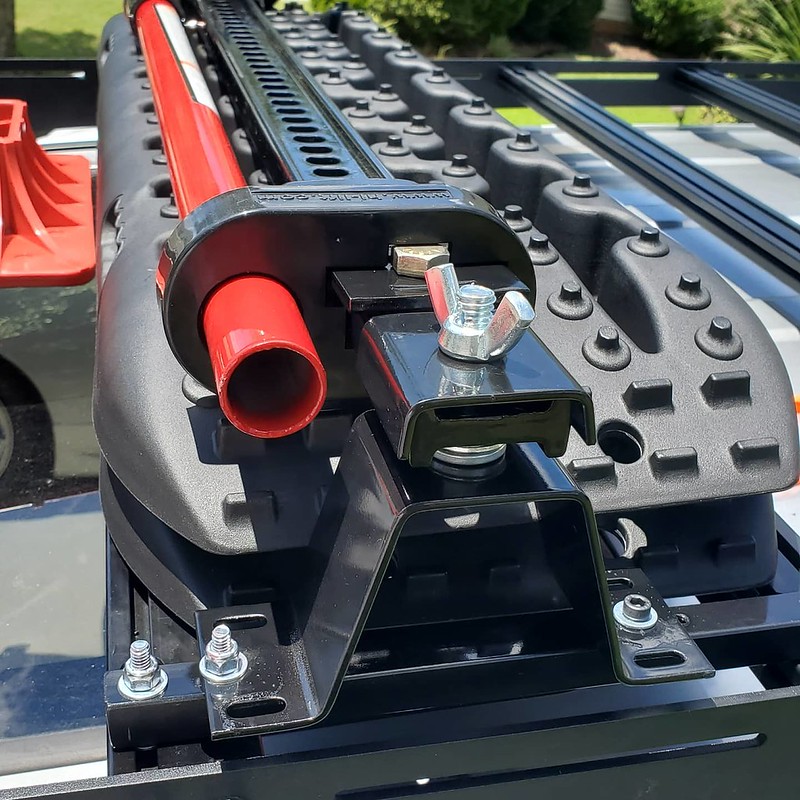
50158415798_5f51773701_c.jpg


50159193757_91d1d70cc1_c.jpg


Also somehow managed to manhandle the Smittybilt Overlander tent up on the car by myself to test fit everything.
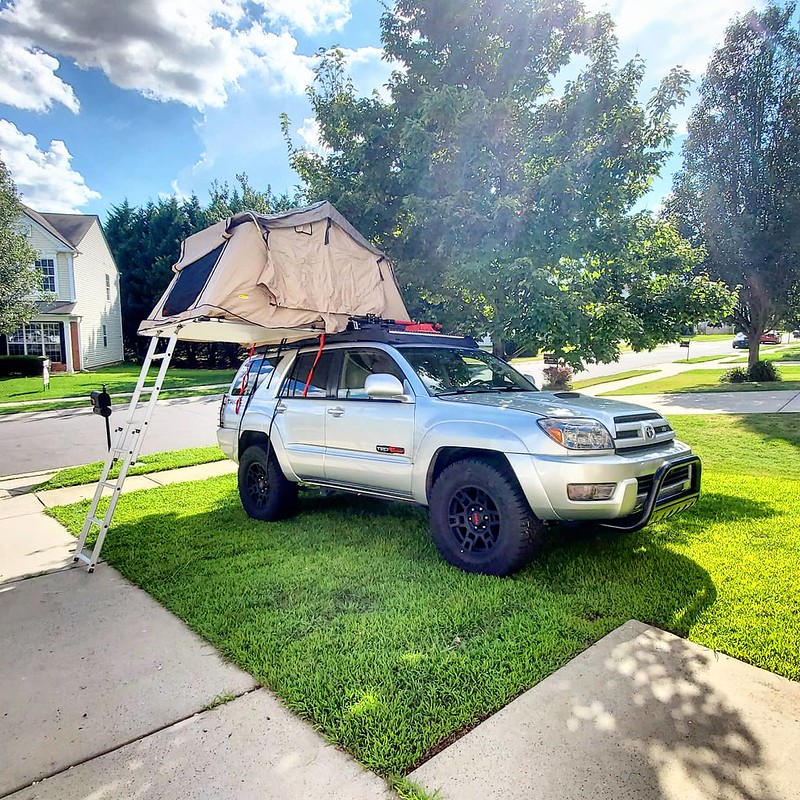
50158404338_9dd2056225_c.jpg
 
Mono.75 I think your build post was the one that convinced me to go with the GTA Bluetooth. I’m very happy with it and also the factory head unit. On my 2003 4RNR. I’m sticking it hit as long as holds up.
This forum has provided a ton of good advice and inspiration.

For the money it is a good setup and works fine. If I was more of an audiophile i would have to go a different direction but i am pleased with it.
 
Took down the very flimsy splash shield and did a front diff service.
Quick drain and fill of the transmission, changed the transfer case fluid and greased the driveshaft.

Next is coolant flush and change out the exhaust hangers and of course the passenger side LCA and axle.. That will be fun.
 
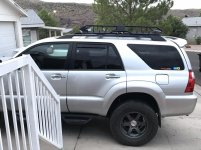
Roof basket and traction board mounts

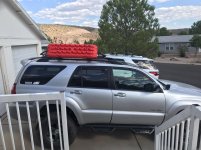
Got my XL Rhino rack roof basket in and put on. This rack will tide me over until I can swing the Victory roof rack and then the Rhino will be used on the Subaru. I made some mounts for my traction boards also. Had some inexpensive Amazon light mounts and went to the local Ace hardware and got some parts to mount them.
I planned on painting them black but hasn’t happened yet lol. May do it next days off. Now that I have the room on top I need to get a full sized matching wheel and tire for a spare.
 

Attachments

  • C72FC677-3F19-41EA-A8CC-3D602938153B.jpg
    C72FC677-3F19-41EA-A8CC-3D602938153B.jpg
    129.7 KB · Views: 645
  • 5FB921FF-0B06-4553-A5B7-BBB63846605B.jpg
    5FB921FF-0B06-4553-A5B7-BBB63846605B.jpg
    123.2 KB · Views: 545
  • 5C310C21-0872-4778-8CA0-8D758FE95771.jpg
    5C310C21-0872-4778-8CA0-8D758FE95771.jpg
    85.7 KB · Views: 521
  • 0047C4A8-E086-417E-9FE3-BC60529B2E50.jpg
    0047C4A8-E086-417E-9FE3-BC60529B2E50.jpg
    118.1 KB · Views: 530
  • 13F1BF77-C1BF-4D3A-8398-805D31C633FC.jpg
    13F1BF77-C1BF-4D3A-8398-805D31C633FC.jpg
    131.2 KB · Views: 487
Last edited:
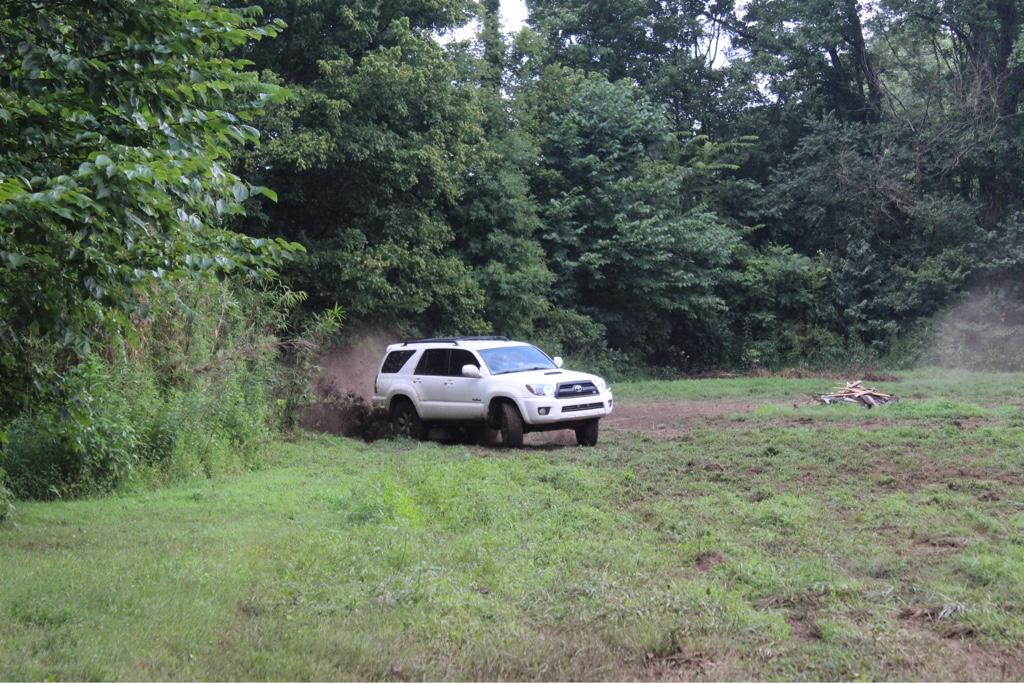
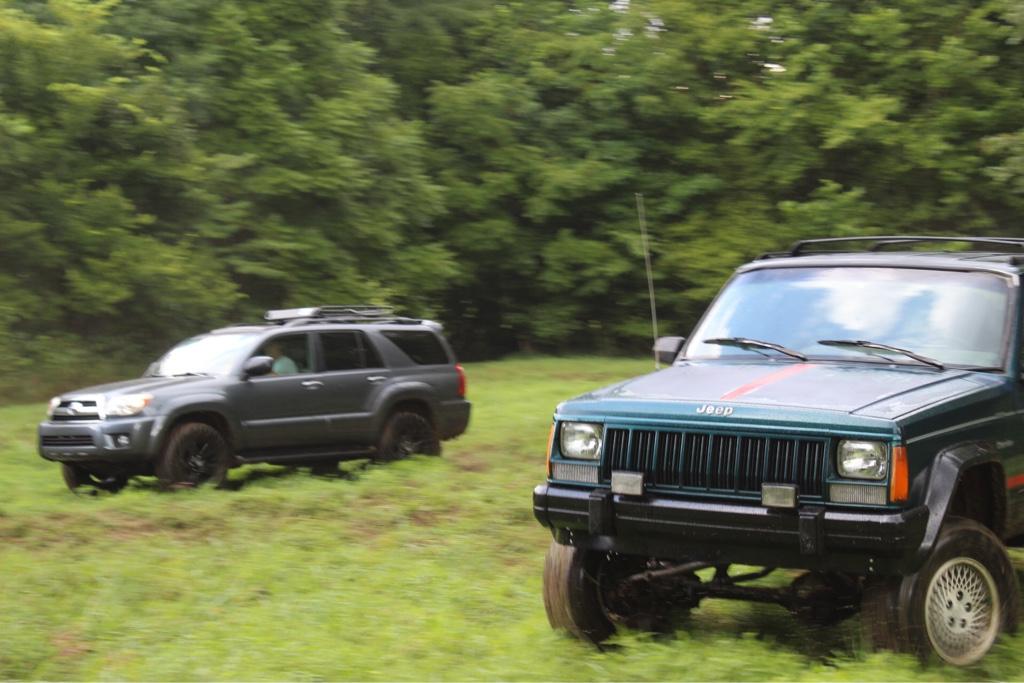
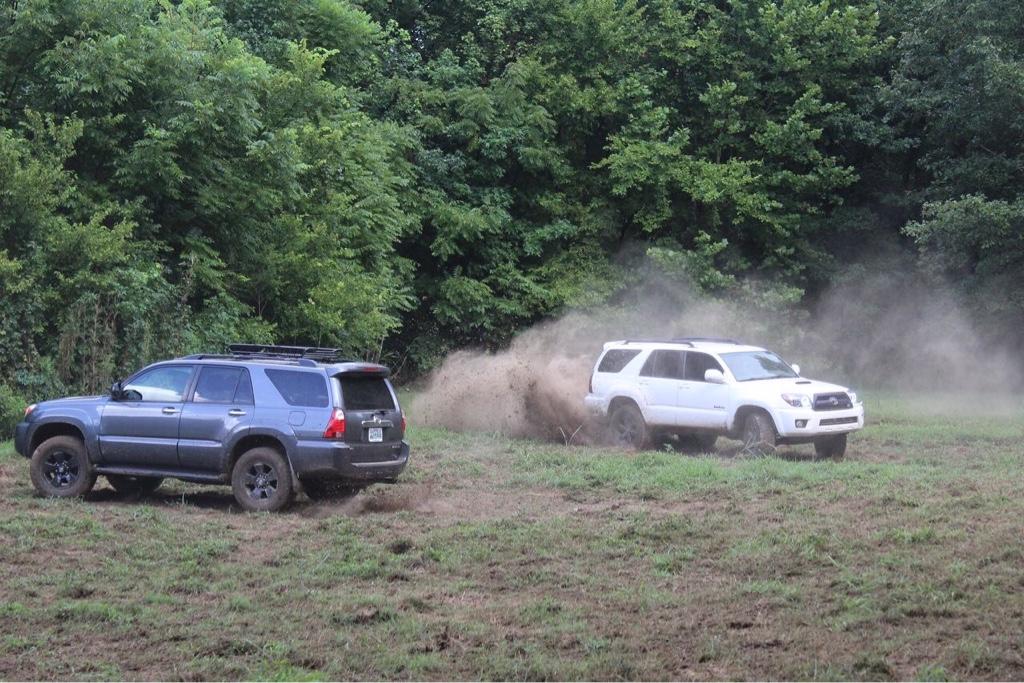
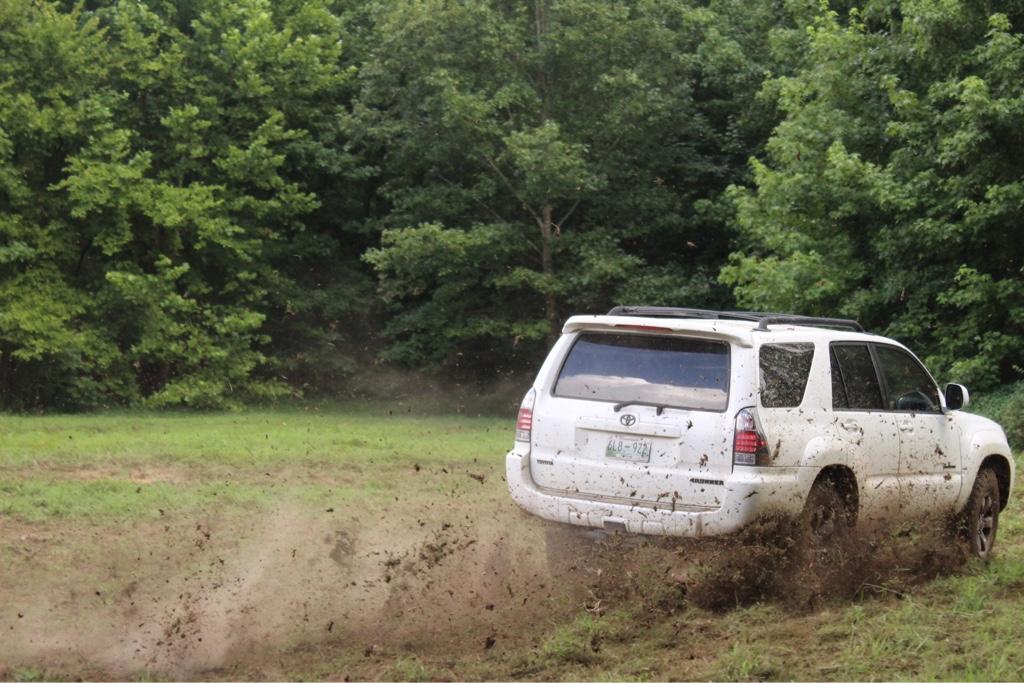
Had some fun in the mud with my 4th gen SE, my buddy’s 4th gen SR5, and my other buddy’s ‘84 Grand Cherokee. First pic is my fav I think lol. Second pic reminds me of Lightning McQueen. Excuse the upload quality. On mobile so I can’t really tell how it looks.

87dac3d91cebdbbaf856fe660b1235aa.jpg


9bec2487654da31dc85e18032db246d6.jpg


9274c79b23ad3f205db1307d380be041.jpg


76fee79e71a1829e42413207056bc6fa.jpg
 
Thanks! Are you going to place the plywood over the carpet? I tried that and there was no support, it was spongy in the middle so had to come up with a solution for long term rigidity...so I framed up a sub-floor and bolted it to the pre-existing bolt holes in the back of the 4Runner, once assembled I insulted the sub-floor and added a vapor barrier.

what did you say? i hope you weren't too mean to it
 
Had some fun in the mud with my 4th gen SE, my buddy’s 4th gen SR5, and my other buddy’s ‘84 Grand Cherokee. First pic is my fav I think lol. Second pic reminds me of Lightning McQueen. Excuse the upload quality. On mobile so I can’t really tell how it looks.

No Grand Cherokees before 92 I think, that there is an XJ, regular Cherokee. Looks pretty clean but man they don't handle as well as a Grand of any year. I've owned 3 XJ's (last was a 99) and one Grand.

Also looks like you had a good time. :zoom:
 
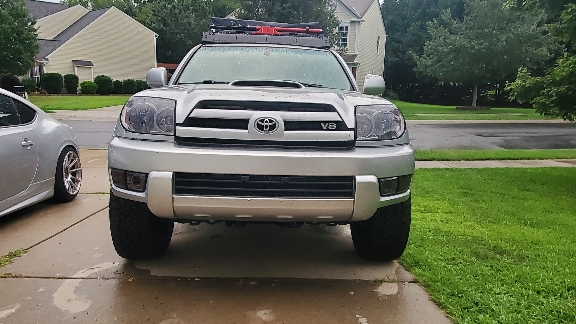
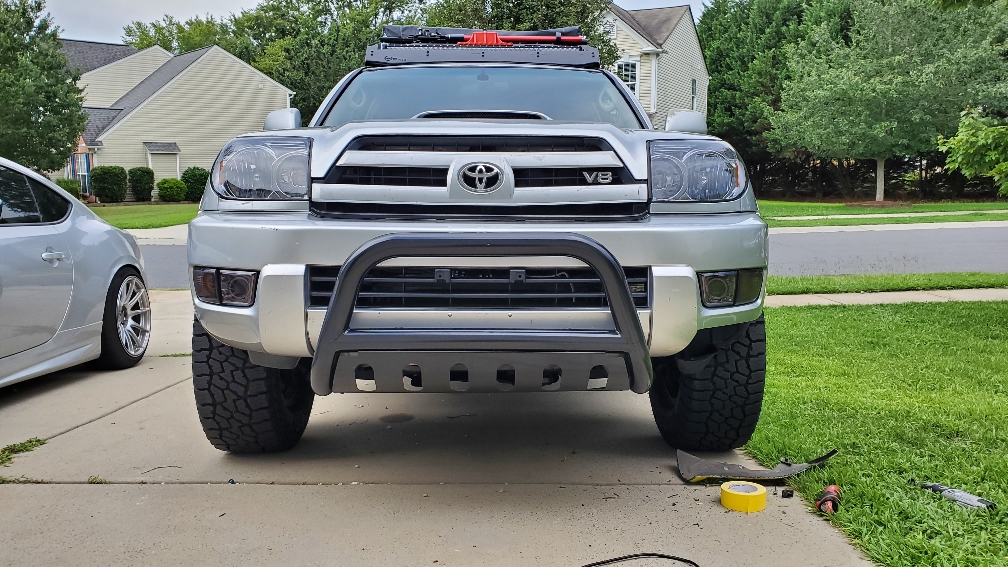
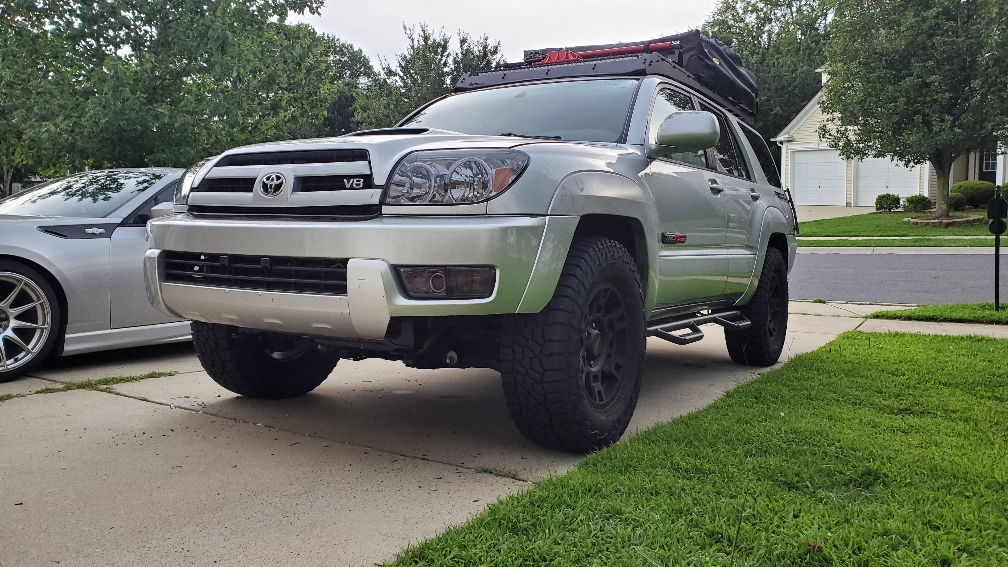
A week after installing my bullbar because I like the way it looks i decided that it was form and function over looks.. i removed the bull bar and also did a light trim on the front bumper in preparation for the lift going on hopefully next week.

Wish a took a bit more time but was weatger and sunlight limited... not 100% perfect but came out half decent and should give some decent clearance under full lock and flex.

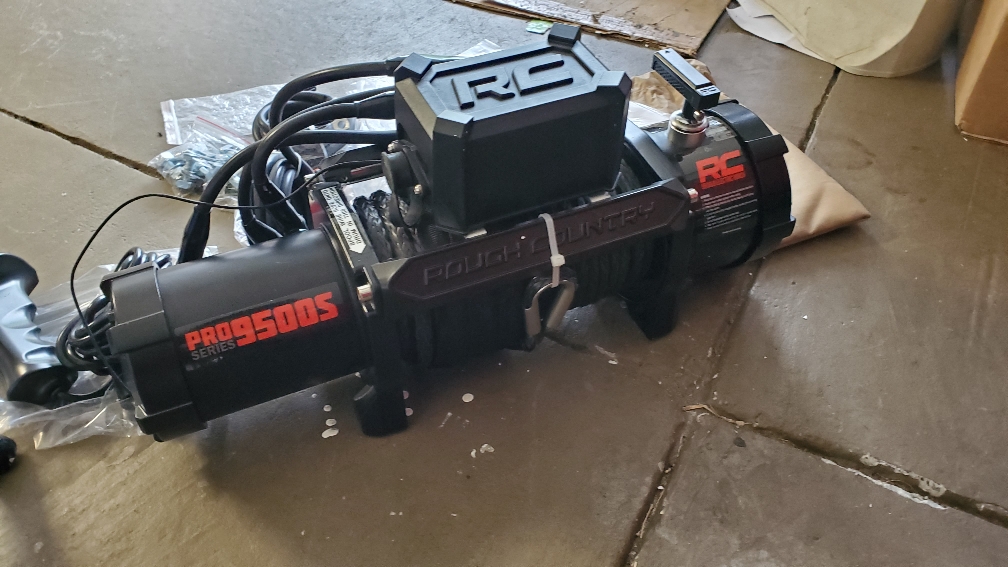
Also... since I really liked the bull bar look I may have a winch-mount bumper on the way... a cheap rough country winch is sitting in the garage already.. luckily the wife didn't see it delhver [emoji23]

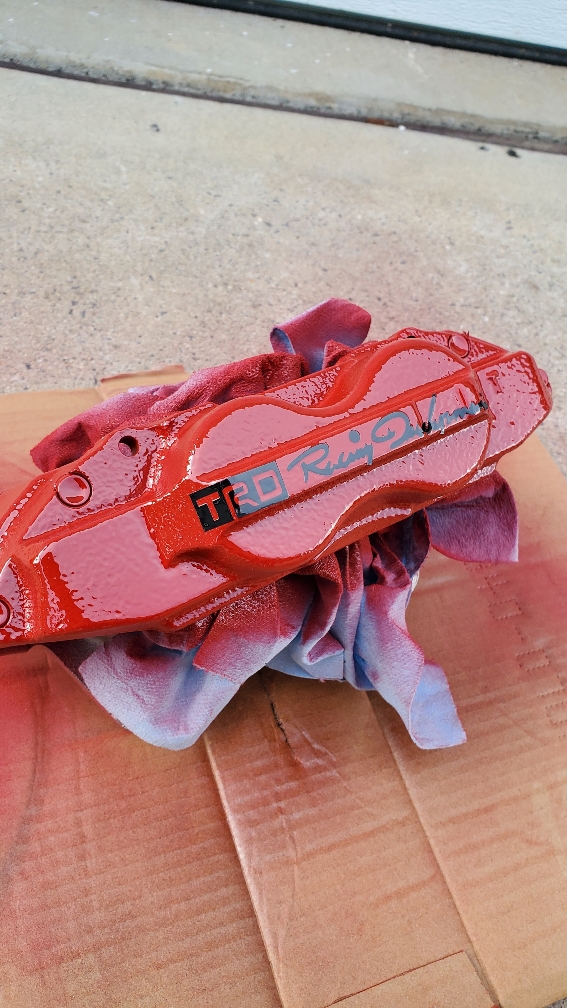
While I was at it I decided to upgrade to the 380mm front brakes, and obviously they need to be red with trd decals to go along with the rest of the theme.
ea55ff870d2439be685c904fd5f6466f.jpg
8987957fe541ffc5213867ace3f4f998.jpg
a4983a1bbd200a86c12125c27eaa9ee2.jpg
6c80beae95ba4f71ae75dc9c453fad03.jpg
4a5179518e559a8797868601905c07ae.jpg
c7c7f19aff92dbd37bb67adabb505017.jpg


Sent from my SM-G970U using Tapatalk
 
Last edited:
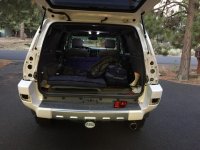
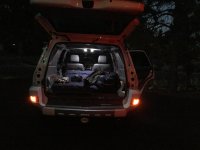
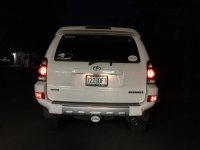
I did the rear bumper red lens with lights upgrade on my 03. Only took me 17 years, and 3 hours tonight to do it.
I went with T10 LED lights in a flexible socket that After trimming the socket, I left bumps in so that it pushes in firmly and the bumps keep it retained. I picked up the sockets at NAPA. My total investment in this upgrade, $9.98.
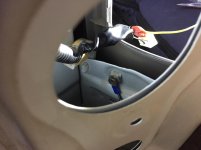
So with the T10 light they only illuminate as running lights. But I did go to the back of the tail lamp harness to connect, So if I decide to go with brake lights also I’ll just replace the socket and add an additional wire. Also in the photos you’ll see I used a ground that was a welded nut that I bolted too with a star washer.
The light output is similar to the regular running lights (also LED) and overall super happy having some extra tail lamp. Should have done this long ago.
Thanks again to all on this forum for their contributions to make this pretty straight forward for what I wanted to achieve.
 

Attachments

  • 4D531242-FD20-4D0F-8066-7B4FCE18289E.jpg
    4D531242-FD20-4D0F-8066-7B4FCE18289E.jpg
    133 KB · Views: 704
  • 4CA21E8A-BE50-4EE7-A700-72196B027CCC.jpg
    4CA21E8A-BE50-4EE7-A700-72196B027CCC.jpg
    131.9 KB · Views: 691
  • 8E91499D-A369-4FF0-AD5F-6638DF047336.jpg
    8E91499D-A369-4FF0-AD5F-6638DF047336.jpg
    138.3 KB · Views: 671
  • 73007466-F326-4D21-BD46-71140EEB13BE.jpg
    73007466-F326-4D21-BD46-71140EEB13BE.jpg
    131.2 KB · Views: 683
  • 73065D89-7104-40BF-AC99-A931E8194EA8.jpg
    73065D89-7104-40BF-AC99-A931E8194EA8.jpg
    125.9 KB · Views: 675
I did the rear bumper red lens with lights upgrade on my 03. Only took me 17 years, and 3 hours tonight to do it.
I went with T10 LED lights in a flexible socket that After trimming the socket, I left bumps in so that it pushes in firmly and the bumps keep it retained. I picked up the sockets at NAPA. My total investment in this upgrade, $9.98.
So with the T10 light they only illuminate as running lights. But I did go to the back of the tail lamp harness to connect, So if I decide to go with brake lights also I’ll just replace the socket and add an additional wire. Also in the photos you’ll see I used a ground that was a welded nut that I bolted too with a star washer.
The light output is similar to the regular running lights (also LED) and overall super happy having some extra tail lamp. Should have done this long ago.
Thanks again to all on this forum for their contributions to make this pretty straight forward for what I wanted to achieve.

I like this, do the stock rear bumper lens really have a a reflector, molded plastic for a bulb, dedicated ground location, and everything? I always assumed it was just a dummy cover. If so that's awesome and I may have to add this to the list of projects.
 
Last edited:
Yes. The rear bumper lens on the early 4th Gens have a housing with instructions on the back with directions to twist in the bulbs. But here in the US they capped where the bulb went.
I read about this on another post from years ago on this forum. Others did various processes of going into the trailer wiring and adding brake and turn lights. With bigger bulbs that some thought created to much heat in the little housing.
Just need to figure out which wire is power for running lights. I used a test prob and it was a green wire on both sides. When you look at the connector it was the middle of the 3 connectors on the side of the connector with 3. Hope that is clear. I dropped the two wires through the bottom taillamp whole, there is a substantial seal there.
The bumper lens housing is held on with 1 10mm nut.
I’m happy with my more simple approach of just running lights and smaller bulbs. Overall time well spent and a nice mod.
 
Yes. The rear bumper lens on the early 4th Gens have a housing with instructions on the back with directions to twist in the bulbs. But here in the US they capped where the bulb went.
I read about this on another post from years ago on this forum. Others did various processes of going into the trailer wiring and adding brake and turn lights. With bigger bulbs that some thought created to much heat in the little housing.
Just need to figure out which wire is power for running lights. I used a test prob and it was a green wire on both sides. When you look at the connector it was the middle of the 3 connectors on the side of the connector with 3. Hope that is clear. I dropped the two wires through the bottom taillamp whole, there is a substantial seal there.
The bumper lens housing is held on with 1 10mm nut.
I’m happy with my more simple approach of just running lights and smaller bulbs. Overall time well spent and a nice mod.

Awesome! I have an 05, so I have them back there. I always assumed it was a dummy lens with nothing really back there. Neat-o that its something I'll have to try, thanks for the tips. I want to learn some more about wiring, so this seems like a good place to start,
 
Awesome! I have an 05, so I have them back there. I always assumed it was a dummy lens with nothing really back there. Neat-o that its something I'll have to try, thanks for the tips. I want to learn some more about wiring, so this seems like a good place to start,
Good easy electrical project. If you don’t have one I would get a lighted test prob to verify connections. And then check your work as you go. IE find the power wire you want and check against a ground. Connect your wire and check again. Establish and connect your ground and check it and so on. If there is an issue where the test does not confirm then you know right were to look. Same with the light pig tail. But it in the housing add you connectors and check it against a power source. Make sure it lights.
If you do the whole install and a light doesn’t light up you won’t know where the fault is, will have to potentially go back and check everything.
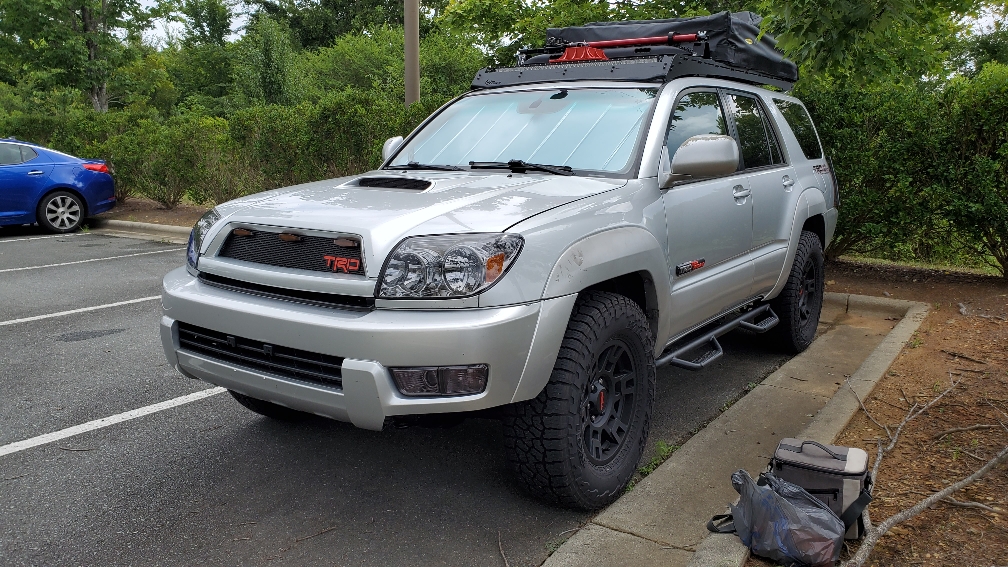
 
Finally finished my custom grill with raptor lights. Took way more time and work than I anticipated. Not 100 % perfect because I ran out of patience and the leds will probably get switched out soon to a more quality light, but overall came out half decent and goes well with the rest of the trd theme.
4944be52202e90af206a76b9450a4d77.jpg
911fa42c2771ce80fd2368fdb5bc9108.jpg


Sent from my SM-G970U using Tapatalk
c4f8ec185bc5fb014f8323c577d8fc13.jpg
 
Did the passenger side LCA and axle... I discovered that the idiot(me) that put in the strut crossed threaded one of the bolts going into the steering knuckle so that became a fun little project to fix it. Luckily there is a local fastener place that had a bolt that worked and a tap for it. All fixed in under 30 min including going to pick up the stuff i needed!

In my defense the LCA was frozen and was a B**** to put back together so I'm sure that had something to do with the bolt becoming cross-threaded.

Also did a drain and fill of the radiator.

I went for a little drive and boy what a difference it has made already in the ride quality. I had to sawzall the one side.. First cut was under 90 seconds the other took about 8 min and about 3/4 of the way through I got annoyed and gave it a good smack with a 2lb hammer and it broke off.

Next... spacer on rear spring, bleed the brakes, spark plugs. I will be replacing the power steering pump at some point because it wont stop whining and its starting to pierce my brain.

Maybe some new splash shields since one was missing and the other... well its not usable in its current condition. I can practically bend it in half.. Which I'm gonna try do now lmao
 
Put ARB skids on. I'm really pleased with how sturdy these are. A few previous posts complained that they were not much better than stock, which I have to disagree with.

Part#: ARB-5421100 - I ordered from Alldogs offroad who seem like they just drop shipped them, but shipping was free.

VVutHrO.jpg


VsRYXBO.jpg
 
Took it for a 100 mile drive to get rid of some gas before started fuel tank strap replacement project, which first step drop skid and support rear of tank with support strap, drill out twisted off strap bolt, 2.5 hours! Quit for day as i'm an old man!
 

Members online

No members online now.

Forum statistics

Threads
278,316
Messages
3,554,120
Members
248,016
Latest member
Advally Service

Trending content

Back
Top