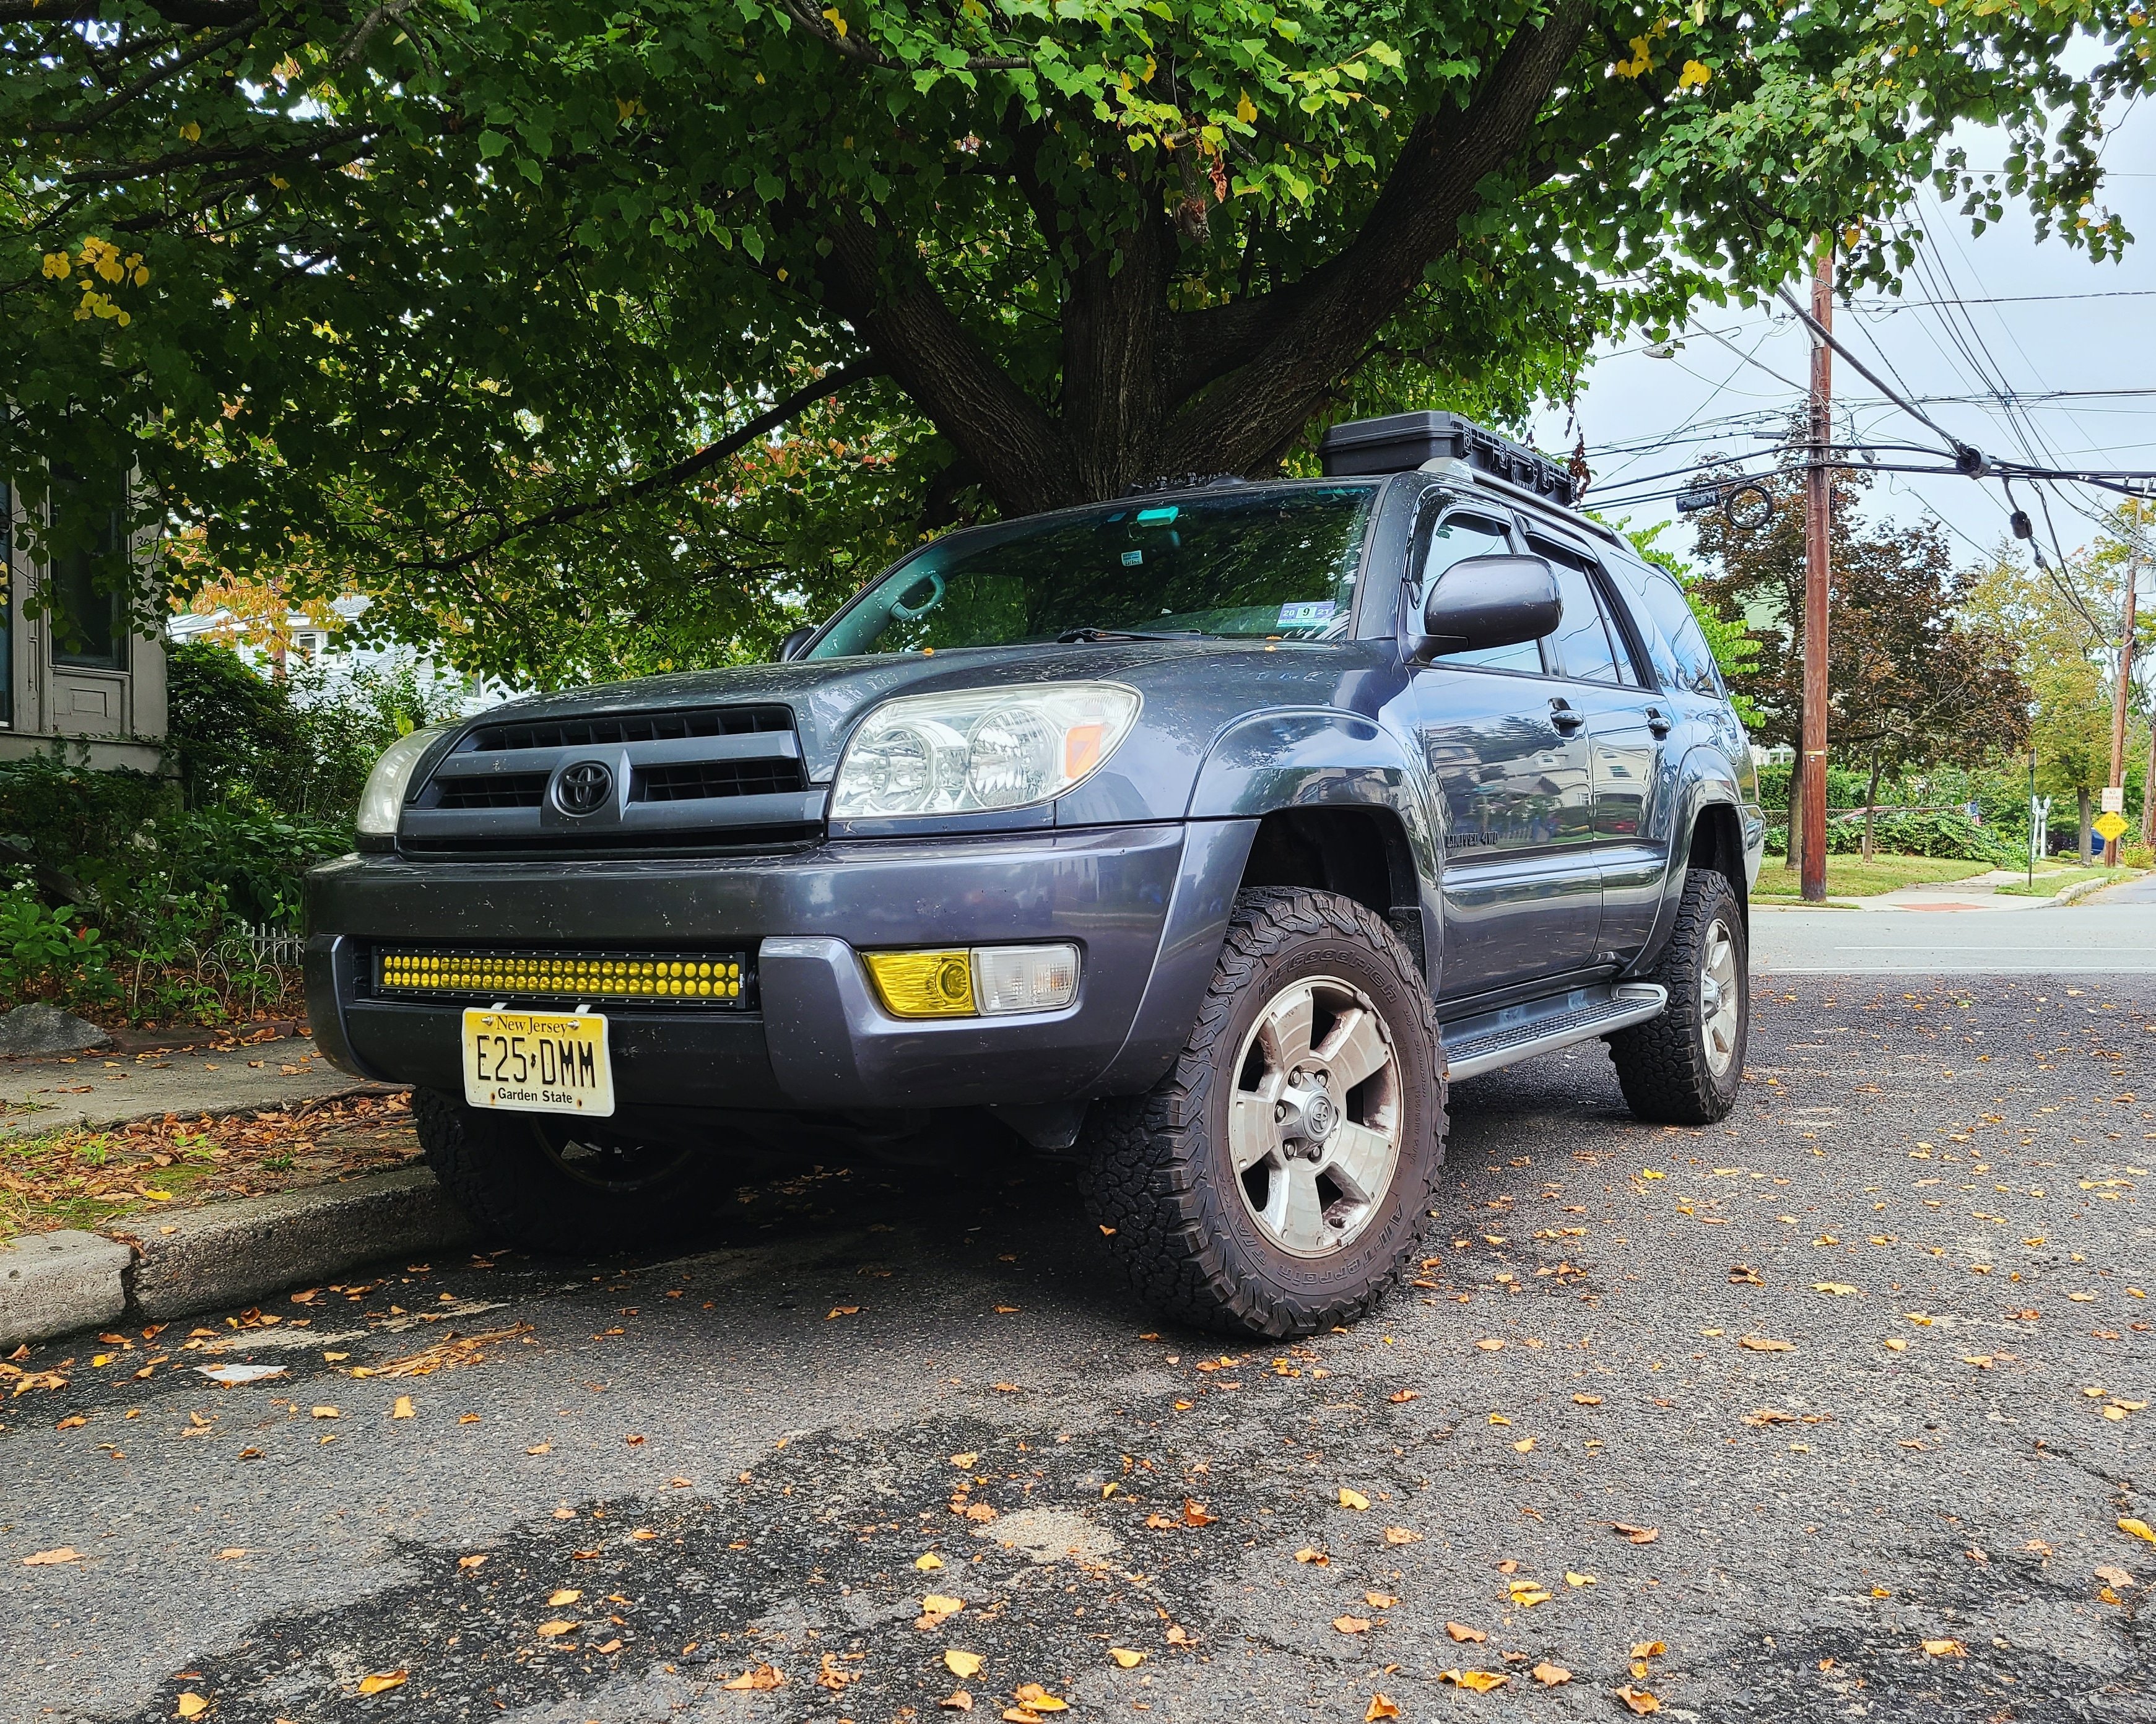
What did you do with your 4runner today?

Although a torx bit will fit, its technically a 10mm allen key/male hex socket. Awesome that you were able to get yours out, California rust free must be nice lol. Me not so much, had to weld a nut on mine. Posted a pic a few replies up
Ah I got lucky then, glad I didn't strip it. Thanks for the correction.

Yes, luckily I don't have to deal with rust. I feel for you guys in the snowy areas.

Sent from my SM-G955U using Tapatalk
 
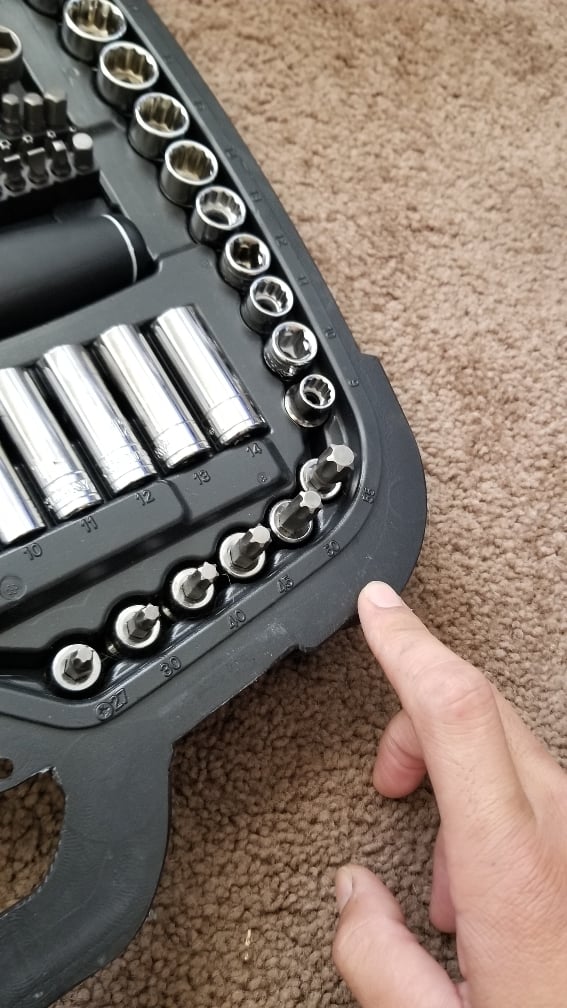
You need one of these. Not sure of the name. But it came right off with ease.
e9ee7ac4ecf52549469232fd31a1afd3.jpg


Sent from my SM-G955U using Tapatalk


I am using a 10mm hex socket. Soaked it in PB Plaster, hit it with some heat, hit it with a hammer while turning it. Still won’t budge.


Sent from my iPhone using Tapatalk
 
Although a torx bit will fit, its technically a 10mm allen key/male hex socket. Awesome that you were able to get yours out, California rust free must be nice lol. Me not so much, had to weld a nut on mine. Posted a pic a few replies up


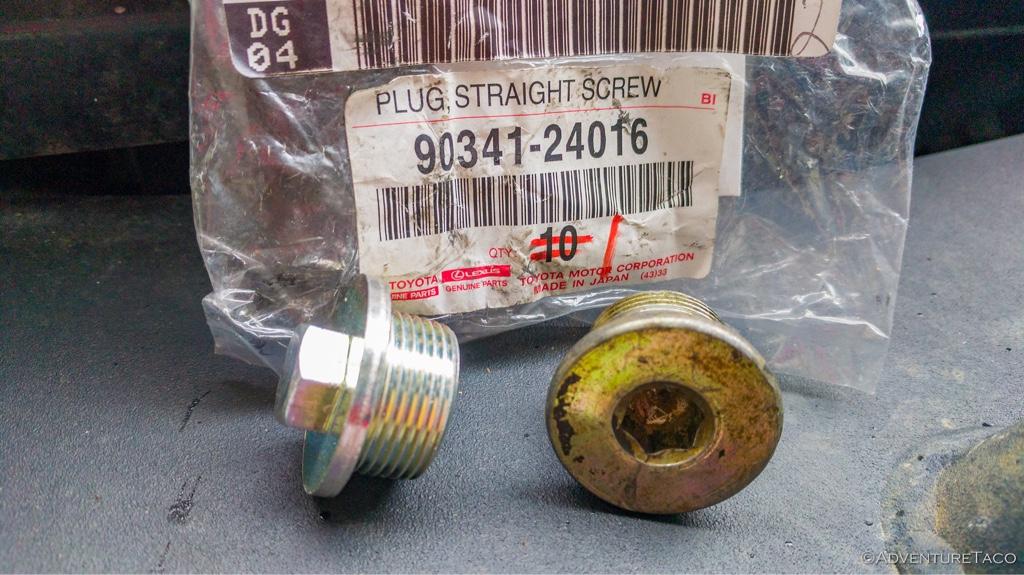
I’m changing mine with 90341-24016 from a Lexus GX. It’s the same size but instead of a 10mm hex it’s a 14mm socket. Not my picture but here’s an example

77a2f1cb0b63f752d206fe1b05e47a7a.jpg


Sent from my iPhone using Tapatalk
 
I’m changing mine with 90341-24016 from a Lexus GX. It’s the same size but instead of a 10mm hex it’s a 14mm socket. Not my picture but here’s an example

I gotta get one of those, I warped my plug flange welding to it and it started leaking. I rtv'd the crush washer as an experiment when I had it back apart to replace a CV and it hasn't leaked yet lol
 
Changed diff and transfer case fluids with Mobil-1. Can’t get the drain plug off the front. Made an appointment with the dealer to take it off. Purchased a Lexus GX diff plug, which uses a socket.

If you don’t already have an impact gun, might consider getting an electric one (unless you have a compressor, in which case you probably have an impact).

Not 100% sure but looks like it would fit to get that plug.
And it will come in real handy for other DIY jobs, especially if you have rust.

Don’t have to spend a bunch if it’s just being used for occasional DIY.

Example:
BAUER 1/2 In. Heavy Duty Extreme Torque Impact Wrench for $79.99 – Harbor Freight Coupons

Hex Impacts:
1/2 in. Drive Metric Impact Hex Socket Set, 8 Pc

Basic Impact socket set:
3/8 in., 1/2 in. Drive SAE & Metric Impact Socket Set, 37 Pc.

Universal joint:
Universal Impact Joint Socket Adapter Set,3 Pc.
 
If you don’t already have an impact gun, might consider getting an electric one (unless you have a compressor, in which case you probably have an impact).

Not 100% sure but looks like it would fit to get that plug.
And it will come in real handy for other DIY jobs, especially if you have rust.

Don’t have to spend a bunch if it’s just being used for occasional DIY.

Example:
BAUER 1/2 In. Heavy Duty Extreme Torque Impact Wrench for $79.99 – Harbor Freight Coupons

Hex Impacts:
1/2 in. Drive Metric Impact Hex Socket Set, 8 Pc

Basic Impact socket set:
3/8 in., 1/2 in. Drive SAE & Metric Impact Socket Set, 37 Pc.

Universal joint:
Universal Impact Joint Socket Adapter Set,3 Pc.


Hit it with my brushless impact. It’s only a Ryobi but it still has decent torque. The plug didn’t budge.


Sent from my iPhone using Tapatalk
 
Hey not yet at least! Haha.

I bought the expensive battery at o'Reilly's, some heavy AGM battery. The back panel is actually on a kill switch, so I only have it on when I need it. As for the front it's only the voltmeter that is on all the time which I'm sure gives little draw. It's also my daily so it's being turned on every 1-2 days at least.

Sent from my SM-G955U using Tapatalk

Kill switch is def a smart move!! good thinking.
 
Ive always put the weld in the middle of the nut, that way you can easily get a wrench on it
That plug weld coming in clutch

I tried that but I am not the best welder and couldn't get it down in the nut lol. I had bought the welder that same weekend (this was probably 8 months ago) to both weld a nut on the plug and fix a metal bracket on a seat for my mom. I just hammered a socket on there and the plug came right out with a breaker bar. Not ideal since have only half the nut to grab on, but it worked! I was pretty newb status then, but I'm practicing and trying to get better.
 
Last edited:
Now that I am back in Raleigh, I swear I will never buy a car with rust again.

Needed to replace the shocks and struts, sway bar links and outer tie rods (cracked/broken rubber boots), and had a front wheel bearing going.

Got my parts from 1A Auto | Aftermarket Car Parts - Buy Quality Auto Parts Online , not top of the line but not the bottom of the barrel either. This is just a daily driver/commuter and wasn’t looking to spend a bunch for a premium suspension, so hopefully it doesn’t come back to bite me.

183k miles, was a PA car for most of its life. I bought it in OH at around 120k, now in Raleigh NC.
Frame is still solid, but there is rust everywhere underneath.
It is super clean though inside and out, and paint and body are in great shape.

Front wheel hubs are an easy job, just had to get the loaner axle socket from Autozone. I just did them both since I believe the originals were still on.

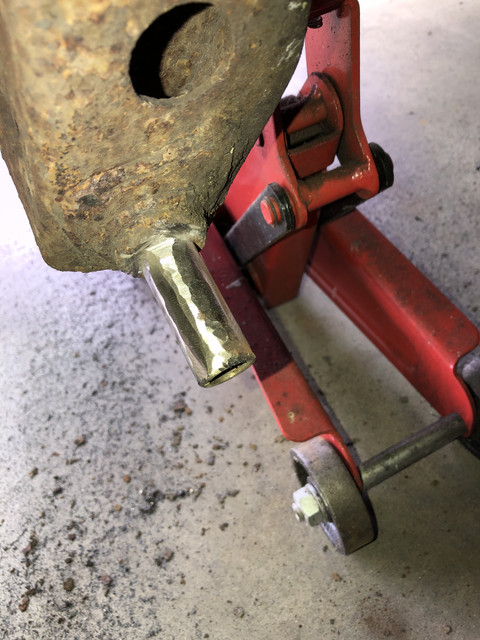
Rear shock mount sleeves on both sides were rusted/seized to the mount.
Tried to pry and beat them off, no luck.
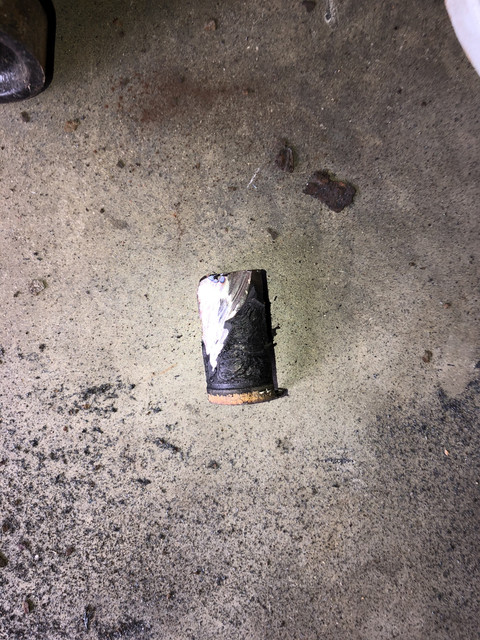
Used a jaw puller to pull them off, but just tore the rubber bushing off and left the sleeve still seized to the frame mount.

Tried for quite a while to beat it, rotary hammer drill w/chisel to the tiny crevice at the back of the sleeve, Kroil, heat, more beating, jammed an impact socket on it (didn’t have an extractor socket that big) and hit it with an impact gun hoping it would break loose.
Would budge a bit.

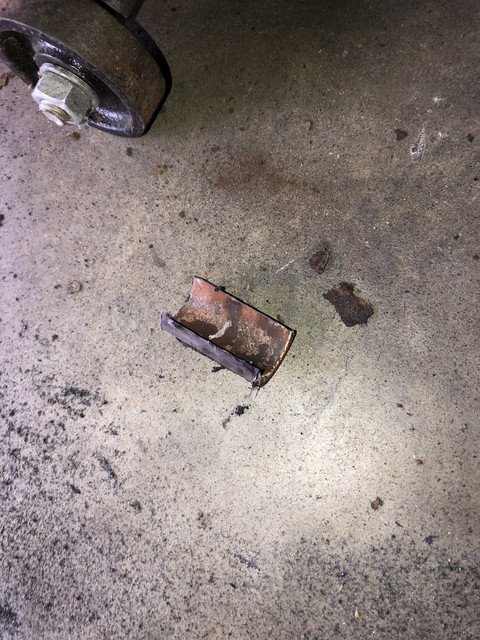
Finally broke out the grinder.
Started at the top and started slowly shaving it off. Didn’t cut straight in as I didn’t want to cut into mount.
Once I ground through the sleeve I could see a line differentiating the metal sleeve from the mount.
Used the line as a guide as I worked my way around shaving/grinding the metal sleeve and not shaving off the mount.
Shaved down on both sides from the top until most of the top half of the sleeve was gone.
At that point I was able to tap the edge of the remaining bottom half of the sleeve and it fell off.

Hit it real good with a wire brush on a drill to ensure all rust was removed and slathered the mount and inner sleeve of the new shock in anti-seize before installing.

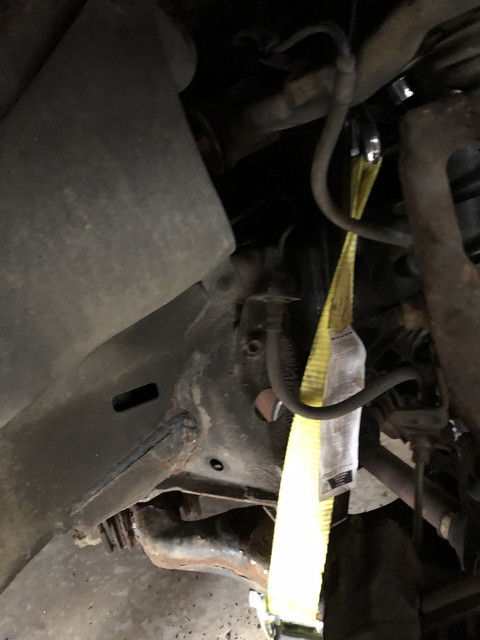
Then on the front struts the top plate of the strut mount was rusted/seized to the housing.
After trying everything I could think with no luck, finally got the idea to use a ratchet strap with one hook around the top of the spring (wedges against the strut housing) and the other hook to the frame.
Cinched it down extremely tight. Got the top of housing nice and hot and a couple whacks with the hammer and it popped right off with the downward pressure from the strap.

What an ordeal, on what normally is pretty straightforward.
Probably should have expected it though, put a Magnaflow Cat-back exhaust on it after I got it and there was a lot of “extra” grinding required to get the old one out.

Used a ton a anti-seize on the reinstalls, coated every metal to metal contact surface.

But no more grinding noise from the bearing and no more “extra” bouncing over the road bumps/body roll.

Ball joints and CV axles are still good, but I’m sure my day is coming.
Will probably just replace the control arms at that time, as the current ones look pretty crusty and the bushings should probably be replaced then also.
Probably a whole lot easier (and not much more $) just to replace the CA’s.

Rust sucks.
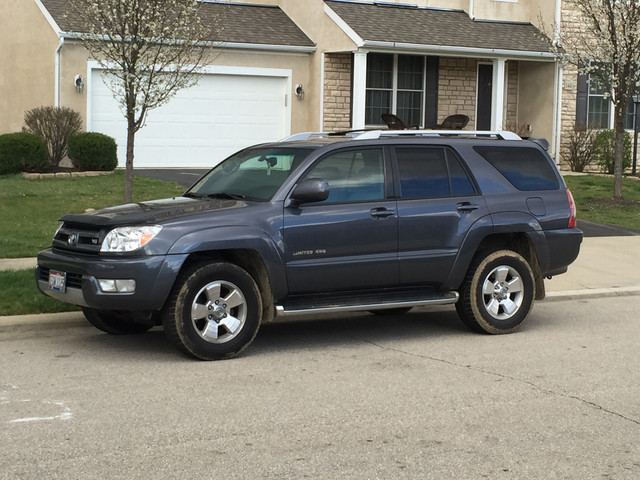


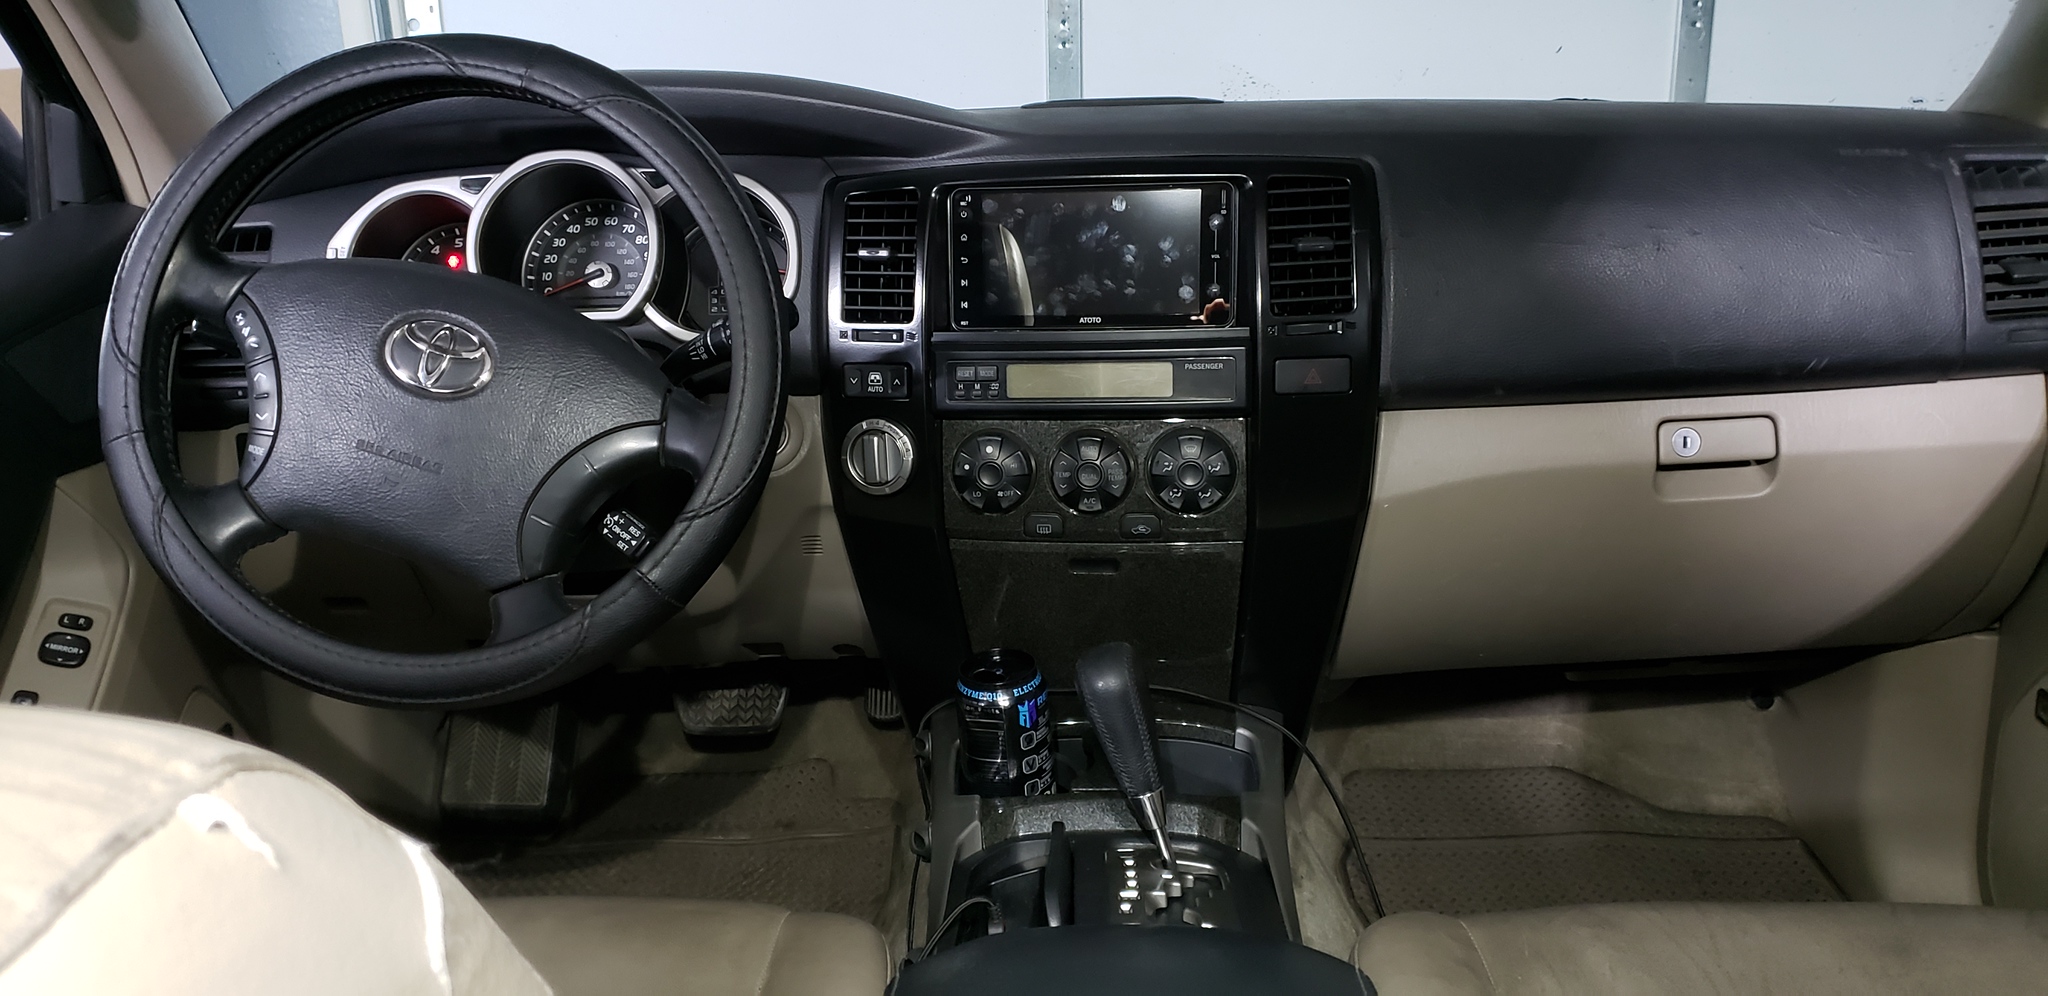
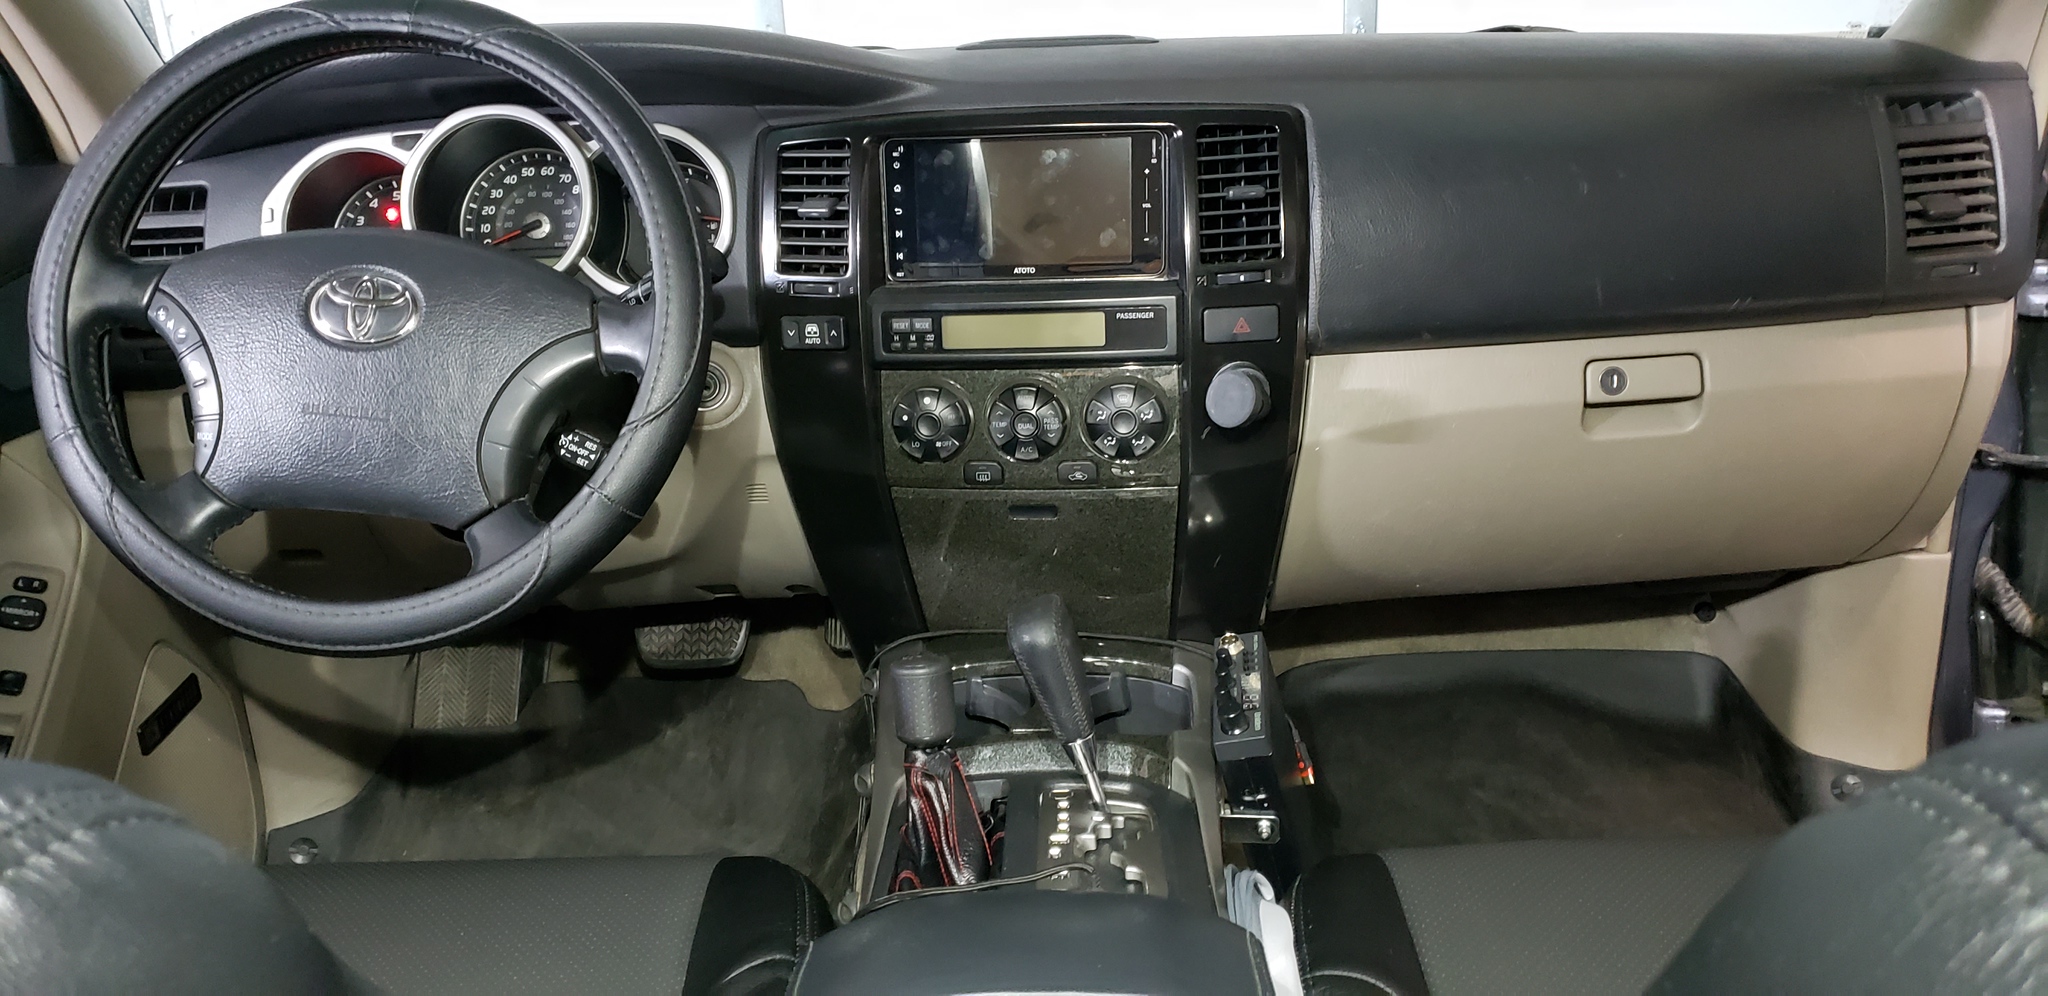
Got my driveshafts back from being lengthened/shortened due to the FJ tcase swap. Drives great, 4HI-4LO works properly. And the interior looks so much better without that stupid shift dial on the dash.

Before:

20200202_142740-X4.jpg


After:

20201002_164646-X4.jpg
 
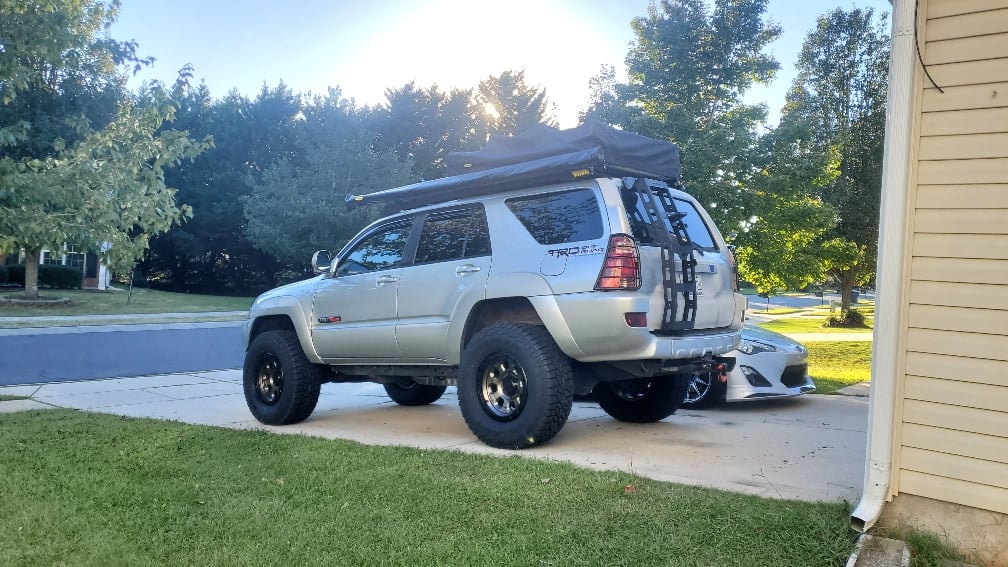
Just finished up an fun day of projects. Spark plugs, air filter, diff drop, and added a spacer in the rear to address lift lean. Surprisingly, spark plugs took the longest. Had a couple bolts with pre-stripped heads (thanks, pervious owner) and that cause quite a headache. Glad I powered through because the old plugs were super worn out and rusted through. No oil on the plugs though, so that's a plus!

Also found out this week that my driver's side UCA is worn out and needs rebuilt or replaced. This was the perfect excuse I needed to order SPC uppers. Hopefully putting those in next week (pray to the shipping gods for me).

Here's the last pic I took after my lift a couple weeks ago. Tacoma TRD OR struts & coils up front, bilstein 5100s and 5th gen coils in the back.
bf1d163a4d0ab93f1b83505e89138a98.jpg


Sent from my SM-G986U using Tapatalk
 
Today I greased the driveshaft zerks and ended up with some related & unrelated questions:

1. Is the extension indicated by the shiny silver section normal? I've always followed the guideline of listening for the crackle on the knuckle zerks and watching for movement on the other ones and have no issues going on but this just seems overly extended. Thoughts or insight welcome.

Ms1TjXyl.jpg


2. It seems to me that my intervals are way too short. I don't even get a full grease gun pump into the knuckles before they crackle. What interval is working best for you?

3. Unrelated - what's this thing on the front of the muffler?

WzjQdqbl.jpg
 
3. Unrelated - what's this thing on the front of the muffler?

WzjQdqbl.jpg

Rubber mount.
Holds the muffler in place and dampens vibrations.
If you replace your muffler you push/pry the old rod (attached to the muffler) out and push the rod on the new muffler back in it when installing.

 
Last edited:
I changed my diff and transfer case fluids a few weekends ago and noticed the skid plate bolts were all screwed up. This weekend I went back and fixed all 8 of them.

I decided to do this at 8:30am on a Sunday morning so I was going to be limited by what tools I could find at the local Ace hardware.

Originally I wanted to get an M8x1.25 tap to chase the existing threads and then put in some stronger bolts (8.8 or 10.9). Ace only had M8x1.0 so I opted to drill out for M10x1.25 and used class 10.9 bolts.

It all went surprisingly well! Drilling out the existing holes was easy with a fresh 11/32” bit. Lubed the tap with some 5w30 from the last oil change. The only really hiccup was the Previous owner had snapped one of the skid plate bolts so it took a little extra time to drill that one out. Since I was drilling to M10, it wasn’t a big deal to just drill the whole thing out.

Slathered all the bolts with anti seize and torqued down! All in all, took about 90 minutes working at a Sunday morning pace. And I didn’t even have to break out the jack stands!

Total cost was $30 for a fresh drill bit, fresh tap, and 8 new bolts.


Sent from my iPhone using Tapatalk
 

Members online

No members online now.

Forum statistics

Threads
278,316
Messages
3,554,112
Members
248,016
Latest member
Advally Service

Trending content

Back
Top