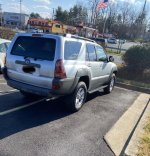
What did you do with your 4runner today?

Finally took some time to paint the rear door that was fixed and primered some months back along with all the plastic trim around that was faded bad from spending most of its 17 years in Florida.

Neighbors looked at me pretty funny..

Sent from my SM-G970U using Tapatalk

Looks very good!

What brand paint did you use and where did you buy...did you use spray cans or paint gun, did you do a clear coat after color coat?

How much paint did you use?
 
Last edited:
Finally took some time to paint the rear door that was fixed and primered some months back along with all the plastic trim around that was faded bad from spending most of its 17 years in Florida.

What brand of paint did you use and how did you spray it? Looks like you did a great job laying down the metallic flake to get it match well.
 
Finally took some time to paint the rear door that was fixed and primered some months back along with all the plastic trim around that was faded bad from spending most of its 17 years in Florida.

looks good. Ive done some weird shit in my driveway, including painting an area on the inside lip of the hatch, so I know the looks you're talking about
 
I opened up my aftermarket radio install and actually used wire nuts to reconnect all the wires. Original owner just wrapped the wires together and used electrical tape. I was getting dashboard warning lights and glitches in the radio and had to pull the fuse on a trip this week.

Not to rain on your parade, just looking out, but wire nuts are not for vehicle use and you may end up with problems again down the road. They're made for solid core wire and a static environment.
 
Last edited:
Looks very good!

What brand paint did you use and where did you buy...did you use spray cans or paint gun, did you do a clear coat after color coat?

How much paint did you use?

ATX paint, I can look up to see what paint code exactly I used, they have quite a bit of variants that pull up under my cars paint code, but we went with the default and it matched pretty close.

I bought it from a local sherwin williams auto supply store where the shop my brother works out sources a lot of their stuff. I bought 2 quarts and thus far sprayed out 1 entire can using 1:1 reducers. I had JUST enough I feel like to cover the trim (excluding the front bumper) and the entire rear gate in about 3-4 coats.

and it was definitely sprayed with a gun, I've gone the spray can route before and it is harder, longer, more expensive and not even worth the comparison result wise..

I sprayed 1 light coat of clear and about 2-3 (depending on the area) heavy wet coats that were wet enough to ALMOST have some runs so that it flowed out nice.
 
What brand of paint did you use and how did you spray it? Looks like you did a great job laying down the metallic flake to get it match well.

Thanks! It was my 3rd-ish paint project.. so I'm getting half decent at it.

I used ATX paint and need to look up what brand clear.. it was all medium-grade stuff. Not Finish1 or anything like that, but definitely not the cheap stuff. All sourced from Sherwin Williams Automotive locally.
 
Not today but Saturday I oiled the inside and outside of my frame using an undercoating gun. I'm curious to see how it looks after winter. Hopefully does the job or the life of this trucks frame will only be another year or two.
 
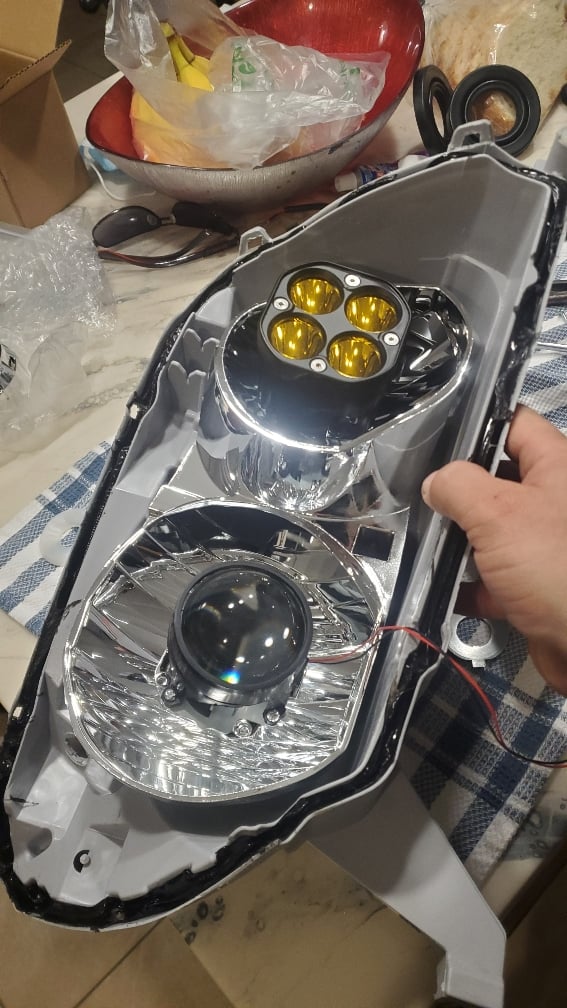
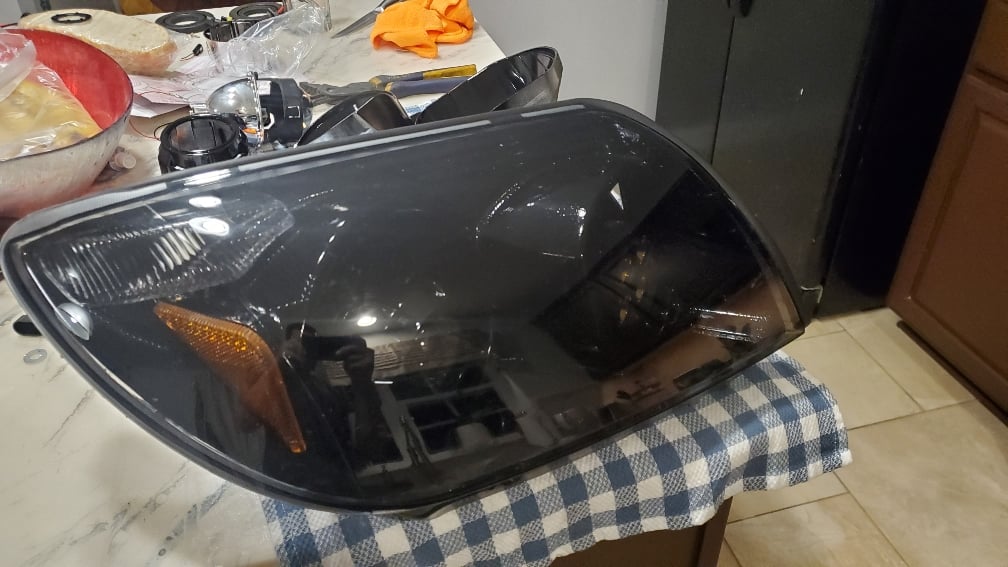
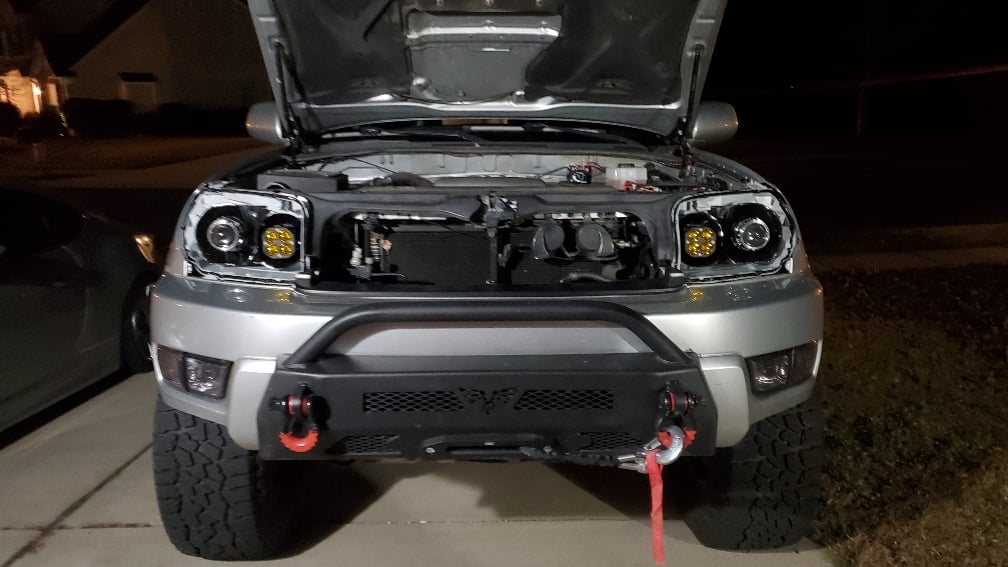
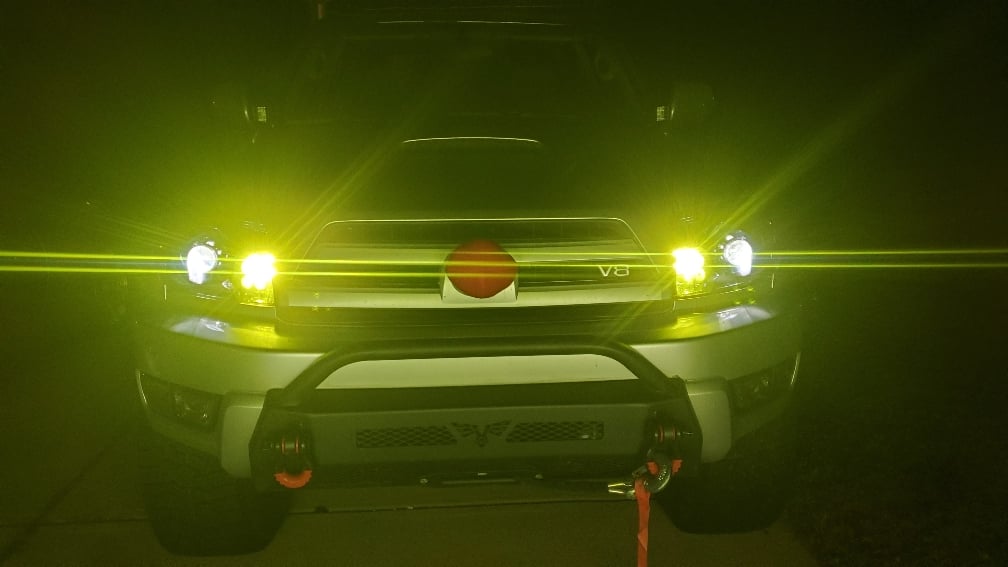
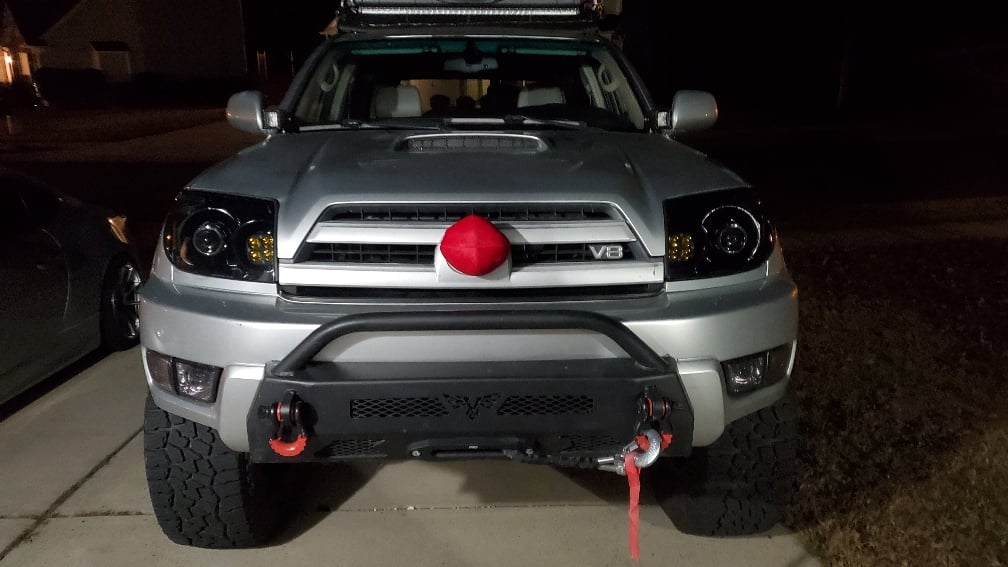
My first iteration of the projector upgrade wasn't really good, and I stripped my adjustment screw while aiming the lights so im onto headlight build 2.0 now.

Since the acme projectors have a built in solenoid for the high beam all in one housing the oem hi beam location was free... and ...well you see.. what happened was a late night impulse purchase..
f85c40686d3657b019e5e06f35eb973e.jpg


Sent from my SM-G970U using Tapatalk
 
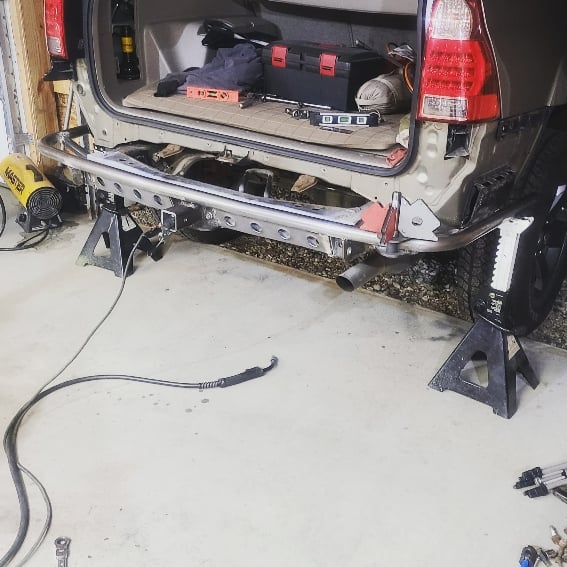
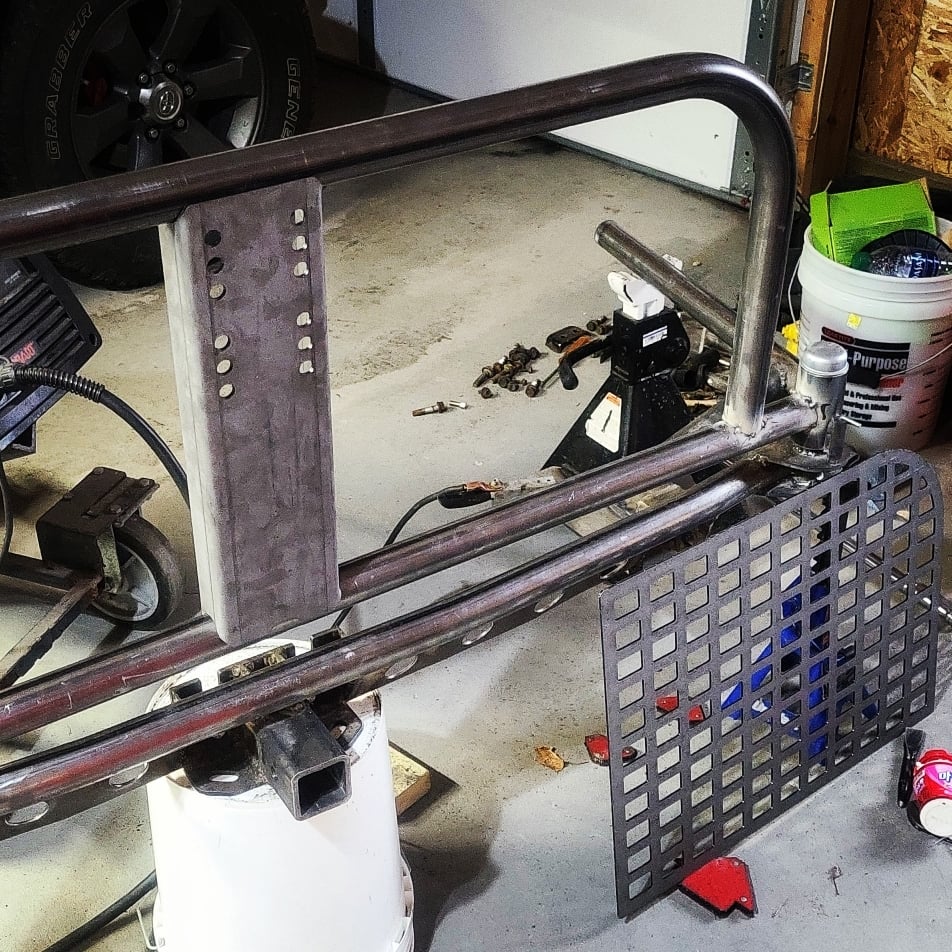
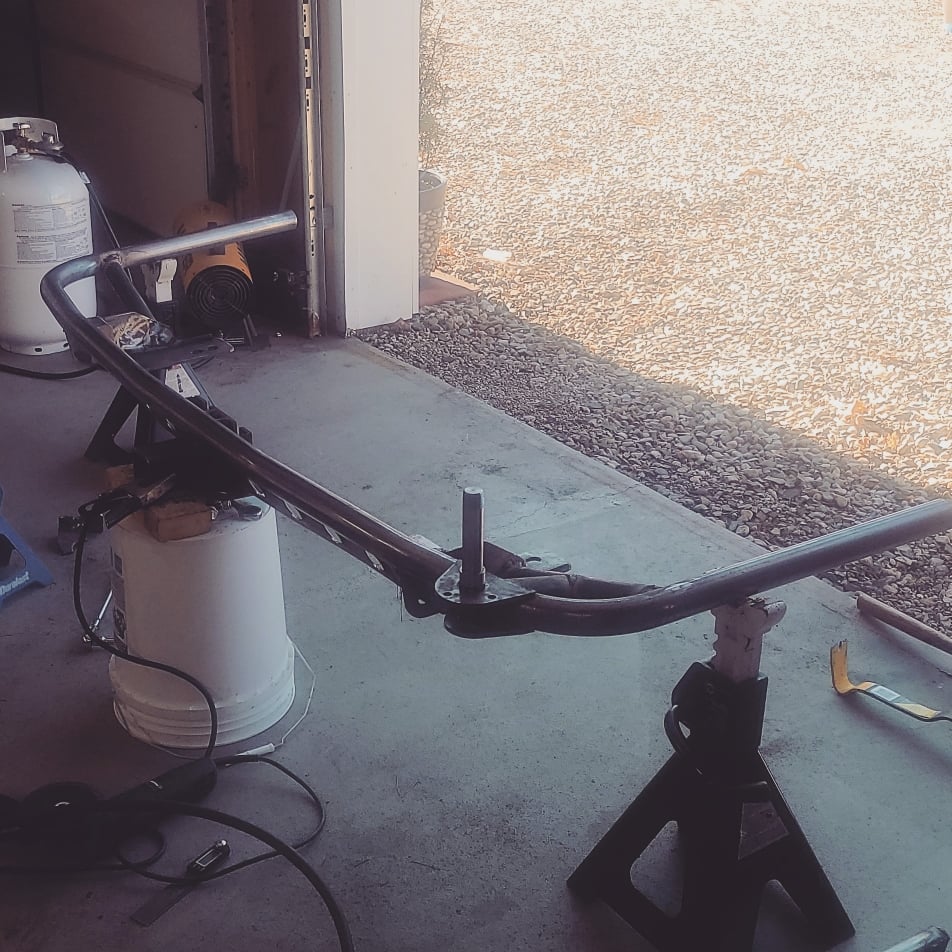
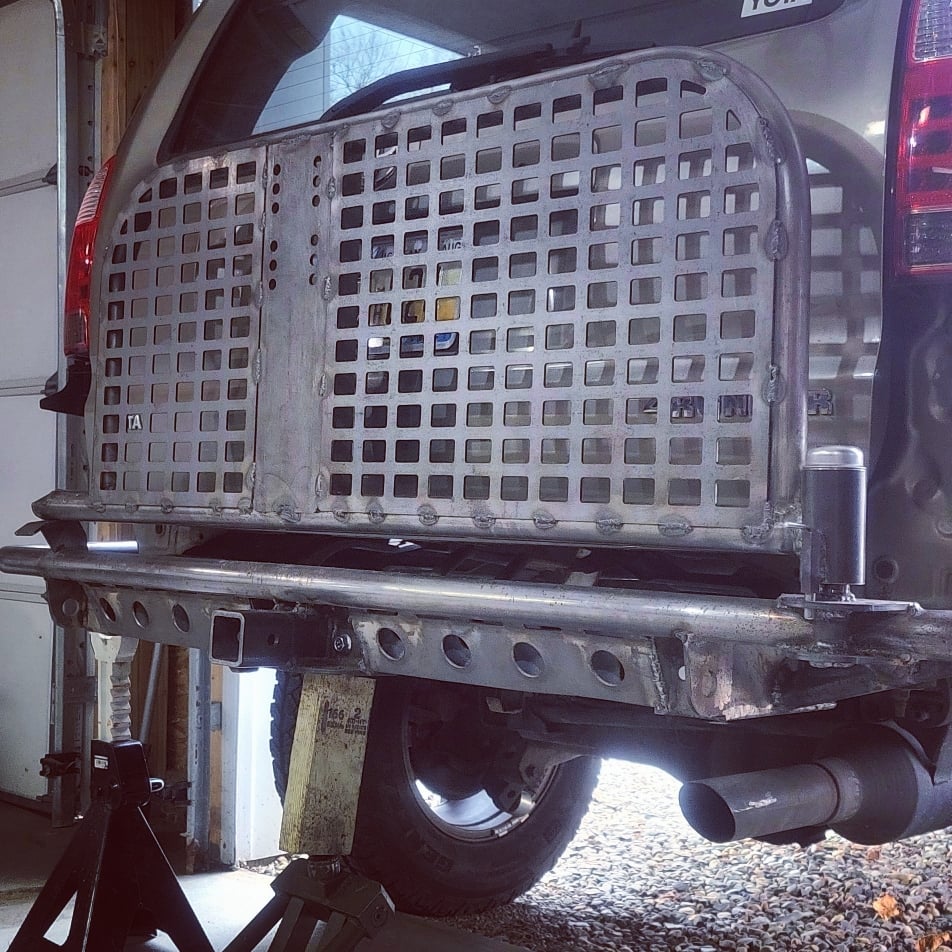
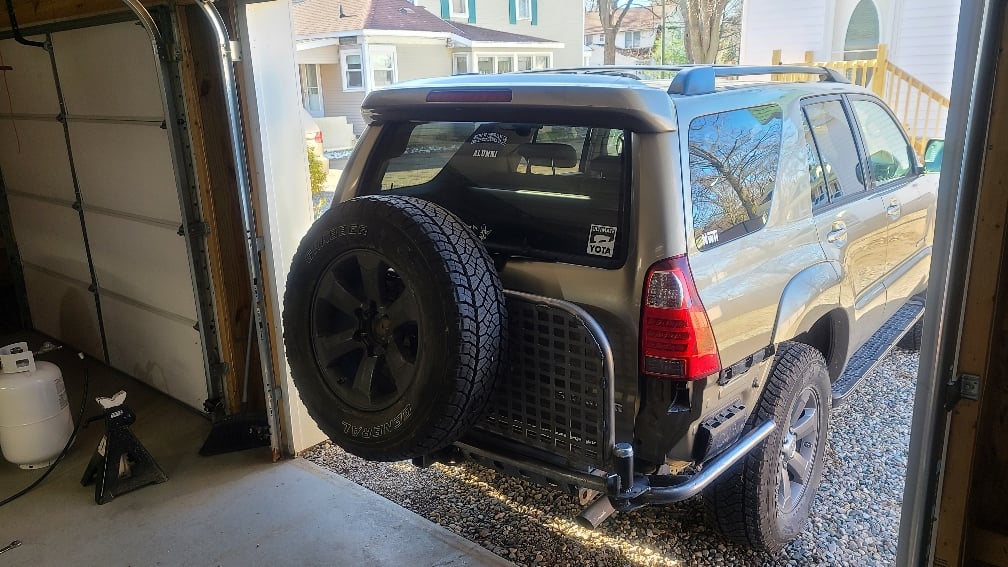
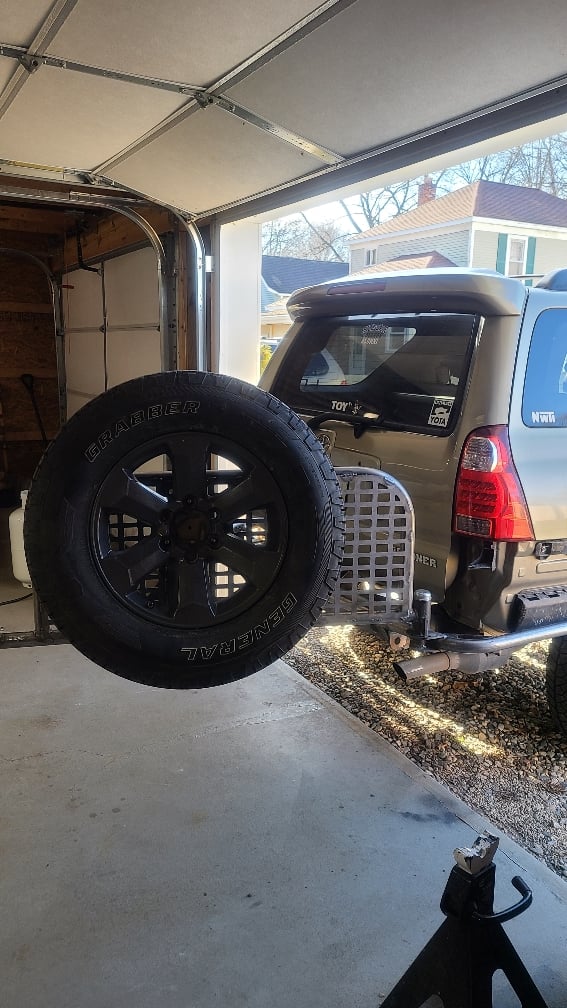
Been working on this for about a week. All thats left is drilling and tapping the holes for the latch before I retrieve the bumper, add mudflaps to the bumper, mount the license plate, and run the wires for the lighting.
6177a721aefdc4e209415ecf5aa41aa0.jpg
bd3dff212725eca49bbab6248bf1a1c7.jpg
39785c0a407bd0eb77e415994187b08f.jpg
a4adf162b5a52e81c4adf27c945ee342.jpg
f62a9cd708537a236a40297d316b46c1.jpg
ee1b54ca386cb04f0d686efdc1fd400b.jpg


Sent from my SM-G986U using Tapatalk
 
Not to rain on your parade, just looking out, but wire nuts are not for vehicle use and you may end up with problems again down the road. They're made for solid core wire and a static environment.

Thanks for the heads up. They are tight for now but I get it. They were barely wrapped and electrical taped only prior so that was one issue.

I have flickering headlights now and the dash blinks when I tap the brakes, so I got a new brake light switch, as suring up the radio wires didn't help. Switch goes in tomorrow when it is light out. I took it out half way home today and it does not click, and it pulled out of the socket spacer which the new one has built onto it. The fact that it may not have been spaced properly may have wasted it.
 
Been working on this for about a week. All thats left is drilling and tapping the holes for the latch before I retrieve the bumper, add mudflaps to the bumper, mount the license plate, and run the wires for the lighting.

This is turning out killer, keep us posted with some final install shots after its painted and mounted. I'll keep an eye on your build thread!
 
Not to rain on your parade, just looking out, but wire nuts are not for vehicle use and you may end up with problems again down the road. They're made for solid core wire and a static environment.

Thanks for the heads up. They are tight for now but I get it. They were barely wrapped and electrical taped only prior so that was one issue.

I have flickering headlights now and the dash blinks when I tap the brakes, so I got a new brake light switch, as suring up the radio wires didn't help. Switch goes in tomorrow when it is light out. I took it out half way home today and it does not click, and it pulled out of the socket spacer which the new one has built onto it. The fact that it may not have been spaced properly may have wasted it.
 
Which pods did you use for the high beams?

Sent from my SM-G986U using Tapatalk


its a cheap, $60, amazon pod
Amazon.com: 3E LED Yellow Driving Fog Lights 2Pcs 3Inch 40W Waterproof Driving OffRoad Work Lamps For Wrangler Offroad 4X4 Auto Car Jeep Truck ATV UTV Boat Motorcycle bait: Automotive

I wasn't sure if it was even going to work with fitment and what not and I don't anticipate using them all too often on top of being inside of a pretty-much-sealed headlight housing with no moisture so I figured they'll hold up OK.
 
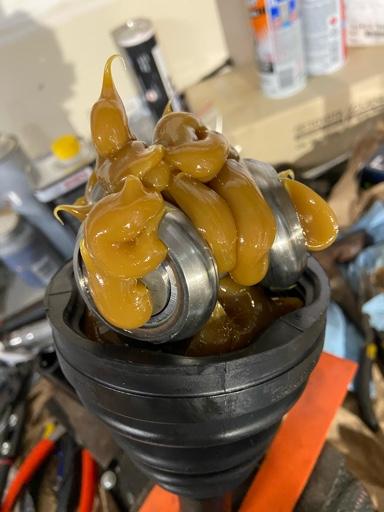
That looks like peanut butter haha

I got new wheels and tires from a 5th gen. Now to fix the frame rust... :(
 

Attachments

  • 5A2E0535-A312-46EA-9AC4-8417F8078474.jpg
    5A2E0535-A312-46EA-9AC4-8417F8078474.jpg
    136.9 KB · Views: 442
Removed all of the XREAS stuff + springs and shocks, and installed the Eibach ProTruck suspension - alone, in my garage, with hand tools (except for the cordless impact) and did the no spring compressor front coil install. Also used new KYB top hats up front. Set the front perches to the lowest setting and love how it turned out - very slight rake, which will be perfect when I load up the cargo area.

The no spring compressor approach is fantastic! Much safer, and I found that all of my lower control arm bolts move freely (huge relief).

Only took a short ride so far (pending alignment), and I think I'm really going to be happy with this suspension. Esp since I got it Black Friday for ~$650 to my door.

Not pleased at finding a torn cv boot, but at this point it's to be expected.
 

Members online

No members online now.

Forum statistics

Threads
278,316
Messages
3,554,111
Members
248,016
Latest member
Advally Service

Trending content

Back
Top