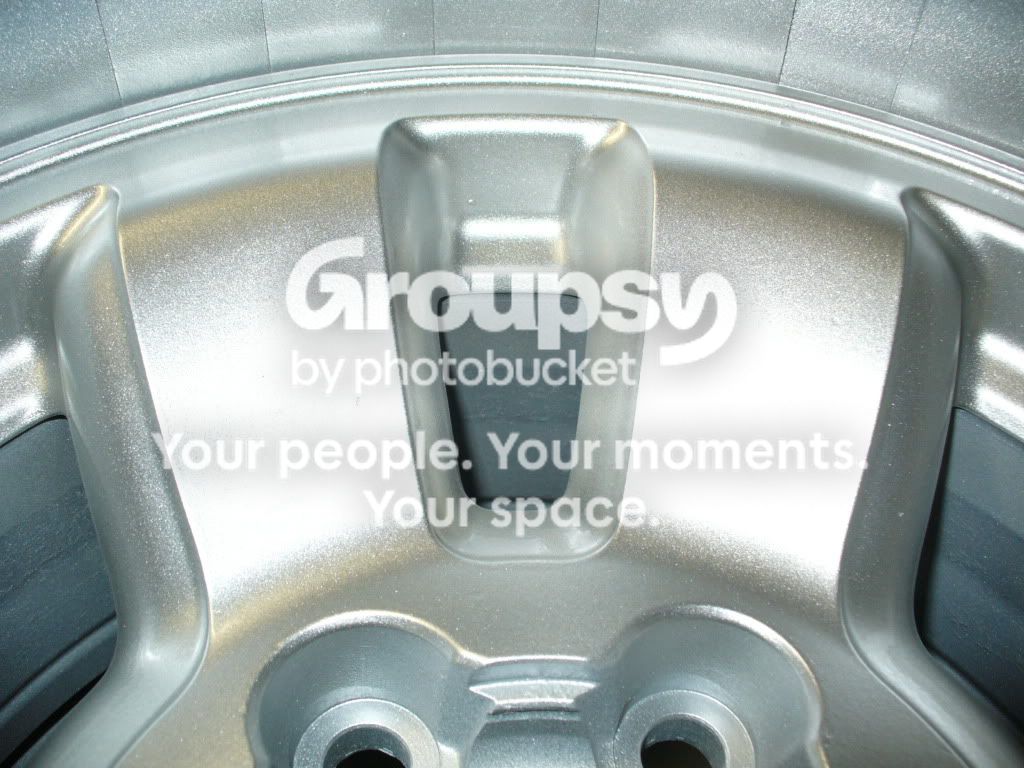
Wheel painting prep?

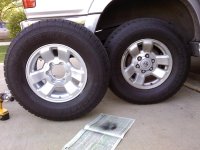
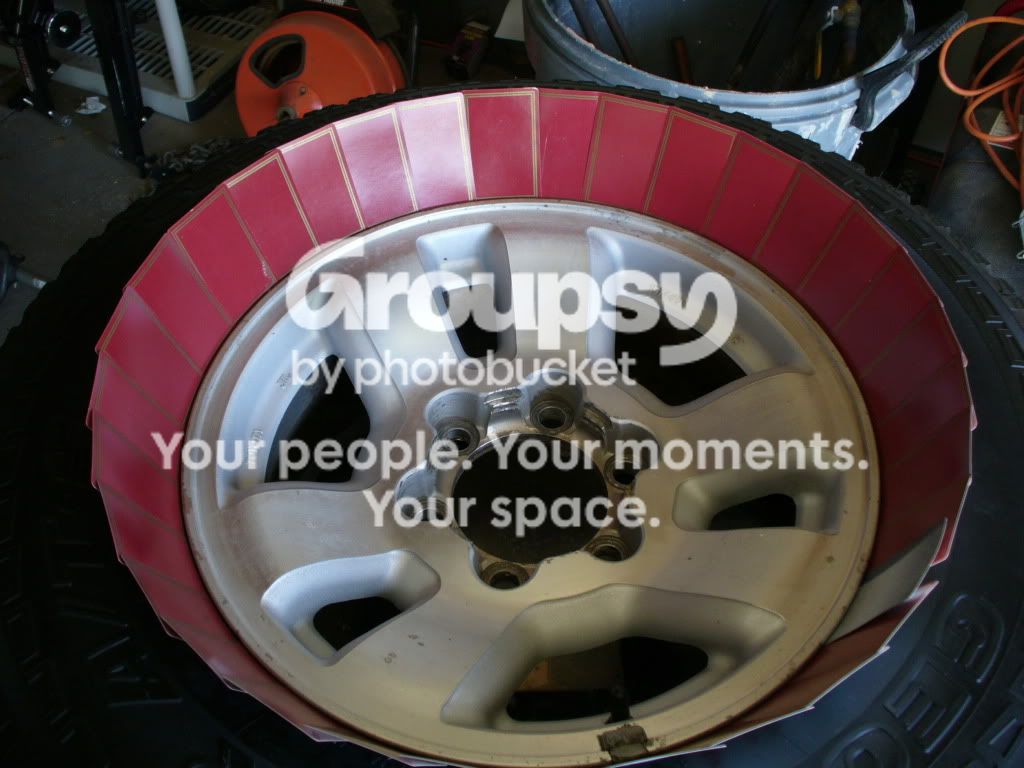
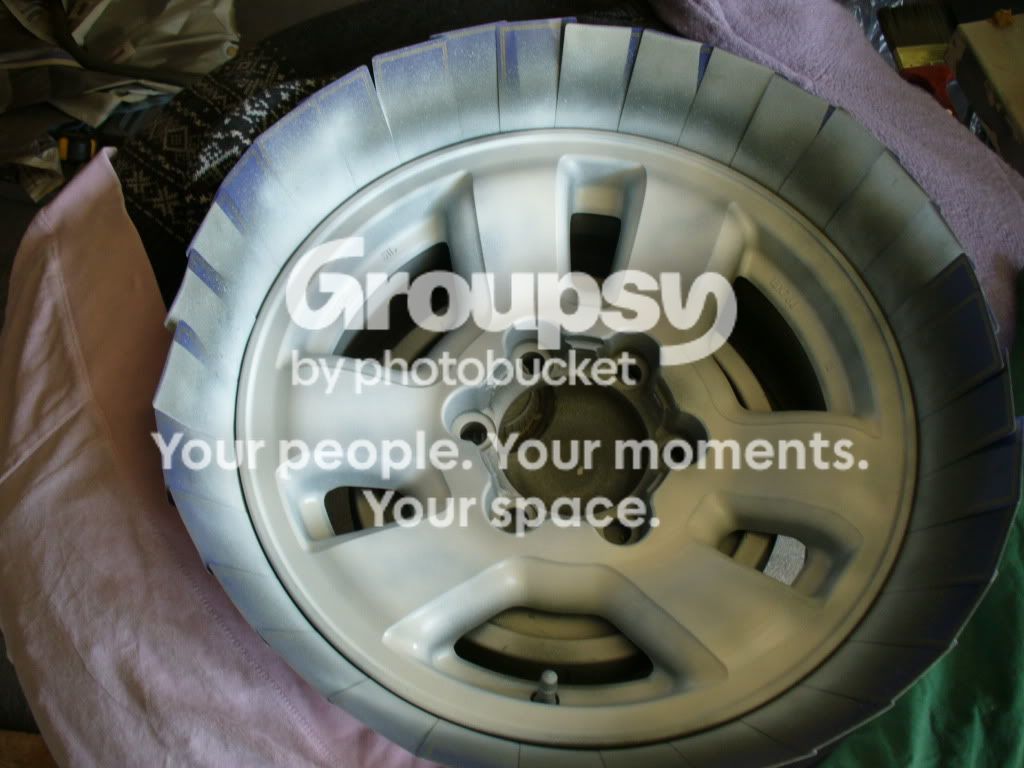
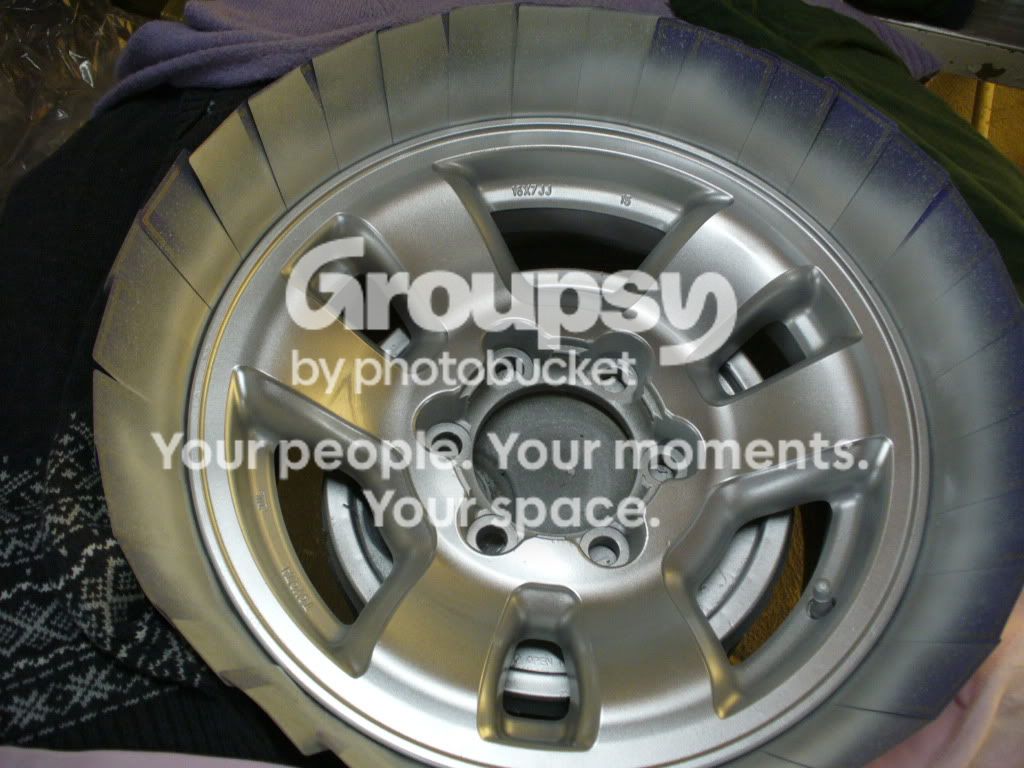
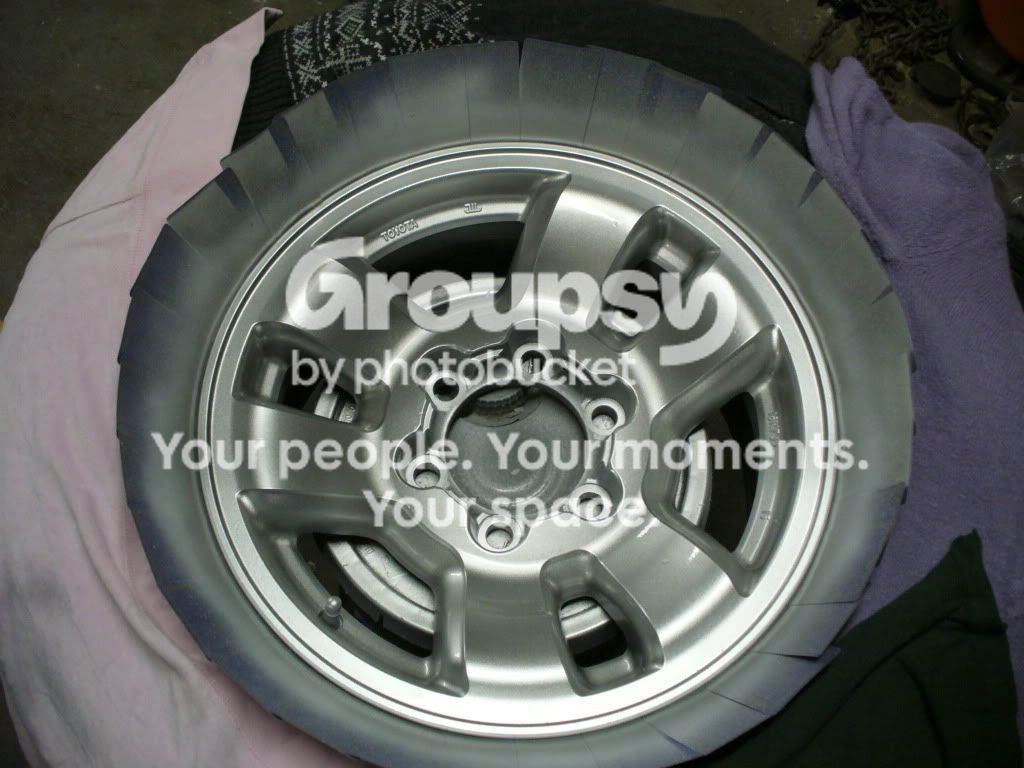
I was researching wheel paintin for a while and everyone here has got it down it seems. I painted a set for my buddy as a "trial run" before I did my own. I used only Duplicolor wheel paint products and theyre amazing. Scotch brite scuff pad, lacquer thinner, self etching primer, choice of paint color, and clear coat to give it some extra protection and seal it off. Also a deck of playing cards, or 4 decks if you're doing all four wheels at the same time with the tires still mounted. I would advise doing one first to get the finish youwant before attacking all four though. The playing card trick is awesome. You tuck them in between the wheel and the tire with a little overlap between cards. This masks off the tire without messing with tape and takes a fraction of the time. Hope this can help......

I've heard of the old card trick but was wonding if the cards hit the lip of the rims too much. Can you get the paint down far enough in between the tire and rim? Also, do you think 3x5 or 4x6 note cards will work as effectively? I'd hate to waste a real deck of cards on something so.....what ever it is. :hiding:
 
So has anyone used a self etching primer? All my clear is flaking in spots. I figure I would have to sand all that smooth. Im wanting to paint the color of the 4R but Im not sure it would hold up heat wise and its hard to find a rattle can in a color that matches correctly.

Does dealer have rattle cans?
 
My clear has peeled off in spots too. That's why I'm thinking of just painting mine. I'd like to see some silver painted wheels too. As much as I like the graphite color I need some options.
 

Attachments

  • 4Runner Rim.jpg
    4Runner Rim.jpg
    133.4 KB · Views: 12,231
496 BB

What steps did you take to prep you wheels as it looks like you have a wire wheel attached to you dewalt. Wheels look original. What paint did you use?

Also would like to see a pic of them on the 4R.
 
Let's see a whole vehicle shot with those rims painted, 496 BB. Looks awesome. Easy enough?

496 BB

What steps did you take to prep you wheels as it looks like you have a wire wheel attached to you dewalt. Wheels look original. What paint did you use?

Also would like to see a pic of them on the 4R.

The wire wheel was just there because I did the hitch also and it had a few little rust spots at the welds I wanted off before painting.

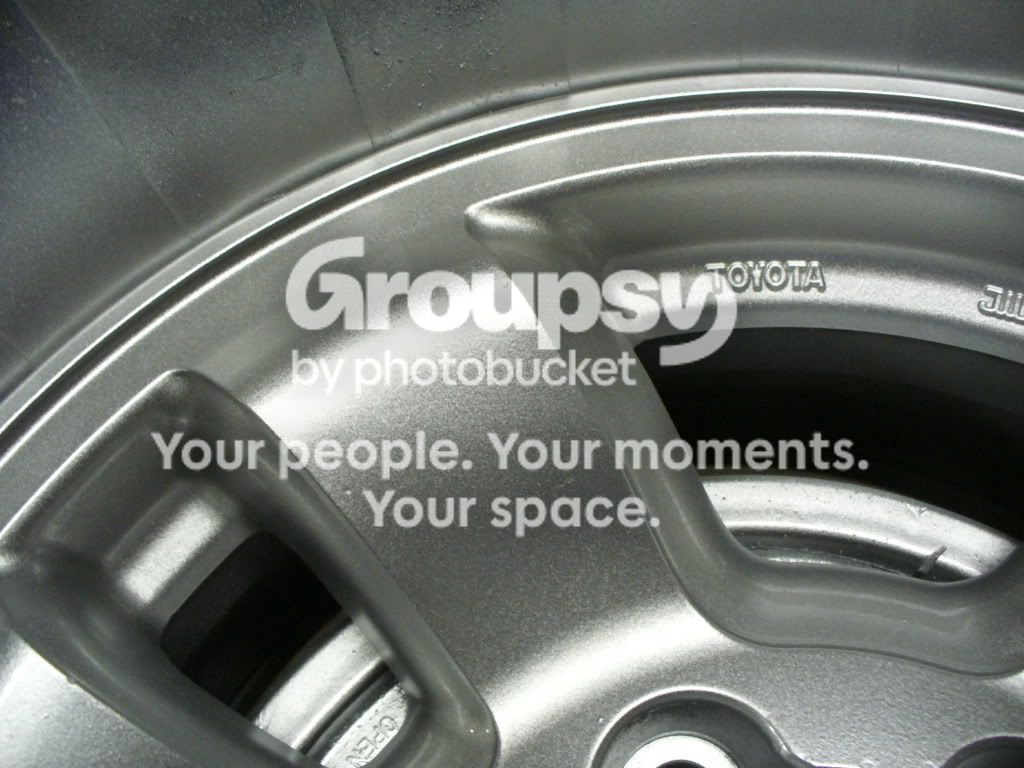
All I did was wash the wheel real good with clorox/water solution and let dry. Then I sanded/scuffed with red scotch brite pad real good everywhere and in every nook and cranny. Washed off again with Dawn soap and water. Made sure all spots were smooth and then finally wiped clean with rubbing alcohol and let dry. Then I taped off air valve and used playing cards and lined em around the whole rim where the tire is (great trick for whoever thought of this). Then I layed towels over the tire for overspray. I sprayed a basecoat of self etching Rustoleum primer. 2 of those in light coats. Waited till dry. Then I sprayed 2 coats of white metal primer so the silver would show up better/lighter as the self etching was a dark gray color. After that dried I used VHT (I think...will make sure...may been Duplicolor as one was darker and I didnt like it as well) silver wheel paint and sprayed 2 light coats followed by a medium coat and then a follow up coat as to make sure all was covered evenly. Within the hour I started spraying on the clear. I used about 4 coats and then let it set.

Its not hard to do by any means but I like doing this stuff soooo. If it lasts thats great but my expectations arent that great from a spray can. Who knows though Ive been wrong before as I thought this would look dumb to begin with....lol. I do have to say that the clear coat is pretty tuff. I used it on my trucks polished aluminum rims in one spot to see how it would last and its been 4-5 months and its still on there. But hey for $30 and rims that look like new again Im not *****ing.

Ill double check on that paint today when I finish the others up. Also getting the front airdam, rear bumper step, and deflector all painted body color next week so it should match up nice.
 
Man those turned out really nice! Great job! Makes me really want to do mine now....once I decide on a color.

How many cans did you use of each (primer, paint, clear) to do the one wheel?
 
Man those turned out really nice! Great job! Makes me really want to do mine now....once I decide on a color.

How many cans did you use of each (primer, paint, clear) to do the one wheel?

Well Im still one one can for each and Im doing wheel number 2 and 3 now. I think you will only need 2 cans of actual color coat and clear coat. Primers will be fine with one.

I got pics of the whole process if anyone is interested. Im willing to bet someone here may even like the color of the etching primer as its a dark gray. Im not into all those darker colors but its not too bad really ;)
 
OK here we go....

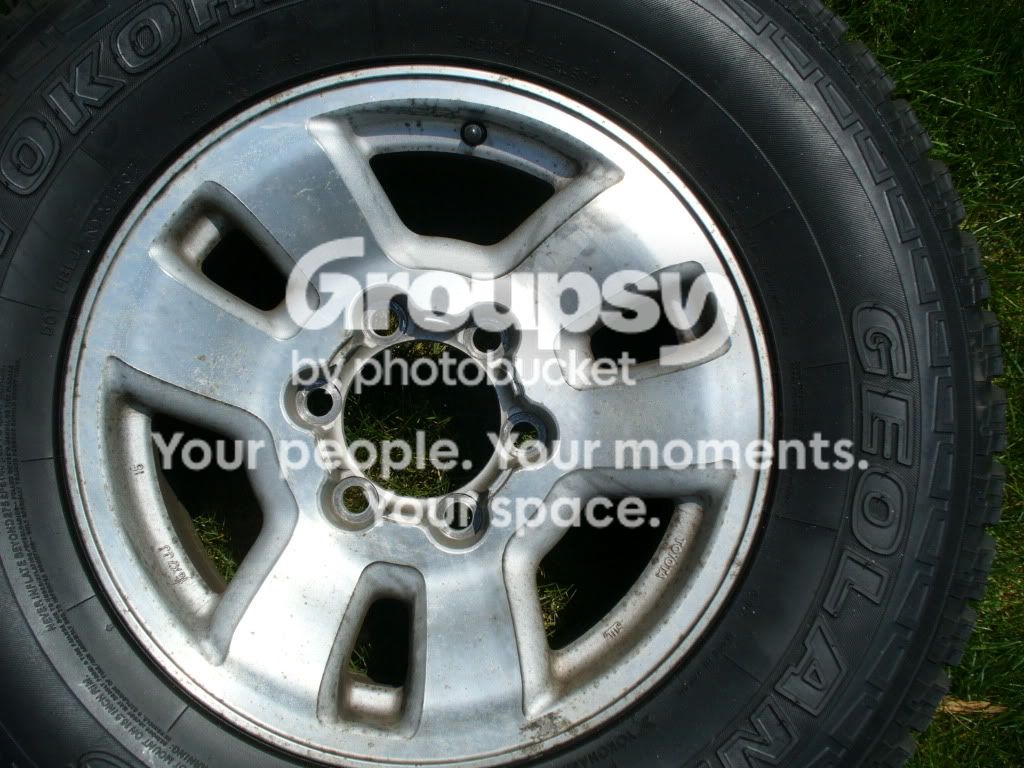
Wheels as they were ready to be cleaned

P1050308.jpg~original


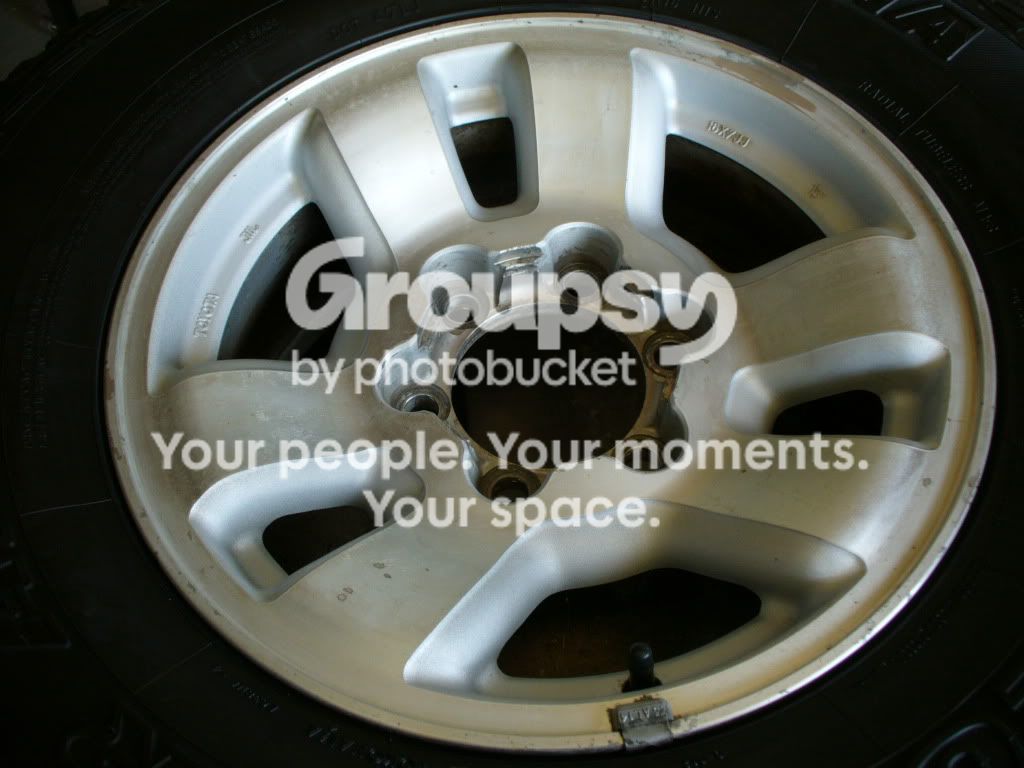
Now once you have cleaned them (I used Purple Power degreaser and a rag with water) and hosed off good then proceed to prepping them. I used a combo of 400 grit wet sand for faces and red scotch brite pad for inside crevasses. There was some junk on them also where I think other wheel weights were that I used 150 grit to get off and followed it up with a 320 and finally the 400 wet sand. I suppose if you have rock chips and cuts this would be the time for a little filler and more sanding. After all prep is done re wash and hose off. Let air dry completely. Heres what it looked like after all this.
P1050310.jpg~original


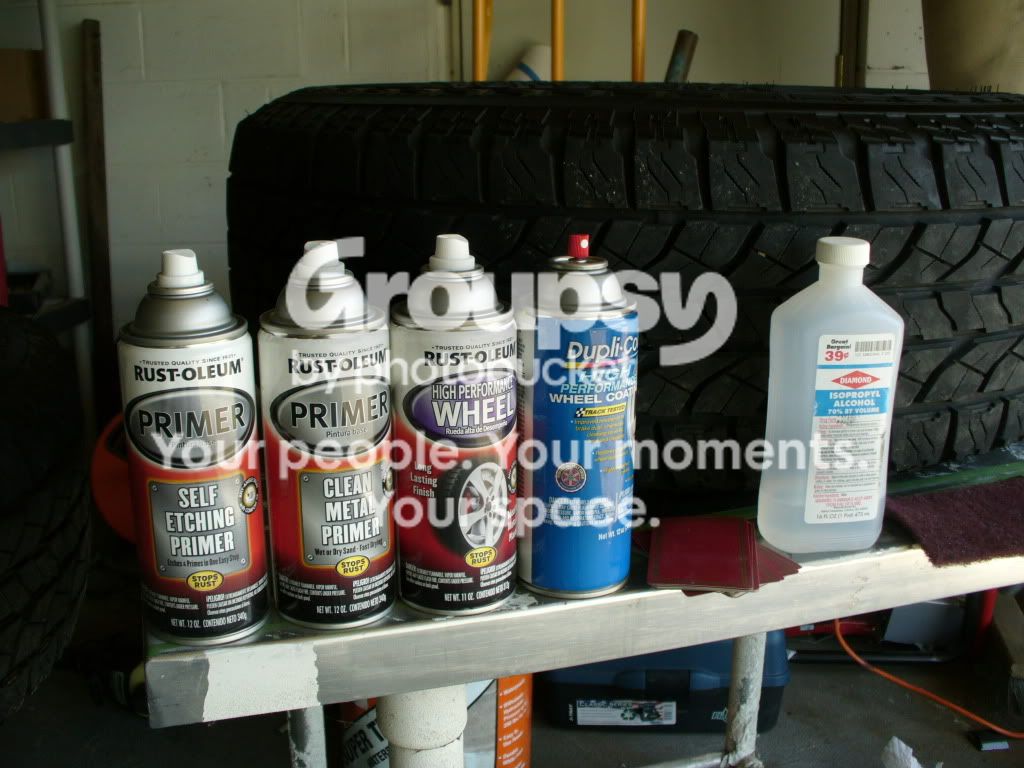
Heres the products I used. I used all Rustoleum products as their spray cans you can hold in any direction even upside down and it still sprays. The fan on the spray also seems better. I got it all at Auto Zone for around $30. Whats there is self etching primer (gray), metal primer (white), base coat (steel (actually silver in color though)), and clear coat. I used Dupli color clear until I ran out and used Rustoleum after. Both are good and I had Dupli here first. Rubbing alcohol and red scotchbrite pad. Also is deck of cards and rags/towels not pictured.

P1050311.jpg~original


Heres how you do the cards.

P1050312.jpg~original


Spray on your self etching primer in two coats. Make the first coat a light mist trying to get in the tight areas first and working to facing last as thats the easiest and most inside areas overspray will get most of facings anyways. After two coats of that let dry per instructions and then repeat for the white metal primer. Must be white or silver wont show as good! Heres with first coat of metal primer.

P1050317.jpg~original


Once you let dry per instructions you can have two options. One is move on to base coat and other is wet sand. I didnt feel I needed a wetsand as it sprayed well so I moved on. Just do same with basecoat. Light coat first and gradually get more on. I put 3-4 coats of basecoat on.

P1050318.jpg~original


Look over every inch of your wheel once you think your done with basecoat and you will see you missed something on the inside of the spokes...Lol. Hit it again and let dry. After that its time for the clear. I always start all my paints by doing the outer most lip first. Base is no different. Go light mist first and then keep adding. I put on about 4-5 coats of clear. The more the better.

P1050322.jpg~original


P1050323.jpg~original


P1050325.jpg~original


Now just let dry and put back on. Do same process for the center caps except I dont think you will need the self etching primer. Use a white plastic primer or regular white primer you used for wheels. I may try to do one lug nut's top and see if it gets screwed up when reinstalling. If it does I will put some rubber washers in the bottom of my X wrench and see if that helps cause painted lug nuts would really set this off I think. Im anal like that though...lol.

Sorry for long post and huge ass pictures. I still got one more to do tomorrow and then I will get shots of it on the vehicle.

 
Last edited:
OK here we go....

Wheels as they were ready to be cleaned

P1050308.jpg~original


Now once you have cleaned them (I used Purple Power degreaser and a rag with water) and hosed off good then proceed to prepping them. I used a combo of 400 grit wet sand for faces and red scotch brite pad for inside crevasses. There was some junk on them also where I think other wheel weights were that I used 150 grit to get off and followed it up with a 320 and finally the 400 wet sand. I suppose if you have rock chips and cuts this would be the time for a little filler and more sanding. After all prep is done re wash and hose off. Let air dry completely. Heres what it looked like after all this.

P1050310.jpg~original


Heres the products I used. I used all Rustoleum products as their spray cans you can hold in any direction even upside down and it still sprays. The fan on the spray also seems better. I got it all at Auto Zone for around $30. Whats there is self etching primer (gray), metal primer (white), base coat (steel (actually silver in color though)), and clear coat. I used Dupli color clear until I ran out and used Rustoleum after. Both are good and I had Dupli here first. Rubbing alcohol and red scotchbrite pad. Also is deck of cards and rags/towels not pictured.

P1050311.jpg~original


Heres how you do the cards.

P1050312.jpg~original


Spray on your self etching primer in two coats. Make the first coat a light mist trying to get in the tight areas first and working to facing last as thats the easiest and most inside areas overspray will get most of facings anyways. After two coats of that let dry per instructions and then repeat for the white metal primer. Must be white or silver wont show as good! Heres with first coat of metal primer.

P1050317.jpg~original


Once you let dry per instructions you can have two options. One is move on to base coat and other is wet sand. I didnt feel I needed a wetsand as it sprayed well so I moved on. Just do same with basecoat. Light coat first and gradually get more on. I put 3-4 coats of basecoat on.

P1050318.jpg~original


Look over every inch of your wheel once you think your done with basecoat and you will see you missed something on the inside of the spokes...Lol. Hit it again and let dry. After that its time for the clear. I always start all my paints by doing the outer most lip first. Base is no different. Go light mist first and then keep adding. I put on about 4-5 coats of clear.

P1050322.jpg~original


P1050323.jpg~original


P1050325.jpg~original


Now just let dry and put back on. Do same process for the center caps except I dont think you will need the self etching primer. Use a white plastic primer or regular white primer you used for wheels. I may try to do one lug nut's top and see if it gets screwed up when reinstalling. If it does I will put some rubber washers in the bottom of my X wrench and see if that helps cause painted lug nuts would really set this off I think. Im anal like that though...lol.

Sorry for long post and huge ass pictures. I still got one more to do tomorrow and then I will get shots of it on the vehicle.

Those look outstanding man. Id have done a darker color or satin black, but those look awesome, and all for $30?! Im starting to think about painting my new 08 Runner rims satin black or dark carbon, but know Im not willing to put in the effort being as lazy as I am as well as convinced Ill ruin my rims.

Great job man!!

BTW, I just got Geolanders too. How long have you had them and how do you like them?
 
Thanks. I forgot to say that this is labor intensive for sure. You will have about 2-3 hours in each wheel but I do them two at a time. Its easy after you get em prepped...thats the PITA part. Thats why I did only 1 rims yesterday....I figured if it looks like chit I would only have to buy one instead of four....lol. But I was plesantly surprised at the results. Ive done alot of interior painting and stuff before so this isnt anything new to me but its soooooo easy you cant screw it up unless you stick your finger in the wet paint. Ask me how I know that! Haha. Damn A-D-D and no patience.

As for the tires. Hell I dont know if I like em or not because I just bought this off of my Dad because he got a new one and my wife liked it. He seemed to think the Micheliens M/S were better and smoother as I can tell a bit also but I dont drive it everyday. Me personally am a Bridgestone A/T Revo fan as thats what Im running on my HD for last two sets. Awesome tire and smooth for a 7000# truck.

You have all you need right there to do it....have at it! If you need help PM me and Ill walk you through it.
 
Also I forgot to say before you start painting but after cleaning put a nice coat of tire shine on your tires. This will prevent the over spray (which you will have minor misting) from sticking to your tires. All you have to do is wipe it off with a towel and your done.
 
Great write up 496 and the rims look awesome. Thanks for posting the pics. I want to paint my rims black but I just don't have the time to dedicate to it right now. Everyday of ever weekend for the next few months are spoken for. Sucks. Who decided that we work 5 days out of a 7 day week?
 
Excellent write-up! Thanks for sharing the steps and pics. They turned out really good. Post some pics once you get them back on.
 
Thanks. I forgot to say that this is labor intensive for sure. You will have about 2-3 hours in each wheel but I do them two at a time. Its easy after you get em prepped...thats the PITA part.

I agree the prep is the worst part, but 2-3 hours per wheel?!? I did the entire job in three hours. I suppose the bed liner adheres a little bit differently than the actual wheel paint. I basically did the same prep on these as I did on my Xterra and they never gave me any trouble.
 

Members online

No members online now.

Forum statistics

Threads
278,309
Messages
3,554,075
Members
248,016
Latest member
Advally Service

Trending content

Back
Top