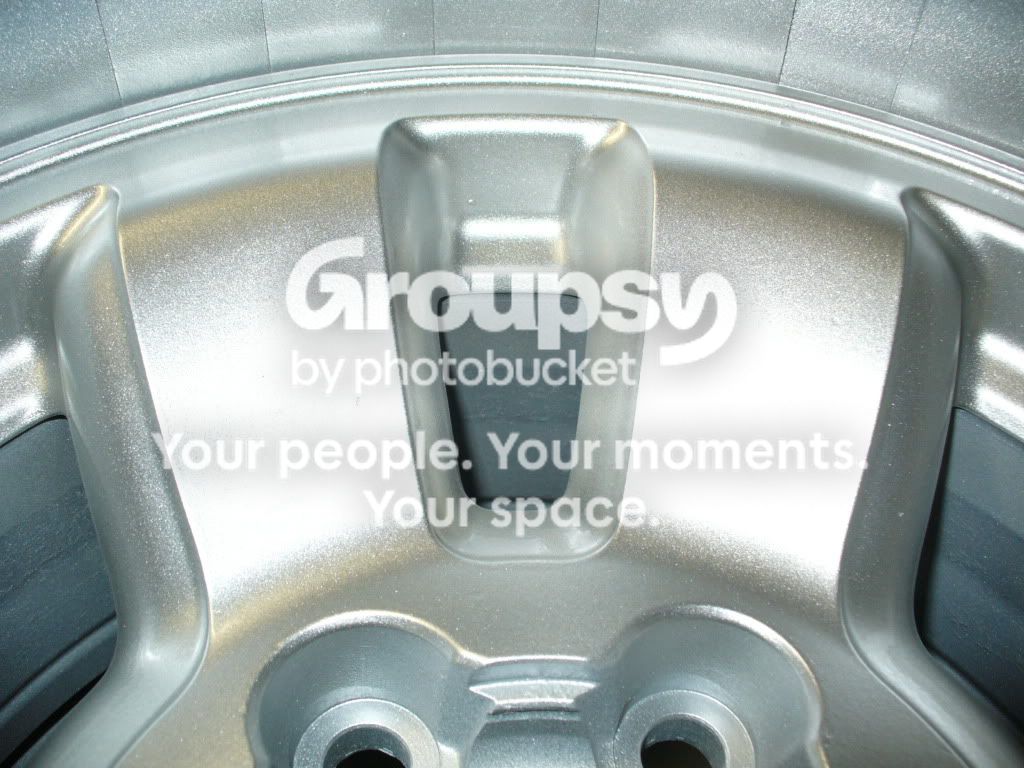
OK here we go....
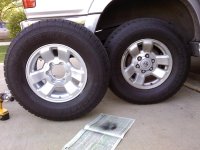
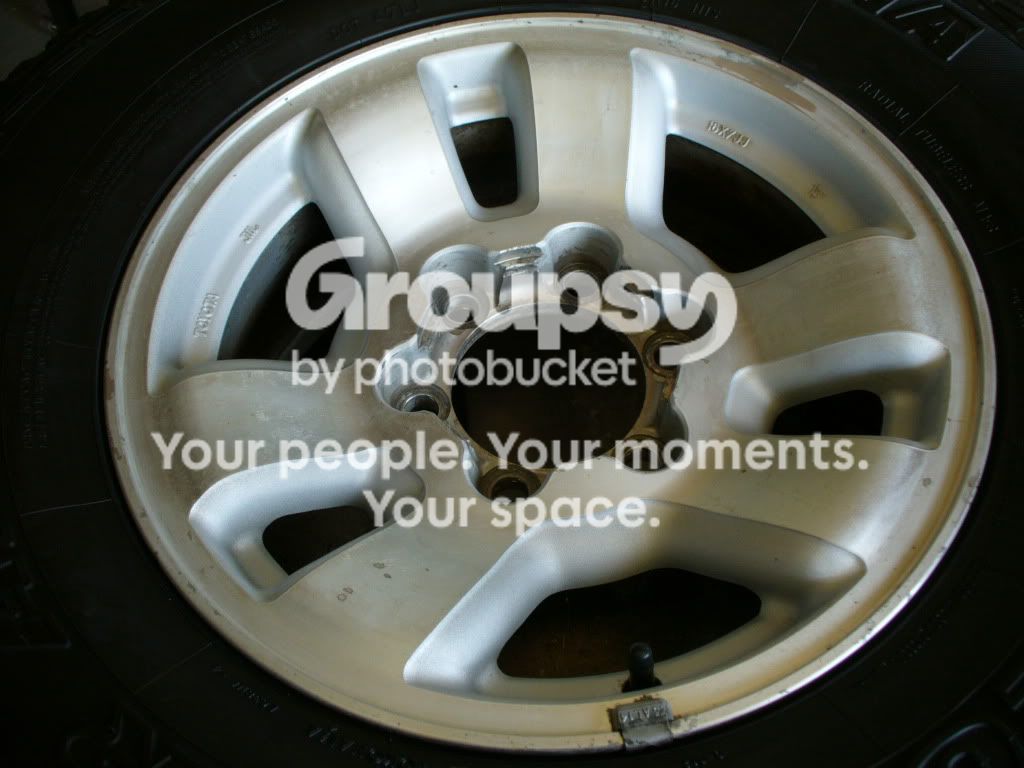
Wheels as they were ready to be cleaned
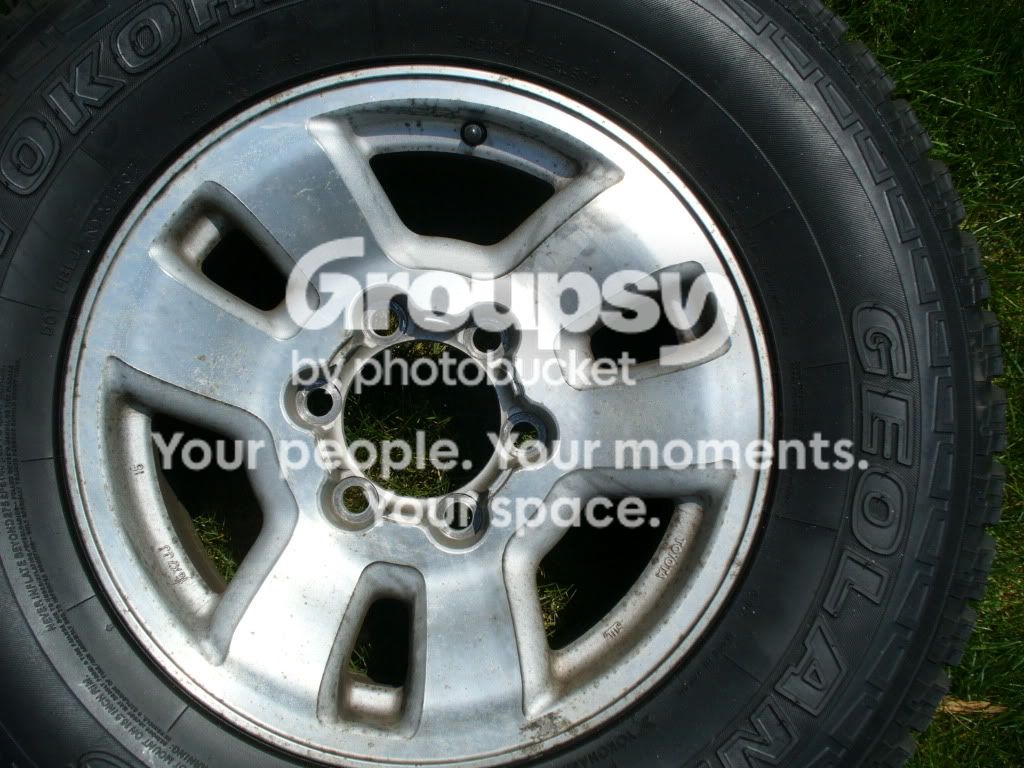
Now once you have cleaned them (I used Purple Power degreaser and a rag with water) and hosed off good then proceed to prepping them. I used a combo of 400 grit wet sand for faces and red scotch brite pad for inside crevasses. There was some junk on them also where I think other wheel weights were that I used 150 grit to get off and followed it up with a 320 and finally the 400 wet sand. I suppose if you have rock chips and cuts this would be the time for a little filler and more sanding. After all prep is done re wash and hose off. Let air dry completely. Heres what it looked like after all this.
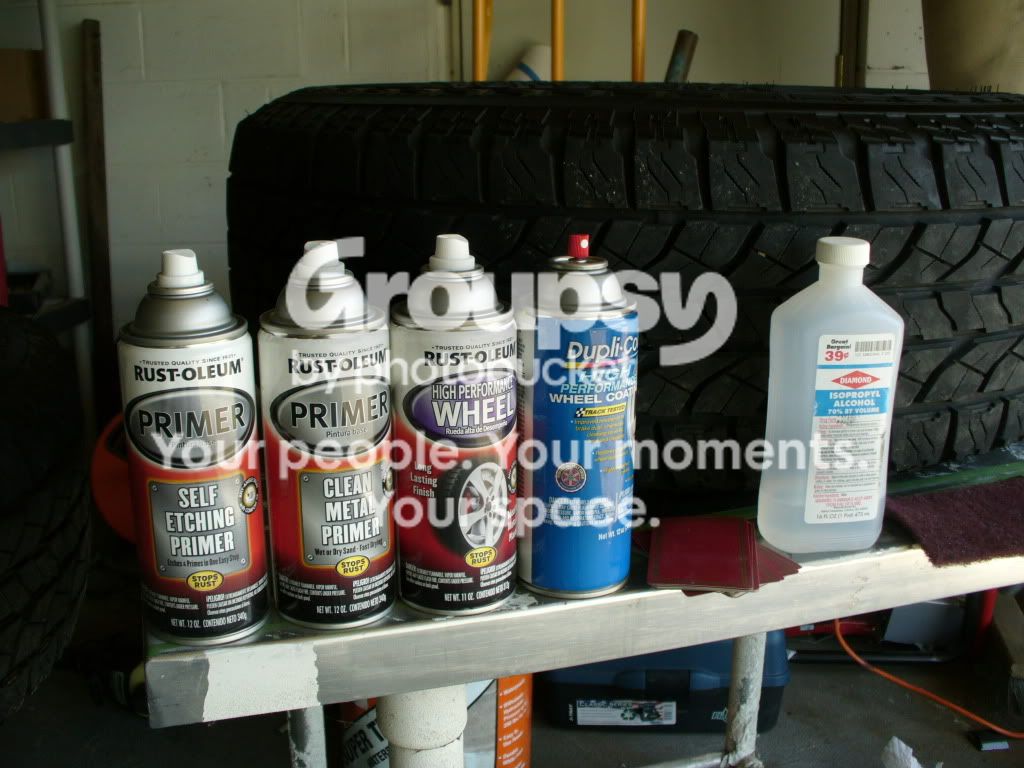
Heres the products I used. I used all Rustoleum products as their spray cans you can hold in any direction even upside down and it still sprays. The fan on the spray also seems better. I got it all at Auto Zone for around $30. Whats there is self etching primer (gray), metal primer (white), base coat (steel (actually silver in color though)), and clear coat. I used Dupli color clear until I ran out and used Rustoleum after. Both are good and I had Dupli here first. Rubbing alcohol and red scotchbrite pad. Also is deck of cards and rags/towels not pictured.
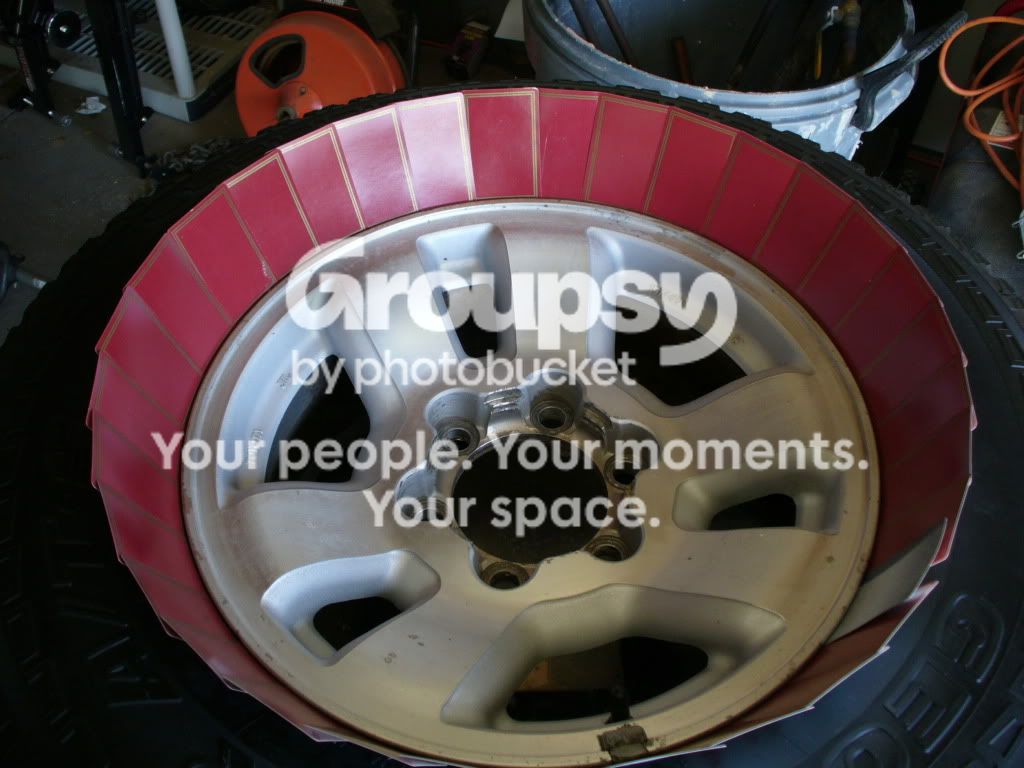
Heres how you do the cards.
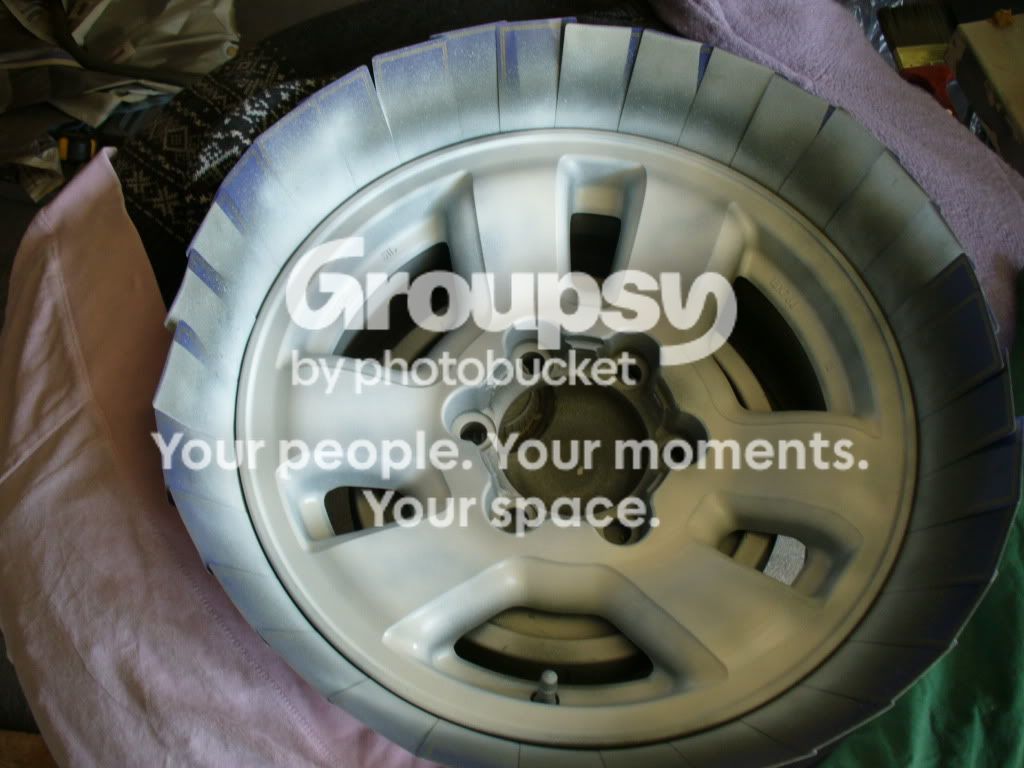
Spray on your self etching primer in two coats. Make the first coat a light mist trying to get in the tight areas first and working to facing last as thats the easiest and most inside areas overspray will get most of facings anyways. After two coats of that let dry per instructions and then repeat for the white metal primer. Must be white or silver wont show as good! Heres with first coat of metal primer.
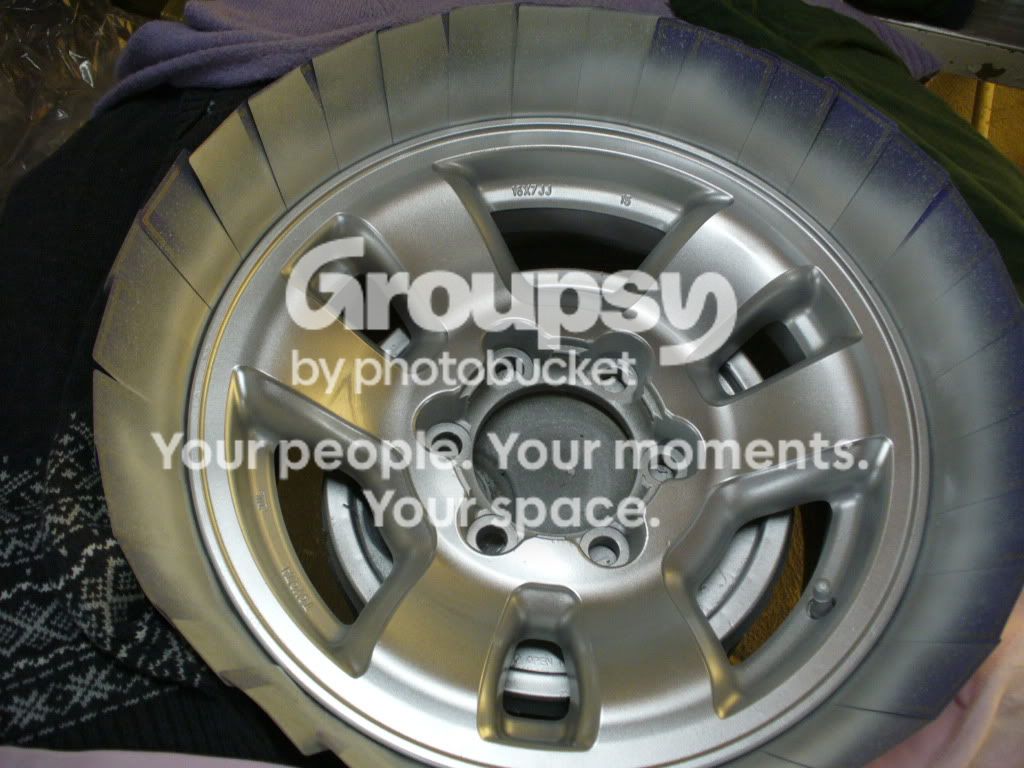
Once you let dry per instructions you can have two options. One is move on to base coat and other is wet sand. I didnt feel I needed a wetsand as it sprayed well so I moved on. Just do same with basecoat. Light coat first and gradually get more on. I put 3-4 coats of basecoat on.
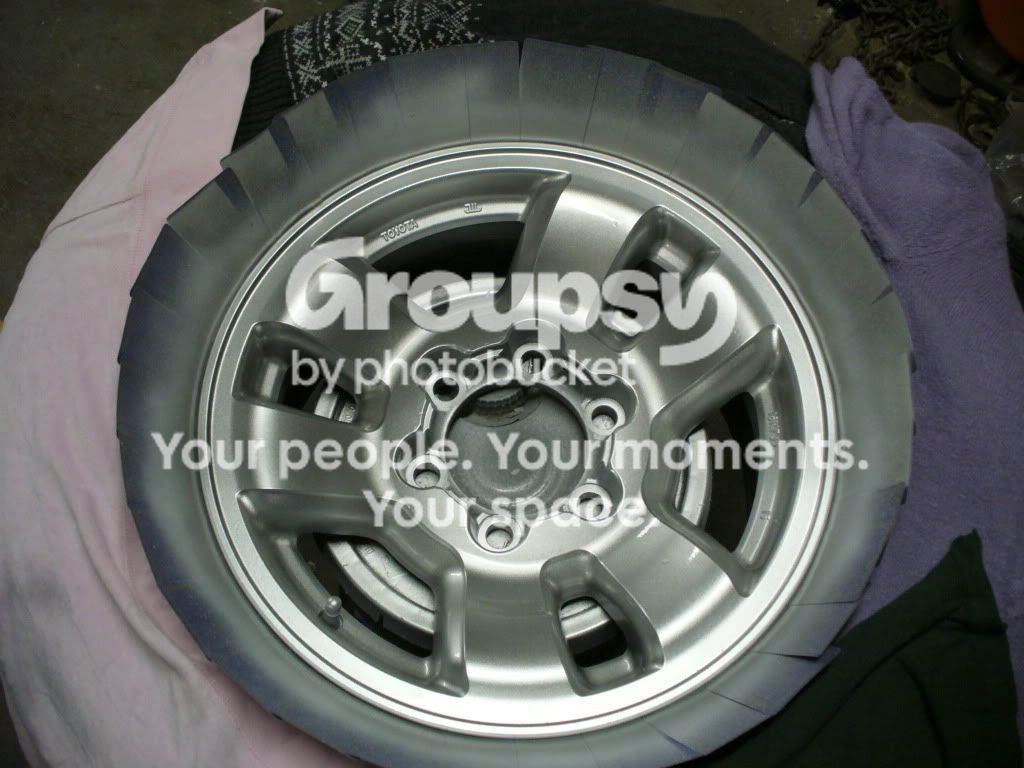
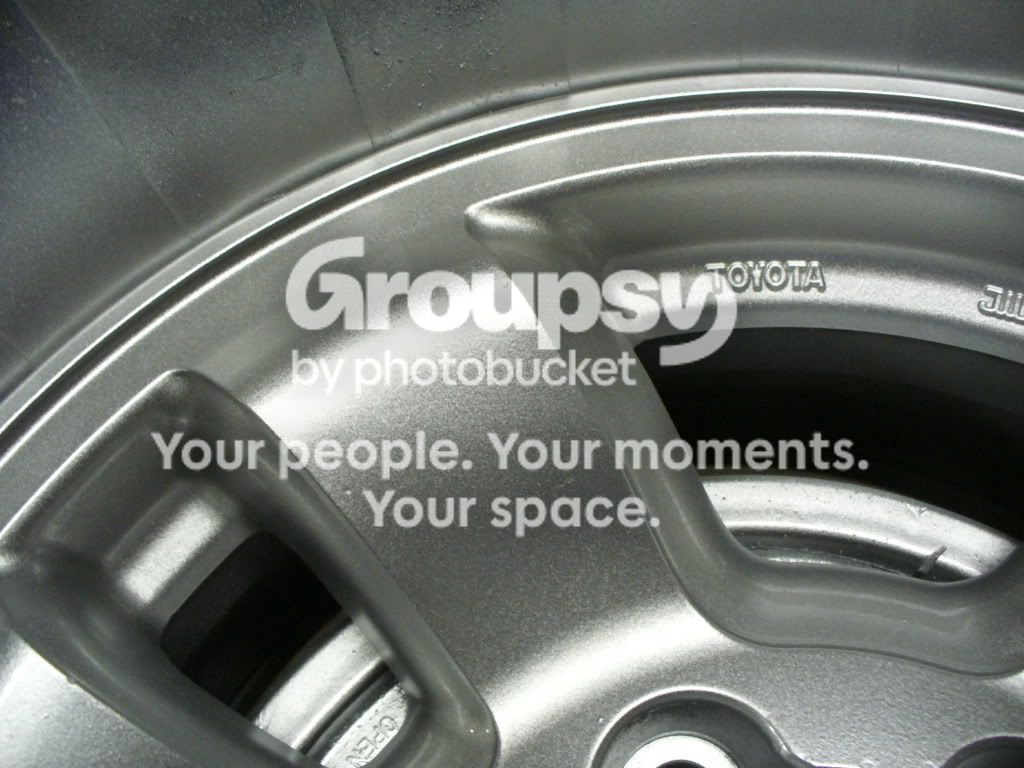
Look over every inch of your wheel once you think your done with basecoat and you will see you missed something on the inside of the spokes...Lol. Hit it again and let dry. After that its time for the clear. I always start all my paints by doing the outer most lip first. Base is no different. Go light mist first and then keep adding. I put on about 4-5 coats of clear.
Now just let dry and put back on. Do same process for the center caps except I dont think you will need the self etching primer. Use a white plastic primer or regular white primer you used for wheels. I may try to do one lug nut's top and see if it gets screwed up when reinstalling. If it does I will put some rubber washers in the bottom of my X wrench and see if that helps cause painted lug nuts would really set this off I think. Im anal like that though...lol.
Sorry for long post and huge ass pictures. I still got one more to do tomorrow and then I will get shots of it on the vehicle.