2013 Chevy Express 3500 Cutaway Expo Build

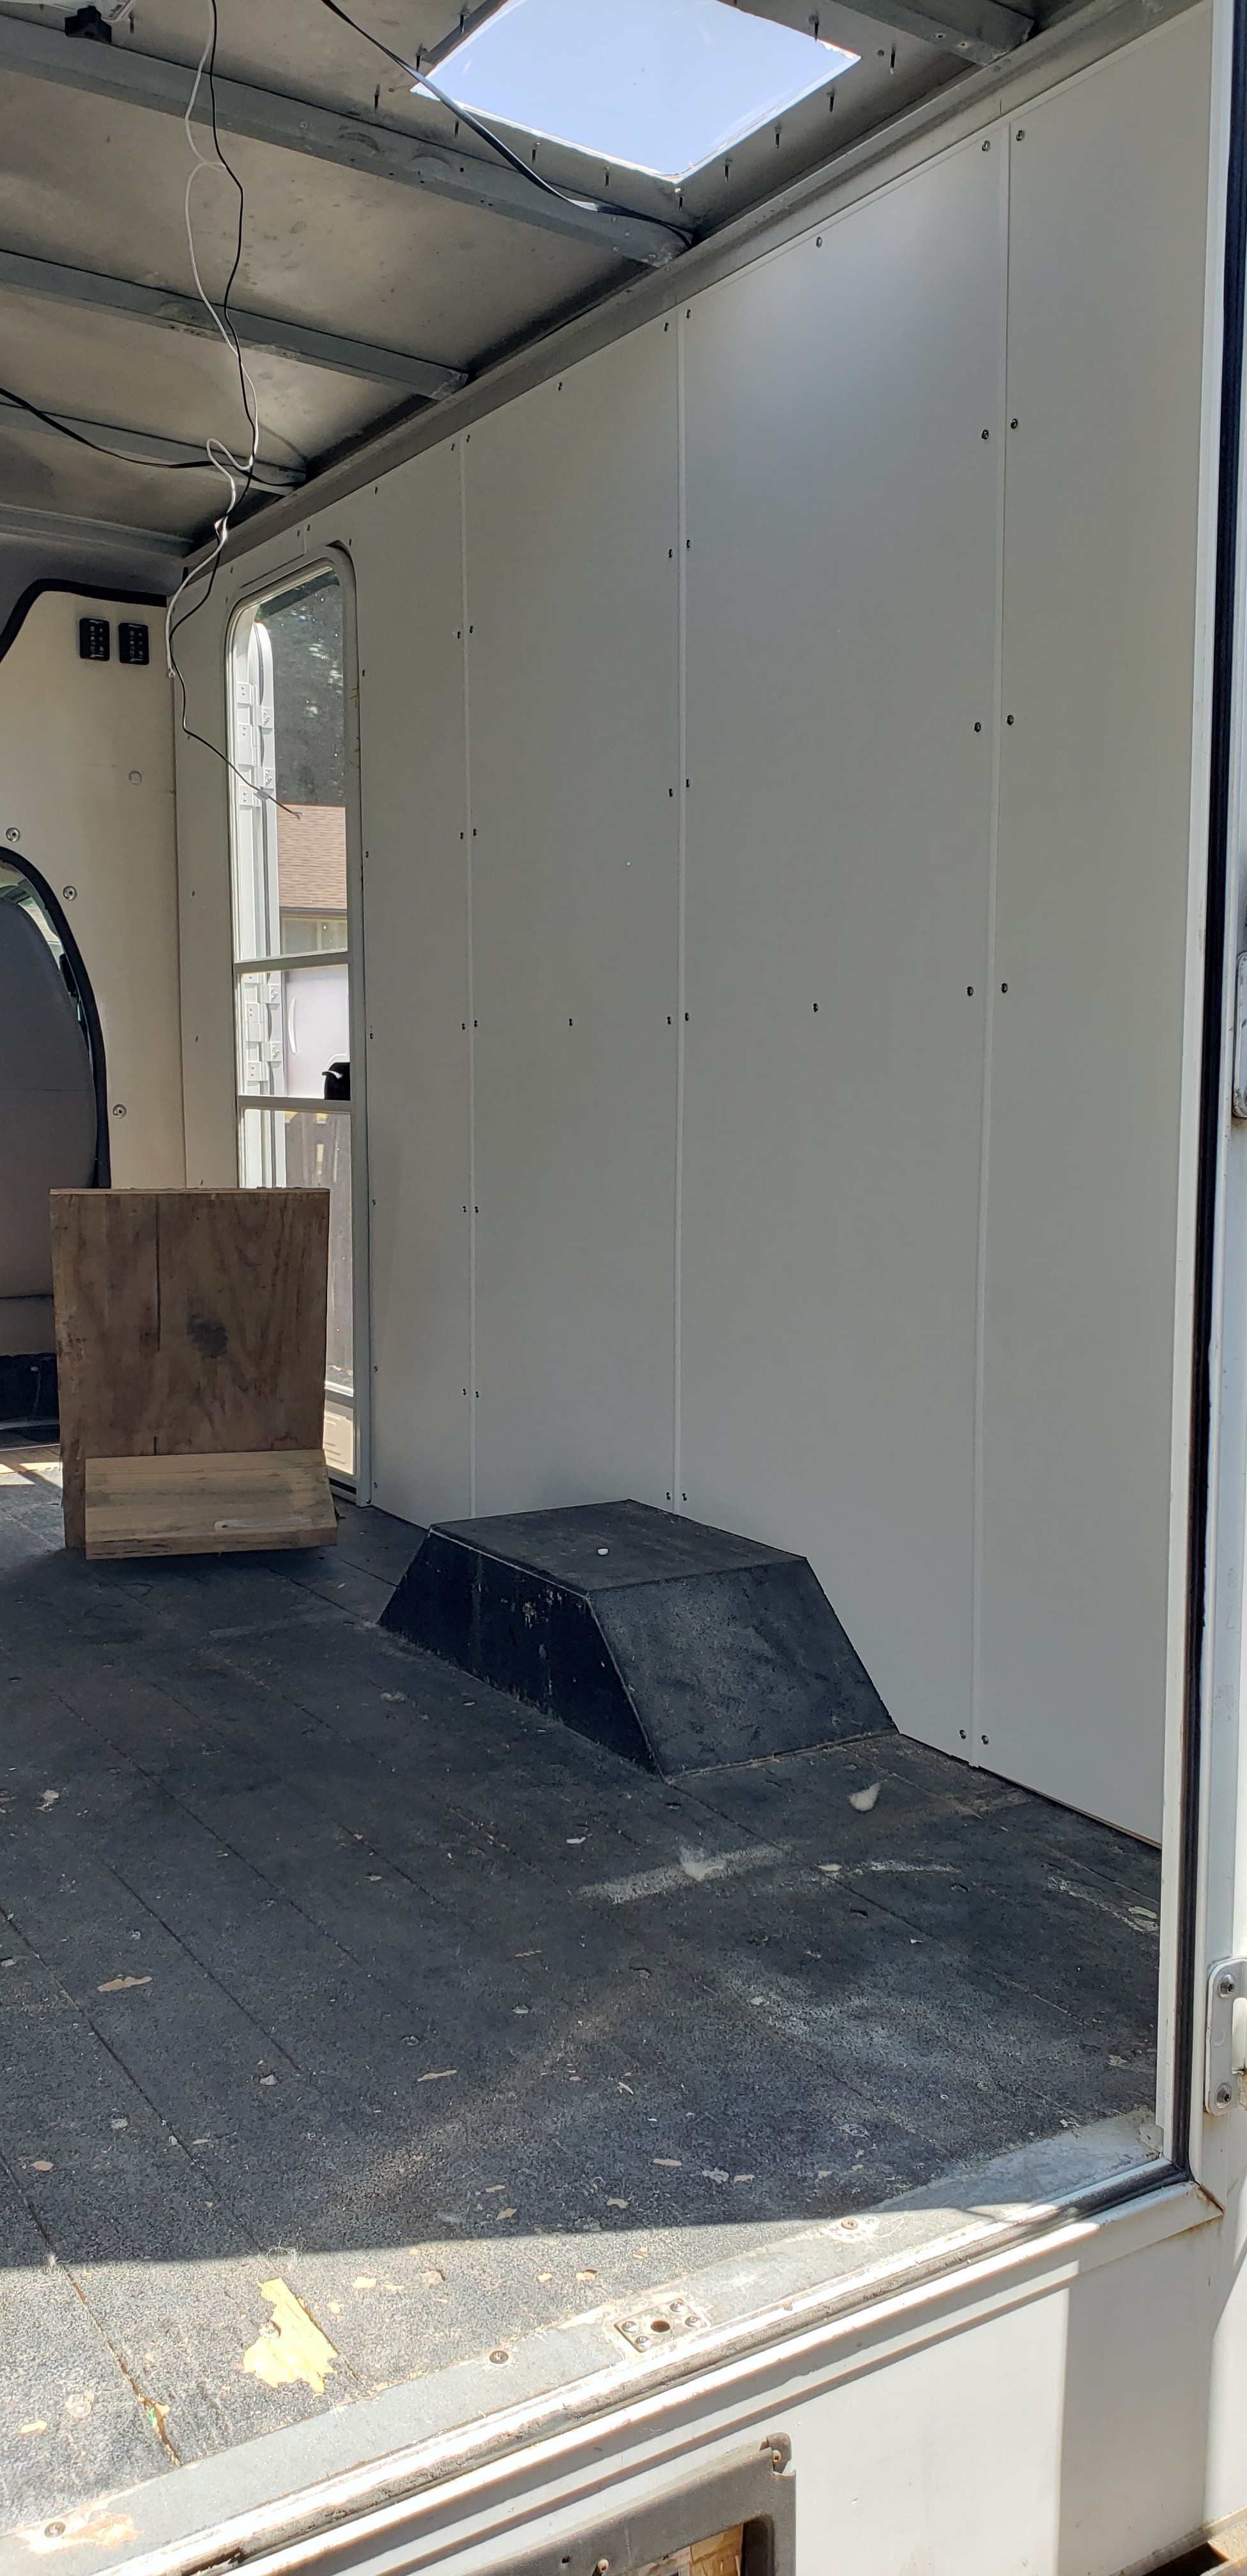
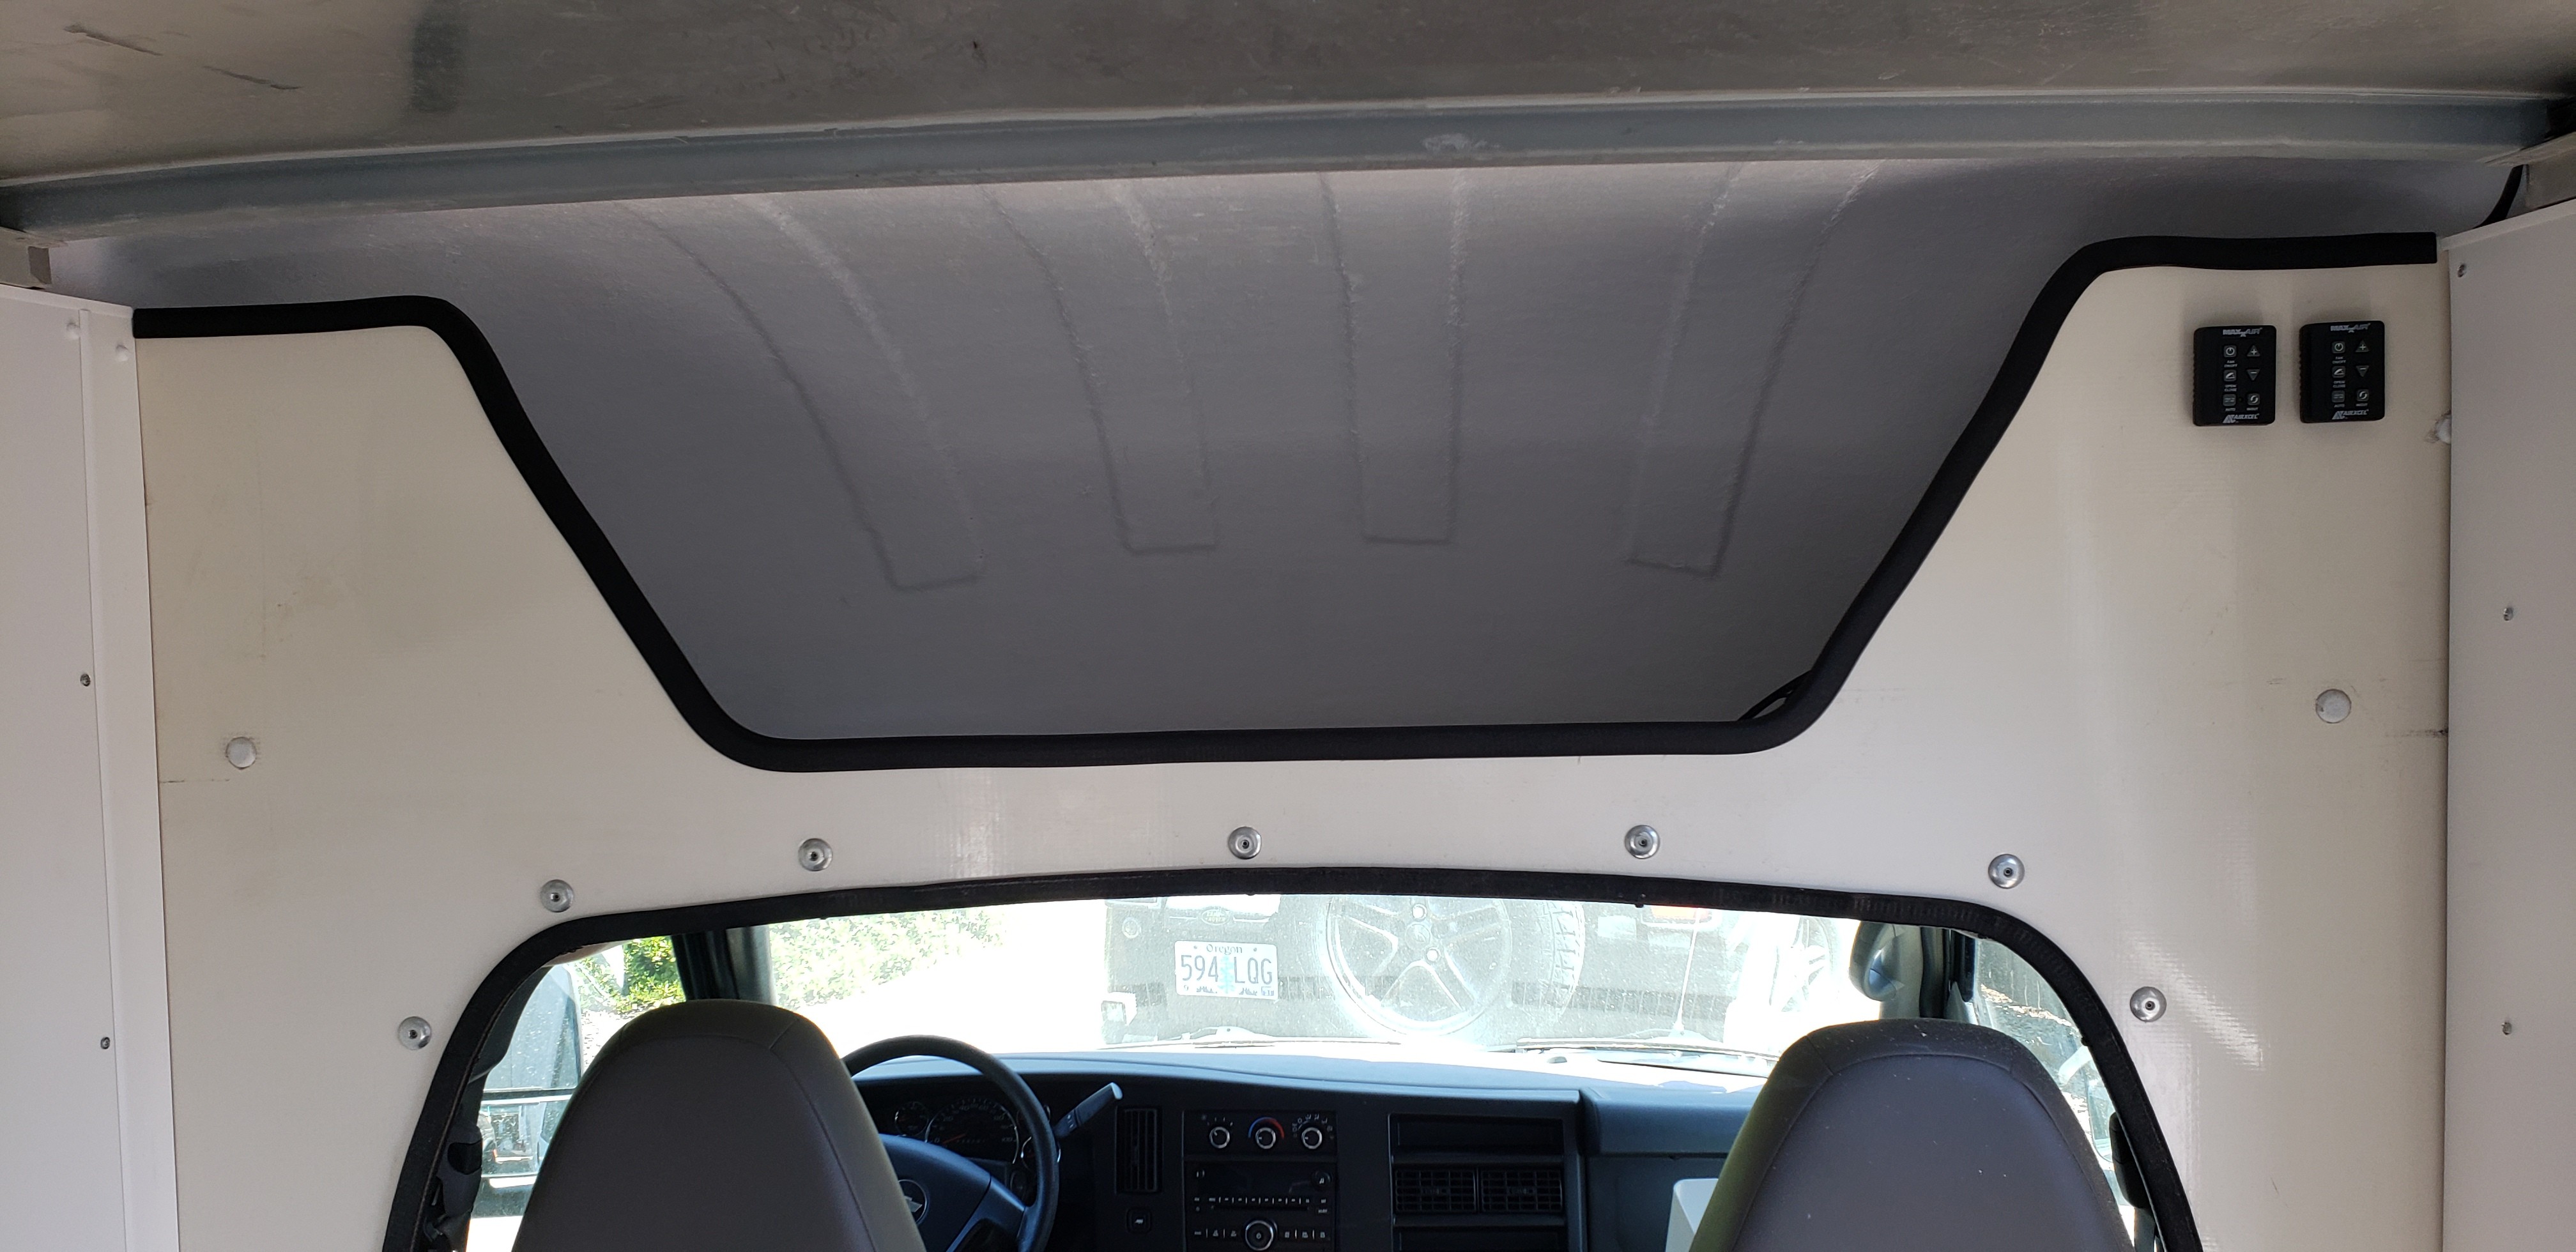
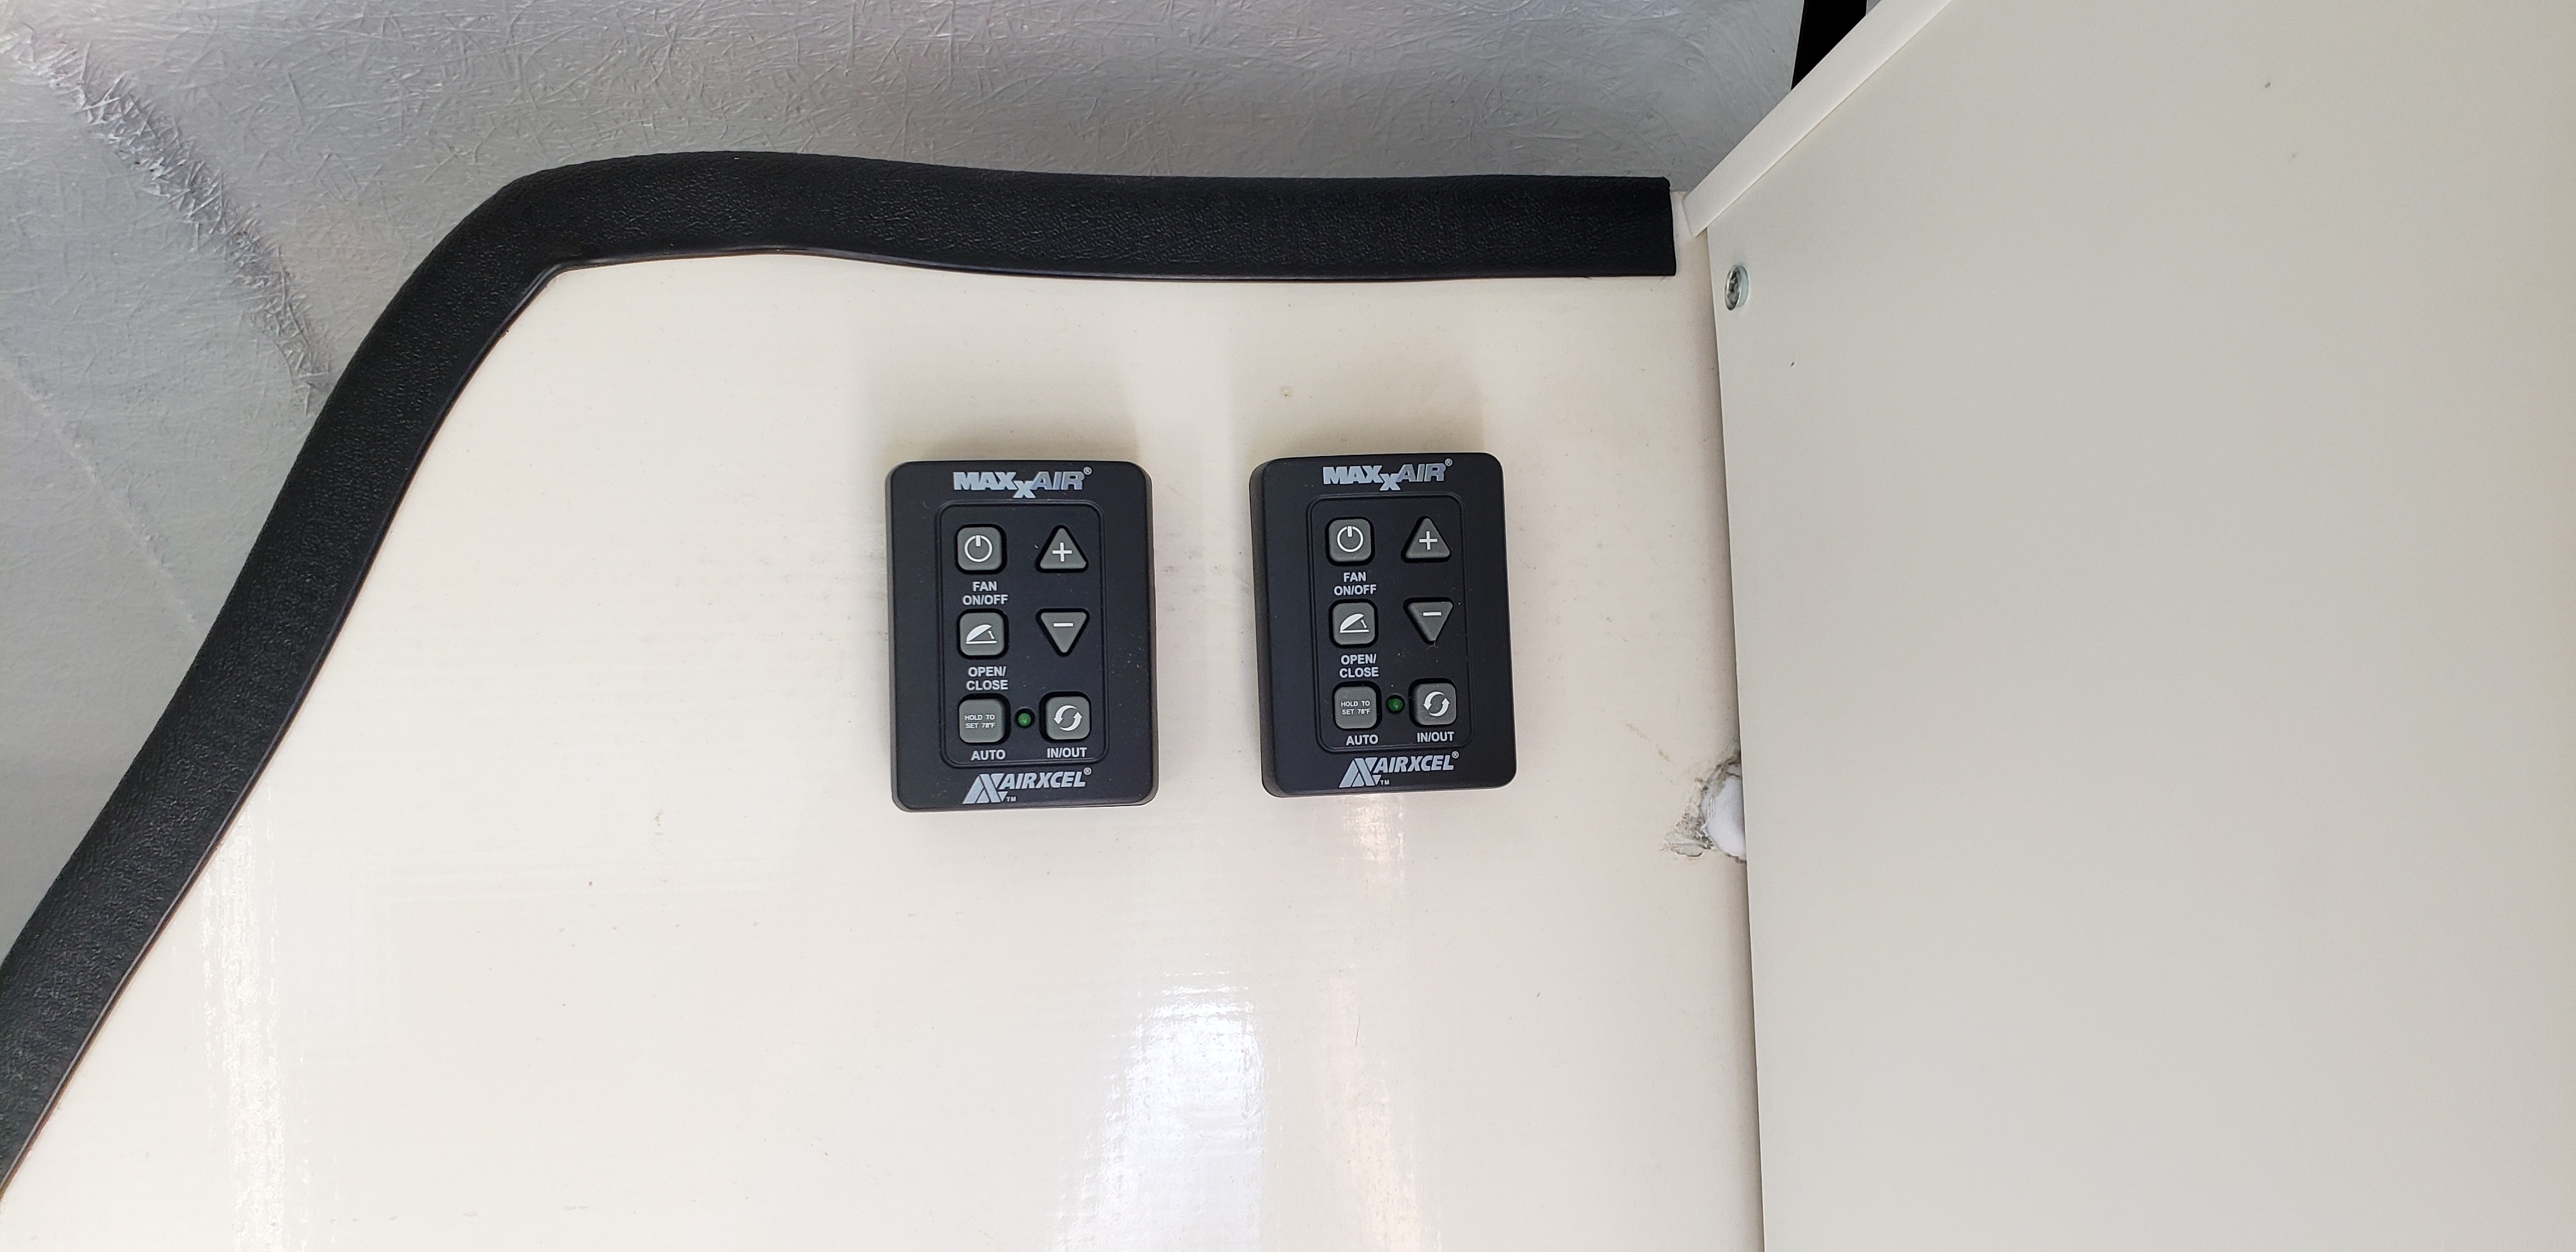
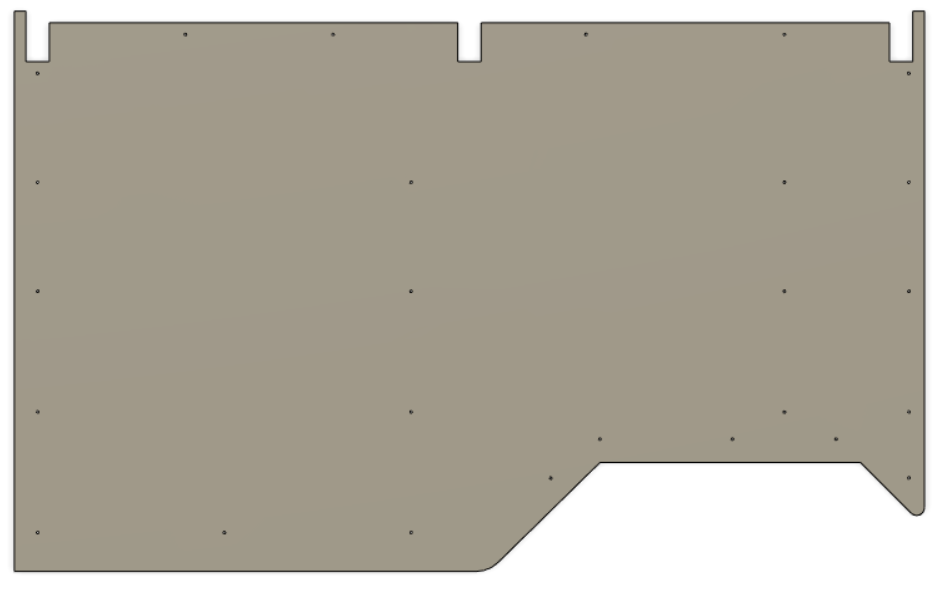
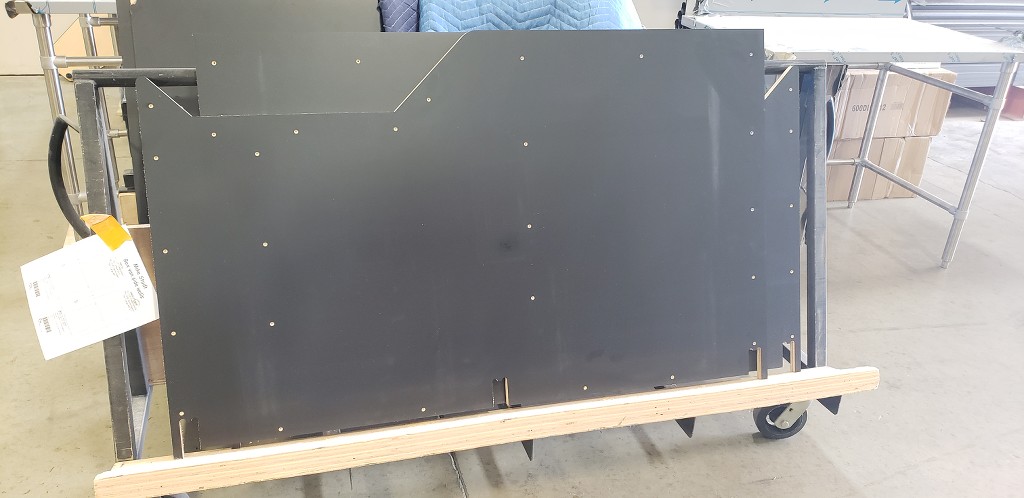
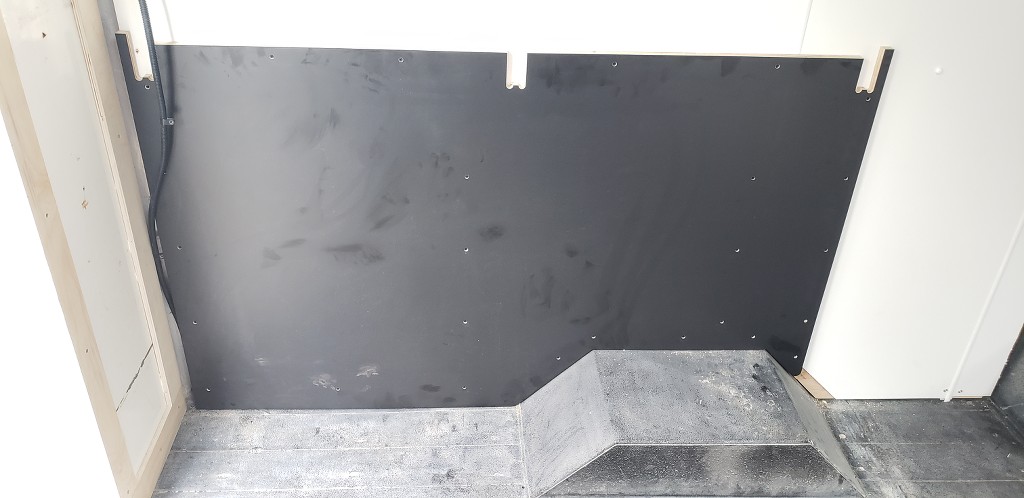
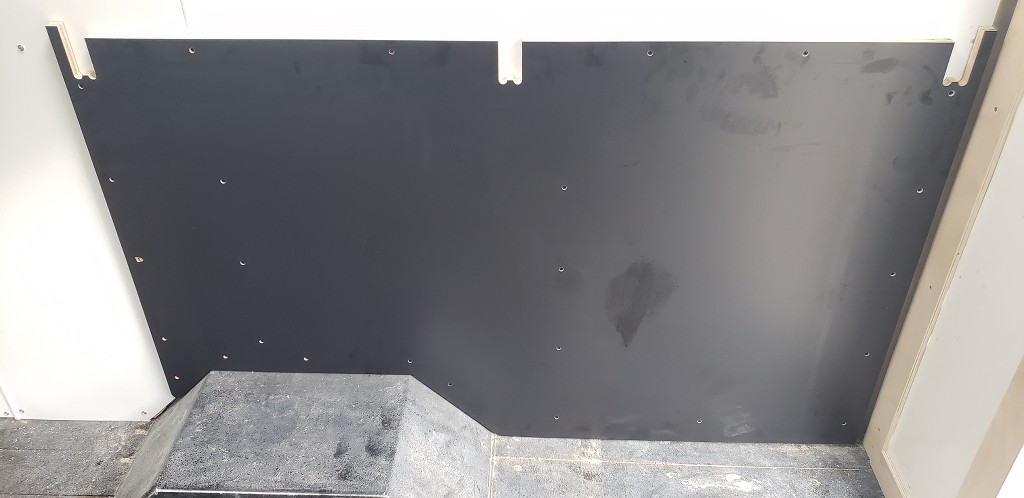
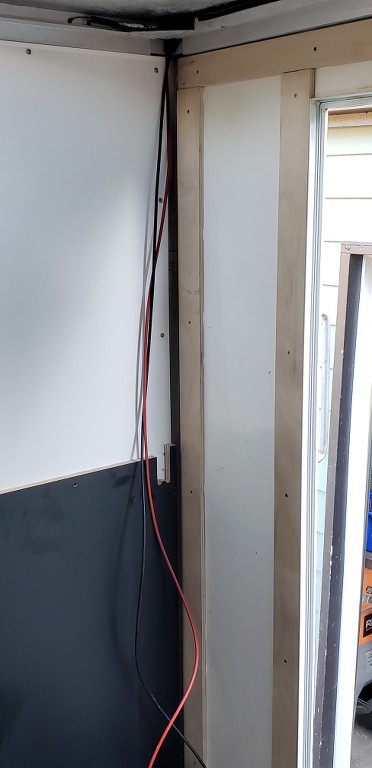
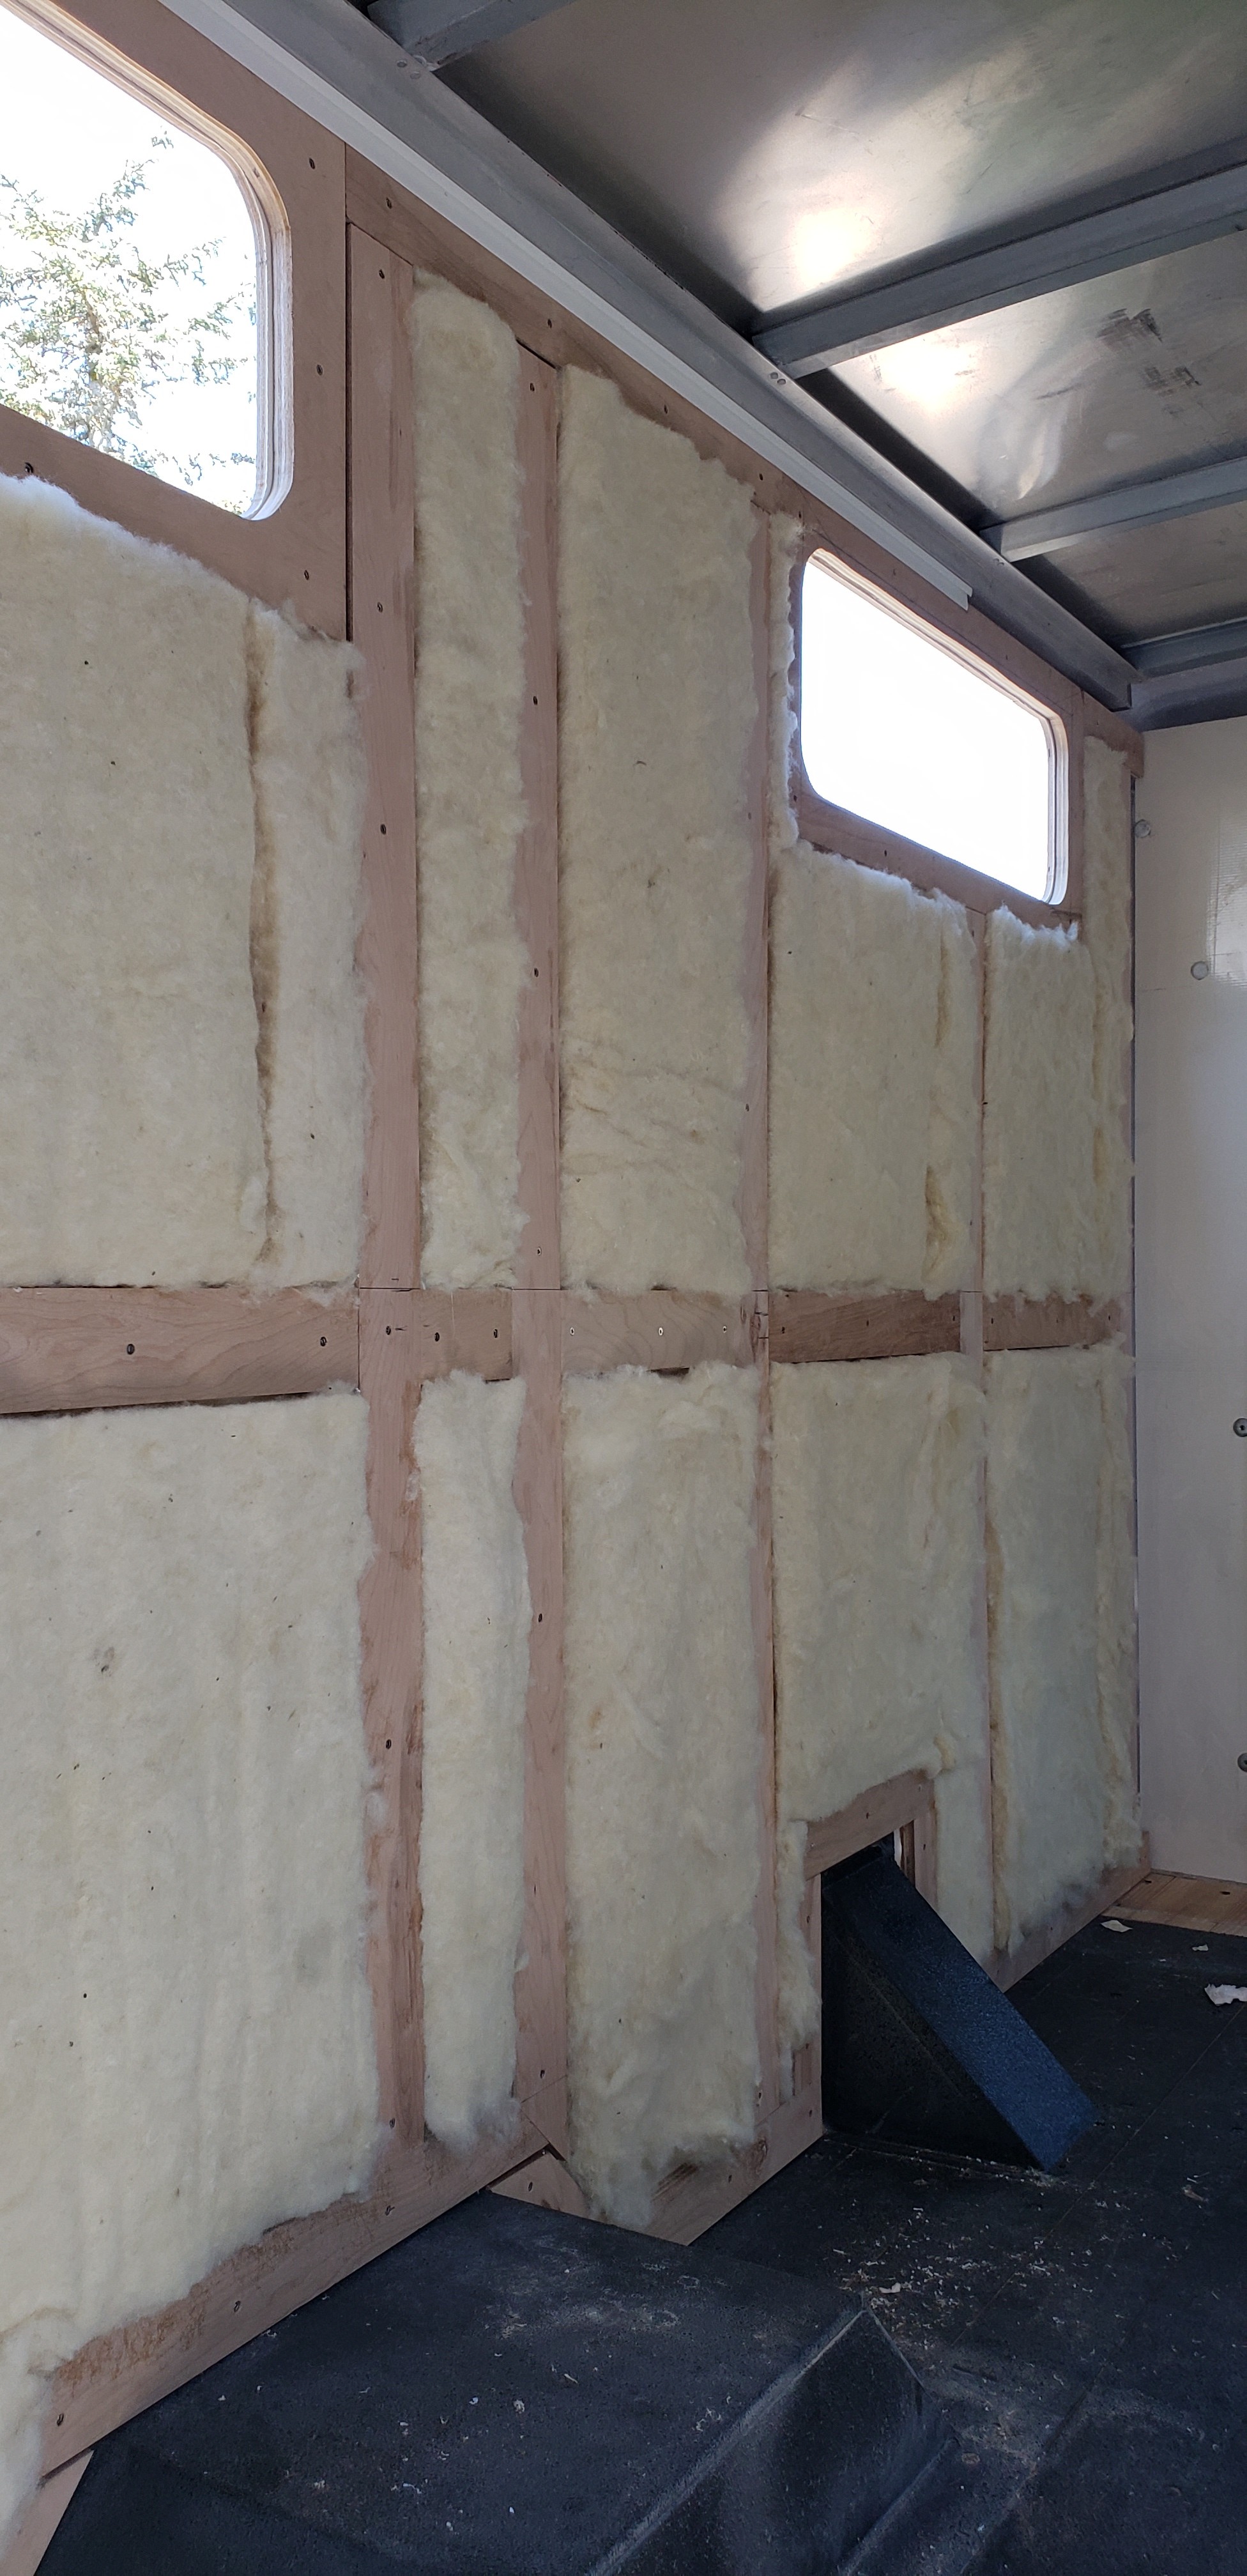
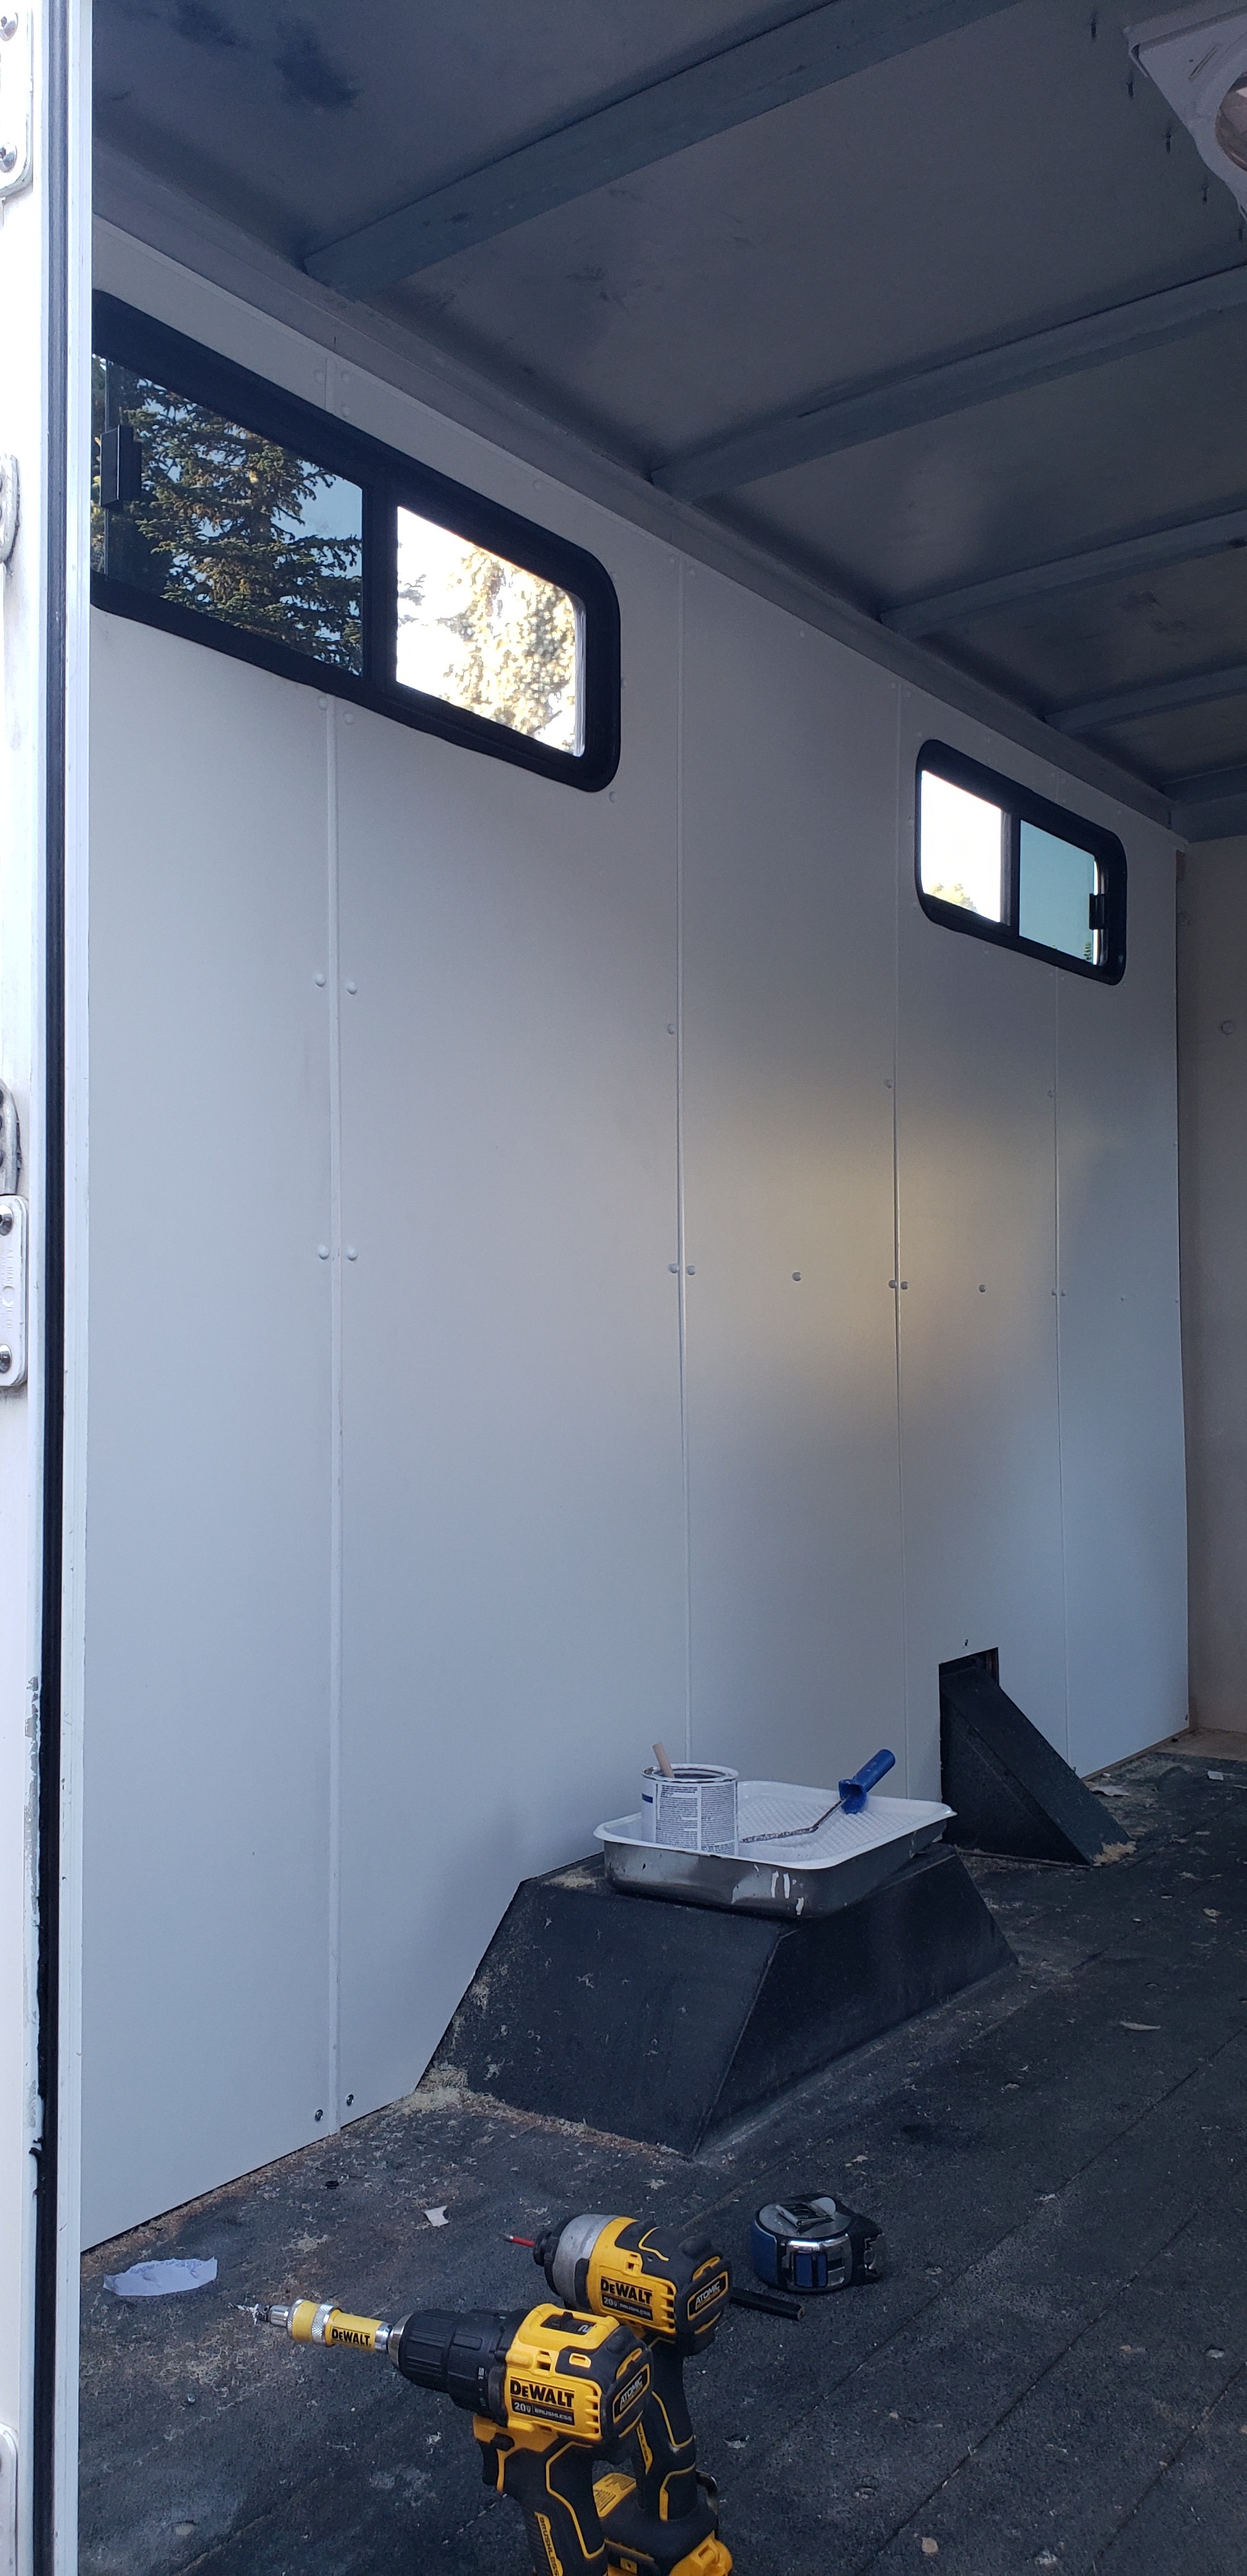
Both side walls are now insulated, and have paneling installed on them. I also trimmed the storage area above the cab, and mounted the switches for our fans.

I can't express enough with how happy I on about the Havelock Wool insulation. This stuff is very easy to work with, and leaves you itch free.
KnRJ9s.jpg

L9Dw00.jpg

I0fppE.jpg

8MRZHa.jpg

ZEZunx.jpg
 
Last edited:
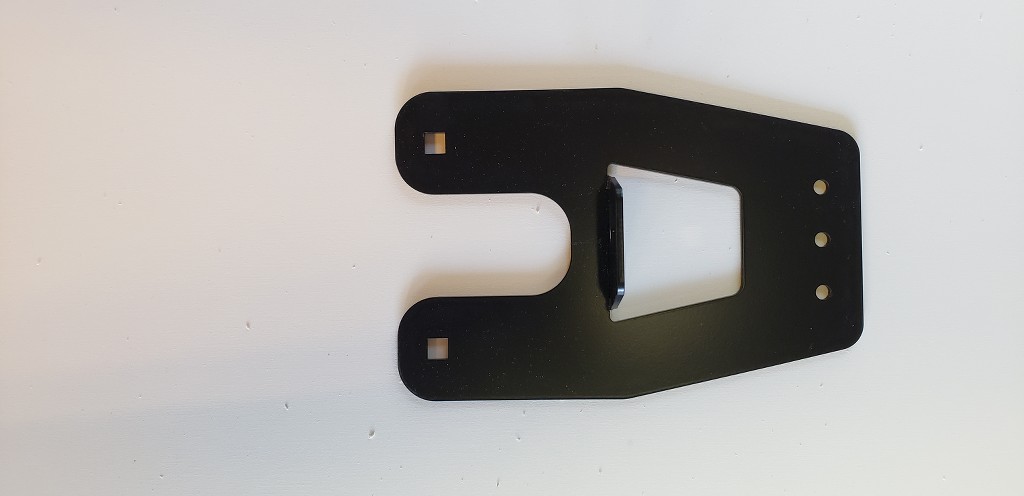
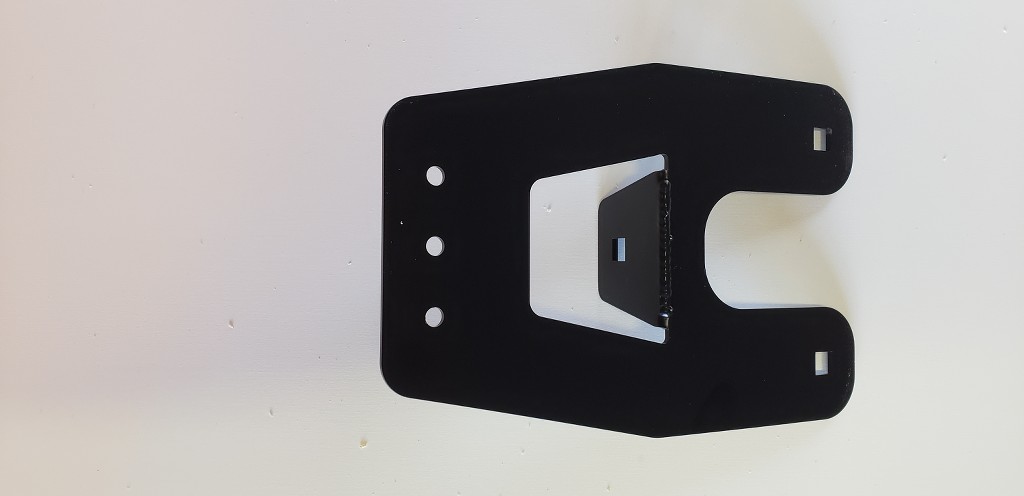
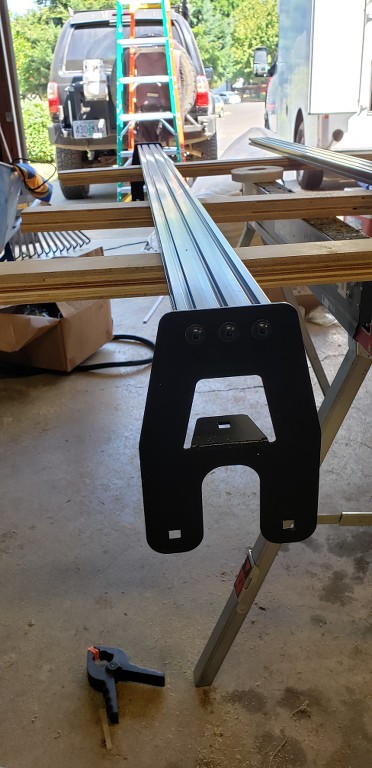
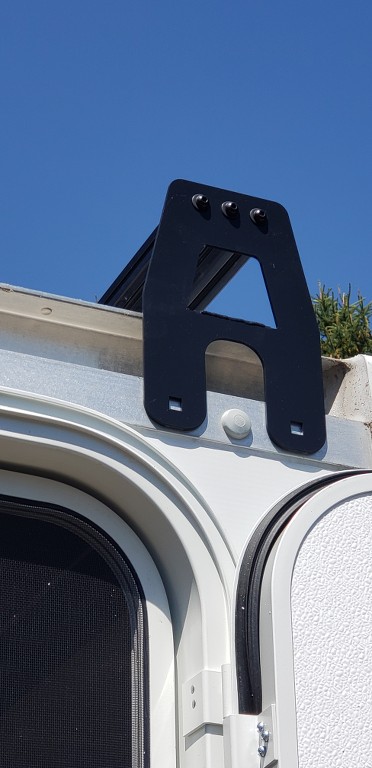
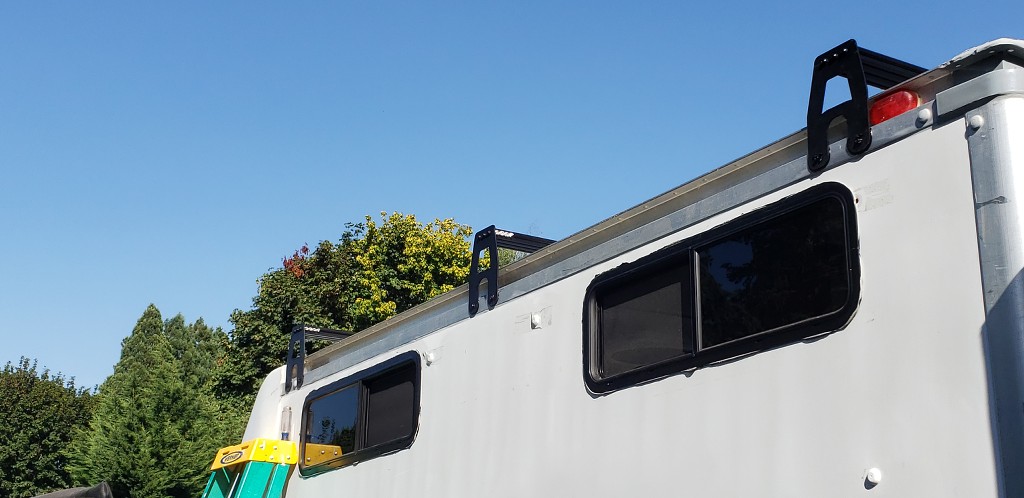
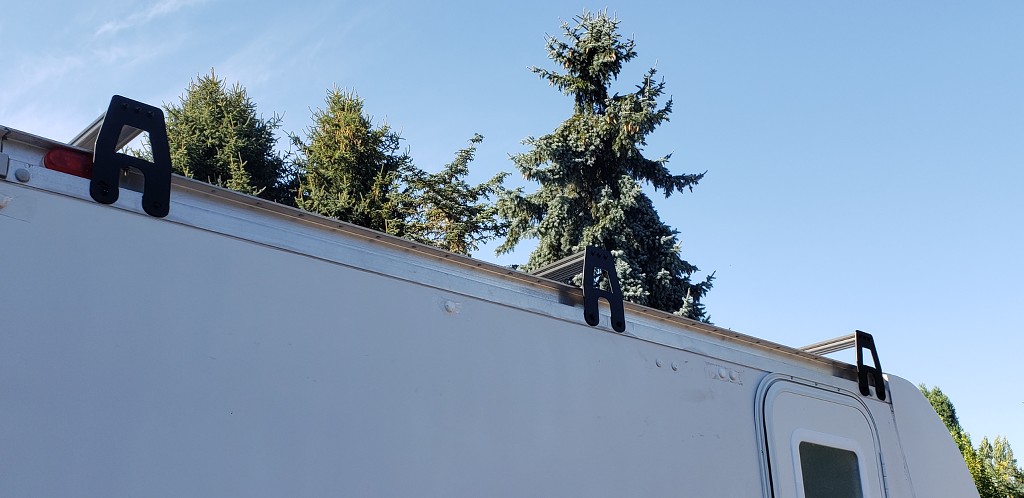
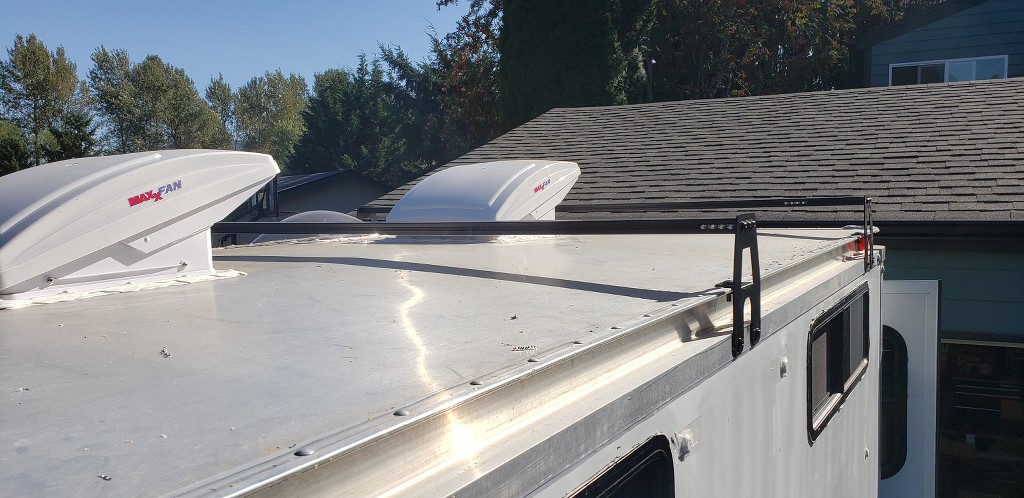
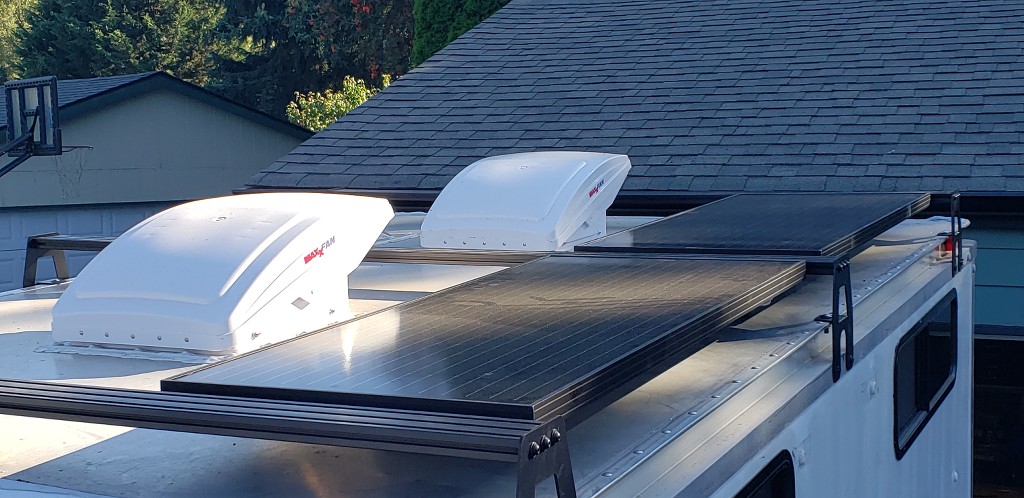
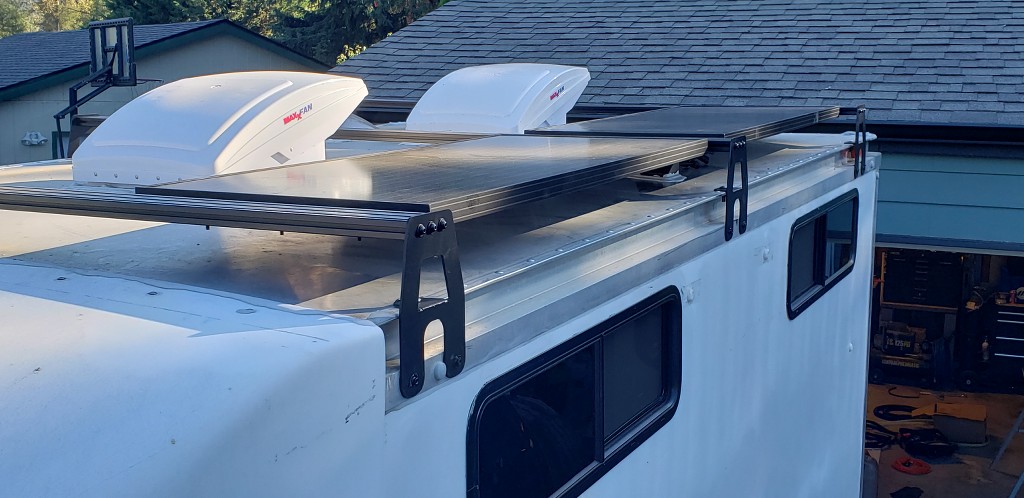
A couple weeks ago I spent some time measuring & designing a simple roof rack to hold the solar panels that we're going to install, and possibly a kayak or paddleboard. My design will have three attachment points, 2 on the side, and 1 on the top. Each mount bolts to 1" x 3" extruded aluminum, and we'll have 3 of these cross bars on the roof. I still need to temporarily place these on the roof so I can get some measurements for the solar panel support brackets. I need to design some brackets that'll allow us to mount the solar panel flush with the top of the cross bar or slightly under. Just in case we need to haul an extra kayak we'll be able to without causing damage to the panels.

RMWbCz.png

B8iaoR.jpg

3V2B7I.jpg

vL5gff.jpg

ZQLlAl.jpg
 
Last edited:
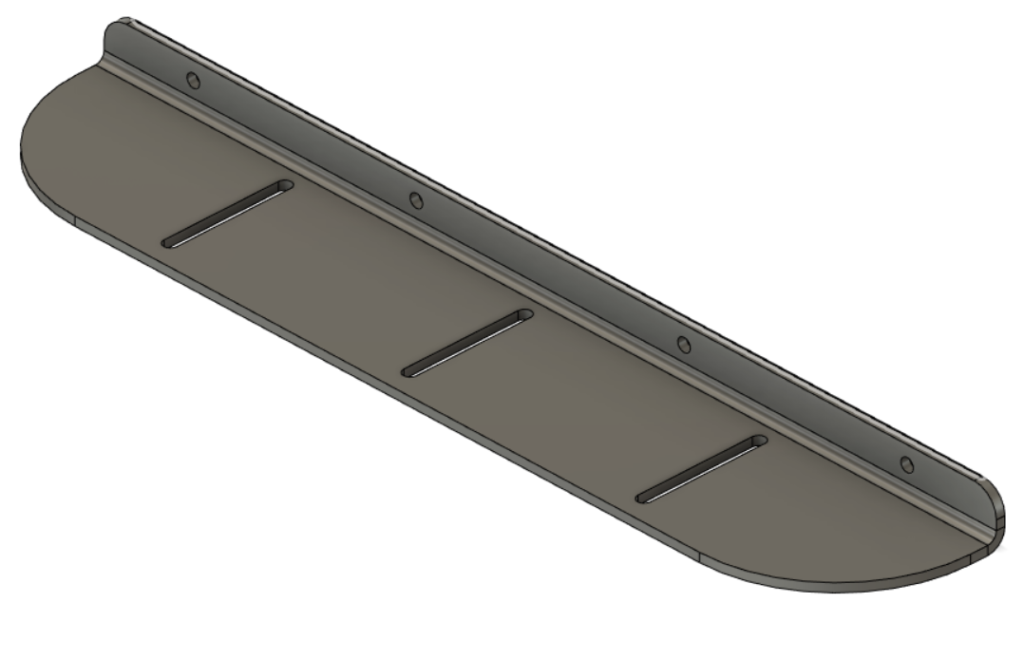
Cross bars are installed, and allow for 48" of clearance between the rails. Based on my measurements I needed 47" for clearance on the panels, and that includes the hardware for mounting the brackets. I also whipped up a solar panel mount that'll allow the panel to slide a little to make it easier to get them centered in between the cross bars.

Uak13w.jpg

l9efvp.jpg

qrCTxx.jpg

D8ryTj.png
 
When we first picked up the van I had an idea of how the bed was going to be, and that idea hasn't changed. A little over a month ago I design a raised bed with based off of the minimal amount of dimensions that I had. Last week I was able to find tune that drawing since I now had furring strips in place.

The side walls for the bed are 36" high, and have a total width of 57". This is a couple inches wider than a full size, and the platform will also have about 2" in bed length to spare when it's finished.

AxICZc.png

7rvcRQ.jpg

W6RcSA.jpg

3d5FoE.jpg
 
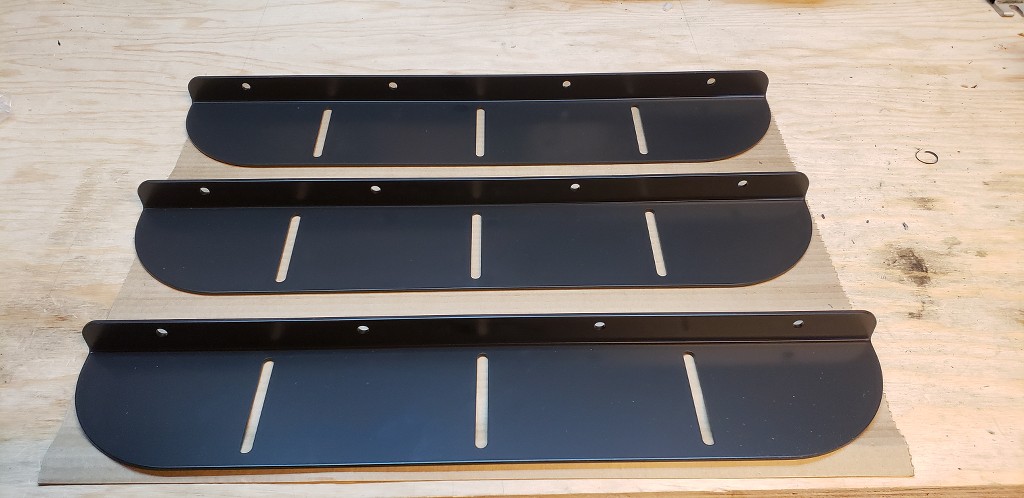
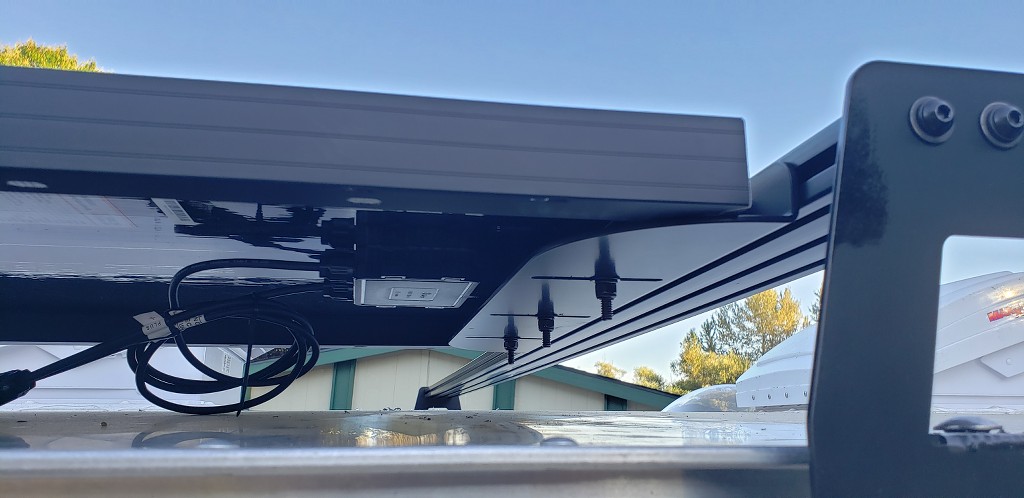
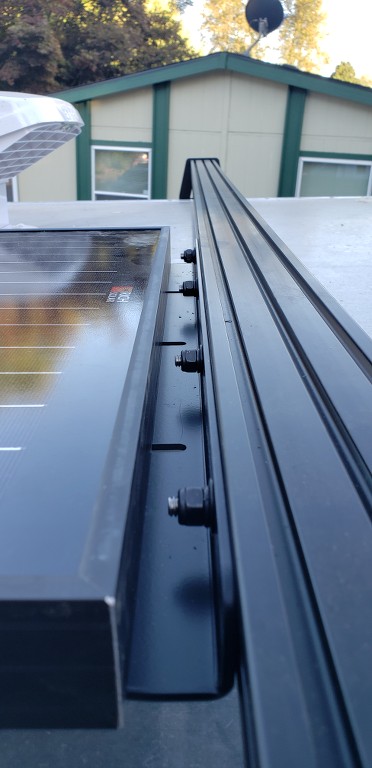
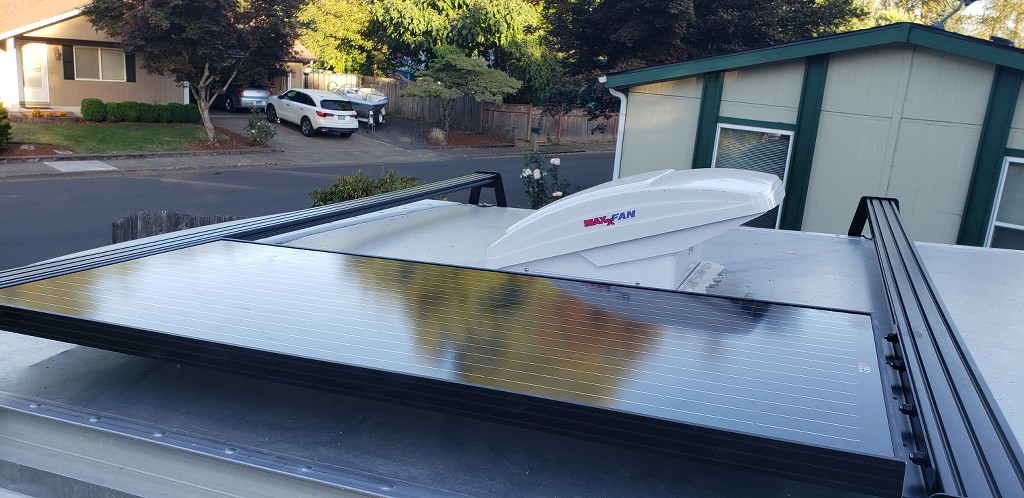
Today I had the solar panel mounts cut, bent, and powder coated. I had about 20 minutes of free time, and was able to get one panel mounted. I like the way the panels fit, and how they can slide to allow for easier bolting. But, the bottom bolt did suck when it came to tightening them up. I think on the next panel I might use carriage bolts to help ease things along.

BaxHzF.jpg

iULffg.jpg

ecmIOT.jpg

J2XsZC.jpg
 
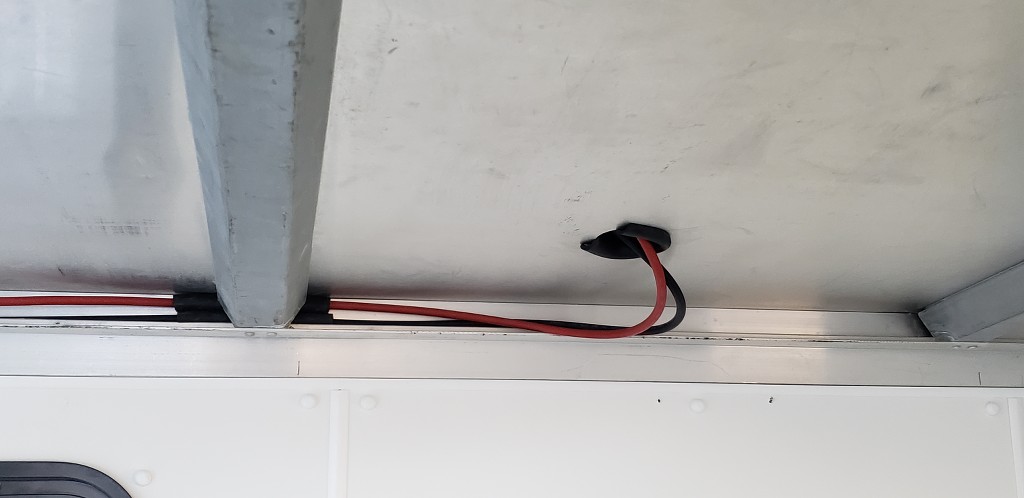
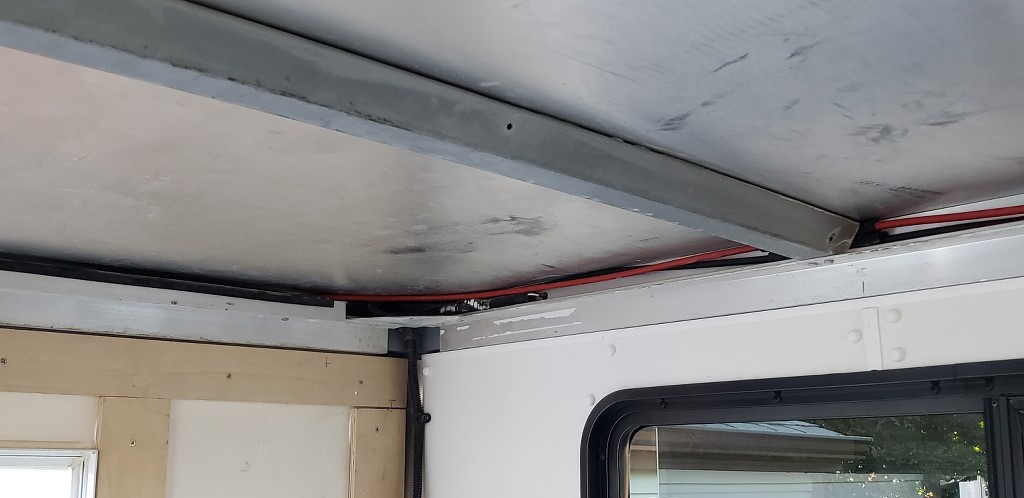
Small progress, but still some progress. I was able to get to the entry housing installed, panel wires run, and the last solar panel mounted. I was also able to caulk the side door, but I doubt anyone wants to see that.

TRQIx9.jpg

8bvG00.jpg

8XrQKG.jpg

umuYPG.jpg

HNx8oD.jpg
 
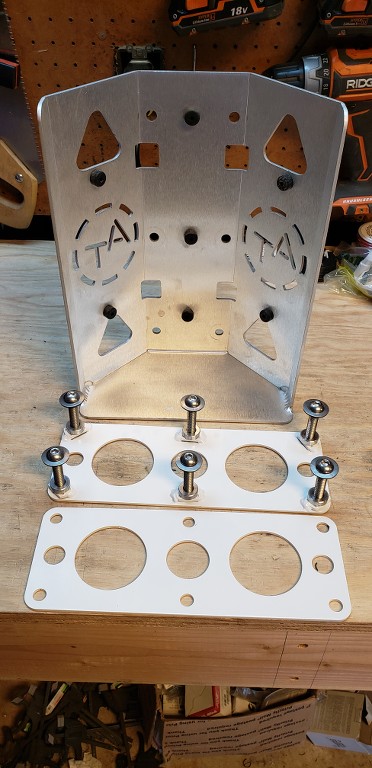
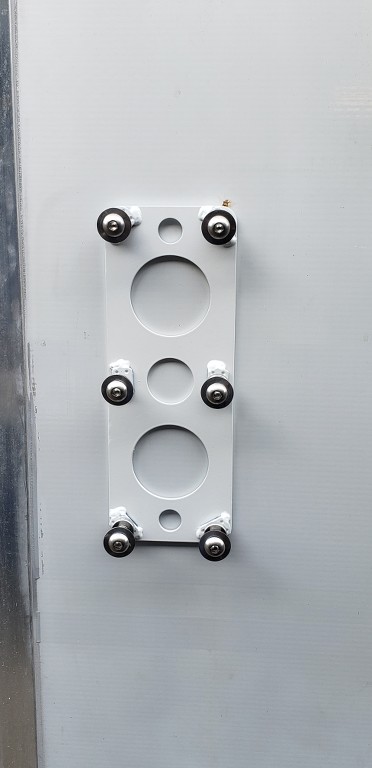
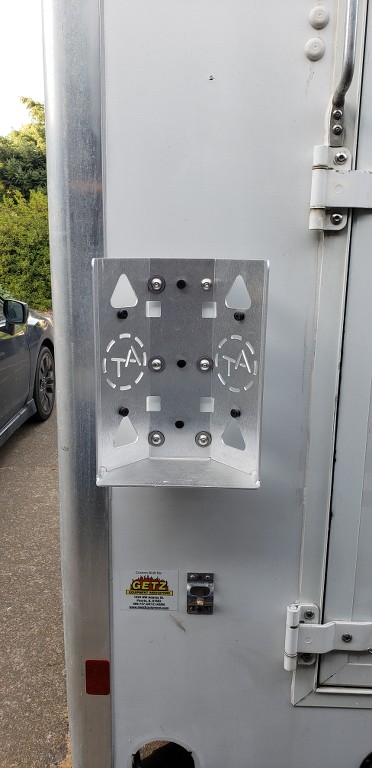
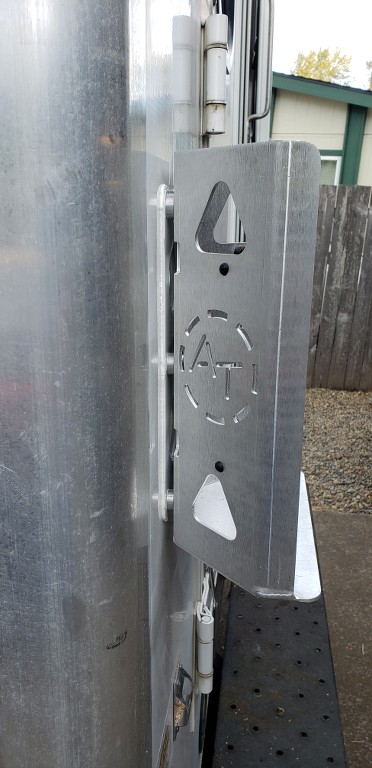
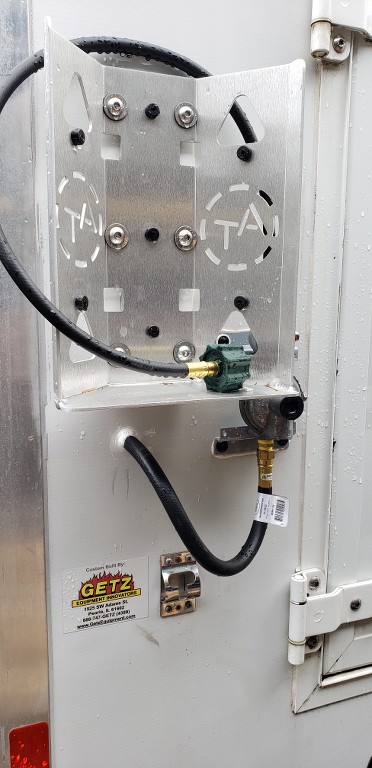
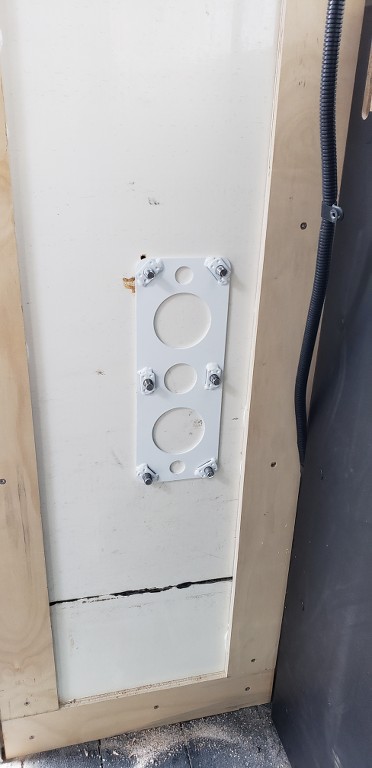
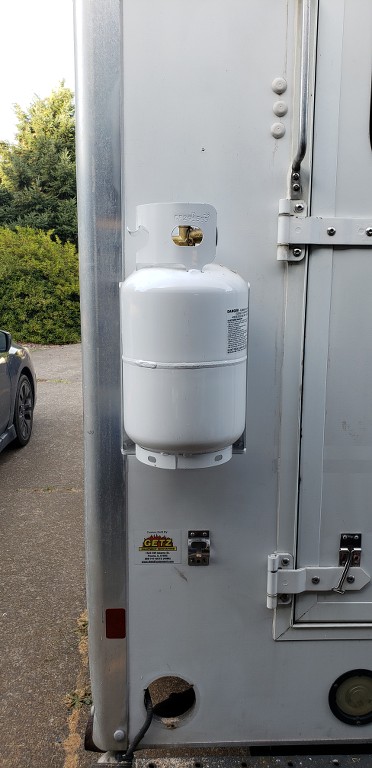
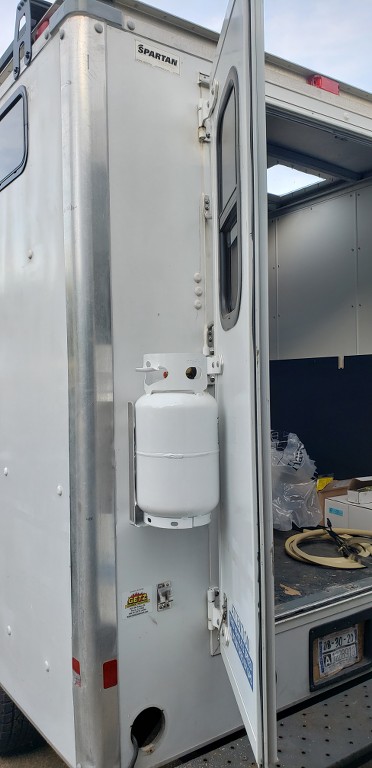
I still have a couple things to tie up on the exterior of the van before I can completely close up the inside. That would include mounting the propane tank, and building/mounting the ladder. Tonight I finished up one of those, and that's mounting the propane tank. I had a couple brackets laser cut, and used some 1/4" aluminum spacer between the bracket and the mount. There's also an additional bracket on the inside of the van with weld nuts on it to allow me to sandwich the body between the two brackets. I used stainless BHCS with stainless sealed bonding washers, and a little 3M adhesive to help seal everything up. Oh, I had them powder coated white as well.

dCwmZ0.jpg

HxoyMi.jpg

FYdLTT.jpg

dTPeyM.jpg

06pqNX.jpg

wRQfZ3.jpg

hvIzzL.jpg

rI5LWZ.jpg
 
Last edited:
With all the fires in our area it's been a while since I've been able to work outside on h van. I caught a break in the smoke the last couple of days since we had some rain move into the area.

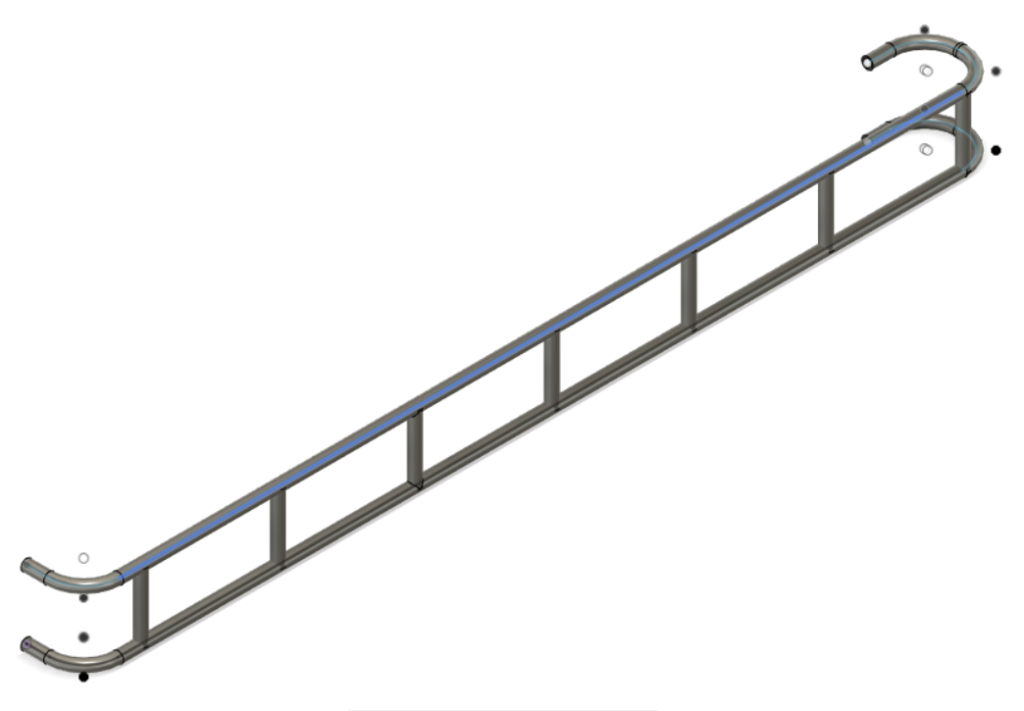
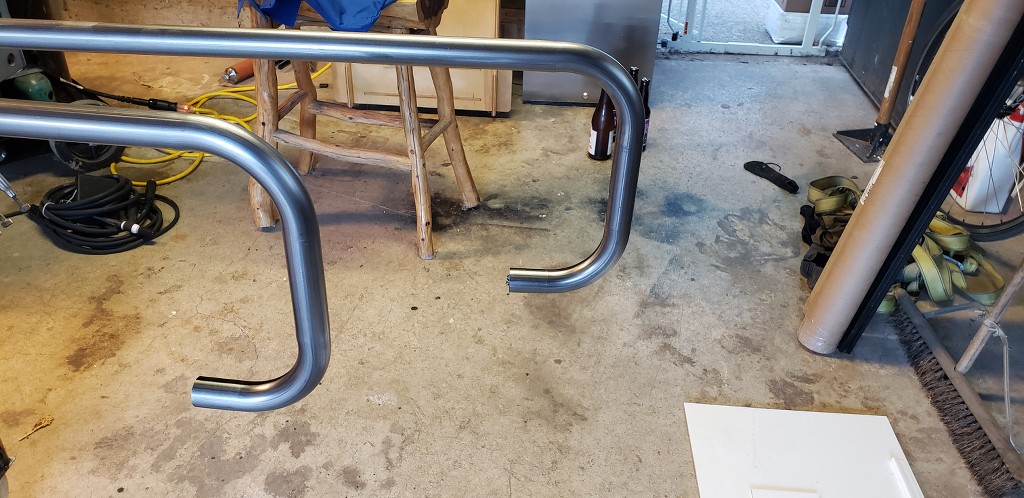
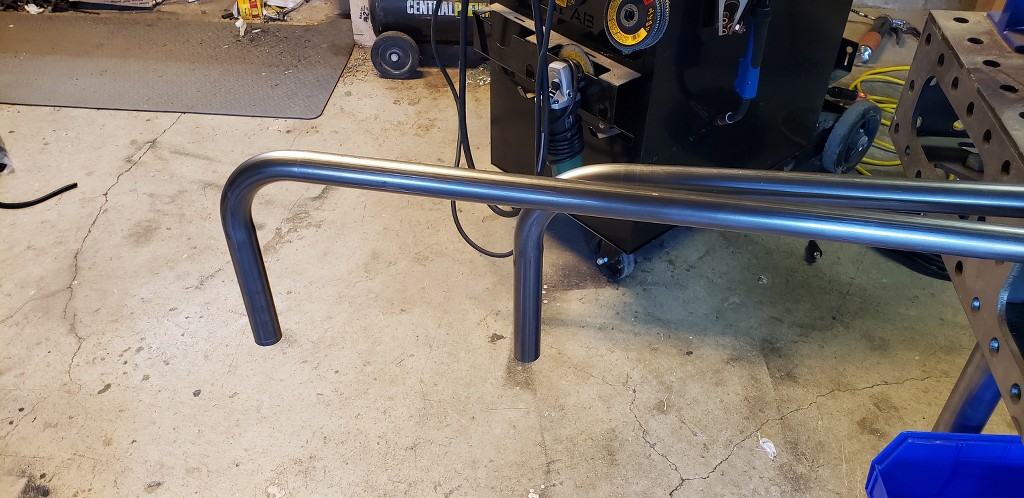
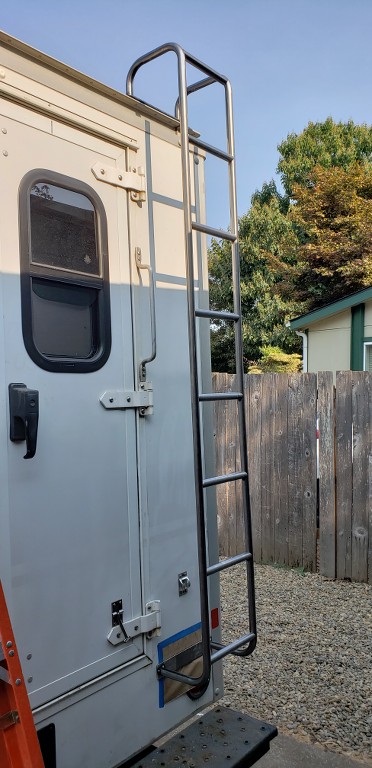
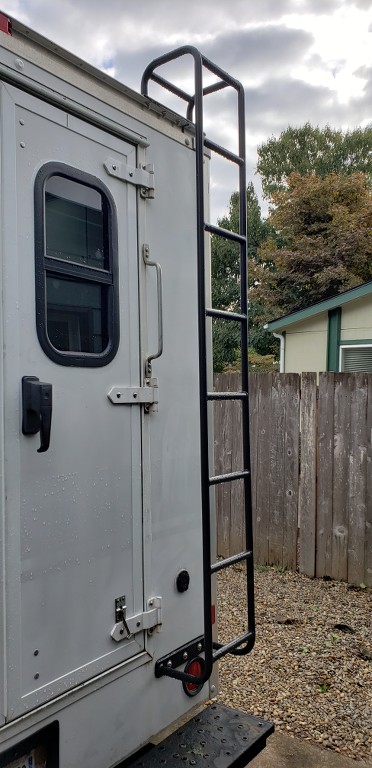
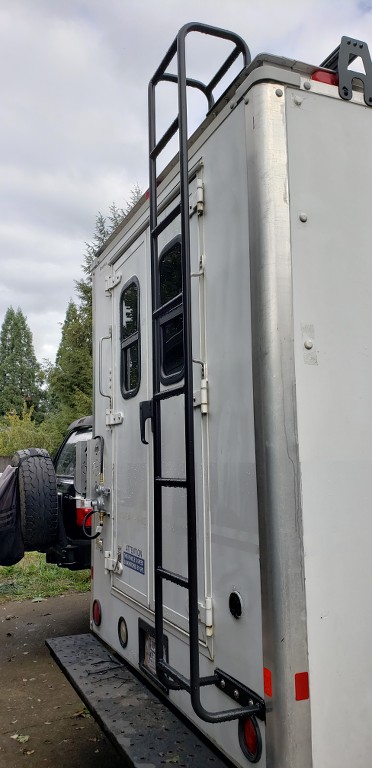
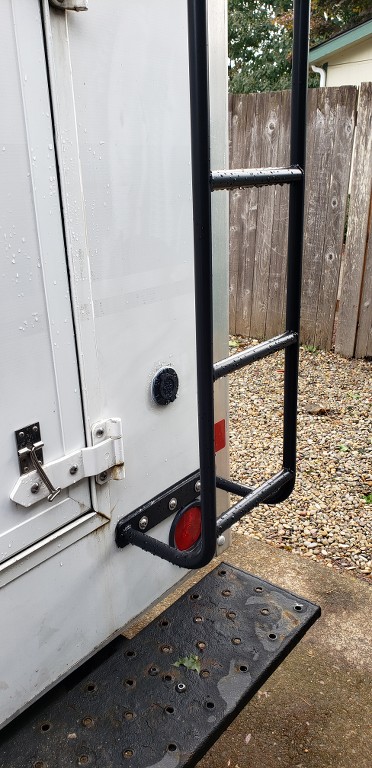
I started working on a ladder a couple of weeks ago and was finally able to put it on the van yesterday. The ladder is made from 1" x .065 HREW tubing with rungs every 10", and was powder coat matte black to match everything else.

OVTQWE.png

nmAhsi.jpg

cZHuG1.jpg

CsQttk.jpg
 
Last edited:
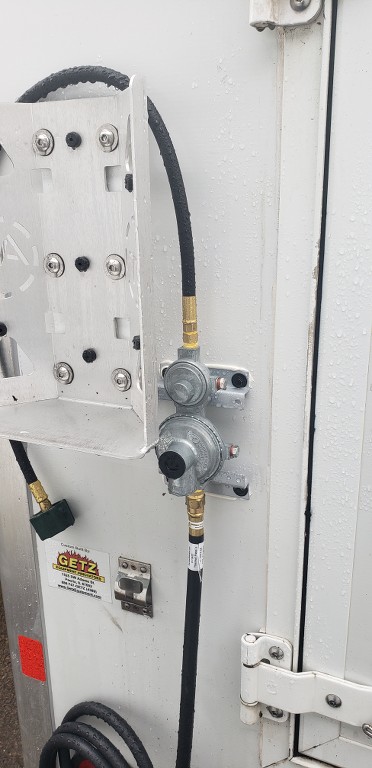
Well, the smoke has finally cleared, and I've started working on the van again. The ladder is finished, installed, and sealed up. I also ran the propane hose into the van, connected the lines to the regulator, and sealed it up. Since the electrical/solar project will be coming up very soon I decided to add my shore power connection before the inside moved any further. I just used a NOCO plug, and placed it behind the ladder. The windows have also been sealed, and so far we have no leaks.

SkzK0A.jpg

ieh19P.jpg

c3hze9.jpg

MEa3GN.jpg
 
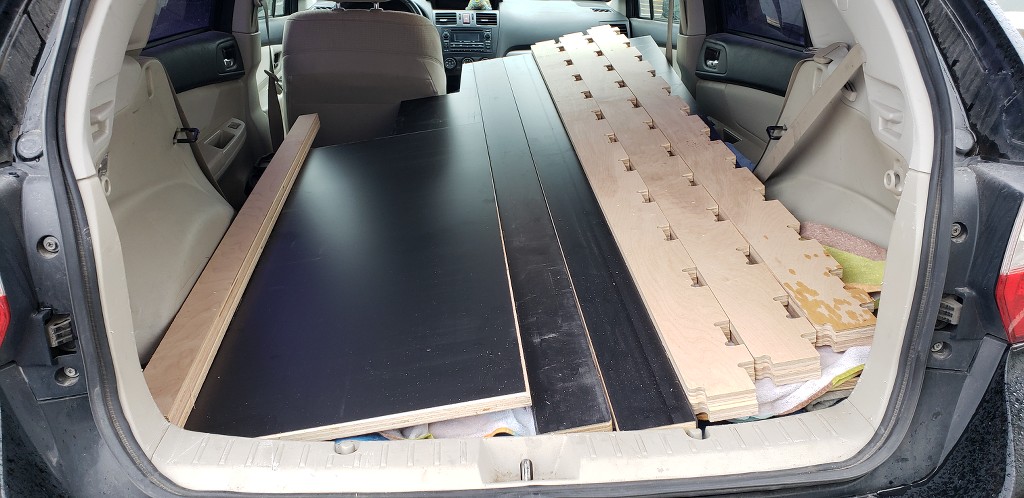
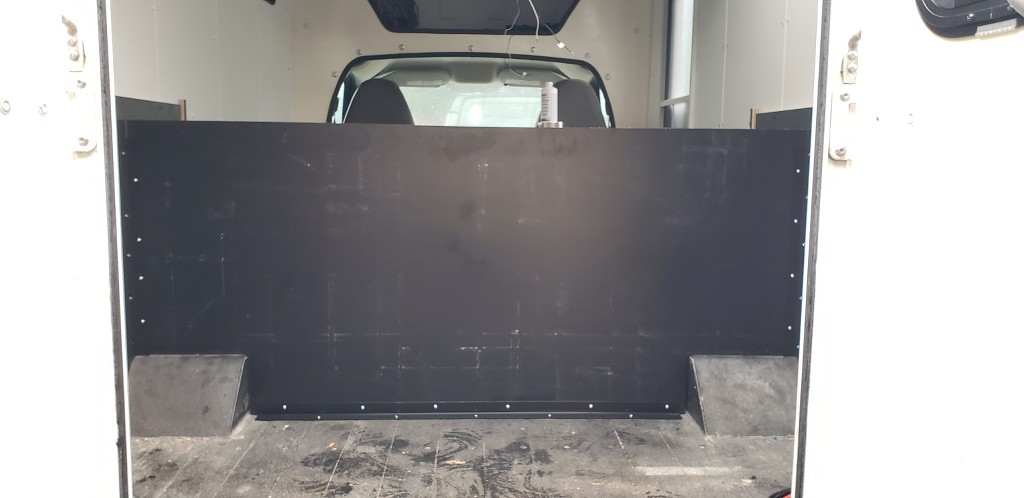
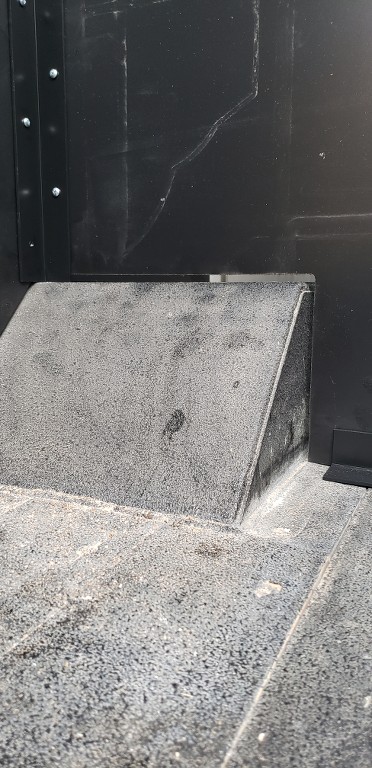
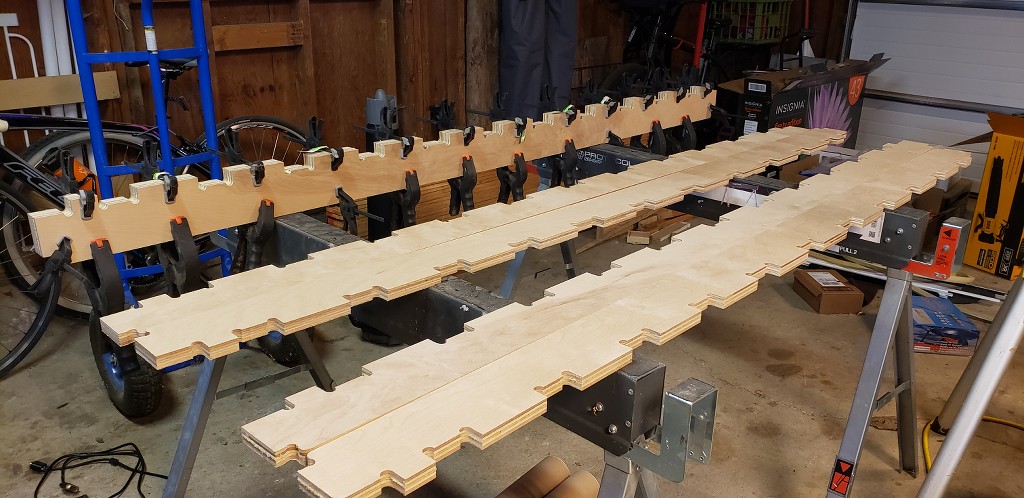
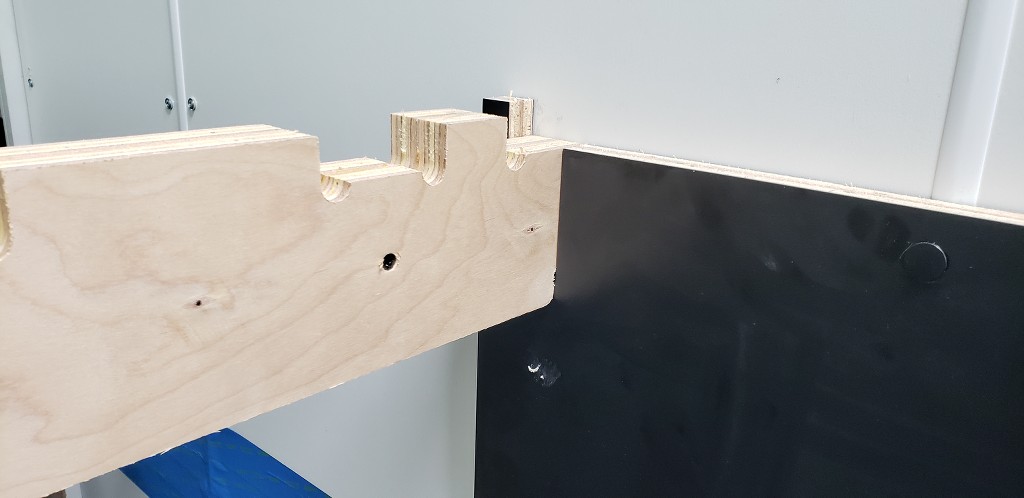
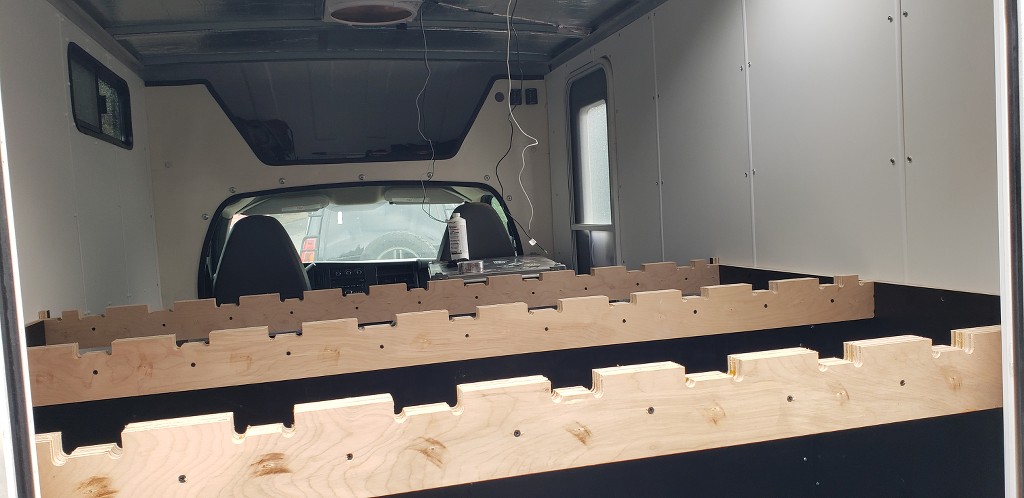
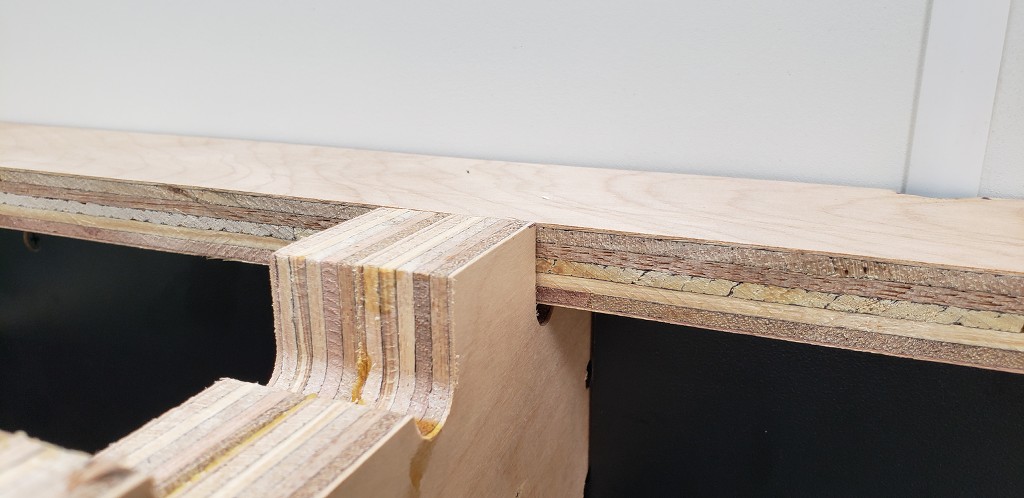
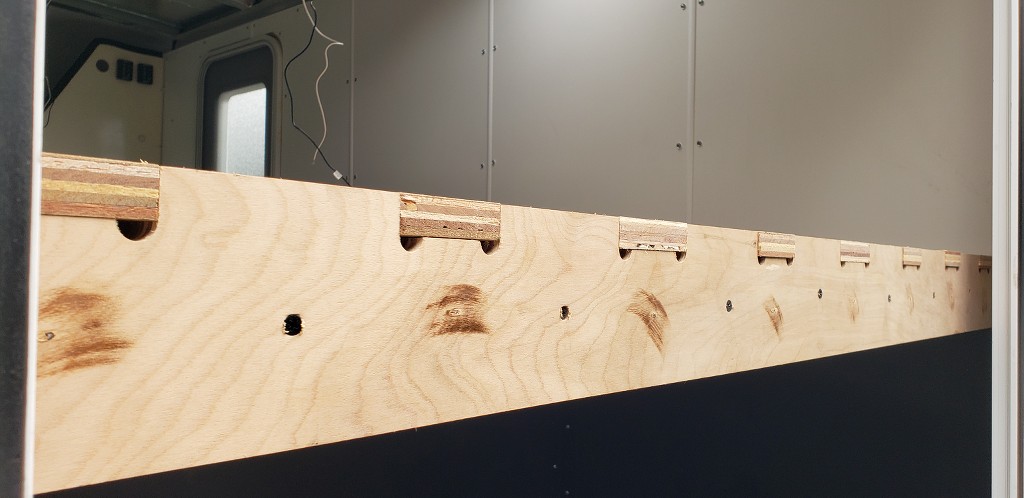
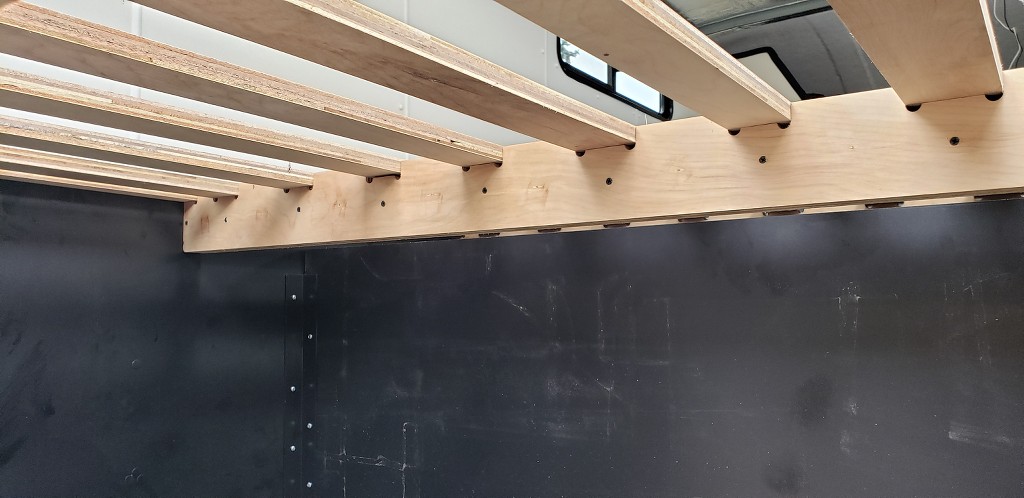
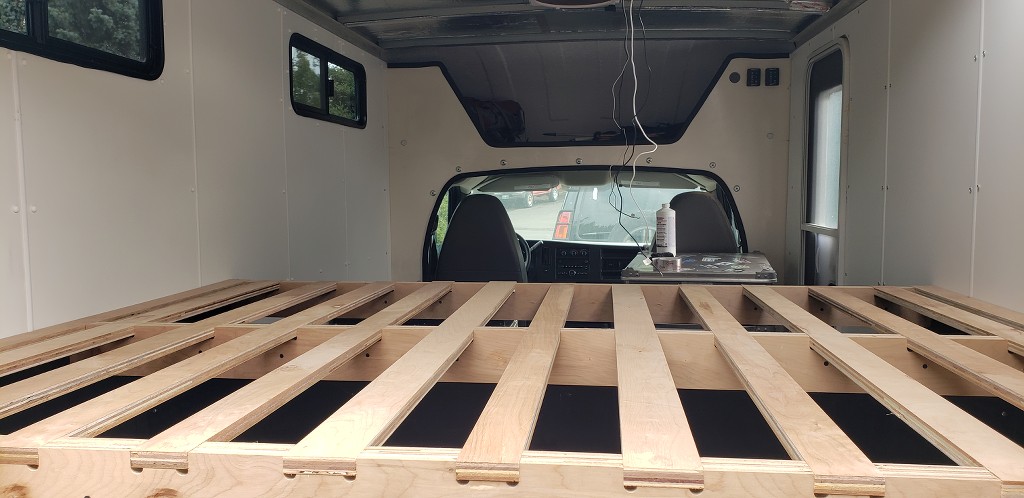
Yesterday I was able to get the remaining pieces for the bed platform laminated, routered, and brought home. This included a divider wall to section off the front living area from the rear storage area. The divider is 19mm ply with black laminate on both faces. I also had some 7 ga steel bent and powder-coated matte black to help secure the divider panel in place. The beams for the bed are also 19mm raw ply that are doubled up for additional strength. Lastly, the cross slats are 19mm raw ply that are 2-1/2" wide, and two of them being 3". The reason for those sizes is simple, I had them leftover from the walls and needed to use some material that I've been collecting.

YgI7gv.jpg

AVckfP.jpg

j1XSGI.jpg

ViUqrN.jpg

Qt351a.jpg

3yeKf4.jpg

Lvoc25.jpg

tgfSdi.jpg

siZHk7.jpg

1ZMSjJ.jpg

qy8bZy.jpg
 
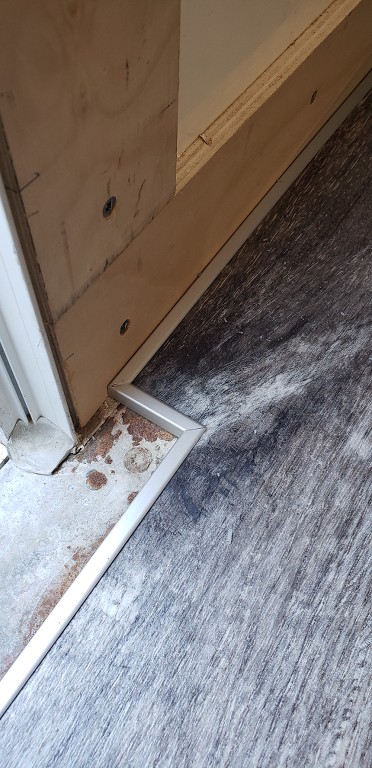
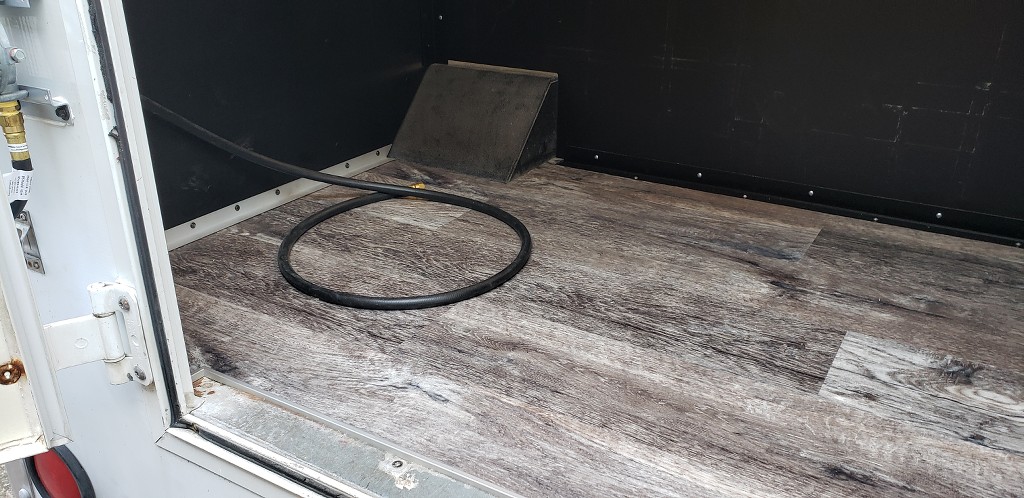
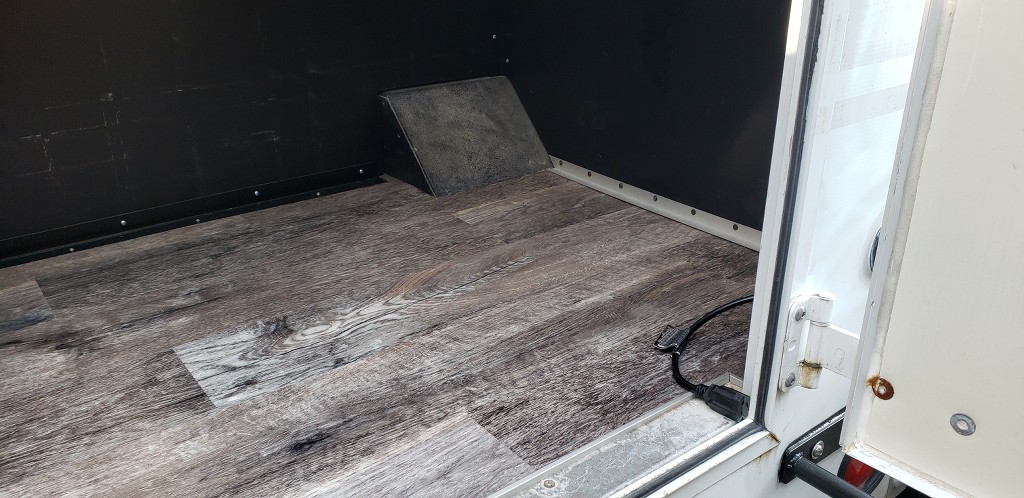
Over the weekend I was able to install the lvp flooring in the cargo area, and add a little aluminum j-trim & angle to help finish it off a little. The j-trim really added a clean look around the door opening, and the angle helped to close in the side some.

Fyj85f.jpg

8oWISy.jpg

gi7iqd.jpg


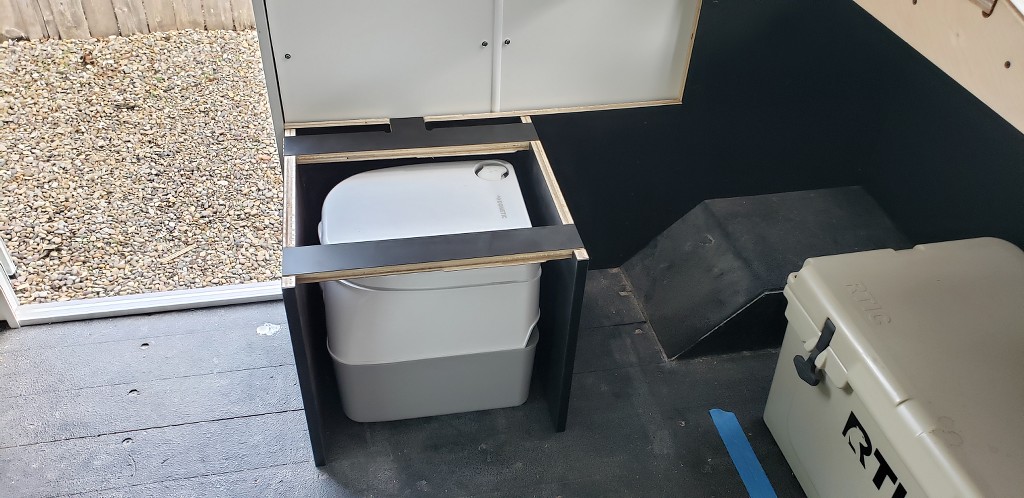
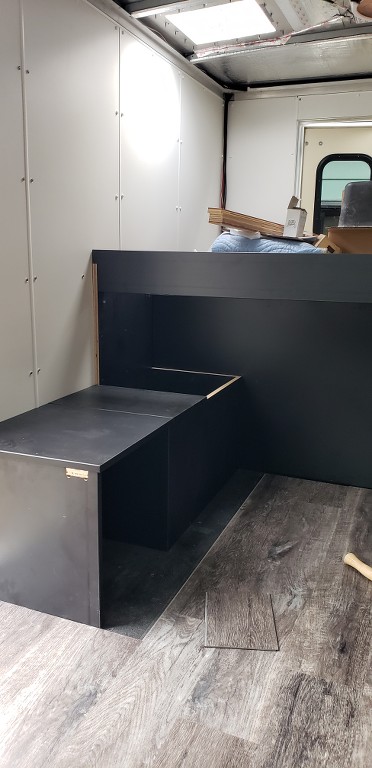
In addition to that I started to assemble a small storage area that'll be installed between the bed, and the door. This will house our Dometic toilet, and allow for a little bit of additional storage.

lX6t9r.jpg

O300QM.jpg


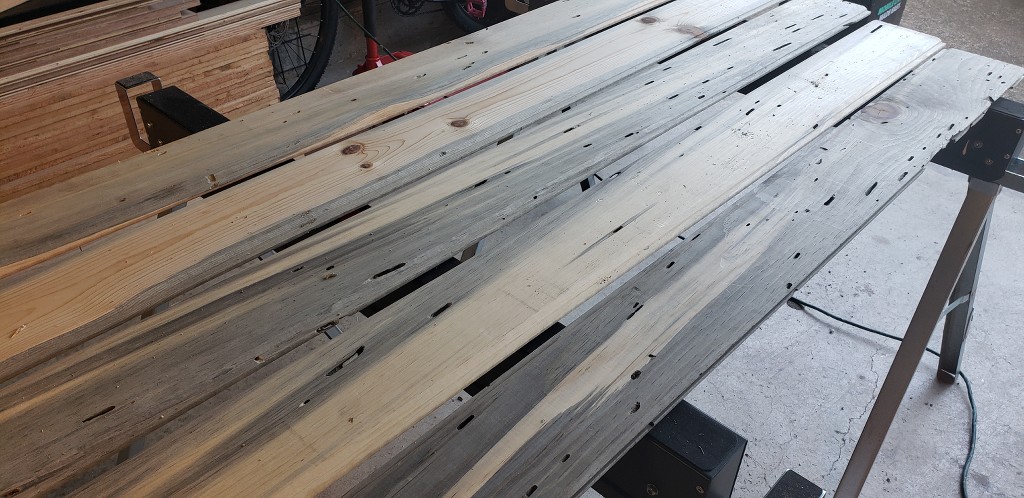
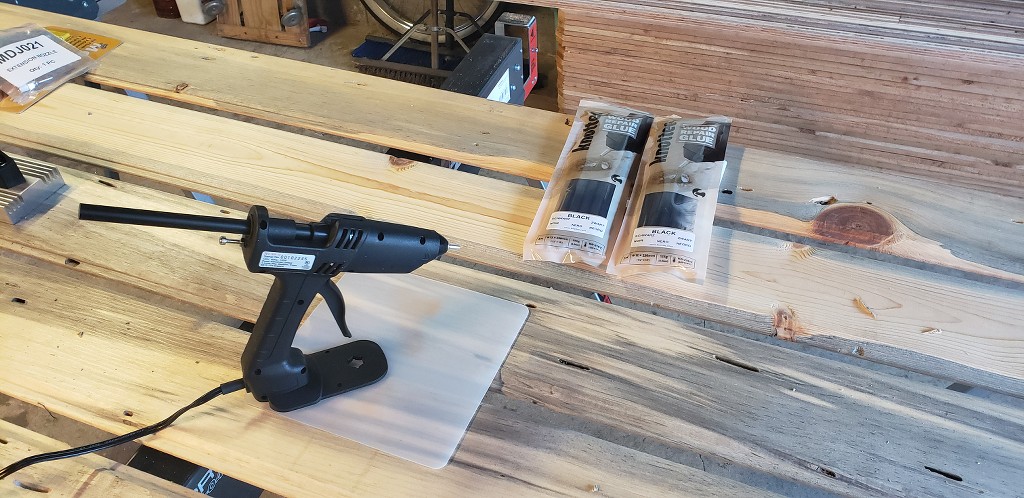
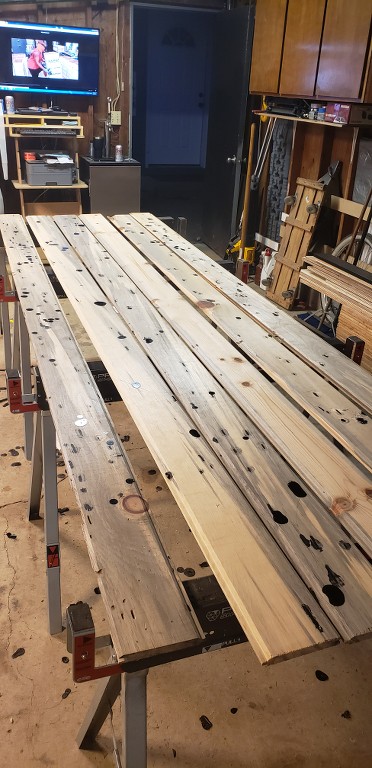
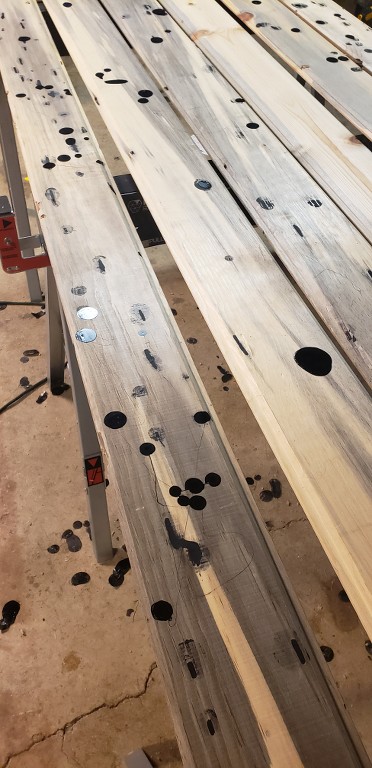
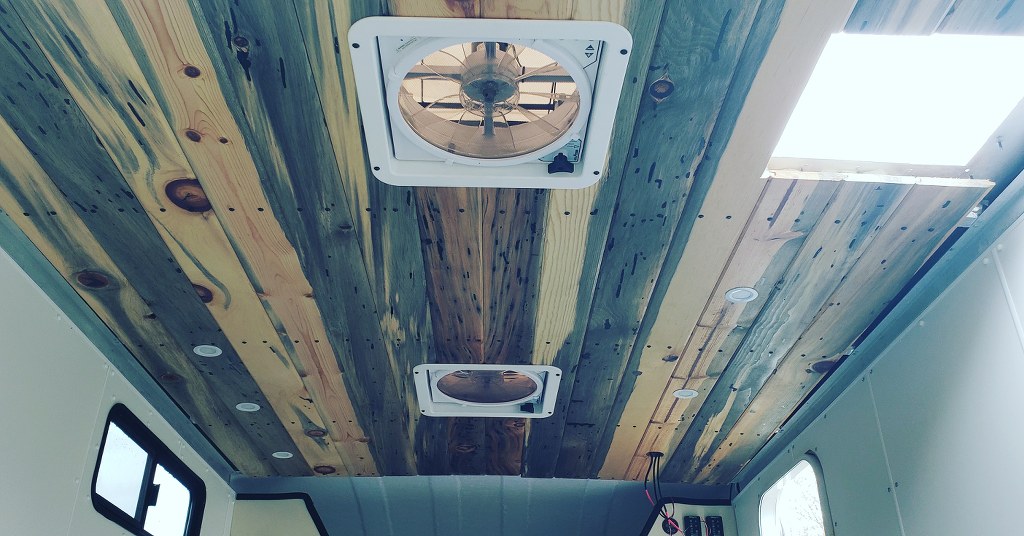
Lastly, I started prepping the wood for the ceiling. I went with blue pine or beetle kill pine. I love the way this wood looks, but it's going to take quite a bit of prep work before I can hang the pieces. The material is 5/8", 5-1/2" in width, and tongue & groove. I'm currently in the process of cleaning out all the beetle channels, and filling those with black hot melt wood filler. Once the filling is complete I'll have to finish sand everything before sealing the wood. I'll be using a shellac on the side facing the metal roof, and a poly on the visible face. Installation will consist of rivet nuts in the rood ribs, and stainless black oxide FHCS recessed into the wood.

MsEESl.jpg

hHJEnV.jpg

lmS7q5.jpg

fRBakw.jpg
 
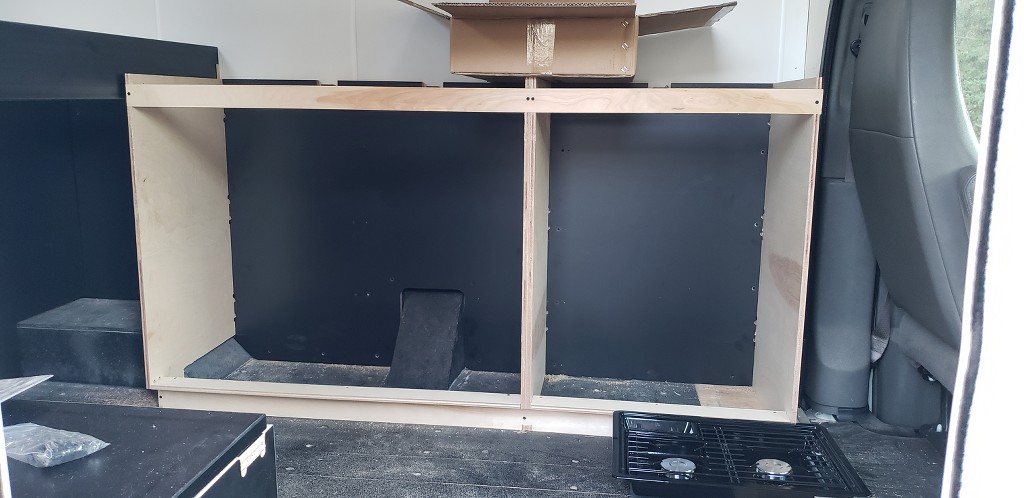
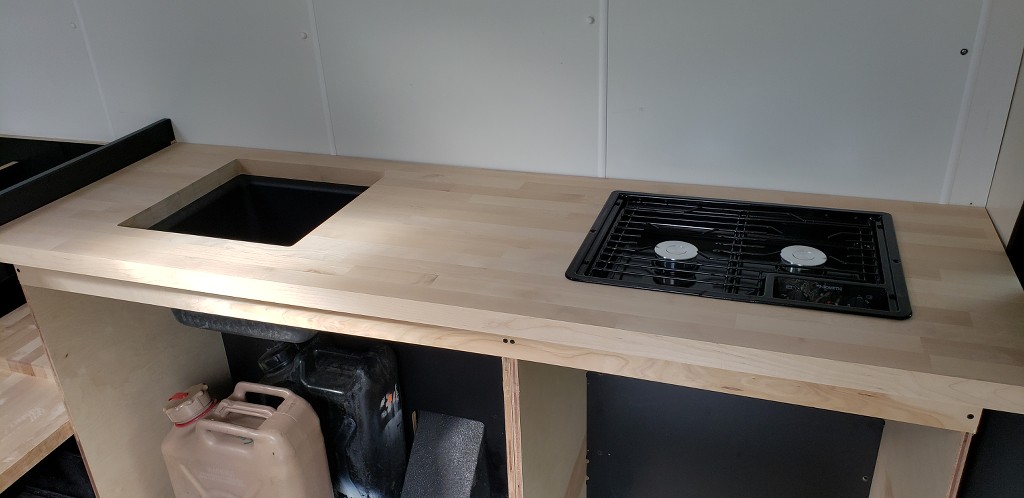
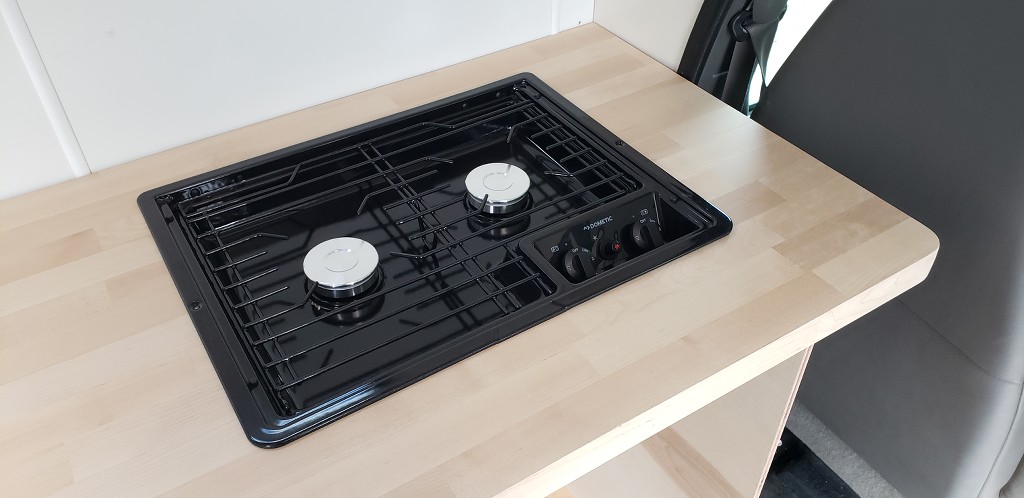
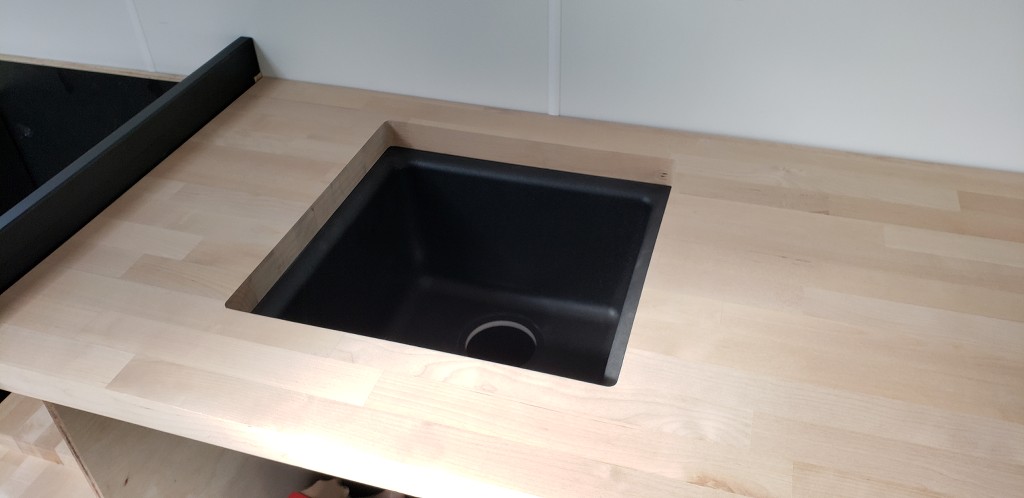
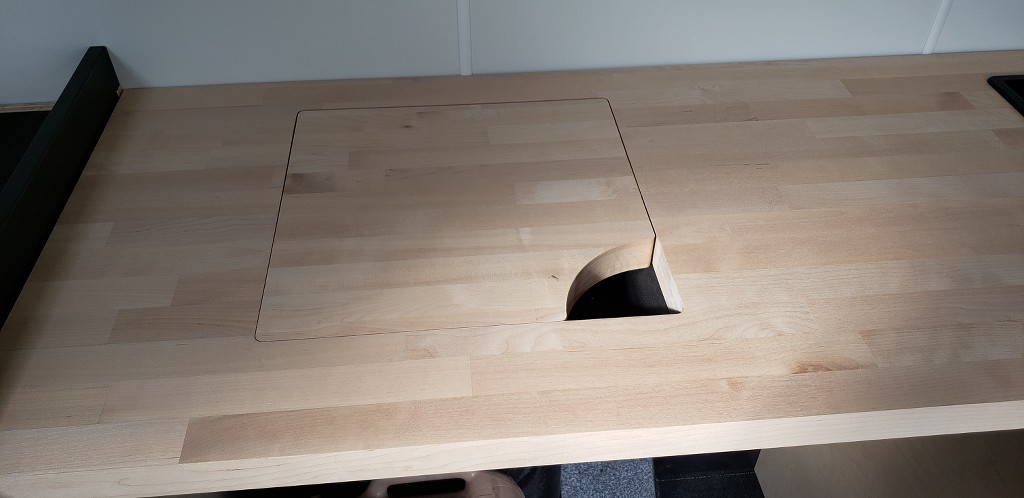
I designed the kitchen cabinet earlier this week in a bit of a rush, but it turned out pretty good. The main back panel is 18mm ply with black laminate on the front and phenolic backer on the back. The dividers and cross braces are all 12mm raw ply. The top if going to be butcher block with a bottom mount sink, and a 2-burner propane cooktop. The narrow side on the right will be full of drawers, and the left will have a couple of doors to access the plumbing.

ghzR4n.jpg
 
Well, looks like I've forgotten to post for a bit. I don't have anything complete that I've started on, but forward progress is still progress.

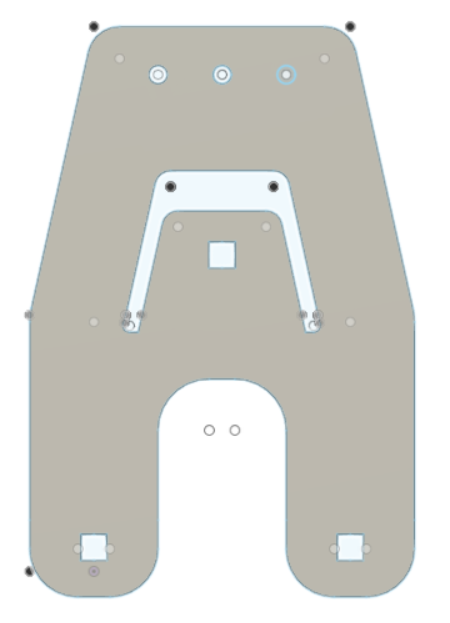
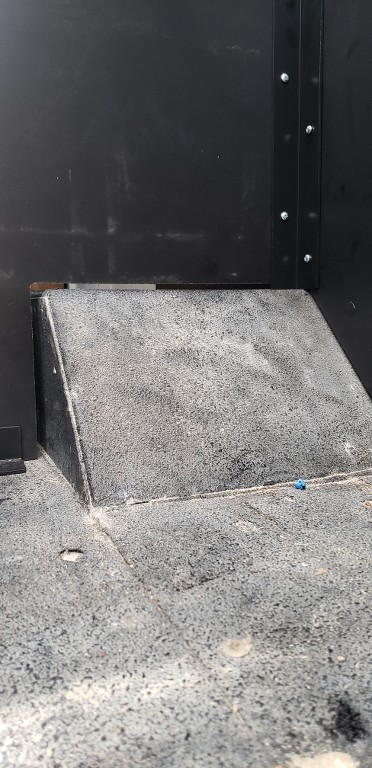
The toilet hider and side storage area are just about complete. I have the floor pan drawing for the toilet but need to have it cut, bent, and powder coated. Once I have that back I can get it mounted with some Accuride locking draw slides. Last thing will be making a door to the cover the front, and figure out some kind of a wheel system to support the front when it's supporting weight.

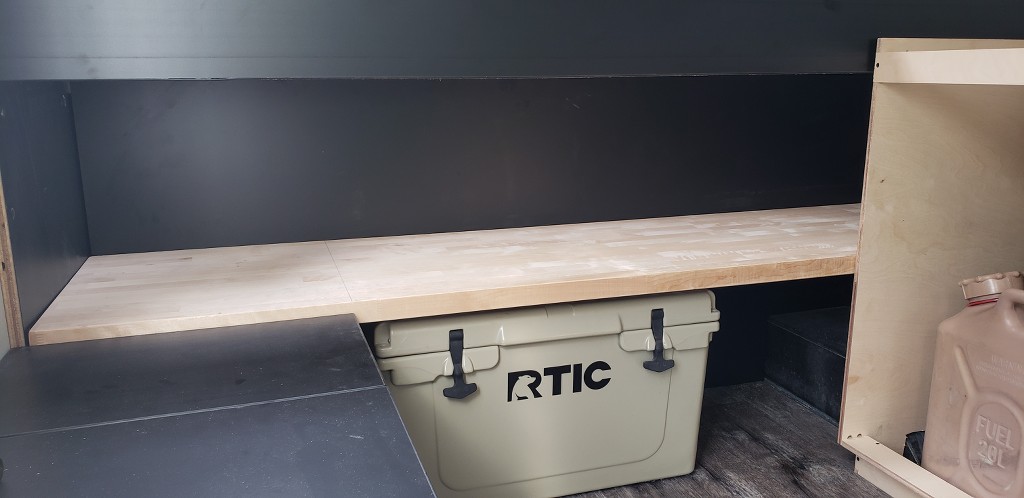
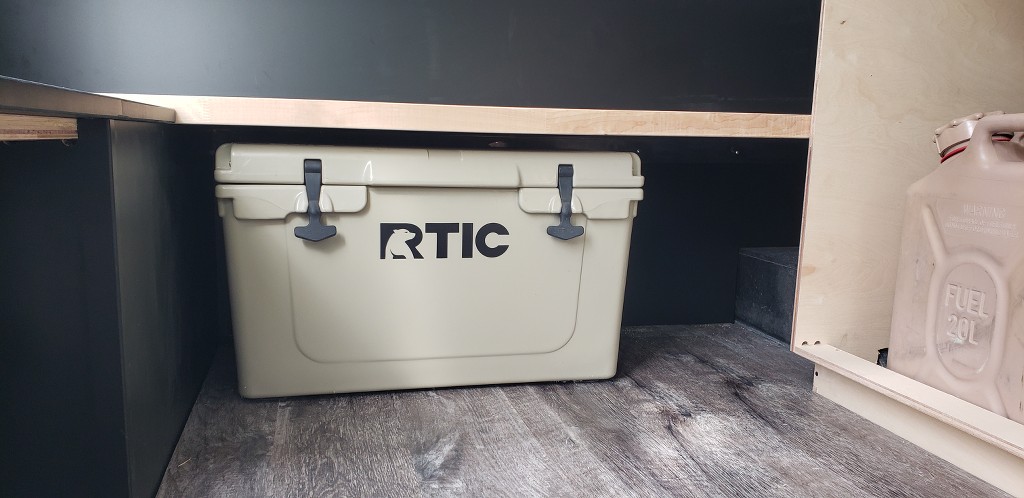
The cooler storage is in the same boat. I have the floor pan drawn but need to have it cut, bend, and powder coated so I can install it. I also need to find a solution for the doors on this, but that shouldn't be very difficult.

The shelf and counter only need to be sanded, and sealed. I ended up using butcher block for both, and pick them up at my local Home Depot. The shelf will end up with some kind of a small lip on it, and I'm also going to cut a thin piece to act as a back splash.

Flooring is also installed.

fOyQgC.jpg

EJrEIP.jpg

bAQGMZ.jpg

6XZSjZ.jpg

N7p4By.jpg

683kcR.jpg

3X5NkC.jpg
 
The ceiling is just about finished. I only need to install the two filler pieces on the sides, and replace the out of color pieces in the middle. Overall I'm very happy with how this turned out.

UxzC75.jpg
 

Members online

Forum statistics

Threads
278,316
Messages
3,554,120
Members
248,016
Latest member
Advally Service

Trending content

Back
Top