Cytronus
New member
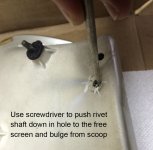
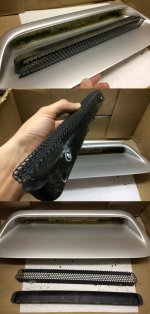
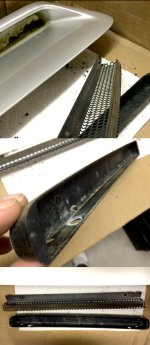
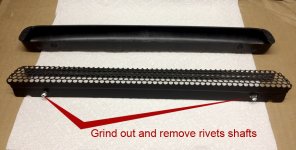
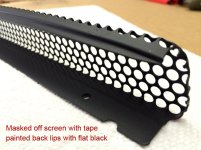
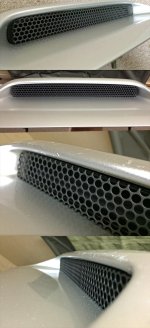
This tutorial will assist you in the removal and restoration of an OEM 3rd gen 4Runner hood scoop.
What you need:
1.5 - 2 hours
car wash / cleaning materials
10mm socket & socket wrench
standard size phillips head screwdriver
small flat head screw driver
dremel or drill with carbon grinding wheel
pliers
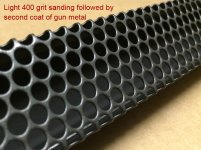
400 - 600 grit sandpaper
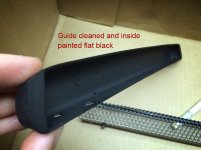
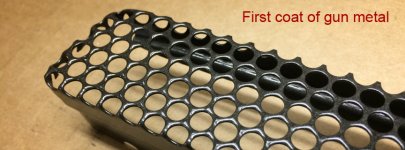
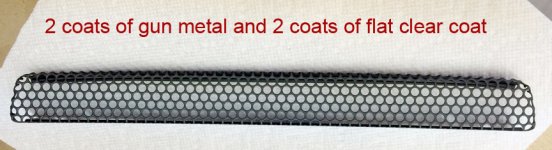
flat black spray paint (and your choice of color for personalization)
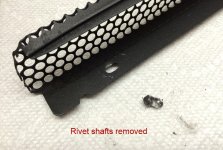
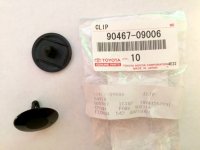
2 small black anodized screws and nuts (to replace removed OEM rivets)
OEM parts you may want if you're replacing plate and guide (Optional):
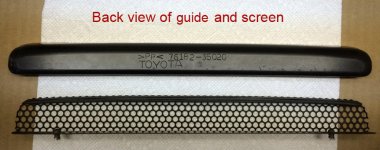
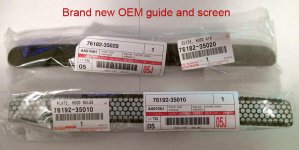
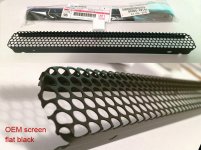
76192-35010 Plate (Mesh Screen), Hood Bulge ($13.20)
76182-35020 Guide, Hood Air ($13.58)
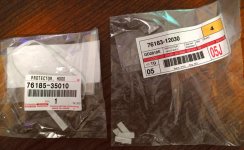
76183-12030 Protector, Hood ($0.71)
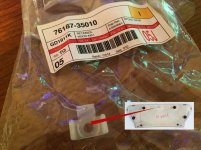
76187-35010 Retainer, Hood ($0.89)
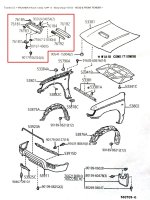
Other parts noted in manufacturer diagram image in this thread
What you need:
1.5 - 2 hours
car wash / cleaning materials
10mm socket & socket wrench
standard size phillips head screwdriver
small flat head screw driver
dremel or drill with carbon grinding wheel
pliers
400 - 600 grit sandpaper
flat black spray paint (and your choice of color for personalization)
2 small black anodized screws and nuts (to replace removed OEM rivets)
OEM parts you may want if you're replacing plate and guide (Optional):
76192-35010 Plate (Mesh Screen), Hood Bulge ($13.20)
76182-35020 Guide, Hood Air ($13.58)
76183-12030 Protector, Hood ($0.71)
76187-35010 Retainer, Hood ($0.89)
Other parts noted in manufacturer diagram image in this thread
Attachments
-
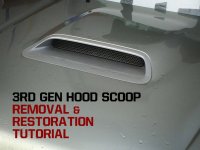 3rd gen hood scoop.jpg125.2 KB · Views: 9,587
 -
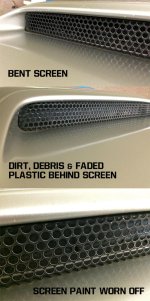 IMG_0066.jpg123.6 KB · Views: 7,623
 -
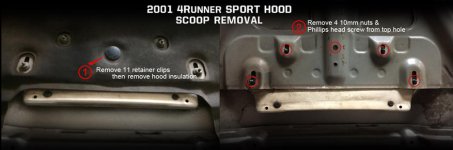 hood scoop removal smaller.jpg38.5 KB · Views: 6,858
 -
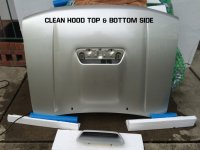 IMG_0087.jpg128.4 KB · Views: 7,471
 -
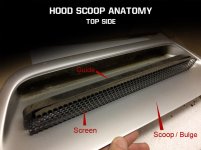 3rd gen bulge guide plate.jpg66.1 KB · Views: 9,916
 -
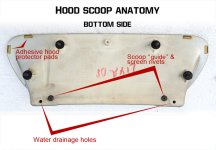 hood scoop anatomy.jpg71.4 KB · Views: 7,380
 -
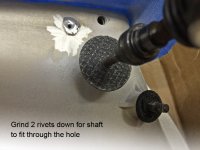 IMG_0111.jpg132.1 KB · Views: 6,691
 -
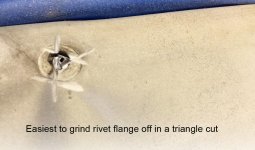 IMG_0115.jpg95.4 KB · Views: 6,595
Last edited: