87 4 Runner Build

SV_Dude

Moderator
Here it is... this is my 87 4runner that I bought originally with a 22rte motor in it. I spun the #3 rod bearing so I am in the mix of rebuilding the motor. I am ditching the turbo setup and going with a mildly built 22re.

As the 4runner sits now I put in a 5 inch TG lift in the rear:
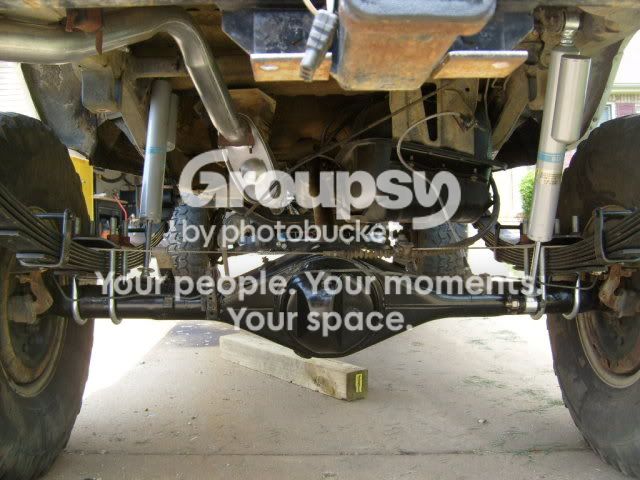
S6300373.jpg~original


I took the axle apart and cleaned everything up. Sanded the axle down to the metal and repainted it. The guts are stock (for now).

While I was working in the read end I couldn't stand to look at the old nasty gas tank. Plus, I had to pull it to grind and weld the new rear spring mounts. So It got a good cleaning, and sanded down to the metal. I re coated it in a rubberized undercoating. Now it looks brand spanking new :)
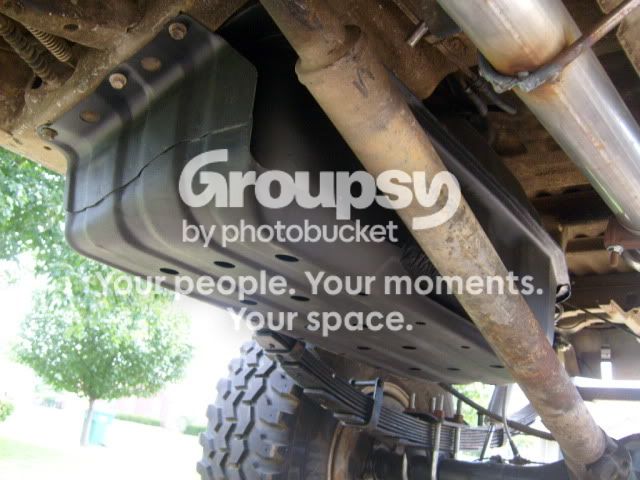
S6300374.jpg~original


4 inch rough country IFS lift in the front (only till I do my SAS):
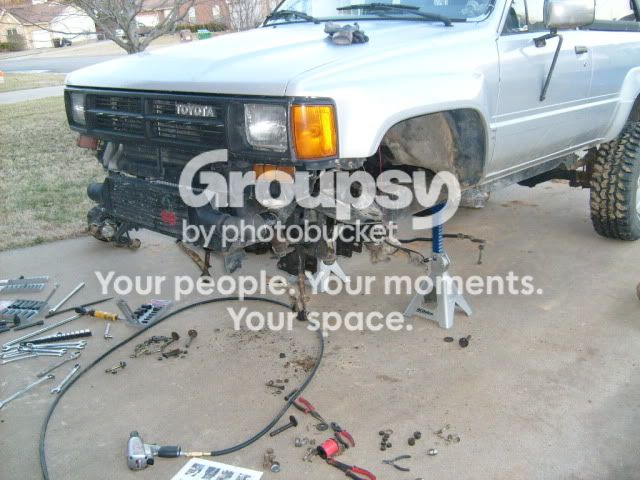
S6300191.jpg~original

Yes, the p/o had an intercooler on a t4 turbo that was too big for this motor, not to mention any time I gave it gas the ECU would cut the fuel. That turbo didn't last long. I put a stock turbo on it ASAP!
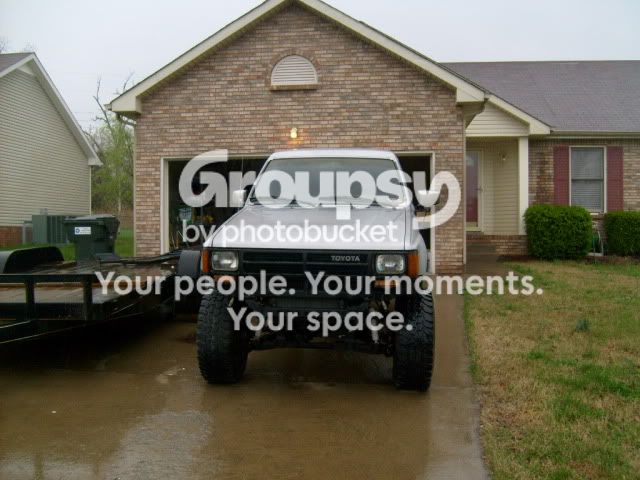
S6300318.jpg~original


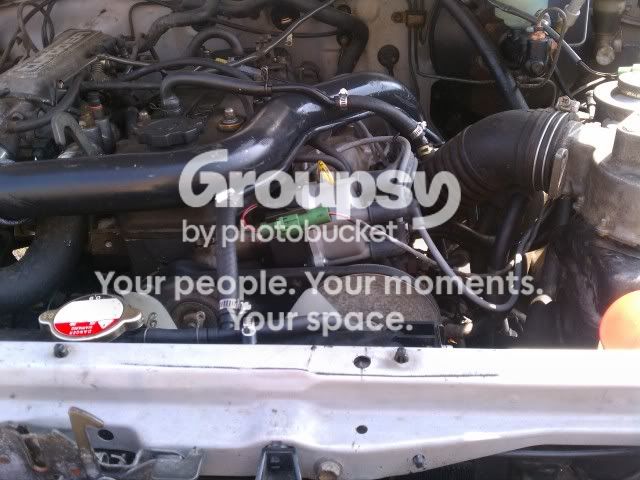
Engine before (best pic I could find):
IMAG0251.jpg~original


I picked up a rebuildable assembled 22re short block for $50. That block, crank, and connecting rods are at the machine shop now. The machine shop is going to deck the block, bore .030 over, hot tank and chase all the threads. They are also going to grind the crank .010, R&R all the sludge traps and recondition the rods. All the other little misc parts and pieces are going to them tomorrow for a bath in their hot tank.

As for the engine build, I ordered my rebuild kit from engnbldr along with a 268 cam. I am also going to order a street RV head tomorrow. Hopefully with the block being .030 over, 268 cam, and a street RV head, this should give me about 140HP.

So here's the progress:
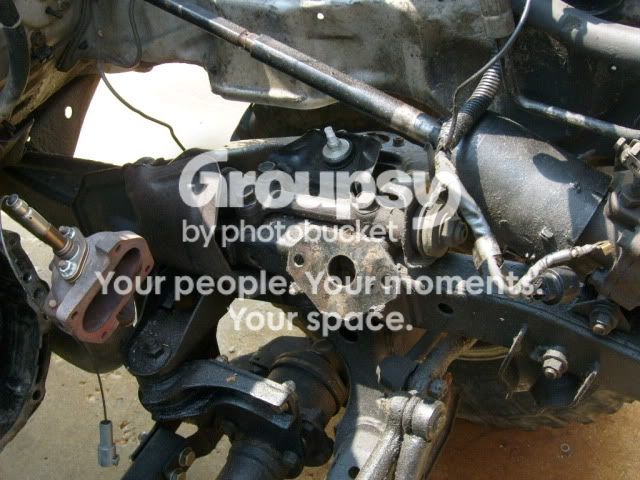
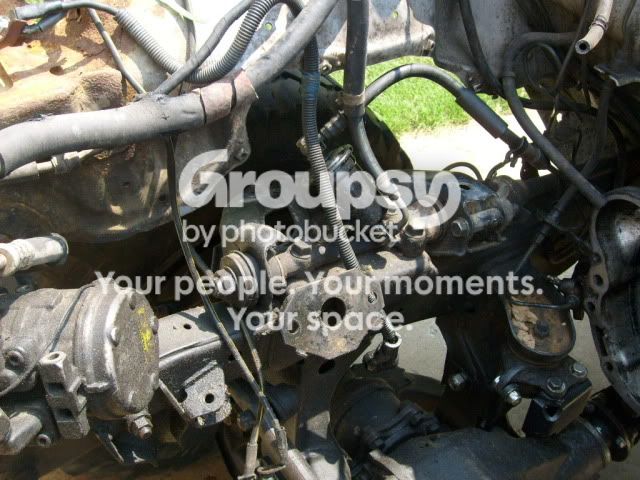
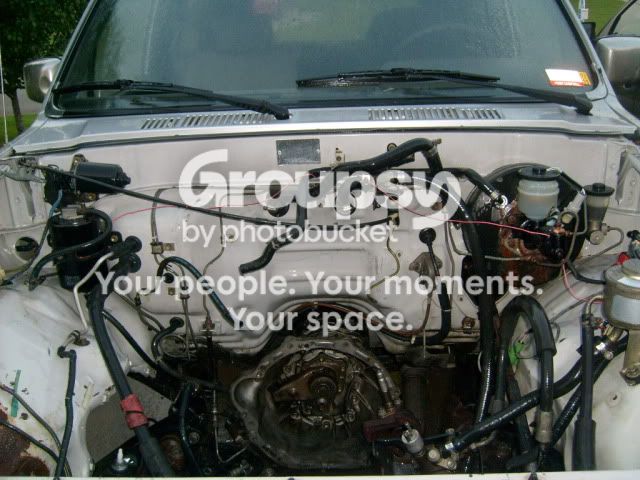
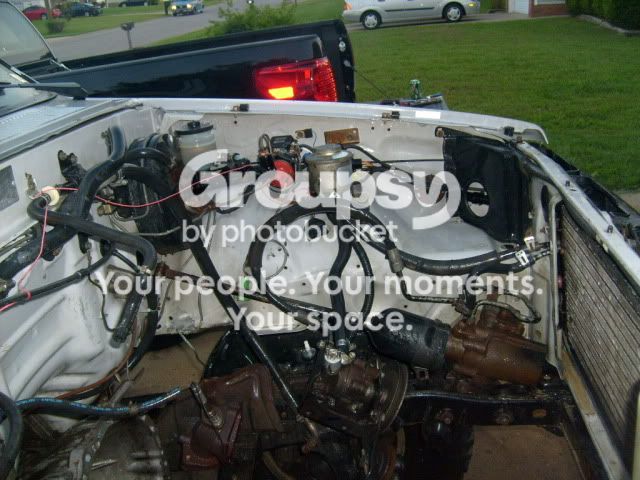
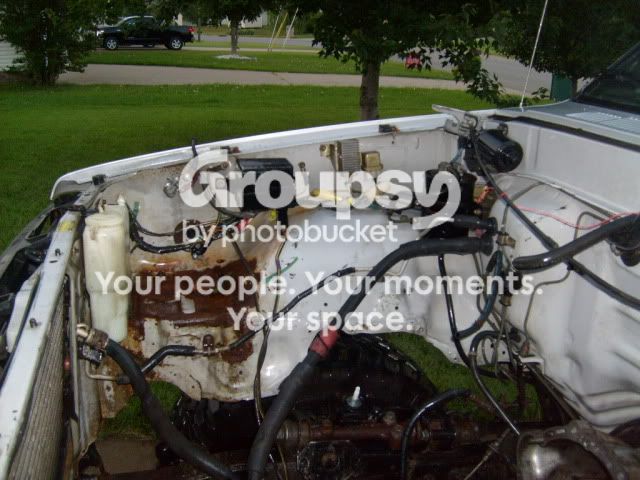
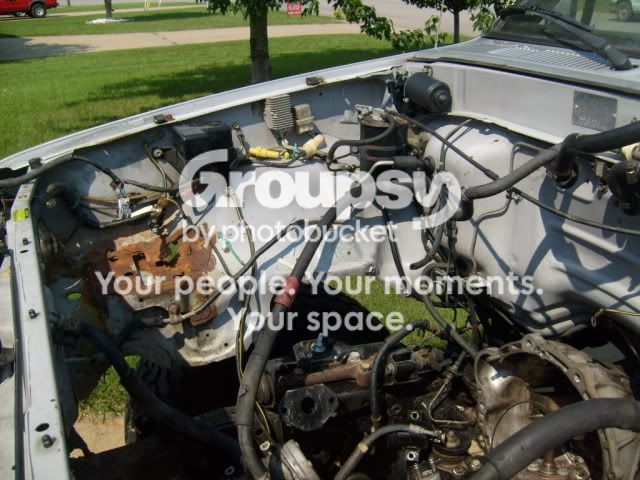
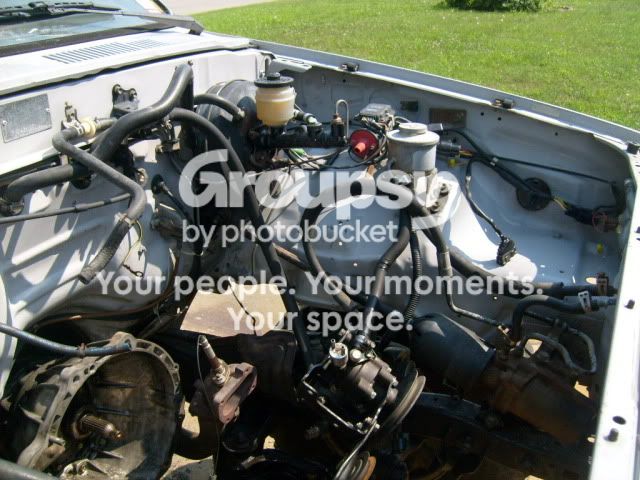
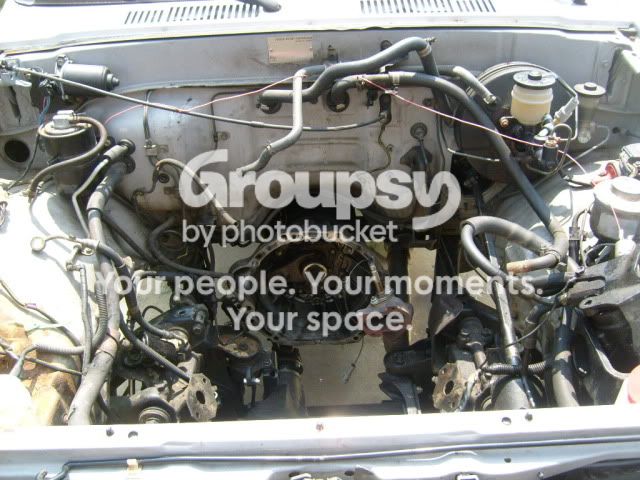
Engine bay as it sits right now:
S6300358.jpg~original


S6300359.jpg~original


S6300360.jpg~original


Today I'll clean the snot out of the whole area and make it all new and pretty.

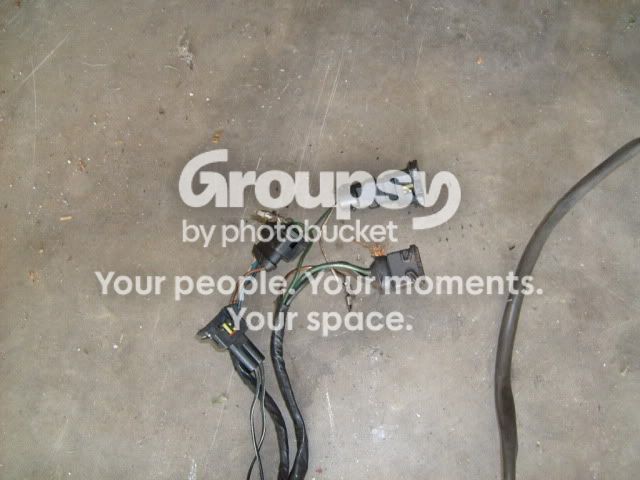
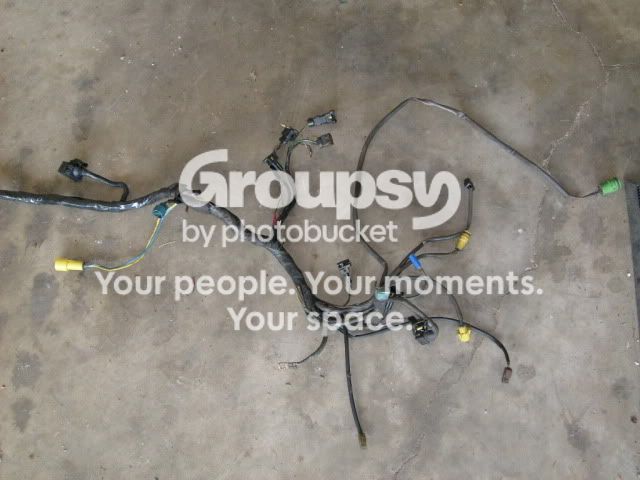
The wiring harness:
:barf:
S6300361.jpg~original


S6300362.jpg~original


The plans here are to clean the whole harness and re-wrap it in some new loom. The plug for the fuel injector is rigged by twisted wire (thanks to the po), so that will get soldered and cleaned up.


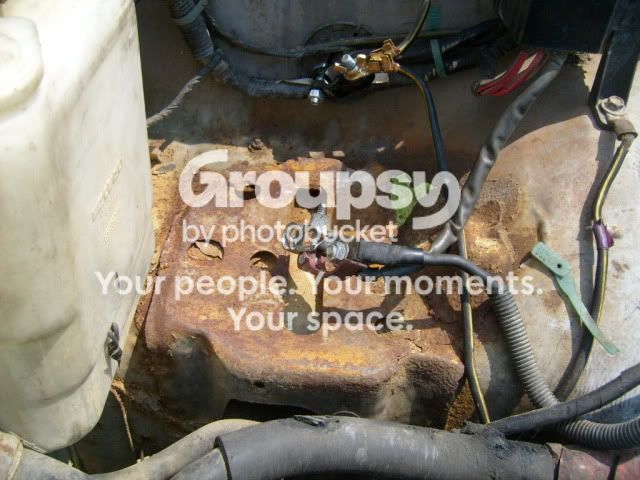
And a rusted out battery tray from a po's bad battery:
S6300357.jpg~original


I'll find a replacement from someone who is willing to cut that section out from a parts truck and weld it in.

That's about all I have for now. I'll hopefully the engine done in a week or so... then it's on to the interior.

I am kinda new to all of this, this is the first vehicle I have taken on as a project. I have been bending wrenches on various things for a while, but never anything like this. So, any input is welcomed and even if it seems to be common sense, your input is appreciated!

**if anyone cares (it's still a toyota forum), here's a build thread I did on my 2010 tundra. I needed a spot for some 12" sub woofers and couldn't fit them under the rear seat. I cut the floor board and put some subs under the carpet:
Subs in the FLOOR!!! - TundraTalk.net - Toyota Tundra Discussion Forum
 
Last edited:
Register to hide this ad
Looks nice! What are you running for gears?

...you should keep the turbo setup. You dont see to many turbo runners on the road...
 
I have the stock 22re gears. The rte motor was a swap by the p/o. I am getting rid of the turbo because I want minimal moving parts and pieces. I want a good reliable trail rig that will get me home and also be a daily driver. Besides, with my current build I will get more power than the stock rte will put out.
 
Knock Senser

Have a knock in my 22RE. Was told poss. knock senser unplugged? Need to locate knock senser.:confused::confused:
 
So I pretty much have nothing but busy work until next week when I get my motor and parts back from the engine shop. So, I pressure washed the engine bay and the undercarriage of the 4runner 3 times after letting it soak a few times with a ZEP industrial concentrate de-greaser.

It's not perfect, but it is MUCH better:

S6300375.jpg~original


S6300376.jpg~original


S6300377.jpg~original


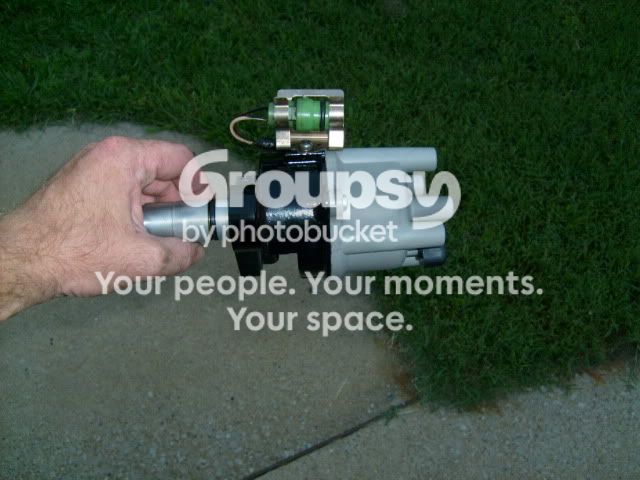
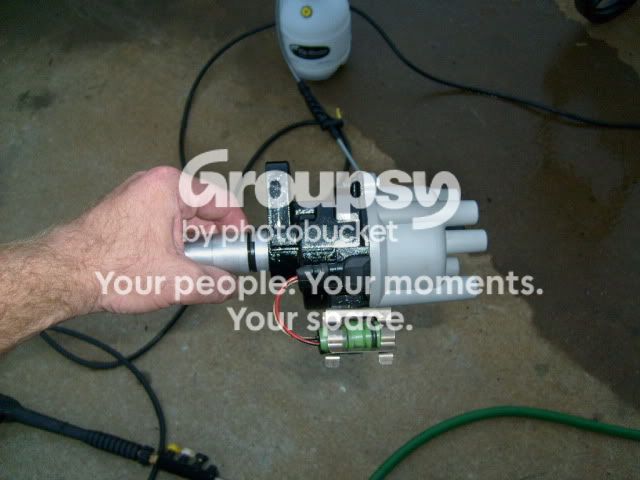
I also cleaned the snot out of the distributor and put some paint on it:

S6300378.jpg~original


S6300379.jpg~original


That's all for now. Tomorrow I'm going to make a trip to the machine shop to deliver a box of misc parts for the hot tank. I'll probably clean up some of the wiring and hoses in the engine bay. I didn't take any pictures, but I also re-wrapped the engine wiring harness with new electrical tape. I have some wire loom on order so everything under the hood will get new wire loom.
 
I can't wait to see where this goes, however i think you should keep the turbo setup to.


I did like the idea of having a rare turbo in my 4runner. But... I want the simplicity. I don't want to worry about a turbo going south when I'm out on a trail or driving around. Plus, it would have cost me more to rebuild this with keeping the turbo (turbo needs to be rebuilt ($500-$600)). This whole project is costing me roughly $1800-$1900 including some new long tube headers that will be ordered soon. For less money I am able to get more power than the rte setup will give.
 
Still waiting on the machine shop to give me my junk back. :)

But I scrubbed the engine bay again to try and get it better. I also picked up a n/a AFM, cleaned it up and threw on a nice coat of gloss black.

S6300382.jpg~original


S6300383.jpg~original


S6300384.jpg~original


I may end up yanking the p/s res. and pump and cleaning them up a bit. Maybe the ac compressor too.
 
how hard was the lift to put on iam thinking the same one i was wondering wht size tires are on it and if you could post some meassure ments and some side shots
 
What lift, front or rear? The rear was a lot easier than the front. All I had to do for the rear was cut the stock leaf spring mounts off of the frame and grind the frame smooth, then weld on new ones for the longer springs. Do a little cutting, sanding, welding on the axle and I'm good to go.

The front was a pain in the @$$!! I was taking hardware off that hasn't been off in 25 years, I had to replace a couple of steering knuckles because they were impossible to get off. Overall on the front, it wasn't too bad but it was still a pain in the arse. If you have air tools it will be much easier.
 
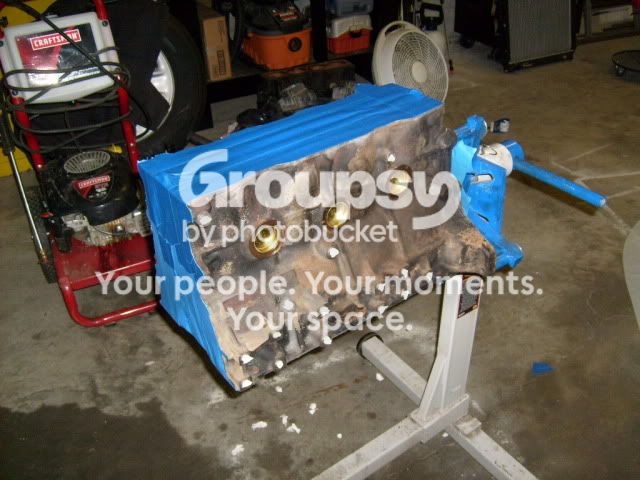
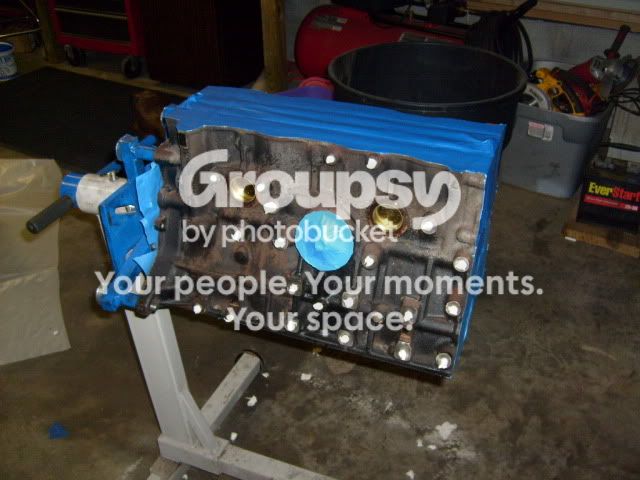
Well... I haven't got much done lately. I've had a fever since saturday and I think I finally broke it. So I spent some time in the garage today! I picked up my block and connecting rods from the shop today, I got my rebuild kit in on Monday, and my Street RV head in yesterday. I wasn't happy with the hot tank job that was done on the motor so I taped the snot out of it and plugged all the bolt holes. I'm going to carefully sand blast the block before painting it.

I am however very happy with how all my little parts came out from the hot tank. They will be getting painted tomorrow.

I needed to order a new crank shaft, and I also ordered an LCE Header but they are on backorder for 3-4 weeks. Too bad, I was excited about driving my 4runner sooner!

Here's what I got for the porn so far:

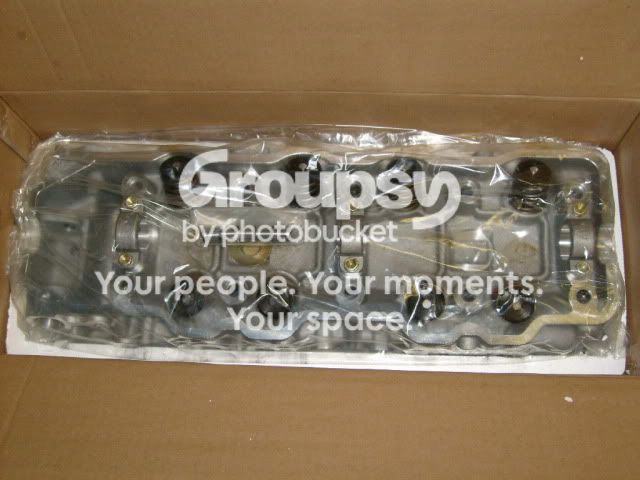
New head, there's a box beside it that has a 268 cam in it too :)
S6300385.jpg~original


I painted the p/s reservoir (already installed in the engine bay), p/s pump, and other brackets with it:
S6300386.jpg~original

S6300387.jpg~original


The block all prepped and ready for sand blasting then paint:
S6300388.jpg~original

S6300389.jpg~original
 
Nice job ! I like parts when there cleaned up and painted, It shows detail and you take care of your stuff.
 
Progress is slow but detailed... I think.

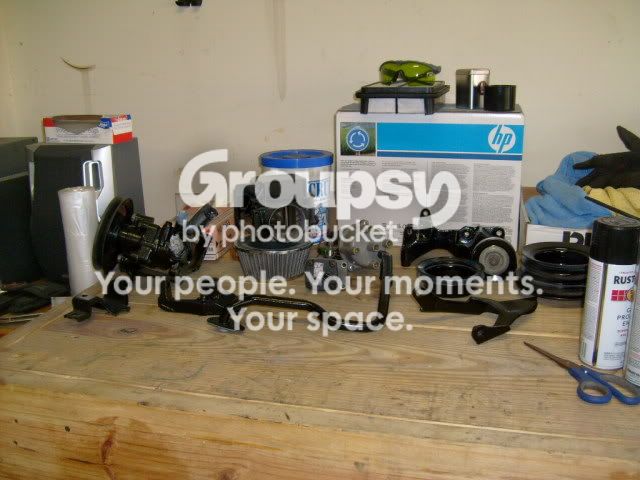
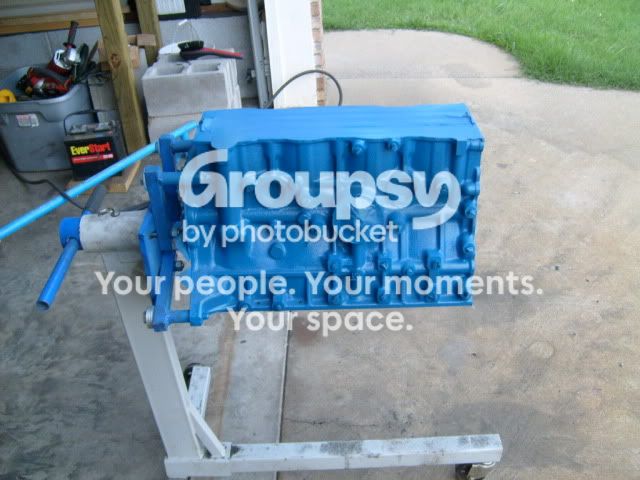
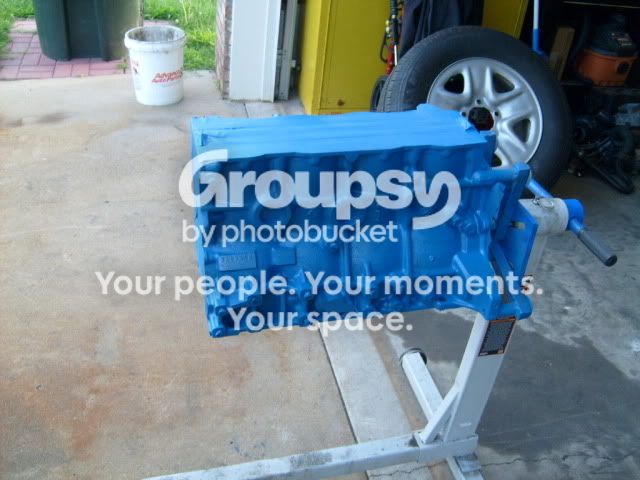
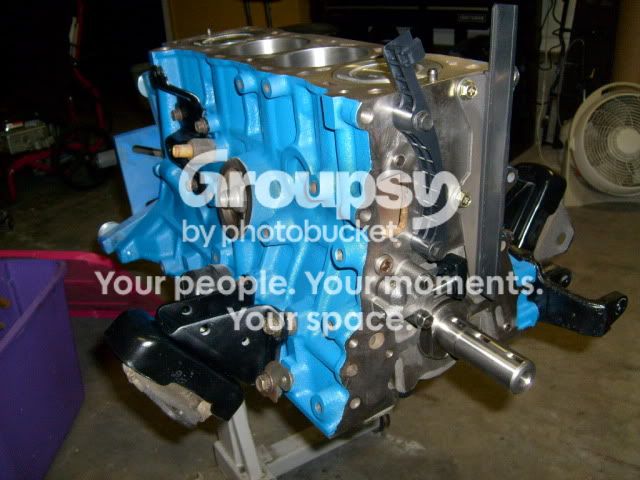
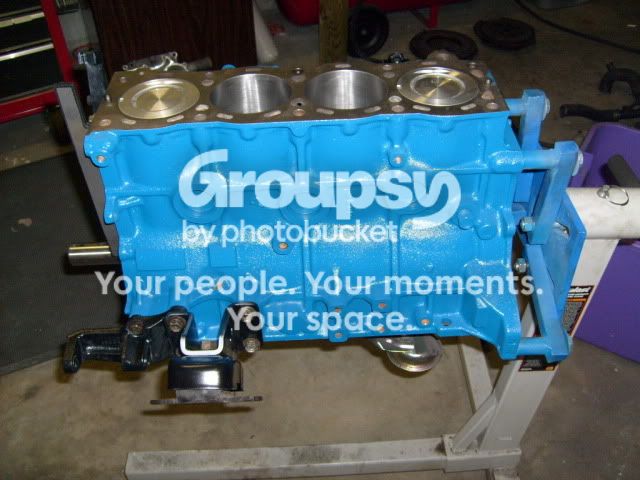
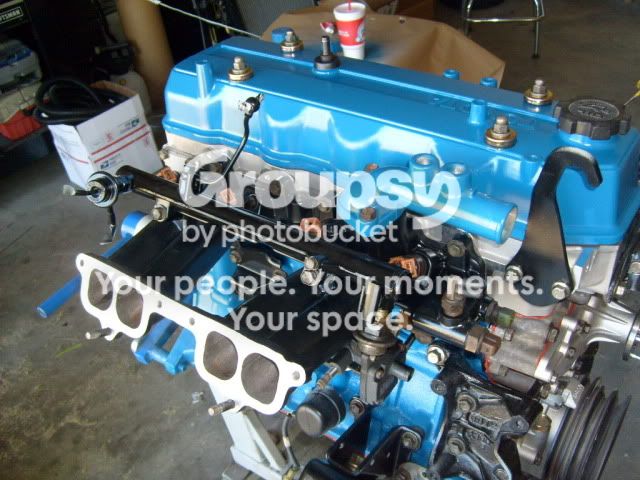
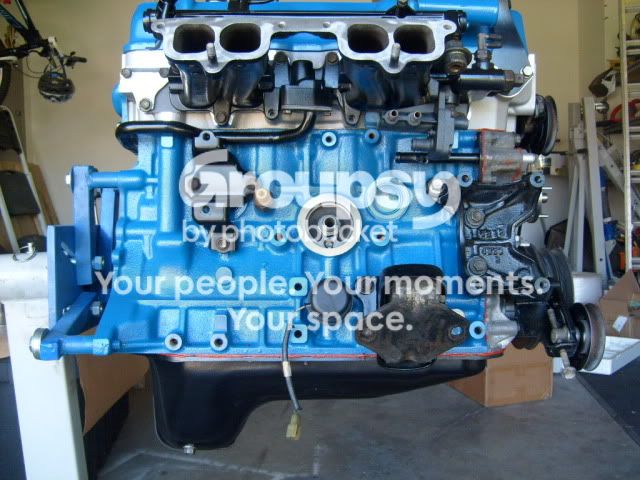
I'm not in too much of a hurry, I don't have my crankshaft yet so I cannot do too much in the way of assembly. My pile of painted parts on the bench is growing and I put some high temp paint on the block. The block is fit for a smurf :)


Pile of cleaned and painted parts :)

S6300392.jpg~original


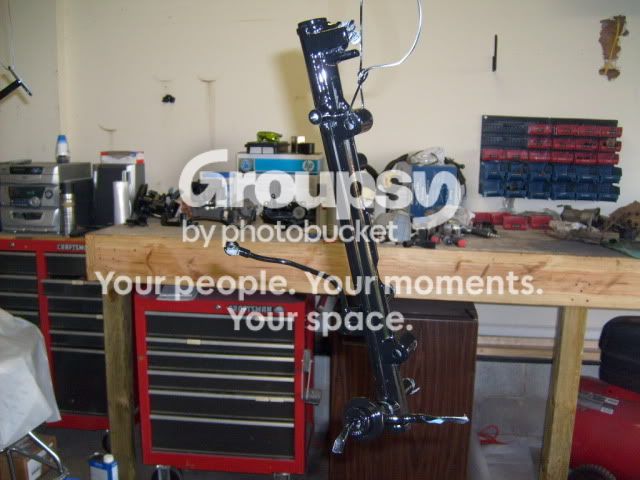
Pretty fuel rail :)
S6300393.jpg~original


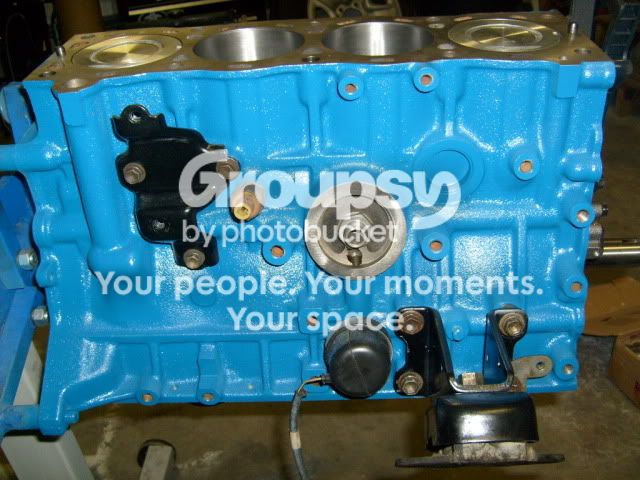
And the blue block!
S6300390.jpg~original


S6300391.jpg~original
 
So for the last week or so I have been waiting on parts to come in the mail to start putting this motor together. I got the new crank in but then I had to send the over sized main and rod bearings back and get standard ones, had to wait for them. Thanks to Ted at engnbldr he shipped the new bearings right away, before I sent him money for shipping or sent him the over sized bearings. Thanks Ted! (fiy: engnbldr is by far the best place to work with to get parts or answers about the 22re!)

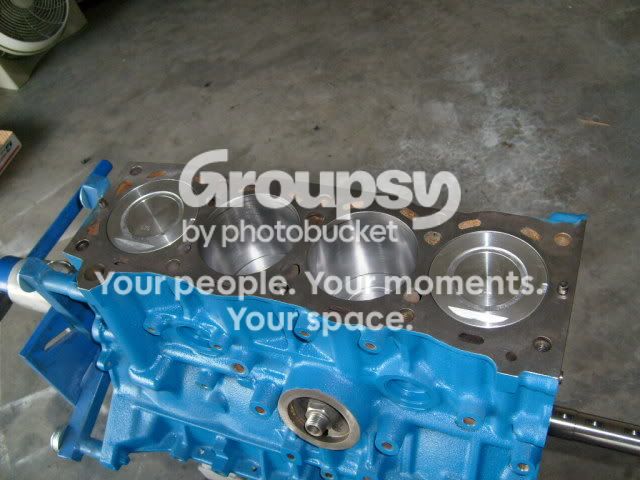
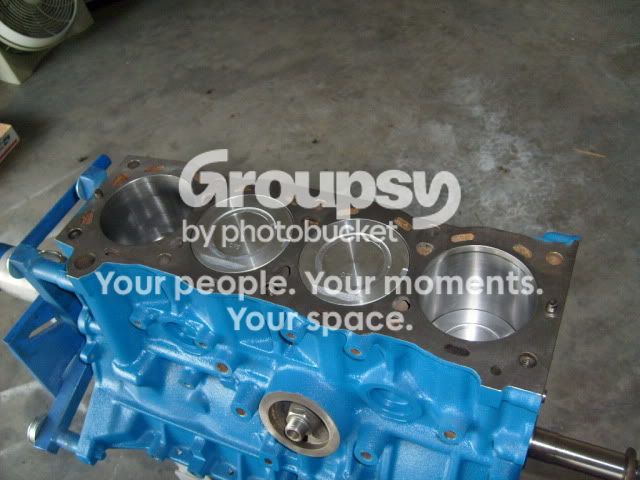
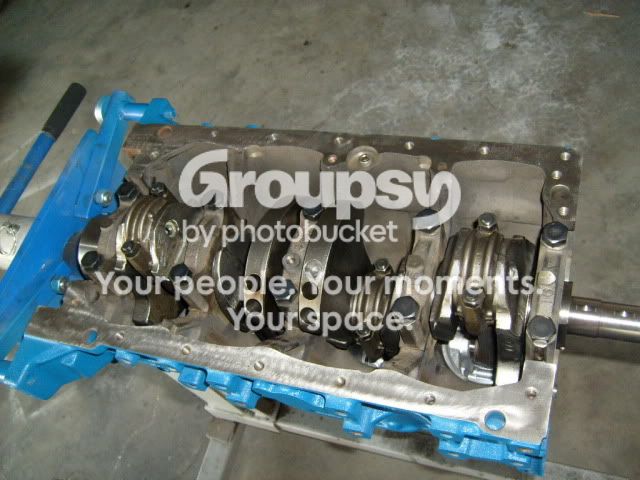
Anyways, I got some assembly done today. I put the crank shaft, pistons, and a few external goodies bolted on. I took some measurements of the quench on the pistons and I am very happy with the results!

Quench Measurements:
Cyl #1: .017
Cyl #2: .018
Cyl #3: .020
Cyl #4: .017

According to an article that I found that was written by Ted at engnbldr, anything within +/- .006 is excellent! Mine is +/- .003! So far I am happy with the work that was done by the machine shop!

Anyways, enough talk, here's some porn:

S6300394.jpg~original


S6300395.jpg~original


S6300396.jpg~original


S6300398.jpg~original


S6300397.jpg~original


S6300399.jpg~original


I need to get some crank keys because the new crank shaft didn't come with any keys! ARGH!!
 
I got a bit more done... it's been hard to get time to work on this thing! Anyways, at this pace I'll have the motor in tomorrow. My headers are on back order from LCE, but I should have them by the 20th.

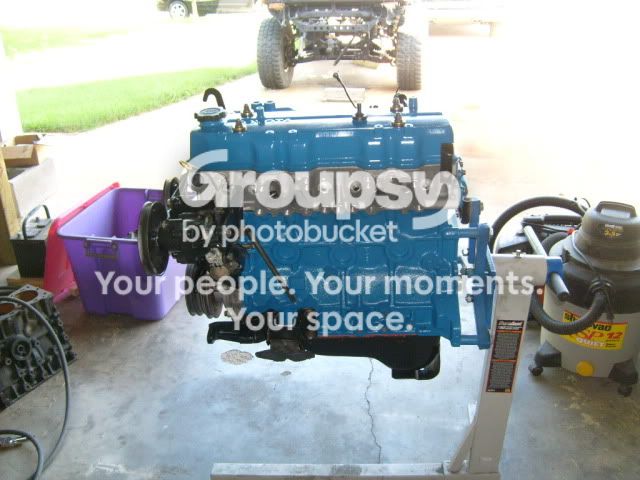
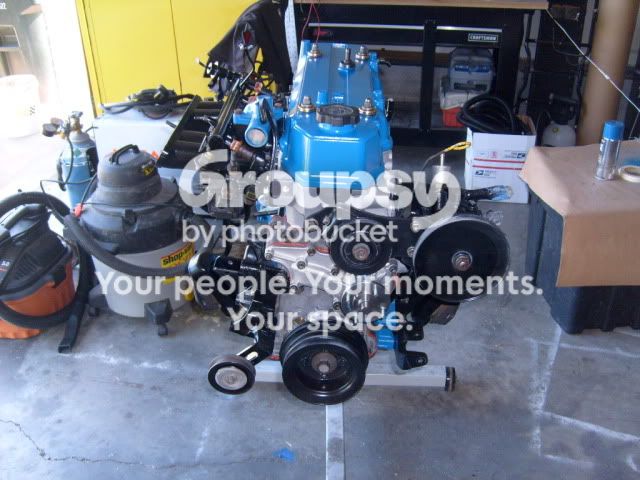
Here is what I have so far:

S6300406.jpg~original


S6300407.jpg~original


S6300408.jpg~original


S6300409.jpg~original


I need to get some hardware and some plugs for the thermostat housing. This WAS a 22rte motor (except the block) so the thermostat housing has two un-needed spots for sensors. Hopefully I'll have this motor 100% ready to be dropped in by tonight, then take tomorrow to install it and finish everything up. :)
 
It's been a while since this has been updated but I've finally finished everything!

Just a little bit of filling in the blanks... I got the motor installed and put on the LCE Headers, welded the old exhaust together. I had to use a 2.5"/2.25" reducer for the LCE header. I also fabricated a new mount for the AFM because I got rid of the box style air filter and assembly. I am now using a cone filter.

Here is the AFM bracket I built:
S6300424.jpg~original


And the finished result:
S6300425.jpg~original


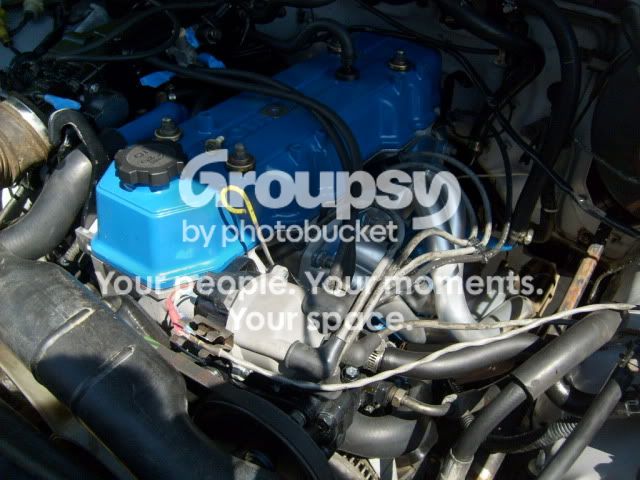
I just finished the first 100 mile oil change and valve adjustment. All I have to say is WOW!! This is far from a race car but it has a LOT more power than my old RTE motor that I had in it previously. With the few performance mods that I put in it (bore .030, RV Head, 268 cam, LCE Header), I can definitely feel the power that this little 4 banger is putting out. My 4runner is on a 5 inch lift with 33's and stock gearing and I have no problem getting up to speed or maintaining speed going up hills. I haven't even ran it hard yet and it's definitely making me very happy!!

Next mod: SAS!!
 

Members online

Forum statistics

Threads
278,307
Messages
3,554,049
Members
248,016
Latest member
Advally Service

Trending content

Back
Top