By the way Farmerjon, if you want the best stuff on the market, get POR-15. In the link below. I may use it in a few years, depending on how the Rust Oleum holds up.
Thanks fightman. I plan on making it an extended summer project. Im gonna get every bit of rust sanded, converted, and covered up so it looks like a new chassis. We'll see how it holds up this winter . . .
Im also thinking this coming winter I might do something similar to what you do. Cover the areas prone to rust with some sort of an oil film
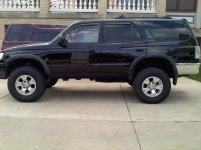
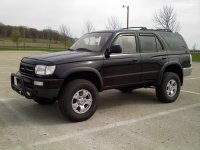
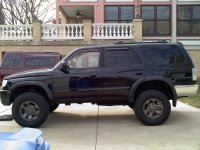
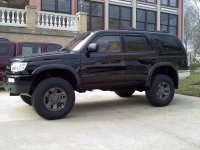
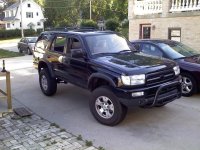
Lately Ive really been missing my stock 6 spokes that I had painted graphite a while back. While I had them on I wasnt positive I liked them. But now after running the Tacoma wheels for a while, Im kinda thinking of putting them back on. The Tacoma wheels are awesome, but dont really look that great on my particular 4runner imo. So what do you guys think? Here are a few shots of the current and old wheels.
I think the Tacoma Wheels look a little better, but If the stock 6 spoke wheels were painted a darker black it would look good as well! It could also be the way it looks in the pictures too..
Actually, that exactly what I've been thinking over the past few weeks. I like the shape of the Tacoma wheels, except for the fact that they don't have a lot of depth. And I don't know why, but they just pop out a little too much against the black paint imo, which is odd because they're metalic grey, not chrome. I want to paint them, but I'm just hesitant because they're in such good condition. Its easy to take a sanding disk to a crappy set of wheels. Not so easy with a nice set. I guess I'll just have to do an awesome job painting them!
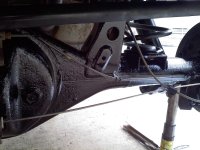
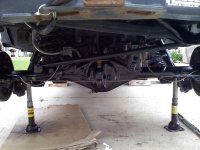
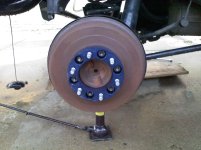
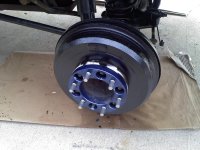
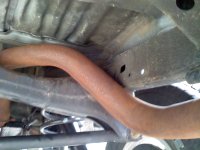
And a little update on some work Ive been doing on "Jitters". I've now refinished my rear axel, drum brakes, rear sway bar, tow hitch, some other random spots, and one side of the front end suspension components in Rust Oleum gloss black protective enamel. I plan on doing basically the entire undercarriage. My rust isnt that bad, which is exactly why Im doing this now. Its a tedious process as there are so many steps. Clean, then sand and wire brush, then clean again, apply two layers of rust converter/primer, followed by three layers of protective enamel, which has to be applied 24 hours apart. So Im taking my time and trying to do a good job. More pictures when I get a bit further.
Also installed 3x brighter blue interior LEDs, which look awesome.
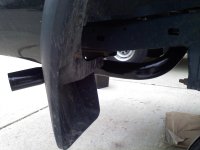
And I trimmed the edges of my valance, which you can see in the poser shot below. Compare it to before in the pictures above. Since our 4runners are really square I wanted to eliminate that square edge to give it a more streamline look. Nothing earth shattering, but I think it looks alright.
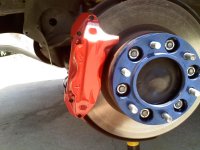
Well, red seems to be the popular color for our calipers. I also considered black to match the undercoating Im doing, or silver to match my skid plate. I figured while Im coating all the front end components I might as well make the calipers look sweet. At this point my 4runner is almost completely absent of rust
You should get stock 5 spokes. IMO, they are the best looking wheel, painted or unpainted. I know a lot of people run them, but it's because they're awesome. And if you want to get new tires go for the tundra 17s. Also a great looking wheel.
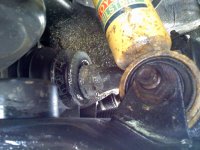
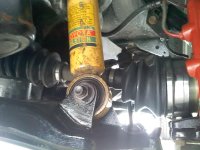
So I finally pulled the trigger on a set of remanufactured OEM cv axels from NAPA. My inner cv boots had been torn for quite a while. I wanted to just go with new boots, but for the relatively small price difference and amount of work changing the boots I was told to just replace the entire cv's. Plus of course the possibility of my inner cv's being damaged from junk getting into the torn boots. But when I got them off and cut off the boots, my inner cv's were perfectly clean. Nothing but perfectly clean greese. The boots on both sides ripped in the exact same spot, right where the smaller clamp goes around the inner boot where it meets the shaft. And so the small amount of dirt that got in the tear stayed right there near the shaft, not affecting the actual joint. I kinda wish I had just replaced the boots now, because as I expected my cv's werent damaged, and I worry about the longevity of a remanufactured cv. Oh well. 3 year or 36000 mile warrenty
Old with the tear:
New
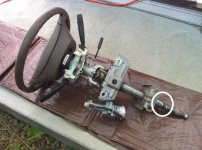
I also ordered the bushing from Toyota that goes in the steering column sleeve circled.
I could shake the steering column shaft and see and feel the horizontal movement where that bushing was worn out. The new bushing eliminated the play at that spot, which made me happy. However I still have a knock. But now I know where the final cause lies. Its the part that Toyota calls the yolk sub assembly, which resembles a smaller version of u-joint and connects the steering column shaft to the short shaft that runs directly to the steering rack. I was suspicious of it before, but with all the movement at that bushing when I shook the column shaft I couldnt tell if it was also coming from the yolk assembly or not. So now I know for certain and need to track down that part. Its $300 from Toyota! It makes me wonder how many others on the forum have the same issue, thinking that its a ball joint or tie rod or steering rack issue. Ive spent a lot of money replacing my entire front end with OEM parts thinking it would get rid of the knock. Im learning now that that probably wasnt necessary. what a pain
Well, I dont know if its SO much less work. I took the inner boot off anyway to pull the inner joint out easier. And I wanted to see the condition of the joint. It would have taken more time for sure with cleaning out the old grease, and packing the new grease with the new boot. But time will tell if the remanufactured cv's were a good investment . . .
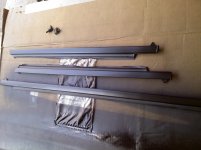
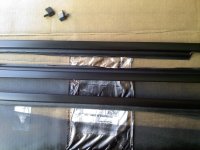
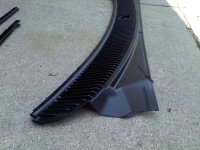
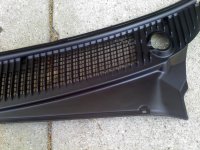
I saw COB do this a while back and thought it was a great idea. Painted my faded window trim for all 5 windows along with the front widow cowel, using Dupli Color Trim paint. Im really not a fan of Dupli Color products. From my experience they arent nearly as durable nor do they apply as smoothly as Rust Oleum products. However . . . I do like this trim paint for these applications.
No before pictures. The trim pieces were weather just like they all are after time, with shades of blush-grey showing through. Now they look brand new again!