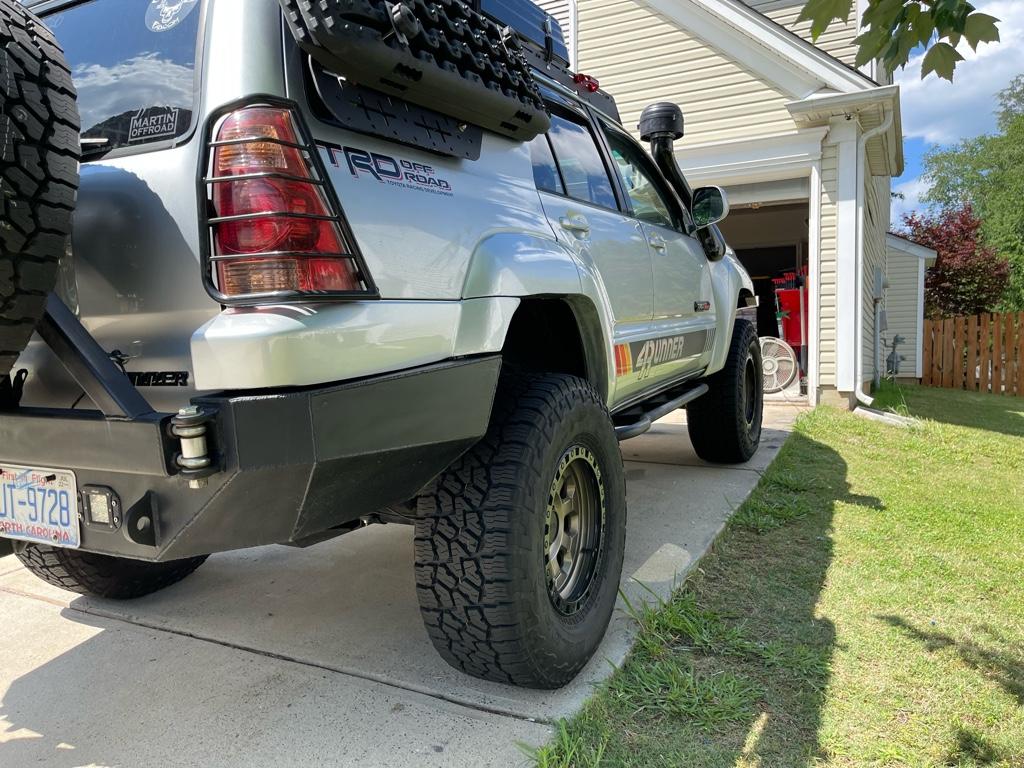
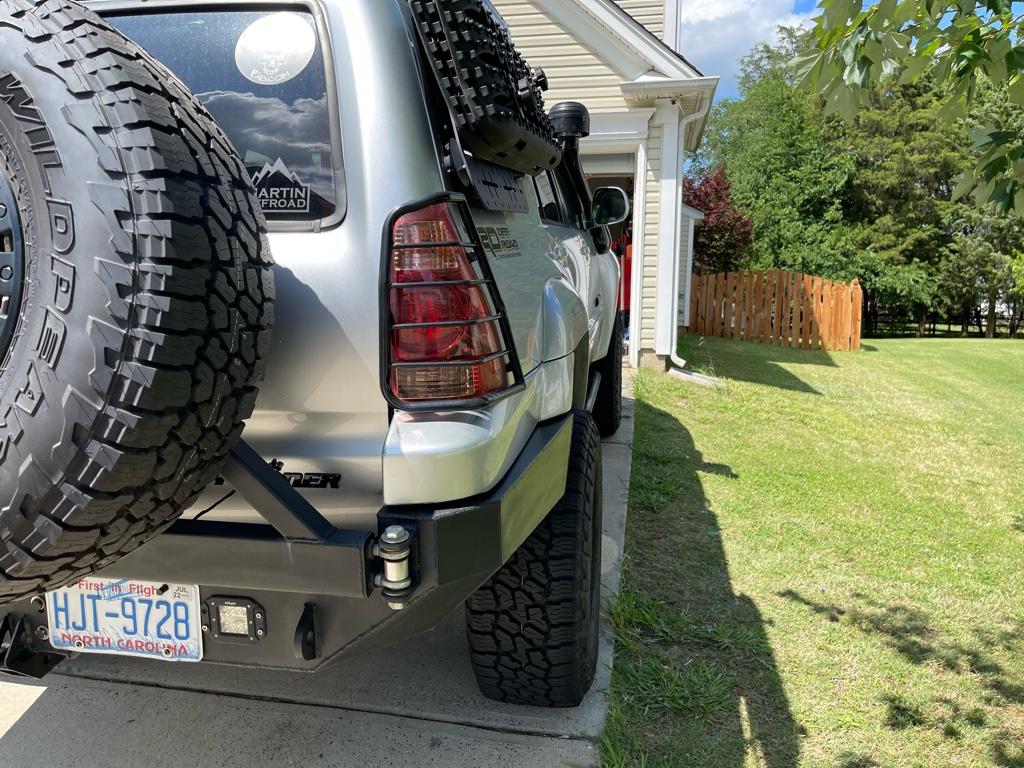
aemravan's build thread - project TacoRunner

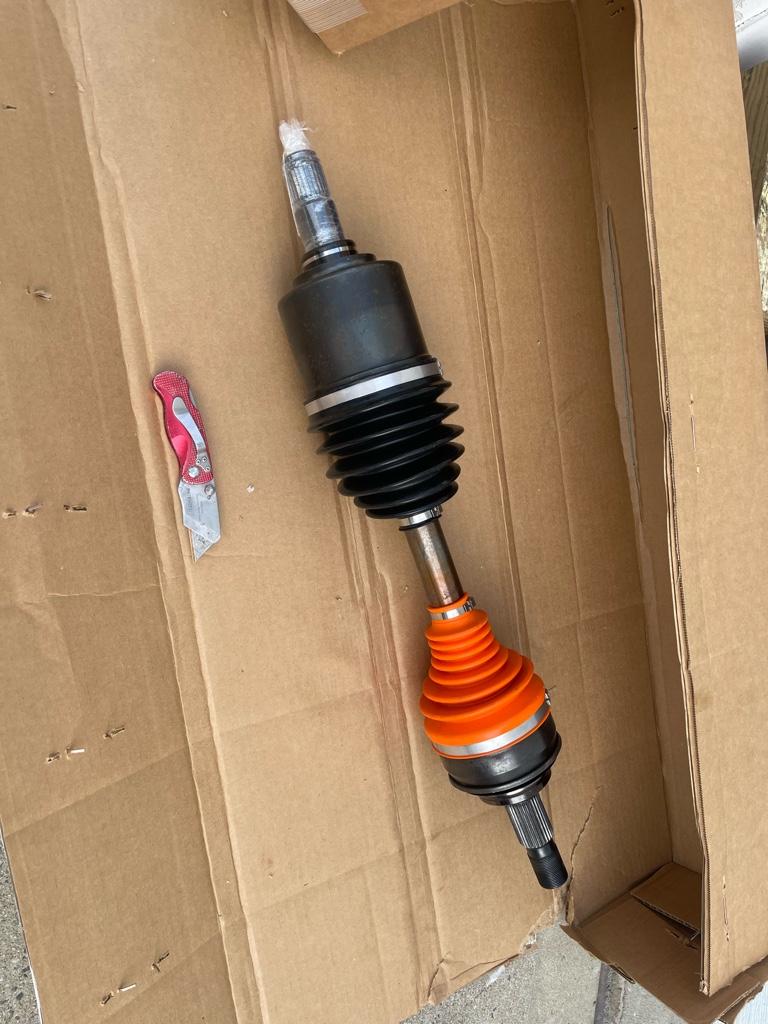
Sounds like that could have gone either way. Cutting the boots and sending out 2 to replace them must mean they are getting them pretty cheap.


Well.. I requested they send me my old ones before I knew they were cut and after they cut them lol. So initially they weren’t planning on sending me any additional ones back, used or new. But again, not complaining if it’s fixed now and will hold up.

Sent from my iPhone using Tapatalk
 
Last edited:
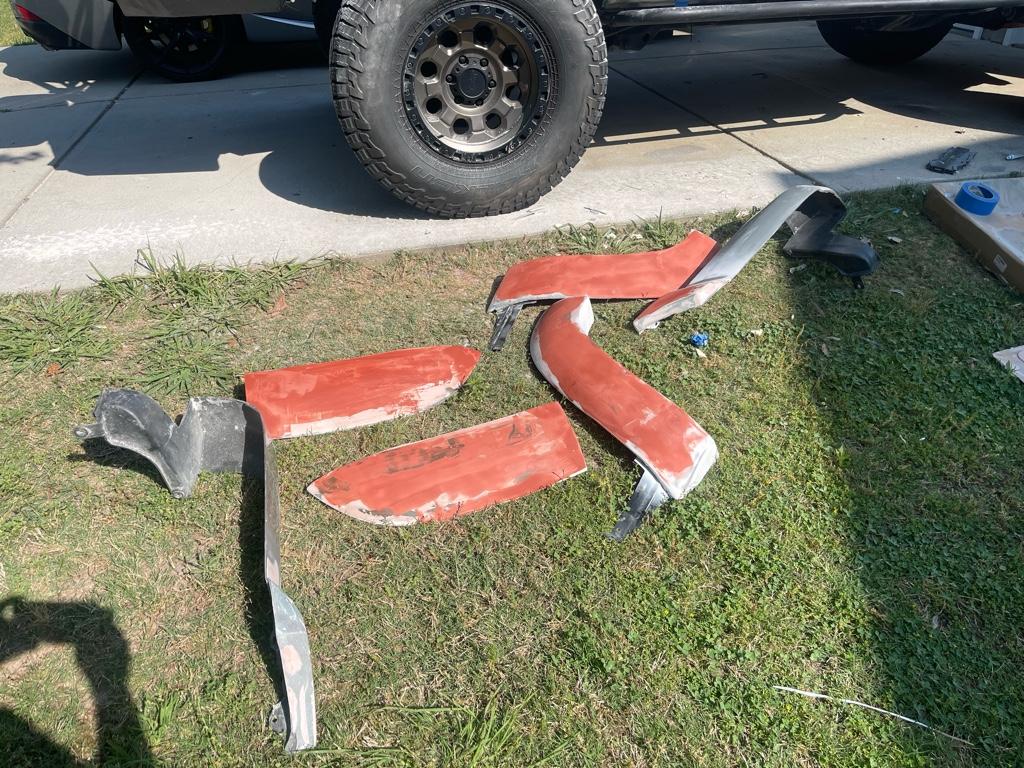
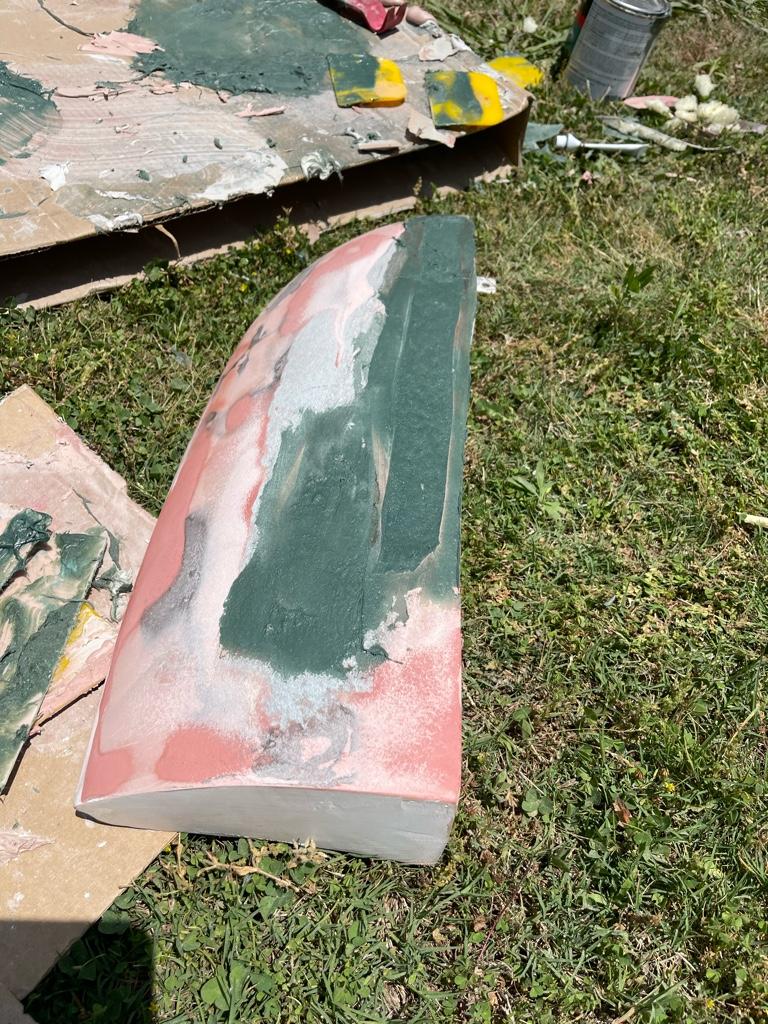
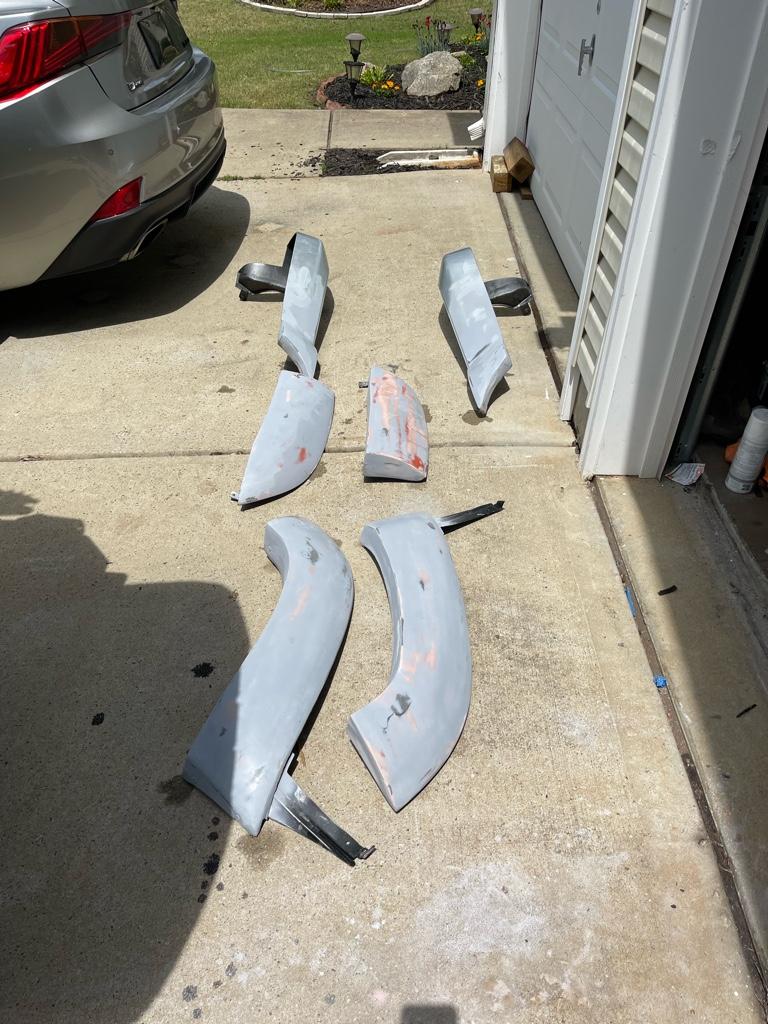
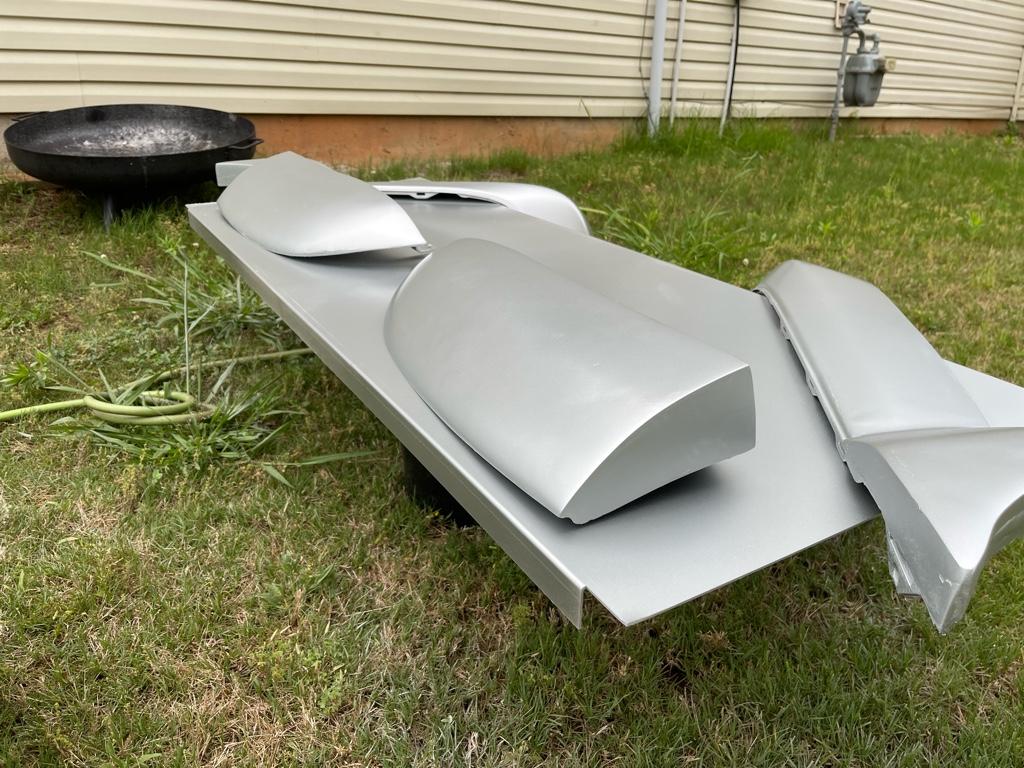
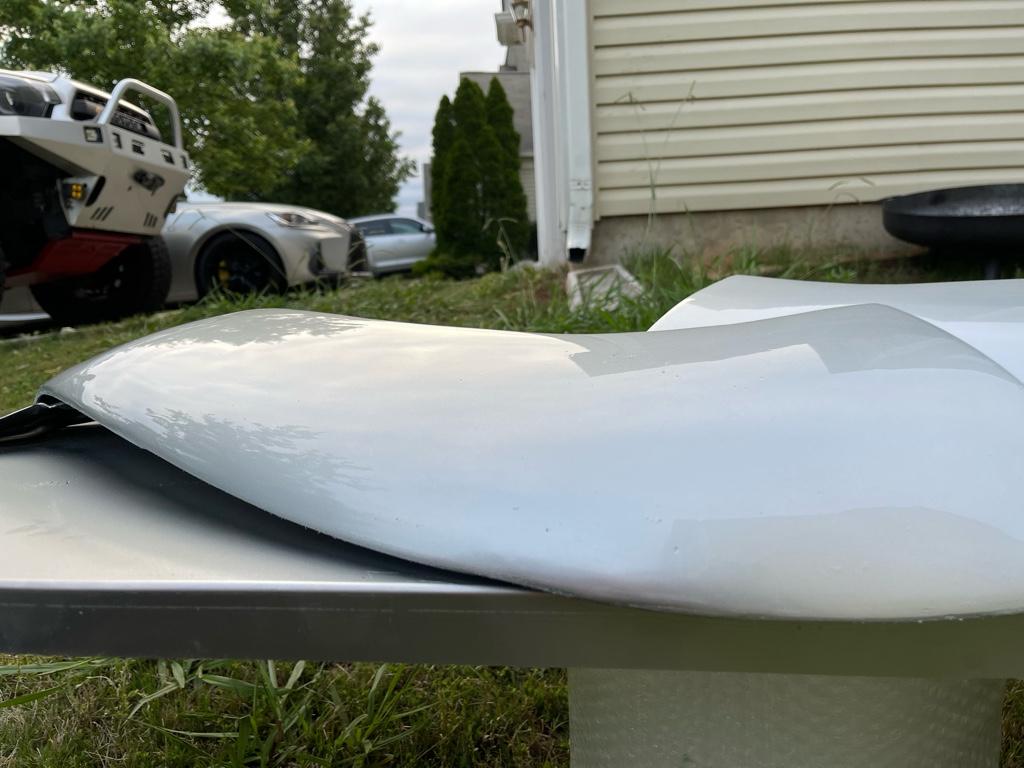
I spent a few hours of sanding , and then a few more … but man.. I think I see the light at the end of the tunnel !

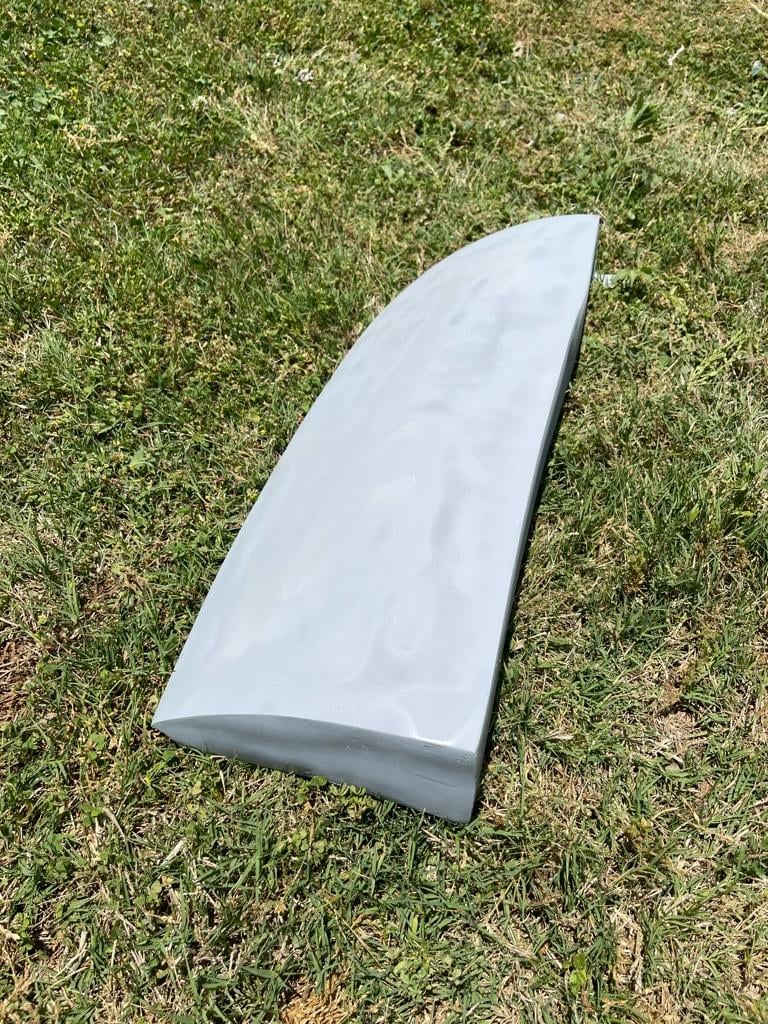
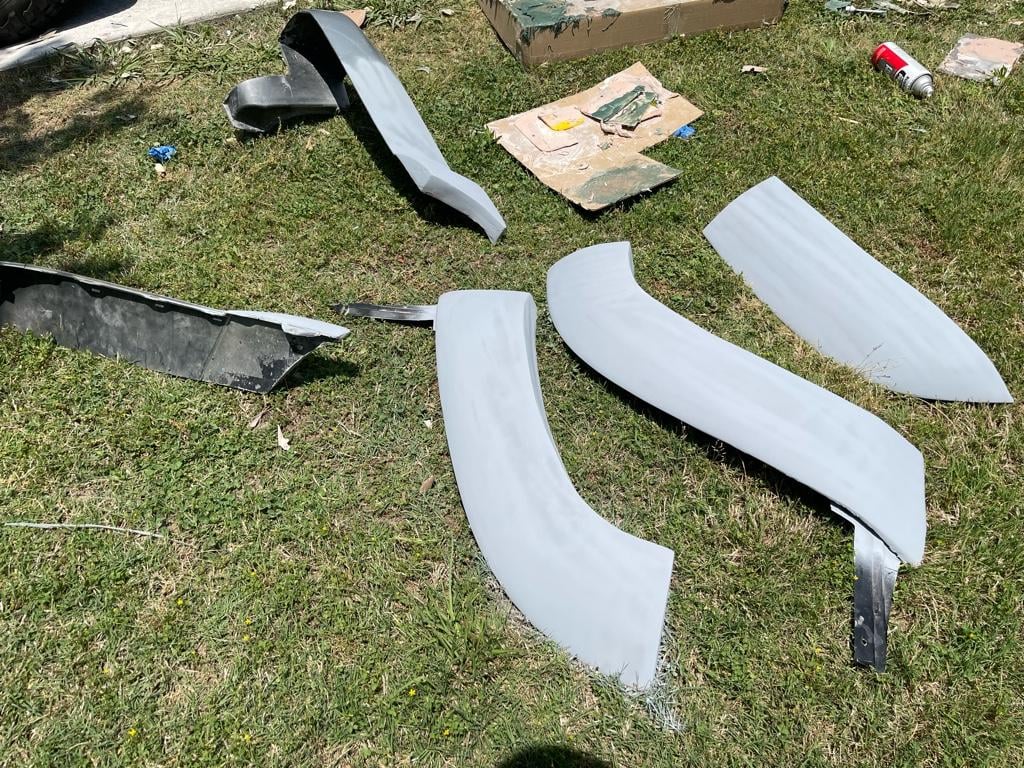
All 6 flare pieces are shaped and blocked. What you see here is a glazing putty coat the fill in some small pin holes. Once this dries and gets sanded I’ll hit it with some sandable primer and block that down… from there it’s just paint and clear and hope all my clips still work to attach properly and not fall off… I may be putting on some 3m tape just to be on the safe side since there is so much added weight now.

f4a61665896d8732417fa06f8cdf5875.jpg


Sent from my iPhone using Tapatalk
 
I'd make sure to beef up the clip tabs with some epoxy or something. My front fender flare is barely hanging on after bottom out the suspension on a whoop and the tire eating it and breaking a clip mount.
 
I'd make sure to beef up the clip tabs with some epoxy or something. My front fender flare is barely hanging on after bottom out the suspension on a whoop and the tire eating it and breaking a clip mount.


Yea that’s what I’m working on now actually .. one of my tabs is cracked and not holding so I already got it taken care of, now to figure out the best way to do the rest of them.. epoxy is nice and strong, just super messy to work with and it wants to flow out from under the tape .. we’ll see. I’ll definitely throw in some 3m tape under all these. That for sure will hold. I ripped off my paint taking off the last wing from filmy supra lol.


Sent from my iPhone using Tapatalk
 
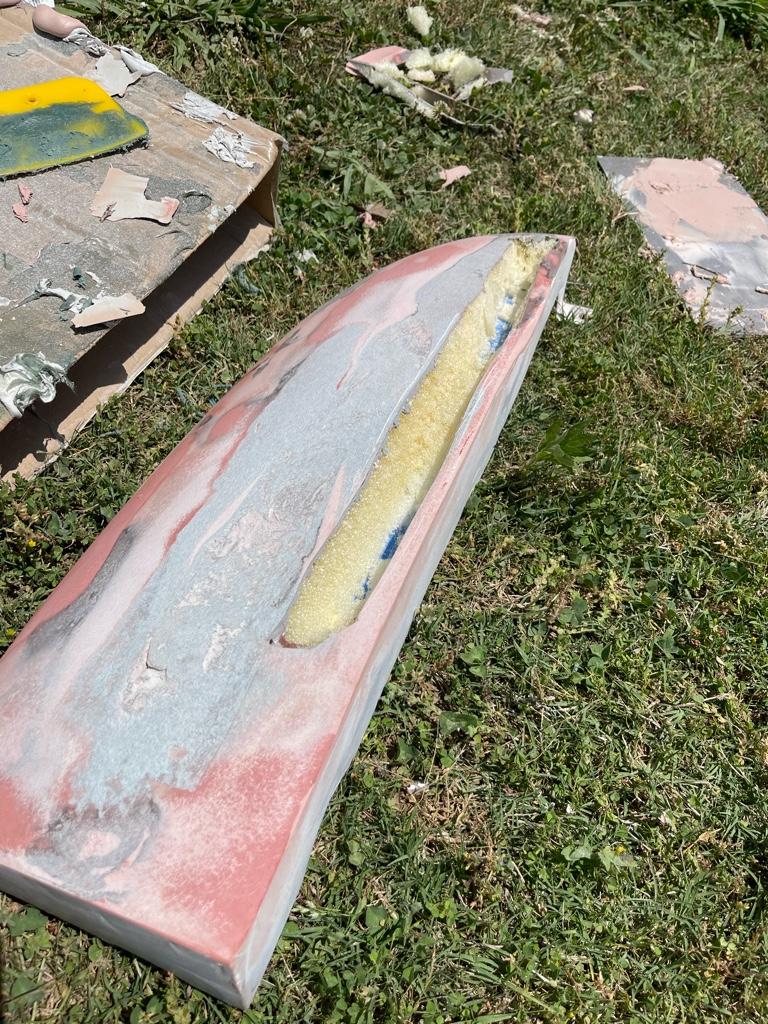
Andddd just when I said I was done …. Lol .. I found a damn giant soft spot in the first flare I did.

The first set of panels I did I didn’t enclose the cardboard for the foam expansion. This resulted in it being able to expand too much and too easy, leaving it porous.

That on top of the fact that I really went to toe sanding the bondo glass filler to get the shape I wanted really left almost nothing of the filler , causing this entire section to flex.

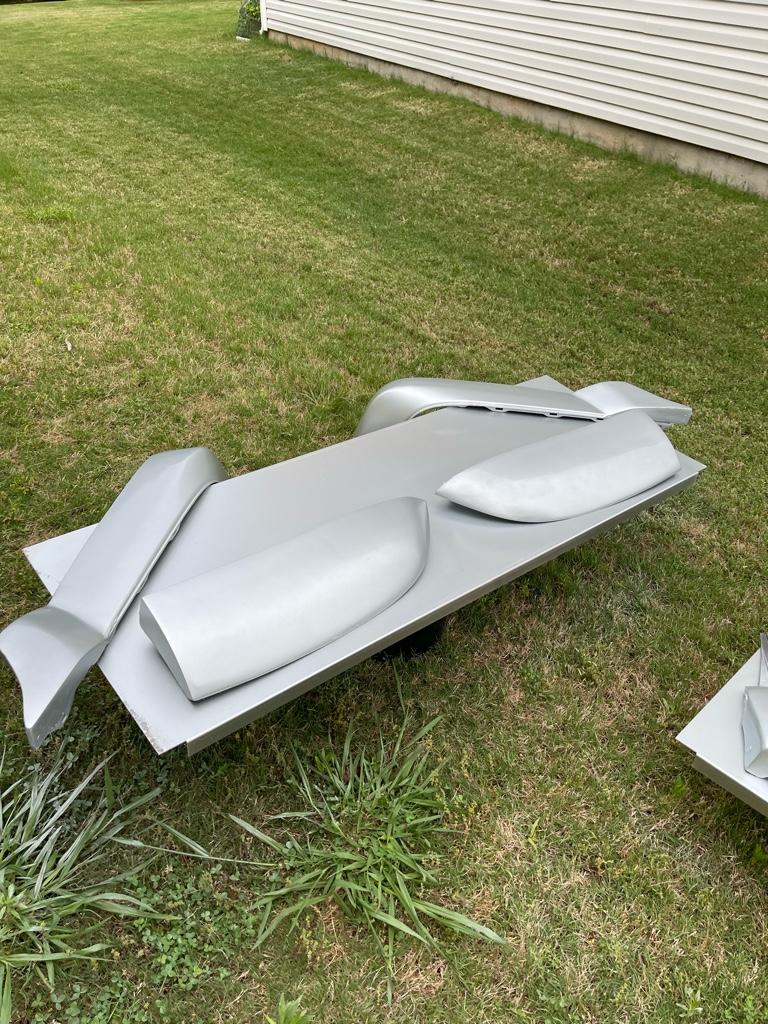
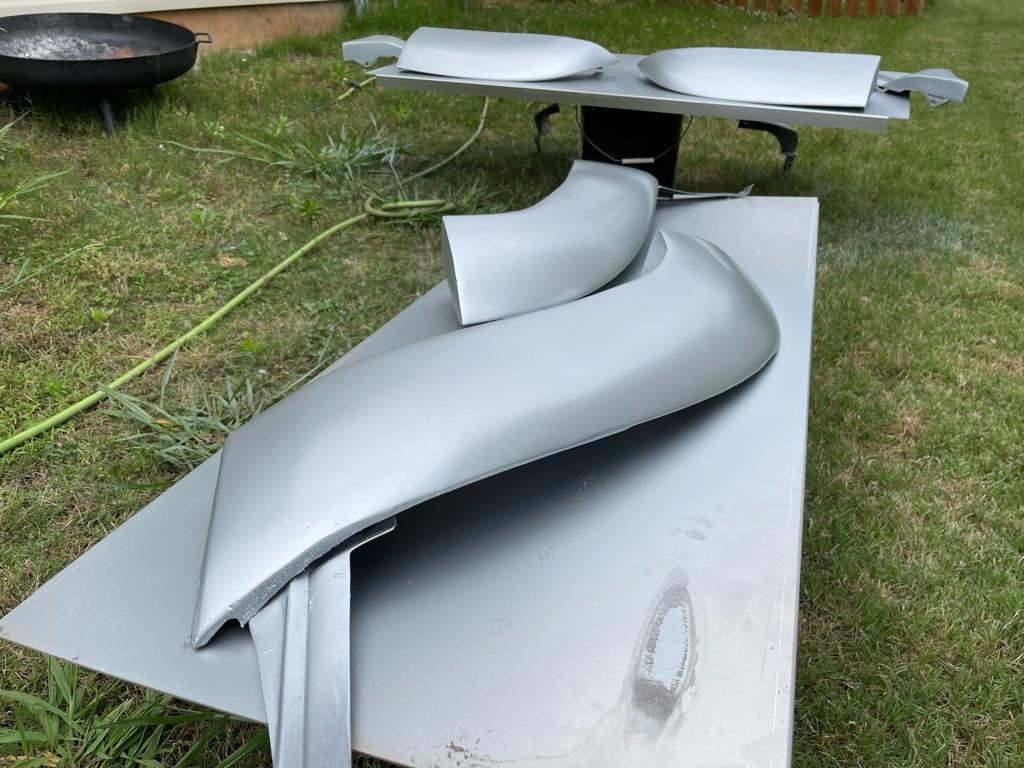
But I surpassingly made super quick work of it.. all in the mater of my lunch break. Cut out the soft spot, filled it with bondo glass twice, rough shaped it, and 3 coats of body filler along with a glaze coat. The heat today really helped dry it all out super fast. All of these are now primed and drying. Now all that is left to do is to wet sand and paint /clear… please remind me not to do anymore custom body projects and just go enjoy this damn thing already. Lol

5d46e7f536c2e0b87a2aac7c43af7a13.jpg

bc6542d3696baca0104a9142ebcd381a.jpg

3e5a09daa92b1abb0841702a37f9cd61.jpg

1a231aa2bcc25689f1a2fcfbbbeff8af.jpg


Sent from my iPhone using Tapatalk
 
Last edited:
Well now you have people interested and lined up.

Can we do a group buy?????

:party:

man...honestly.. I would love to be able to contribute to the community and offer something like this.. but I just don't see people willing to pay the money to make it worth my while.. I can't imagine how much money it would cost to actually bring this to market for someone like me lol.

I certainly am not willing to hand build them.. I would have to charge a ridiculous amount of money just to cover the time it would take.. forget any sort of big profits lol. Not to mention there is still the complication of how you actually do this for other folks.. I'm using my factory flares as a base.. what happens if you want to provide these to folks? Do you have them do their own custom work to adhere the outer shell? Do you have them send you their panels to adhere the shell to? Or do you go full out and also reproduce the back portion of the factory flares and make it a one-piece snap-in option? There are a number of body clips on the backside that I just don't see being able to reproduce to work good in fiberglass.

oh yea.. there's also the hole thing of the rear bumper piece only being about 1/3 of the full bumper flare.. since i'm missing most of the factory bumper and all.. lol.

Believe me... I have thought about it quite a lot lol. If I could, I certainly would..
 
Last edited:
man...honestly.. I would love to be able to contribute to the community and offer something like this.. but I just don't see people willing to pay the money to make it worth my while.. I can't imagine how much money it would cost to actually bring this to market for someone like me lol.

I certainly am not willing to hand build them.. I would have to charge a ridiculous amount of money just to cover the time it would take.. forget any sort of big profits lol. Not to mention there is still the complication of how you actually do this for other folks.. I'm using my factory flares as a base.. what happens if you want to provide these to folks? Do you have them do their own custom work to adhere the outer shell? Do you have them send you their panels to adhere the shell to? Or do you go full out and also reproduce the back portion of the factory flares and make it a one-piece snap-in option? There are a number of body clips on the backside that I just don't see being able to reproduce to work good in fiberglass.

oh yea.. there's also the hole thing of the rear bumper piece only being about 1/3 of the full bumper flare.. since i'm missing most of the factory bumper and all.. lol.

Believe me... I have thought about it quite a lot lol. If I could, I certainly would..

For mass production and sale it might be feasible to make them from sheet metal. A little different style than what your design is but could be made to be bolted on. Could have 2 options, a high-clearance flare where you trim the factory sheet metal underneath for larger tires and a factory-style flare leaving the sheet metal intact. Similar to the Fab Four sloth Tacoma I posted in my thread a while ago. Only issue is it wouldn't give added width to the truck unless we came up with clever sheet metal tricks.
 
It’s back it’s back ! Andddd missing the spare boots.. smh lol. Now to make some time to throw this in…

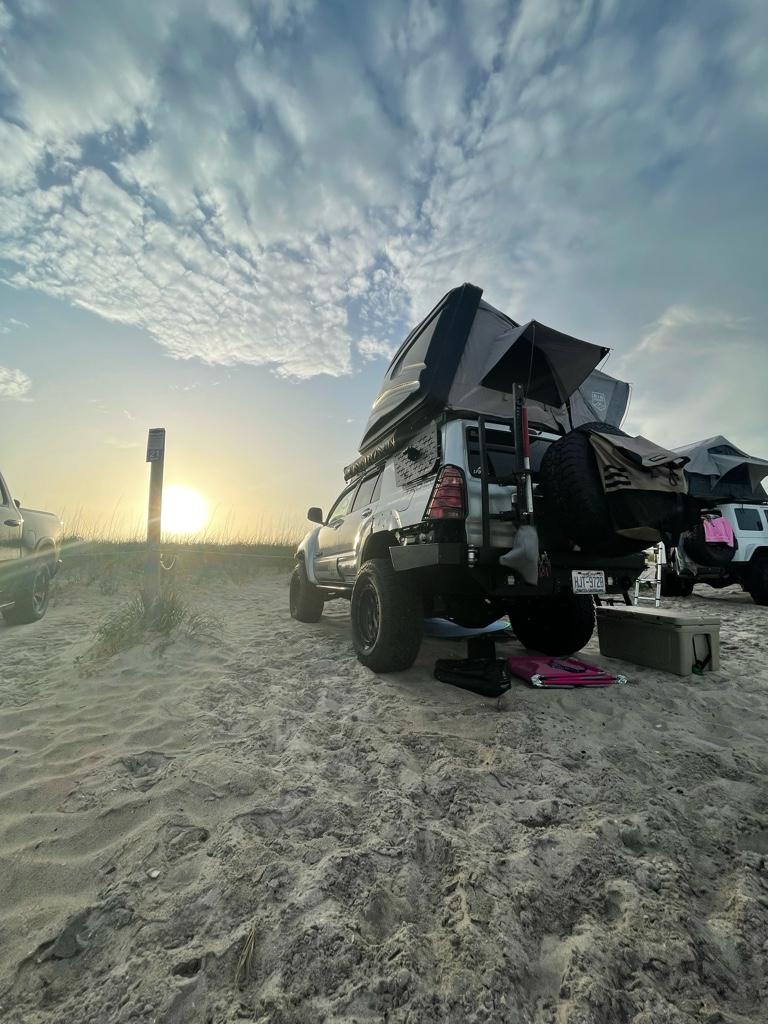
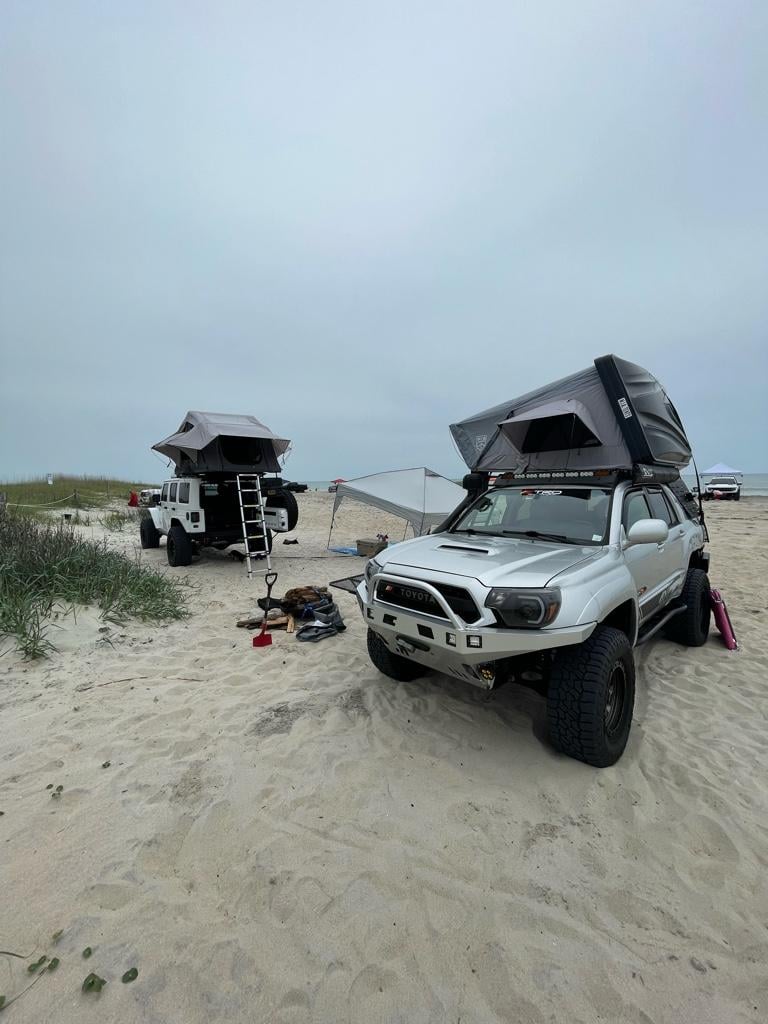
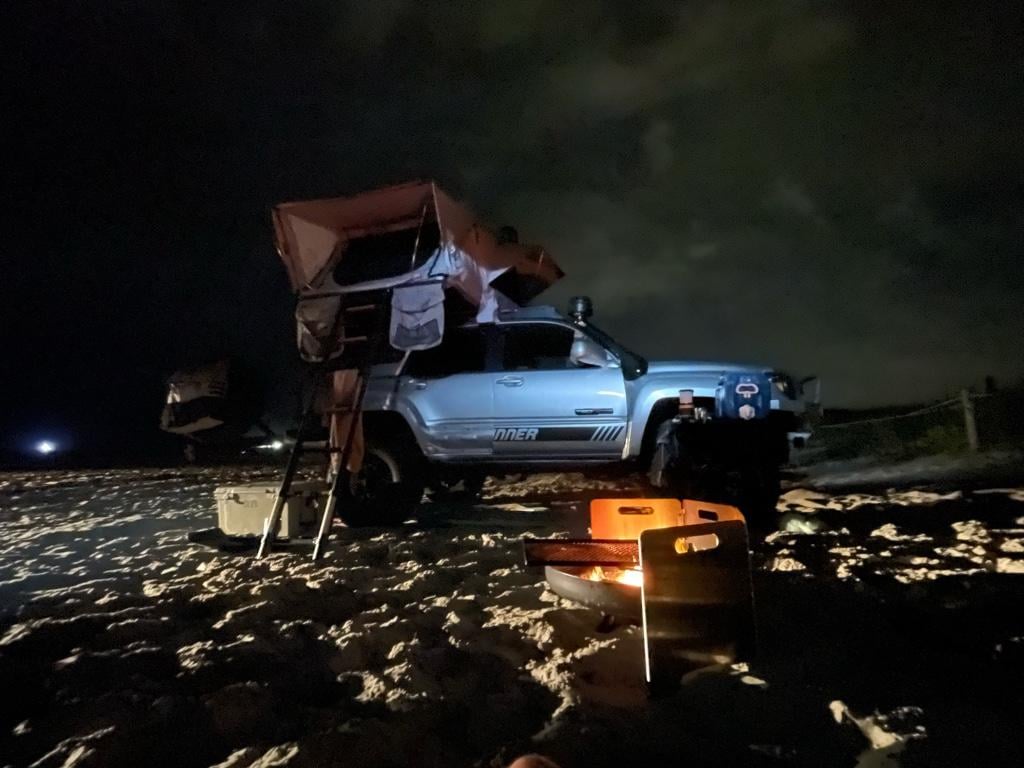
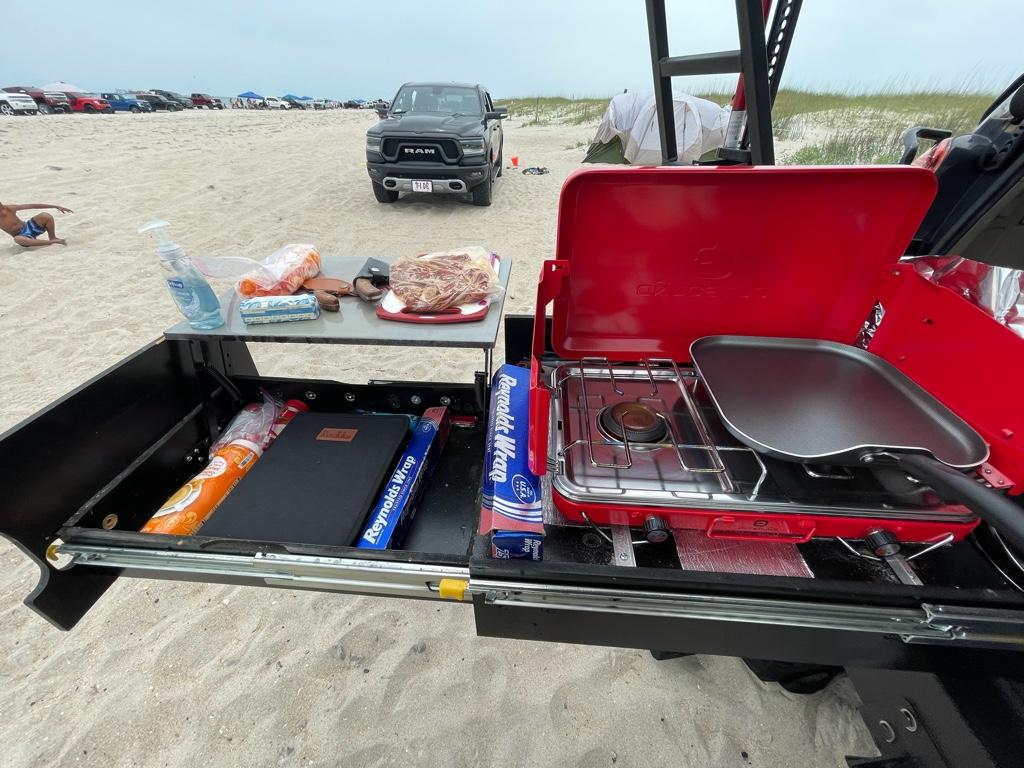
We planned a beach camping trip tomorrow into Monday at Carolina beach, so no more work on the car until we’re back. Everything is in full blown overland mode

dc9cd956e8b3903790ba8af418b69a91.jpg

e5ae6caf9a78ff7b3046baf390f3535e.jpg


Sent from my iPhone using Tapatalk
 
Last edited:
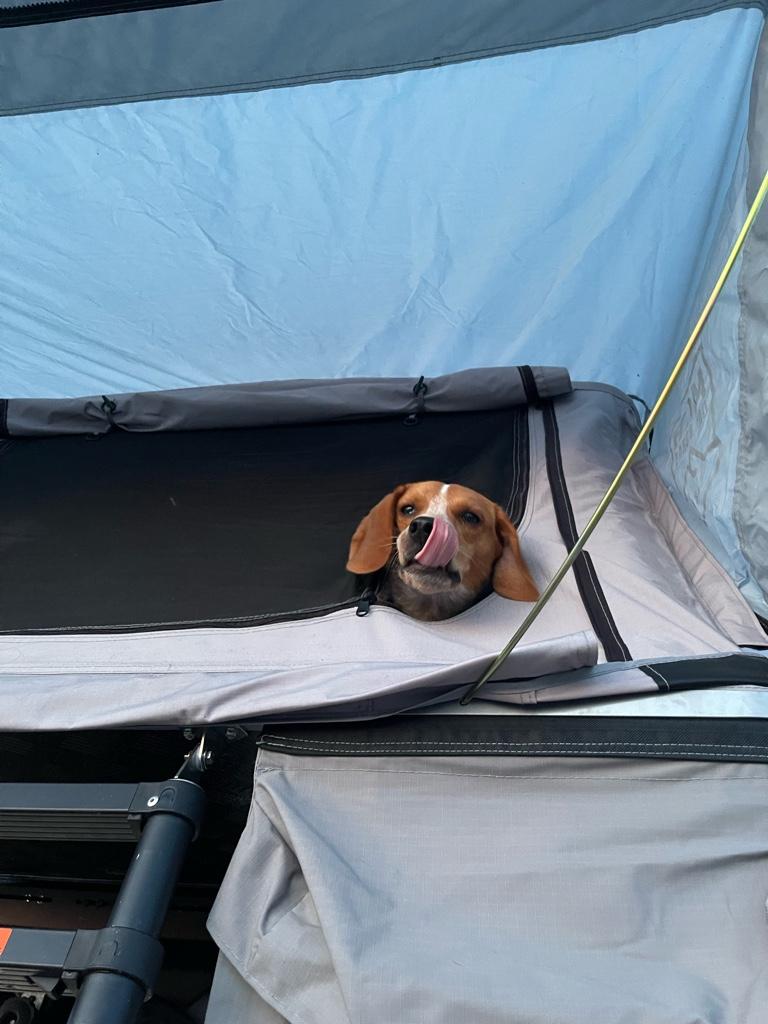
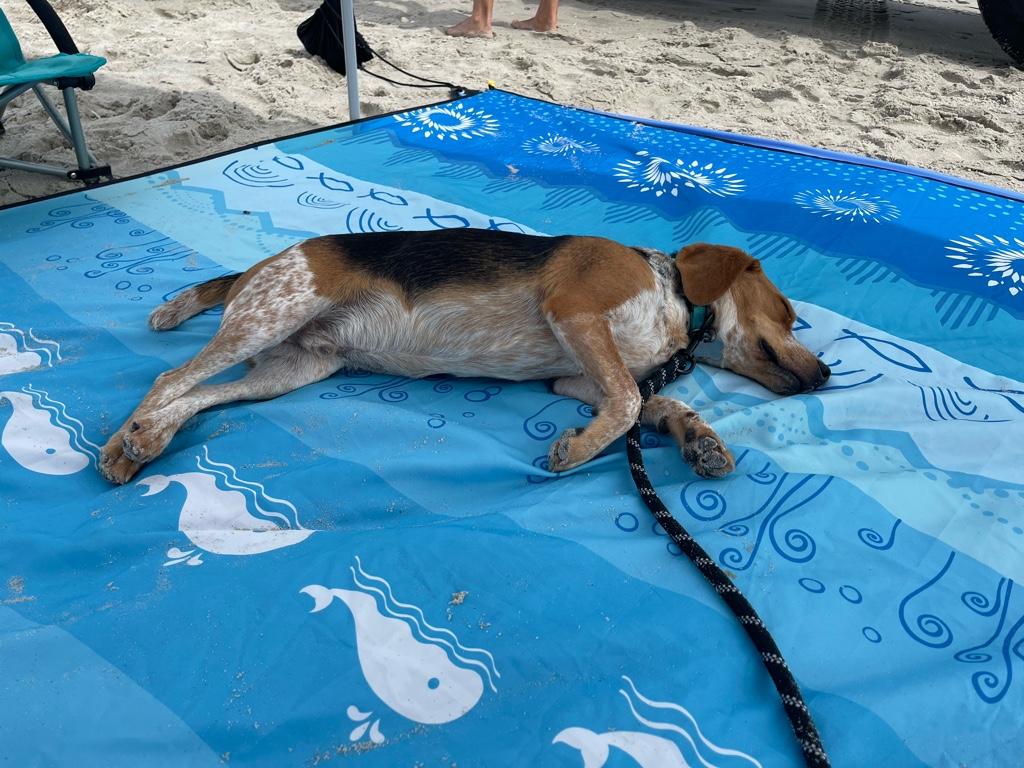
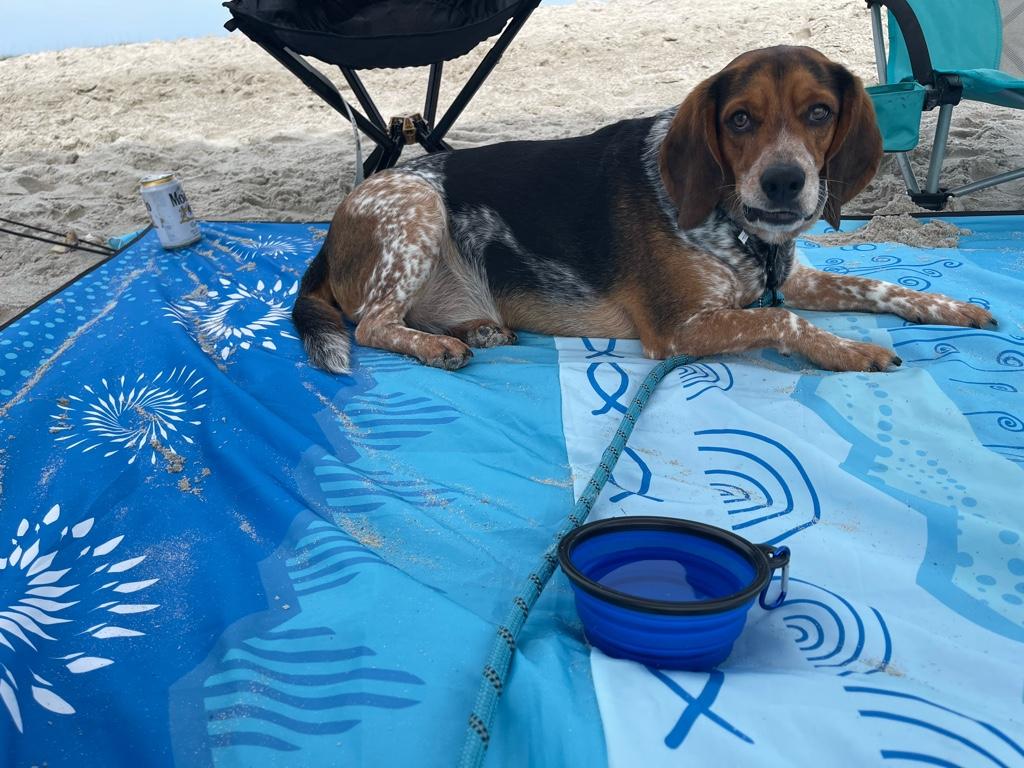
Beach camping with the wife and puppies was a success. The trip did not disappoint , and the rig did wonderful, couldn’t ask for more from it. Now to get some rest .. lol

3735ddb39a49ce3fadaab82fe8f04e6b.jpg

c5ff6a29ee6f87a31f2d3d7db683a56e.jpg

083a45ab06122fd705aa36a0cb3df36c.jpg

27bef61e5318a512dcb82f2aee61fd35.jpg

2c3757d7537137550500ddaed33e3f84.jpg

e82f57965e32edacd9e10db26733374c.jpg

281adfbf99c9f9d90e9b04552e4a59d8.jpg

57ff0f57006b78e01b97666dca43cbaa.jpg


Sent from my iPhone using Tapatalk
 
Hey man, glad you had a nice trip! How's that sway bar holding up? Since I got mine installed, so much better during highway speeds and cornering in general, lot less body roll! Thanks again for the info on the TK1 racing sway bar!
 
Proper or not.. I’m done prepping these panels. This took significantly longer than I anticipated.. ready to pick up some paint in the morning and spray these panels this week so I can slap them back on the car.

Far from perfect, but I think it’s close enough and hopefully they hold up and don’t crack off of the original panel.. time will tell lol. The hole “saving time by not wrapping in fiberglass “ route may very well come back to bite me in my ass .. but let’s see what happens. With my luck, I’ll put one of these sides into a tree my very next outing and destroy the things lol.

f71680767a7afd01e4eb63cd7f796675.jpg


Sent from my iPhone using Tapatalk
 
Hey man, glad you had a nice trip! How's that sway bar holding up? Since I got mine installed, so much better during highway speeds and cornering in general, lot less body roll! Thanks again for the info on the TK1 racing sway bar!

Mine's been holding up awesome so far man! I'm checking it regularly in case something starts falling off.. lol Not sure how much I trust my welds yet..

It has been a hell of an improvement for street driving, especially loaded up fully for the beach trip.So much less sway taking turns and on-ramps.

We're planning on going wheeling soon, so I think that will be the real test to make sure I don't pop any welds, and also verify that I haven't lost any articulation. I'm super happy with it, especially considering that it wasn't ALL that much work to install.
 
Right on! Glad it's working out well for you! Curious to hear back how well it does for offroading!

Mine's been holding up awesome so far man! I'm checking it regularly in case something starts falling off.. lol Not sure how much I trust my welds yet..

It has been a hell of an improvement for street driving, especially loaded up fully for the beach trip.So much less sway taking turns and on-ramps.

We're planning on going wheeling soon, so I think that will be the real test to make sure I don't pop any welds, and also verify that I haven't lost any articulation. I'm super happy with it, especially considering that it wasn't ALL that much work to install.
 
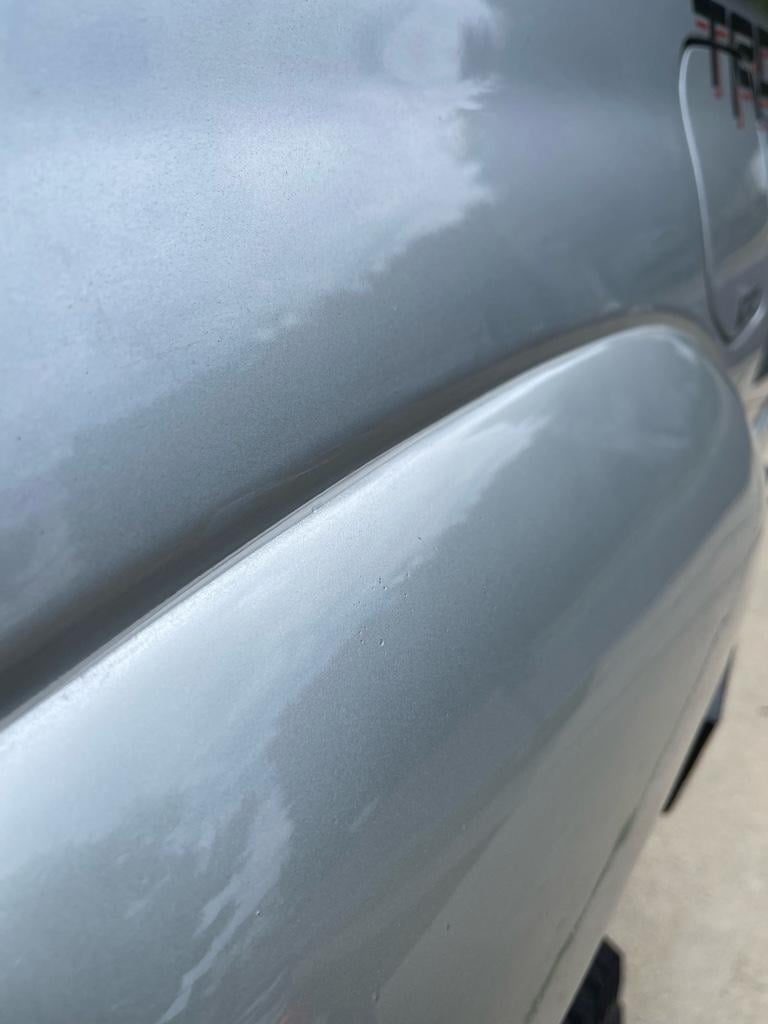
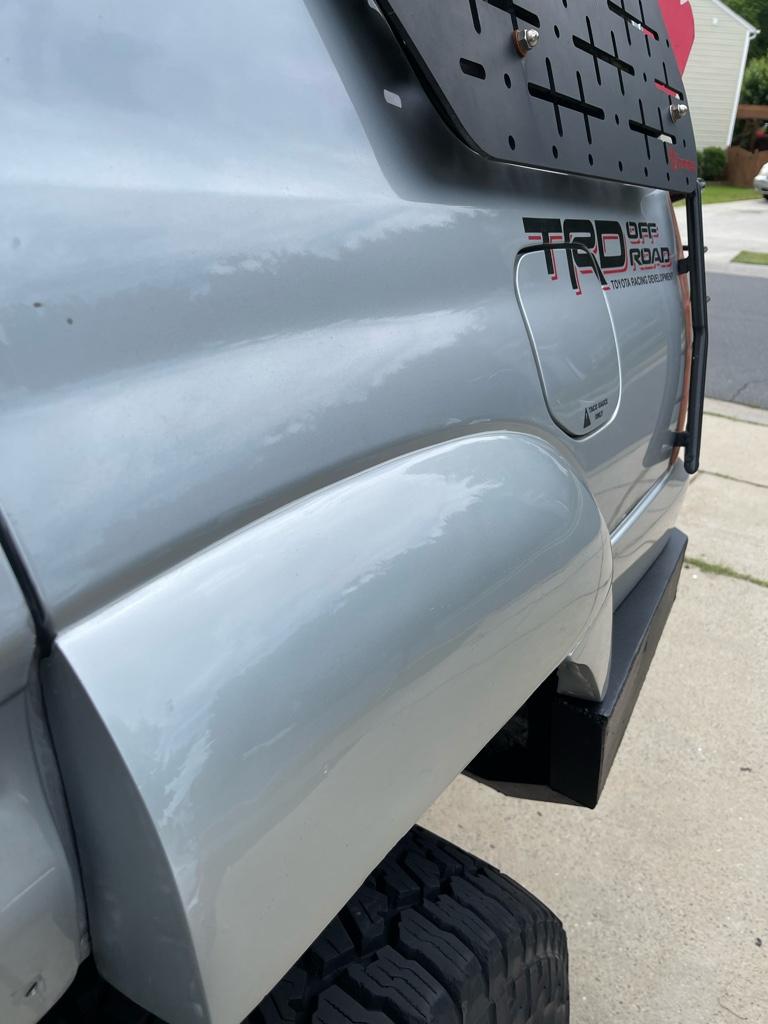
Well.. they’re certainly far from perfect… but at least the paint is on .. lol.

I figured there was no reason to continue perfecting the finish without knowing how these will even hold up long term with having foam inside for a backer.. and not to mention trail use and abuse.. it’s about 90% there finish wise, a bunch of small pinholes that I didn’t feel like filling and sanding again, and I did see a couple of spots that could have been blocked better ahead of time, but overall these should look pretty decent from 5-10ft out lol. Eventually with my color change plan these small imperfections won’t matter anyhow since we’ll have to sand the whole car down a bit so I think for now it will do.
7d81fb8f5f757ca69b8a994e16ba93a2.jpg

4f7d158370a9fe055ee858cd97bf44dc.jpg

316672e305be52aab07db402a64b13ba.jpg


Sent from my iPhone using Tapatalk
 
And the clear is on. Super sleek and wet lol. Like I said, far from perfect , but she’ll be a good 5footer. Can’t wait for this to dry tomorrow so I can slap these on and see what it looks like.
25bacb654cb57ea25aa82209a527d6e3.jpg


Sent from my iPhone using Tapatalk
 
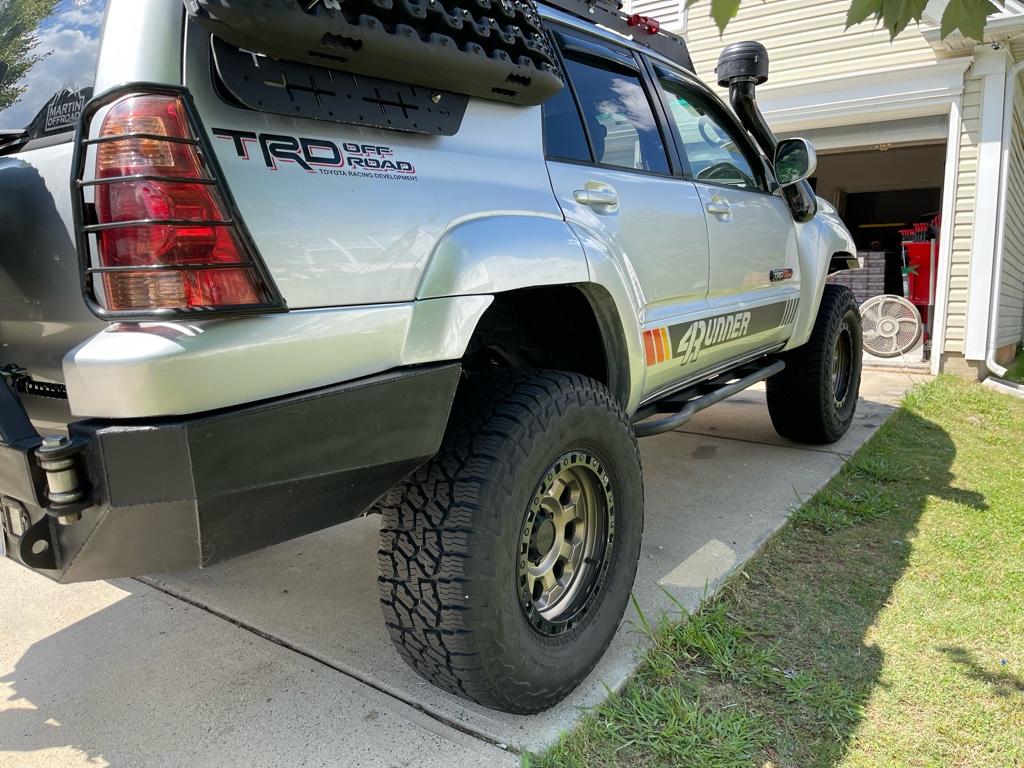
Project Big Booty Judy is just about wrapped up.. so much effort .. so much time .. I don’t know what to do with all the free time I’m about to get lol.

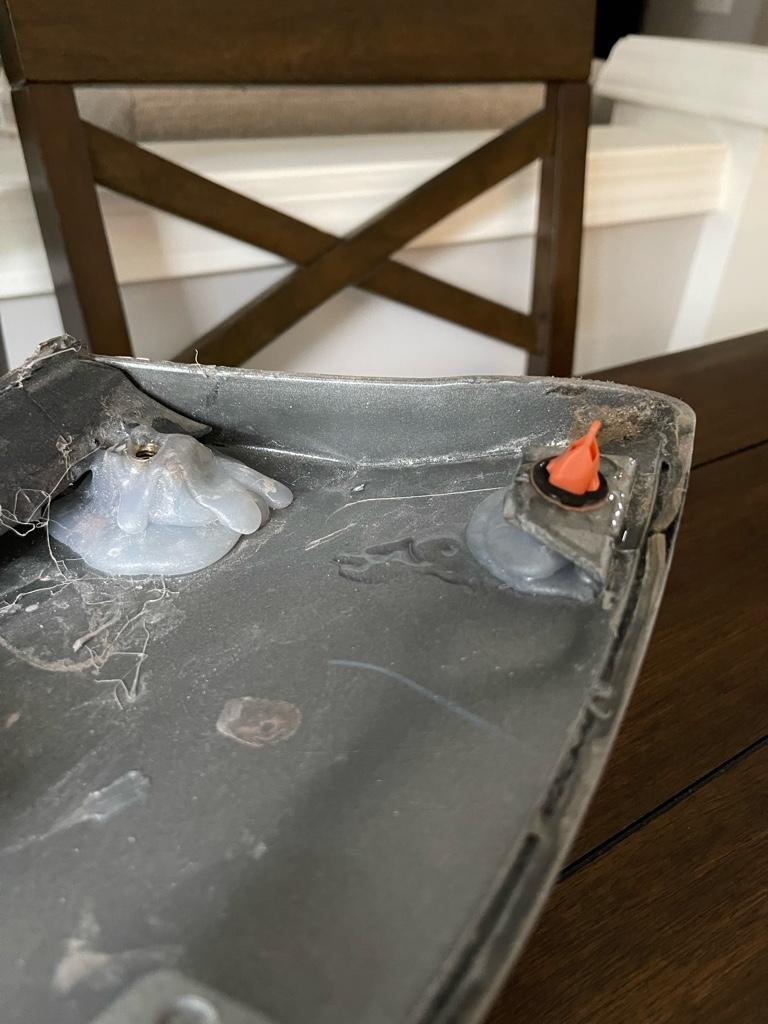
Ofocurse I ran out of body clips to fully install one side. And the passenger side door flare snapped THE most import clip at the top right that sucks the corner down.. yay.. so now I’m waiting for the epoxy to dry and hope like hell that it holds.. if this doesn’t work I’m not exactly sure what I’m going to do.. will have Jerry rig a way to set a nutsert and drill a whole from the inside to be able to use a screw instead of a clip maybe.. we’ll see. A bit disheartening but it’s the nature of custom projects I guess.

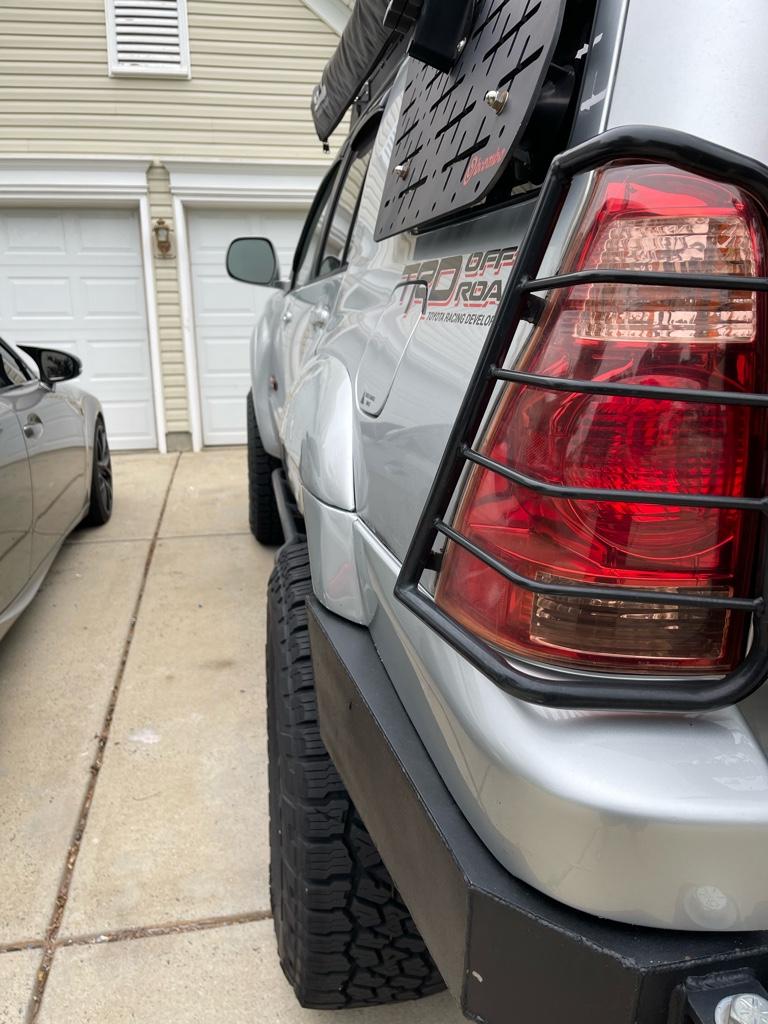
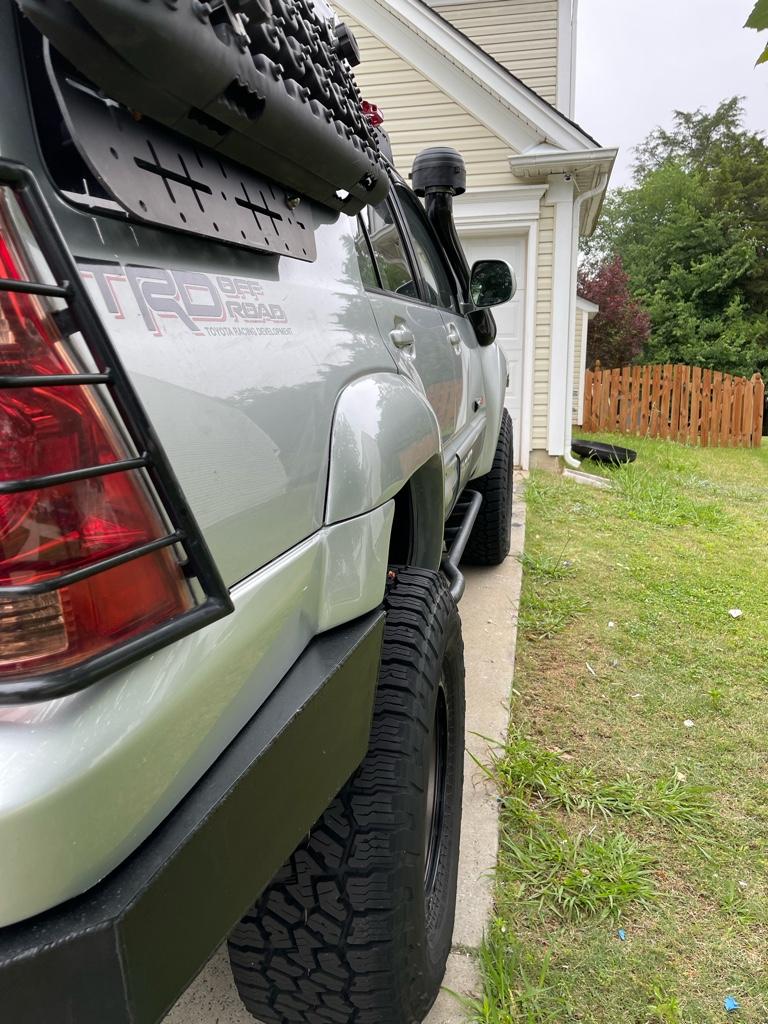
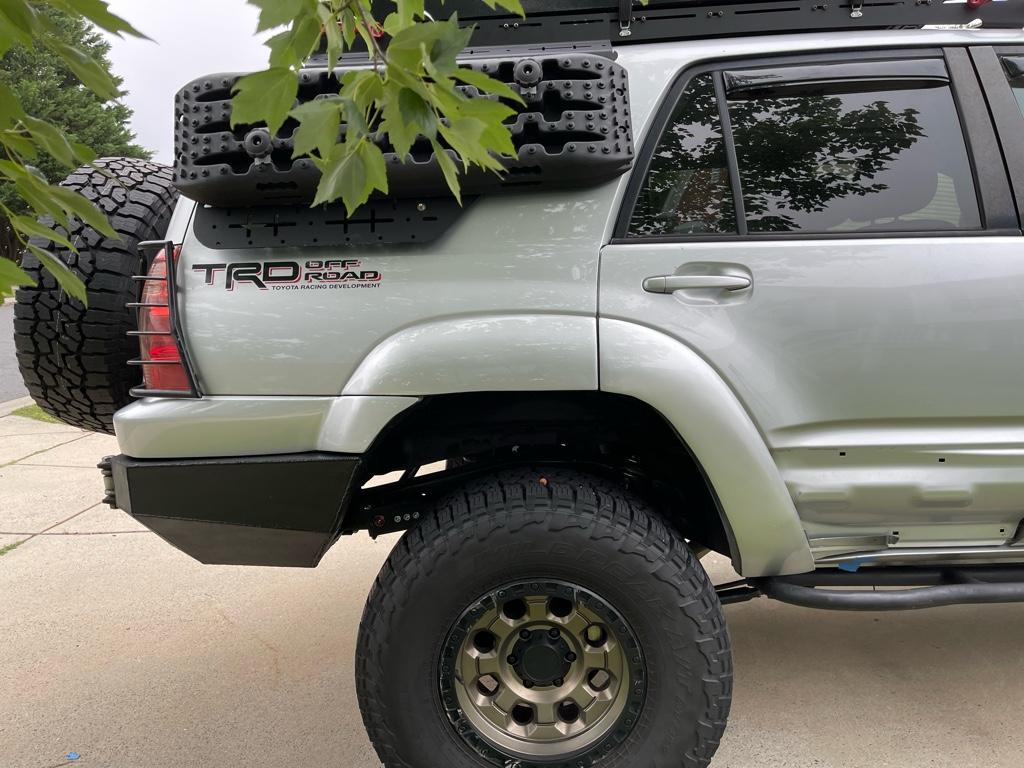
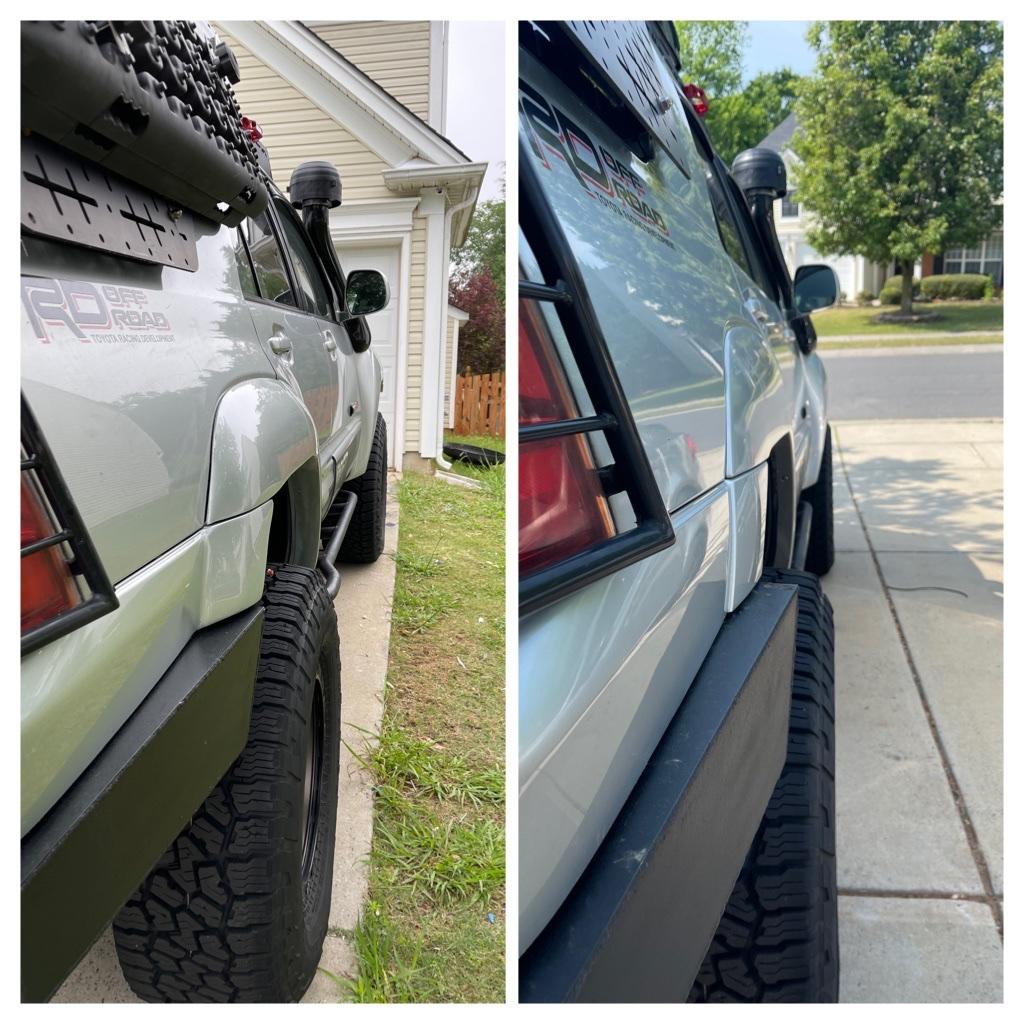
To me these look so factory that it’s actually kind of hard to tell it’s wider than stock unless you compare back to back to a stock rig. I like that and I hate it .. lol. A part of me wishes I went a bit more aggressive with styling, maybe a bit wider and with harder lines like the front fenders, but I know damn well what nightmare that would have turned into lol.
d4c1ebe425441f423bf976a4f548407d.jpg

7dfa182338cf2582199fb32f9e19703c.jpg

a8b366ce3a24090c8f009cc110273bad.jpg

6cbe0f01d1260db9338449e5c9ac4bb2.jpg

1e5720140583df91045e763586824de0.jpg

6318548d15bf251307fcf40e5050eff9.jpg


Sent from my iPhone using Tapatalk
 
For once I have a decent before and after picture with decently matching angles lol
59536447337d5fa1dd520842436d1a7a.jpg


Sent from my iPhone using Tapatalk
 
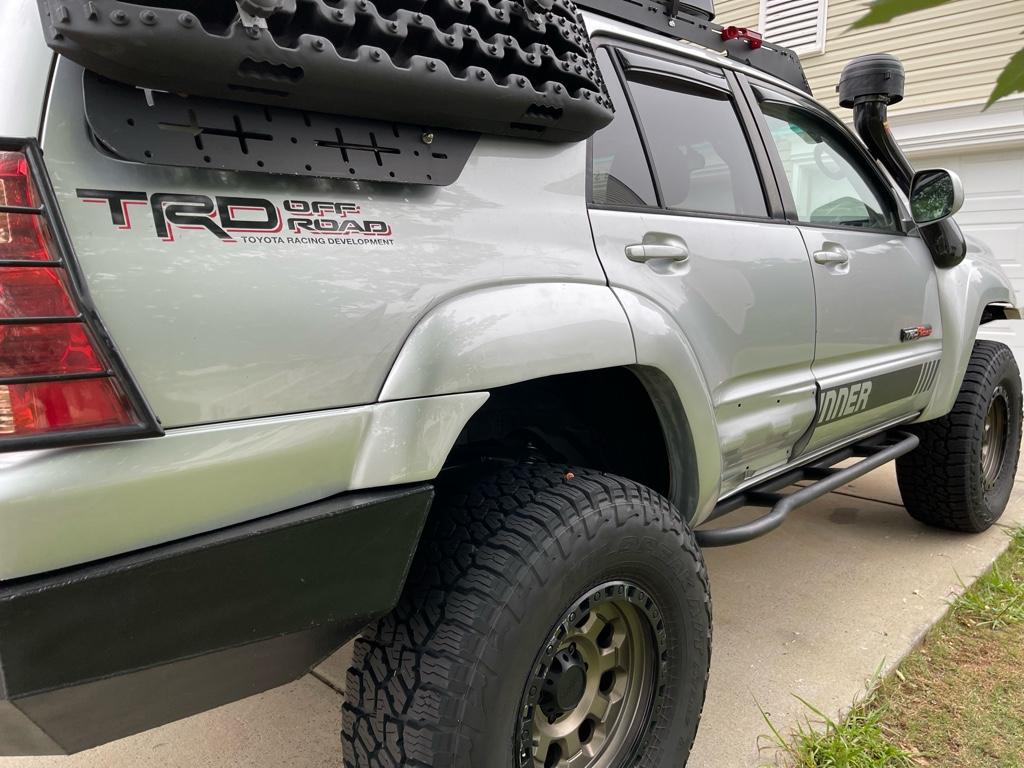
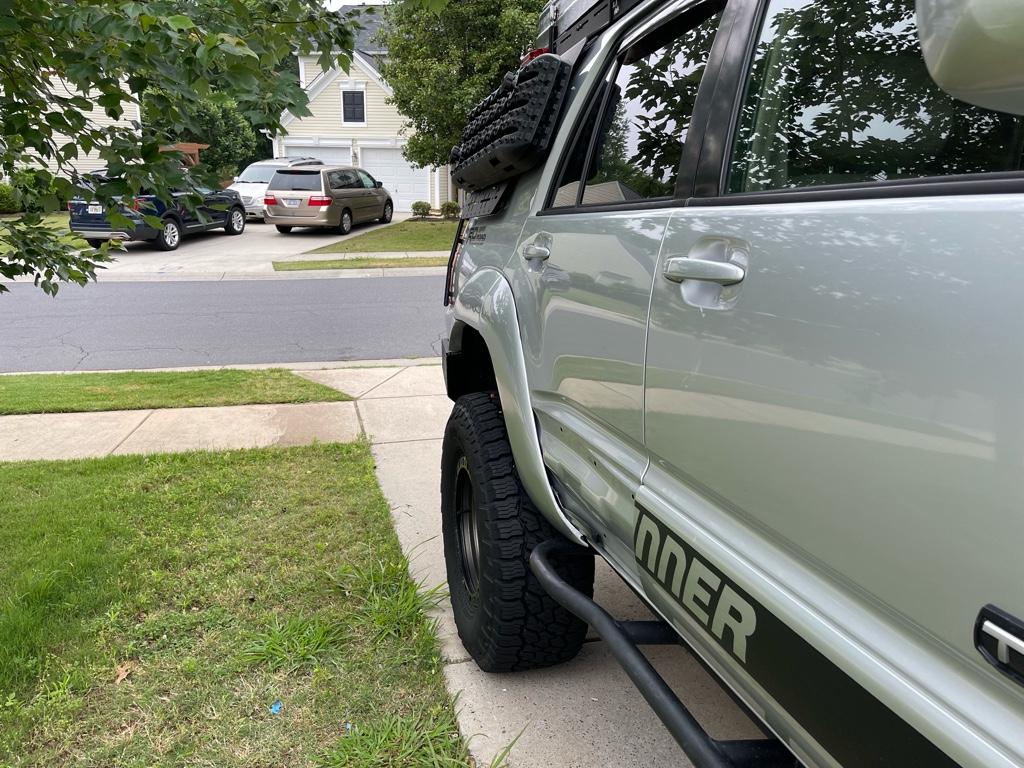
Got the body mount clips delivered and all the panels are on. I took it a step further and filled the larger than stock gaps with some grey silicone. Made it looks pretty good. Overall pretty happy with everything.

The drivers side door panel fitment and clips are not in the greatest of shape .. my nutsert I epoxied in failed and is only partially holding.. a bit worried about this corner peeling back a little .. but it can’t come fully off so we’ll see what happens… I may need to pull this off in the future and use a more serious epoxy to set either new clips, or nutserts or something to suck it down some because right now it stick out past the body flare just a bit.. oh well.I’ll rock and roll as is and see what happens.


On another note… I put off ordering hardware for the LC200 rack until last minute.. and not surprisingly the bolts I need are not available locally in store.. so my plan to tackle this project over the weekend isn’t happening .. oh well.. I need a break from this thing for a bit anyway.. maybe I can do that next weekend.

12feacd9196f2174b7cacee052b9cc0f.jpg

c7fea4428992a3ed34ffb25455044f37.jpg

3fc1204bf045b5f66c079784cea144a0.jpg

6dffc4beba1fe50b56124f19ebd34dea.jpg

b0f4ae6454f6fe5e4969d3724f919ff3.jpg


Sent from my iPhone using Tapatalk
 

Members online

Forum statistics

Threads
278,312
Messages
3,554,084
Members
248,016
Latest member
Advally Service

Trending content

Back
Top