AirspeedX's Build / Trips

Custom Bumper

I see a bumper in your avatar, but nothing on your build thread? Any updates?

Sorry about that. I'm terrible at updating this thread. Too busy surfing the forum or actually out in the garage trying not to set myself on fire.

This happened on a recovery mission for a JEEP:
FB_IMG_1430234828220.jpg~original


I was reversing out of an off camber greasy trail, slid down a hill a bit and clipped the front fender in a tree - which then showed the weakest link pretty fast. Time for a bumper!

I built the bumper myself. Stick welded the whole thing and cut every piece by hand with either a zip cut or Milwaukee Porta-Band. Countless hours put into it. I wanted to completely open the front tires up and increase my approach angle, while obviously adding a winch and front recovery points.

Bumper is made out of 1/4" plate (for the winch and mounts), 3/16" uprights, 1" recovery points and 1/8" 'outer wings' to save on a bit of weight. I also used 3/16" inside the bumper for gussets and supports.

A lot of math, scratching the head and cardboard cutting was involved. But I love the way it came out.

I also had to delete my turn signals and integrate them into the parking lamps (used an inline resistor to stop the rapid blinking). Washer bottle relocate as noted above had to be done too. I also mounted my Aurora 20" and Rigid DOT fogs in the center opening, directly in front of the winch. Tight fit but everything is functional and works great.

Almost complete - test fitting:
20150514_124159.jpg~original


Primed and painted:
20150531_123122.jpg~original


Installed:
IMG_20150625_144144.jpg~original


Already has taken a beating between falling in ditches and rubbing the occasional tree on our quad trails:
FB_IMG_1437830821999.jpg~original


FB_IMG_1437282872143.jpg~original


I may modify it this winter and add a stinger and hoops with an integrated rub rail system for the fenders to the sliders. Or I may build a whole new bumper now that I have much better equipment in the shop.
 
Camburg UCA's

Ordered from Wheelers Offroad. Man, these were expensive! Between the USD - CAD exchange rate, shipping and customs they came out to just over $800 CAD.

Anyways, win some lose some. I installed them myself. Went in fairly easy. A bit of a pita lining up the washers and the main bolt but it's not 'rocket appliance'.

Hardest part was popping the dust cap on. It's such a tight fit that the air can't squeeze out as you push it down. I pushed it on about half ways, got fed up, went in the house then went out again and pushed it the rest of the way in with a 2x4 and a hammer.

I went with the ball-joint UCA's over uniballs due to maintenance. Ordered them in with the MOOG bj's pressed in already.

Currently, the 4Runner is in the shop getting new tires installed and a computerized wheel alignment. I told the shop owner that the caster needs to be pushed as far towards 4 degrees as possible, while still keeping a straight line down the road.

New tire pictures to come! Went with 285/70/17 Cooper STT Pro's

IMG_20150831_203647.jpg~original
 
New shoes

So this is happening right now:

IMG_20150913_215713.jpg~original


General Grabber AT2's (265's) being taken off:
IMG_8818.jpg~original


Old vs New
IMG_8819.jpg~original


Cooper STT Pro 285 on!
IMG_8820.jpg~original
 
STT Pro mini review / Jeep rescue

So one of my Jeep friends called me late in the afternoon a couple days ago and mentioned that she got her stock JK stuck in a mud hole. I have to say, she did quite well getting that far in the trail.

On the positive note, I got to try out my new mud tires. What a difference! This trail is normally relatively easy with a couple very technical areas (straddling greasy 2-3 foot trenches, complete vertical approach and departure out of another mud hole about 2 feet high). The STT Pro's did very well! I didn't air down and already felt like a tank just sloshing through whatever could be thrown my way. On the highway, they are quite a bit louder than the General Grabbers but nothing crazy. All in all, I am VERY happy with these new treads.

Nice and clean!
20150919_192134.jpg~original


On our way! Row row row your boat...

20150919_200151.jpg~original


The SmittyBilt XRC-8 pulled her out. I was happy to finally use it and test out my bumper/winch mounts. I was actually dragging towards the Jeep during winching but finally got it pulled out. Very happy with this winch. It wouldn't be my main choice for a winch but the deal was too good to pass up and so far, it works great.

IMG_8554.jpg~original


IMG_8551.jpg~original


She almost made it! Not bad for stock - although I razzed her about having a drop hitch on the back. Don't wheel alone people. She was lucky to have cell service out there. It was a fluke.
IMG_20150920_083653.jpg~original


My buddy's JK that came to help on the rescue mission. He got some GoPro footage.
IMG_8558.jpg~original


After getting home - so much for plasti-dipping my rims in the morning...
20150919_214023.jpg~original


20150919_214058.jpg~original
 
Last edited:
Lunar Eclipse

Went out lunar eclipse searching.

DSC_0049.jpg~original


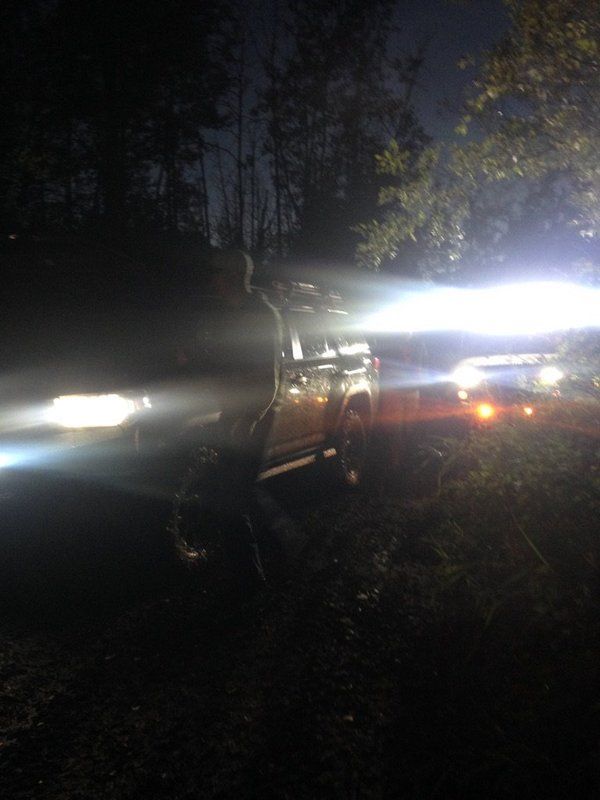
...and got some night shots of the 4Runner.

Rigid DOT/SAE Fog lights only:
DSC_0064.jpg~original


Led headlights / Rigid Fogs / Aurora 20":
DSC_0068.jpg~original


DSC_0078.jpg~original
 
Some randoms from the end of 2015:

Pulling out a Jeep:
FB_IMG_1449998228020.jpg~original


Featured on Instagram :)
Screenshot_2015-12-17-20-59-24.png~original


Decided to plaster the rear window with stickers:
FB_IMG_1450191053405.jpg~original


Trail shot. I was leading the way but 3 of the Jeeps in the group lost their front U-joints or diffs. Was a long day of pulling them up icy hills. Lots of waiting around as well.
FB_IMG_1450191018774.jpg~original


Here I am hooked onto 4 Jeeps. Two of them were pulling/winching two others up a very steep and icy hill but ran out of steam. The 4Runner hooked onto the front of the pack and impressed me quite a bit as we had our own smaller hills to climb with everyone attached during this recovery. Got the job done!
FB_IMG_1450040707509.jpg~original


Going to be out of commission for a little bit, more to come!
20160102_200405.jpg~original
 
Rear Bumper

Sneak peak of the bumper progress so far:

20160303_144312.jpg~original


Slightly older picture. It's ground smooth now, painted and once I get back from the Edmonton Oilers game - I'll have it fine tuned and mounted. Disregard the trailer connector hanging down. The angle iron at the bottom has also been cut out and ground down.

Frame mounts are 1/4" steel. Tow points are 3/4". Everything else is 3/16". The hitch and tow points are stick welded in with a 6011 root pass followed by 7018. The rest is mig welded. Each frame rail has 4 bolts and the middle section of the bumper is bolted to the rear crossmember (2 bottom and 2 vertical). Total of 12 bolts. This thing isn't going anywhere. Total weight is 132 lbs. It felt less as I've been carrying it around myself but the scale doesn't lie.

The Hypertherm plasma cutter made life much easier on this project. I'd still be out there zip cutting pieces.

Next up will be a double swing-out for a 35" spare, hi-lift and cooking table with a modular attachment for a bike carrier, bbq or jerry cans. Just waiting on my second spindle, latches and pull pins to come in.


I'll post finished pictures when I get back from the city.
 
I love your build and adventures.

It warms the heart to see you pulling the Jeeps along the trail.


Thanks!

I was at the pub last night with the local off road group. A random guy walks to our table and asks, "who owns the black Toyota?" Everyone pointed to me. Then he said, "It sure puts the rest of those Jeeps to shame eh?". The table erupted. We all got a good laugh out of it.
 
Some random pics I've recently taken:
FB_IMG_1459724004142.jpg~original


12961164_554922625296_3736017983960656950_o.jpg~original


FB_IMG_1459723994224.jpg~original


FB_IMG_1459723813302.jpg~original


IMG_20160328_111033.jpg~original


IMG_20160317_221650.jpg~original


Had the Peace River Off Road group out for a short run. Ended up getting bored and tried a more challenging trail. I NEED to get a video next time. It was basically a very greasy trail (mix of mud, snow and ice) going downhill about a mile to the river. Other than a couple sketchy off-camber areas that can slide you into a large ditch, going down wasn't so bad. Getting back up went much better than we thought. I aired down my Cooper STT PRO's (33") to 18psi and climbed up mostly in second gear in 4LO with the rear diff locked and ATRAC on. I don't normally use everything I have, but it was a matter of making sure I got up - and everyone else for that matter. We all envisioned 2 hours to make it up. 2 Jeeps got stuck, slightly. Made it up in under 10 mins. I have to say it was the most challenging offroad driving I've experienced yet. Very fast, high rpm's and very technical (dodging trees, thick limbs, big ruts - and balancing all that on a narrow, uphill trail with a ravine on each end). Again, a video is necessary! Thanks for reading this if you've made it this far! Can't wait to do it again!
 
Swing-out

Completed the right side swing out hours before we set off on a camping trip with a couple of Jeep clubs in the vicinity. I designed this so that the hinge takes almost no load when the arm is in the closed position. Also, if the latch opens on the highway, the pull pin will keep it from opening more than a few degrees. The latch isn't going anywhere though - I've personally trail tested it and couldn't believe it didn't pop open.

Mall crawling shot -
28038231651_5b9e76746e_o.jpg


Left side swing out will be put together when my latch order arrives. It'll be used primarily for a double jerry can and propane tank holder.


A few more pictures from the trip...

Kakwa Falls, Alberta
27500770683_11d66cec43_c.jpg


Hanging with a 3rd Gen
27500771223_46c73d29fd_c.jpg


The 4Runner also doubles as an air-out rack!
27500770053_f593582d62_c.jpg
 
Last edited:
Water Crossings

Hitting the water en-route to the Falls:

YouTube

Remember to Tread Lightly out there! All of these crossings were on the designated trail - although at one point it had me wondering. Water was a touch higher than the previous time I was in there.

Sorry for the crappy video editing skills.
 
Last edited:
34" BFG KO2's

I completely forgot to post these!

27501459364_9cdb43940c_c.jpg


27501457894_75e7267376_c.jpg


27501456684_2a74e30c71_c.jpg


27501455424_436f48583c_c.jpg


34"x10.5" BFG KO2's installed. Wanted these for longer expedition trips to save some fuel and also for the winter. Still love my 33" Cooper STT Pro's but they are horrible in the winter (as to be expected) and I don't want to burn them up on the long trips I have planned in the future. It takes me no time to swap them in the garage for weekend trips and local trail runs.

Body mount chop was required with the 34's. An aggressive one at that. I should re-gear here fairly soon. The get up and go isn't much worse than the 33's but you can feel it. At speed they are fine.
 
How did the BFG KOs balance for you? I've got some wobble with mine in the 95km/h area. I should take them back for a rebalance, but I've been too lazy...
 
How did the BFG KOs balance for you? I've got some wobble with mine in the 95km/h area. I should take them back for a rebalance, but I've been too lazy...
They seem okay for me. I got the balancing compound put in the tire which may be the difference. No wheel weights. Thought I'd try it out this time, so far they've been okay.

EDIT: Had to remove the compound. It seems like it sticks to the KO2's. Put on wheel weights and have been fine since.
 
Last edited:
Found some h11 hids in my garage that I thought I'd throw in. They put out better light than the Cree leds I had before. I'm guessing they are 6000k? Wish I had projectors. I doubt I'll keep them in long but since we barely get any darkness at night, I'm not worried about too much light being scattered for other drivers.

981f87bdac6c91519dd051f51f018a83.jpg


This photo was taken at 23:30
 
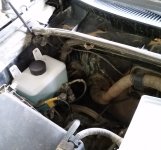
Windshield Reservoir Version 2.0

Well I couldn't do the redneck, zip-tied jerry can windshield washer reservoir anymore. For those that do decide to go that route - make sure you vent it. Otherwise it'll look like a mangled piece of plastic under the hood.

Bought this engine coolant reservoir off Amazon. It is much smaller than expected as their measurements were off but I'll see how much I fill it up. There's a plastic nipple on the bottom that you'll need to plug. I just used hot glue as that was all I had at the time and it seems to be holding the fluid with no leaks at all. Just drilled two holes (the size is escaping me at the moment), pushed the pump gaskets into place and then pushed the pumps into each gasket. I then used self-tapping screws to mount it. It's small and light enough that they should hold up. If not, I'll fab a bracket for it. Works like a charm and only cost around $30.
 

Attachments

  • 20160711_175424.jpg
    20160711_175424.jpg
    107.2 KB · Views: 350
Last edited:
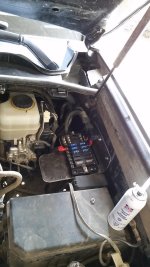
Blue Sea Fuse Block

Currently installing a 12 circuit Blue Sea fuse block.

Ordered a 100 amp waterproof CB off Amazon - still waiting for it to come in.

Fabricated the mount. Still needs paint.

I'm currently making the battery cables out of 4 awg and connecting within the next 1/2 hour. More pics to come!
 

Attachments

  • 20160711_175415.jpg
    20160711_175415.jpg
    91.2 KB · Views: 368
That's a sweet looking truck. I didn't know there was an Off Road Club up there, although I wouldn't have made it very far as I had an old Rav4 when I lived in Grimshaw.

When I return, hopefully this winter, I'll be bringing my 3rd gen T4R with me. Love the pics too, makes me really miss the entire region.
 

Members online

No members online now.

Forum statistics

Threads
278,310
Messages
3,554,080
Members
248,016
Latest member
Advally Service

Trending content

Back
Top