Dirtco's 1999 4Runner Build

I’ve been lurking around this site since I bought my 3rd Gen and I have found a lot of great ideas, along with tons of technical information. I figured it was time to post my build thread and add to the collection. While I’m new to the 3rd Gen 4Runner and IFS, I have plenty of experience with the older 1st Gen 4Runners! I started working on it a few months ago so I will need to get everyone up to speed.

This 4Runner is going to be built for moderate trails and snow wheeling, but it will also see some harder trails like Holy Cross and Chinamans. It's my daily driver so it needs to stay nice and be comfortable on the highway. It also needs to pull the camping trailer I've been building. I'm still working out a lot of the details, but here is the basic plan:

35" tires on 17" Beadlock wheels
SS1.2 lift
1" body lift
5.29 gears
Front ARB locker
Bumpers, Sliders and a whole lot of skidplates/armor
Winch (or winches) w/ synthetic rope
Etc, etc, etc :D

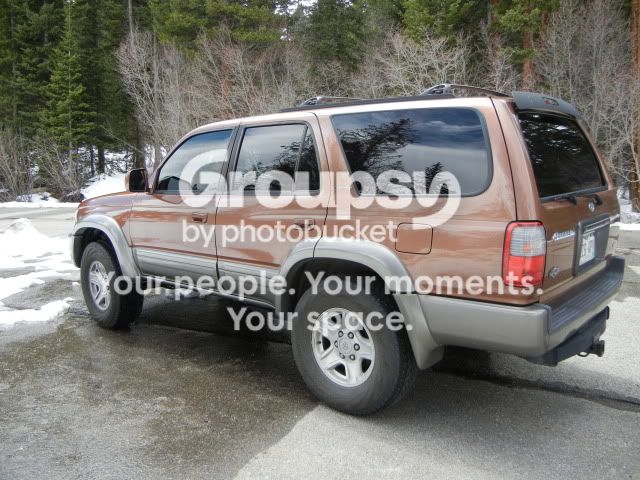
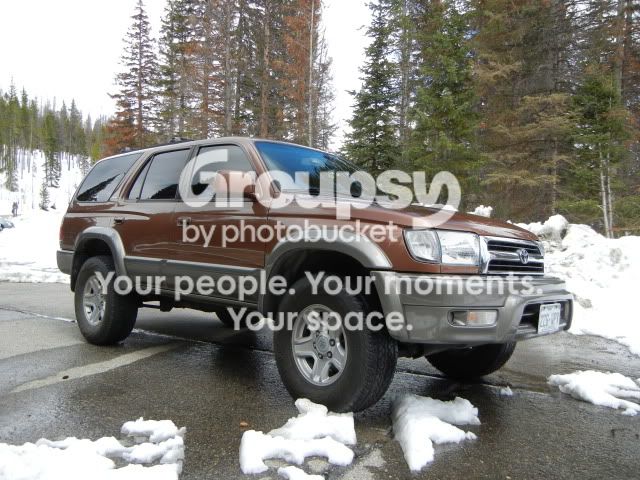
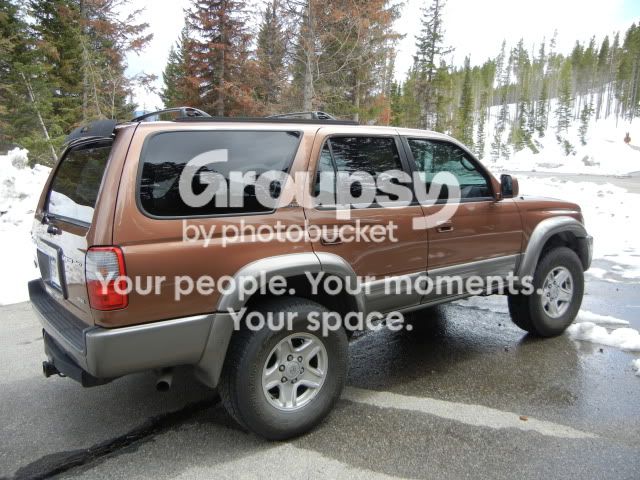
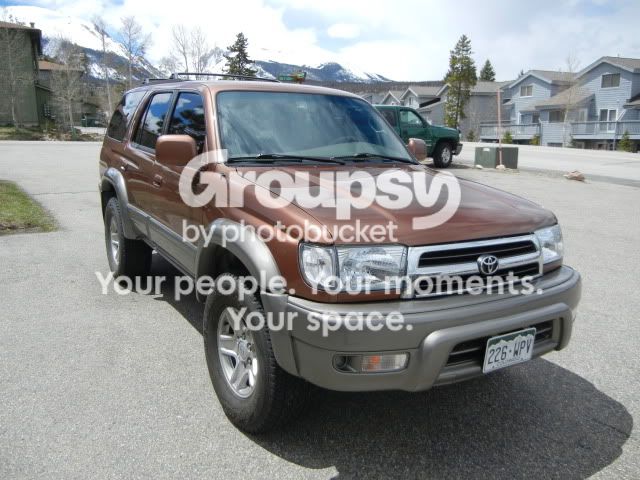
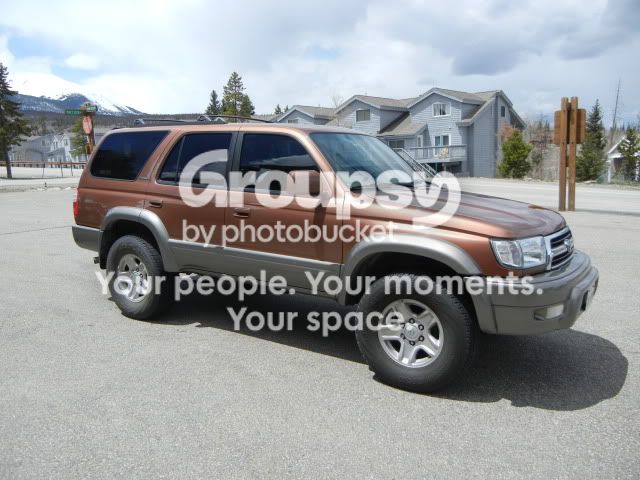
And here is the 4Runner shortly after I got it. I removed the running boards, trimmed the rear mud flaps and installed the clear corner marker lights.

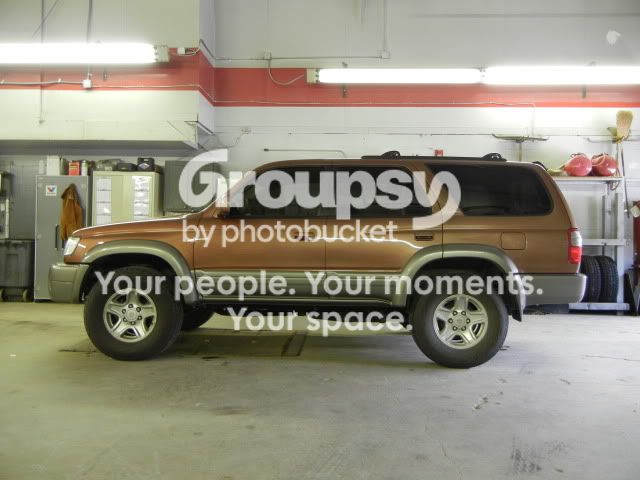
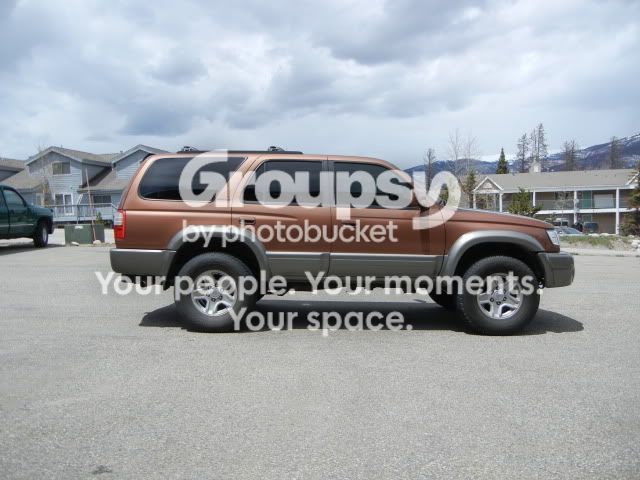
1999 Limited 4Runner - Autumn Blaze Metallic
Supercharged 3.4
Auto
E-locker
115K

DSCN0271.jpg~original


DSCN0272.jpg~original


DSCN0273.jpg~original


DSCN0275.jpg~original


DSCN0274.jpg~original


DSCN0280.jpg~original


DSCN0281.jpg~original


And a couple side shots for future reference… ;)

DSCN0278.jpg~original


DSCN0277.jpg~original
wow, sexy ride. I've never seen that color before
 
I’ve been extremely busy getting the 4Runner ready for summer! I’m just going to cut to the chase and give everyone a quick run down. This is going to be a little brief, as working on the truck has taken priority over pictures and documentation.

I finished the bodywork on the driver side front door and fender, and then moved on to the front end that pretty much needed a complete overhaul. I dropped the beat up skid plates (which are going to need some serious work to fit back on the truck), and I got to work tearing all the old stuff out.

I bought a set of stock LCA’s a year or two ago to install Energy Suspension bushings in (when the time came). You have to reuse the inner and outer sleeve, which makes it a pain in the ass. I got the new bushings in, but it wasn’t very fun and it sure was messy. I tried to remove the old LCA’s but there was one frozen alignment cam. I welded a nut on the cam to try and break it loose, but that didn’t work and it just broke off. I ended up just having to cut the cam out with a grinder; luckily I had the spare cams to replace the broken one.


In order to replace the bushings you have to press one of the outer washers off of each bushing assembly. I wasn’t very happy about how they fit back together, so I welded the washer back to the inner bushing.


And I cleaned it up to fit (I also added some notches in the weld to give it a little extra bite).

 
Last edited:
I also installed the Safari LTD steering rack, it was a little difficult due to the fact that the back side of the skid plate mounts to the steering rack, and everything was a little tweaked. I made it work, but I’ll need to add some better support for the skid plate down the road.

Pictures of said skid plate.


And I reinstalled the limit straps once I knew the coilovers were setting level (since ToyTec rebuilt one). I now need to balance the tires, get an alignment, and replace the panhard bar heim joints, then the suspension and steering will be all wrapped up.

 
Man that is looking so clean and fresh....you must be anxious...Final stretch..keep pushing...can't wait to see it get dirty
 
[MENTION=67615]Dirtco[/MENTION] Looking killer man! How did you end up re mounting the brake line with the spindle gussets? I kinda bent the bracket a little and it worked well enough so far. My brake line doesn't touch but I wish i could get it a little farther away from the gusset.
 
[MENTION=67615]Dirtco[/MENTION] Looking killer man! How did you end up re mounting the brake line with the spindle gussets? I kinda bent the bracket a little and it worked well enough so far. My brake line doesn't touch but I wish i could get it a little farther away from the gusset.

I did the same thing, it's a close fit but I don't think it will be a problem. I'm going to keep an eye on it and make sure it doesn't rub around.
 
I pulled the 4Runner out of the garage to clean up and resituate. It was filthy with body and grinder dust, so I hosed it off with the garden hose and gave the interior a good detailing. While it was outside I couldn’t help myself, and I took it for a short drive up behind my house. After six months of not driving my 4Runner, even a short drive up a graded dirt road sounded good.


Last edited:
Your CV axles look tiny in comparison to those monster tires. I wonder how those lotus ales will hold up.
 
Man that is looking so clean and fresh....you must be anxious...Final stretch..keep pushing...can't wait to see it get dirty

Thanks, that's exactly what I need! It's easy to get burnt out, but all the optimism really helps!

Looks ****in amazing! Dammit, now I really want to cut mine for 36's

Thanks, it's a lot of work but hopefully it's worth it.

where did you get the CV boots?? i need a set thatll last longer than 2 weeks.

I bought the boots through Lotus Development, you would need to see if the outer boot is the same size as stock.

Woah, That came out just incredible.

I knew it would come out good. But man... Love it.

Thanks Kyle, I'm really looking forward to this summer!
 

Members online

No members online now.

Forum statistics

Threads
278,312
Messages
3,554,089
Members
248,016
Latest member
Advally Service

Trending content

Back
Top