darkie3495
Moderator
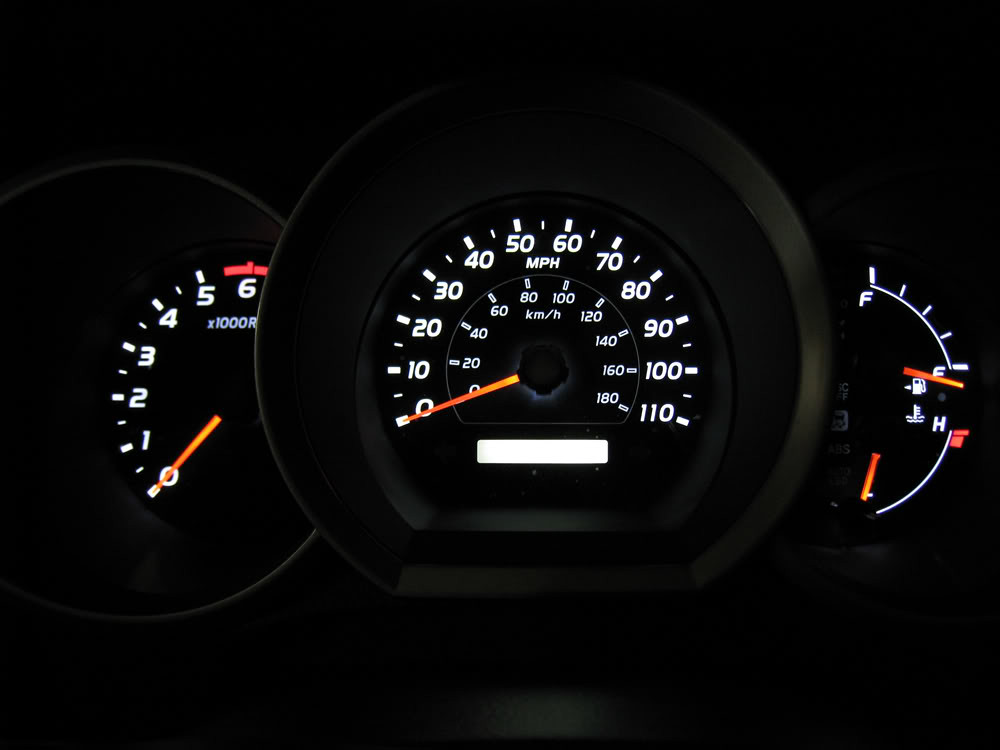
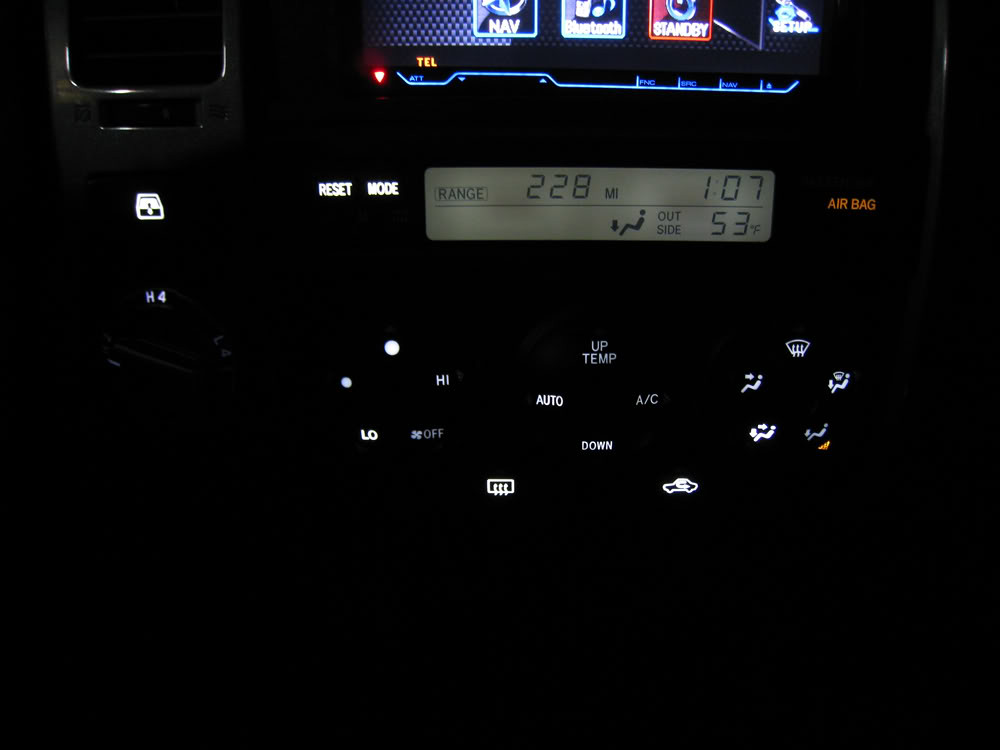
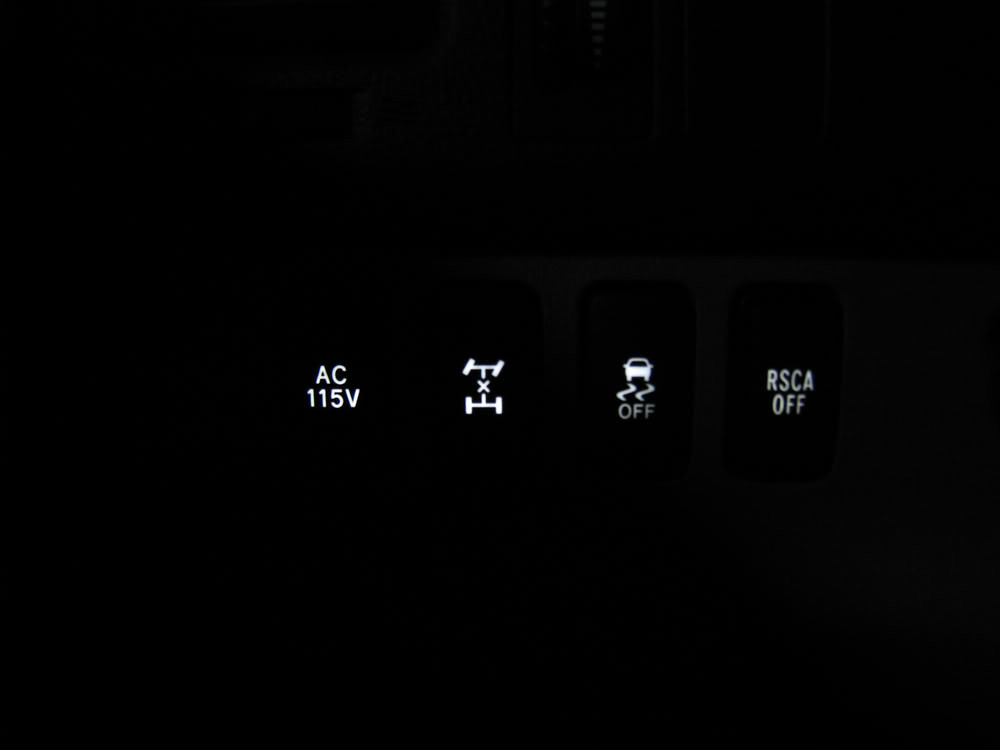
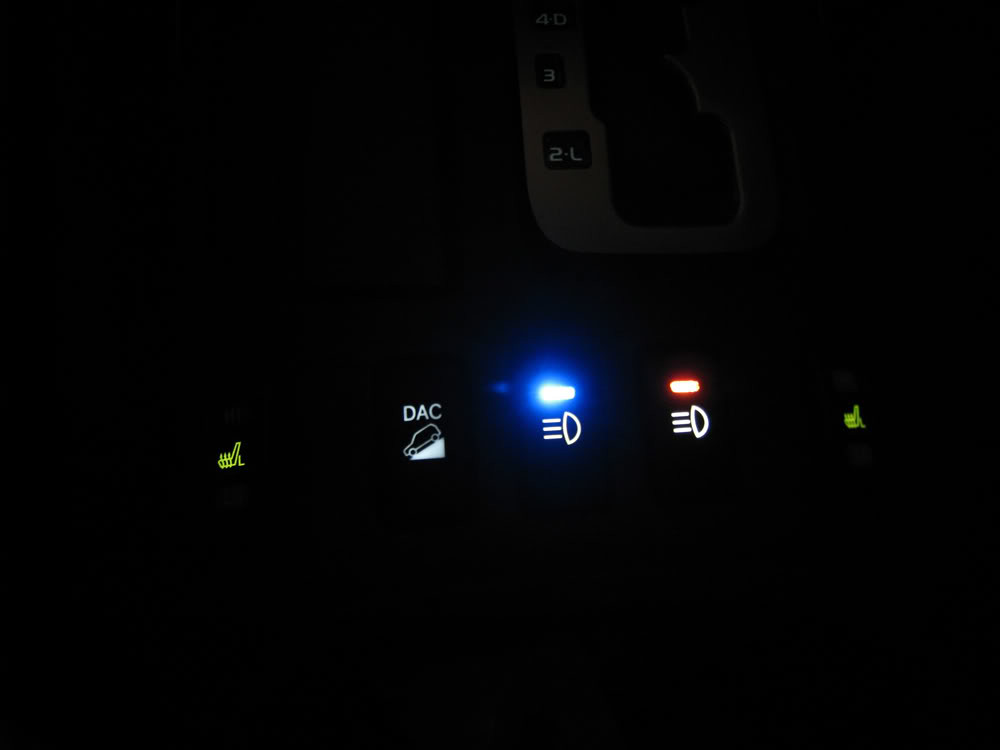
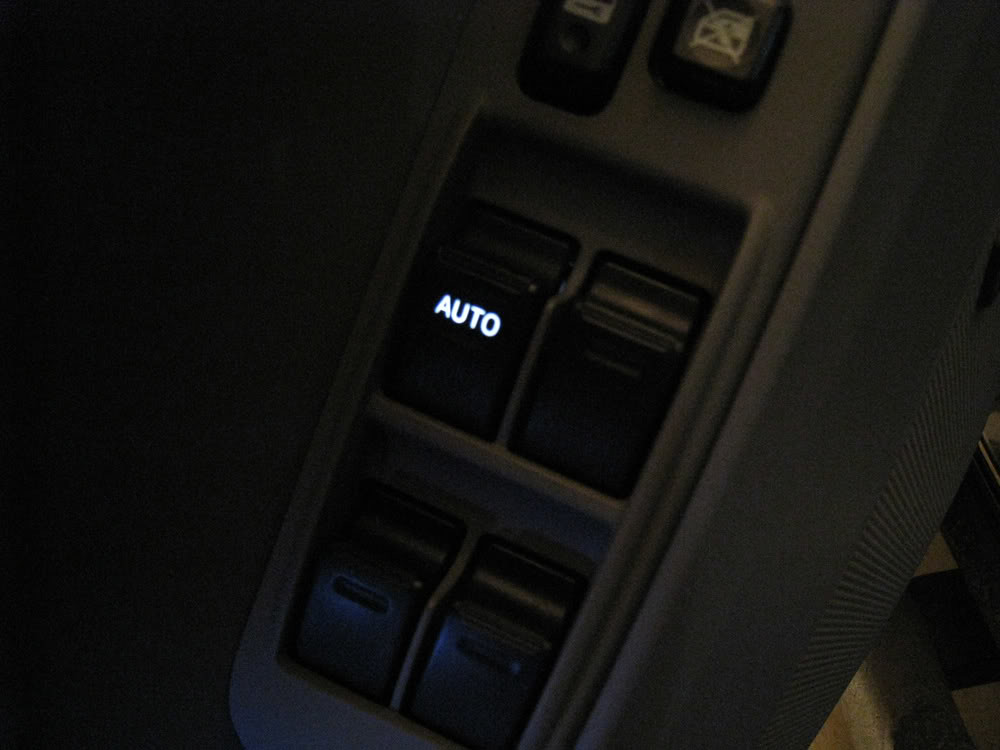
Here is my write up on how to change the color of your interior lights for the 4th Gen 4Runner.
**Disclaimer: This "how to" is for informational purposes only. I take no responsibility for any damage to your vehicle. If you do not have basic soldering skills, please do not attempt. Serious damage could occur.**
Tools needed to remove cluster/steering wheel controls/HVAC unit:
10mm Socket (used to take apart dash/disconnect negative battery)
Small flat head screwdriver (remove steering wheel panels and unscrew bulb holders)
medium Phillips screwdriver (remove steering wheel control)
T-30 Hex Driver (disconnect Air Bag from steering wheel)
Tools needed or suggested to complete LED swap:
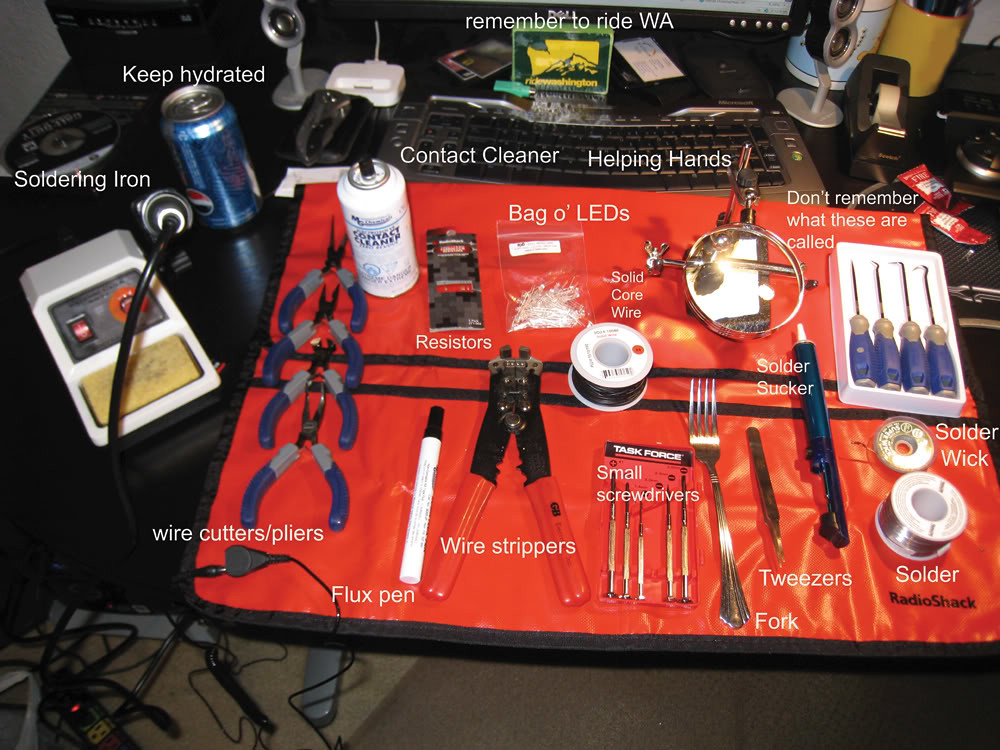
I know the fork is ghetto but it works...
15 PLCC-2 Surface Mount SMT LEDs (2-RPM, 3-Speedometer, 3-odometer, 2-gear selector backlight, 1-Fuel, 1-temp, 3-steering wheel controls)
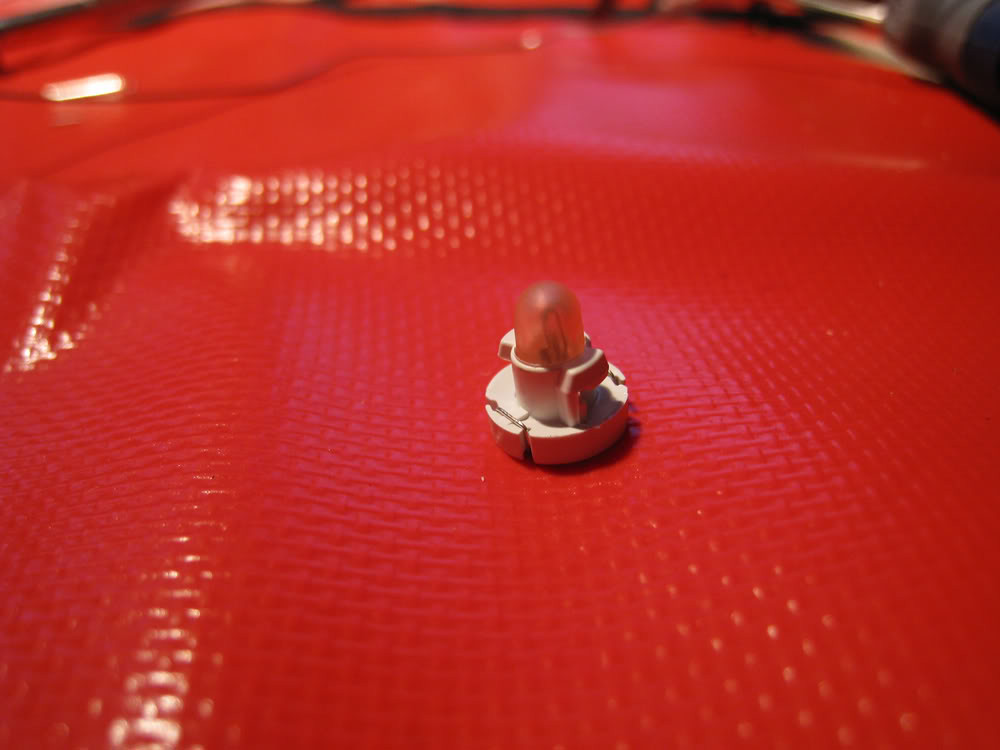
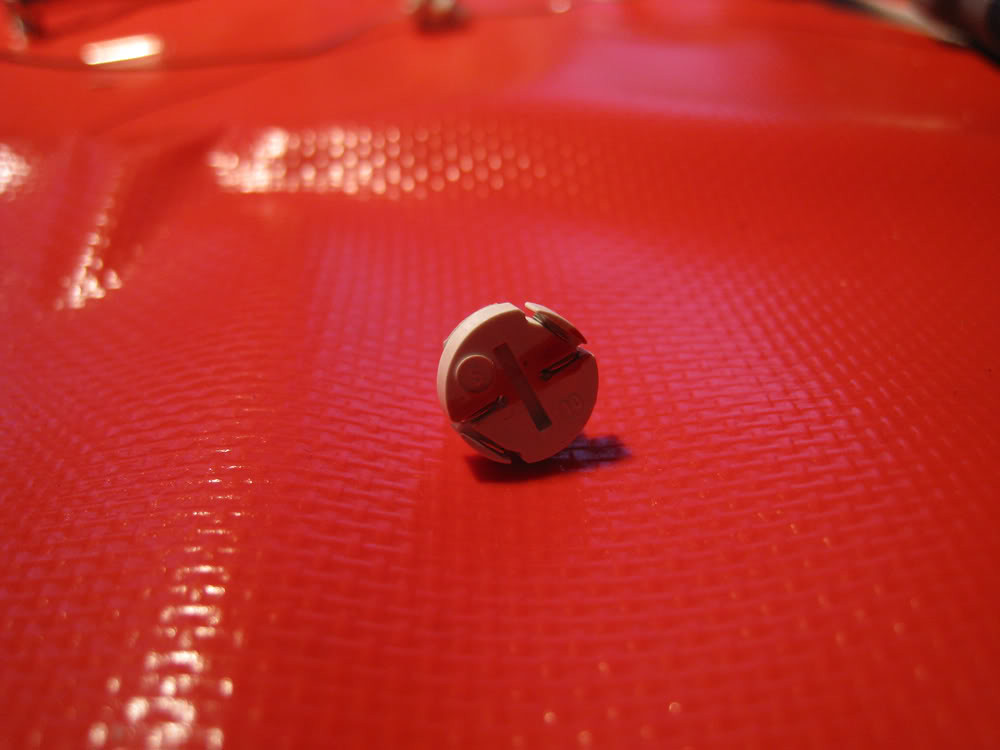
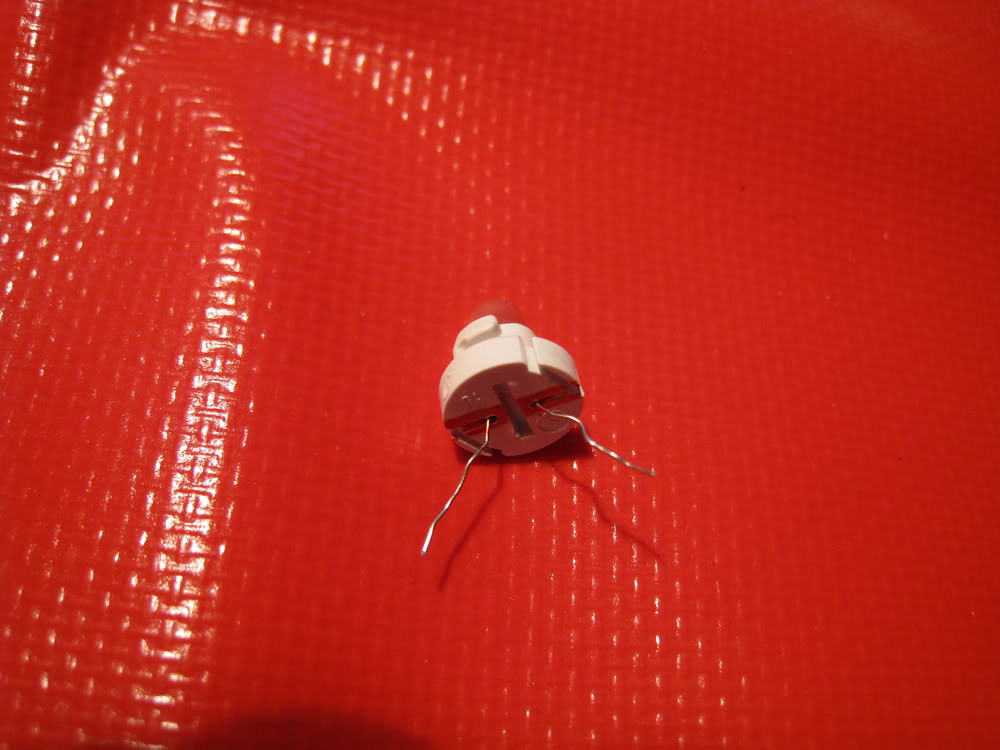
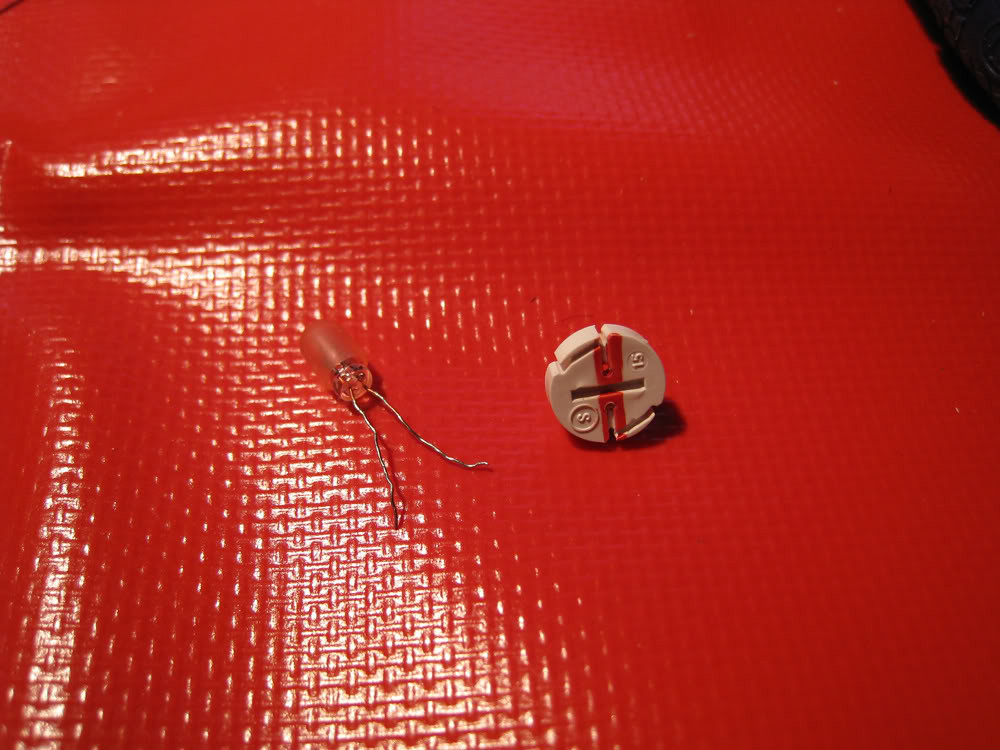
20-backlight only/16-indicators(1-rear window, 1*-4x4 switch, 1-Reset/Mode, 2-HVAC screen, 1-defrost, 1-recirculate, 1-fan speed, 1-A/C, 1-Fan location, 1-cup holder, 1-gear selector, 1-DAC, 1-window, 1-Air bag, 1-Passenger indicator, 1 or 2-115V, 1-RSCA off, 1-VSC, 1-Diff lock)
Useful links:
<a href="http://www.castulucci.com/projects/carpc/oemnaviaccess/">Remove lower dash, center console and HVAC unit</a>
<a href="http://www.toyotanation.com/forum/showthread.php?t=225203">Detailed how-to to swap Steering wheel control LED's</a>. I won't go over this since slvrAZtaco's write-up is thorough.
<B>Cluster LED Swap</B>
1) disconnect battery using the 10mm socket
2) Remove lower driver side dash and let it hang (Step 3 - <a href="http://www.castulucci.com/projects/carpc/oemnaviaccess/">http://www.castulucci.com/projects/carpc/oemnaviaccess/)</a>
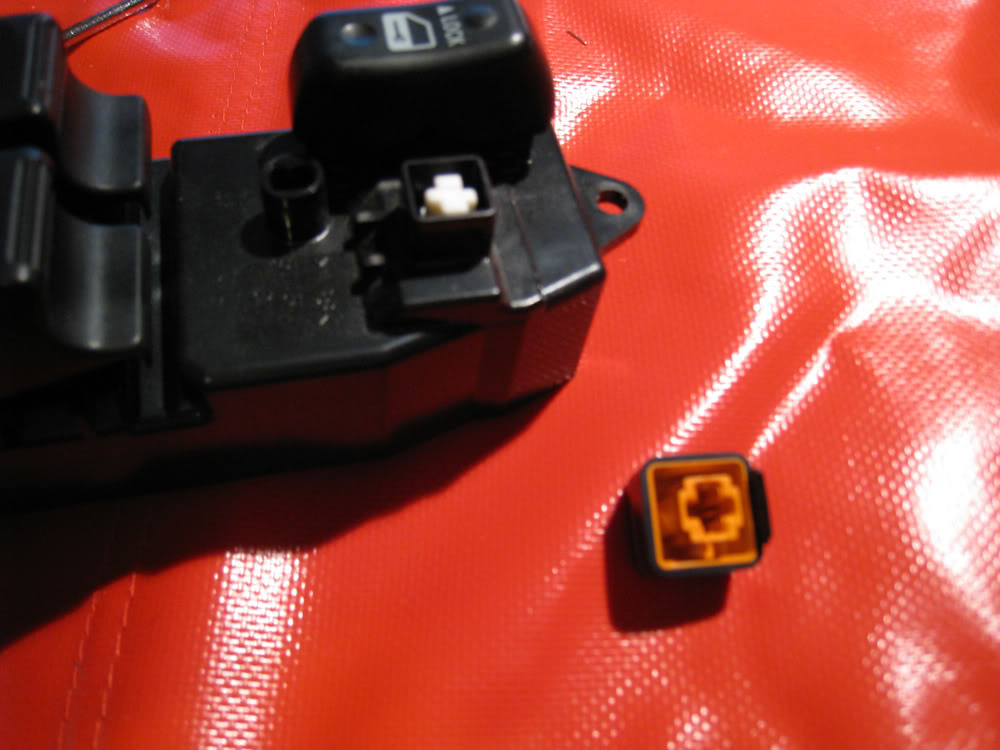
- While you have it disconnected, you can pull all the switches located on this panel
3) Grab the trim surrounding the gauge cluster near the bottom and pull towards you. Clips are the only thing holding it in place.
4) There are 3 screws/10mm bolts holding the gauge cluster and 2 bolts connecting the harnesses.
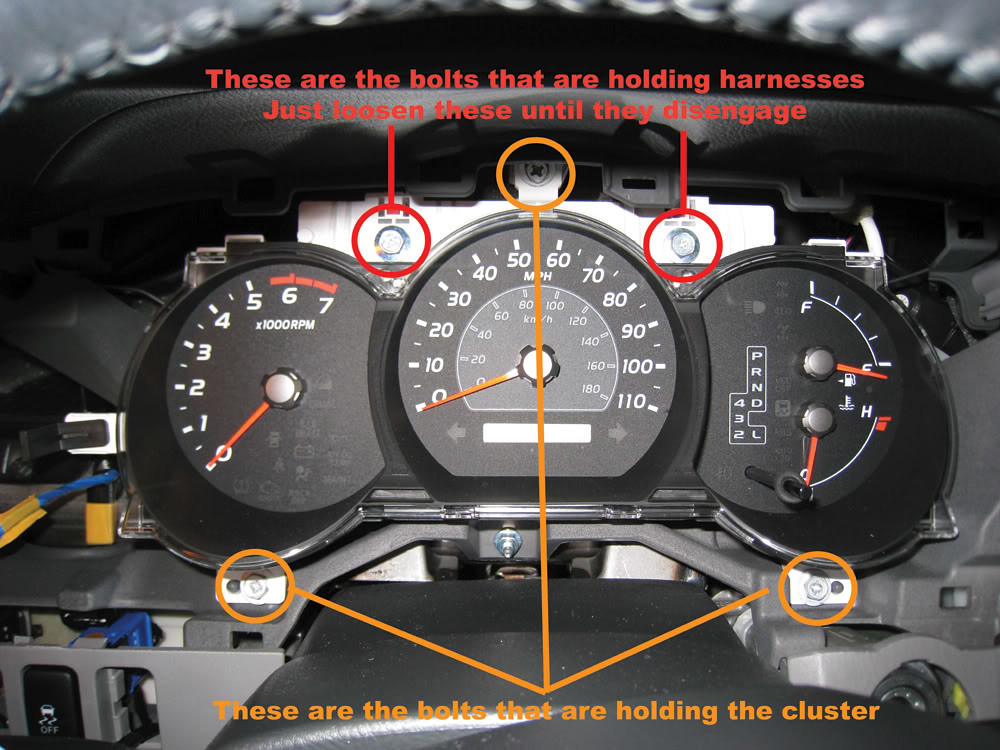
This is what's behind the cluster
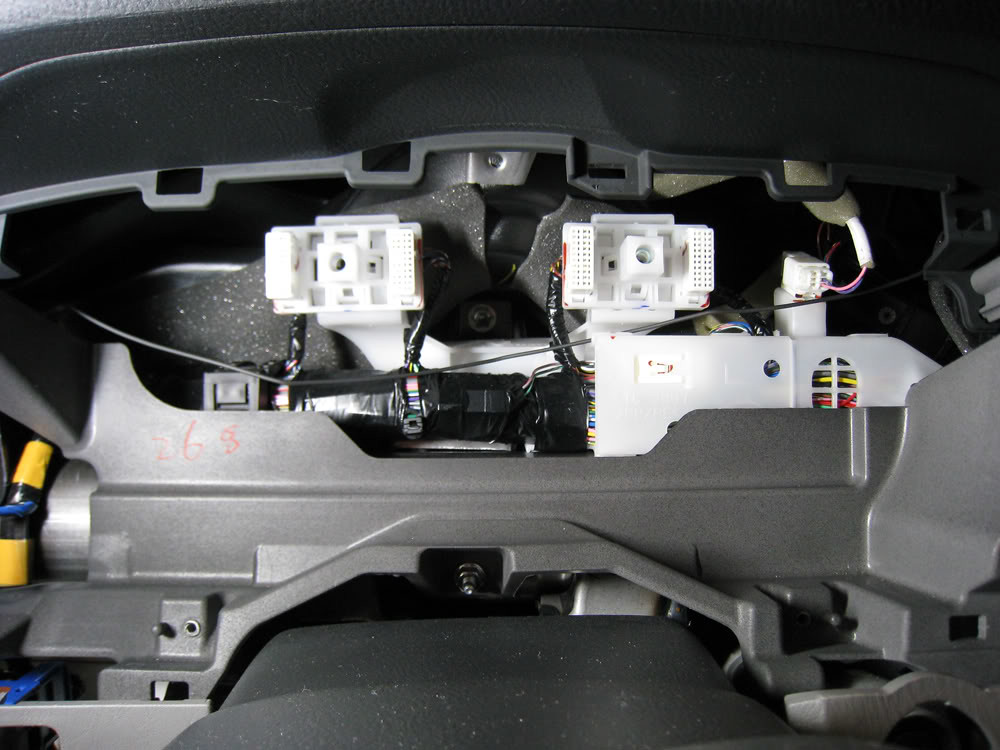
5) Remove the clear lens and interior black trim. both pieces are held on by plastic tabs.
6) Remove white plastic backing
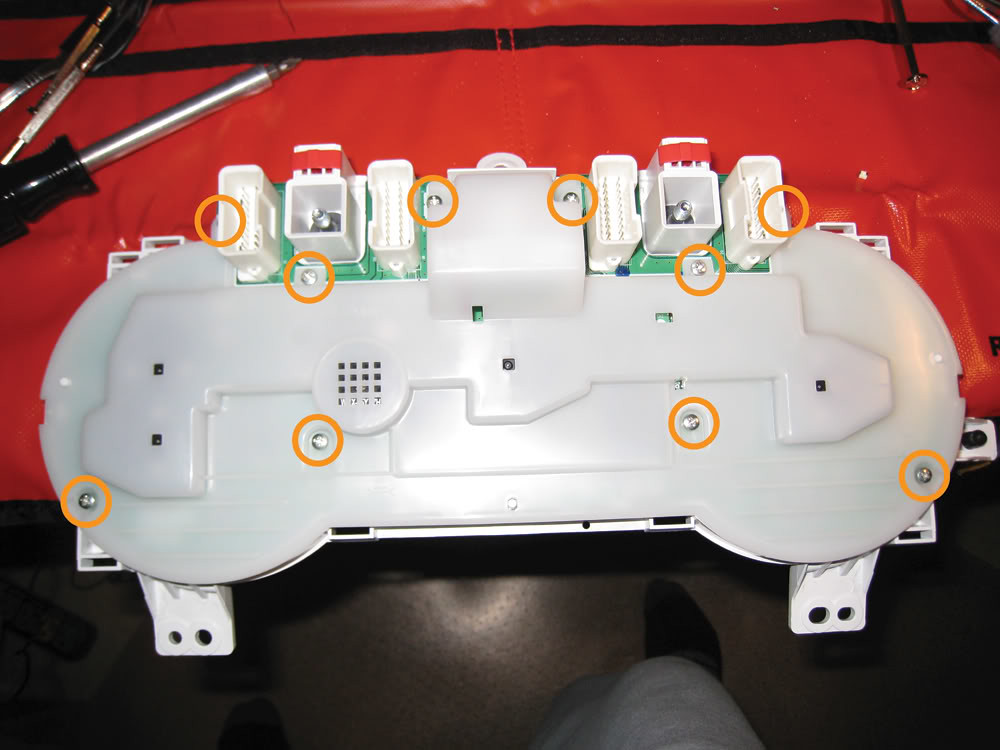
7) Take pictures of the needle positions at rest. It’s very important to keep the gauges accurate throughout.
8) Use the fork to lift the needle off the metal shaft safely. I found the fork is able to lift the needle while keeping it level and it will prevent you from accidentally twisting the needle during removal
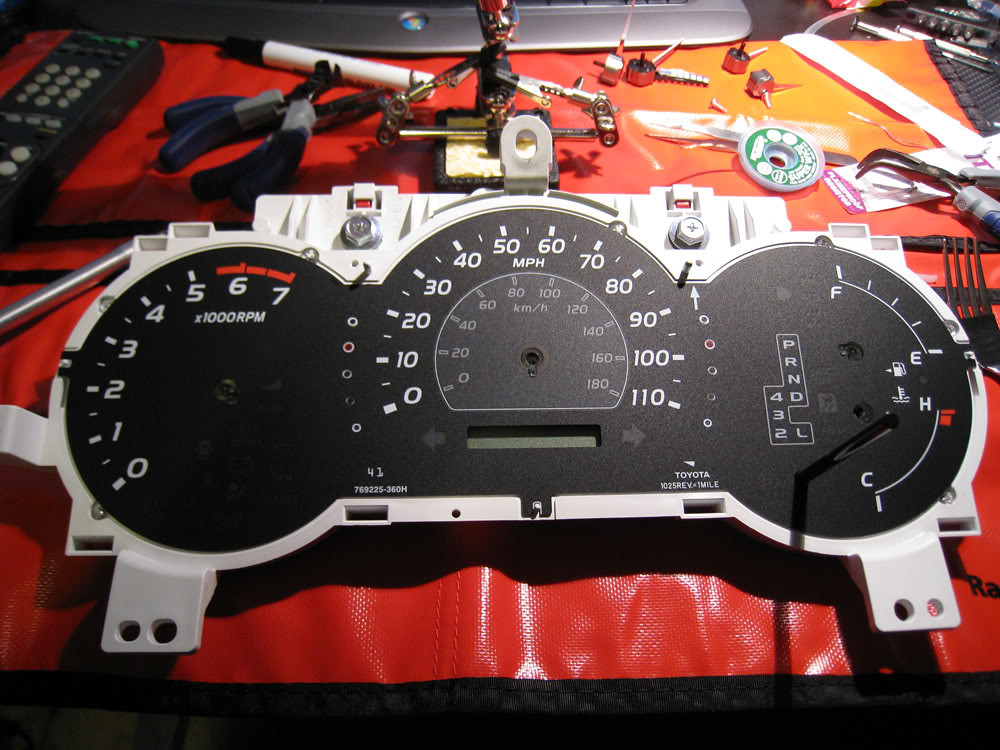
9) Remove the gauge face and reveal the white base with the plastic light distribution lens
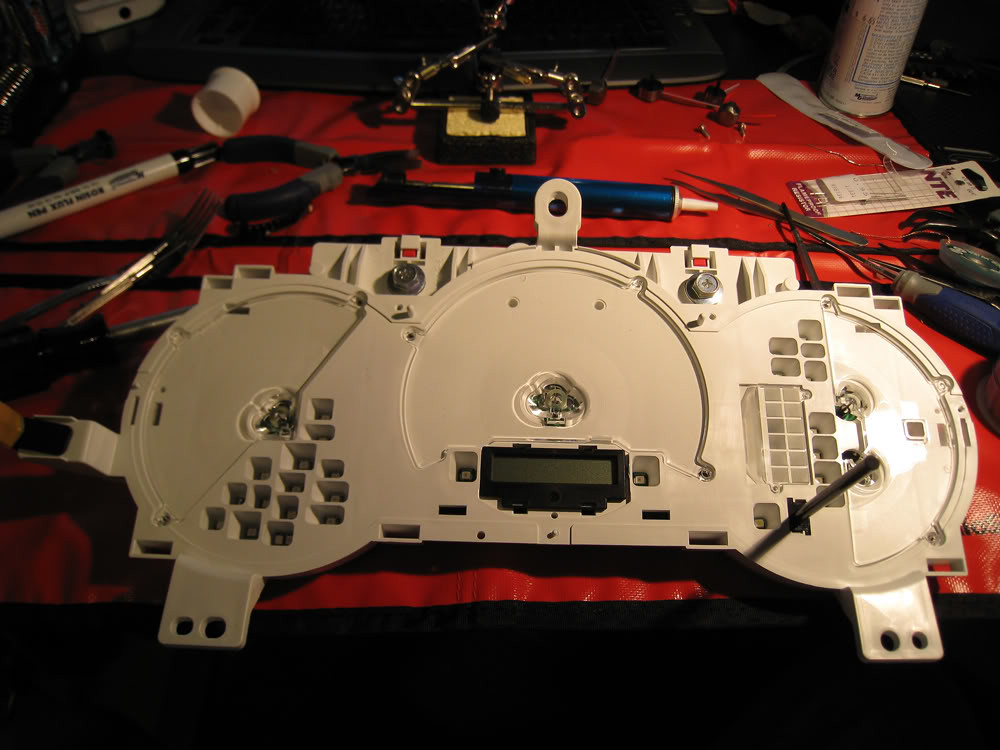
10) Take care when you are removing the odometer LCD. When you separate the white base and the PCB, do it evenly so you won't damage the prongs.
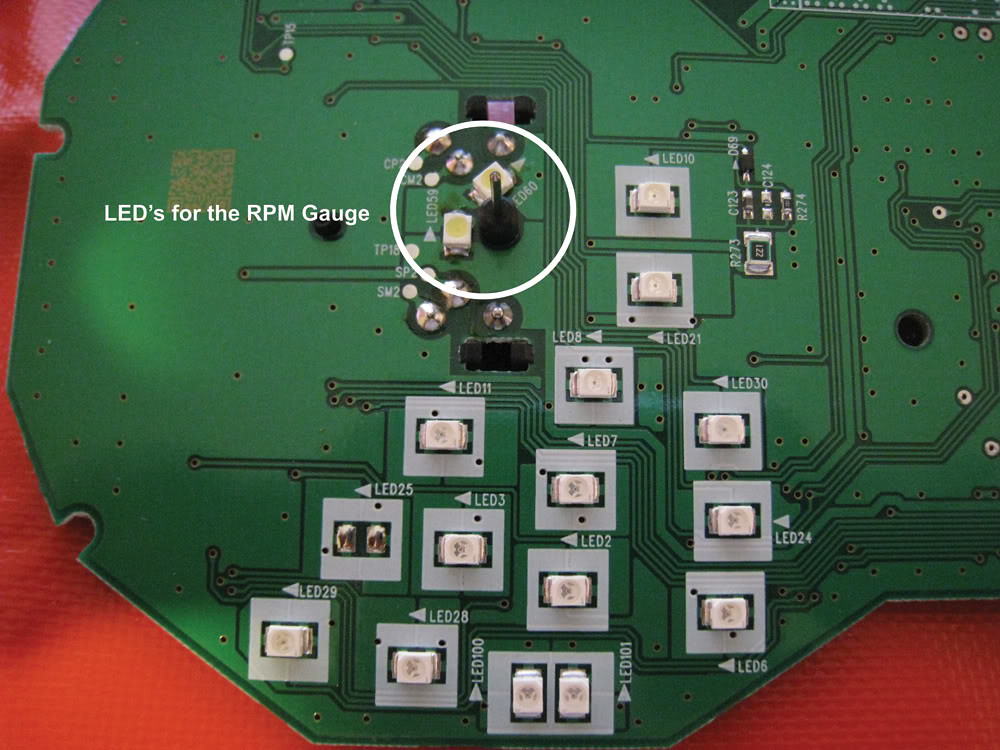
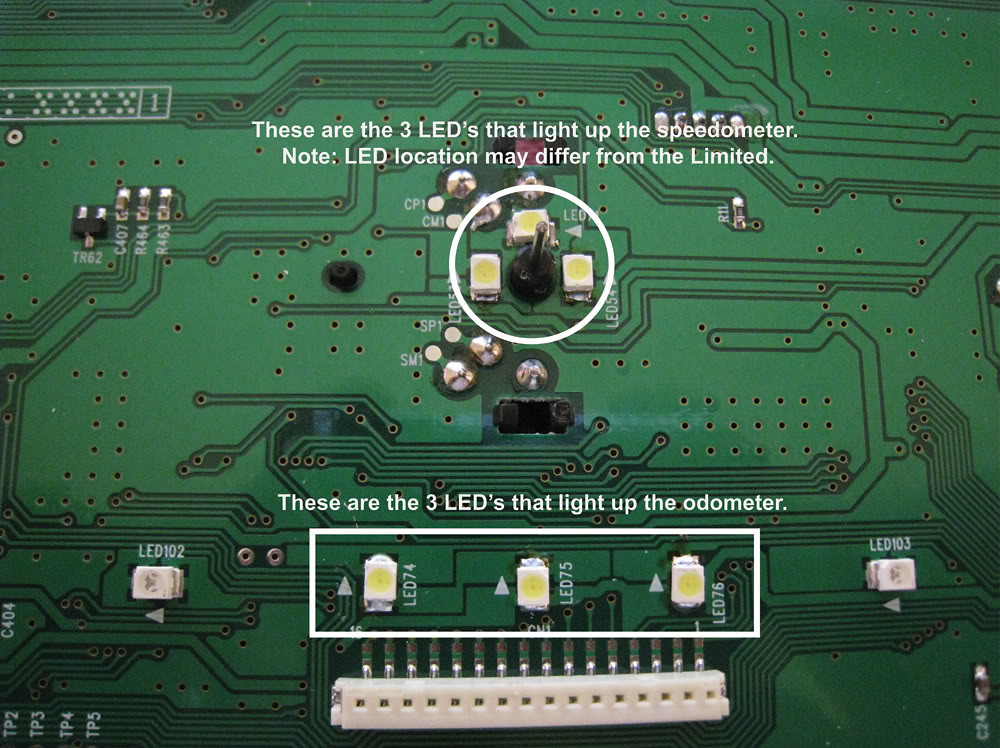
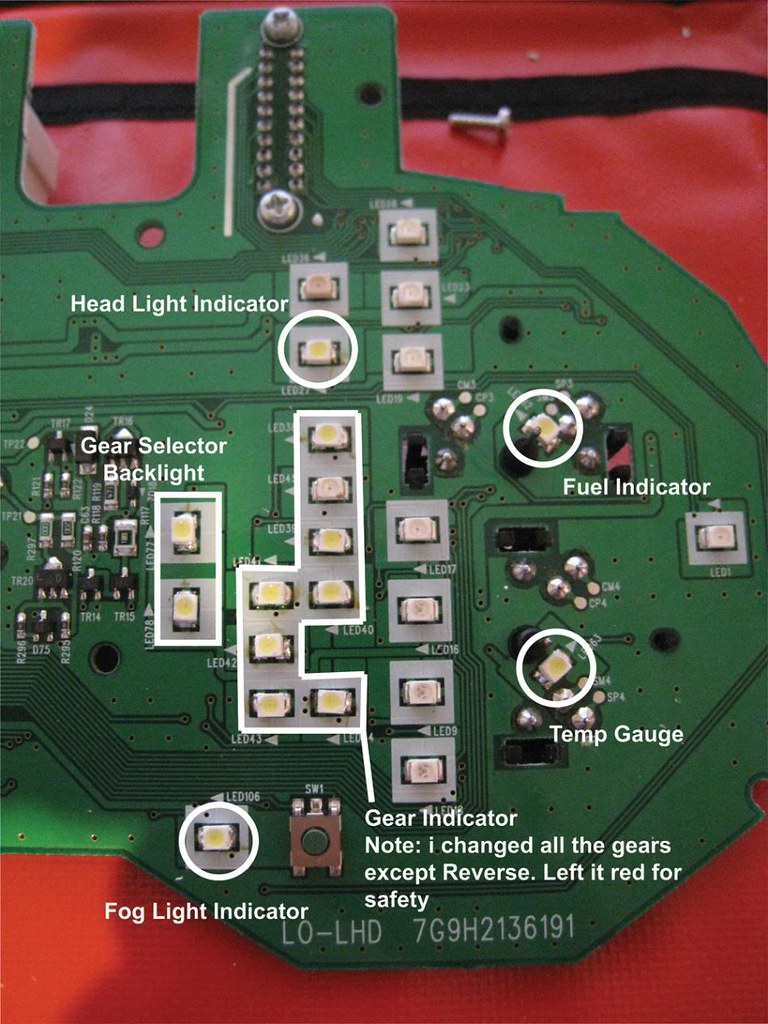
Note:
- i found it easy to melt one side and carefully lift up that edge just enough to disengage. Then melt the other side to remove with tweezers.
- make sure you clean all old solder off the pads using the wick or solder sucker
- flux each pad
- Tin the pads
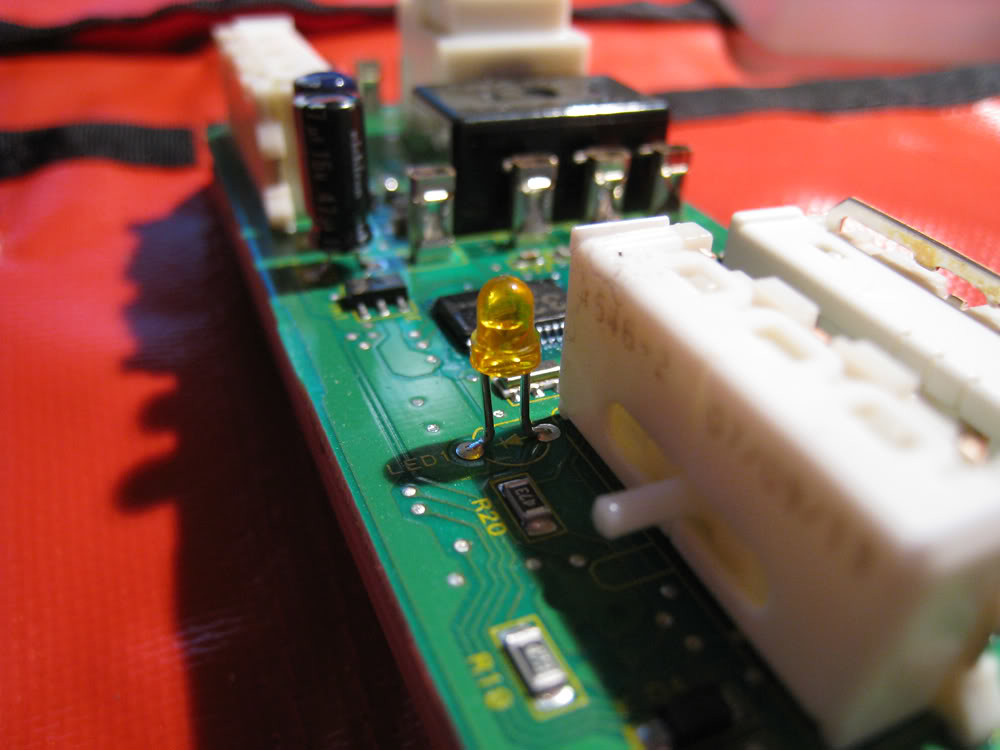
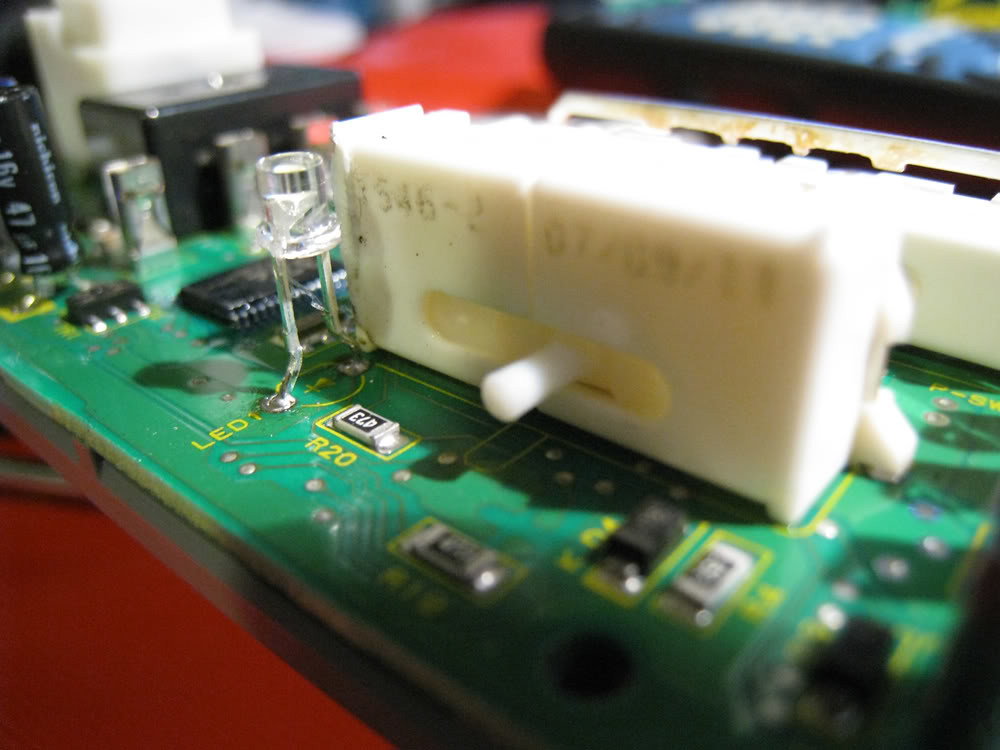
- The notch on the LED is the cathode. On the cluster, it has arrows to identify the direction you should place the LED.
- make sure you clean any extra flux off the PCB by using the contact cleaner sprayed on a q-tip after you attach the LED.
Pay close attention to the LCD odometer. Make sure you don't get any fingerprints on the leads or bend the leads when re-inserting the LCD into the PCB.
Once you're done, reassemble in reverse order.
**Disclaimer: This "how to" is for informational purposes only. I take no responsibility for any damage to your vehicle. If you do not have basic soldering skills, please do not attempt. Serious damage could occur.**
Tools needed to remove cluster/steering wheel controls/HVAC unit:
10mm Socket (used to take apart dash/disconnect negative battery)
Small flat head screwdriver (remove steering wheel panels and unscrew bulb holders)
medium Phillips screwdriver (remove steering wheel control)
T-30 Hex Driver (disconnect Air Bag from steering wheel)
Tools needed or suggested to complete LED swap:
I know the fork is ghetto but it works...
15 PLCC-2 Surface Mount SMT LEDs (2-RPM, 3-Speedometer, 3-odometer, 2-gear selector backlight, 1-Fuel, 1-temp, 3-steering wheel controls)
20-backlight only/16-indicators(1-rear window, 1*-4x4 switch, 1-Reset/Mode, 2-HVAC screen, 1-defrost, 1-recirculate, 1-fan speed, 1-A/C, 1-Fan location, 1-cup holder, 1-gear selector, 1-DAC, 1-window, 1-Air bag, 1-Passenger indicator, 1 or 2-115V, 1-RSCA off, 1-VSC, 1-Diff lock)
Useful links:
<a href="http://www.castulucci.com/projects/carpc/oemnaviaccess/">Remove lower dash, center console and HVAC unit</a>
<a href="http://www.toyotanation.com/forum/showthread.php?t=225203">Detailed how-to to swap Steering wheel control LED's</a>. I won't go over this since slvrAZtaco's write-up is thorough.
<B>Cluster LED Swap</B>
1) disconnect battery using the 10mm socket
2) Remove lower driver side dash and let it hang (Step 3 - <a href="http://www.castulucci.com/projects/carpc/oemnaviaccess/">http://www.castulucci.com/projects/carpc/oemnaviaccess/)</a>
- While you have it disconnected, you can pull all the switches located on this panel
3) Grab the trim surrounding the gauge cluster near the bottom and pull towards you. Clips are the only thing holding it in place.
4) There are 3 screws/10mm bolts holding the gauge cluster and 2 bolts connecting the harnesses.
This is what's behind the cluster
5) Remove the clear lens and interior black trim. both pieces are held on by plastic tabs.
6) Remove white plastic backing
7) Take pictures of the needle positions at rest. It’s very important to keep the gauges accurate throughout.
8) Use the fork to lift the needle off the metal shaft safely. I found the fork is able to lift the needle while keeping it level and it will prevent you from accidentally twisting the needle during removal
9) Remove the gauge face and reveal the white base with the plastic light distribution lens
10) Take care when you are removing the odometer LCD. When you separate the white base and the PCB, do it evenly so you won't damage the prongs.
Note:
- i found it easy to melt one side and carefully lift up that edge just enough to disengage. Then melt the other side to remove with tweezers.
- make sure you clean all old solder off the pads using the wick or solder sucker
- flux each pad
- Tin the pads
- The notch on the LED is the cathode. On the cluster, it has arrows to identify the direction you should place the LED.
- make sure you clean any extra flux off the PCB by using the contact cleaner sprayed on a q-tip after you attach the LED.
Pay close attention to the LCD odometer. Make sure you don't get any fingerprints on the leads or bend the leads when re-inserting the LCD into the PCB.
Once you're done, reassemble in reverse order.
Last edited: