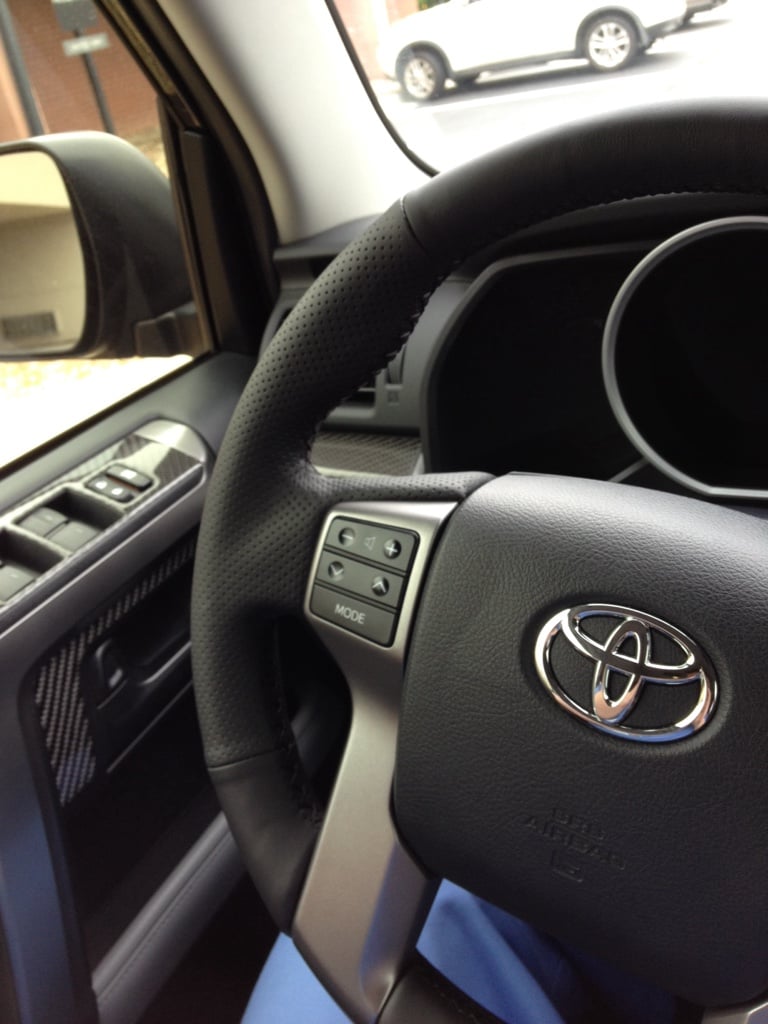
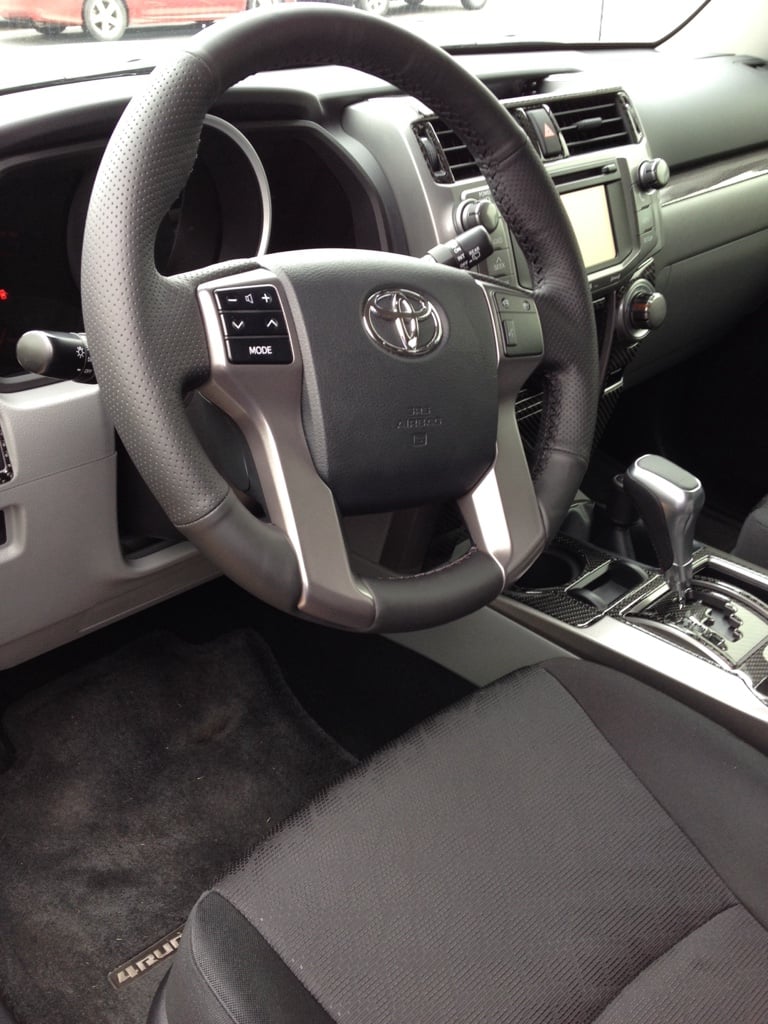
Okay, that was a lot of fiddly work, dammit! I'll be honest with y'all, I am definitely no seamstress, and I would not tackle this one again! No, it wasn't super hard, but it was a long, drawn out process to get it done right! Lots and lots of internet videos to get this one done, but I have to say it feels a LOT better than the sticky rubber wheel that was damaged by the last owner's hand lotion or whatever the hell he/she used!
Okay, pics...
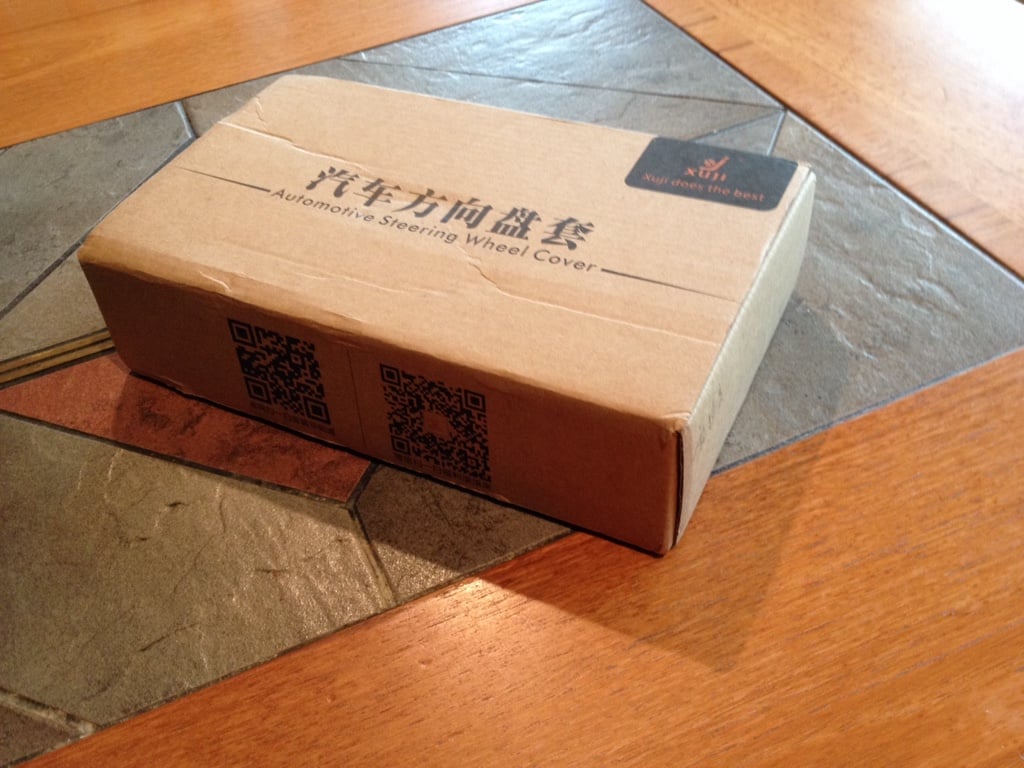
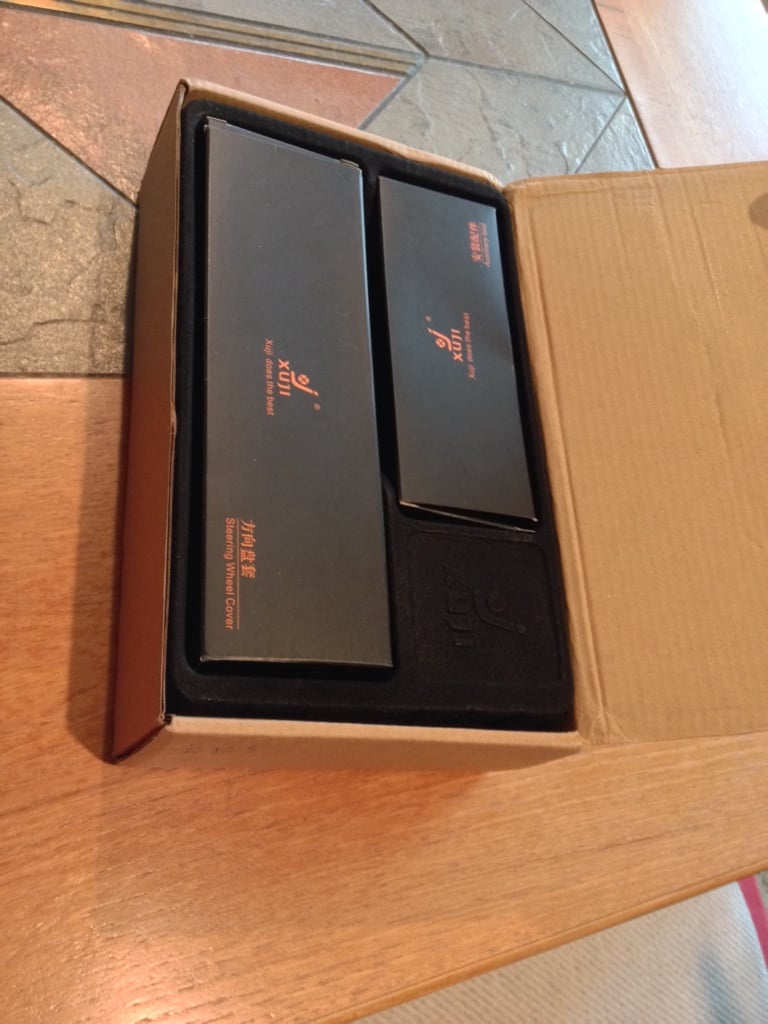
Here's the kit, pretty nice and pretty good quality leather if you ask me:
Extra tools that I thought I would need:
Yes, that's a beer! One of my Full Sail Bourbon Barrel aged stouts was REQUIRED at the end of this job! Trust me, get beer. Lots and lots of beer! Mine is 11.9%ABV, that equates to almost 4 regular beers, you will need more. I know I do...
Leather close up:
Double-sided tape installed on the leather:
I found that I needed more than what they provided me, luckily I own a sign shop and the tape is nothing more than "banner tape". We use this stuff to hem banners, rather than actually stitching the banners, its very, VERY strong double-sided tape. I assume you could use carpet tape too, that would probably be pretty close too, and probably not nearly as much as my 10 dollar roll costs!
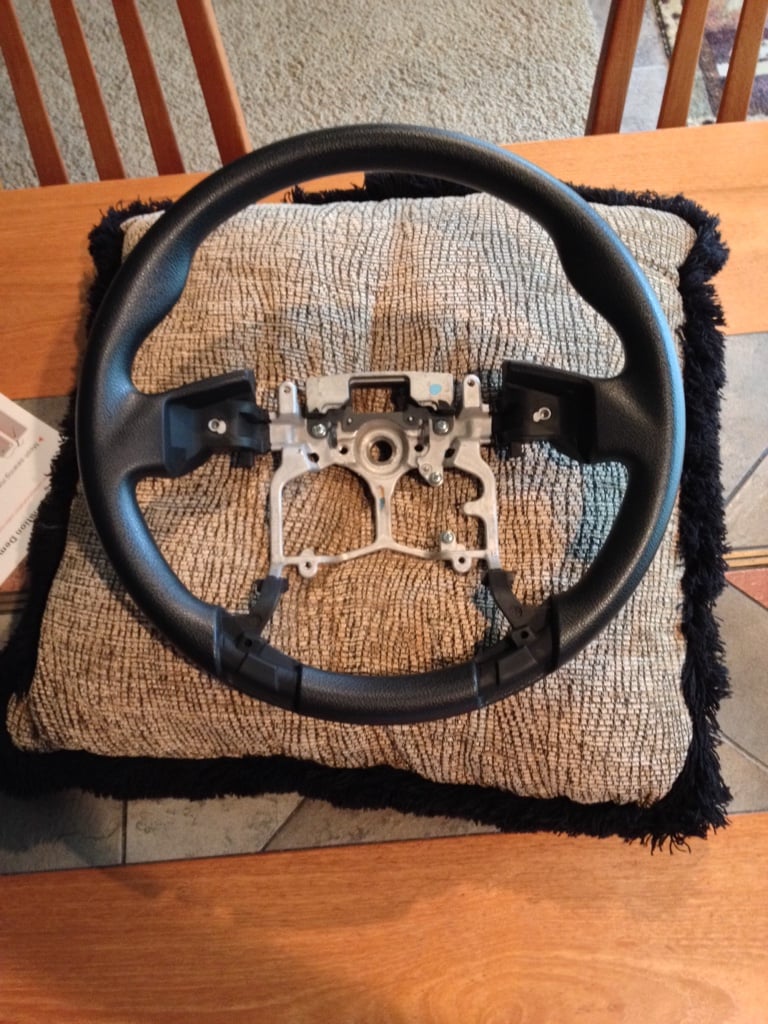
I cleaned the steering wheel with isopropyl alcohol to get as much oils and dirt off of it before starting, but I definitely put way too many other chemicals and oils on the rubber to remove the sticky feeling in the past 4+ months! I ended up having to use 3M's "94" tape primer on the wheel to get the tape to stick in a few spots!
Placement of the leather:
Take your time here and make sure to really get it centered and aligned well! I spent 20 minutes doing this, I should have spent another 10 minutes to get it closer! The wings were slightly off and the upper part was not perfectly straight. I got it moved while stitching, but it was not easy nor fun!
First stitch, I started at the bottom:
Good thing too, as I didn't have enough thread to finish it! I had to search around to figure out how much thread is needed! What I found was 6 times the length of the piece I was stitching worked well. They give a good amount of thread, so some waste was just fine and I still had about 4 or 5 feet left over.
Second area stitched up:
Lots of fiddly work here, getting around the corner and stitching up the back side, then tucking it into the plastic covers. I used more 3M primer and a few tiny strips of tape to make it stay for good.
Yeah, this is a pain in the ass:
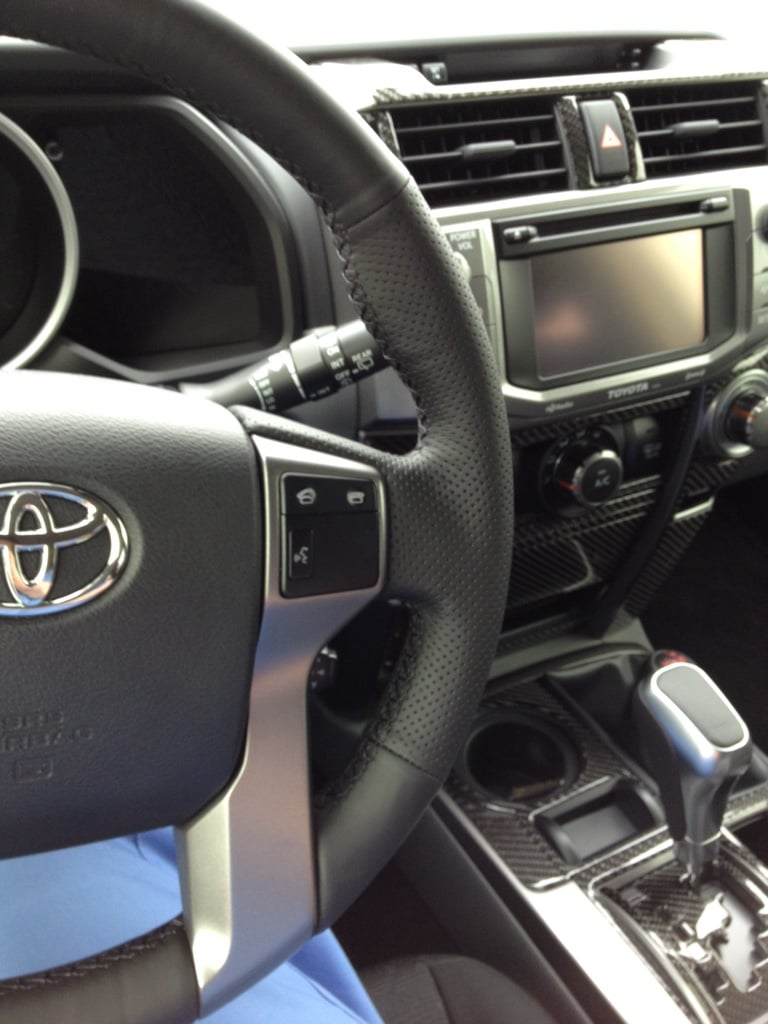
Finished product:
Overall, I'm very happy with the way it turned out, but it took me close to 5 hours to finish it, with about an hour searching around the 'net to figure out how the hell to start the stitching
I even had to figure out how to thread the needle properly, didn't see anywhere that said you have to pull the thread through the needle halfway, tie the ends together, trim excess string right up against the knot, then thread through the leather on the back side, from the inside first!
My fingers are definitely sore now, you pull on the thread quite hard to cinch the seam together. I thought for sure I would tear through the leather with the amount of tension I had, but I didn't, surpringly!
Took the vehicle for a quick drive and must say it feels really nice! Looks completely stock and doesn't twist or spin on the steering wheel, which was one of my other concerns about this "mod".
If I have any issues with it down the road, I'll post back here, but I doubt there'll be any---I hope!