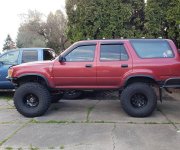
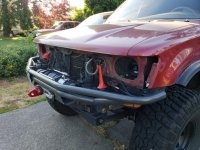
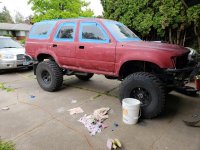
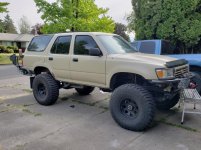
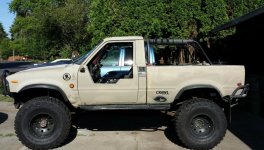
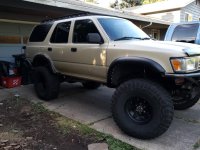
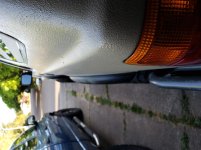
Dropzone's 1994 4Runner Expedition/Overland Build

Awesome build dude! I just picked up a '95 that's basically where yours started. Once I'm done building my Tacoma, I may be going down this same rabbit hole for SAS on the T4R. Keep up the good work! :pop2: :thumb3:
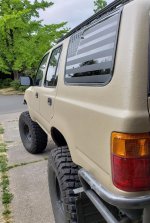
Thanks! I would have probably gone long travel if I hadn't just retired my 81 Trekker project. I was sitting on the suspension, dual transfer cases and axles so ended up recycling it.
 
Thanks! I would have probably gone long travel if I hadn't just retired my 81 Trekker project. I was sitting on the suspension, dual transfer cases and axles so ended up recycling it.

Yeah I can understand that. My Tacoma is getting the long travel treatment already, so SAS on this puppy would be perfect!
 
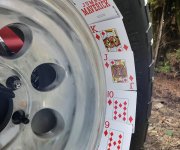
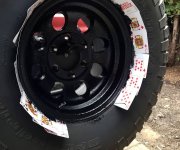
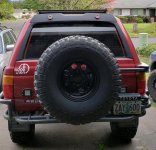
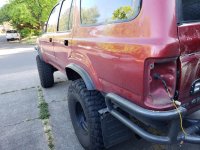
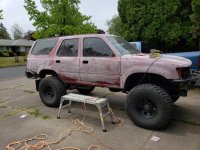
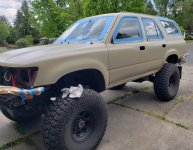
I have always liked black rims.* *Nobody had them in stock when I ordered the wheels and tires last year.
took a gamble and used some black monstaliner on the rims today.* Saw a post a few years ago where someone used a desk of cards to mask the tires.* Worked awesome.
it worked as a good experiment to let me know how monstaliner sets up for when I paint the whole truck
. Not perfect but it will do
 

Attachments

  • IMG_20180418_185450_600.jpg
    IMG_20180418_185450_600.jpg
    93.3 KB · Views: 813
  • IMG_20180418_185450_602.jpg
    IMG_20180418_185450_602.jpg
    94.6 KB · Views: 820
  • IMG_20180418_185450_597.jpg
    IMG_20180418_185450_597.jpg
    138.3 KB · Views: 1,074
I have always liked black rims.* *Nobody had them in stock when I ordered the wheels and tires last year.
took a gamble and used some black monstaliner on the rims today.* Saw a post a few years ago where someone used a desk of cards to mask the tires.* Worked awesome.
it worked as a good experiment to let me know how monstaliner sets up for when I paint the whole truck
. Not perfect but it will do

Thats a great trick, I might have to try that! Is the finished product as textured as it looks wet? What kind of prep work did you do to the aluminum? Looks great!
 
Thats a great trick, I might have to try that! Is the finished product as textured as it looks wet? What kind of prep work did you do to the aluminum? Looks great!

I wish I remembered who I saw use that card trick. Way faster than using masking tape.

Finished it still has a textured look to it. I sort of dabbed it on with a brush since could not use the roller like I will be able to do the whole truck.

For prep I used a couple of different wire wheels in the drill, than a little bit of hand sanding with some 150. Cleaned it with some acetone before 1st coast.
 
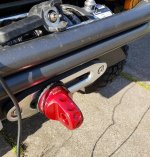
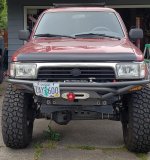
Got a smoking deal on a Factor 55 winch thimble.
​​​​​​​I love 5 minute mods that increase safety
 

Attachments

  • 20180421_173618.jpg
    20180421_173618.jpg
    137 KB · Views: 800
had a question asked on another forum about why using a winch thimble:
I thought long and hard before spending the $$ on one of these. I did get mine for about 2/3 of the retail cost for one of these. It was NIB but I get lucky on ebay sometimes.
Anyway:
from Viking Winchline
"The Safety Thimble is designed to prevent the thimble from getting pulled into the fairlead where most accidents happen in winching, often due to winch "run-on" from electric winches"
from Factor 55
https://youtu.be/A6EEwCvtqLo

Allows for closed system winching. Much easier to hook up a strap etc to the thimble using a steel or soft shackle than hooking stuff to a hook.
Also not as tempting to hold on to the winch line when spooling the cable back in.
 
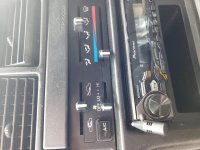
My grandson loves flipping switches and stuff in the 4runner. He is a pro at losing the heater/fan control knobs.
I hit pick and pull today looking for misc junk.
Scored a gas filler door with a good spring.
Took a peek inside a 93 Corolla, always sort of liked them.
I looked at the dash and saw all the controls were still there. Decided what the heck and pull the HVAC knobs.
Got into the 4runner, well guess what they fit like a glove. Much tighter than the old ones. Grandson would have to pry them to get them off now

4runner on left, Corolla on right
Bottom pic with Corolla knobs.
 

Attachments

  • 20180428_144822.jpg
    20180428_144822.jpg
    143.3 KB · Views: 757
  • 20180428_144852.jpg
    20180428_144852.jpg
    134.5 KB · Views: 743
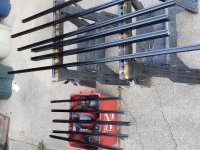
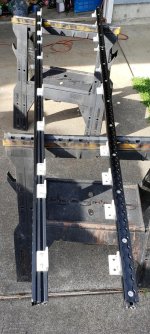
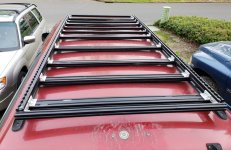
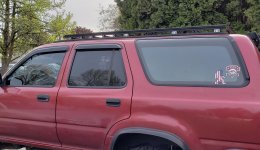
Felt like a little kid playing with an erector set today. A bunch of 8020 strut, 88 button head bolts, 28 angle brackets and I have an addition to the rack I started a couple of months ago.
it needs a little touch up, it will get pulled in a few weeks when I paint the truck.
it ended up about 3" high.* Not too bad heightwise.
​​​​​​​it was a fun afternoon project
 

Attachments

  • 20180502_171611.jpg
    20180502_171611.jpg
    138.3 KB · Views: 731
  • 20180503_191154.jpg
    20180503_191154.jpg
    138.9 KB · Views: 719
  • 20180503_191056.jpg
    20180503_191056.jpg
    139.8 KB · Views: 736
  • 20180503_191012.jpg
    20180503_191012.jpg
    138.9 KB · Views: 733
  • 20180503_191119.jpg
    20180503_191119.jpg
    134 KB · Views: 775
  • 20180503_191030.jpg
    20180503_191030.jpg
    134.4 KB · Views: 815
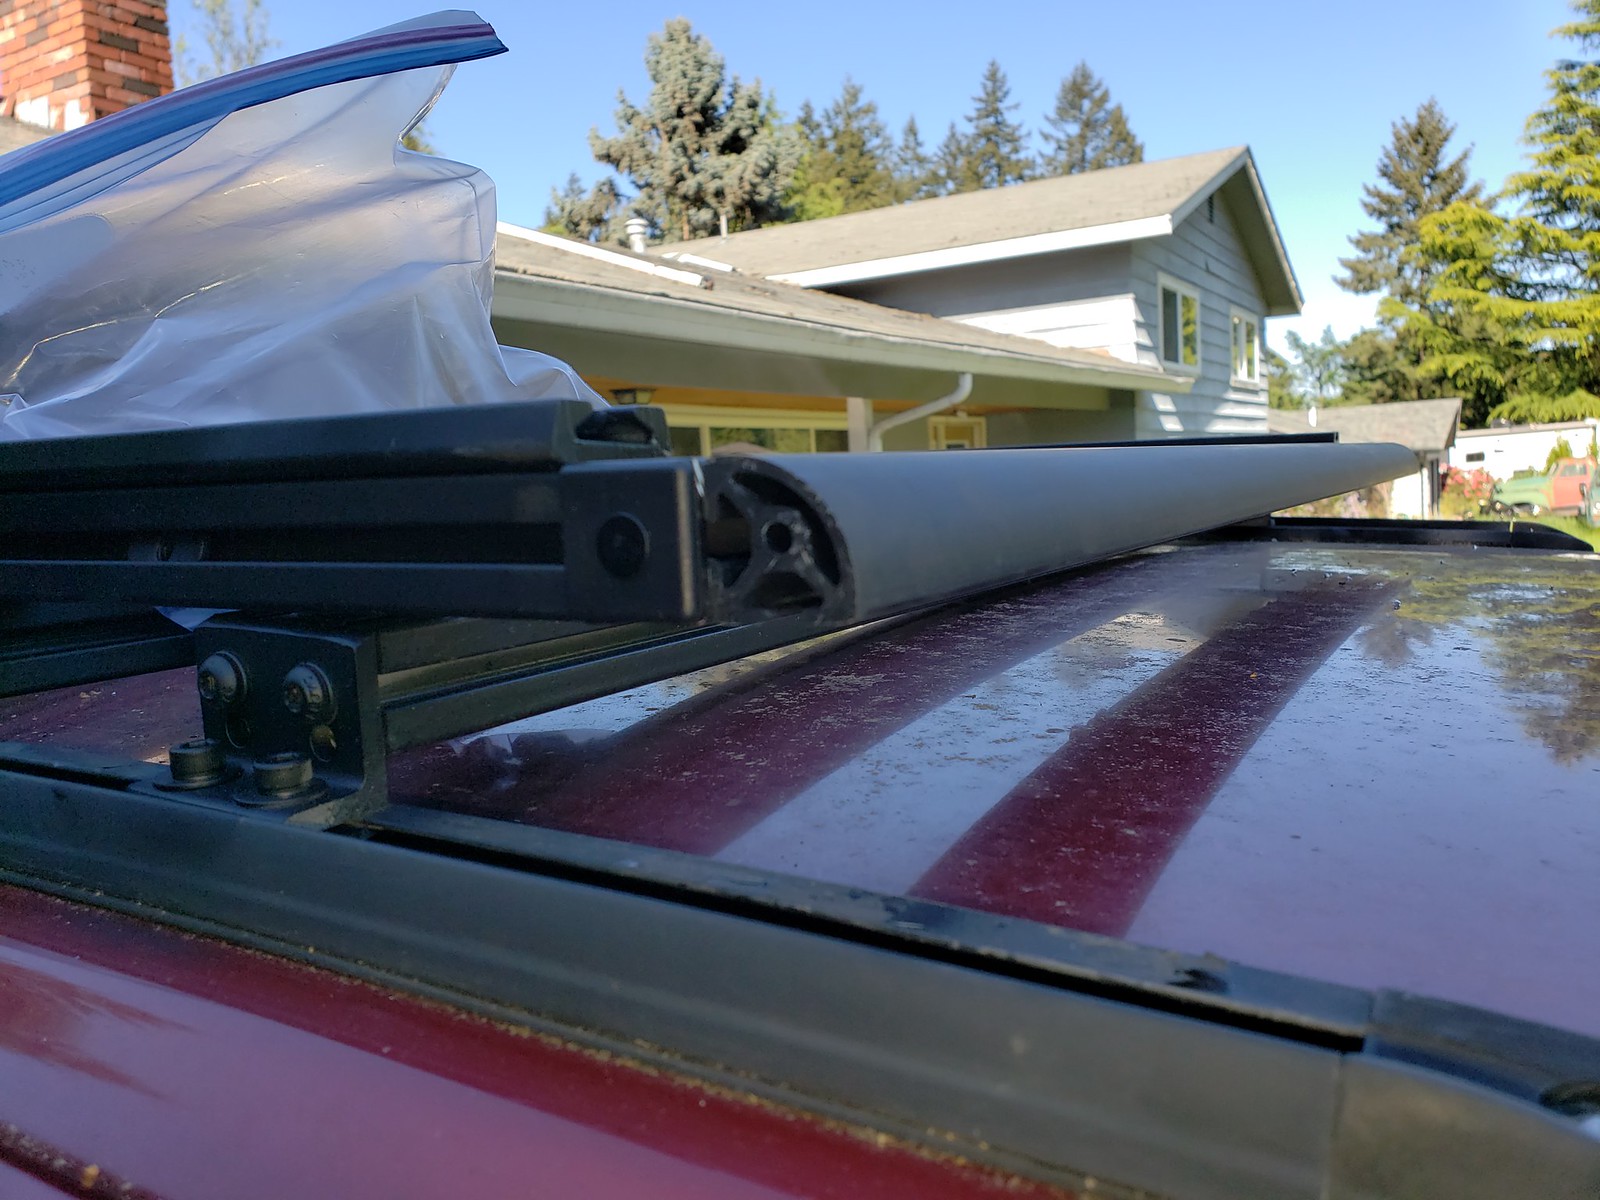
added a piece of 8020 quarter round to the leading edge of the rack.
It cut the wind noise down by a ton. i can hear the tires hum again
 
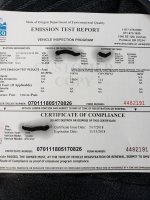
Got the 4runner through emissions today. Big relief since the old beast has 204K on the clock and the 3.0 can be finicky

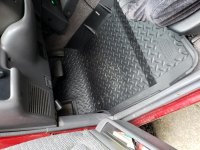
Also threw in a set of Husky floor mats. I was surprised to find out they were still available for 25 to 30 year old 4runners.
 

Attachments

  • 20180517_172950.jpg
    20180517_172950.jpg
    138.2 KB · Views: 666
  • 20180517_131348.jpg
    20180517_131348.jpg
    138 KB · Views: 677
Got the 4runner through emissions today. Big relief since the old beast has 204K on the clock and the 3.0 can be finicky

Also threw in a set of Husky floor mats. I was surprised to find out they were still available for 25 to 30 year old 4runners.

*Adds to cart and clicks Check Out*
 
Started stripping stuff for paint prep
Will pull the fender flares after church in the morning and then start making some dust
 

Attachments

  • 20180602_180538.jpg
    20180602_180538.jpg
    139 KB · Views: 629
  • 20180602_185609.jpg
    20180602_185609.jpg
    138 KB · Views: 708
  • 20180602_185556.jpg
    20180602_185556.jpg
    138.3 KB · Views: 693
Got the fender flares pulled
Sanded the whole thing down with 150 grit
And got it wiped down with acetone.
Hopefully tomorrow of weather cooperates it will be a slightly different color
 

Attachments

  • 20180603_122517.jpg
    20180603_122517.jpg
    137.3 KB · Views: 841
  • 20180603_162341.jpg
    20180603_162341.jpg
    137.3 KB · Views: 708
After 3 rollers, some brushes and several pairs of gloves the 1st coat of Monstaliner Desert Sand is on the truck.
 

Attachments

  • 20180604_134643.jpg
    20180604_134643.jpg
    137.2 KB · Views: 932
Got the 2nd coat on and started putting door handles etc back on. Need to put the fender flares back on and a couple of other lose ends.
It's not perfect but overall happy with the outcome
And a comparison of my old 81 Trekker with a rattle can paint job
 

Attachments

  • 20180604_183657.jpg
    20180604_183657.jpg
    137.9 KB · Views: 8,870
  • Screenshot_20180604-185531_Gallery.jpg
    Screenshot_20180604-185531_Gallery.jpg
    97.3 KB · Views: 2,355
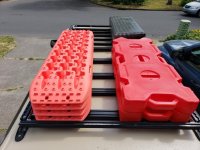
Putting the wipers, spoiler etc back on I got side tracked and decided to play with laying stuff out on the roof rack.* *The only permanent fixture I think will be the small storage box up front.**
 

Attachments

  • 20180607_145622.jpg
    20180607_145622.jpg
    136.4 KB · Views: 1,185
Now that looks great, how much material did it take?
Thanks! I ordered the 2 gallon kit, I had probably 1.5 qts left over.
Depending on humidity and temperature you have about 6 hours or so to work with it

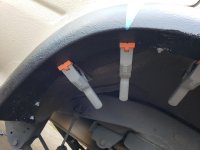
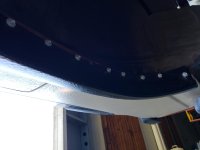
I ordered a set of Jungle Fender Flares about a year ago and finally got them mounted.
Sort of a pain to do because their directions aren't that great. Basically I got them as tight to the fender as I could and prayer when I drilled I hit the inner fender lip.
Only snafu was i broke a couple of studs on a wheel spacer. Can't complain it had been on the 81 for about 8-10 year and a year on the 1994. Took me a while to find the spare.

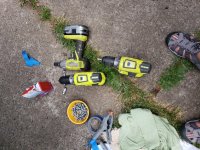
Having a couple of cordless drills helped not having to swap between a drill bit and hex nut bit.
 

Attachments

  • 20180609_173417.jpg
    20180609_173417.jpg
    125 KB · Views: 1,188
  • 20180609_173740.jpg
    20180609_173740.jpg
    137.2 KB · Views: 1,167
  • 20180609_192626.jpg
    20180609_192626.jpg
    130.4 KB · Views: 1,199
  • 20180609_194723.jpg
    20180609_194723.jpg
    134.9 KB · Views: 2,274
  • 20180609_194752.jpg
    20180609_194752.jpg
    131.4 KB · Views: 1,178

Members online

Forum statistics

Threads
278,316
Messages
3,554,120
Members
248,016
Latest member
Advally Service

Trending content

Back
Top