Easy Weekend Mods

I don't care what anyone says about after market intakes on the 4.0l motor. The stock one sucks! The only thing I like about the stock one is where it pulls in air from. After I took my OEM one off I couldn't believe the crazy path that air takes inside there. A big bulky box is what I call it.

So i'd have to say a "dry filter" intake is a worthy mod. Kinda costly but its still really easy to do. It hardly gives you power you can feel at low end speeds but the howl is awesome! I think it builds off max peek power anyhow but it hasn't really been proven so idk for sure.

"Dry filter"?
 
uzusasyr.jpg

uza9ybe2.jpg

yvaguzy2.jpg

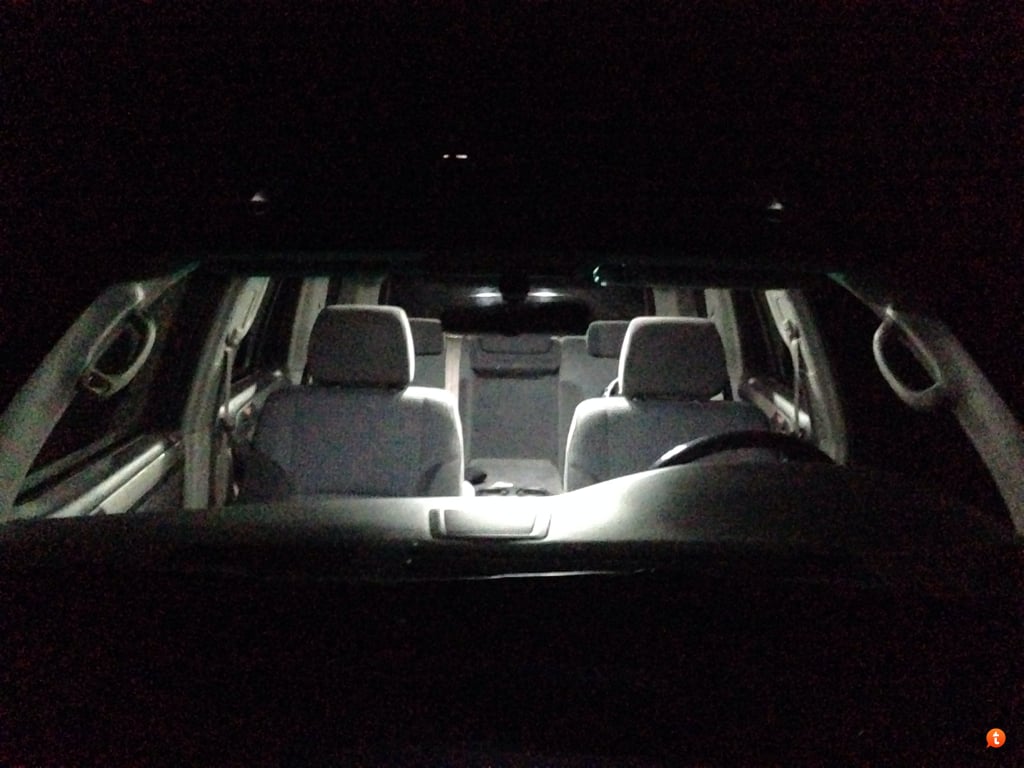
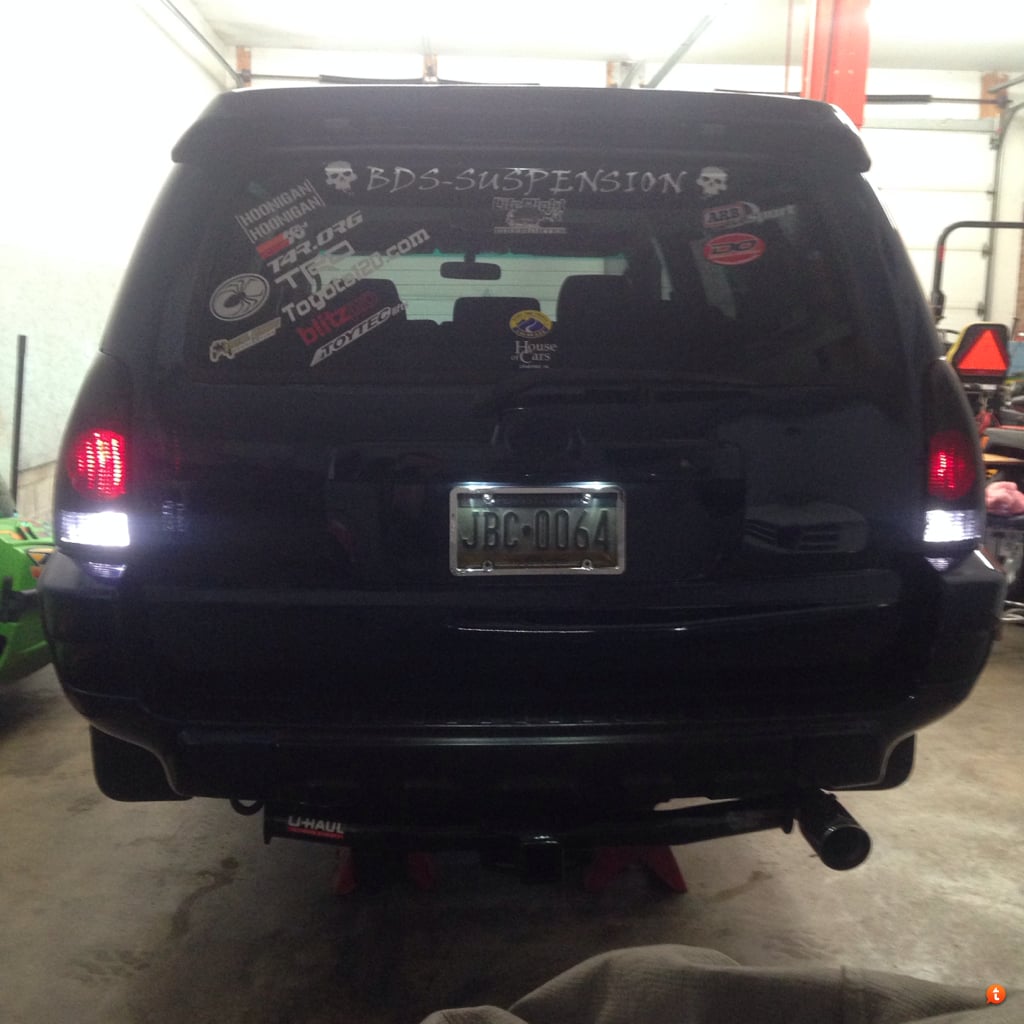
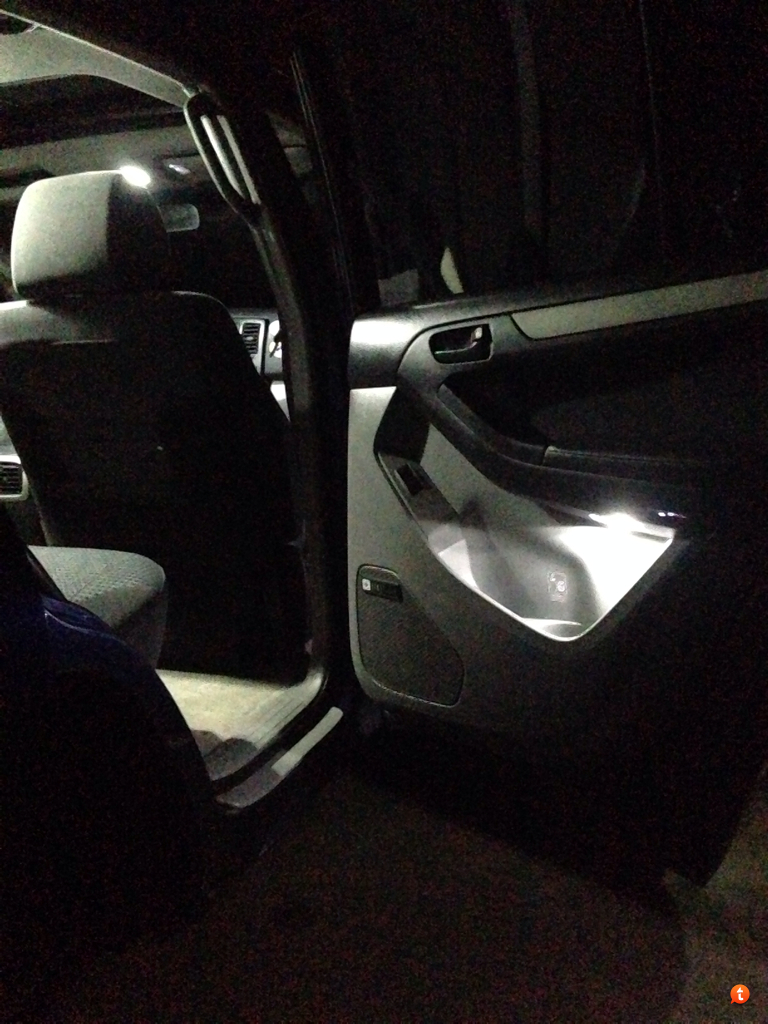
Some LED conversions!
Dome lights
Map lights
Guide lights
Backup lights
 
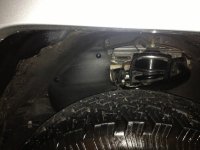
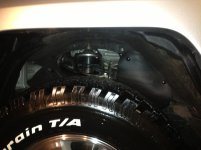
Engine exposed through wheel well-cheap fix

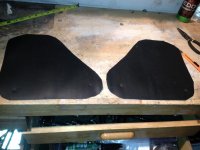
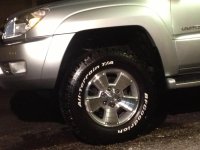
The rubber covers between the wheel well and engine last 10 years in moderate environment. Toyota charges $20+/ per cover and I wasn't "digging" paying that much for some rubber piece times 3. Instead, I took a diy route that cost me less than $13. This came about when after my spacer lift was installed, I noticed the rubber engine covers were either torn to shreds or completely missing...

Parts to purchase:
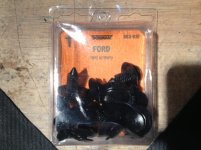
Panel retainers from autozone $6
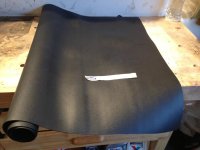
Carpet rubber from lowes $6 (24x24 sheet

Photos will make this mod self explanatory while saving you $...
 

Attachments

  • image.jpg
    image.jpg
    133.8 KB · Views: 5,556
Wheel well/ engine exposure fix...

Cut rubber mat with blade to size. Puncture mounting holes with
Screw driver. Seat autozone retainers firmly in holes
 

Attachments

  • image.jpg
    image.jpg
    126.7 KB · Views: 5,535
Seat and set retainer and rubber coverings. Smile at how much $ you saved while doing this and the fact that you can no longer see your engine from your wheel wells. Tell your friends...
 

Attachments

  • image.jpg
    image.jpg
    129.5 KB · Views: 5,542
Seat and set retainer and rubber coverings. Smile at how much $ you saved while doing this and the fact that you can no longer see your engine from your wheel wells. Tell your friends...

Do you have anymore info on how you did this...or is it somewhere else in this thread? Thanks!!
 
Rallybud.. Honestly, this came about because I was tired at looking at my engine through my wheel. I eyeballed the majority of it. I can tell you that for all 3 sides I wanted to replace, I used 12 by 12 inch rubber, then started cutting away while eyeballing the set. It's a very quick and easy project. The hardest part is keeping the rubber in place while puncturing the retainer holes. I have no
Idea how long this DIY will last, but is worth loads more to me than spending a total of $70+ on replacement rubber.

Please respond with questions or concerns..
Frank
 

Attachments

  • image.jpg
    image.jpg
    128 KB · Views: 5,541
Frank, my apologies. I had opened the thread right after your first post before the additional pictures/explanation. I came back to the thread a while later (watching football) but didn't refresh.

Thanks for the response!! Rick
 
The rubber covers between the wheel well and engine last 10 years in moderate environment. Toyota charges $20+/ per cover and I wasn't "digging" paying that much for some rubber piece times 3. Instead, I took a diy route that cost me less than $13. This came about when after my spacer lift was installed, I noticed the rubber engine covers were either torn to shreds or completely missing...

Parts to purchase:
Panel retainers from autozone $6
Carpet rubber from lowes $6 (24x24 sheet

Photos will make this mod self explanatory while saving you $...

Nice write up. I was just looking for part numbers on the splash guards. Luckily i can use what is left of mine as templates. Thanks for the post!
 

Members online

No members online now.

Forum statistics

Threads
278,309
Messages
3,554,071
Members
248,016
Latest member
Advally Service

Trending content

Back
Top