
You are using an out of date browser. It may not display this or other websites correctly.
You should upgrade or use an alternative browser.
You should upgrade or use an alternative browser.
Extreme 3rd Gen Build! Insane!
- Thread starter NotKewl
- Start date


NotKewl
New member
Those brackets and cross members look awesome. So much work into it all.. Super excited for when it is done! Subbed!!
Thanks. Yeah, you and me both. I have a little over eight weeks left to get this thing running and trail ready. I'll worry about the cosmetic stuff (body work, paint, etc.) after Trail Fest.

URBAN ASSAULT
New member
Thanks. Yeah, you and me both. I have a little over eight weeks left to get this thing running and trail ready. I'll worry about the cosmetic stuff (body work, paint, etc.) after Trail Fest.
Looks great Brent! Nice progress. Home stretch. I'm heading out to Adventure Off Road Park next weekend. Thurs-Sun if weather is nice. Sat/Sun even if bad weather.
Crawling for Reid ? A Charity for Reid Davis Underwood
You are welcome to a seat in my rig. In the process of finishing my cage as well. Should be ready to go.
NotKewl
New member
Looks great Brent! Nice progress. Home stretch. I'm heading out to Adventure Off Road Park next weekend. Thurs-Sun if weather is nice. Sat/Sun even if bad weather.
Crawling for Reid ? A Charity for Reid Davis Underwood
You are welcome to a seat in my rig. In the process of finishing my cage as well. Should be ready to go.
Sweet! Yeah, I'd love to go. I'll see what the schedule looks like and If I can get out there Sat or Sunday, I'll ride with you.
NotKewl
New member
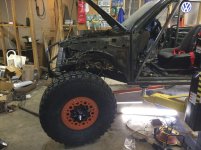
Today was a major milestone in this project! The rear suspension is DONE! All mocked up, tacked in, cycled to check for binding or clearance issues, wheels put on. Then dissembled one last time to finish weld everything up and slap a coat (or 4) of paint on the links and rear axle. Tomorrow I start on the front links and do the same thing. By Sunday this beast will be sitting on it's new 4 wheels all on it's own. :reddance:
Bam! Let there be double triangulated 4-link!
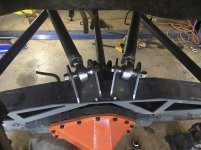
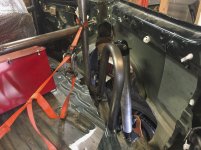
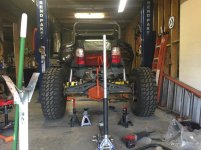
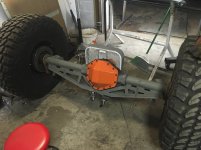
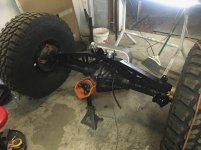
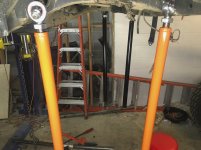
Bam! Let there be double triangulated 4-link!
Attachments






Last edited:
NotKewl
New member
Well, I did it again! My perfectionism kicked in and I decided I was not at all happy with the rear frame the way it was. I cut it with my plasma cutter to narrow the rear, but made a mess of it and decided that instead of repairing the frame and adding fish plates to make it stronger, I'd just go ahead and chop it off and start from scratch with tubing. I'll still try to skin it with the rear quarters (my favorite part of a 3rd gen T4R). So, essentially I now have a Truggy.
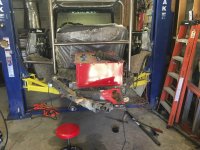
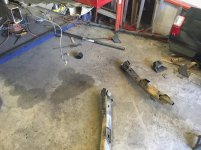
This project has tested my skillset. A few months ago I'd tell you I hated cutting, bending, and grinding tubing. Today, it's fun. Once you get the hang of it, you can do it pretty fast without software, or a tube notcher. I just use a chop-saw (or bandsaw), plasmas cutter (for complex notches), and a grinder to make tight fitting notches like this.
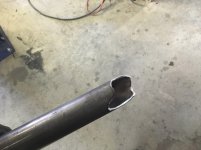
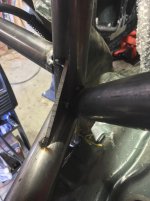
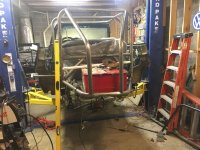
This project has tested my skillset. A few months ago I'd tell you I hated cutting, bending, and grinding tubing. Today, it's fun. Once you get the hang of it, you can do it pretty fast without software, or a tube notcher. I just use a chop-saw (or bandsaw), plasmas cutter (for complex notches), and a grinder to make tight fitting notches like this.
Attachments





NotKewl
New member
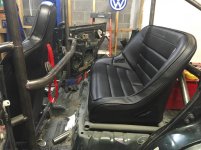
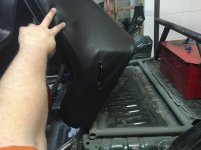
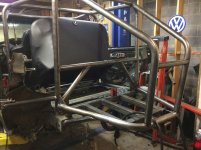
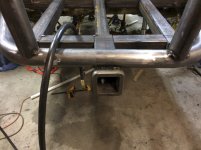
Over the last two days, I've managed to get the rear portion of the cage welded up, the rear seat mounted (and brilliantly too I might add), and the rack for the fuel cell fabricated. Well, most of it anyway. In between cutting and welding, I did a little paint work to test out the new scheme. NO, I am NOT a Vols fan. In fact, me and most of my family went to UF. My favorite colors all my life have been Orange, Gray, and White. Mostly Orange, though. Then the Vols had to go and add gray to their colors last year! Damn you Vols, I had it first!
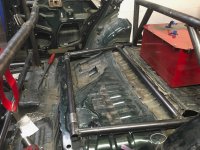
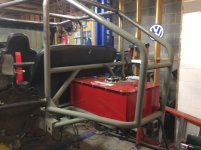
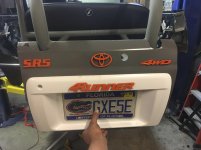
Attachments
-
 Roll-Cage-Rear-b-2.jpg135.5 KB · Views: 661
 -
 Roll-Cage-Rear-b-4.jpg115.7 KB · Views: 697
 -
 Roll-Cage-Rear-b-5.jpg83.4 KB · Views: 683
 -
 Roll-Cage-Rear-b-7.jpg125.3 KB · Views: 684
 -
 Roll-Cage-Rear-b-9.jpg101.8 KB · Views: 699
 -
 Roll-Cage-Rear-b-11.jpg106.4 KB · Views: 678
 -
 Roll-Cage-Rear-b-12.jpg89.6 KB · Views: 703

spoonsports86
New member
coming out great. cage work looks awesome

NotKewl
New member
coming out great. cage work looks awesome
Thanks. Just a few more weeks to go till deadline day.
NotKewl
New member
That back seat looks ridiculously comfortable...
My little kids fit just perfectly.
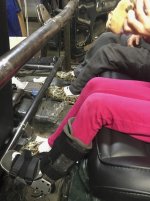
I even fit back there...errr somewhat. Wouldn't want to ride back there all day non-stop, but one or two trail rides back there would be livable.
Attachments

Last edited:
NotKewl
New member
Looks great Brent! Nice progress. Home stretch. I'm heading out to Adventure Off Road Park next weekend. Thurs-Sun if weather is nice. Sat/Sun even if bad weather.
Crawling for Reid ? A Charity for Reid Davis Underwood
You are welcome to a seat in my rig. In the process of finishing my cage as well. Should be ready to go.
Doesn't look like I'm going to have the time to go ride with you bro. My build schedule is getting tighter and tighter and I have some work travel coming up this month and next (Austin and Vancouver) that will also eat into my schedule. I'm going to have to pass this time so I can spend the weekend getting this thing further along.
NotKewl
New member
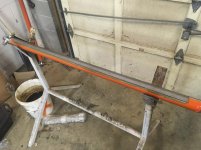
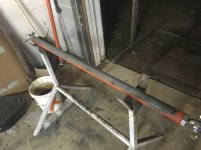
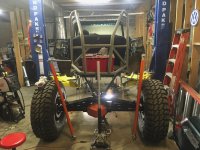
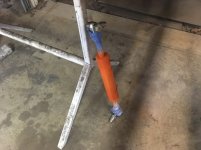
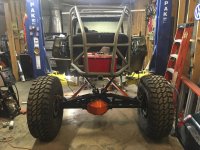
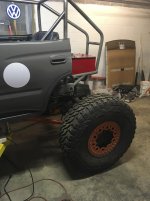
I guest lectured at the local college today, so I didn't have a whole lot of time this afternoon to do much work on the chimera project. I did manage to get the rear axle remounted again. Also, whoops, guess what, I forgot to install the rear link guards... or whatever you want to call them. So, I ground off some paint (ugh) and welded them on. Just a few stitches, though. That way when they get beat up BAD, I can cut the welds and add new ones. I was going to make these from scratch using 3/16" plate and my awesome press break but found out that Ruffstuff Specialties has these pre-made pretty cheap and I'm short on time so I ordered some. Also, since I was repainting the links again anyway, I decided to paint the steering ram to match the rest of the paint scheme. Turned out nice.
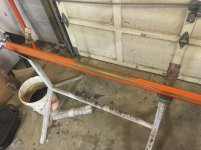
Attachments







NotKewl
New member
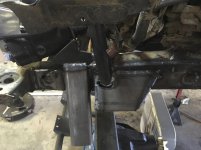
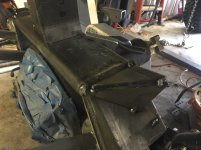
Got the front axle all finished up and the bump stops all around too. Started mounting the shocks, again. Tomorrow this thing will be sitting on its own four wheels hopefully.
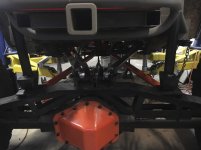
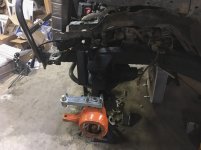
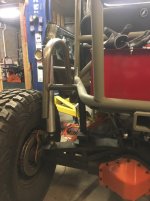
Attachments






wake_rider
New member
I'm really blown away at your ambition and follow through on this project.
Quick question. What are the plans or the purpose for your shock hoop dumping off on the end like that? We don't get crawling buggies around Oklahoma because we don't have rocks to crawl on, so I'm asking this from complete lack of experience seeing this type of project.
Quick question. What are the plans or the purpose for your shock hoop dumping off on the end like that? We don't get crawling buggies around Oklahoma because we don't have rocks to crawl on, so I'm asking this from complete lack of experience seeing this type of project.
Attachments
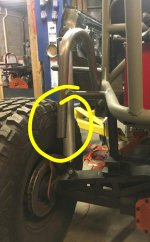
NotKewl
New member
I'm really blown away at your ambition and follow through on this project.
Quick question. What are the plans or the purpose for your shock hoop dumping off on the end like that? We don't get crawling buggies around Oklahoma because we don't have rocks to crawl on, so I'm asking this from complete lack of experience seeing this type of project.
Thanks! I'm blown away at what this project is costing me in time and $.
 Honestly, I just cut the tube too long. In the next set of pictures I'm posting you will see where I cut it off.
NotKewl
New member
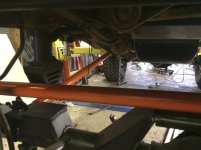
Spent the day (off) running to get more supplies (steel, shielding gas, etc.) and managed to get the rear finished and the front links mounted only to take them off when I (stupidly) realized the tires wouldn't clear the links at full clock.  DOAH!
DOAH!
Well, now I have to make an extension to bring the lower links in towards the transfer case to help clear the tires. Sigh.
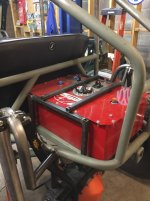
But, at least I did get the fuel cell fully mounted (removable of course).
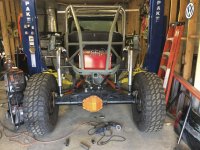
At ride height.
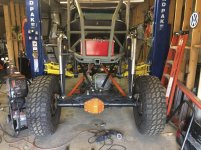
At full droop. The limit straps are six-ply Trail-Gear units that are beefy as all get out.
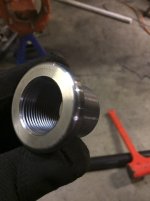
Heh, heh, heh, heh... Bunghole! You know, cause it's called a bung. :biggrin2:
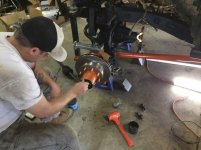
My buddy came over and gave me a hand today. By chance, he was off too.
DOAH! Well, now I have to make an extension to bring the lower links in towards the transfer case to help clear the tires. Sigh.
But, at least I did get the fuel cell fully mounted (removable of course).
At ride height.
At full droop. The limit straps are six-ply Trail-Gear units that are beefy as all get out.
Heh, heh, heh, heh... Bunghole! You know, cause it's called a bung. :biggrin2:
My buddy came over and gave me a hand today. By chance, he was off too.
Attachments
-
 Suspention-Rear-Final-d-1.jpg140.5 KB · Views: 573
 -
 Suspention-Rear-Final-d-2.jpg140.2 KB · Views: 570
 -
 Suspention-Rear-Final-d-7.jpg64.8 KB · Views: 630
 -
 Suspention-Rear-Final-e-2.jpg106 KB · Views: 652
 -
 Suspention-Rear-Final-e-3.jpg134.3 KB · Views: 647
 -
 Suspention-Rear-Final-e-7.jpg92.3 KB · Views: 640
 -
 Suspention-Rear-Final-e-10.jpg121.9 KB · Views: 648
NotKewl
New member
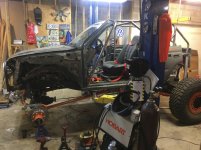
Wheew! The front suspension is fully built and welded in minus shocks (that's tomorrow). By Sunday, this beast WILL be sitting on its own all the way around. This girl has legs and she knows how to use them! Just less than 6 weeks (2 weeks in terms of my availability in time) to go to get this rig done for Trail Fest 2017!
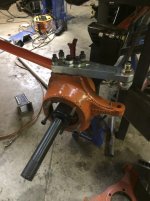
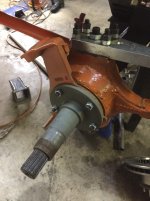
Checking for any binding... nope! Good to go!
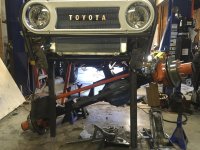
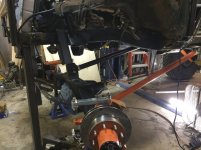
Steering ram and control arms installed.
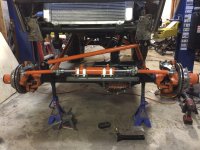
Sitting just above ride height.
Checking for any binding... nope! Good to go!
Steering ram and control arms installed.
Sitting just above ride height.
Attachments






Similar threads

- Replies
- 2
- Views
- 3K

- Replies
- 1
- Views
- 13K

- Replies
- 10
- Views
- 13K


