Rear Axle Shaft Replacement
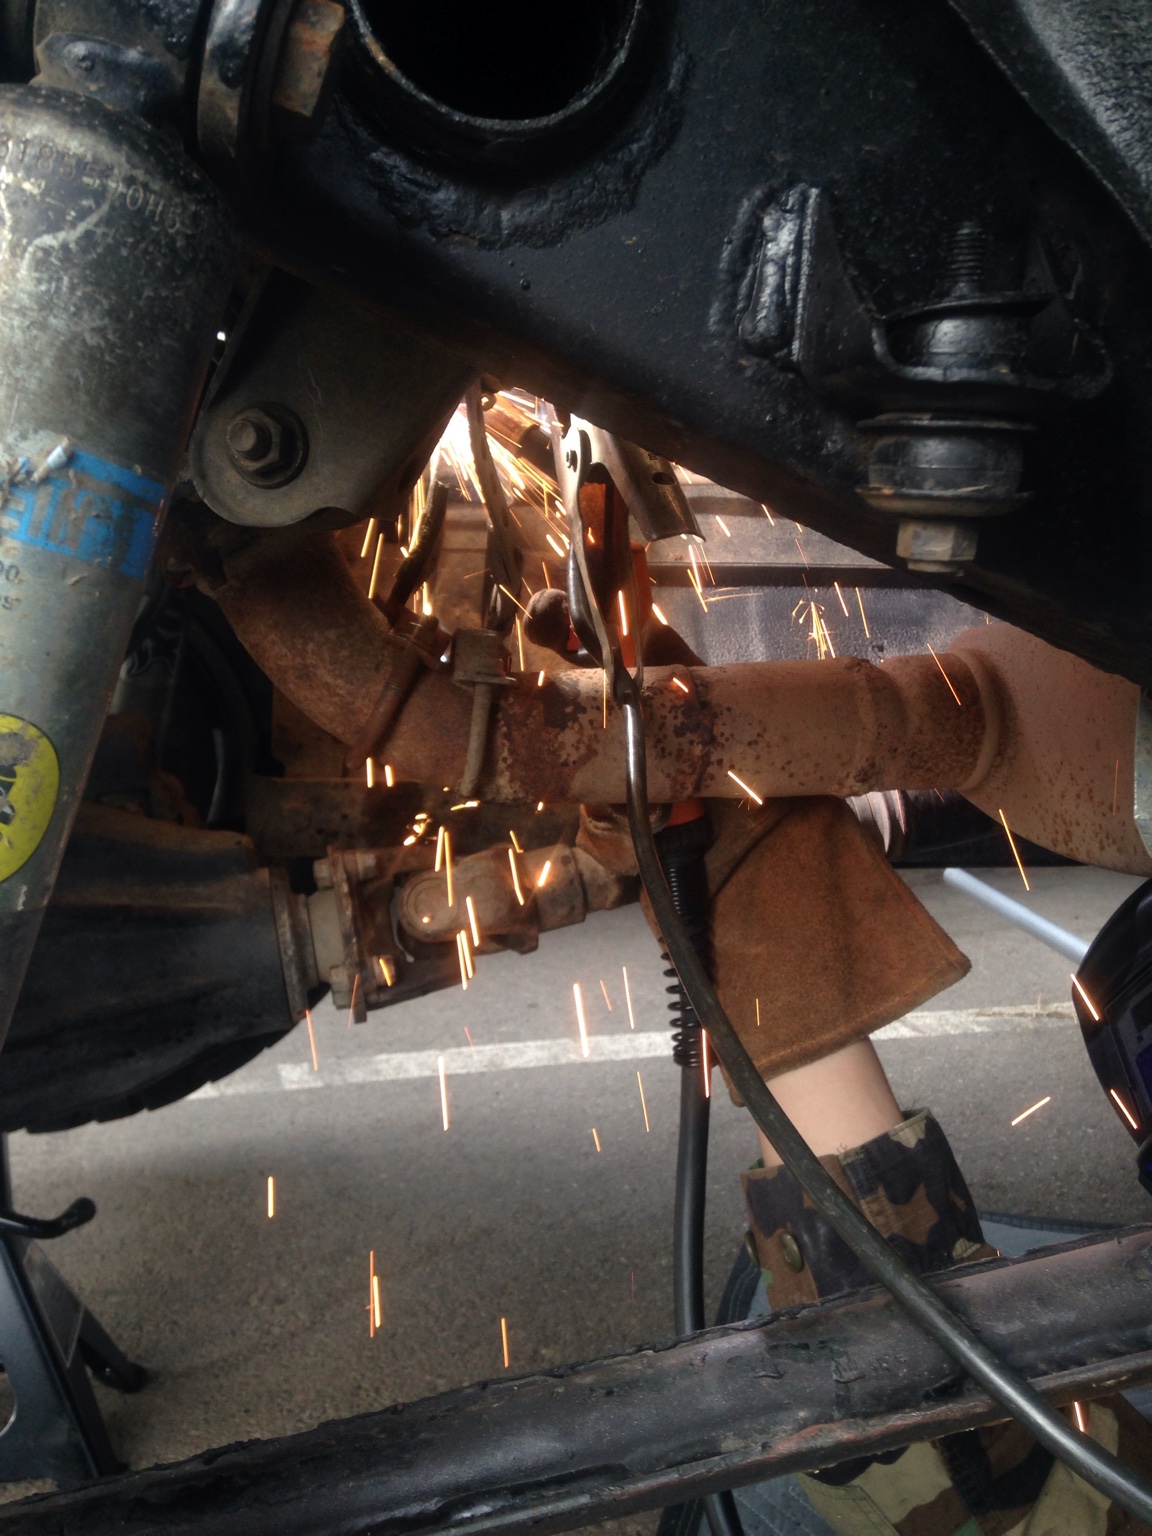
Finally got around to this after having a bent passenger rear axle shaft for 8 months ish. I believe I bent it at Rock Therapy because thats the first time I was told "Hey, your back right tire looks like its gonna fall off!" I figured it was just some thrown weights. But after multiple balances and other stuff I FINALLY got around to it. I picked up a spare Hub Assembly and Axle from [MENTION=12930]ajordan1975[/MENTION] (Thank you for hooking me up, bummed it didn't work) that ended up not working in the pinch I had. The axle it came out of trashed the internal brake parts covering them all in gear oil and I'm assuming the Brake pads sponged up with gear oil also. SO after tearing it all apart I ended up putting it all back together and bleed the brakes to drive 45 minutes to Insain Fabs shop the next morning, where I bought a complete hub assembly with no gear oil covering it and only about 75k on the clock. SWEEET. Drove home and swapped it in under 30min and bleed the brakes. GOOD AS NEW!
What I needed for the job
-10mm Wrench
-14mm wrench and another 12point wrench to use as leverage
-Hammer
-Needle Nose Pliers
-Gear Oil
-Dot 3 Brake Fluid of your choice (I used Orielly's Brand)
-A brake bleeder or a Cup and Aquarium Tube which is what I used
-Also the breaker bar to remove your tire and in my case wheel spacer
-Shop Rag
-Brake Cleaner
-409
-Black Paint if you want to paint your drums, I will do this sometime in the future
-Something to stop the brake fluid from going everywhere. I used a plastic bag and a rubber band
PICS
Here is the new to me Hub Assembly from Corey Sain
[/url]
IMG_9349 by
alex fleming, on Flickr[/IMG]
The bent axle Hub Assembly ready to come out
You have to remove the pin for the ebrake cable, I used pliers for the Cotter Pin and used a hammer and a Allen key to hammer out the pin after soaking it with PB Blaster. Then unthread all the nuts on the back as well as remove the hard brake line from the drum and use something to stop the flow or let it leak all over your shop floor/driveway!
[/url]
IMG_9350 by
alex fleming, on Flickr[/IMG]
Here it is with the axle pulled slightly out, notice the 4 holes, only three visible. This is where the 14mm bolts go that you have to remove the nuts off of to remove the shaft and assembly. Also the bag and rubber band keeping the brake fluid from leaking. Also the Ebrake cable is barely noticeable on the left of the axle hanging down below the top left hole.
[/url]
IMG_9353 by
alex fleming, on Flickr[/IMG]
Here is the axle seal and the 4 holes mentioned above. Also on the outside of the ring there is a large oring that goes all the way around it not pictured. I spend time cleaning this by hand with paper towel and I also used a shop rag to clean the axle seal then re applied a thin layer for gear oil to each before re installing.
[/url]
IMG_9357 by
alex fleming, on Flickr[/IMG]
The new one is then carefully CAREFULLY slid in, be sure not to hit the axle seal of damage the teeth on the shaft. Take your time and if its too heavy ask someone to help you hold it. After that bolt it back in with the 14mm nuts and reattach brake hardware then bleed brakes and adjust parking brake. AND YOU ARE DONE. Pretty much the same process as replacing your axle seal. If you want more information on these parts and more indepth look at everything look at this write up from [MENTION=44220]BigFishAllDay[/MENTION]
Rear Axle Seal Thread
[/url]
IMG_9362 by
alex fleming, on Flickr[/IMG]
[/url]
IMG_9363 by
alex fleming, on Flickr[/IMG]
Some other things I did for pete sake was clean my drum brake parts, I just blasted them with brake clean and then wiped the pads off as well as where they make contack in the drum.
[/url]
IMG_9366 by
alex fleming, on Flickr[/IMG]