nglayton's Mod Thread

Folding Mirrors install issues FIXED

[MENTION=308409]KTJO4x4[/MENTION]
[MENTION=284359]braves95[/MENTION]

Thank you so much for all the help in tracking this down.
I just wanted to make an additional/updated post here so EVERYONE else can see this issue is now fixed. This mod is working perfectly, 100% as advertised now!

The new module arrived last night so I quickly installed it. Nothing was changed. It still didn’t fix the issue. However after thinking about it all night, I decided this morning to flip the gray and blue wires like we talked about to change the way the switch worked (my OCD above with in/out not being in/out, etc).

And guess what?!?

Everything works perfect now! Woohoo!!

So I bet you the module I returned is still good. I think it was the reversed blue and gray wires the whole time.

I actually had them in backwards to begin with, so maybe add a few details on that step to the instructions would help future installs. Also if you run into anyone else that has the same issue as I did, it could just be those little wires got installed backwards like I did.

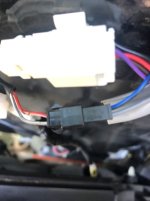
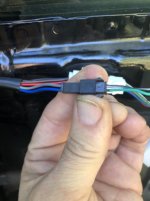
For anyone else reading along, I misread the pictures for attaching the motor wires to the harness inside the door. I snapped a couple pictures.

Color wire to Color wire (even if not the same color)
Black wire to Gray wire

It should look like this:
 

Attachments

  • IMG_2570.jpeg
    IMG_2570.jpeg
    33.1 KB · Views: 732
  • IMG_2571.jpeg
    IMG_2571.jpeg
    25.4 KB · Views: 721
Folding Mirror Mod - Video Proof!

<iframe width="560" height="315" src="https://www.youtube.com/embed/Z2HME3xJPgE" frameborder="0" allow="accelerometer; autoplay; encrypted-media; gyroscope; picture-in-picture" allowfullscreen></iframe>
 
Navigation Diagnostic Mode

Old Post......saving it here so I can find it in the future

I tested out these steps on my 2011 TE and they work, diagnostic mode pops right up.

1)After the ignition switch is turned ON, check that the map is displayed before starting the diagnostic mode.

2) While pressing and holding the "INFO" switch, operate the parking light control switch: OFF | Turn ON | Turn OFF | Turn ON | Turn OFF | Turn ON | Turn OFF.

The diagnostic mode starts up right on the Nav screen.
It's kind of fun, you can play around testing various things. Might be useful in the future...
 
what kind of lift do you have? not sure if you said it

great mods too BTW, have me wanting to do those folding mirrors on my 12
 
what kind of lift do you have? not sure if you said it

great mods too BTW, have me wanting to do those folding mirrors on my 12

Hey Blake,

It's a Revtek 432 lift, installed by the Toyota dealership - Details are in posts 27 through 32.

I just wanted a small 3'ish inch lift and it was perfect for me.

One issue now, 2 years later, that I need to fix, is the ass end is starting to sag a bit. Especially when I tow my small utility trailer. It seems any weight 300-400lbs+ and the rear spring/shock combo isn't strong enough to keep it level any more. I'm not sure what I'll do with that yet. Too many other projects/honey-do lists at the moment.
 
OEM Type Connector Terminals

I know this is from the 3rd Gen section, but great thread. Toyota doesn't change much year to year, especially stuff like this. I just ordered some of these to repair some connections that I've found that are getting weak.

If you can crimp, this is a lot better than Toyota's price of $5+ each.......

OEM type connector terminals
 
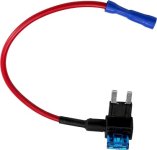
Neal, on the folding mirror mod, how did you connect the red wire to the fuse box? I’ve never did this before. I bought a Add-A-Fuse but it must be the wrong type because it sticks out of the box. Can you give me a link to what I need to buy?
 
Neal, on the folding mirror mod, how did you connect the red wire to the fuse box? I’ve never did this before. I bought a Add-A-Fuse but it must be the wrong type because it sticks out of the box. Can you give me a link to what I need to buy?

The down side is the add-a-fuse does stick out of the box just high enough to clear the fuses next to it, once it's installed you won't be able to put the cover back on. This is normal. I just keep the cover in my center console in case I need to look up a fuse location.

This is similar to what I used. I'm sure I bought them locally from any auto parts place that I might have been in.

Add-a-fuse

You don't have to tap the fuse box with it. Any always on power source will work. You could run it all the way to the battery if you want as long as it has an inline fuse you should be good. I have several add-a-fuses in my box already so I tapped one of them or maybe even tapped my battery volt gauge since I have it wired always on.
 

Attachments

  • add a fuse.jpg
    add a fuse.jpg
    18.6 KB · Views: 605
Thanks. I have some mini low profiles coming in the mail. I guess I’ll have to break out the duct tape for the cover! :-D
 
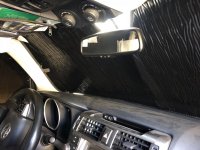
Weathertech Sun shades

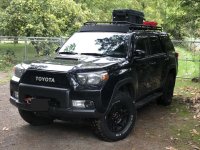
As I'm getting ready to head out for the annual fall camping trip I realized I never posted the pIcs I took last year.

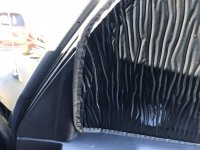
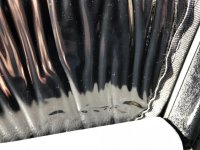
Weathertech Sun Shades

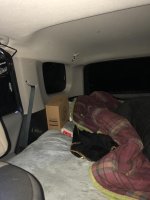
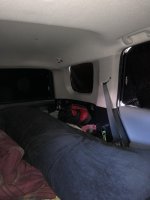
You can see the blackout coverage is pretty good, just a few small spots. The one around the mirror is the biggest gap.
 

Attachments

  • IMG_1028.jpg
    IMG_1028.jpg
    88 KB · Views: 614
  • IMG_1029.jpg
    IMG_1029.jpg
    74.6 KB · Views: 624
  • IMG_1030.jpg
    IMG_1030.jpg
    130.7 KB · Views: 599
  • IMG_1031.jpg
    IMG_1031.jpg
    130.4 KB · Views: 591
  • IMG_1032.jpg
    IMG_1032.jpg
    130.9 KB · Views: 583
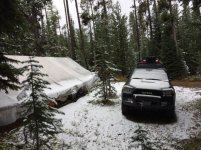
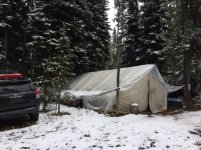
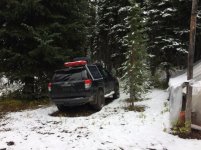
A few shots from the last camping trip

Here's a couple before and during shots. It snowed 1"-2" the first 3 nights after we arrived, but melted down each day so we didn't get too much build up. Then it got cold for 2 days, in the 20's but no rain so it wasn't too bad a trip.
 

Attachments

  • IMG_0018.jpg
    IMG_0018.jpg
    137.9 KB · Views: 521
  • IMG_0017.jpg
    IMG_0017.jpg
    140.4 KB · Views: 518
  • IMG_1157.jpg
    IMG_1157.jpg
    110.4 KB · Views: 525
  • IMG_1156.jpg
    IMG_1156.jpg
    95.8 KB · Views: 521
  • IMG_1155.jpg
    IMG_1155.jpg
    87.1 KB · Views: 511
Last edited:
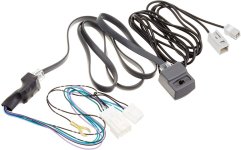
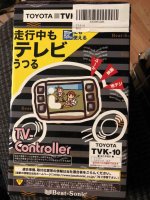
Beat-Sonic TVK-10 Video in Motion and NAVI Control Bypass Module

I've been trying to do this mod on the cheap for about 6 months. No amount of wire cutting/tapping/reading/studying diagrams or plans had lead me to success. Until Now!

I finally ponied up and spent $94.99 on Amazon and bought this figuring if it doesn't work I'll return it. Product arrives with instructions all in Japanese, useless, but luckily not hard to figure out.

It works perfectly!!

You can also buy it directly from Beat Sonic for $150

They said they would price match, they also said they give better support than the seller on Amazon, which is confusing since It seems to be the same exact product.
I had already placed my ordered from Amazon before they made these offers or claims.

Install is easy. Plug and play, just insert this harness in between the GPS antenna and the 5 pin plug. Find a ground spot and attach the ground wire and you're good to go.

Please note this is for my 2011 Trail...newer models might not be as difficult to accomplish this mod.
 

Attachments

  • TVK-10.jpg
    TVK-10.jpg
    93.3 KB · Views: 462
Last edited:
Don't let the box scare you.
Looks like a cheesy dollar store throw away.
I'm thinking maybe the Amazon seller is a knockoff.
But the product works and looks identical.

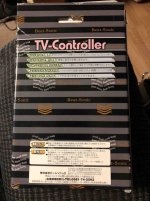
The instructions look about the same as the box with no color.
 

Attachments

  • IMG_3751.jpg
    IMG_3751.jpg
    124 KB · Views: 453
  • IMG_9169.jpg
    IMG_9169.jpg
    116.1 KB · Views: 454
Last edited:
Low Profile XM Antenna

I completed this mod today. Took me an hour tops, its actually easier than changing headlight bulbs.

Stole the info from this thread

This post in particular

Repeating most of it here, with a few changes based on my experience.

I replaced my shark fin antenna with a flat Camry one.
I have a 2011 4runner Trail KDSS with NAV & JBL

Over time the XM reception just kept getting worse. Driving near anything of any height at all and it cuts out. Could be due to the gobi rack I have surrounding it, but this is my first try at a fix. If it doesn't work I will try something else.(more elevation above the roof rack??)

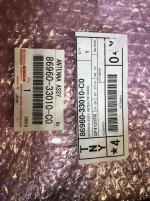
Based on the threads above, I sucked it up and ordered part number 86960-33010-CO. This is the Camry antenna, color matched to my black 4runner.
(CO=Black)

It fits perfectly, except the plug, keep reading.

I installed it after receiving it. It works. (Not sure how good yet, but time will tell. I'll update this thread after I drive a few miles)

2/20/2020 UPDATE: I Had a 55 mile trip today, parts of this route include underpasses, tall trees and more various spots where I always lose reception, including at a stop light with a 2 story building and bunch of power lines next to the road. I'm happy to report this works perfectly now!! I didn't lose the signal all day in any of those spots like in the past.
This is a 100% fix for reception issues.


Steps:
1) Pull the rubber hatch seal up about 3-4 inches, just slightly off the body.
2) Gently pull the headliner down a few inches and the 3 clips in the next step will pop down.
3) Remove the three headliner clips along top rear of headliner near tail gate.
4) Gently drop down the headliner, being careful not to crease headliner.
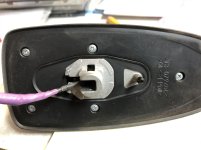
5) Unclip satellite antenna now exposed beneath the headliner. (squeeze and pull apart)
6) Use a 22mm wrench to loosen and remove nut holding shark fin to truck roof. (It's barely even tight)
7) Lift out the unattached shark fin from top of roof (from the outside).
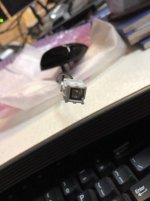
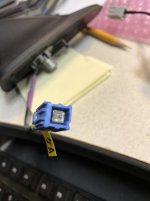
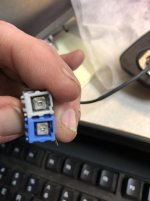
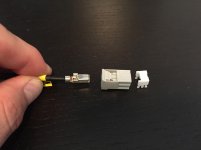
8) Mine had blue square connector. Replacement flat Camry antenna has very similar gray square connector, but not a perfect match. See photo. That tiny difference prevents you from being able to connect the Camry antenna to the 4runner wire. So just swap the connectors.
9) Swap connectors. Very easy to do. Gently pry up white plastic piece from top, removing completely. Then slide tiny flathead screwdriver into square face from the front and lift the little clip up to release the wire. With the clip lifted, slide the wire out of it. It took a bit of fiddling to get it to slide loose.
10) Follow same procedure and reverse it to move blue square connector to the new replacement flat Camry antenna.
11) Install on roof by threading through and tightening 22mm threaded hex nut up against roof.
12) Insert blue square connector into wire beneath headliner.
13) Gently push headliner back into place and snap the clips back in

I did not crease my headliner, or take out any additional trim pieces.

Borrowed photos below as well as some of my own.
 

Attachments

  • IMG_2945.jpg
    IMG_2945.jpg
    117.1 KB · Views: 356
  • IMG_2946.jpg
    IMG_2946.jpg
    117.7 KB · Views: 352
  • IMG_2948.jpg
    IMG_2948.jpg
    120.4 KB · Views: 356
  • IMG_2949.jpg
    IMG_2949.jpg
    118.2 KB · Views: 359
  • IMG_2950.jpg
    IMG_2950.jpg
    122 KB · Views: 367
Last edited:
Low Profile XM Antenna

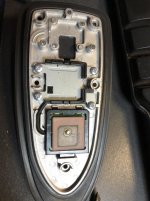
More pics...I'm not sure why this had a fin in the first place, the whole thing is flat mounted any way.
 

Attachments

  • IMG_2944.jpg
    IMG_2944.jpg
    144.6 KB · Views: 726
  • IMG_4228.jpg
    IMG_4228.jpg
    59.2 KB · Views: 730
  • IMG_2953.jpg
    IMG_2953.jpg
    97.2 KB · Views: 698
Last edited:
Low Profile XM Antenna

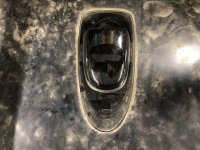
Boy is my roof dirty......
 

Attachments

  • IMG_2951.jpg
    IMG_2951.jpg
    101.9 KB · Views: 694
  • IMG_2952.jpg
    IMG_2952.jpg
    55.8 KB · Views: 686
Updated Tail End Lighting - Part 1

I've been eyeing these tail light mods for a while now and just could never pull the trigger.

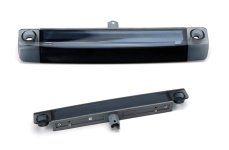
I have never liked the giant red becon'ish stop lights on my 2011 TE, then the 2014+ models came out and I didn't really like the look of those either. None of the choices really has the right look. The 3rd brake light light is also pretty bad with a giant white lens and red LED's behind the white lens. Yes, even back in 2011 the third brake light assembly is LED. Then I found this

iJDMToy Smoked 3rd Brake Light

They also sold it on Amazon for $5 cheaper

It looks like both places are sold out now, but searching ebay shows multiple options.
 

Attachments

  • 3rd tail.jpg
    3rd tail.jpg
    107.3 KB · Views: 611
Last edited:
Updated Tail End Lighting - Part 2

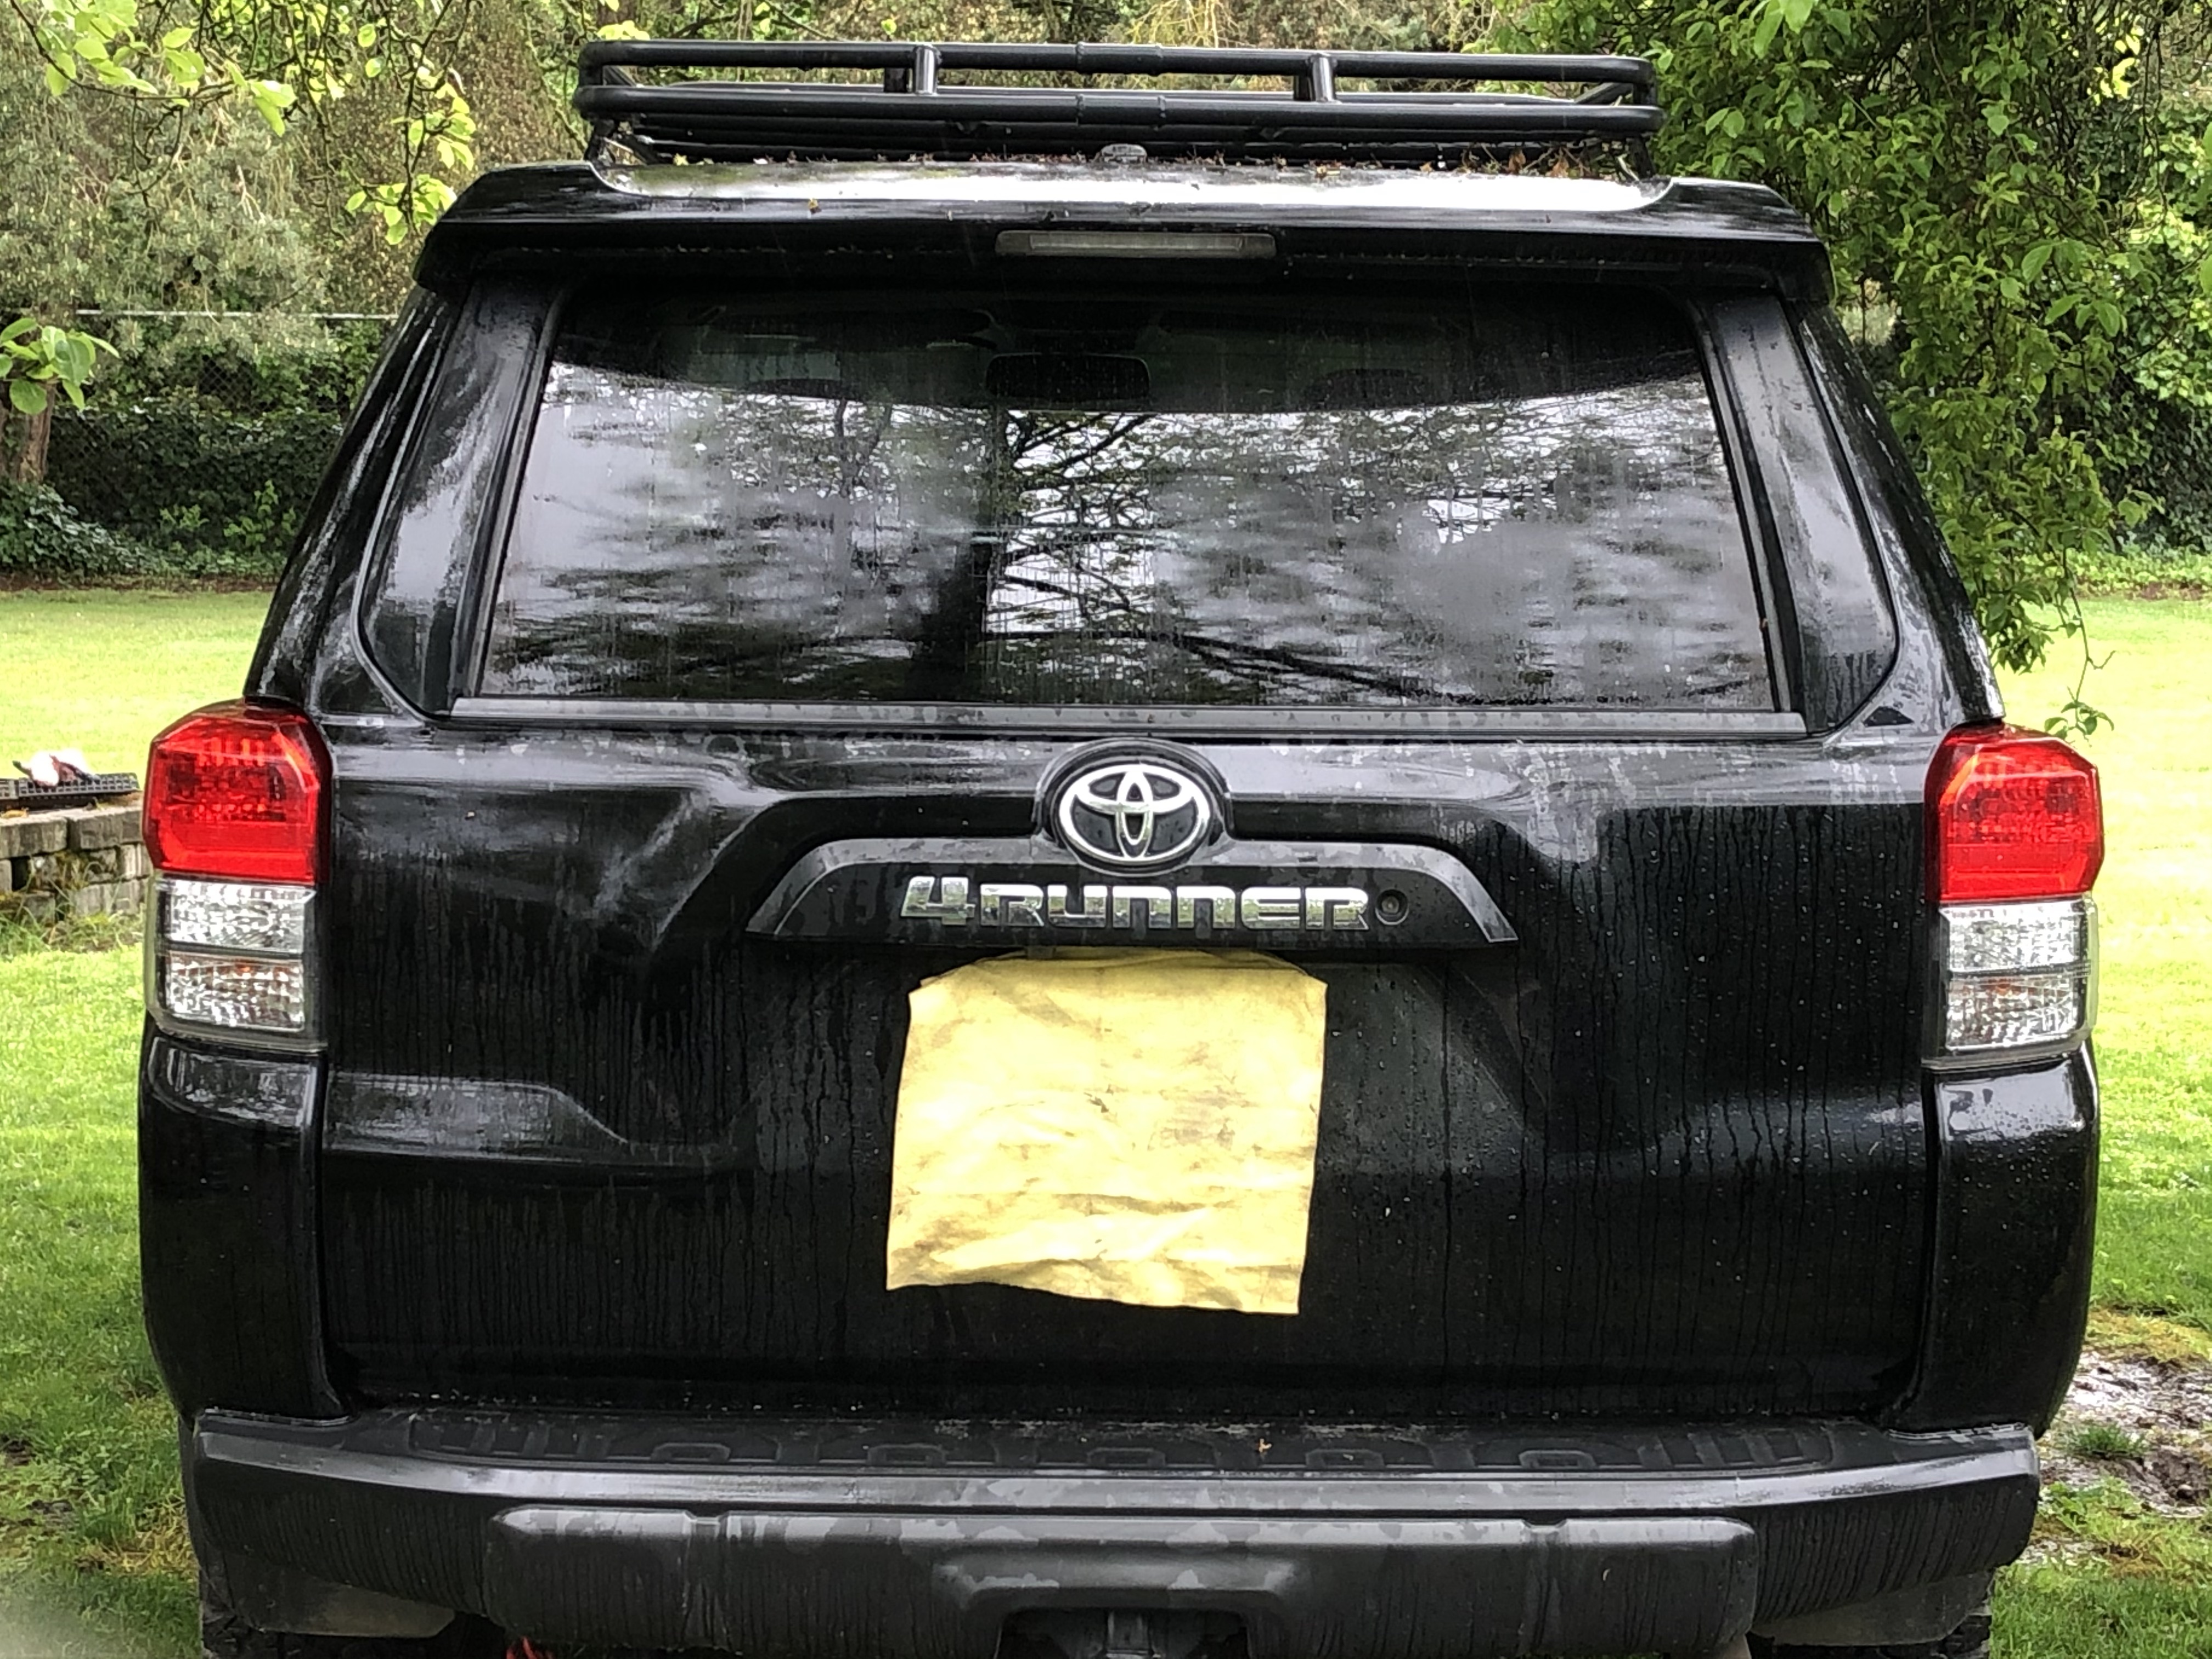
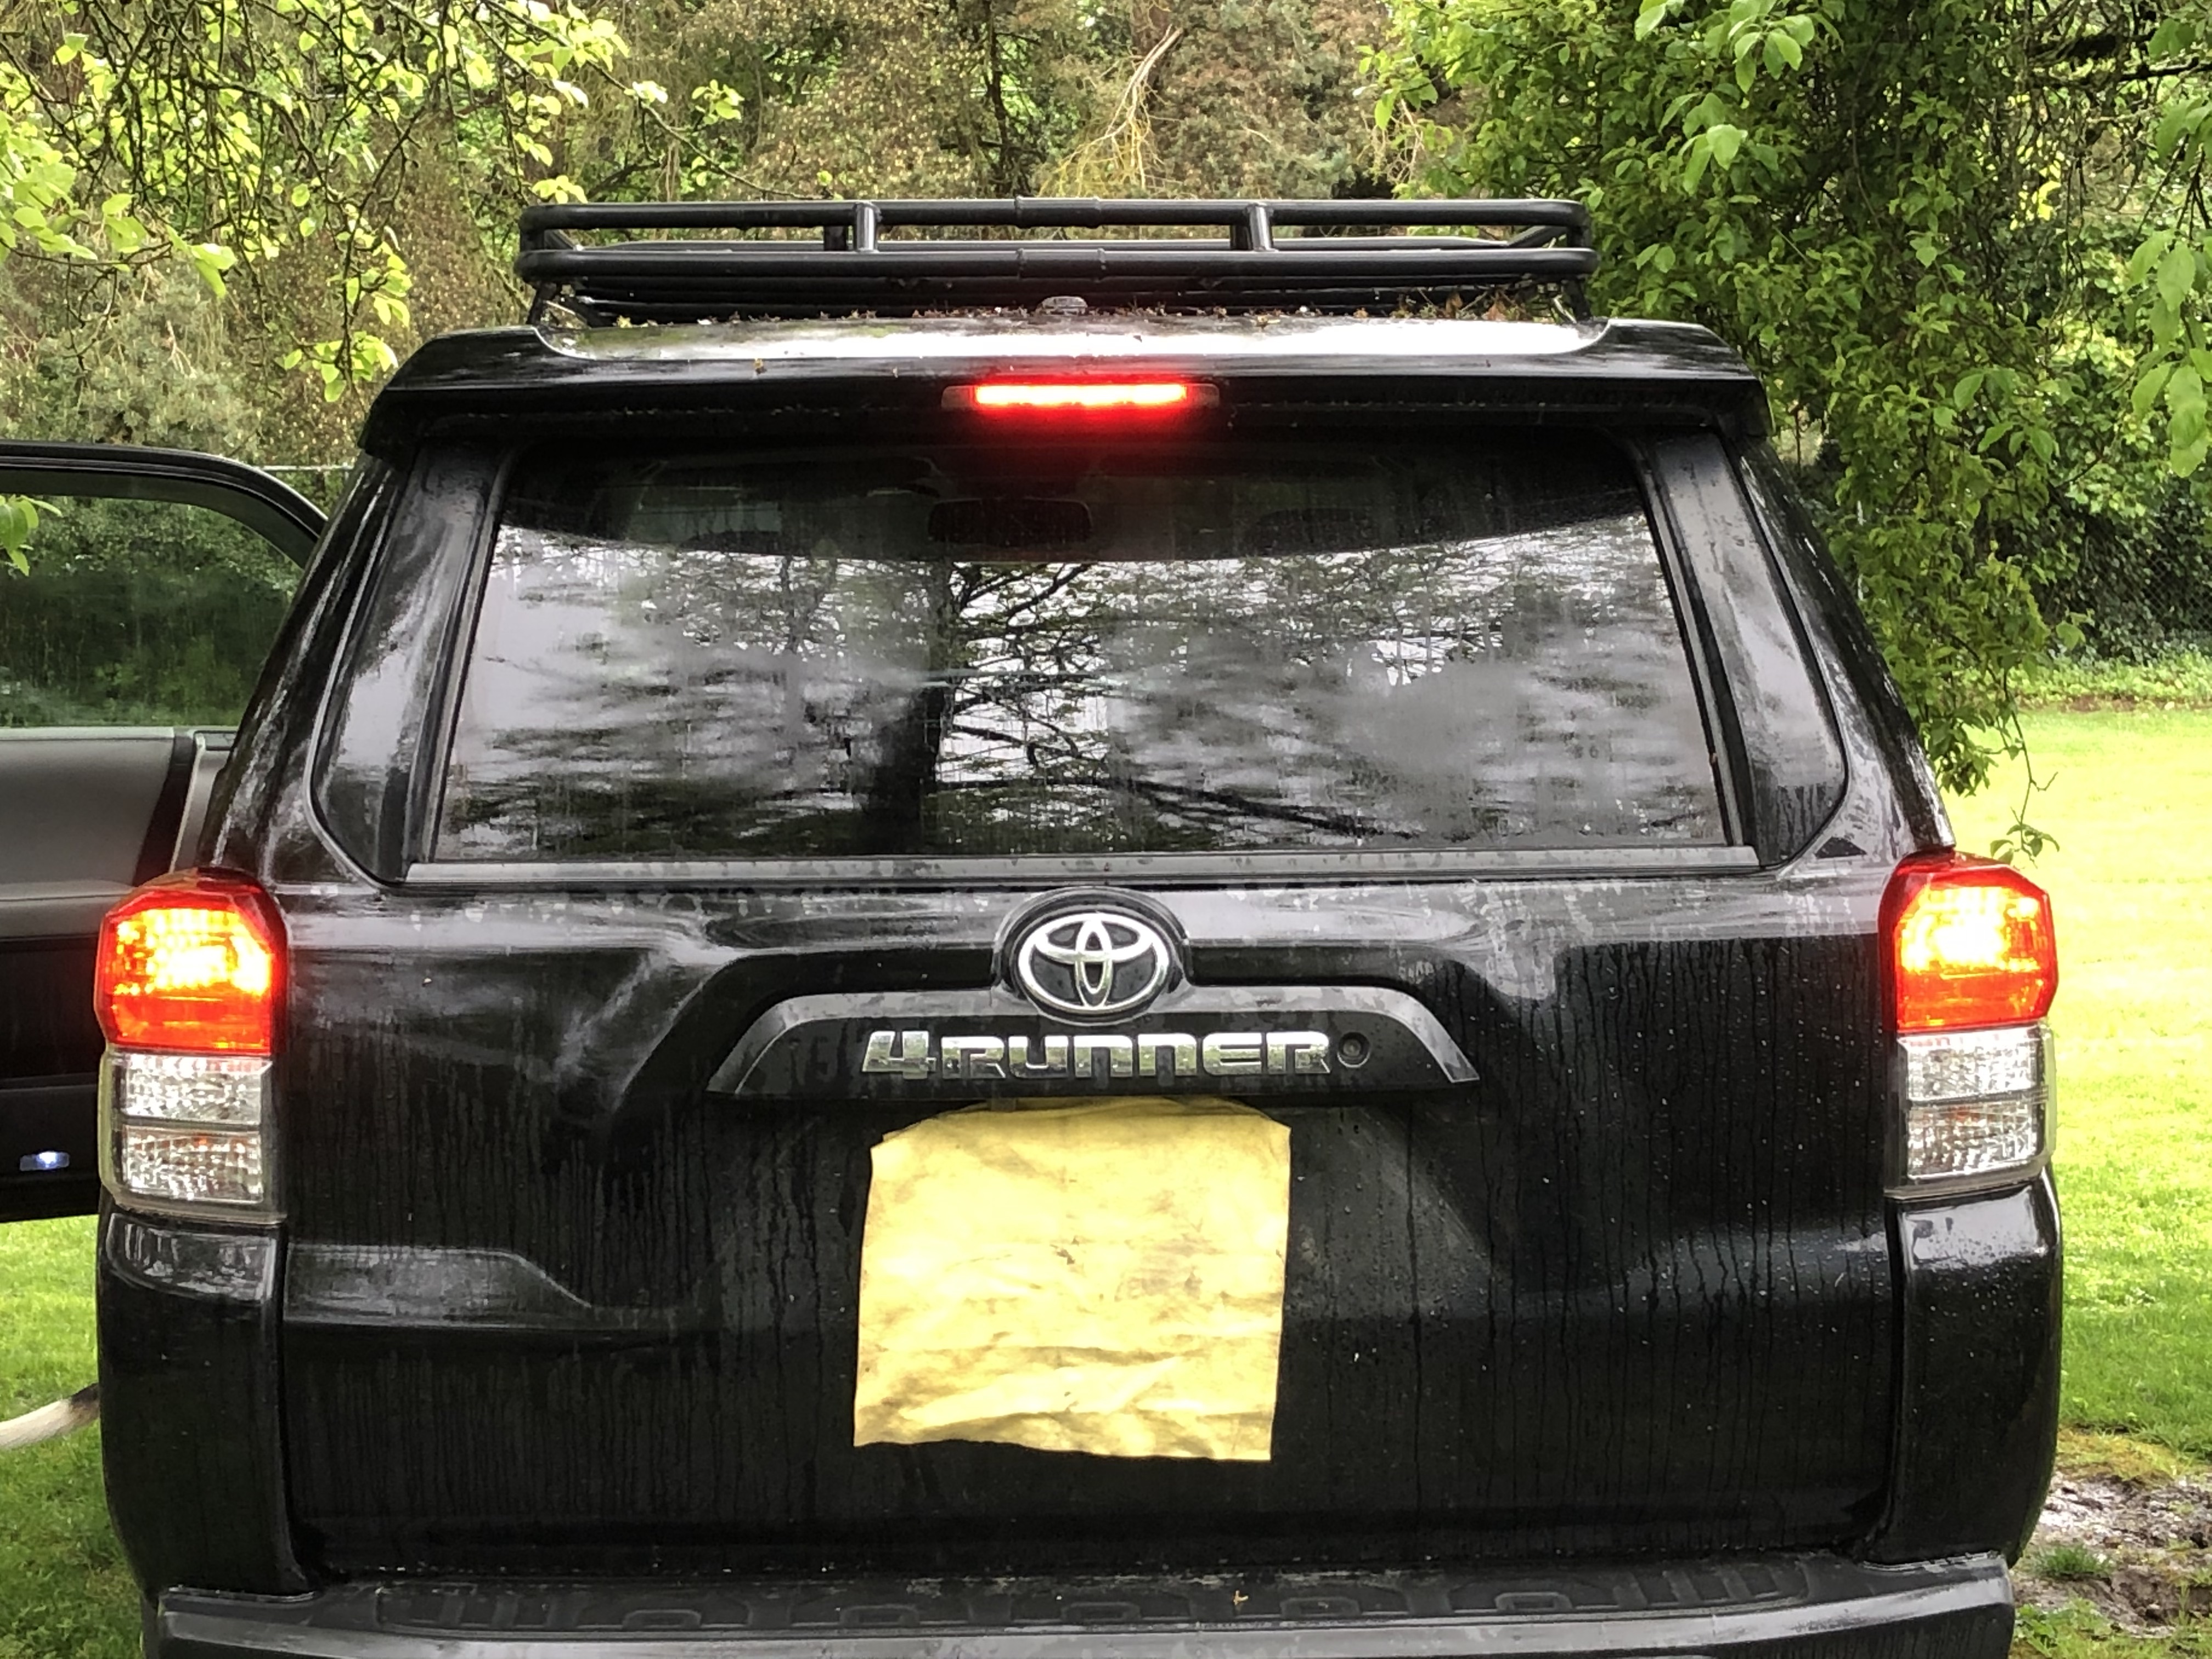
I couldn't stop with just the 3rd brake light, so I pulled the trigger on these from Unique Style Racing. 4Runner Black Housing Tail lights


To swap out these 3 items took me less than 30 minutes. Probably one of the easiest mods I've ever done. Only 2 screws/4 nuts total (2 for each light) to remove and replace to complete the swaps.

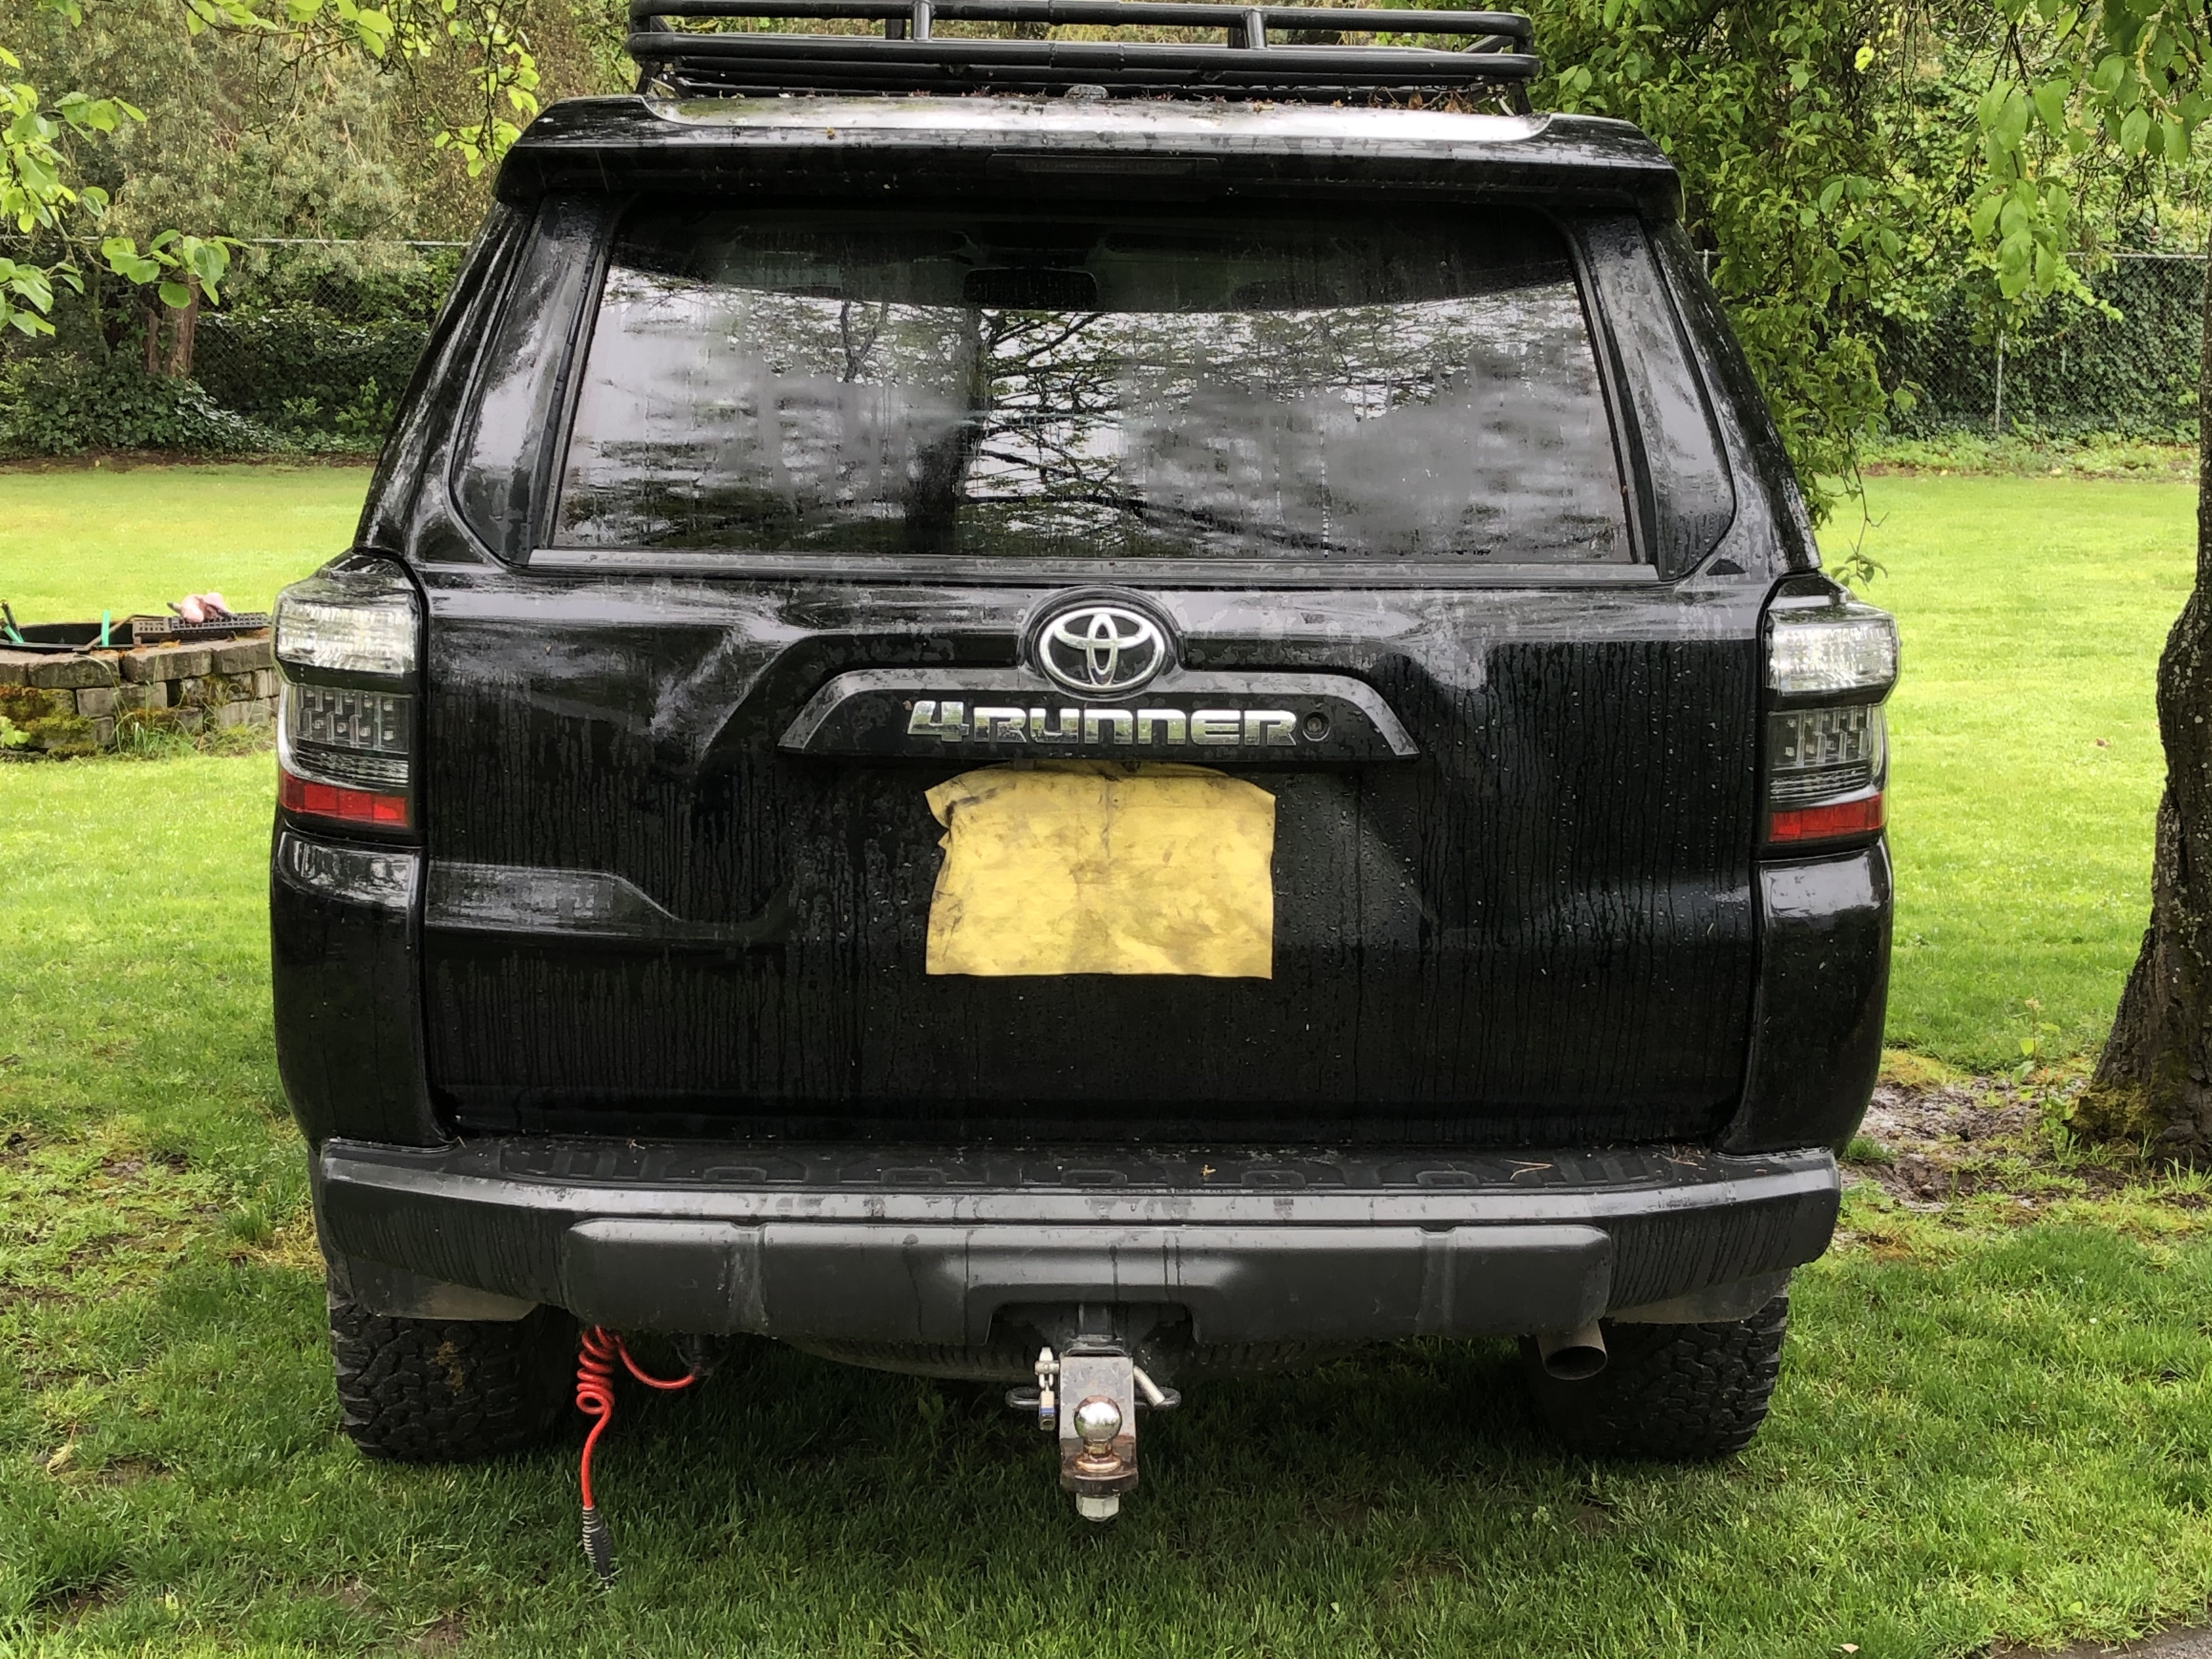
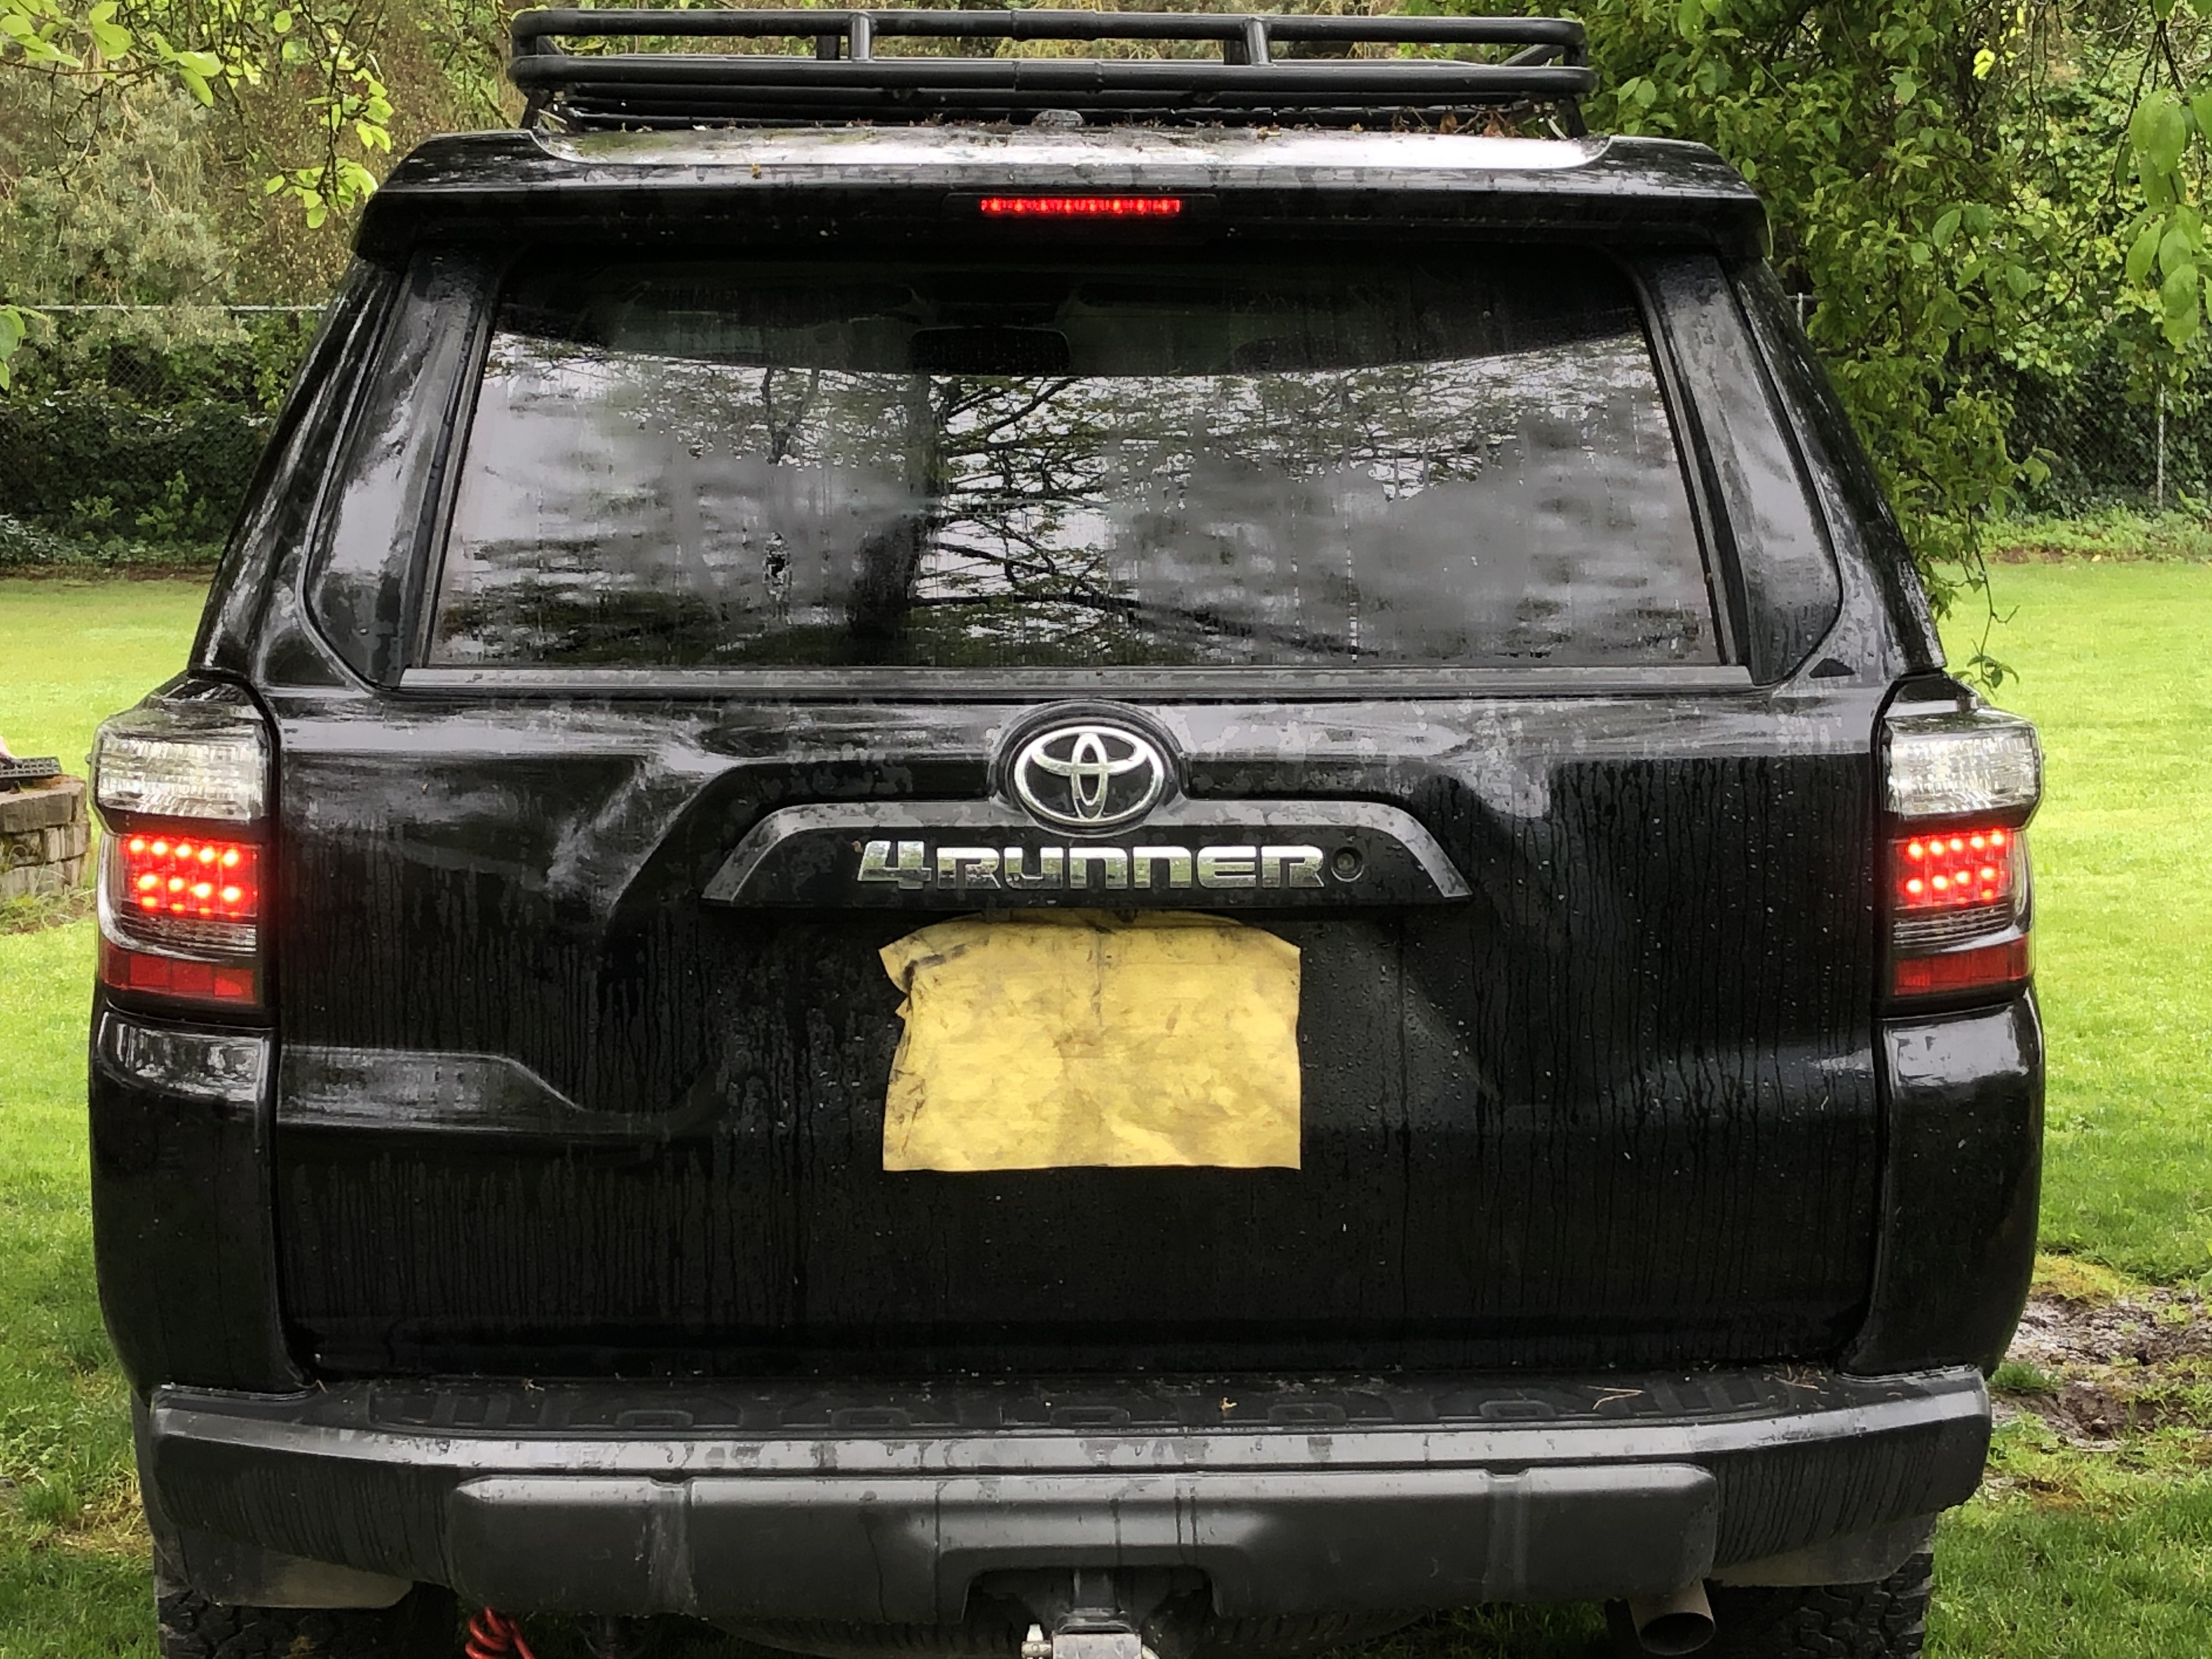
Here's a few before and after pics
IMG_3396.jpeg

IMG_3397.jpeg

IMG_3398.jpeg

IMG_3399.jpeg

IMG_3400.jpeg

IMG_3401.jpeg


I like the new smoked look a lot better than the old look, but there is still a LOT of room for improvement.

The design of the tail light both old and new just bugs the cr@p out of me!!

1) The big bulbish part of the upper section on both new and old lights is just begging to get smashed or busted on stuff the way it sticks out. They should have streamlined it along the same geometry as the body lines.
2) The swooping red reflectors down the side and around the bottom on the newer style are just dumb looking in my opinion.
3) Mostly, I'm a little concerned that the lights are not near as bright as they used to be. I'm sure the look will grow on me, mostly since I only see it with the lights off. But the reduced brightness can't be a safe thing. Smoking the lenses doesn't help this at all.

I did pay to have the tail as turn mod done (or whatever USR calls it(USAM?)) and upgraded the backup lights as well so in reverse this is really bright. It seems more thought was put into that part of the mod than the actual brightness of the LED's for stop and turning.
 
Last edited:
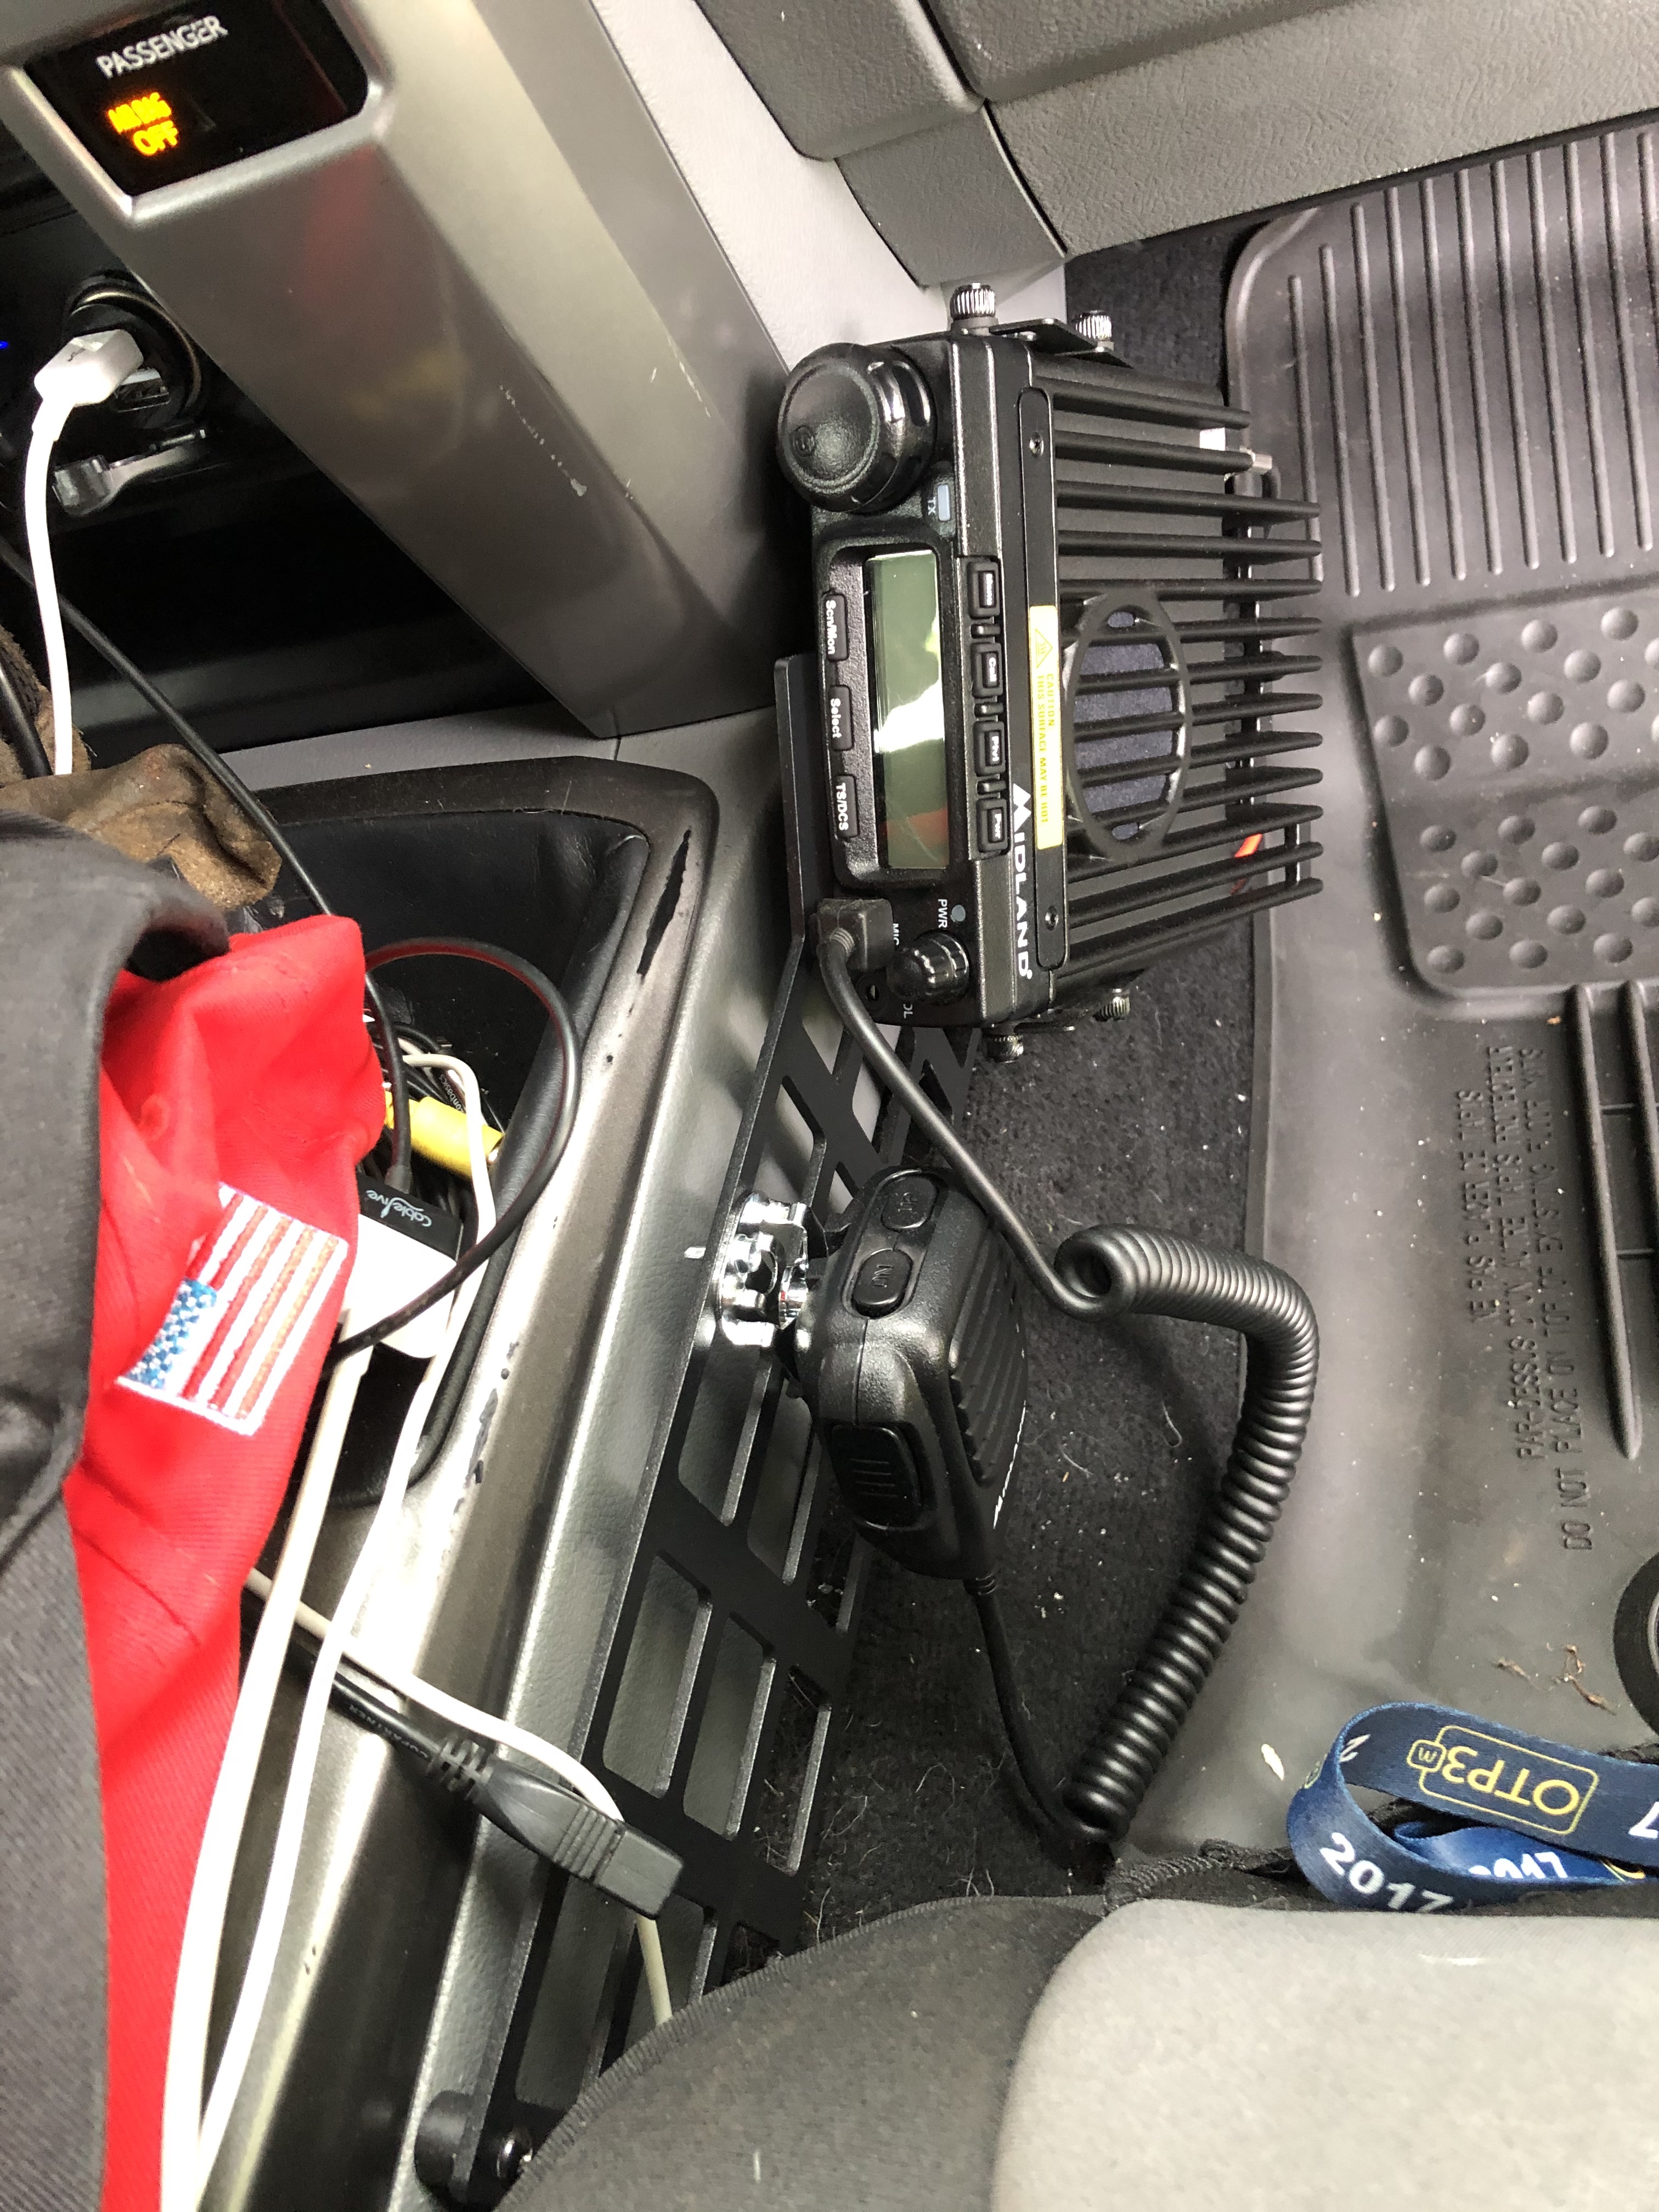
Midland MXT400 Install

In my 87 t4r I had a 23 channel CB Radio – Never used it.
When I traded it in and bought my 99 t4r, I doubled down and installed a 40 channel CB radio – Never used it either.
When I bought the 2011 TE, I decided since I never used the last two, why bother and didn’t install anything.

For over 10 years we have been using the Garmin Rino series of handheld GPS/GMRS Radios in all of our outdoor adventures. These are solid radios that can transmit over 10 miles in most conditions. We use them hunting, camping, backpacking and even on road trips. I actually never leave on a trip without a pair of them, I love these things. Although they never really worked great from car to car, I still never leave home without them.

Then after seeing multiple people install the Midland MXT275 in their t4r’s, I realized that’s the GMRS base station I should’ve had in the car all along. It would certainly make the car to car communication more reliable.

Midland has a lot of great sales all the time and great coupon codes. Do a search before ordering and I bet you can get at least 20% off, if you aren’t in a hurry.

With the Garmin Rino’s they transmit with either ½, 2 or 5 watts depending on the channel you choose and the type of battery. I was surprised that the Midland radios offered a much larger range of transmit wattage. While the 15 watts of the MXT275 would be 3x the Garmin I use, I didn’t like the looks of the Mic, nor did I see the need to “hide” it under or inside anything.

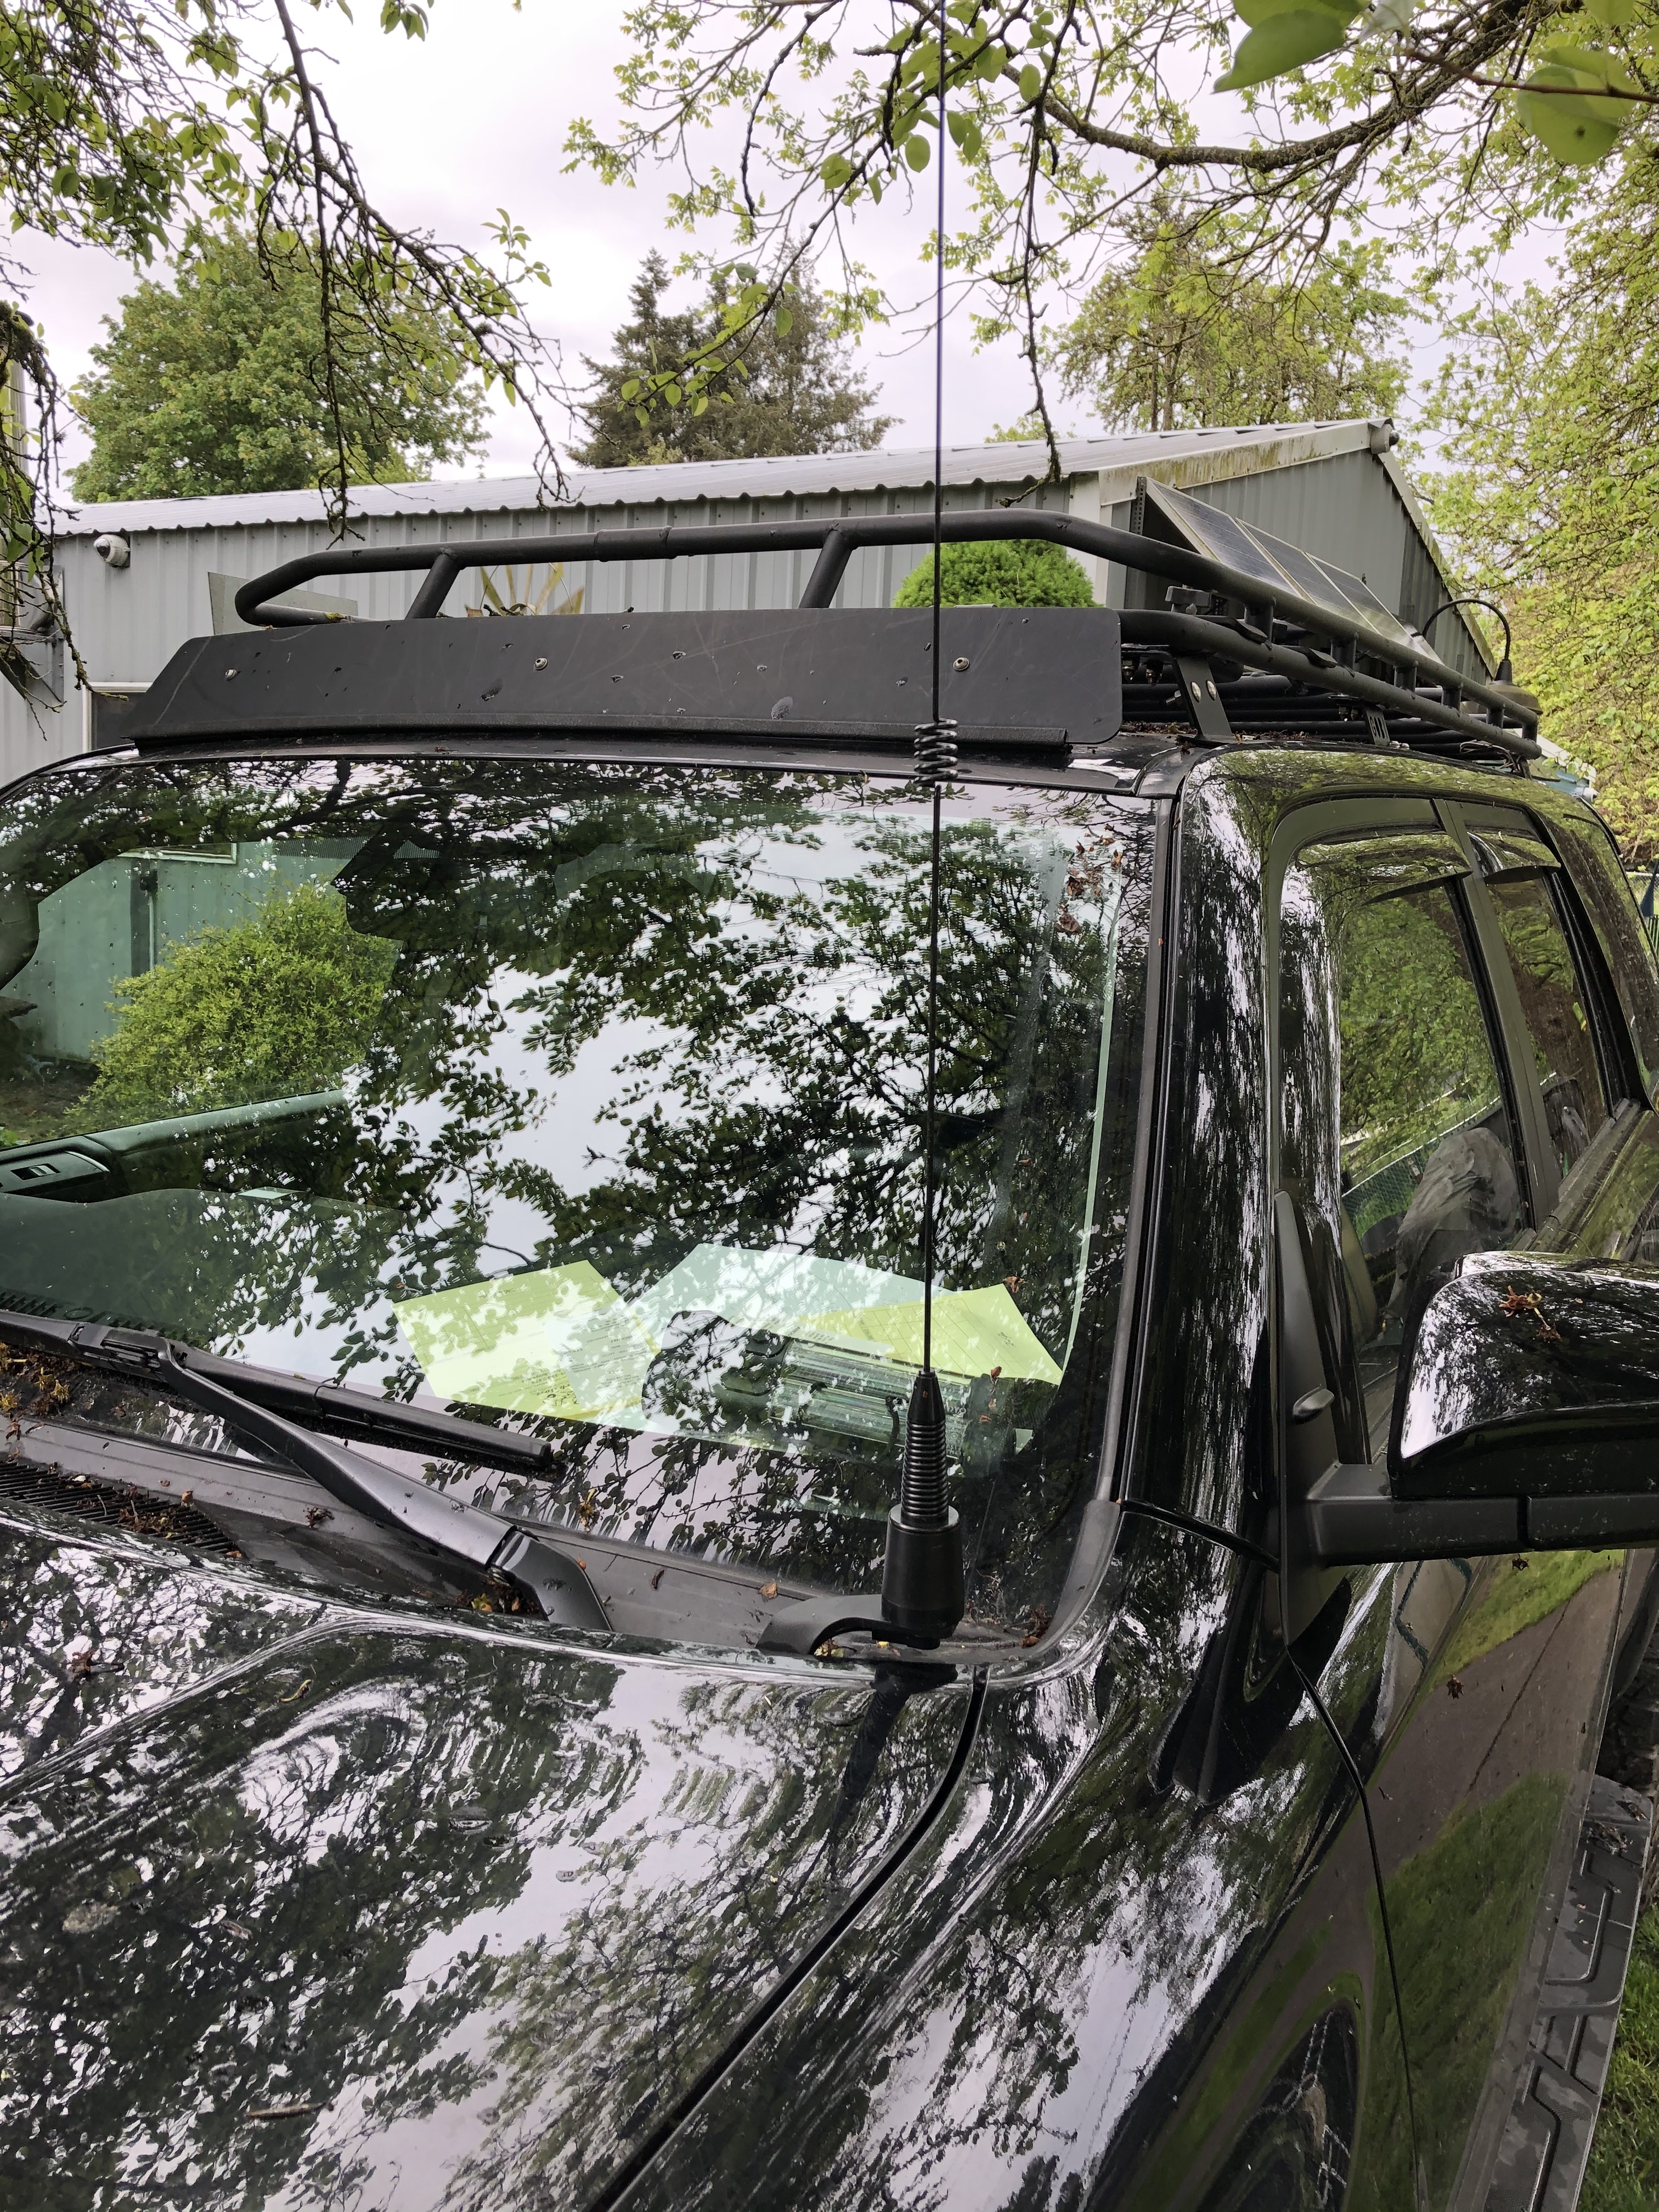
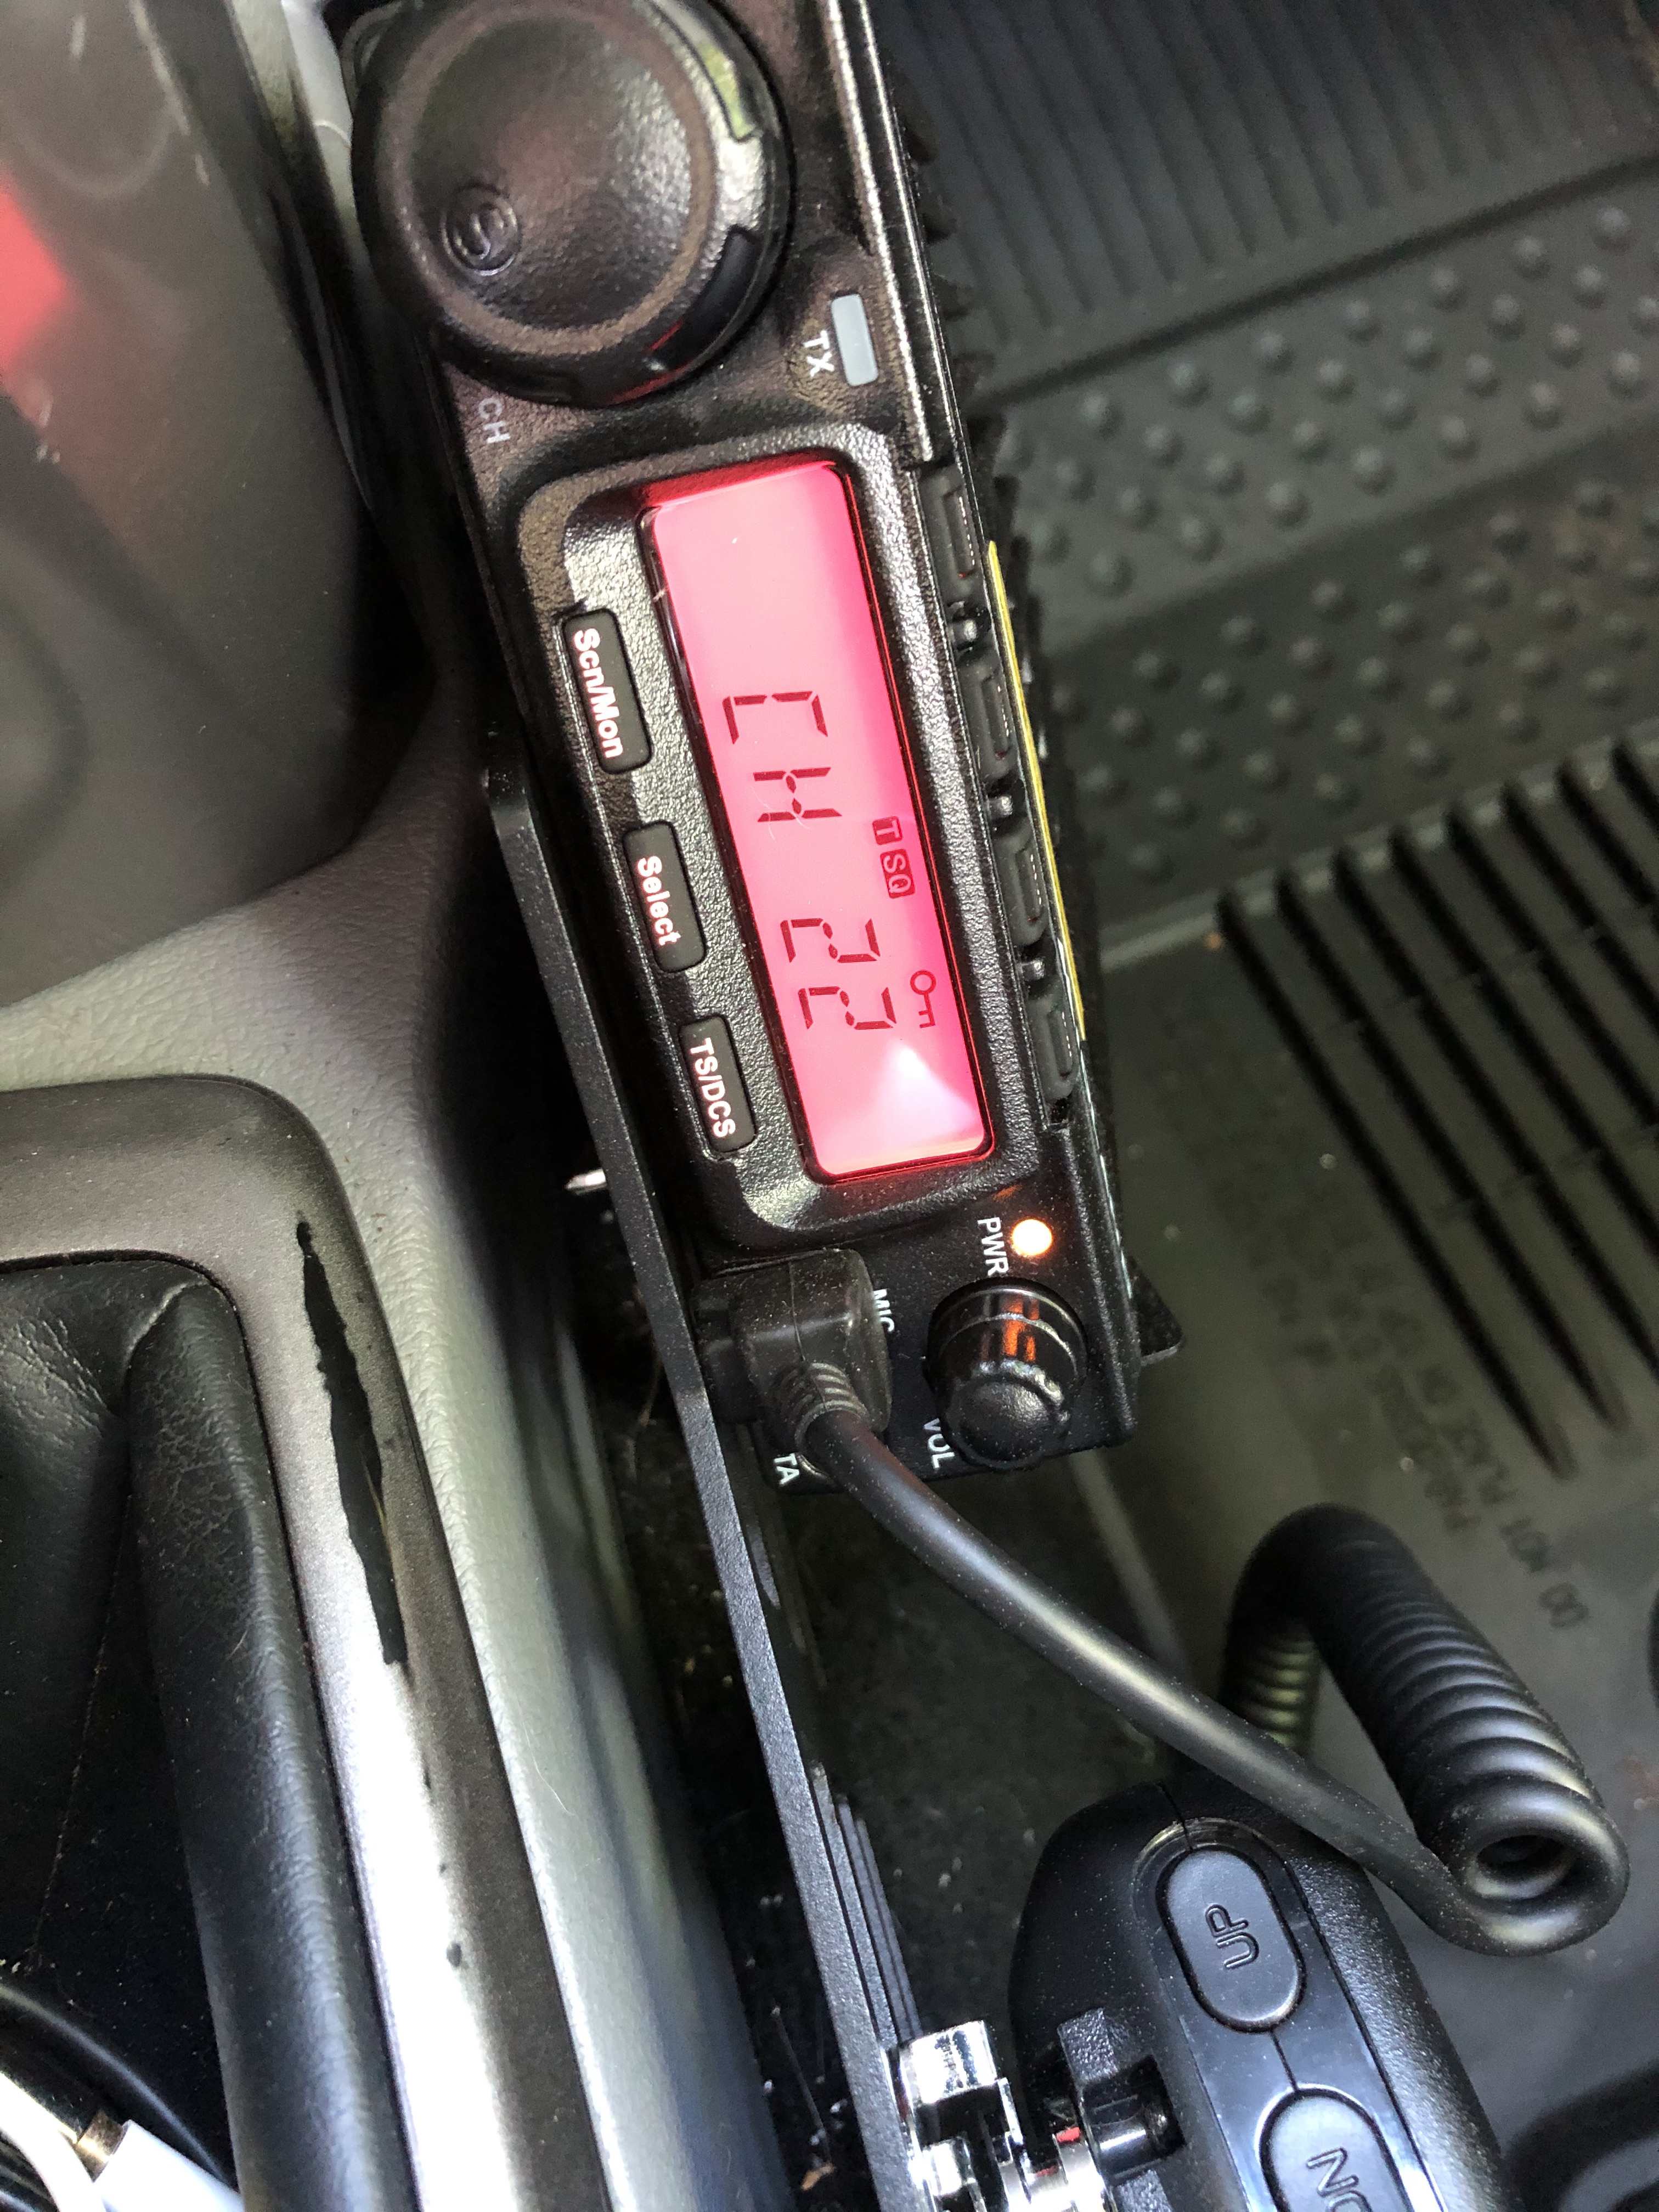
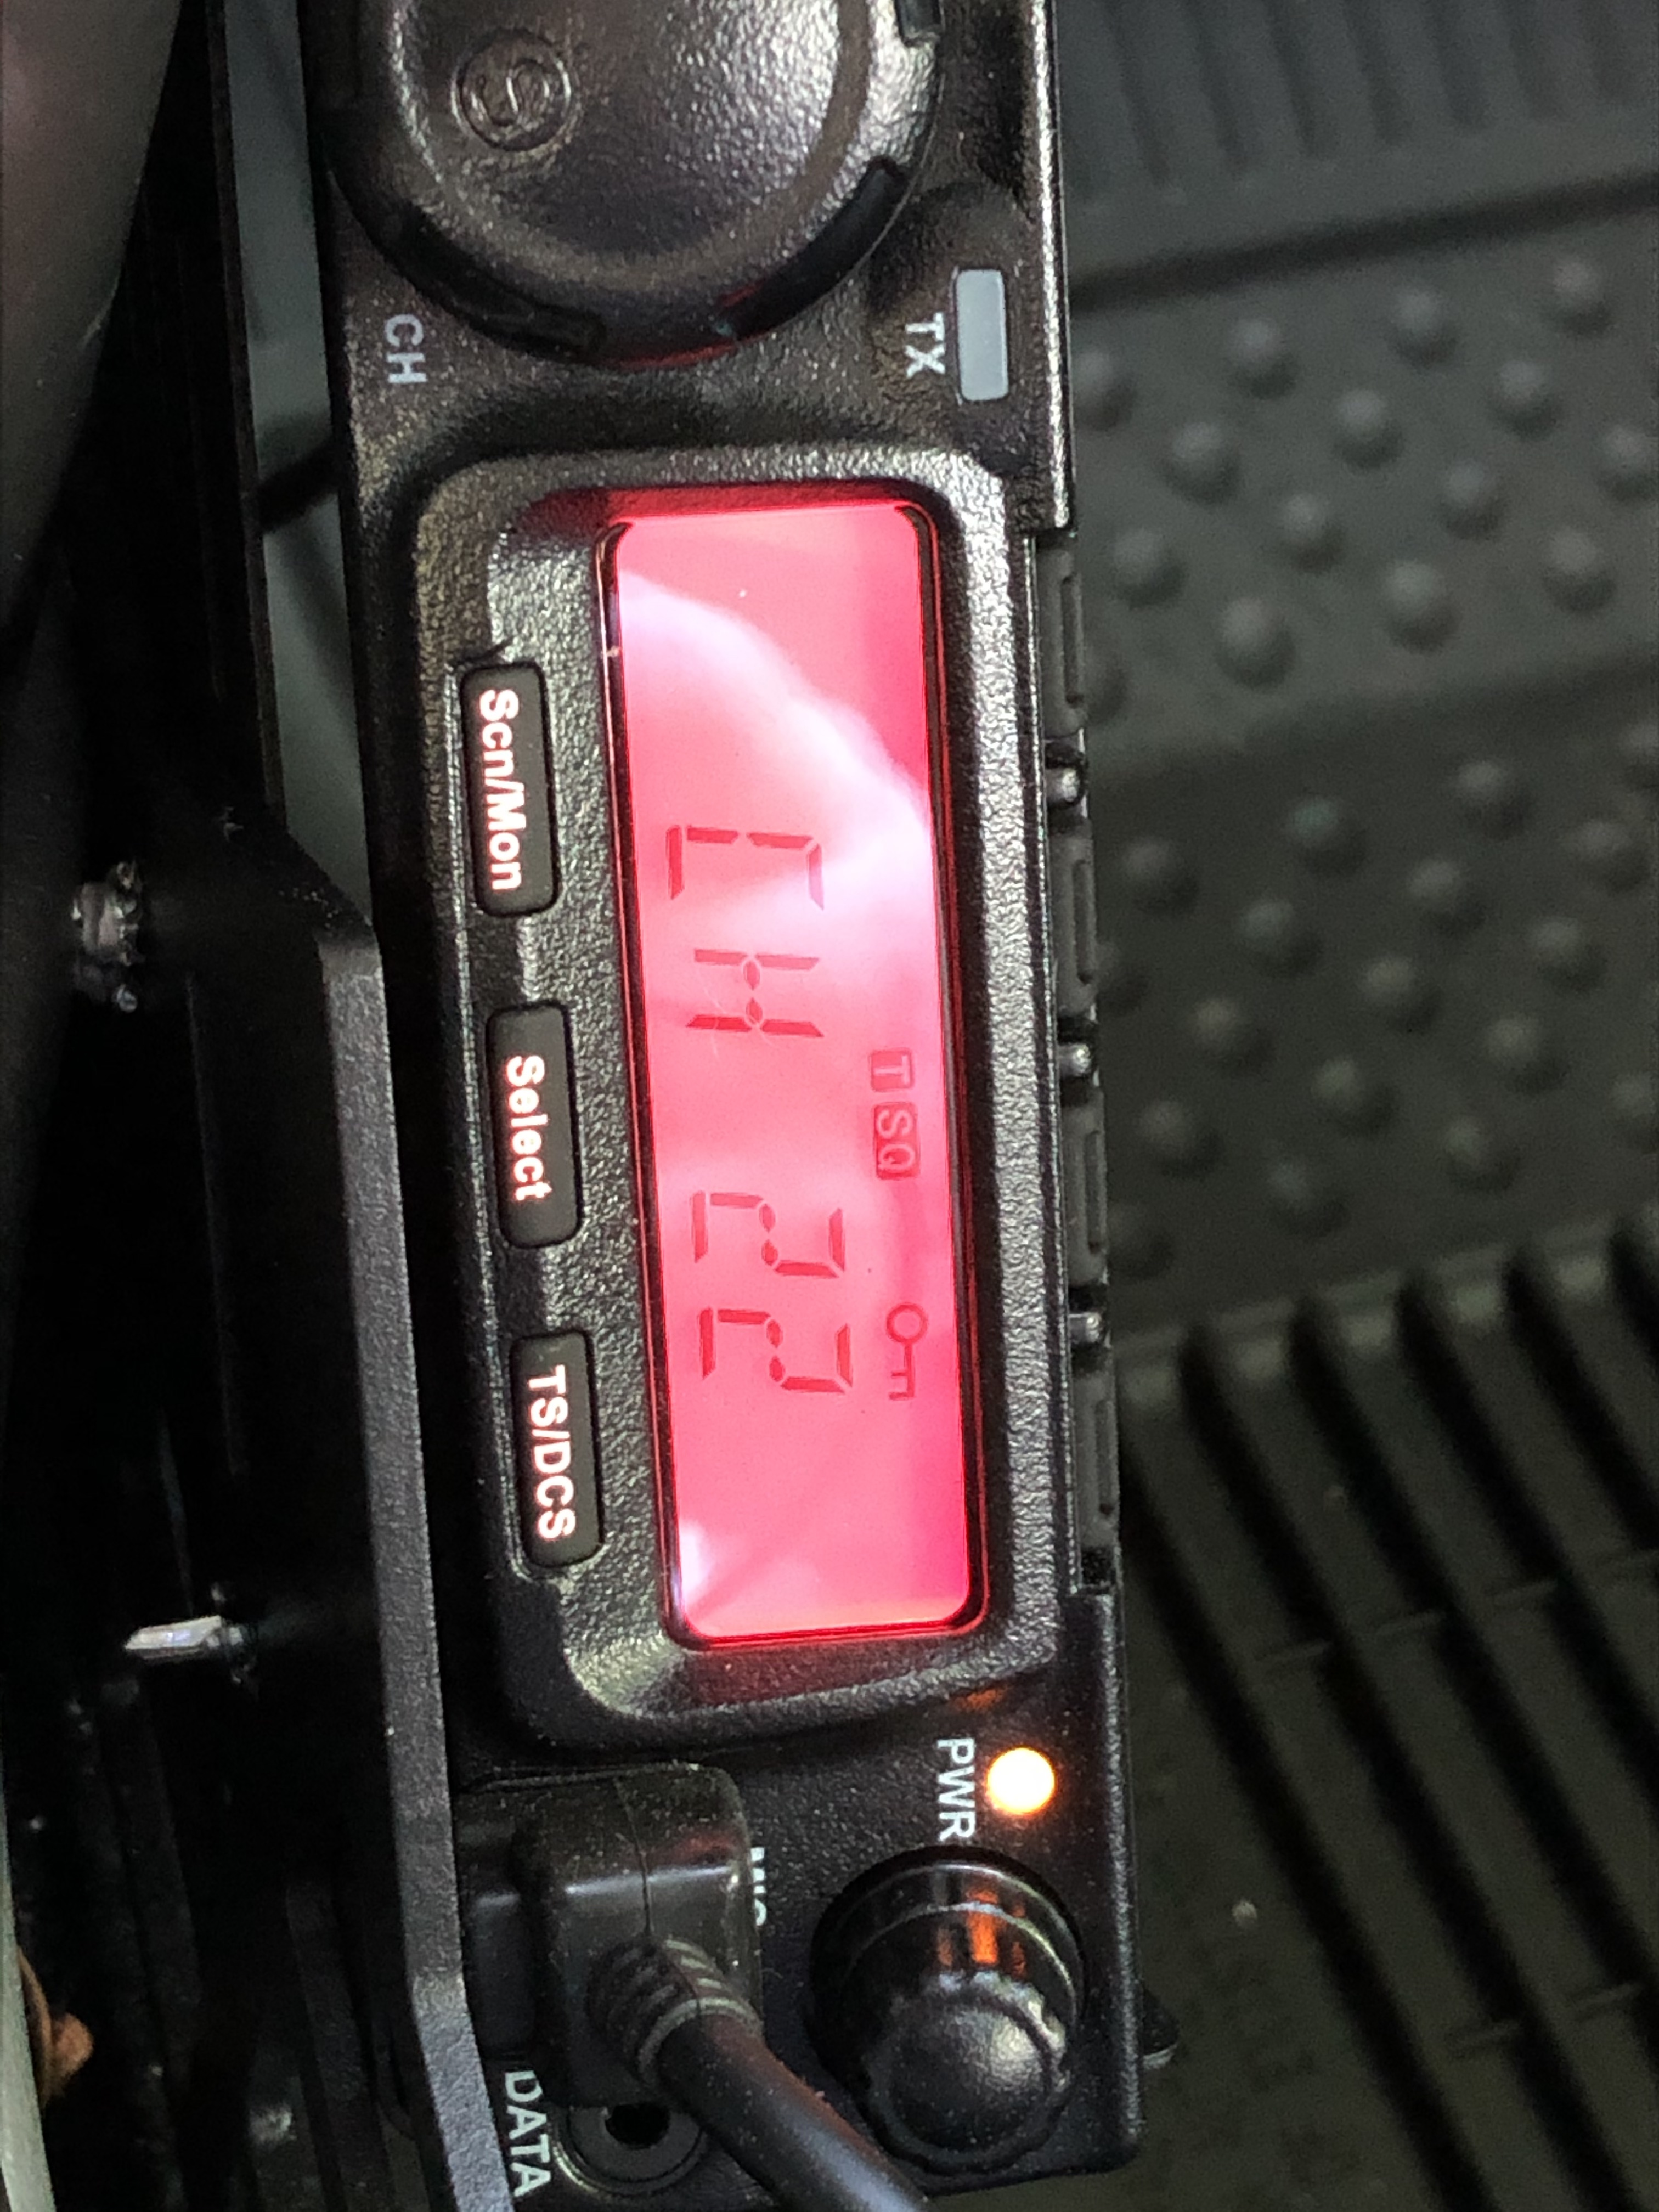
Going with the bigger is always better theory I choose the MXT400 – 40 watts of transmit power. Besides that, the red’ish/orange LCD panel matched the rest of the dash lighting much better than the blue or white displays on the other radios. I paired that up with the MXTA26 6DB Gain Whip Antenna and the MXTA24 Low Profile Cable to hook them all together.

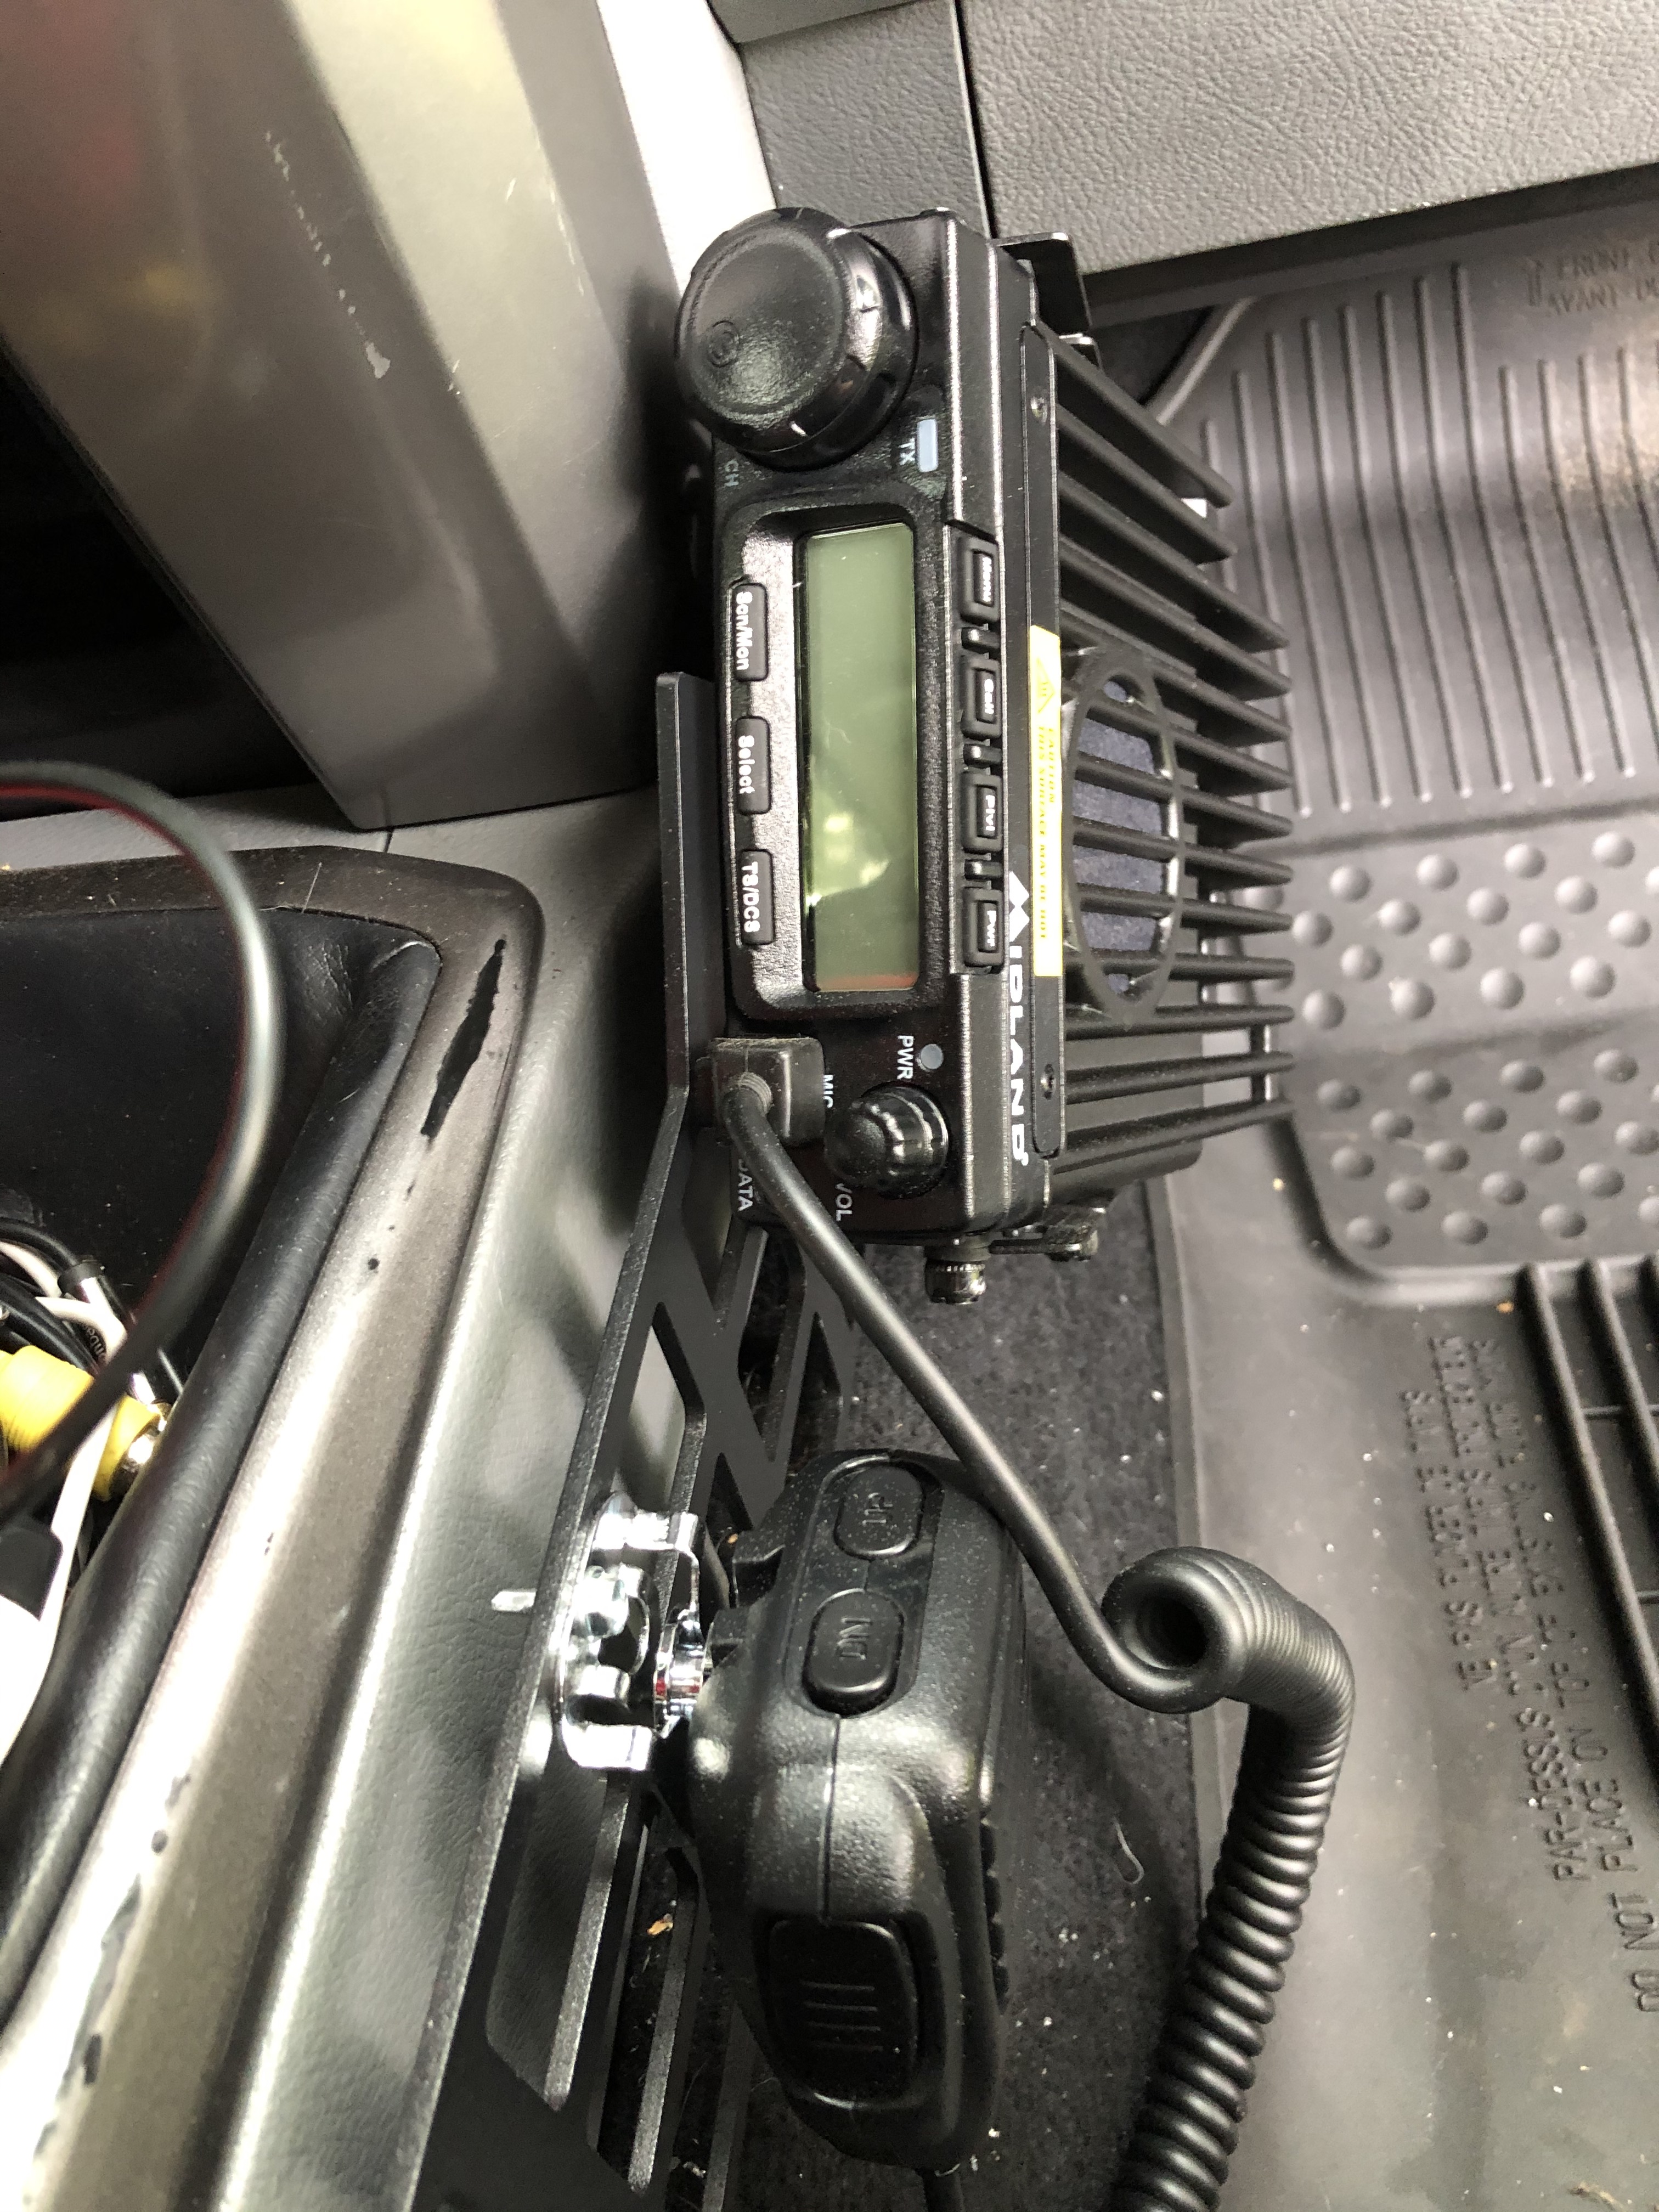
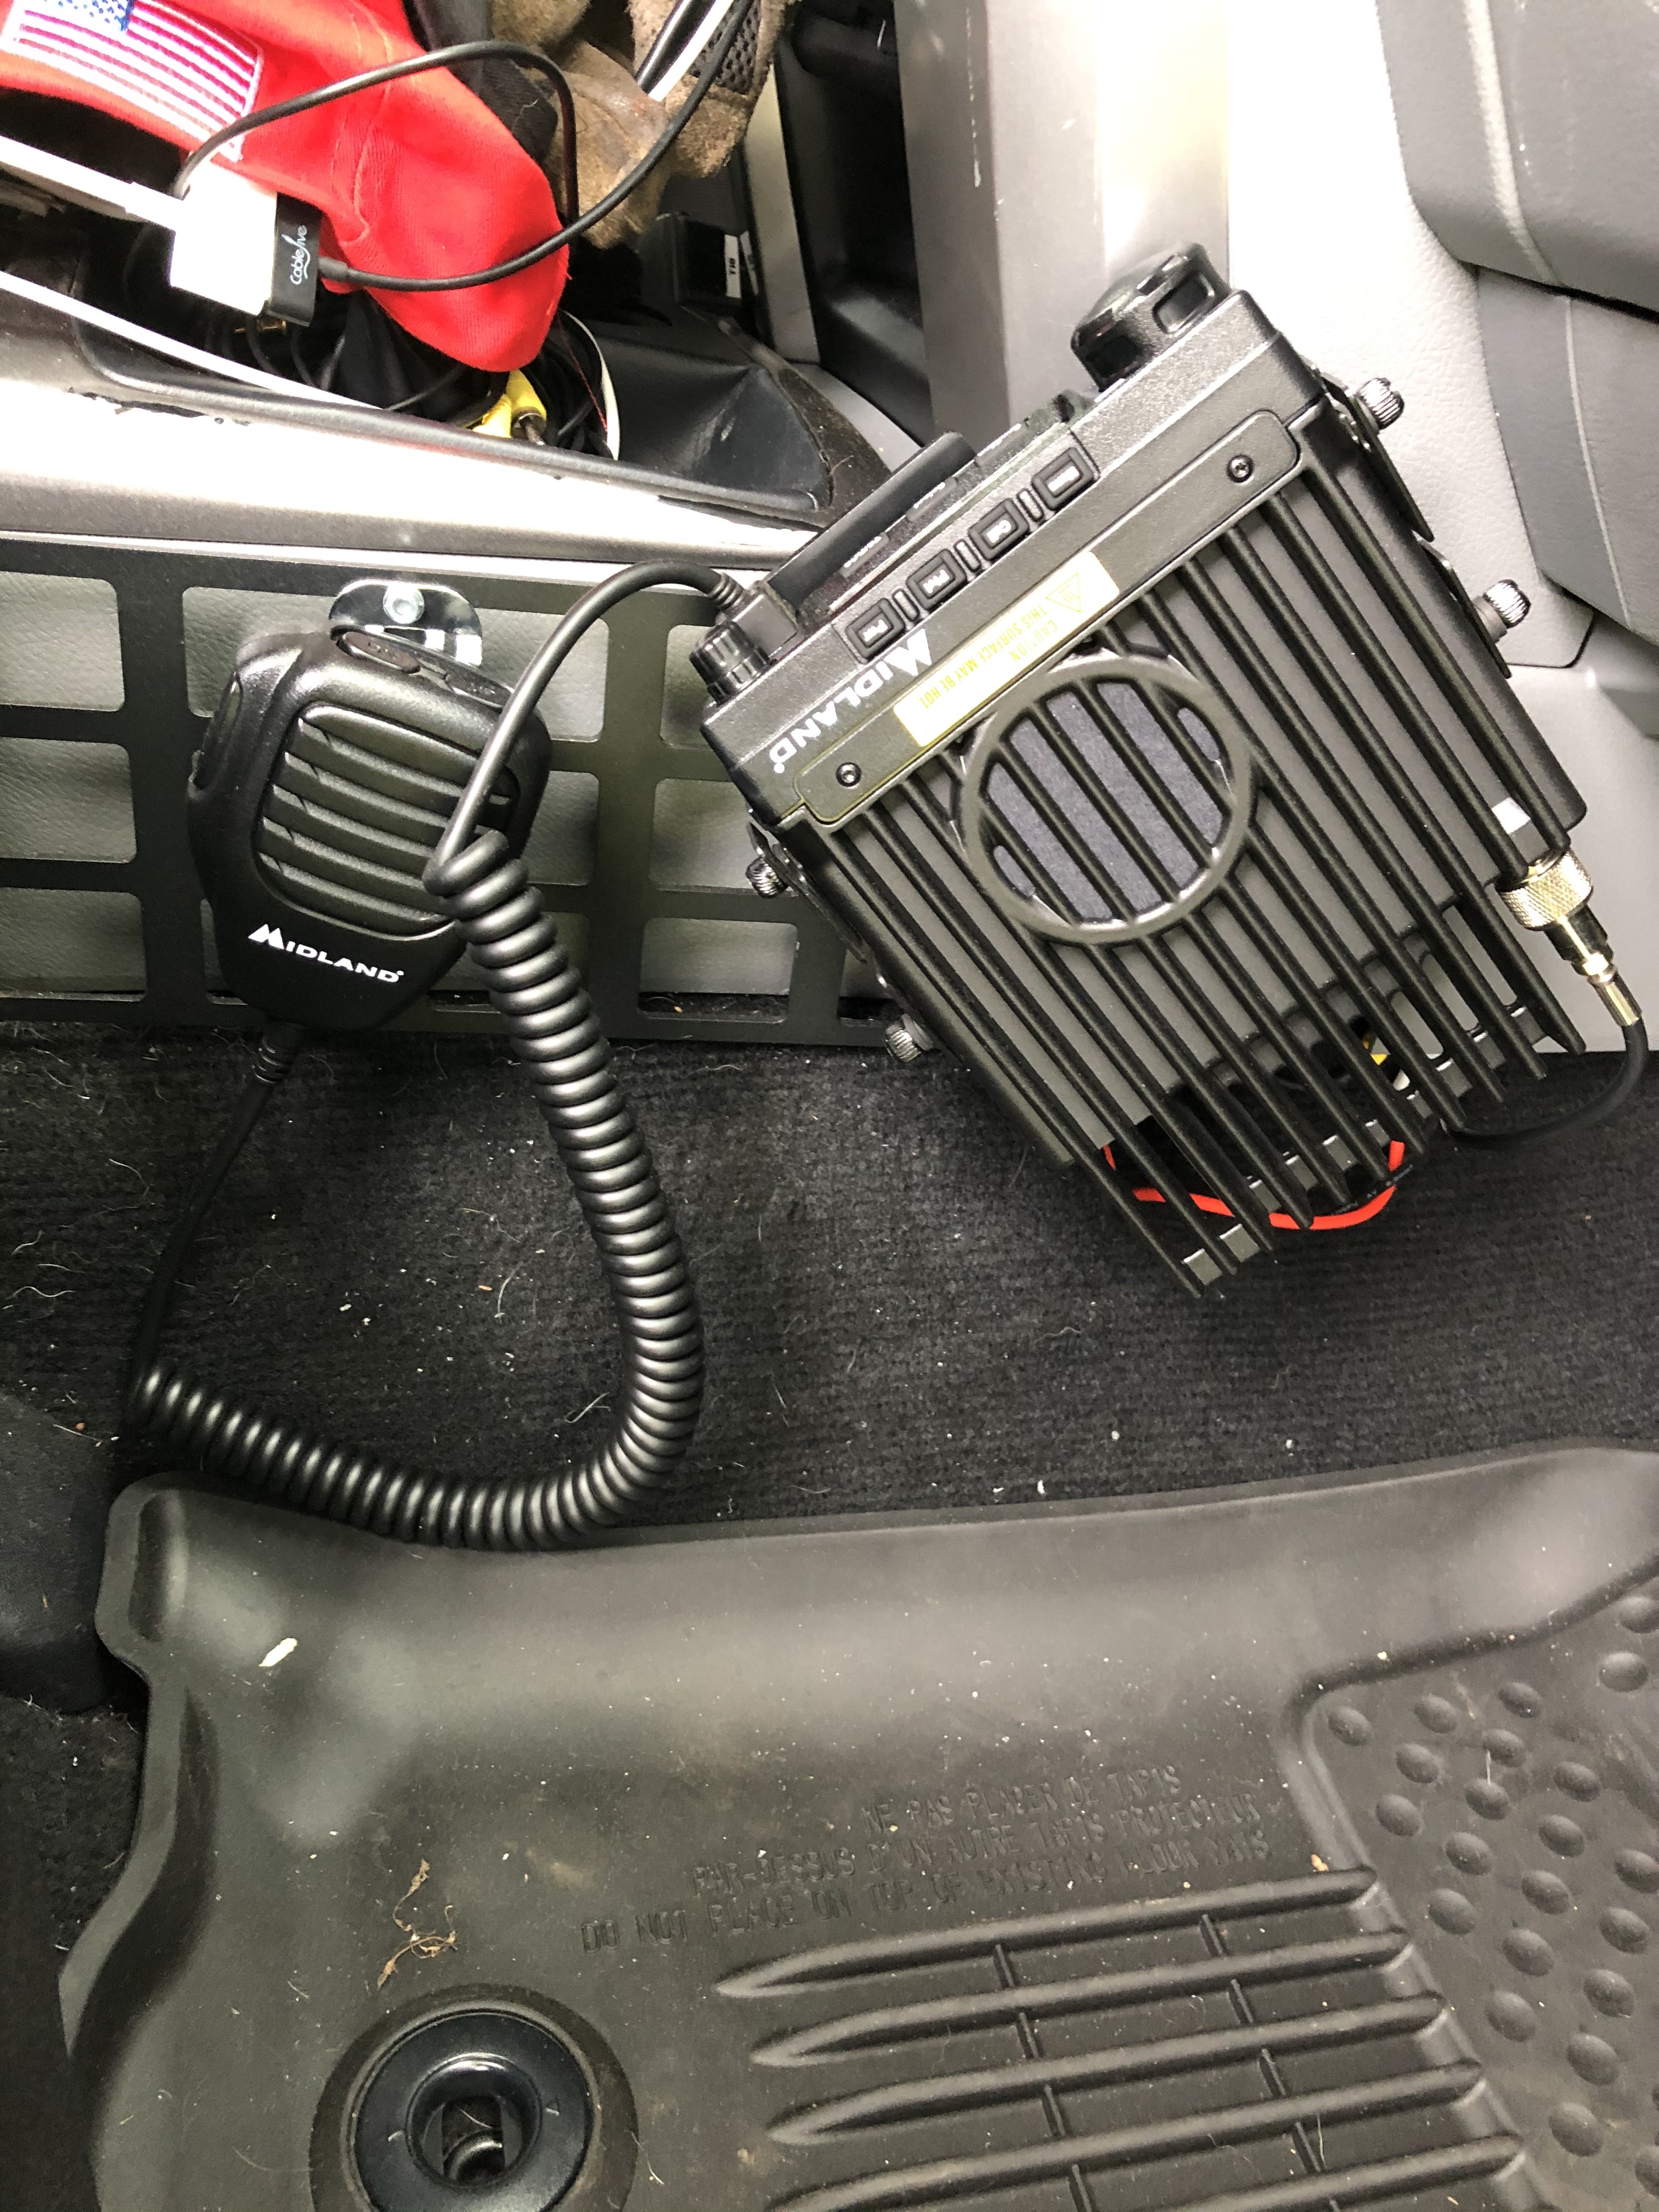
Nothing fancy for the install, I just mounted it to the transmission hump on the passenger side. I had previously installed Victory 4x4 molle panels to help organize the clutter and I just bolted this right to them.

IMG_3409.jpg

IMG_3410.jpg

IMG_3412.jpg

IMG_3413.jpg

IMG_3414.jpg


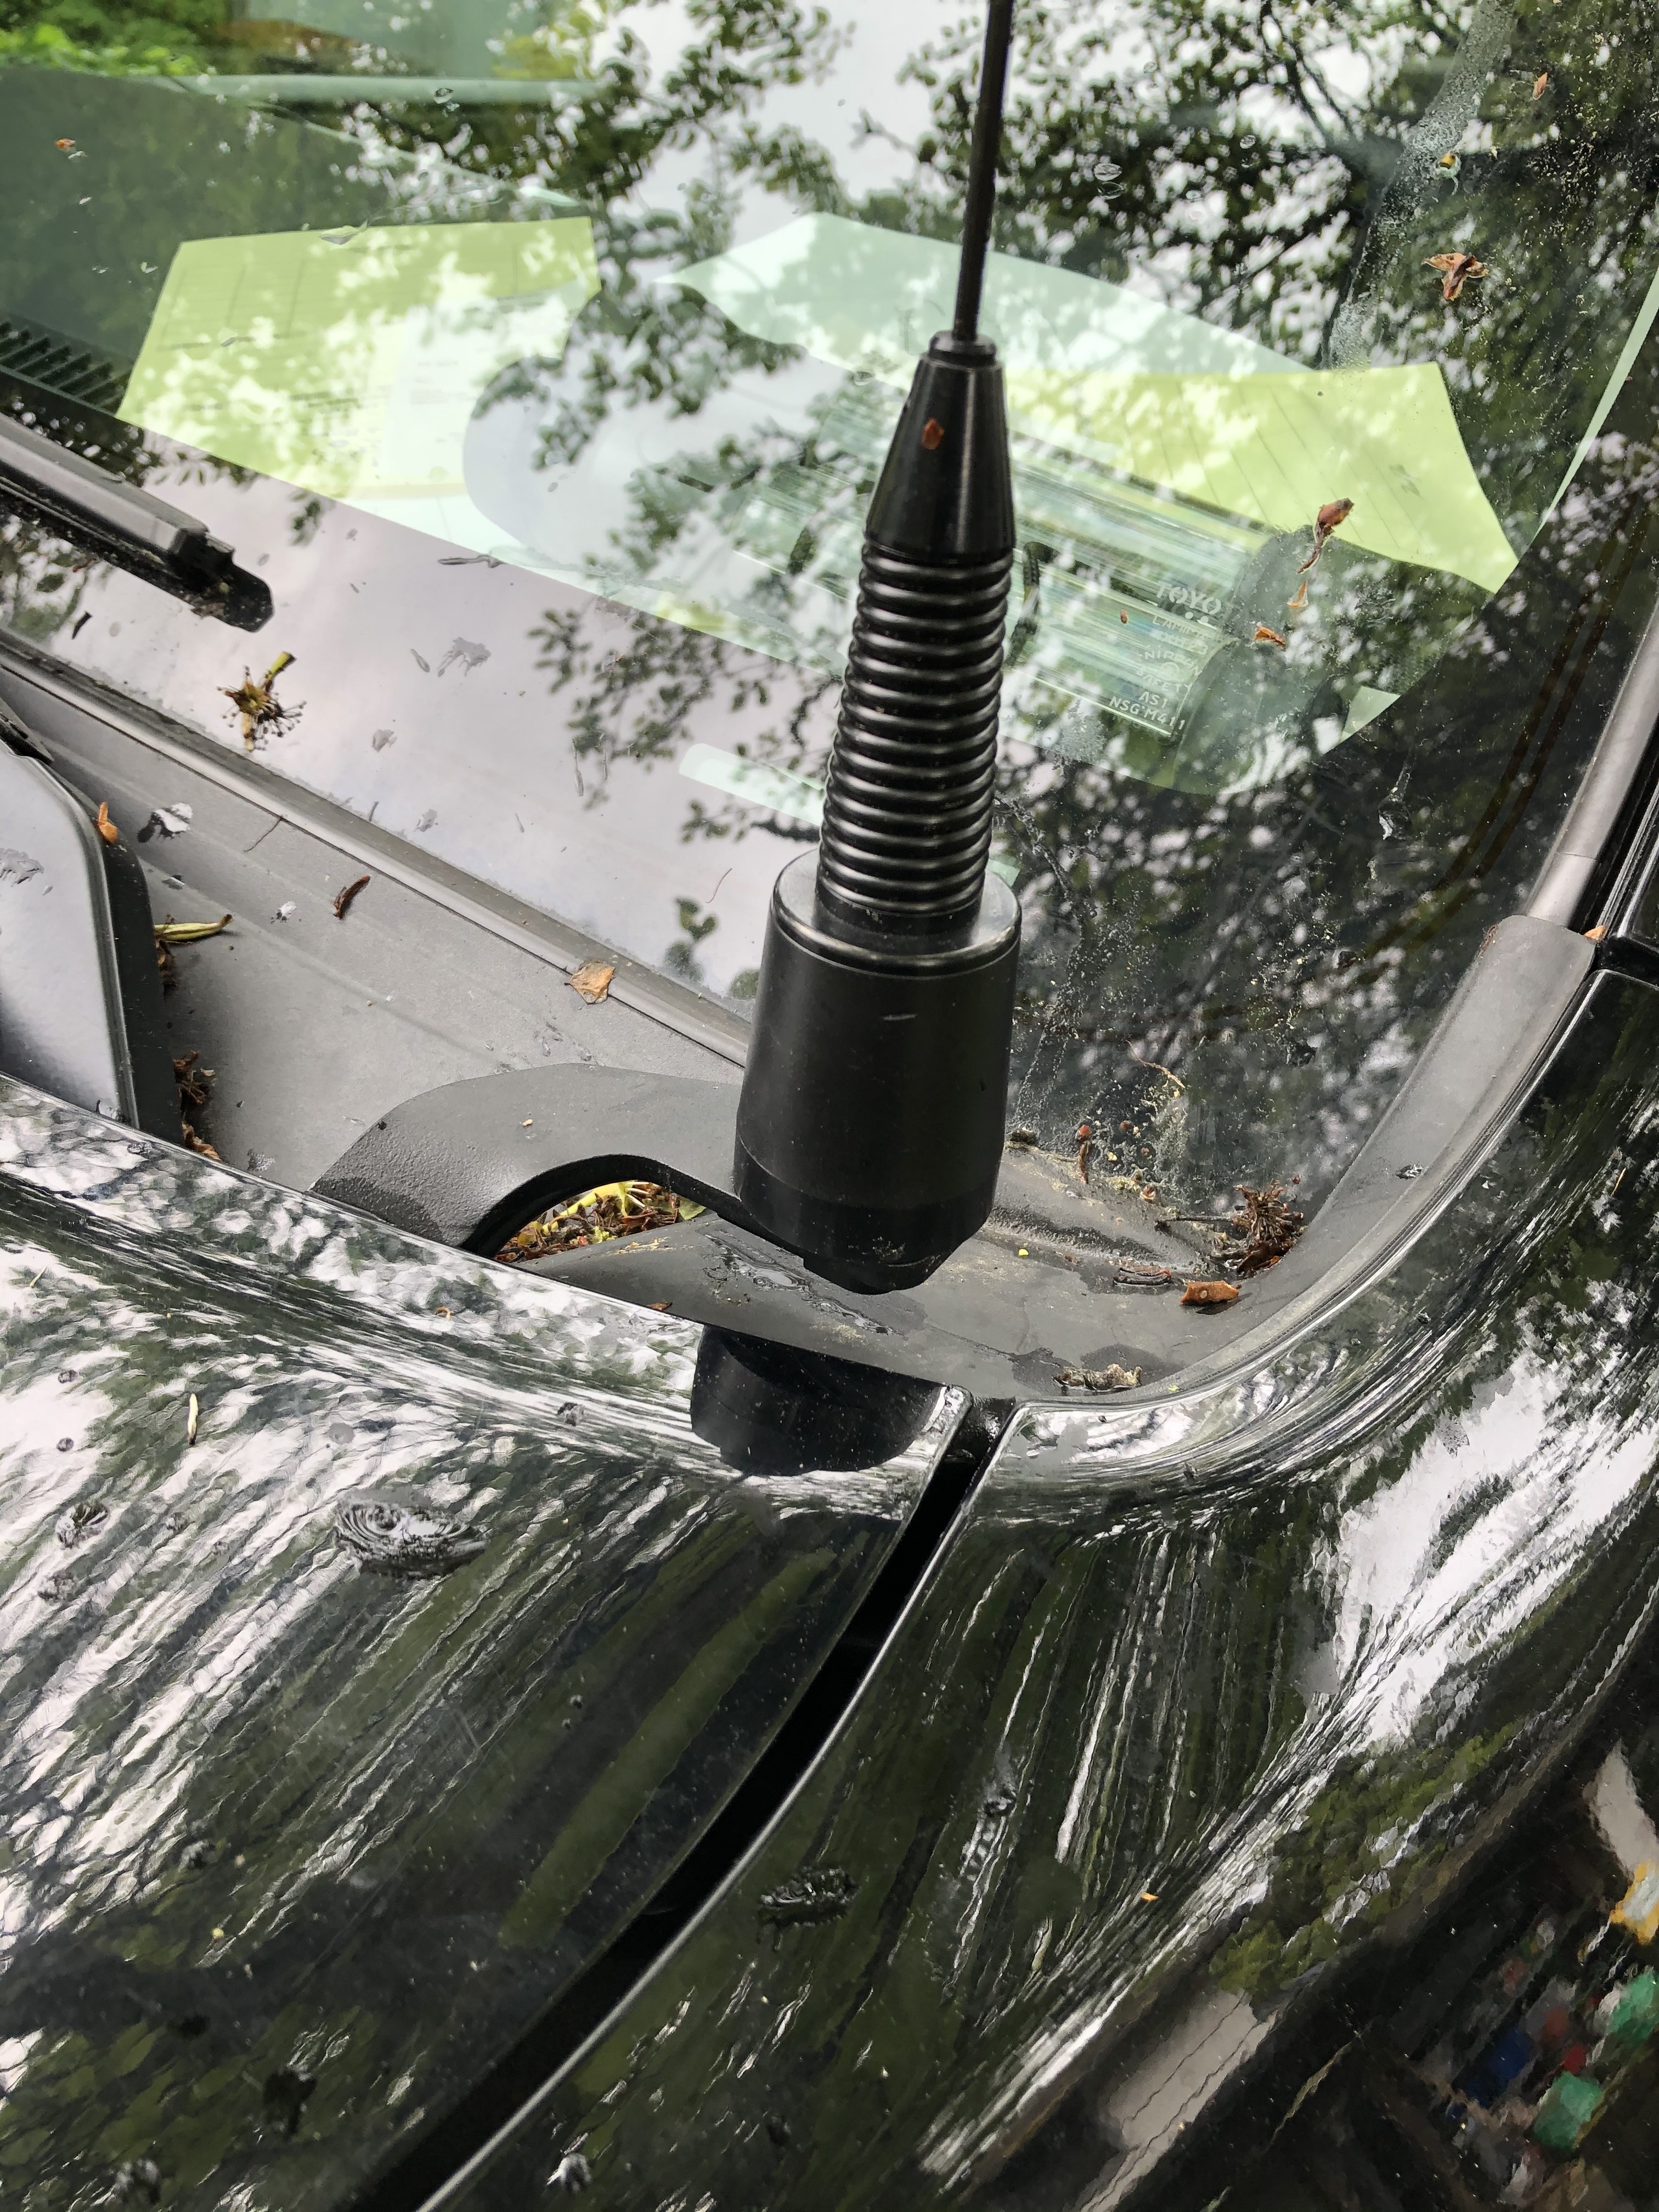
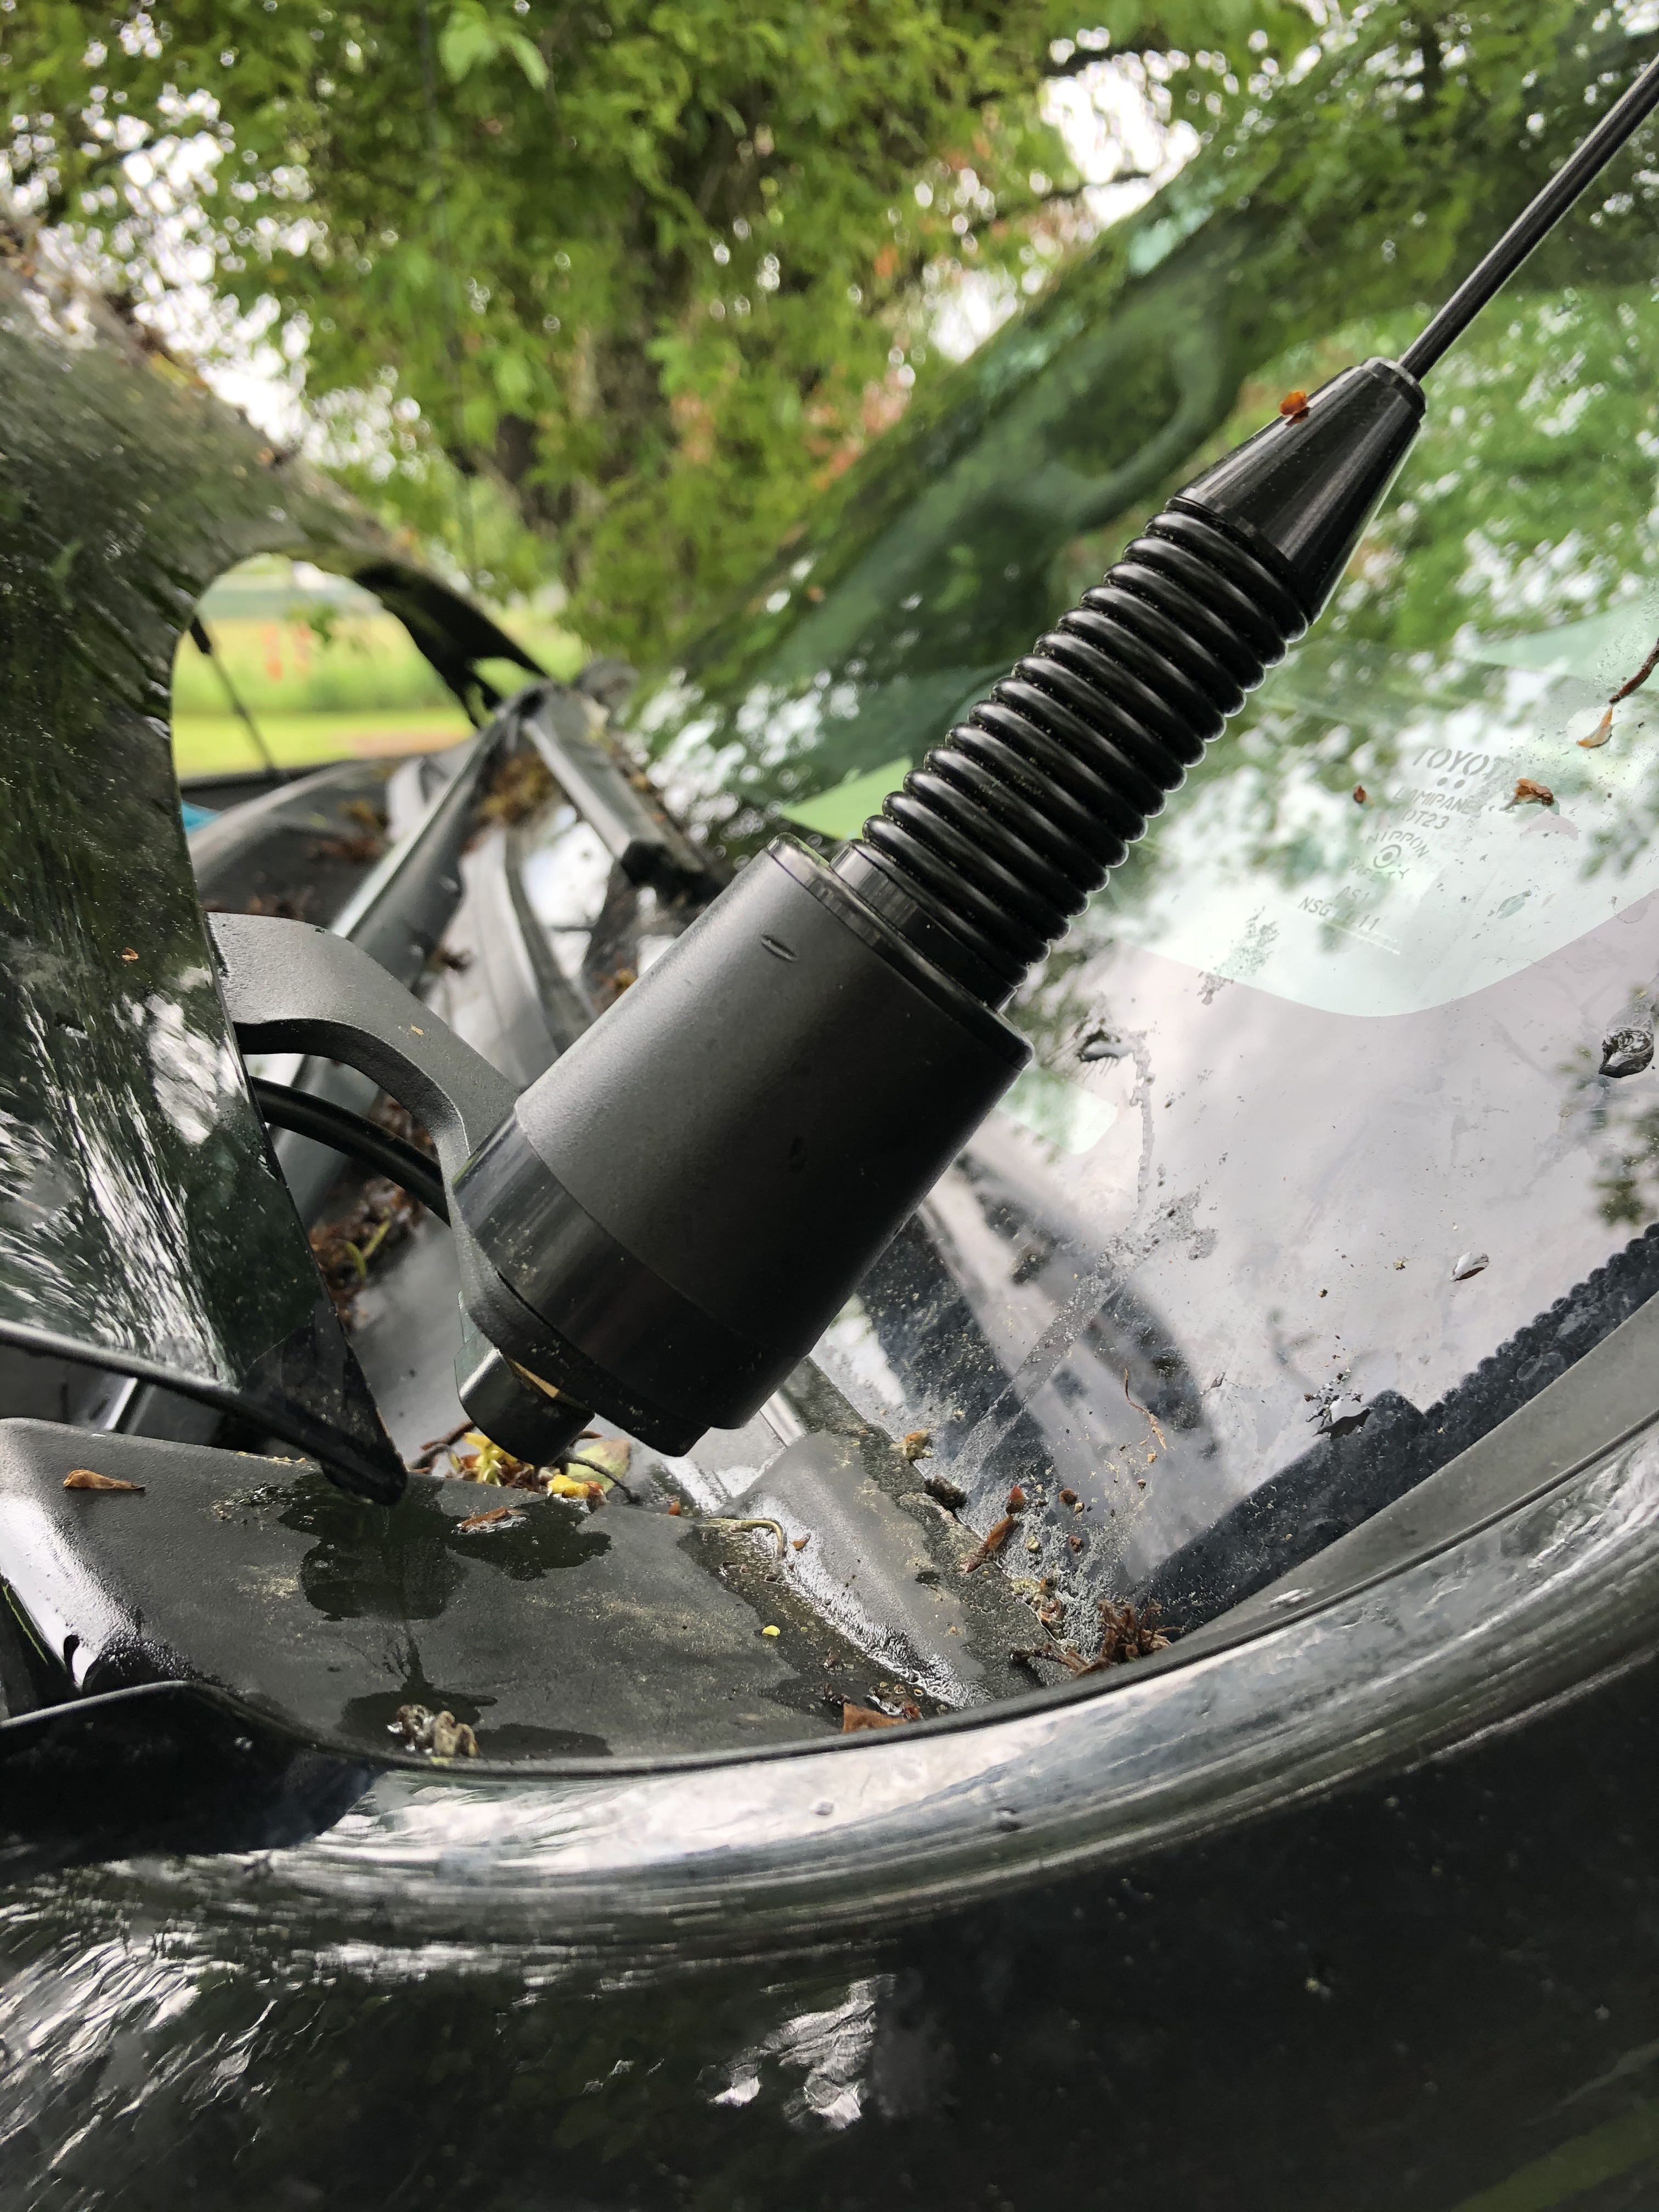
I choose the Caliraisedled low profile ditch light bracket to mount the antenna on.

IMG_3405.jpg

IMG_3406.jpg

IMG_3407.jpg

IMG_3408.jpg


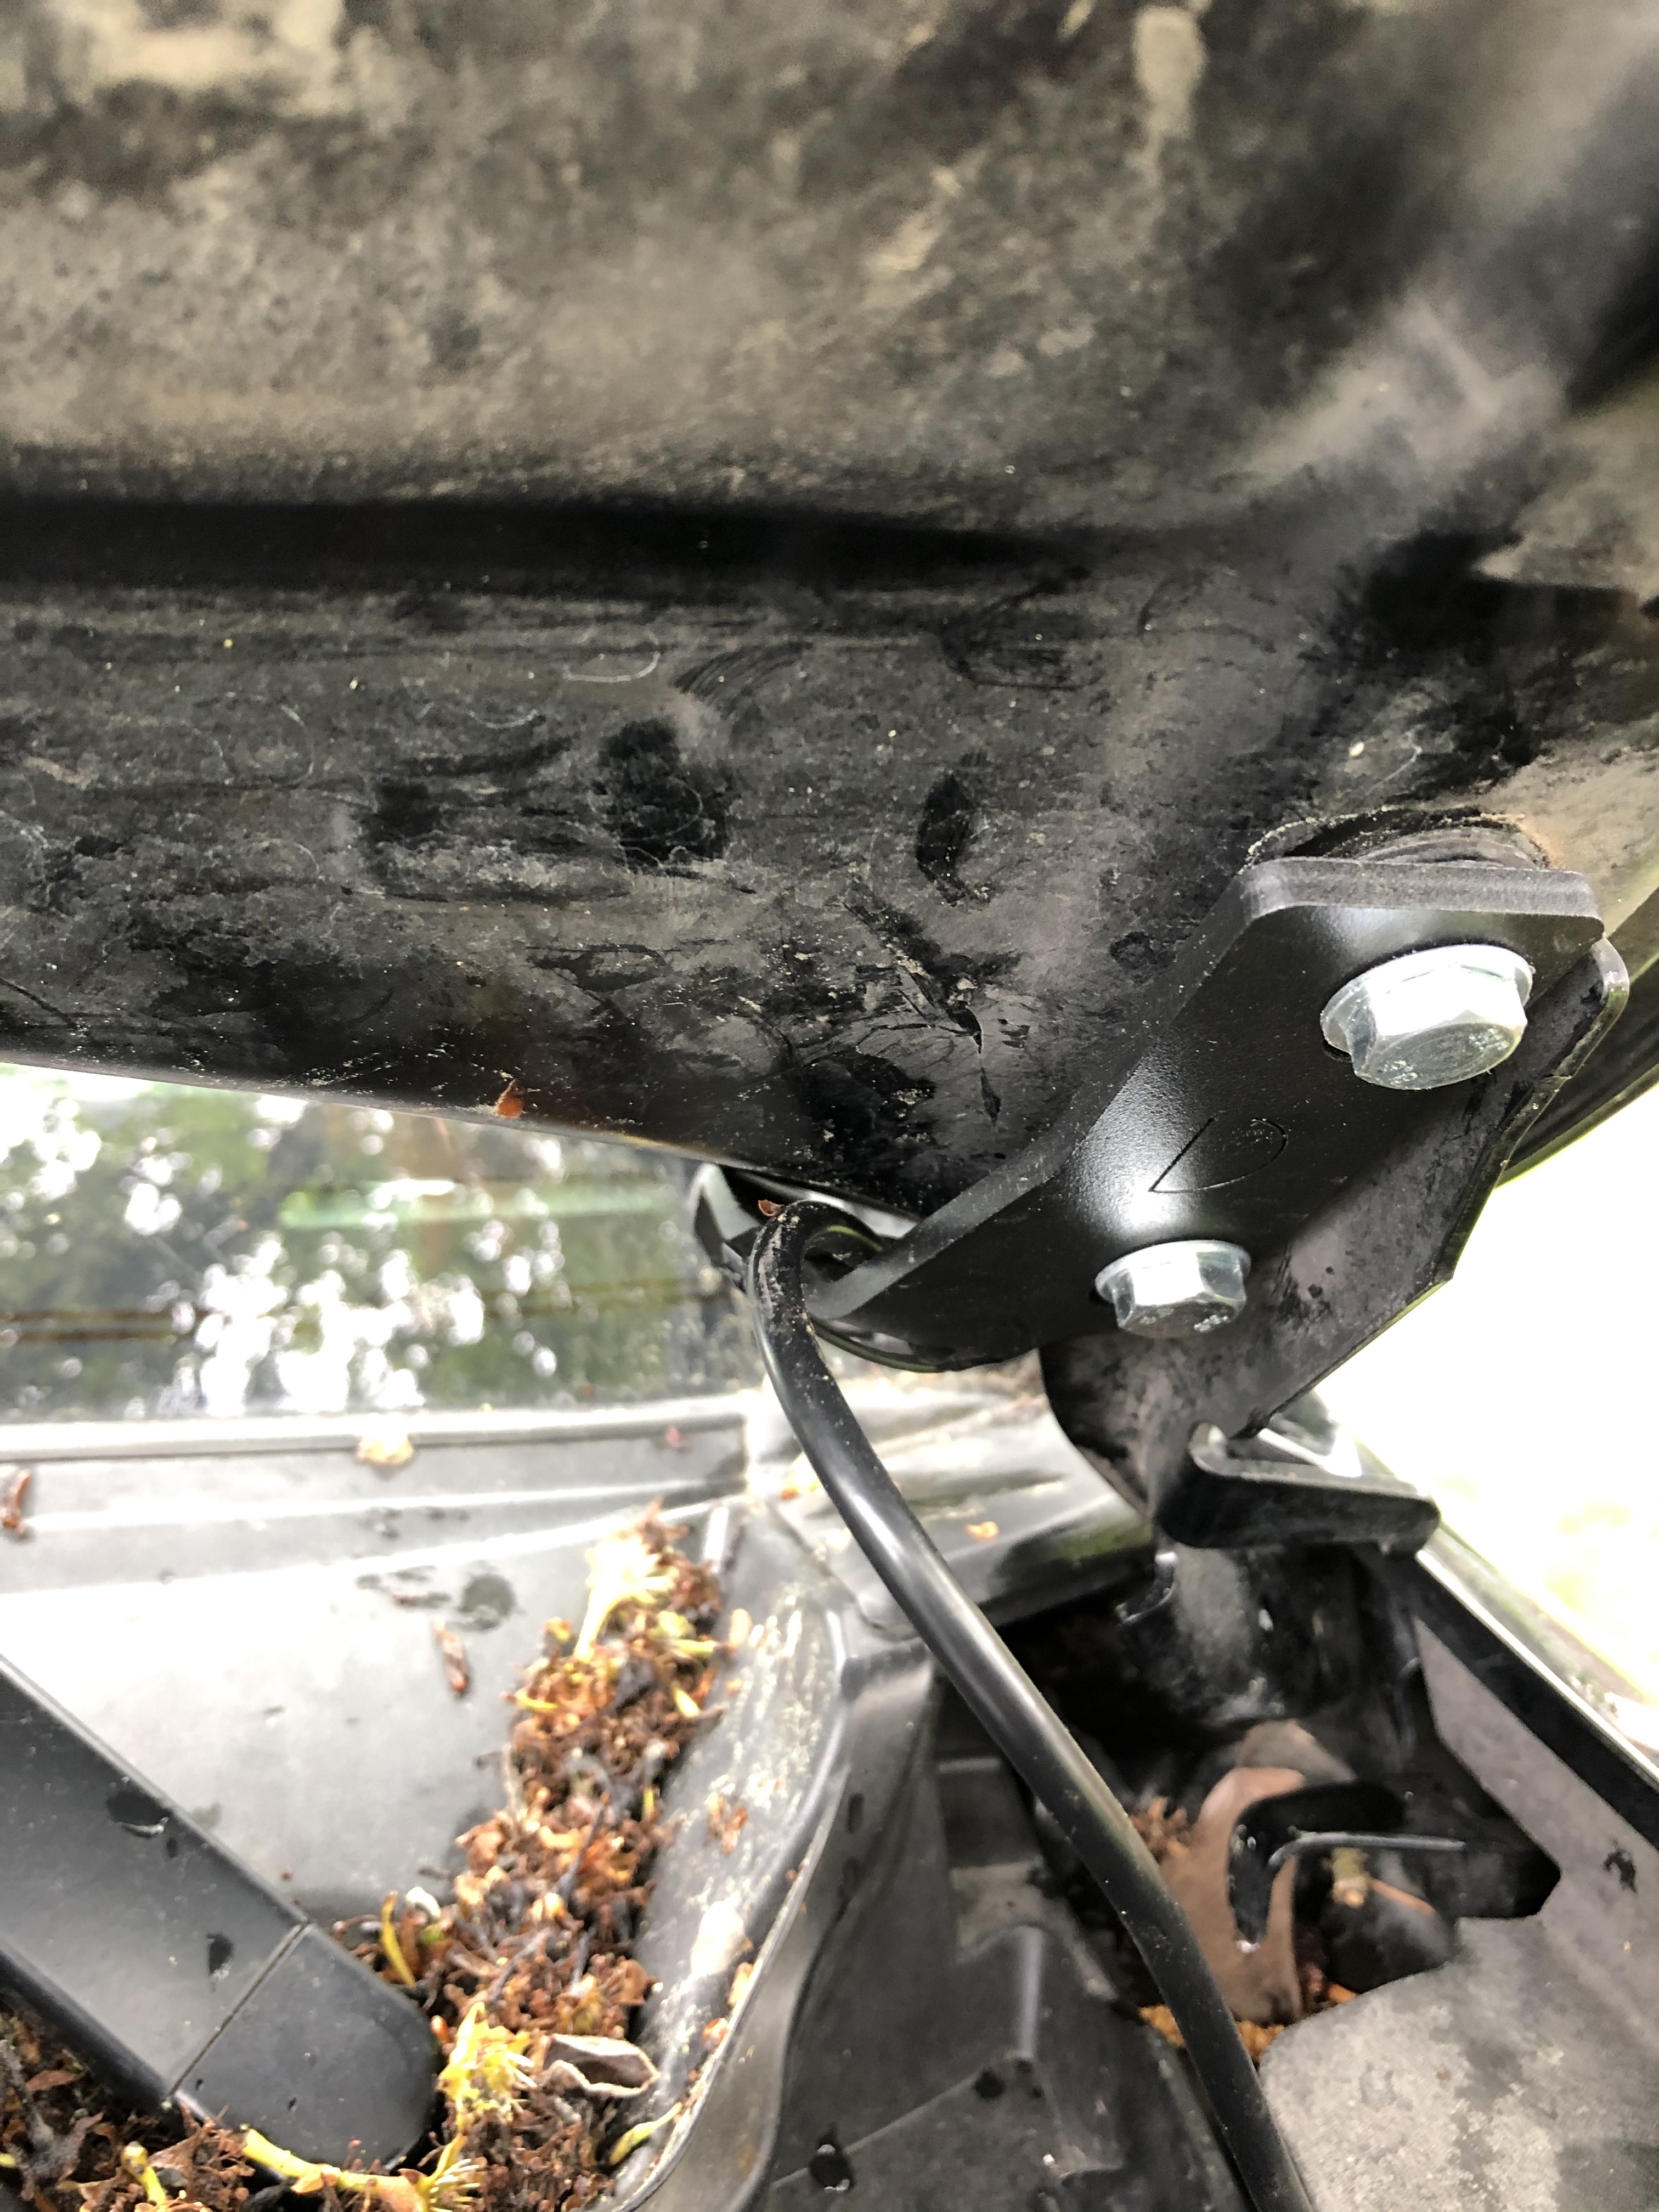
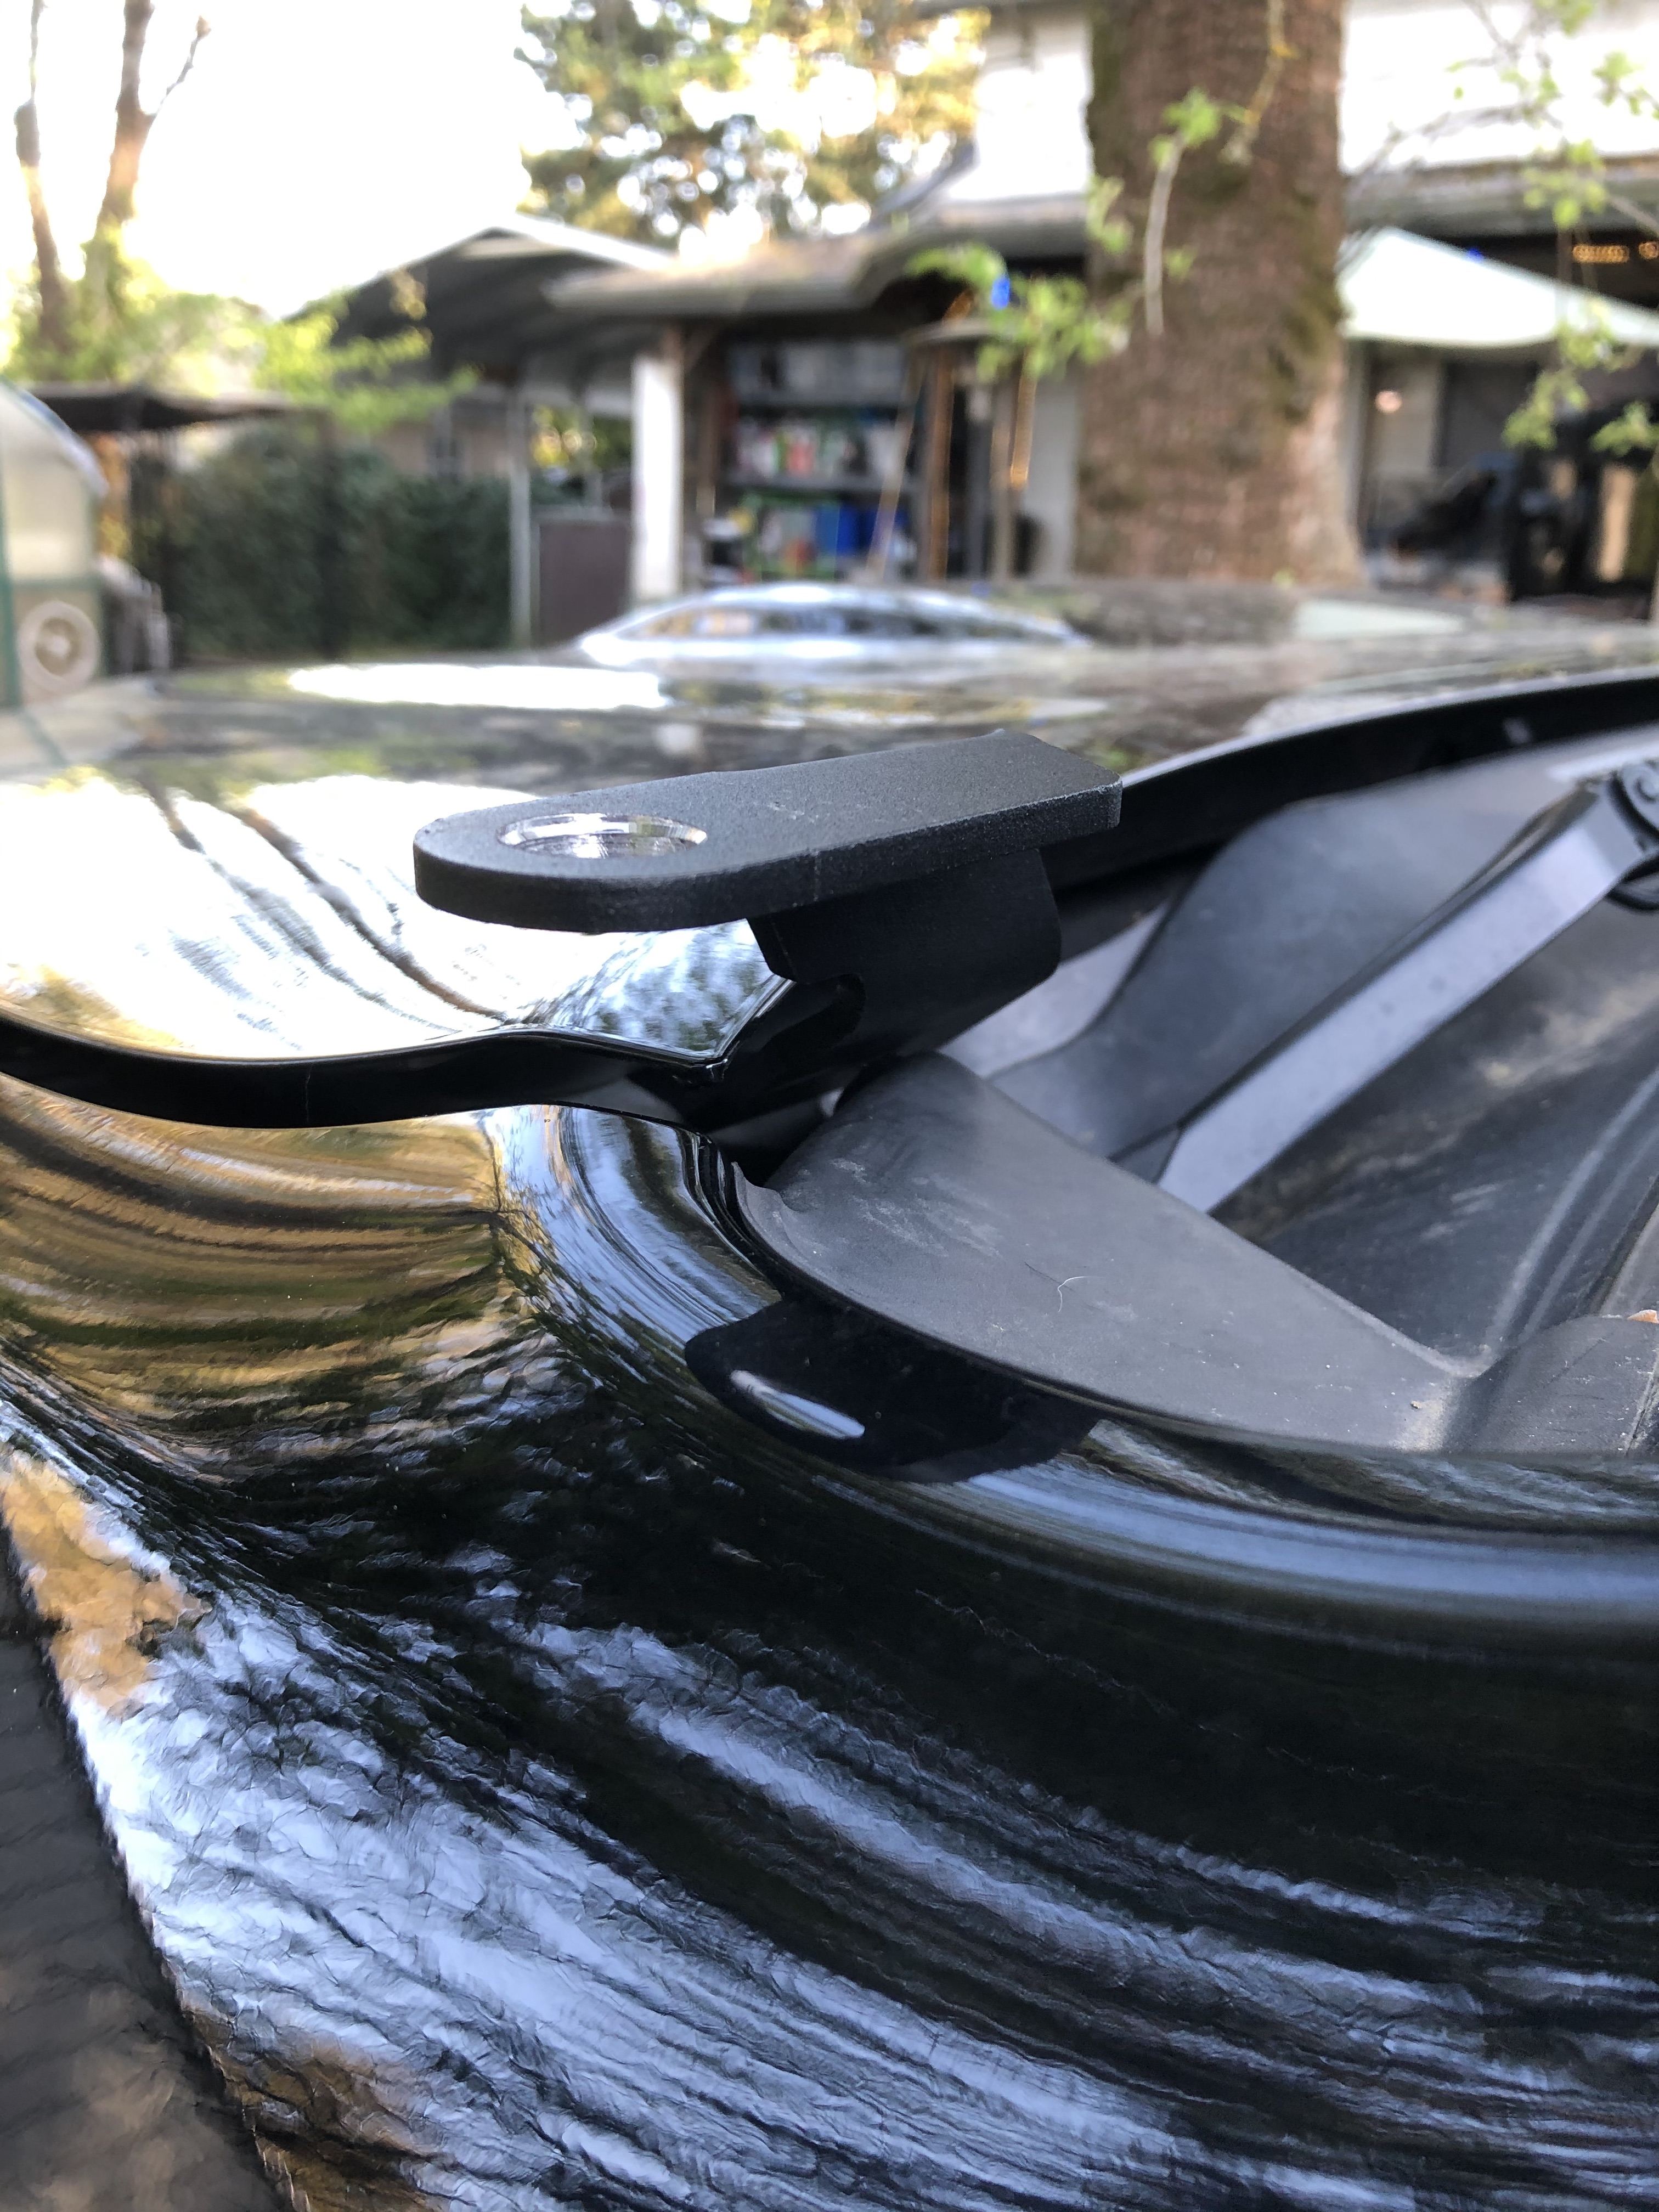
**Rabbit Hole** After buying the CBI ditch light bracket only to discover the CBI bracket is a piece of SH!T that requires you to cut the windshield cowling so the hood can shut. I am still dumbfound that a company with the reputation of CBI sells that piece of sh!t to 4runner owners and doesn’t warn anyone that you have to cut, bend or modify stuff just to get the hood to close after install. I will go on record saying that is the lamest, most poorly designed item I have ever purchased in my entire life. It’s the first and last product that I will ever buy from CBI. They won’t respond to my email about it and it’s been over 2 full weeks, nor did they post the review I left for it on the website. Quick to sell and ship, but they could give a rats @$$ after the sale. I didn’t even ask to return the piss poorly designed item, I just wanted an explanation of their lack of design skills and apparently they are too scared to talked about it. I mean it's not like there isn't room a 1/2" towards the center to design a perfect fit. Disgusting company in more ways than one. I guess you get what you pay for with CBI. Lowest price = piece of crap. Shame on me, I should have done better research on my part before buying from a company with such a good rep as CBI.

cbi%20shit.jpg

This is the fit and finish for the piece of shit CBI bracket above.

The Caliraisedled version fits perfectly, no mods or cutting and is ½” - ¾” lower, and just as high quality.
 
Last edited:

Members online

Forum statistics

Threads
278,305
Messages
3,554,044
Members
248,016
Latest member
Advally Service

Trending content

Back
Top