
You are using an out of date browser. It may not display this or other websites correctly.
You should upgrade or use an alternative browser.
You should upgrade or use an alternative browser.
nglayton's Mod Thread
- Thread starter nglayton
- Start date


90Duck
New member
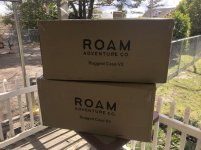
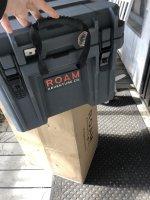
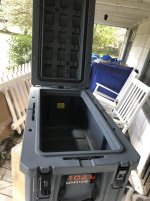
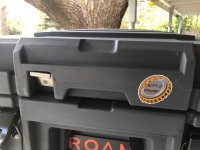
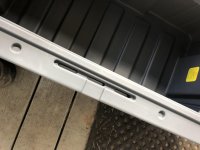
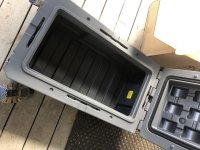
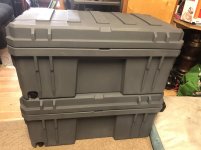
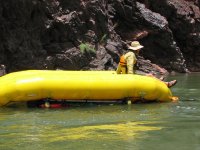
I posted a link to those ROAM boxes on the whitewater rafting forum I also frequent. They look like they have potential application as dryboxes in rafts if you could find the right dimensions. They are a lot cheaper than the typical aluminum dryboxes and look like they would be every bit as dry. "Dry" is definitely a relative term when a boat has been upside down for a while...
Attachments

nglayton
Senior Member
[MENTION=67802]nglayton[/MENTION] I like those Roam boxes, and am looking for something a little smaller than the big Hardigg boxes I'm using now. How sturdy are they? I like to use mine as an extra chair when I'm camping and want to make sure I won't crush them. Thanks!
I was looking at getting some hardigg boxes when this group buy popped up.
They are pretty solid.
Overall thickness of the plastic isn't super thick, but the way they are molded and shaped makes them pretty strong.
I've been sitting on them all week in my shop. 230lbs and the lid doesn't even give but maybe a little bit.
They are not as solid (or as heavy) as something like a yeti cooler, but pretty solid.
Last edited:
nglayton
Senior Member
LED Headlights **TOO GOOD TO BE TRUE*** Total Fail
This product is a total fail. As soon as I get some quality LED's I will create a new post
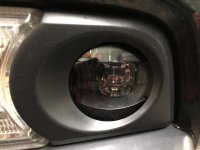
So after looking at this picture of my new LED fogs with my old headlights, I finally caught the LED fever and had to do something.
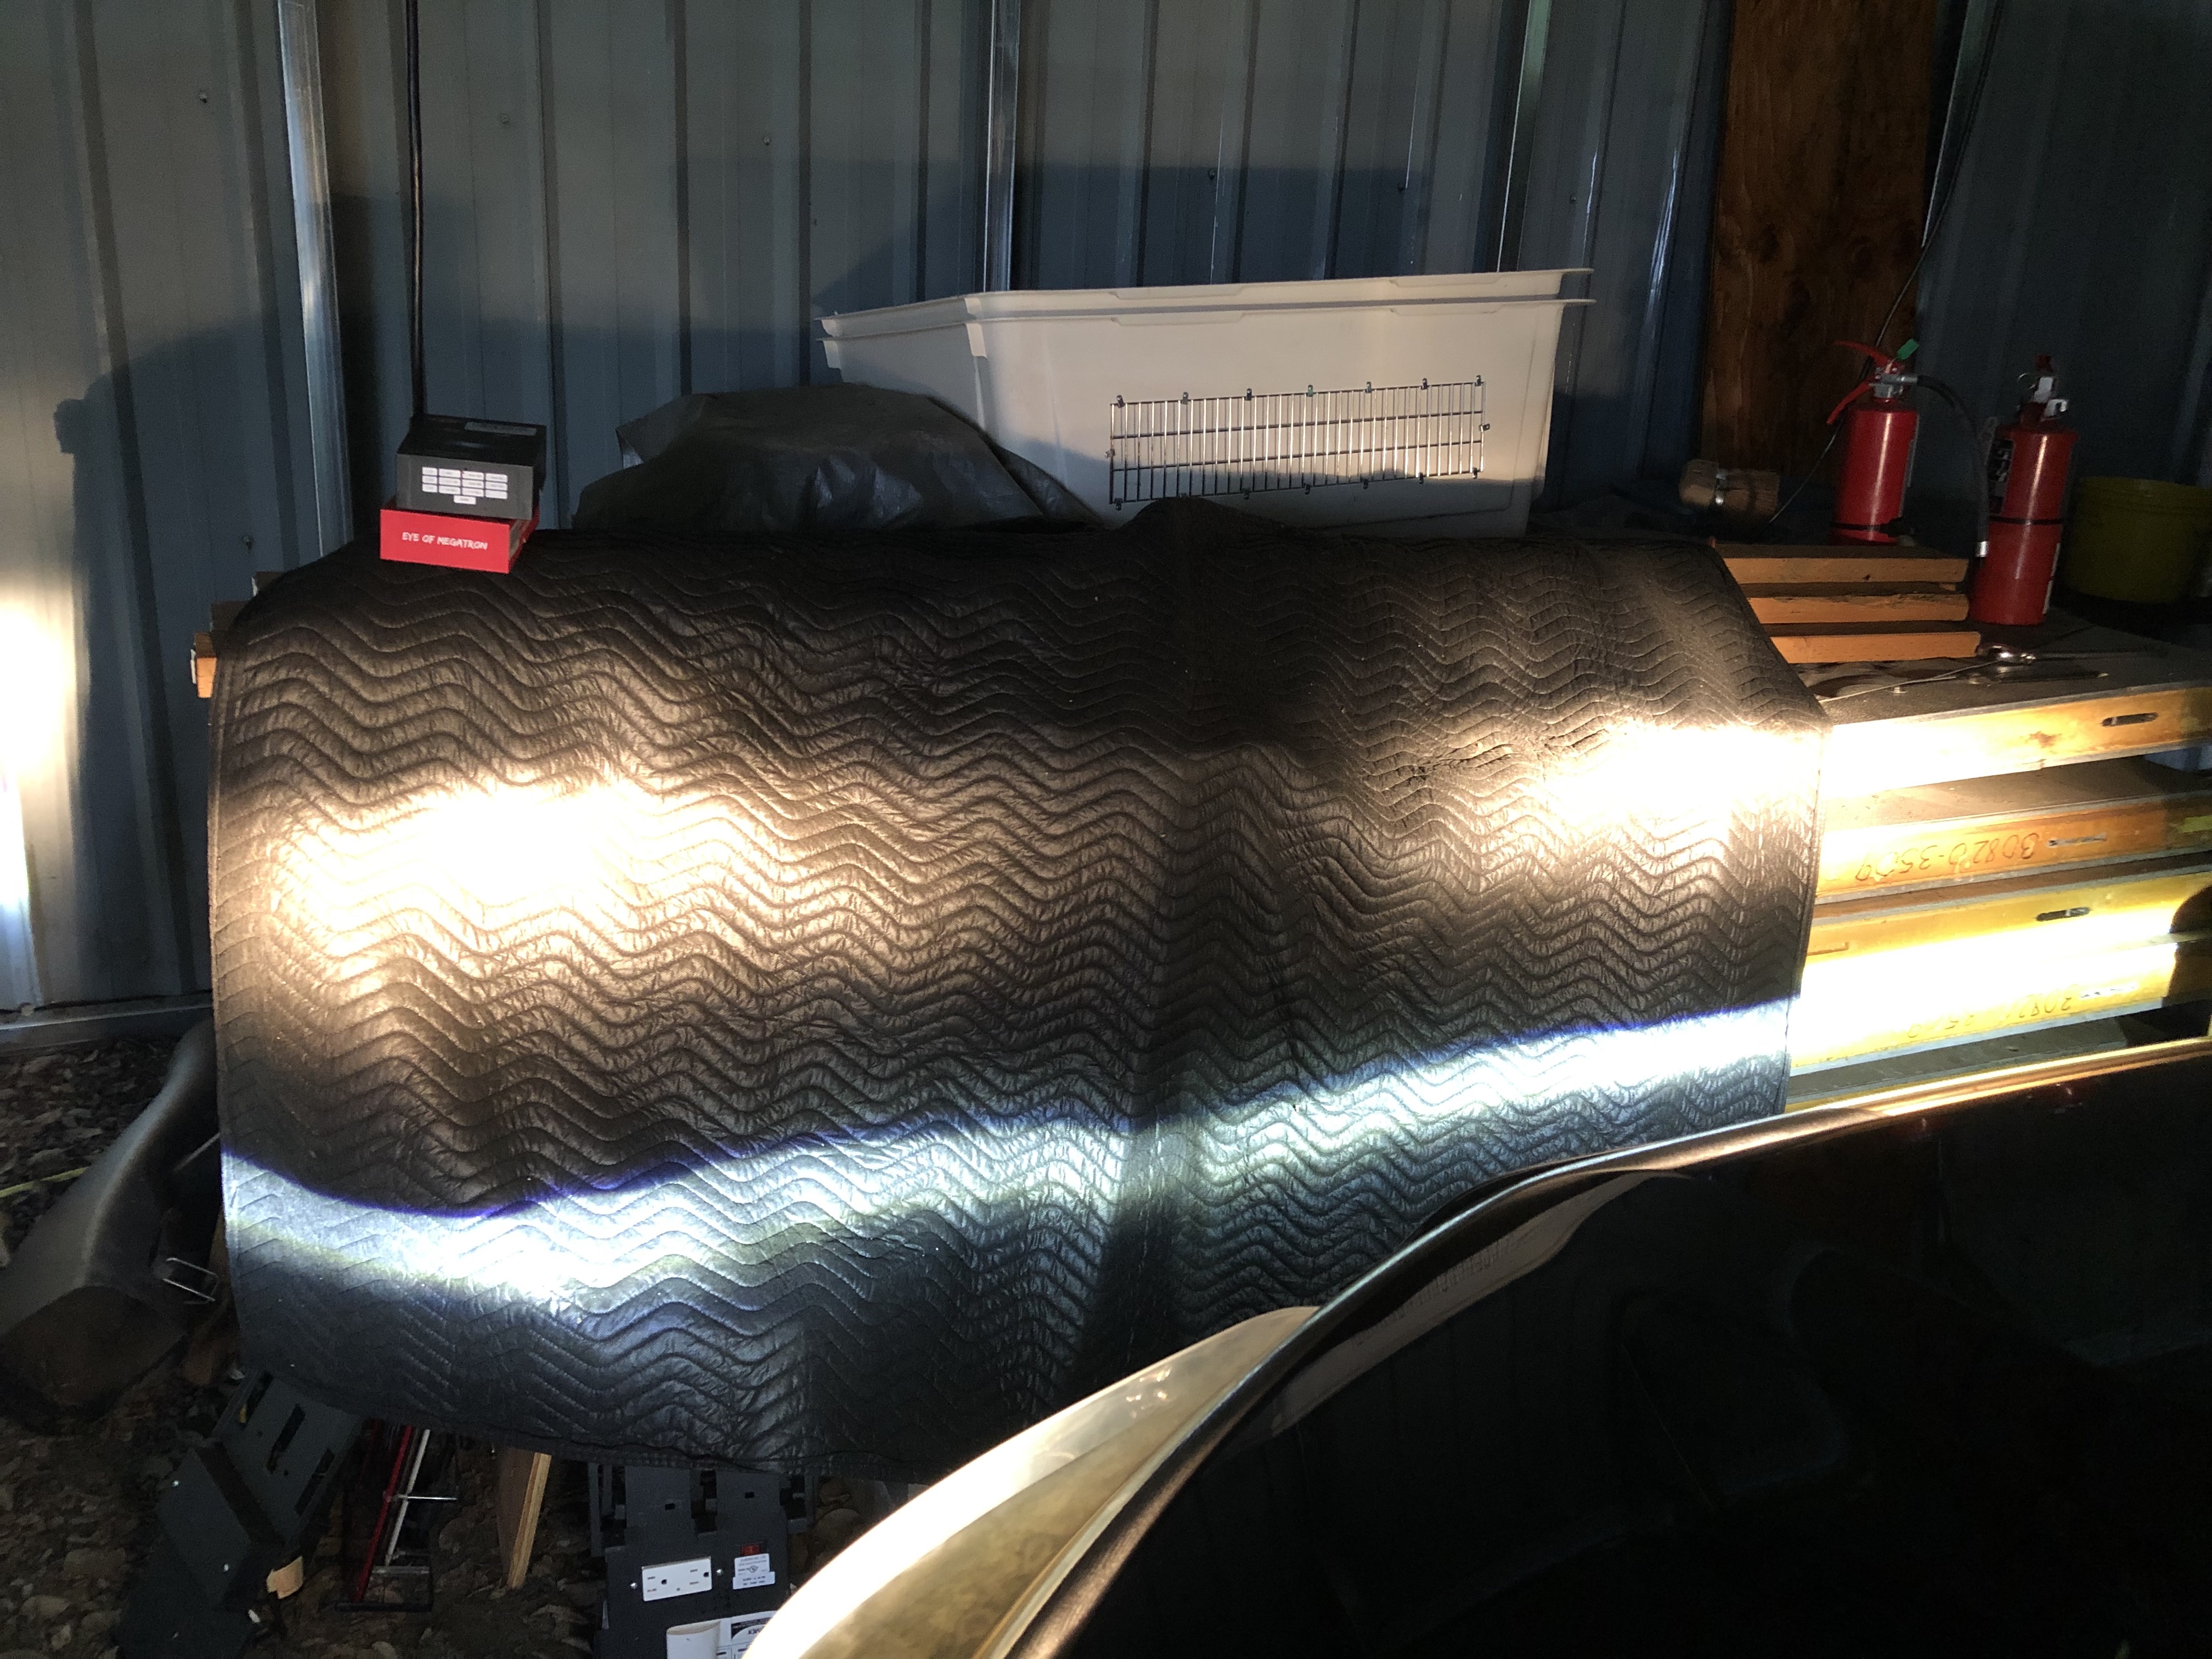
Here is the low beam only shot, no fogs - super yellow compared to the new LED fogs.
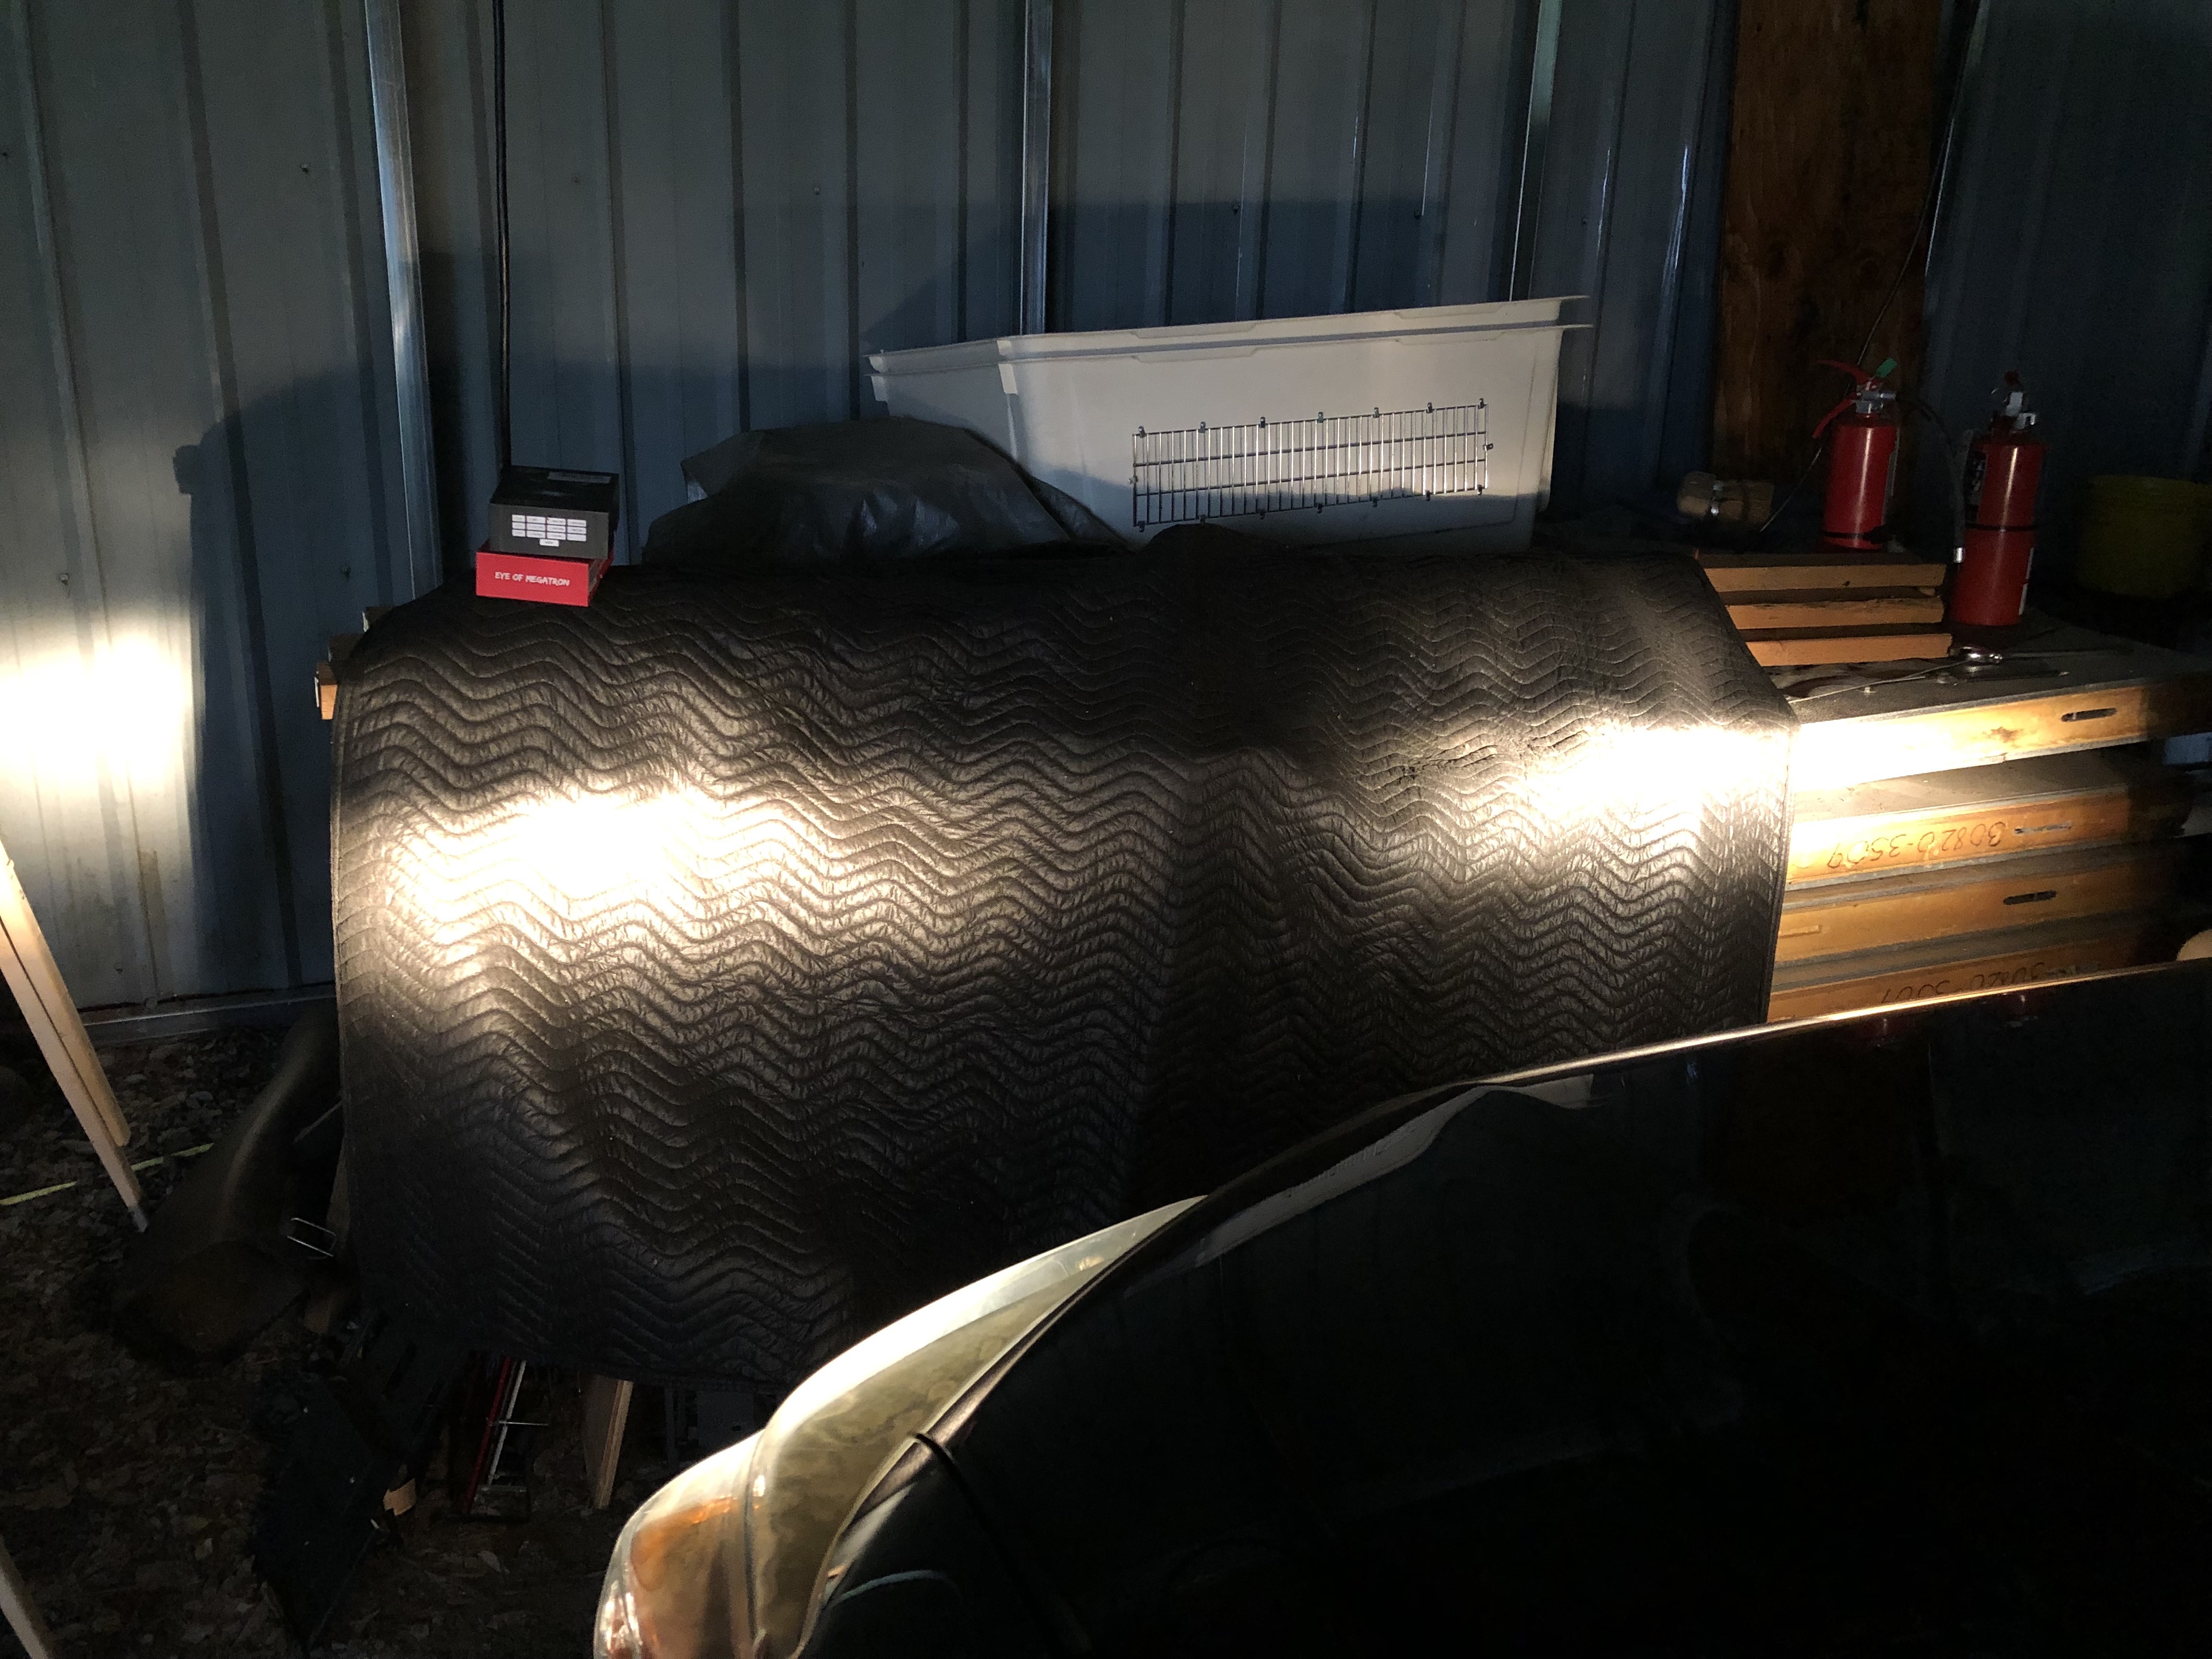
I decided I needed to spend more money so the light was brighter, more white, etc. I'm not going the HID route, don't even want to deal with that. I bought the cheap $37 LED headlights from Amazon based on a couple of other members saying they couldn't be happier with them.
Hi Beams -->https://amzn.to/2Unvfdv **DO NOT BUY** - Cheap Quality-Didn't even last 5 miles!
Low Beam-->https://amzn.to/2Vyk7XJ **DO NOT BUY** - Cheap Quality-Didn't even work new out of the box!
So far I've only installed the high beams, but you can see a huge difference.
Before
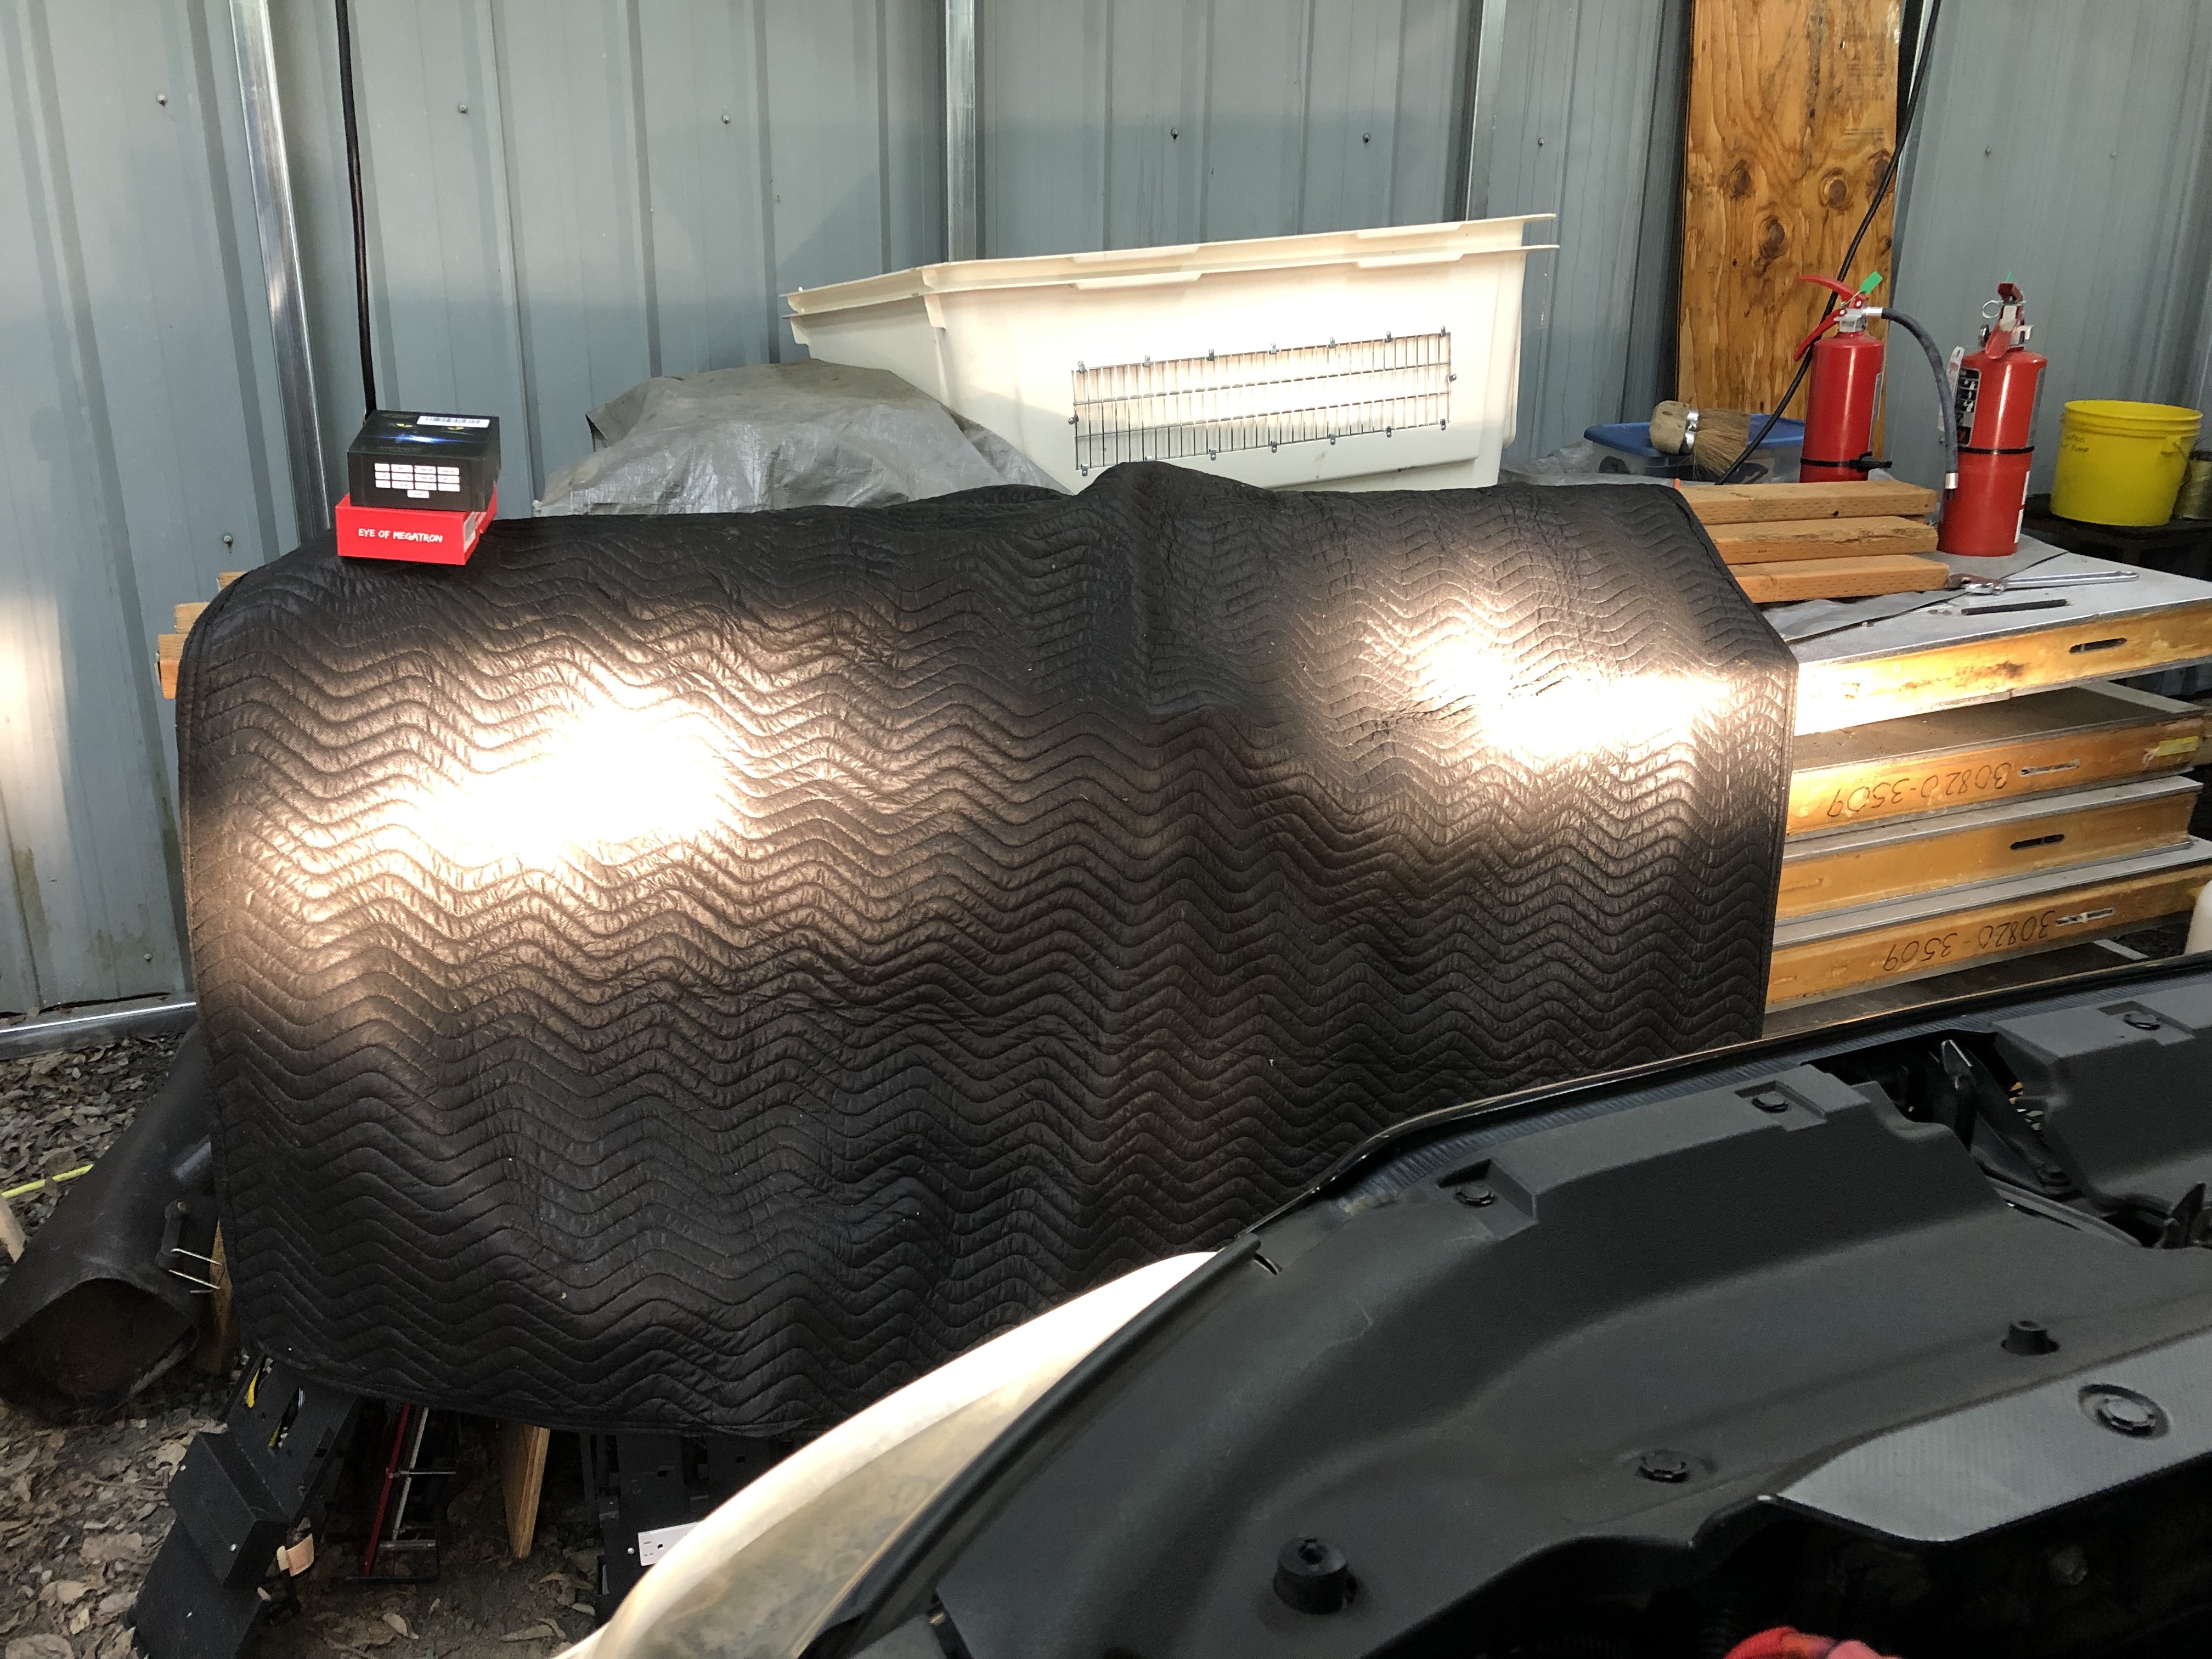
After - whiter in the color, and a bit brighter. Also a tad higher but just barely, I will adjust this as needed.
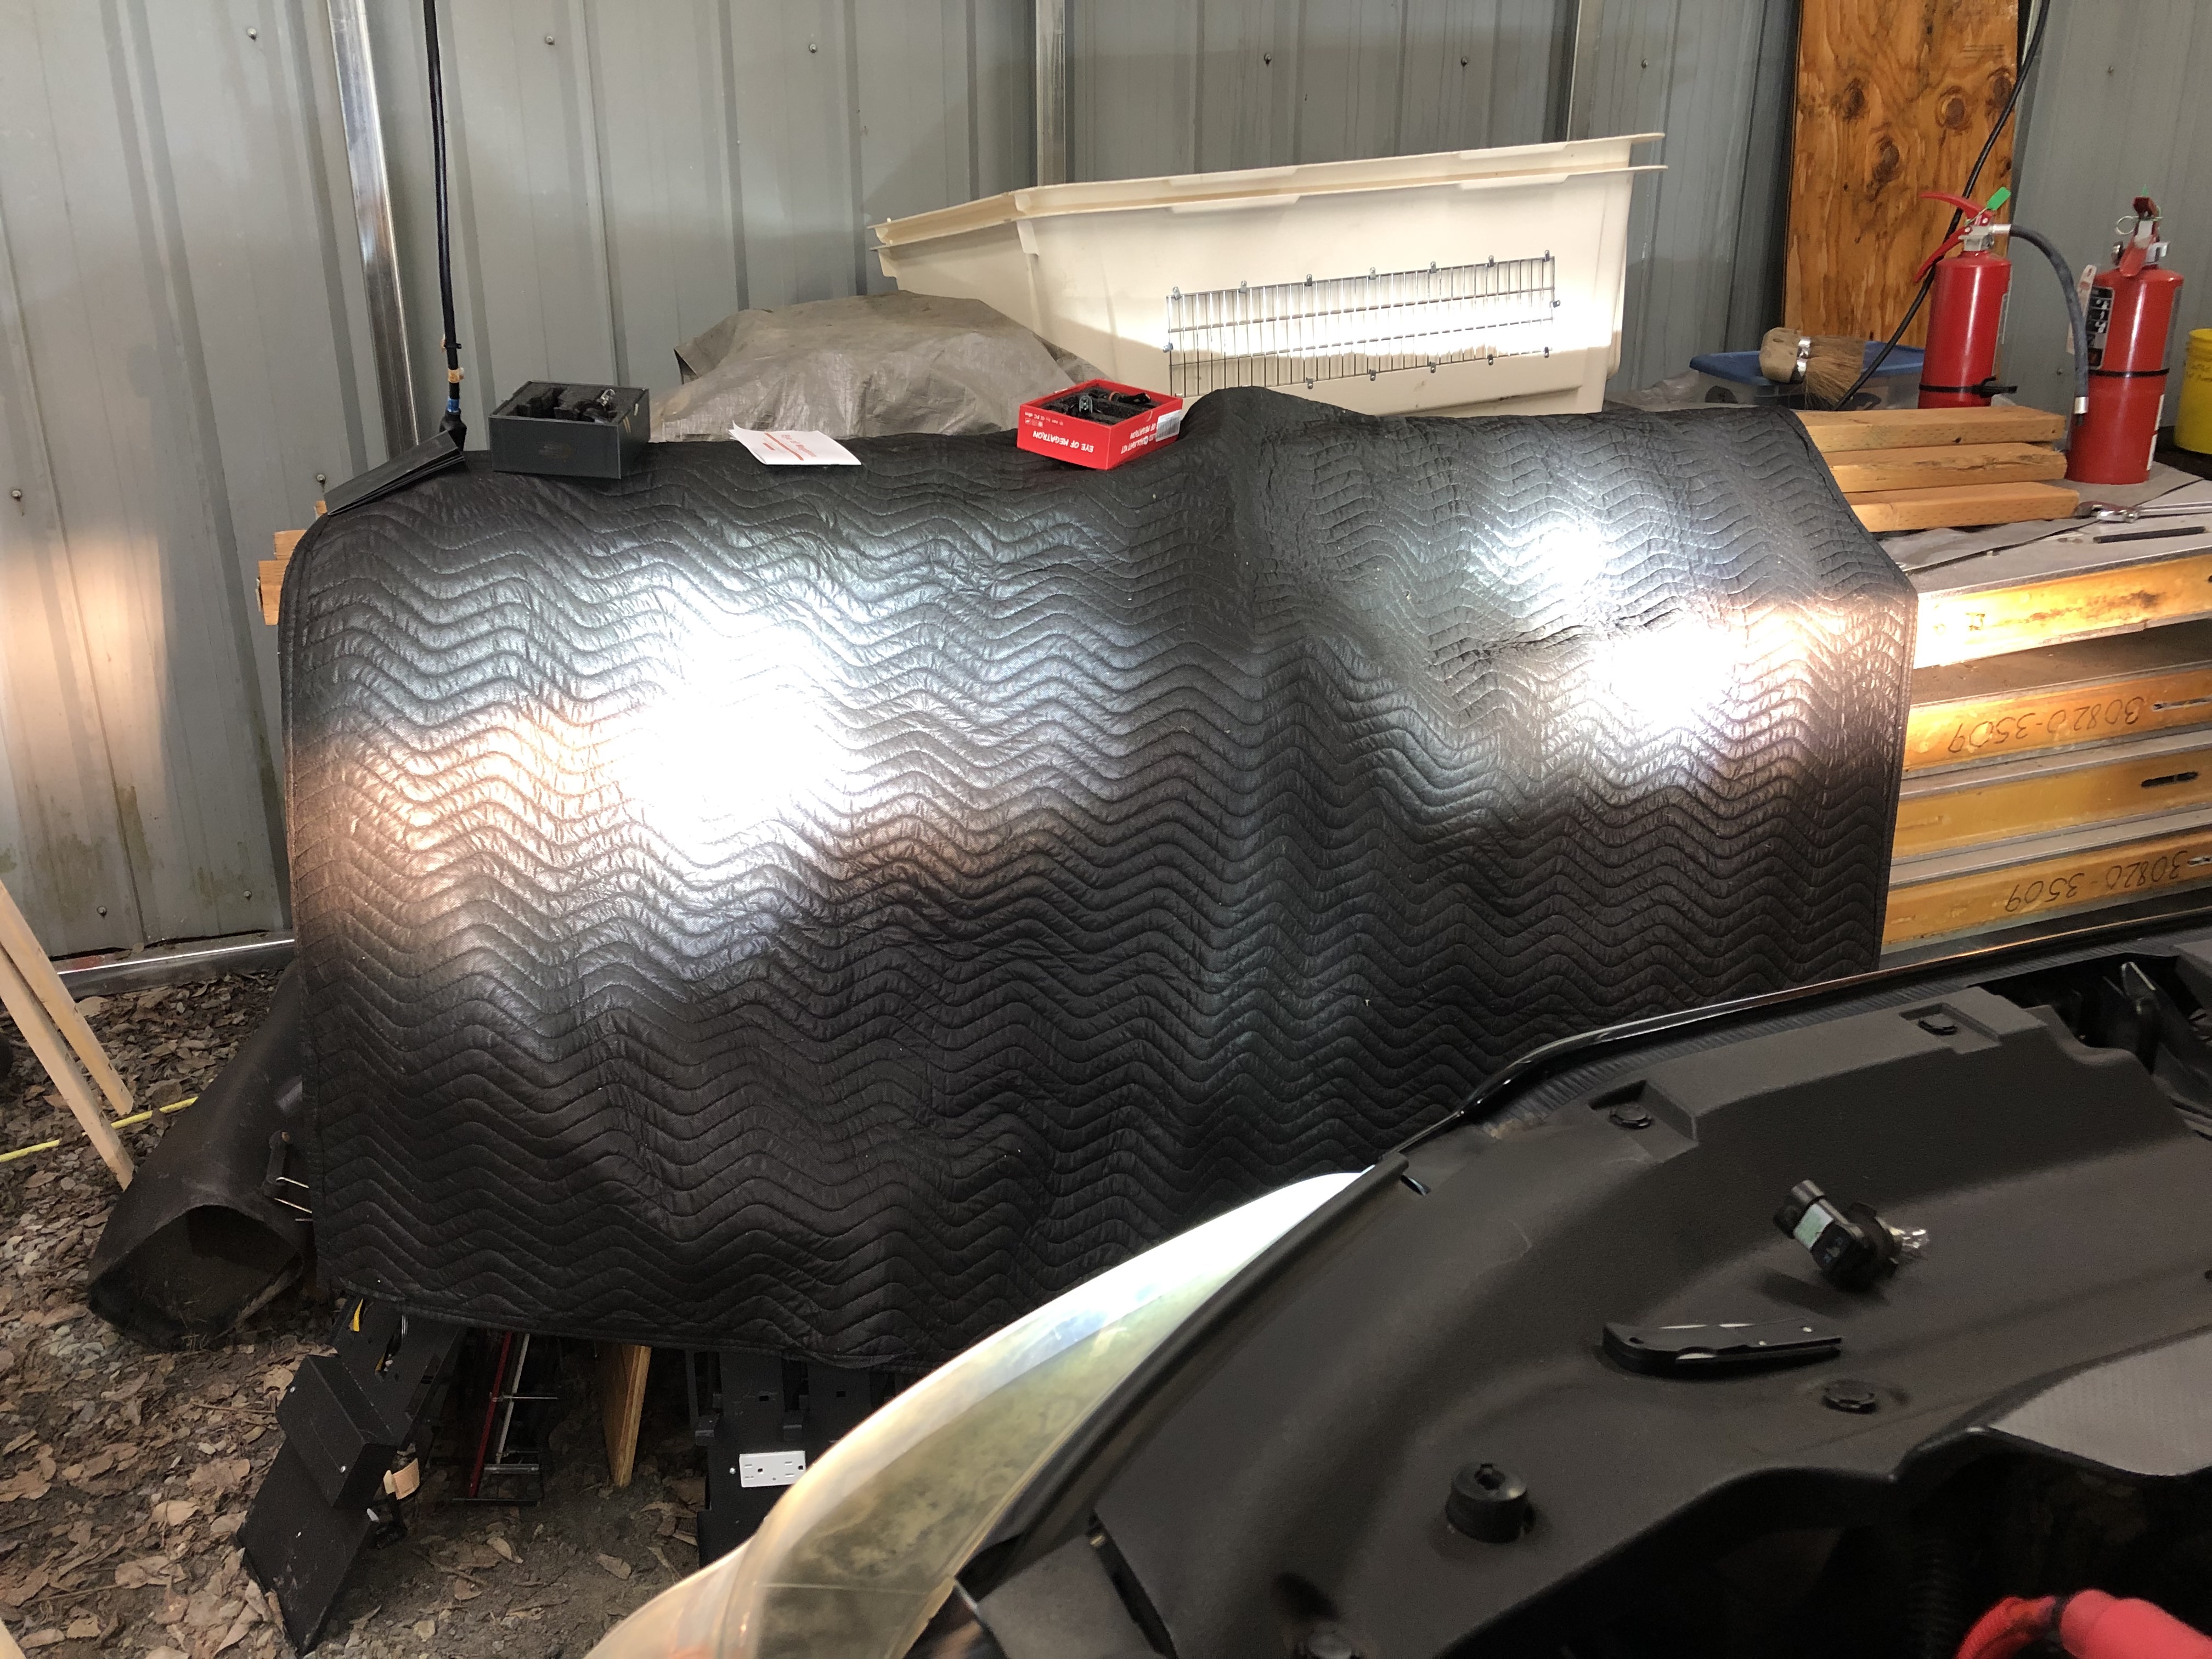
I'll post pics of the low beams a soon as I get them installed. Sadly, I have to take the batteries out to get to them, my hands are too big to reach in and swap them out.
**Please note** These are cheap, have been removed and returned to Amazon for full refund.
After 1 round trip of 5 miles in broad daylight (didn't even have the headlights on) , I decided I needed to install the low beams, so after removing the battery imagine my dismay seeing the previously installed high beam no longer seated in the housing squarely as I had installed it. Turns out the bulb and the sort of round 3-prong plastic piece that forms the pressure/friction fit into the headlight housing are not one solid part. The LED bulb simply vibrated it's why out of its housing. Decided to look at the low beams before installing. Same lame ass 2-piece type of manufacture. Curiosity got the best of me so I wanted to install the low beam anyway and see what it was going to look like, flicker or not, etc .....guess what, they wouldn't even light up. It's like I had a burnt out bulb. I tried the second one in the box. Same deal no joy.
This product is a total fail. As soon as I get some quality LED's I will create a new post
So after looking at this picture of my new LED fogs with my old headlights, I finally caught the LED fever and had to do something.
Here is the low beam only shot, no fogs - super yellow compared to the new LED fogs.
I decided I needed to spend more money so the light was brighter, more white, etc. I'm not going the HID route, don't even want to deal with that. I bought the cheap $37 LED headlights from Amazon based on a couple of other members saying they couldn't be happier with them.
Hi Beams -->https://amzn.to/2Unvfdv **DO NOT BUY** - Cheap Quality-Didn't even last 5 miles!
Low Beam-->https://amzn.to/2Vyk7XJ **DO NOT BUY** - Cheap Quality-Didn't even work new out of the box!
So far I've only installed the high beams, but you can see a huge difference.
Before
After - whiter in the color, and a bit brighter. Also a tad higher but just barely, I will adjust this as needed.
I'll post pics of the low beams a soon as I get them installed. Sadly, I have to take the batteries out to get to them, my hands are too big to reach in and swap them out.
**Please note** These are cheap, have been removed and returned to Amazon for full refund.
After 1 round trip of 5 miles in broad daylight (didn't even have the headlights on) , I decided I needed to install the low beams, so after removing the battery imagine my dismay seeing the previously installed high beam no longer seated in the housing squarely as I had installed it. Turns out the bulb and the sort of round 3-prong plastic piece that forms the pressure/friction fit into the headlight housing are not one solid part. The LED bulb simply vibrated it's why out of its housing. Decided to look at the low beams before installing. Same lame ass 2-piece type of manufacture. Curiosity got the best of me so I wanted to install the low beam anyway and see what it was going to look like, flicker or not, etc .....guess what, they wouldn't even light up. It's like I had a burnt out bulb. I tried the second one in the box. Same deal no joy.
Attachments
Last edited:
nglayton
Senior Member
Arc Light LED's
Having now caught the incurable LED fever........
I had to have these rear hatch lights.
And it didn't stop there, I also had to have the dome light.
To complete the trifecta, I also had to have the map light.
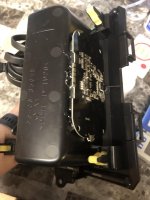
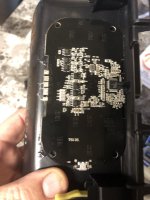
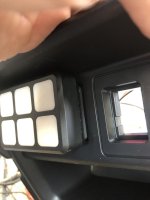
There is really no need to do an install write up on these, they come with a complete set of instructions, Install was easy, it took me about an hour for each item. The only reason it took so long was the drilling out for the switch. If I had it to do over I would just buy the standard white only , no red option and skip the whole red switch. Drilling the lenses is a pain in the ass. Here's a bunch of pics I took.
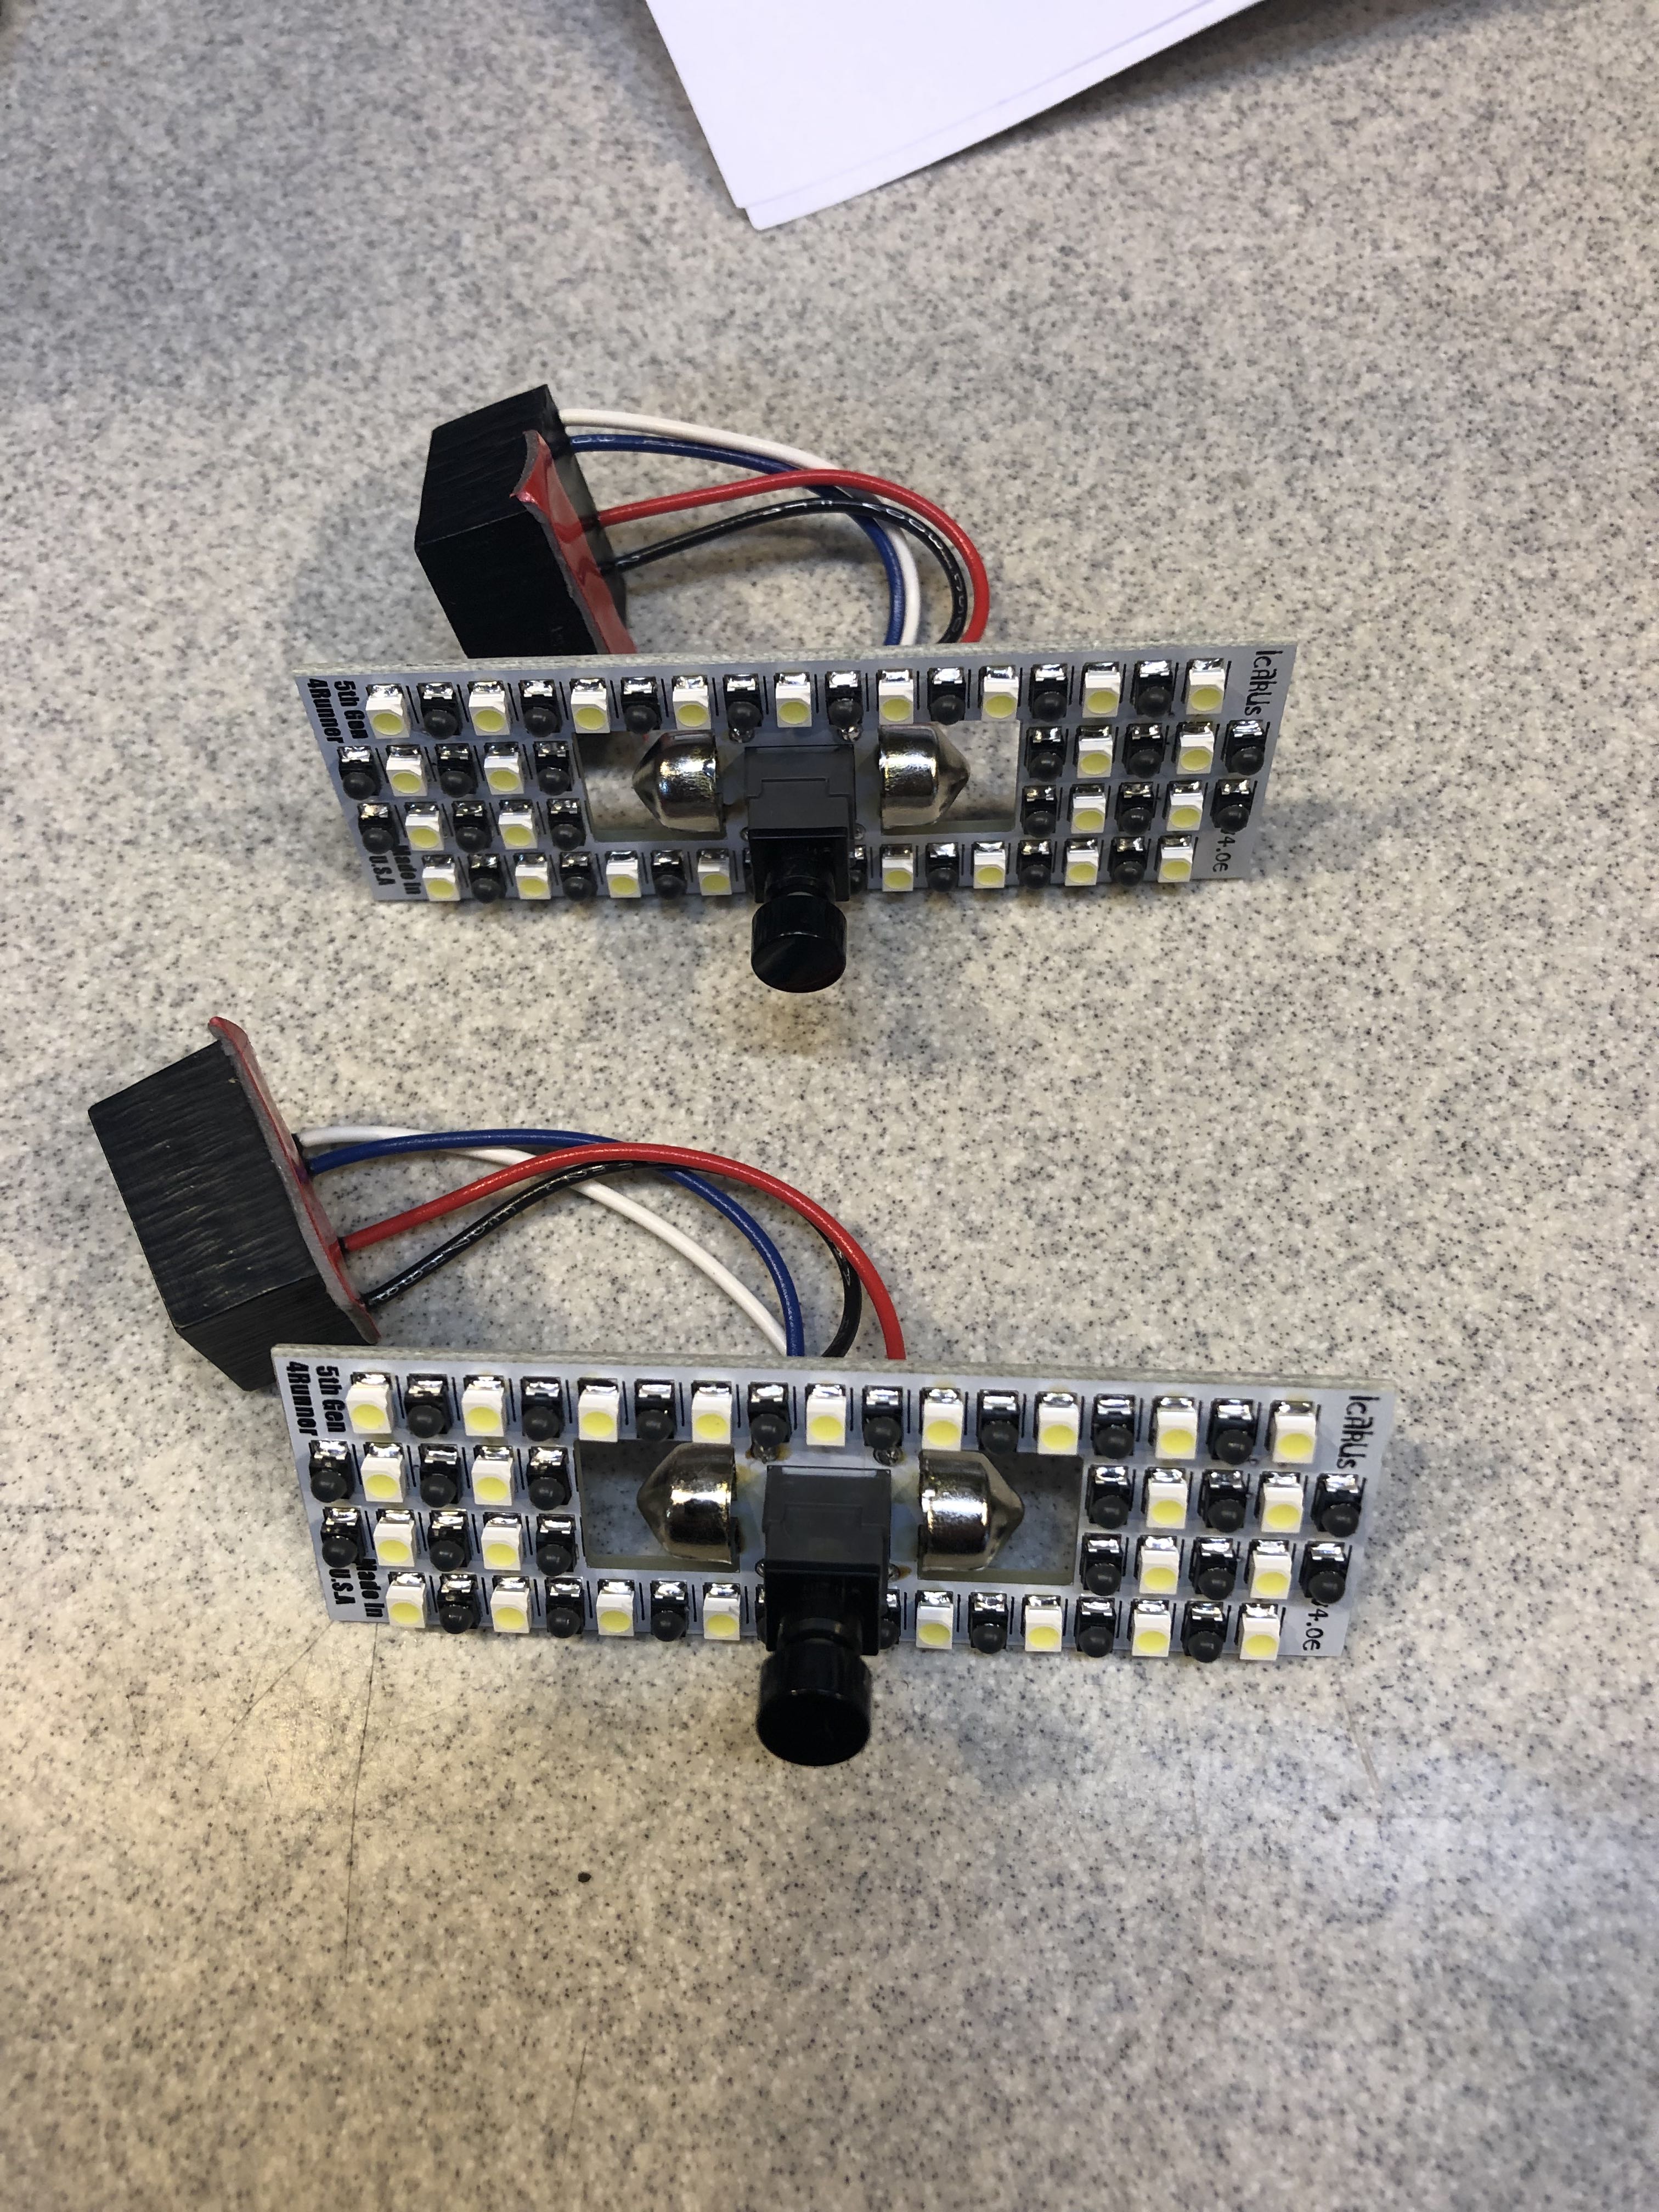
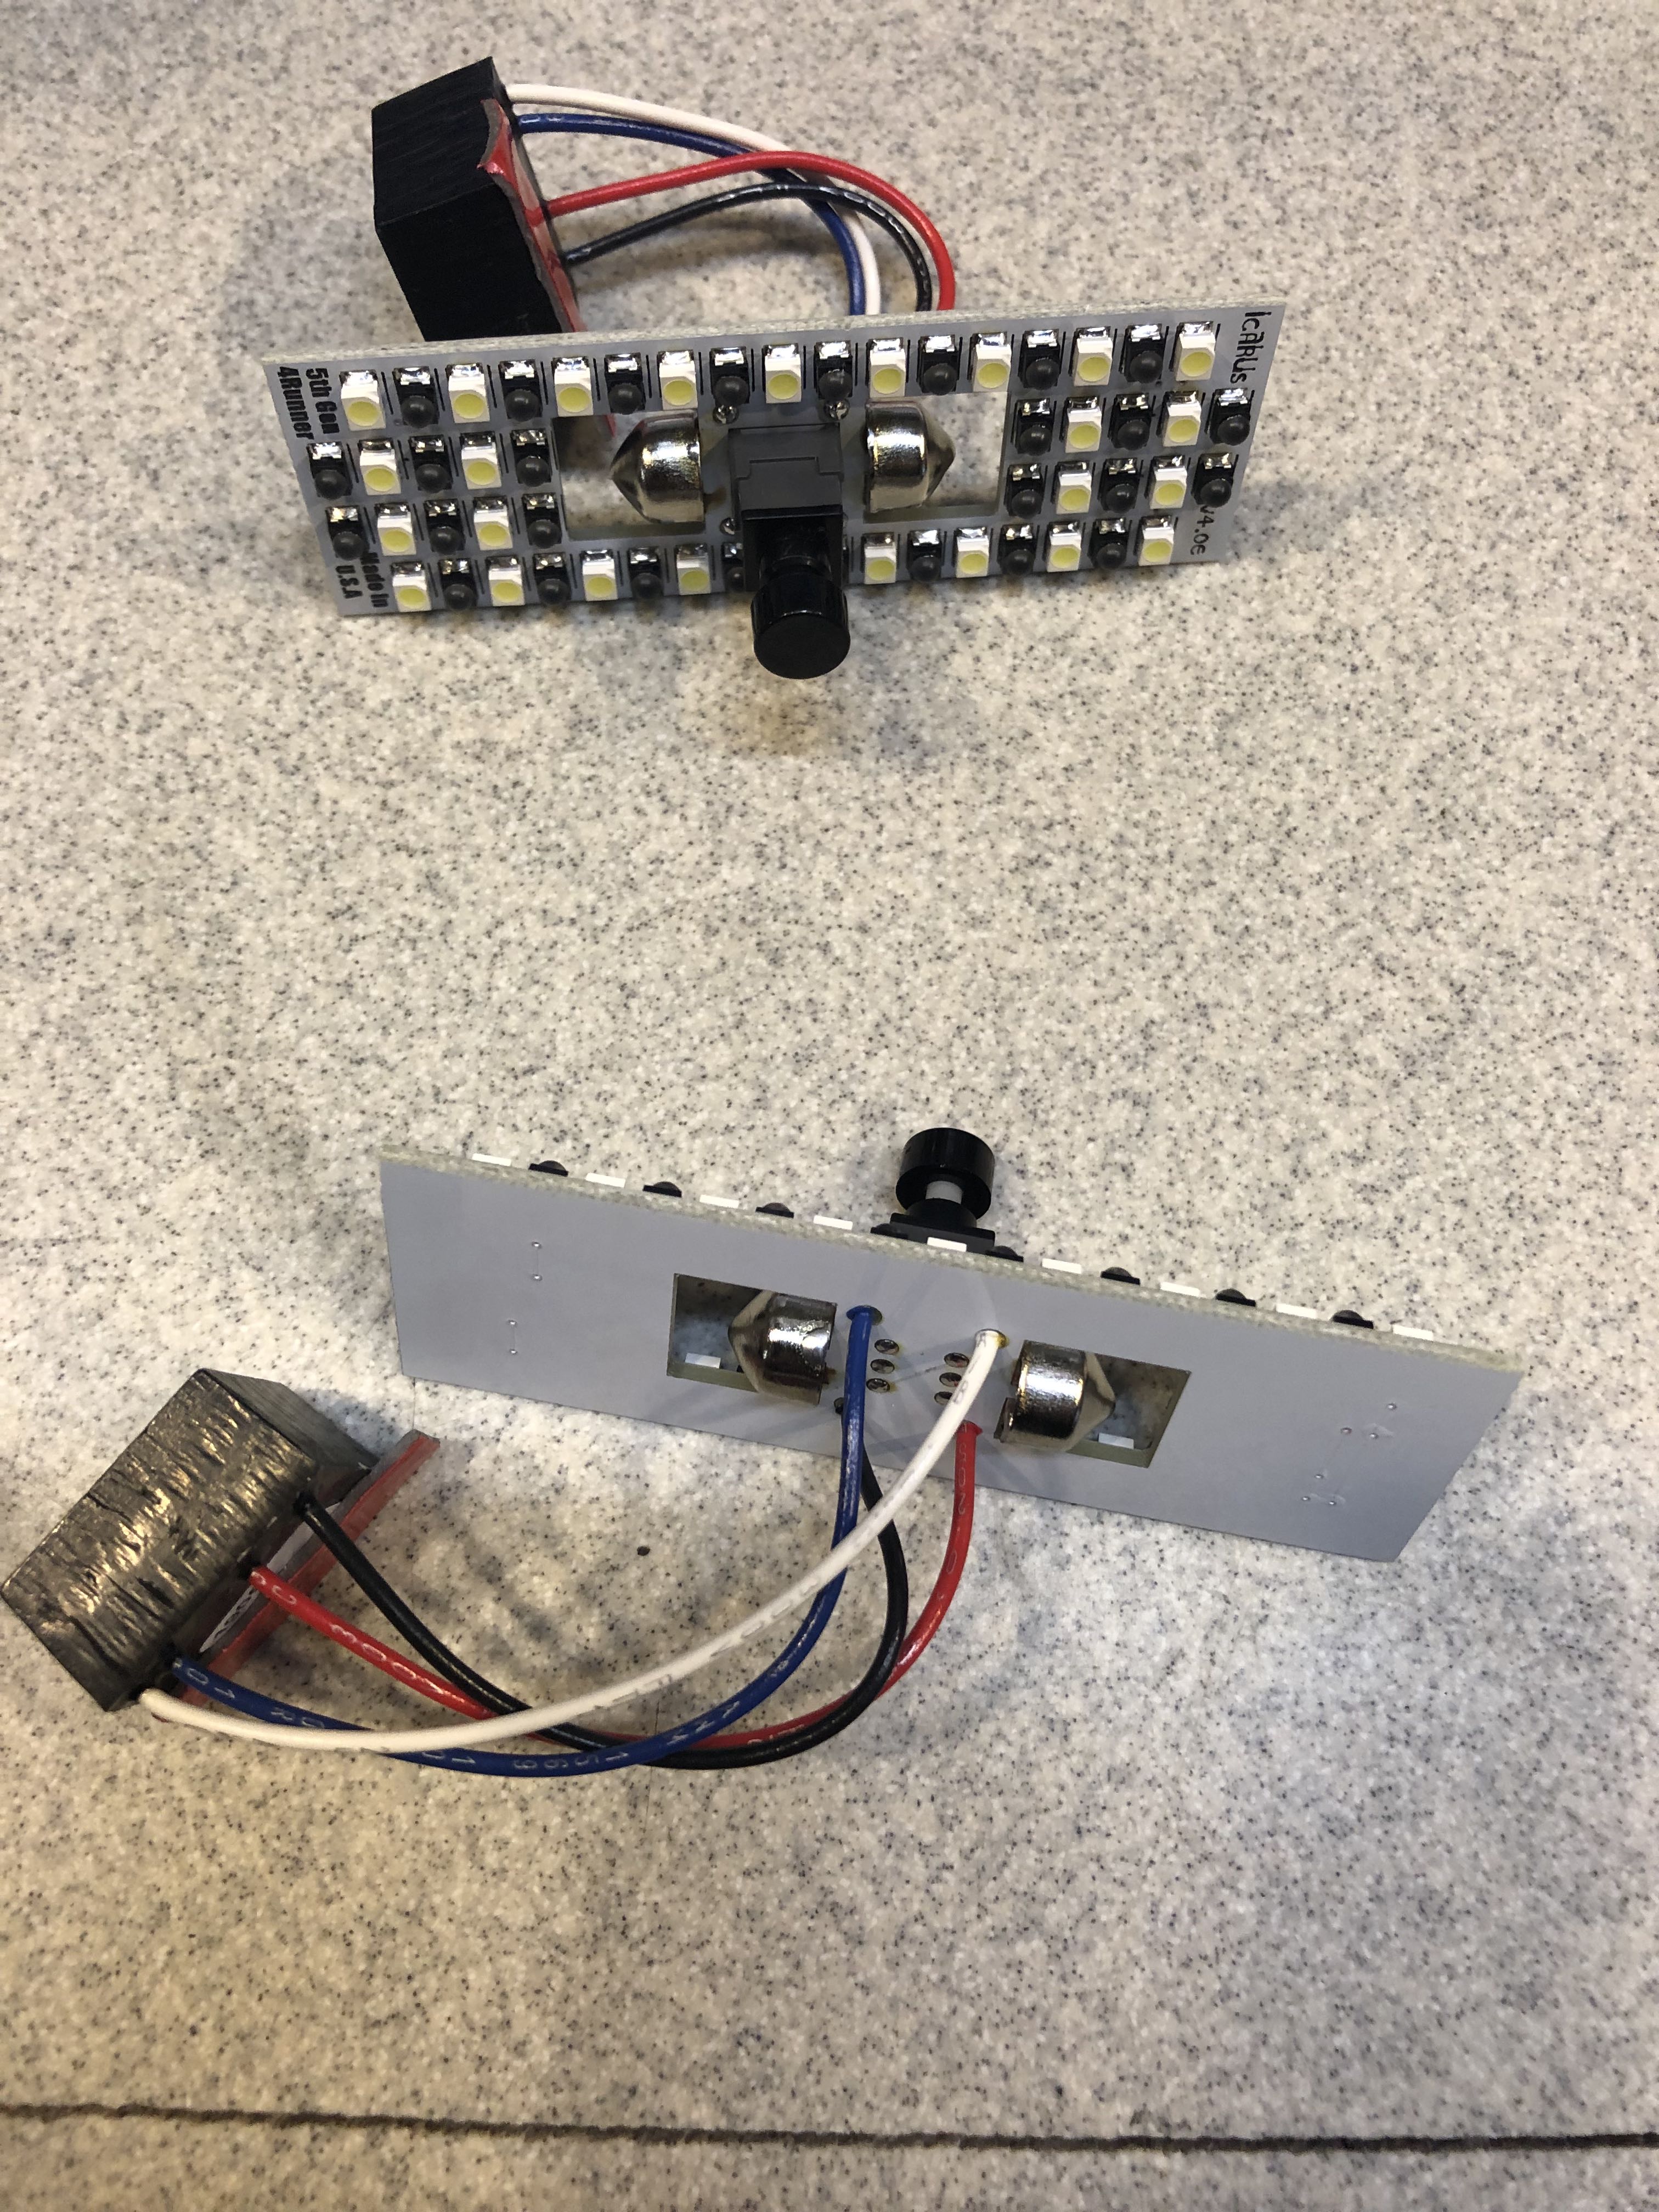
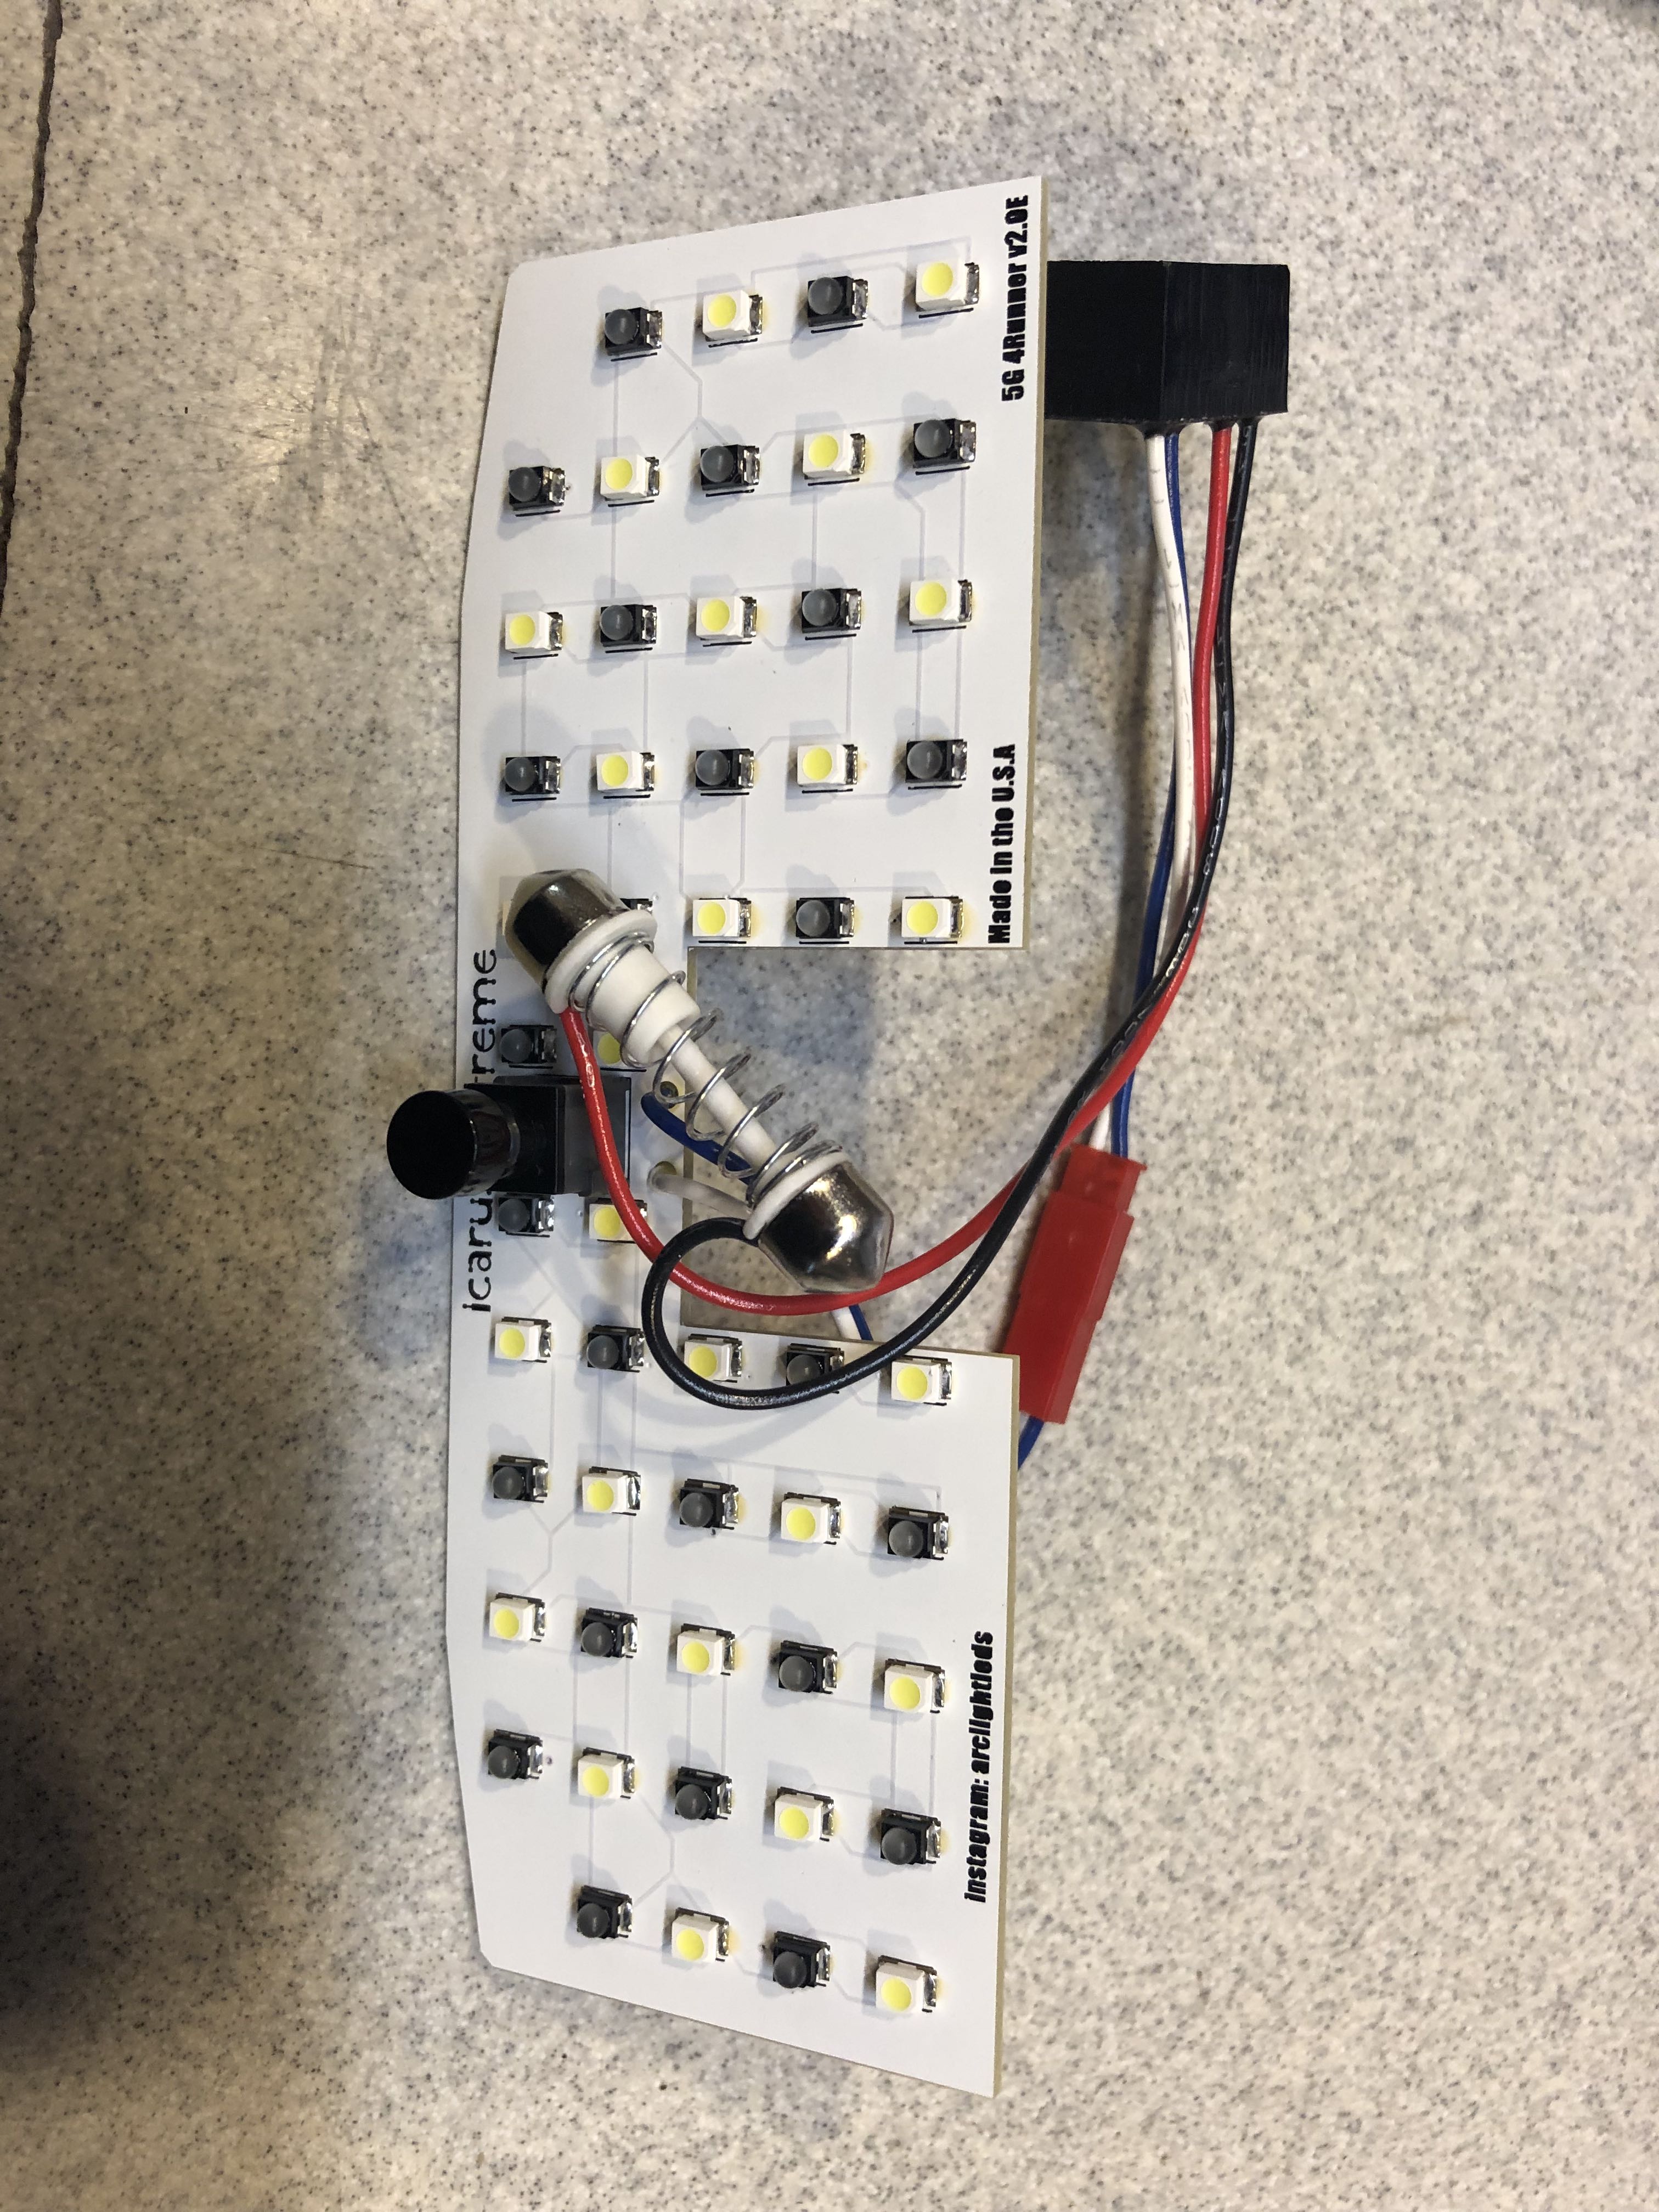
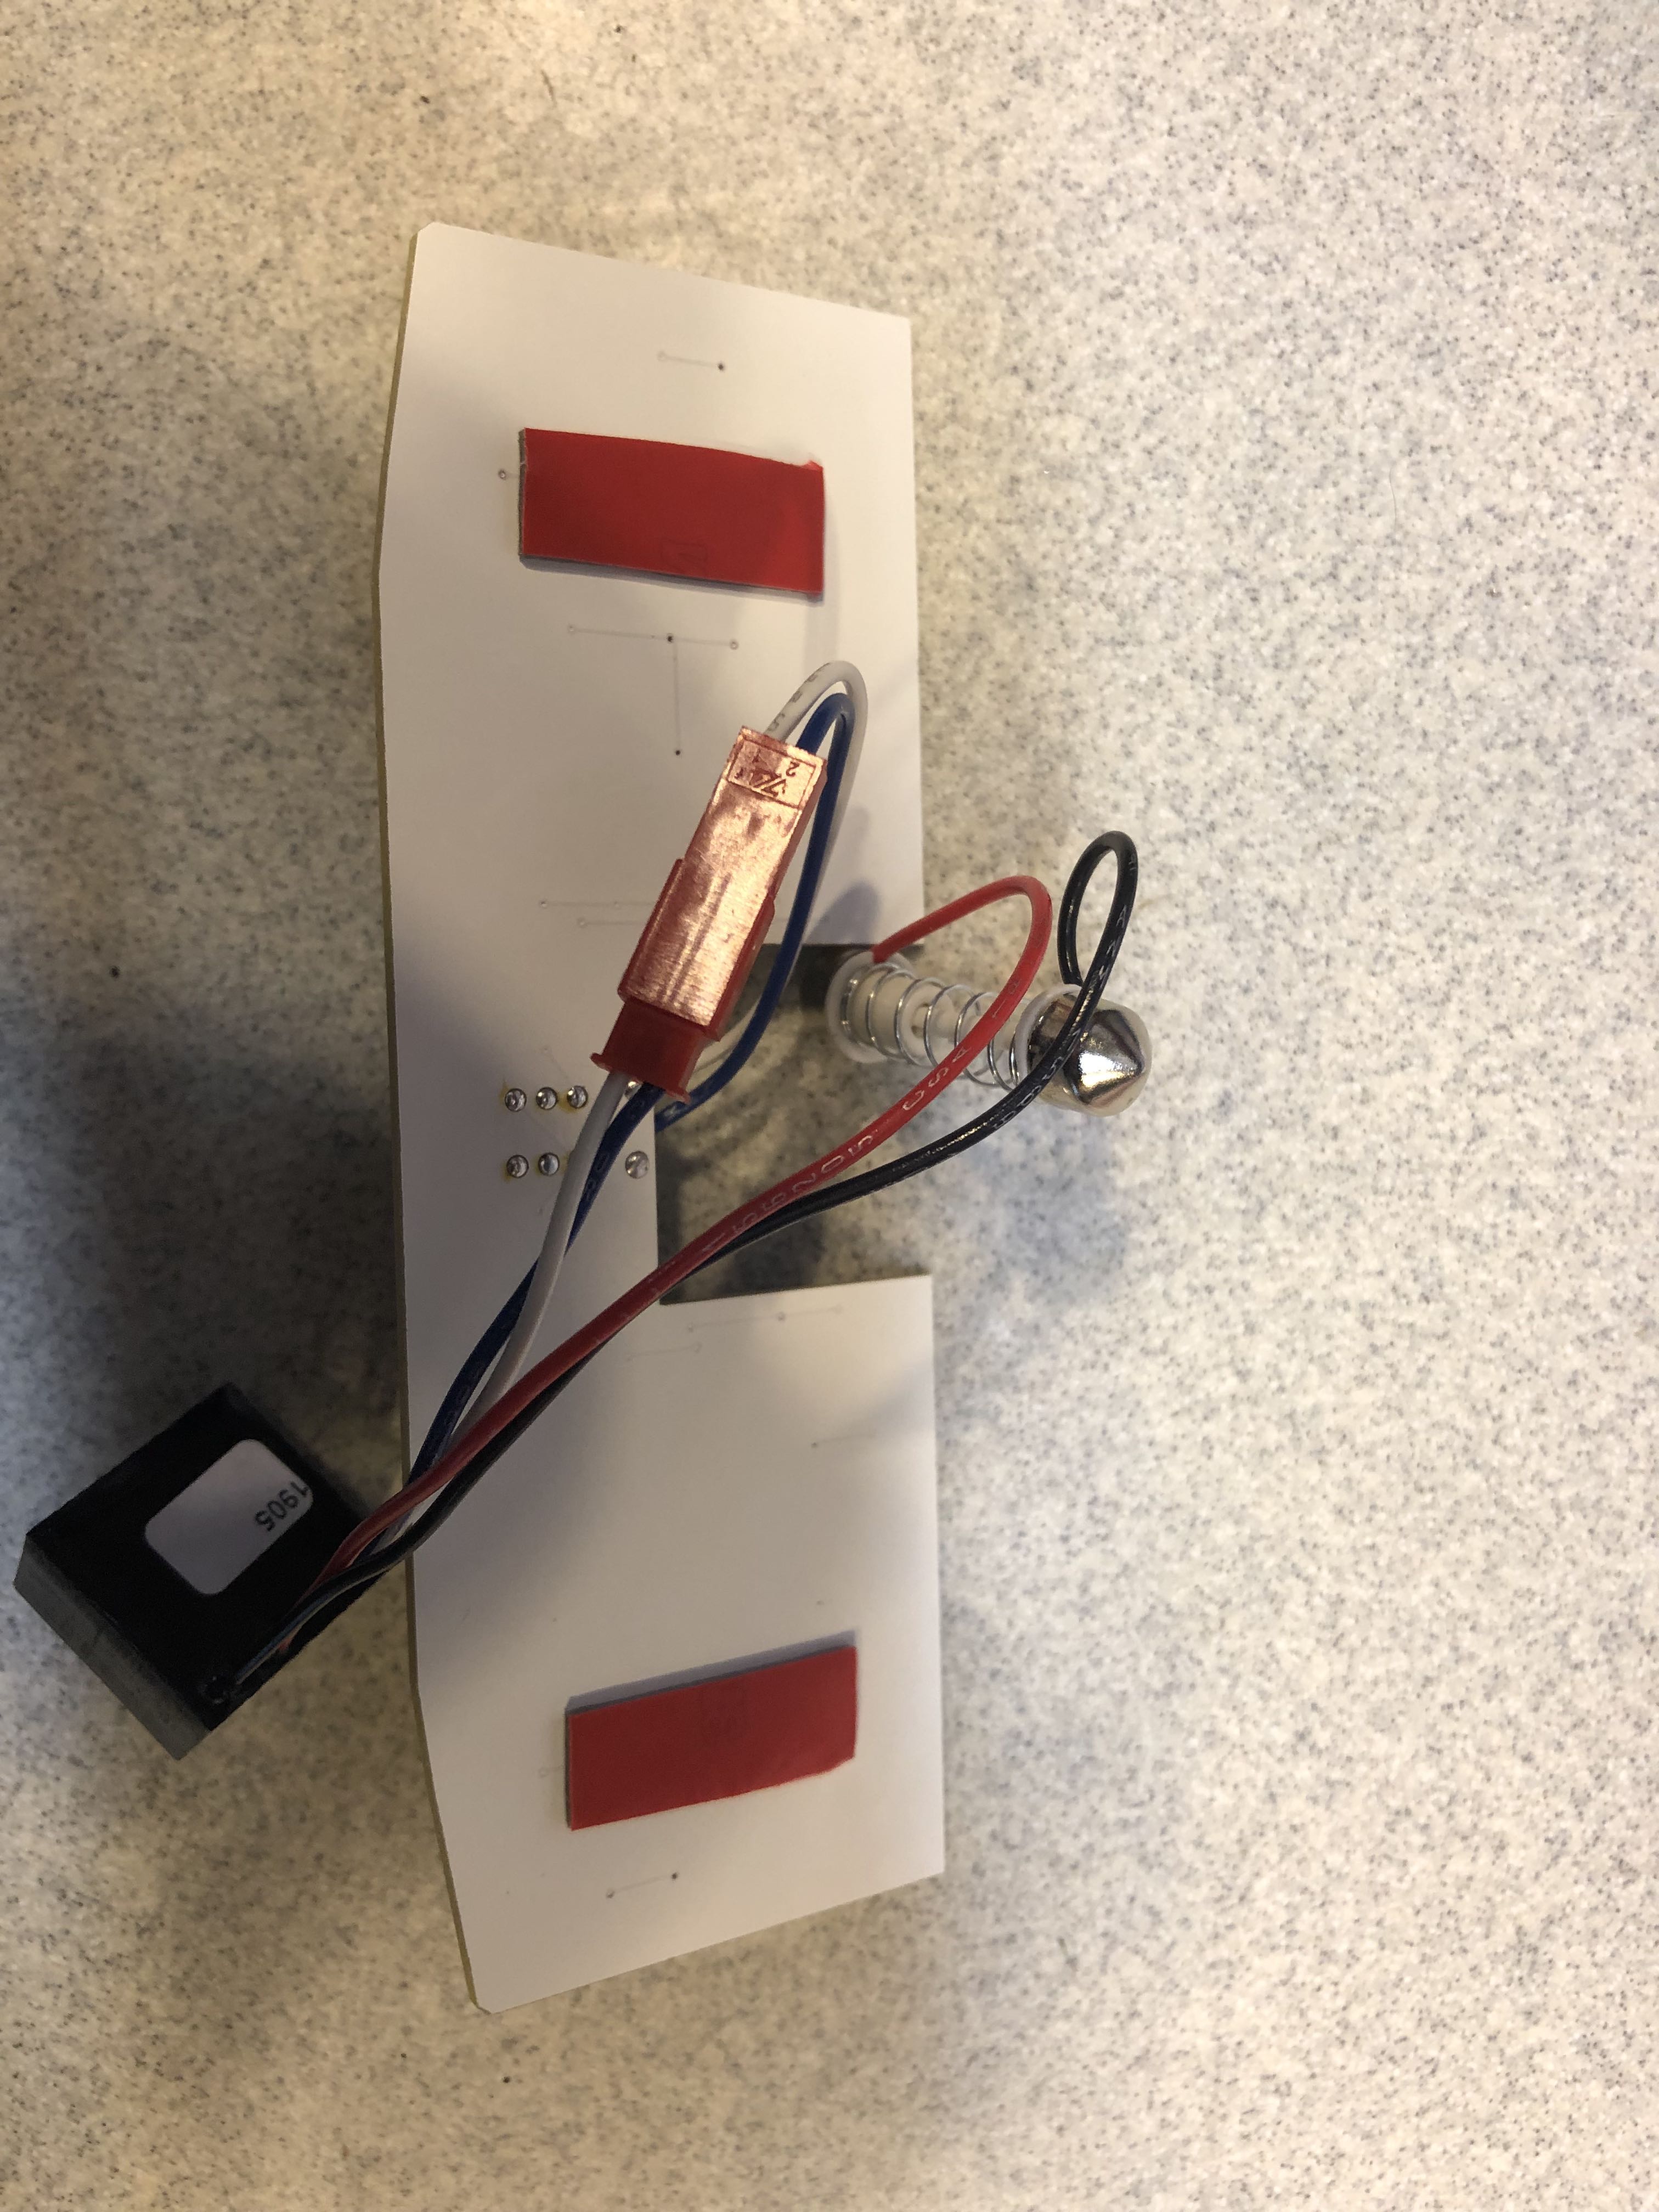
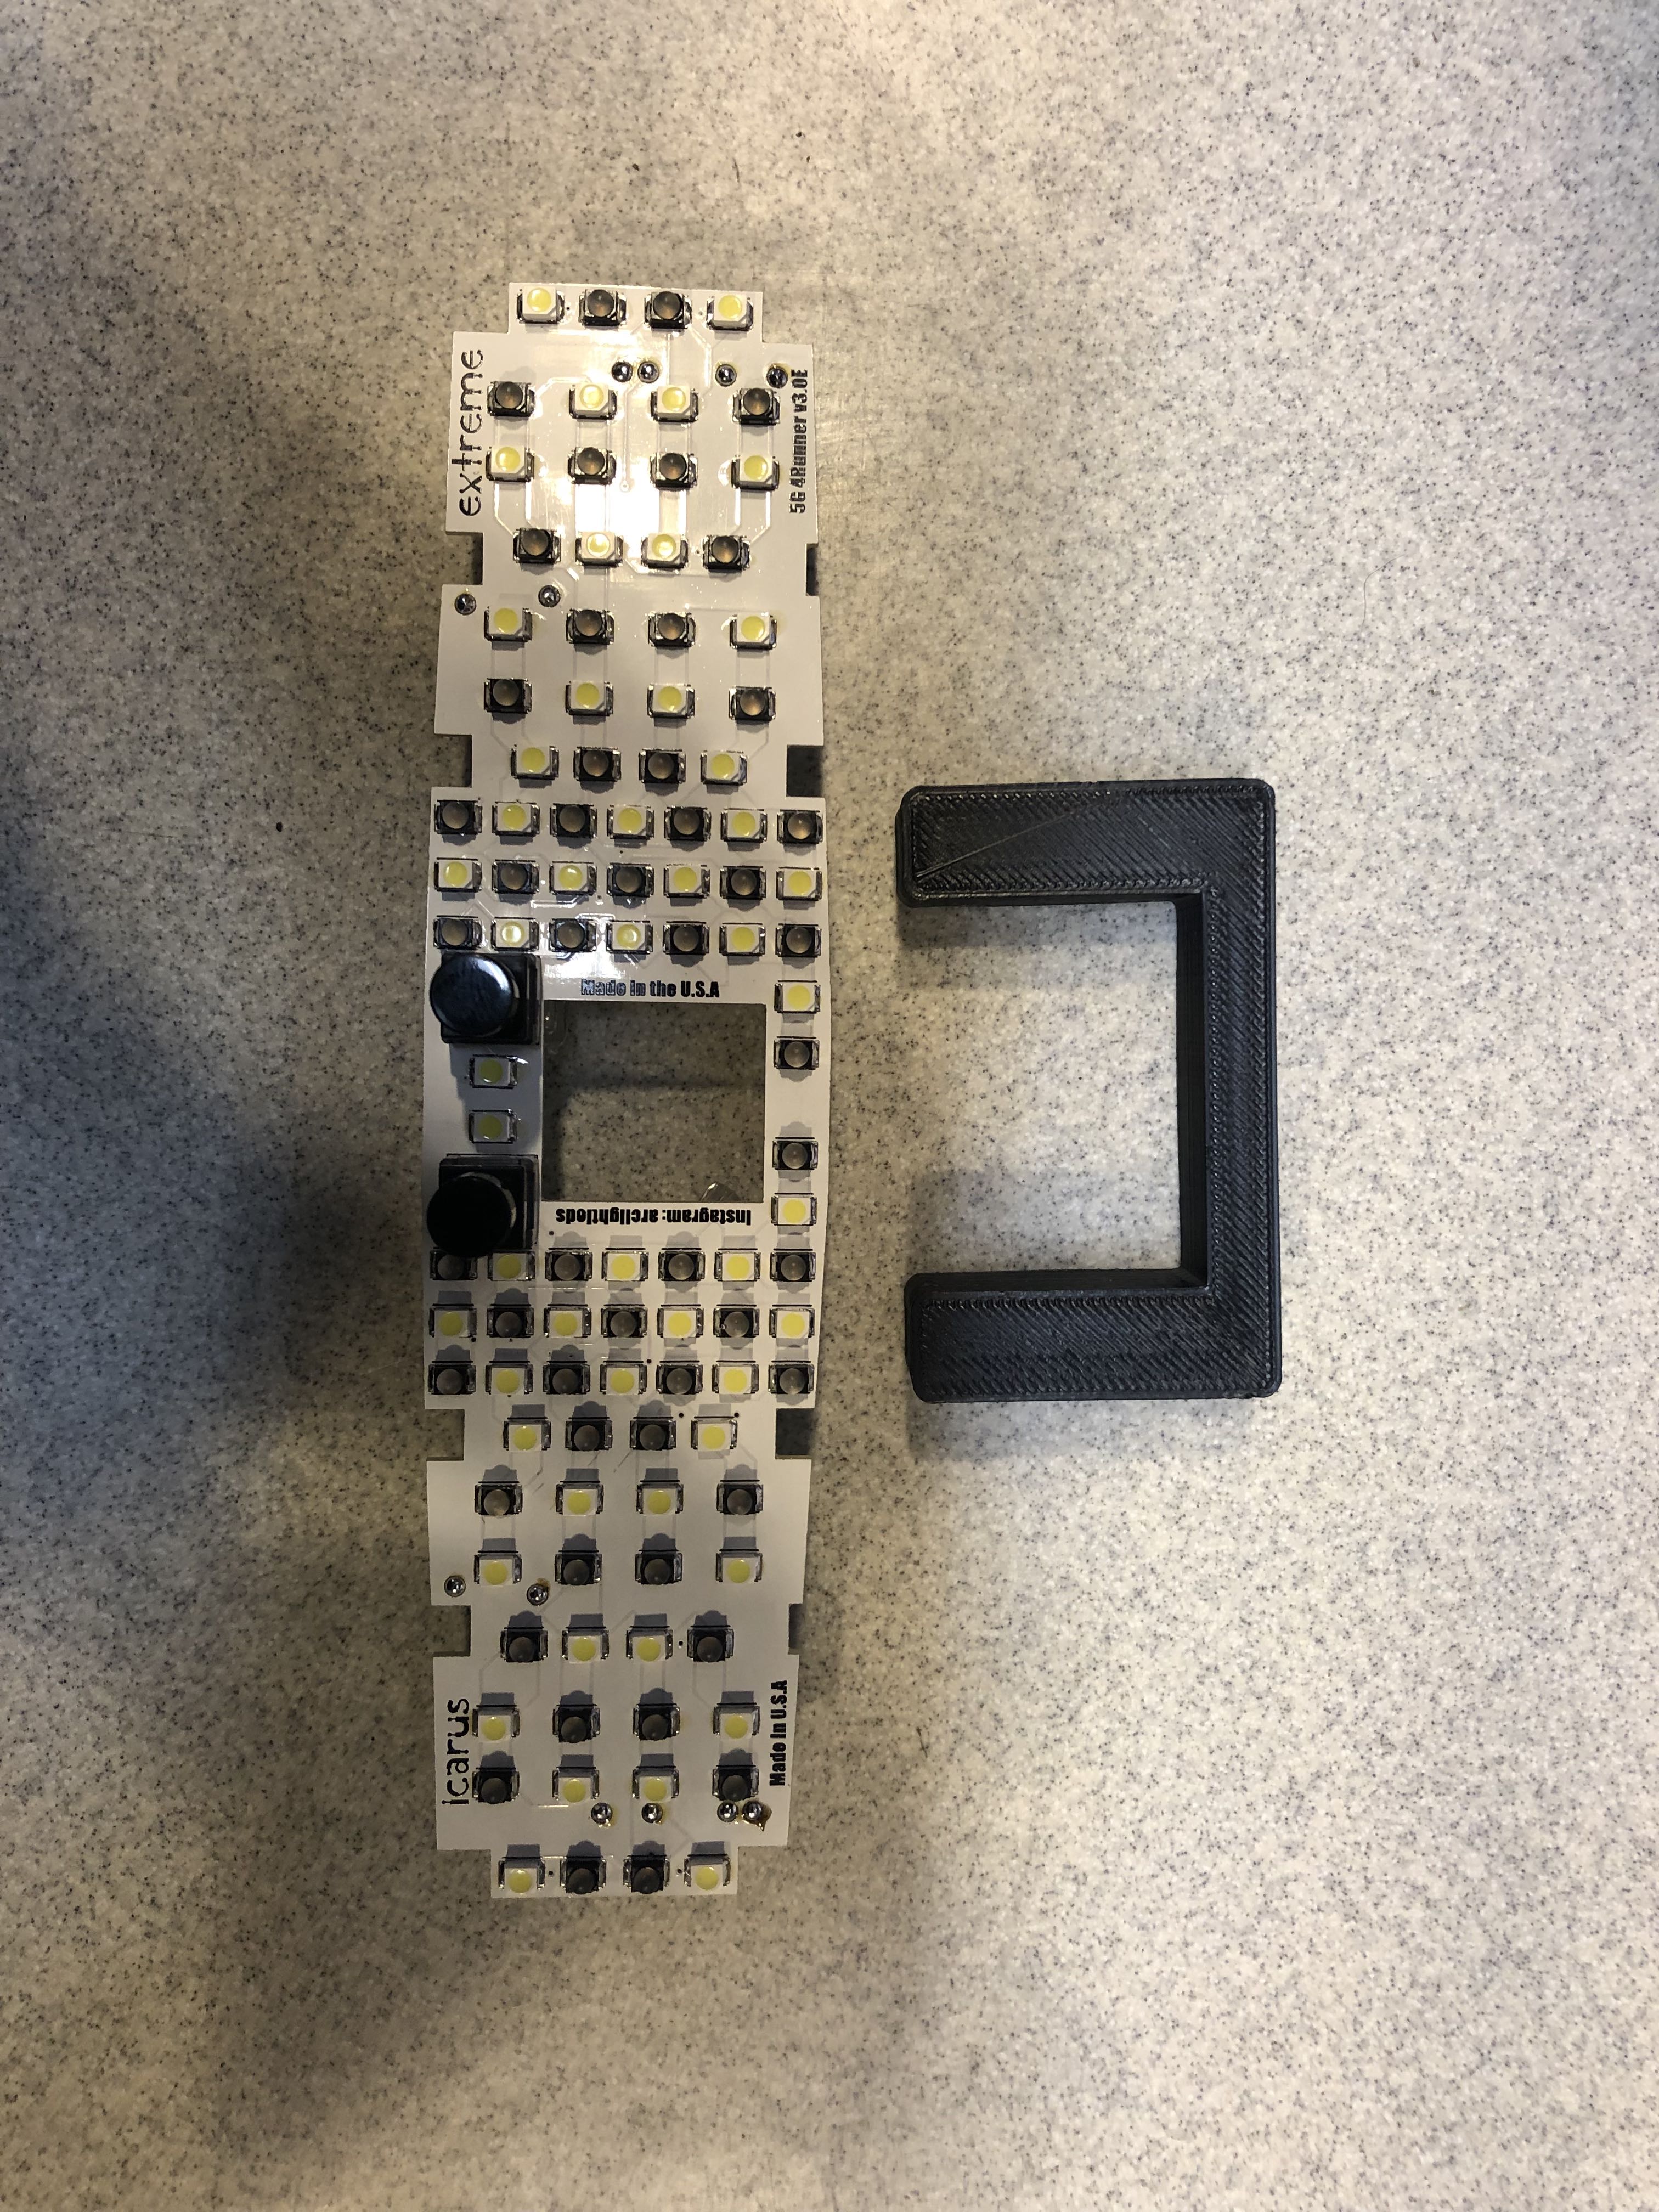
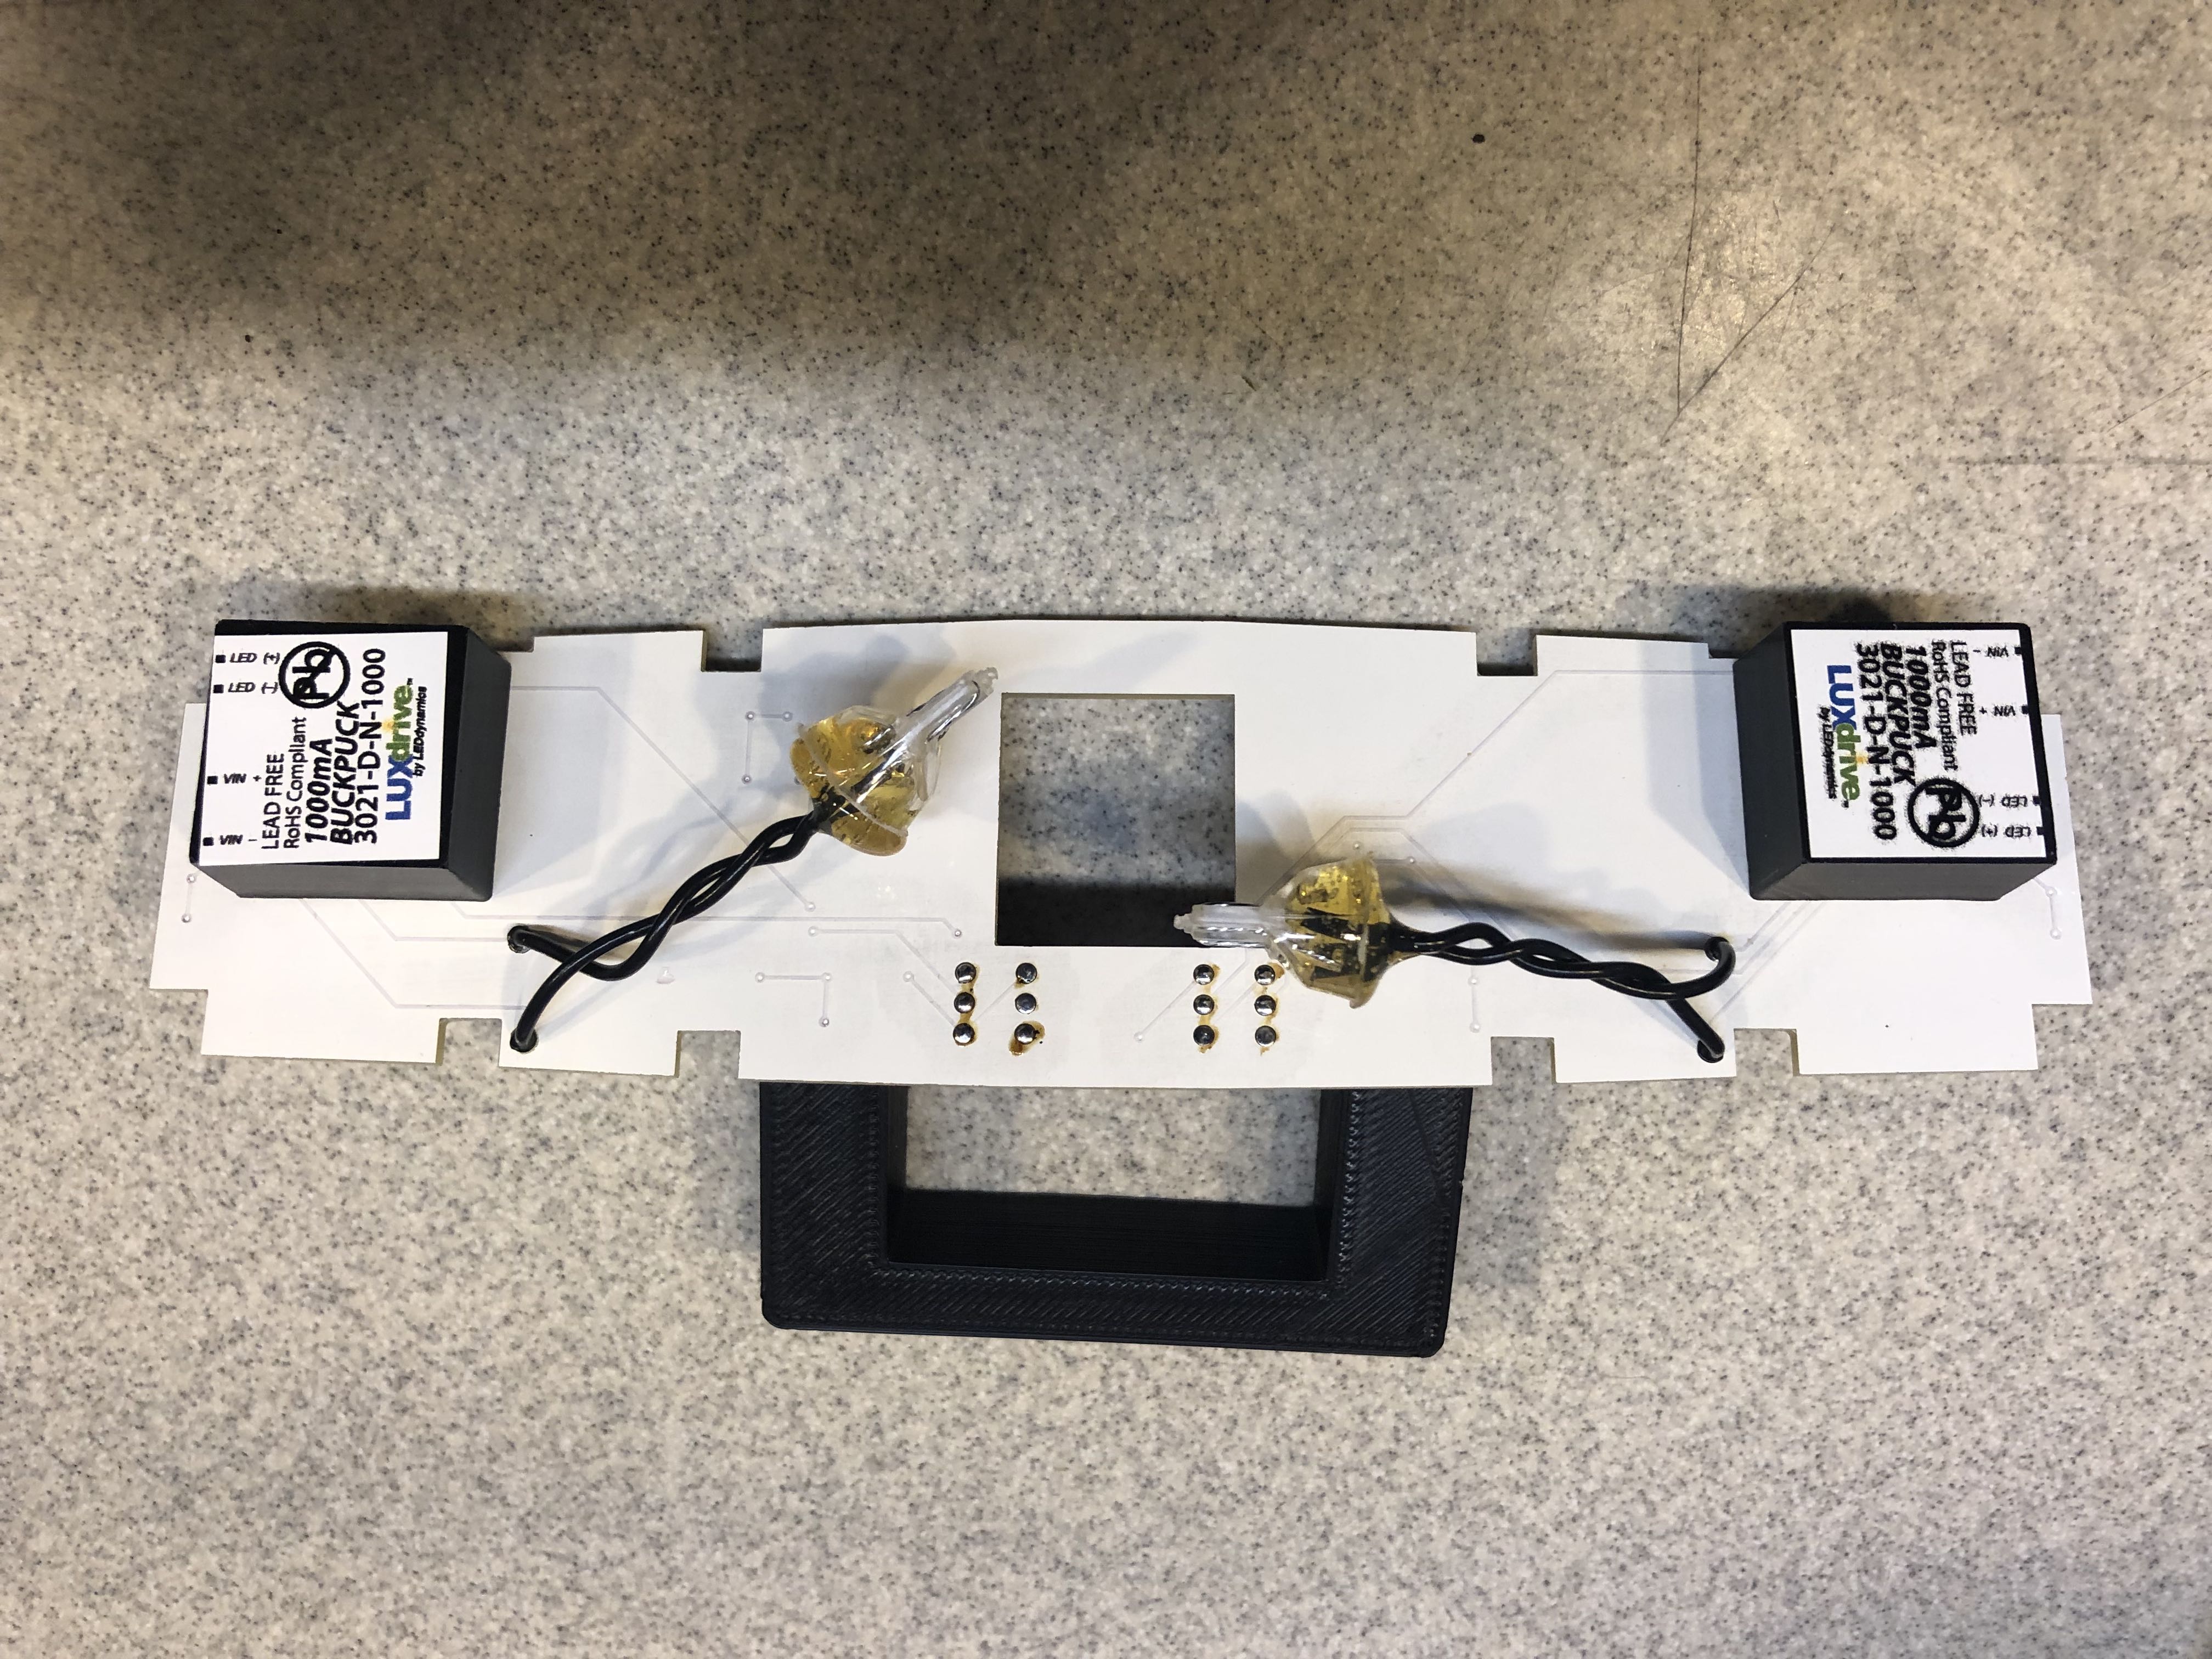
Here's a few before and after pics
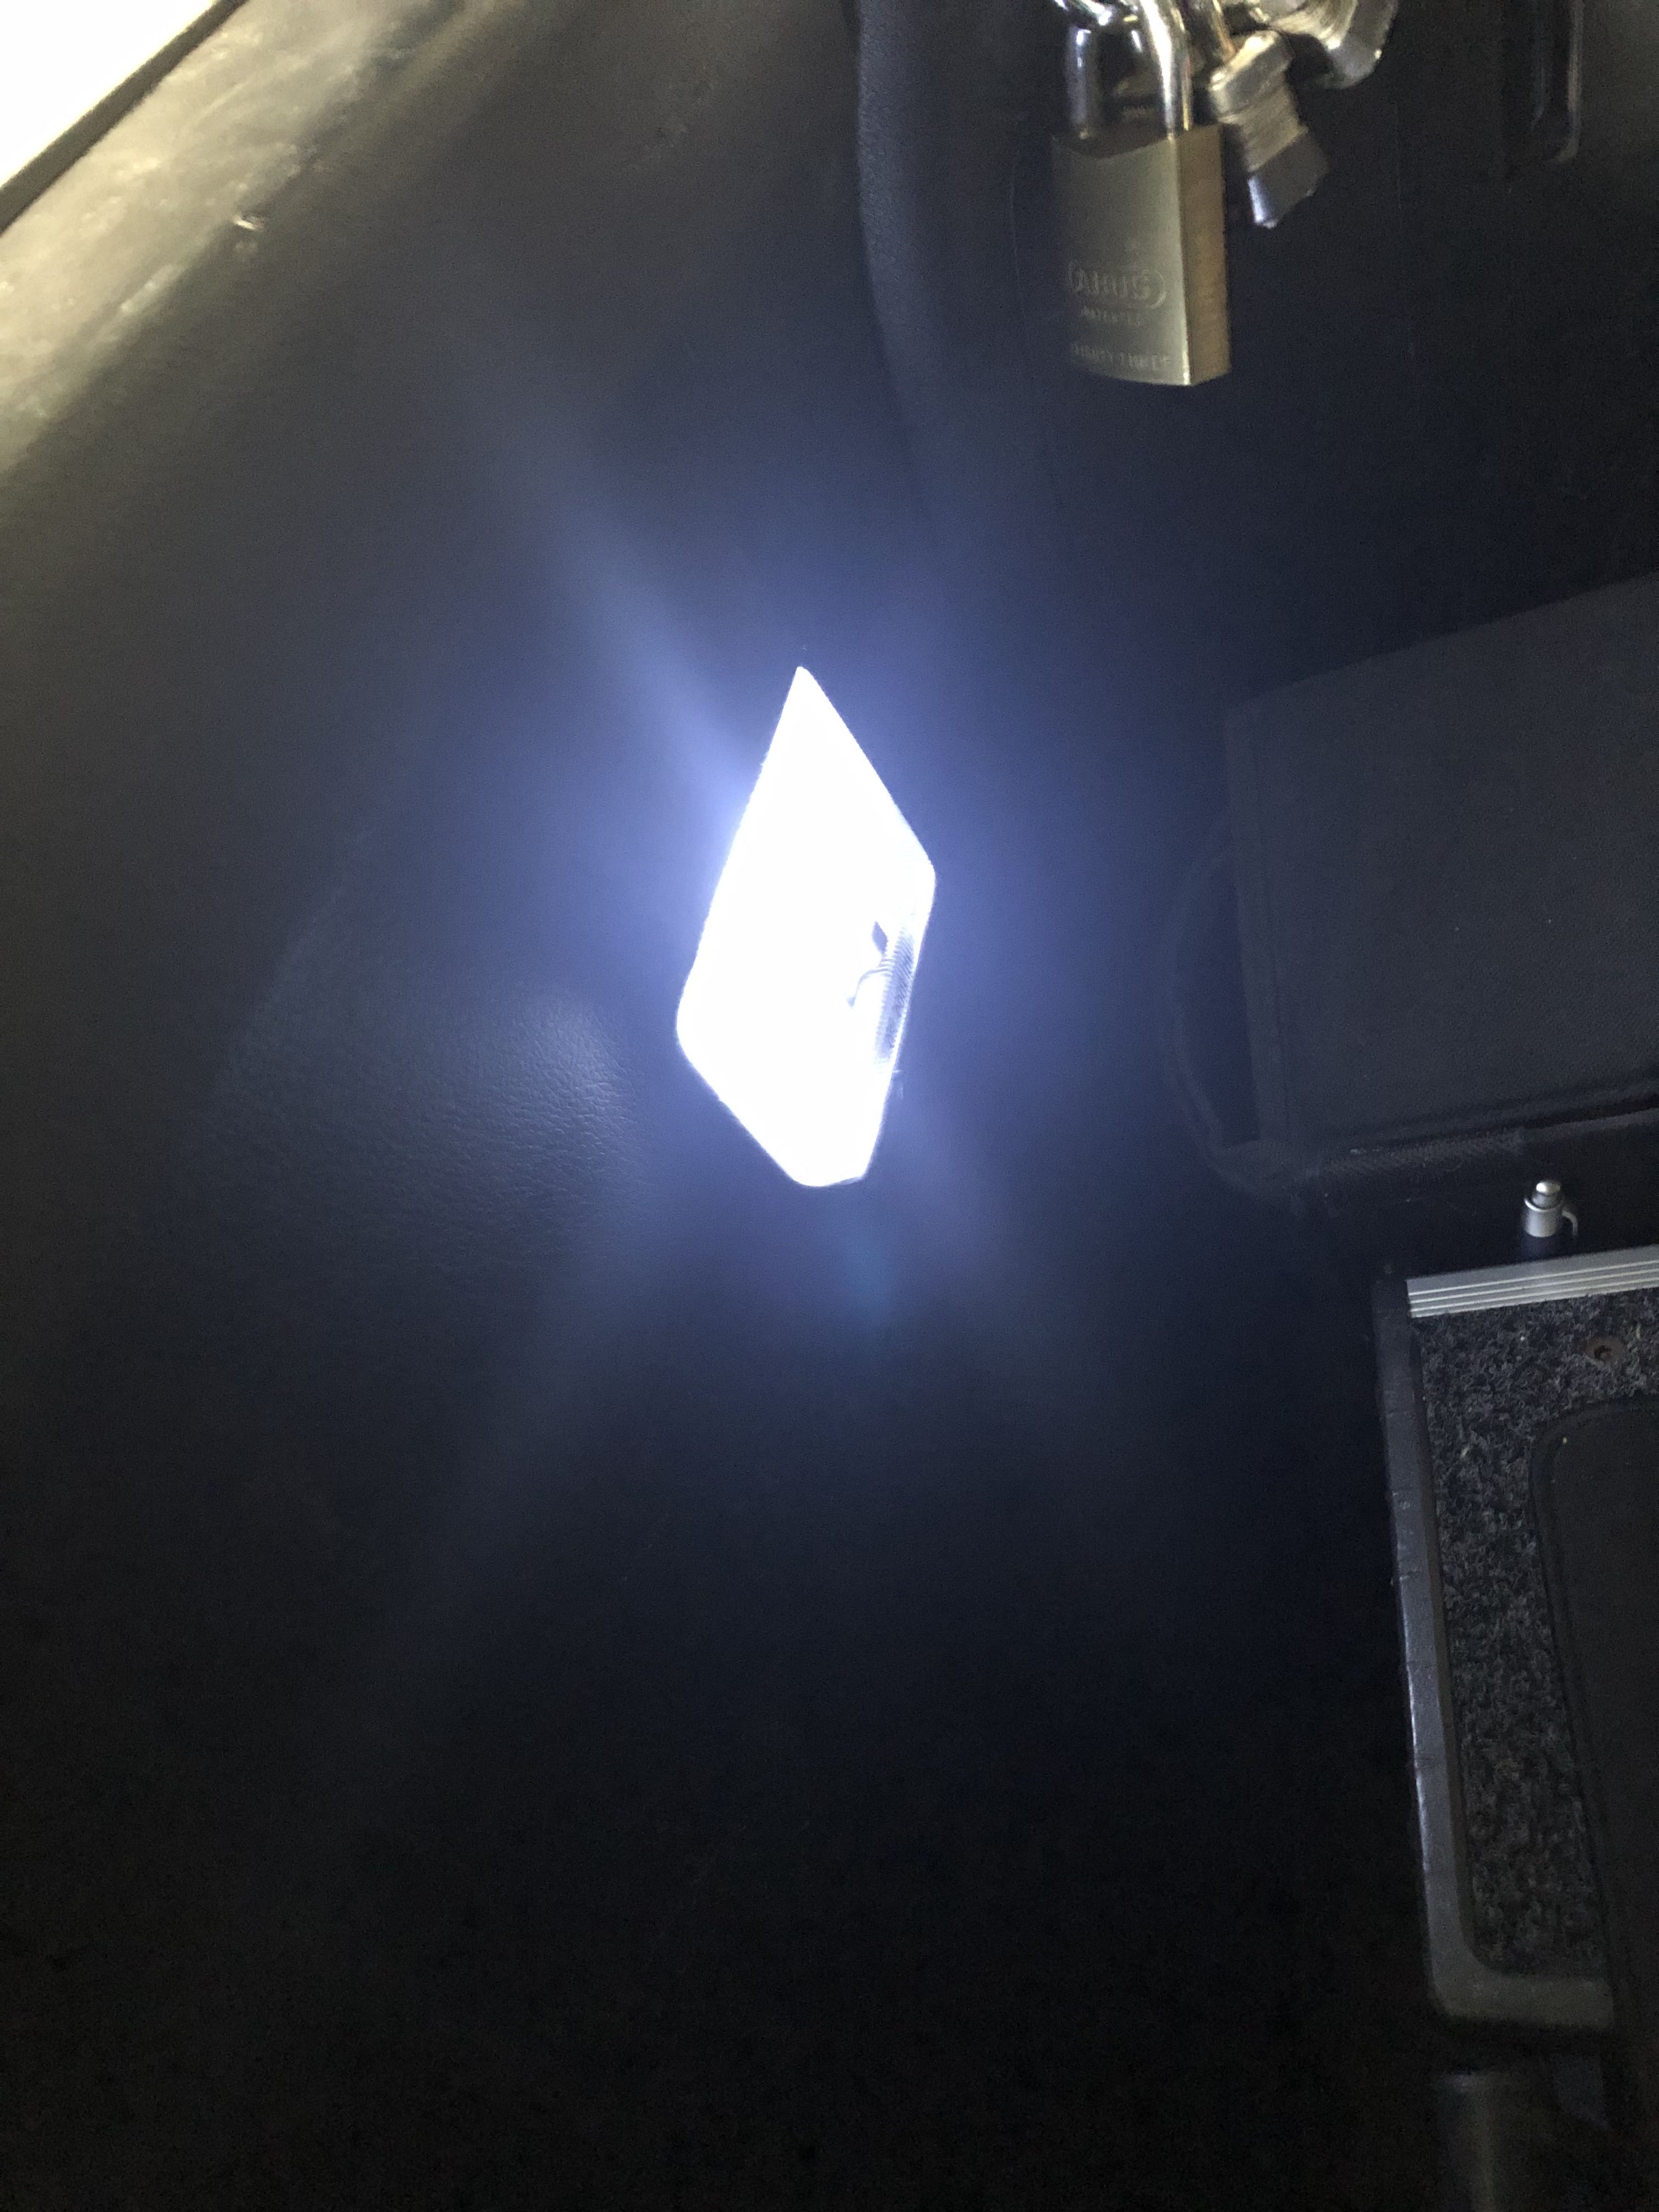
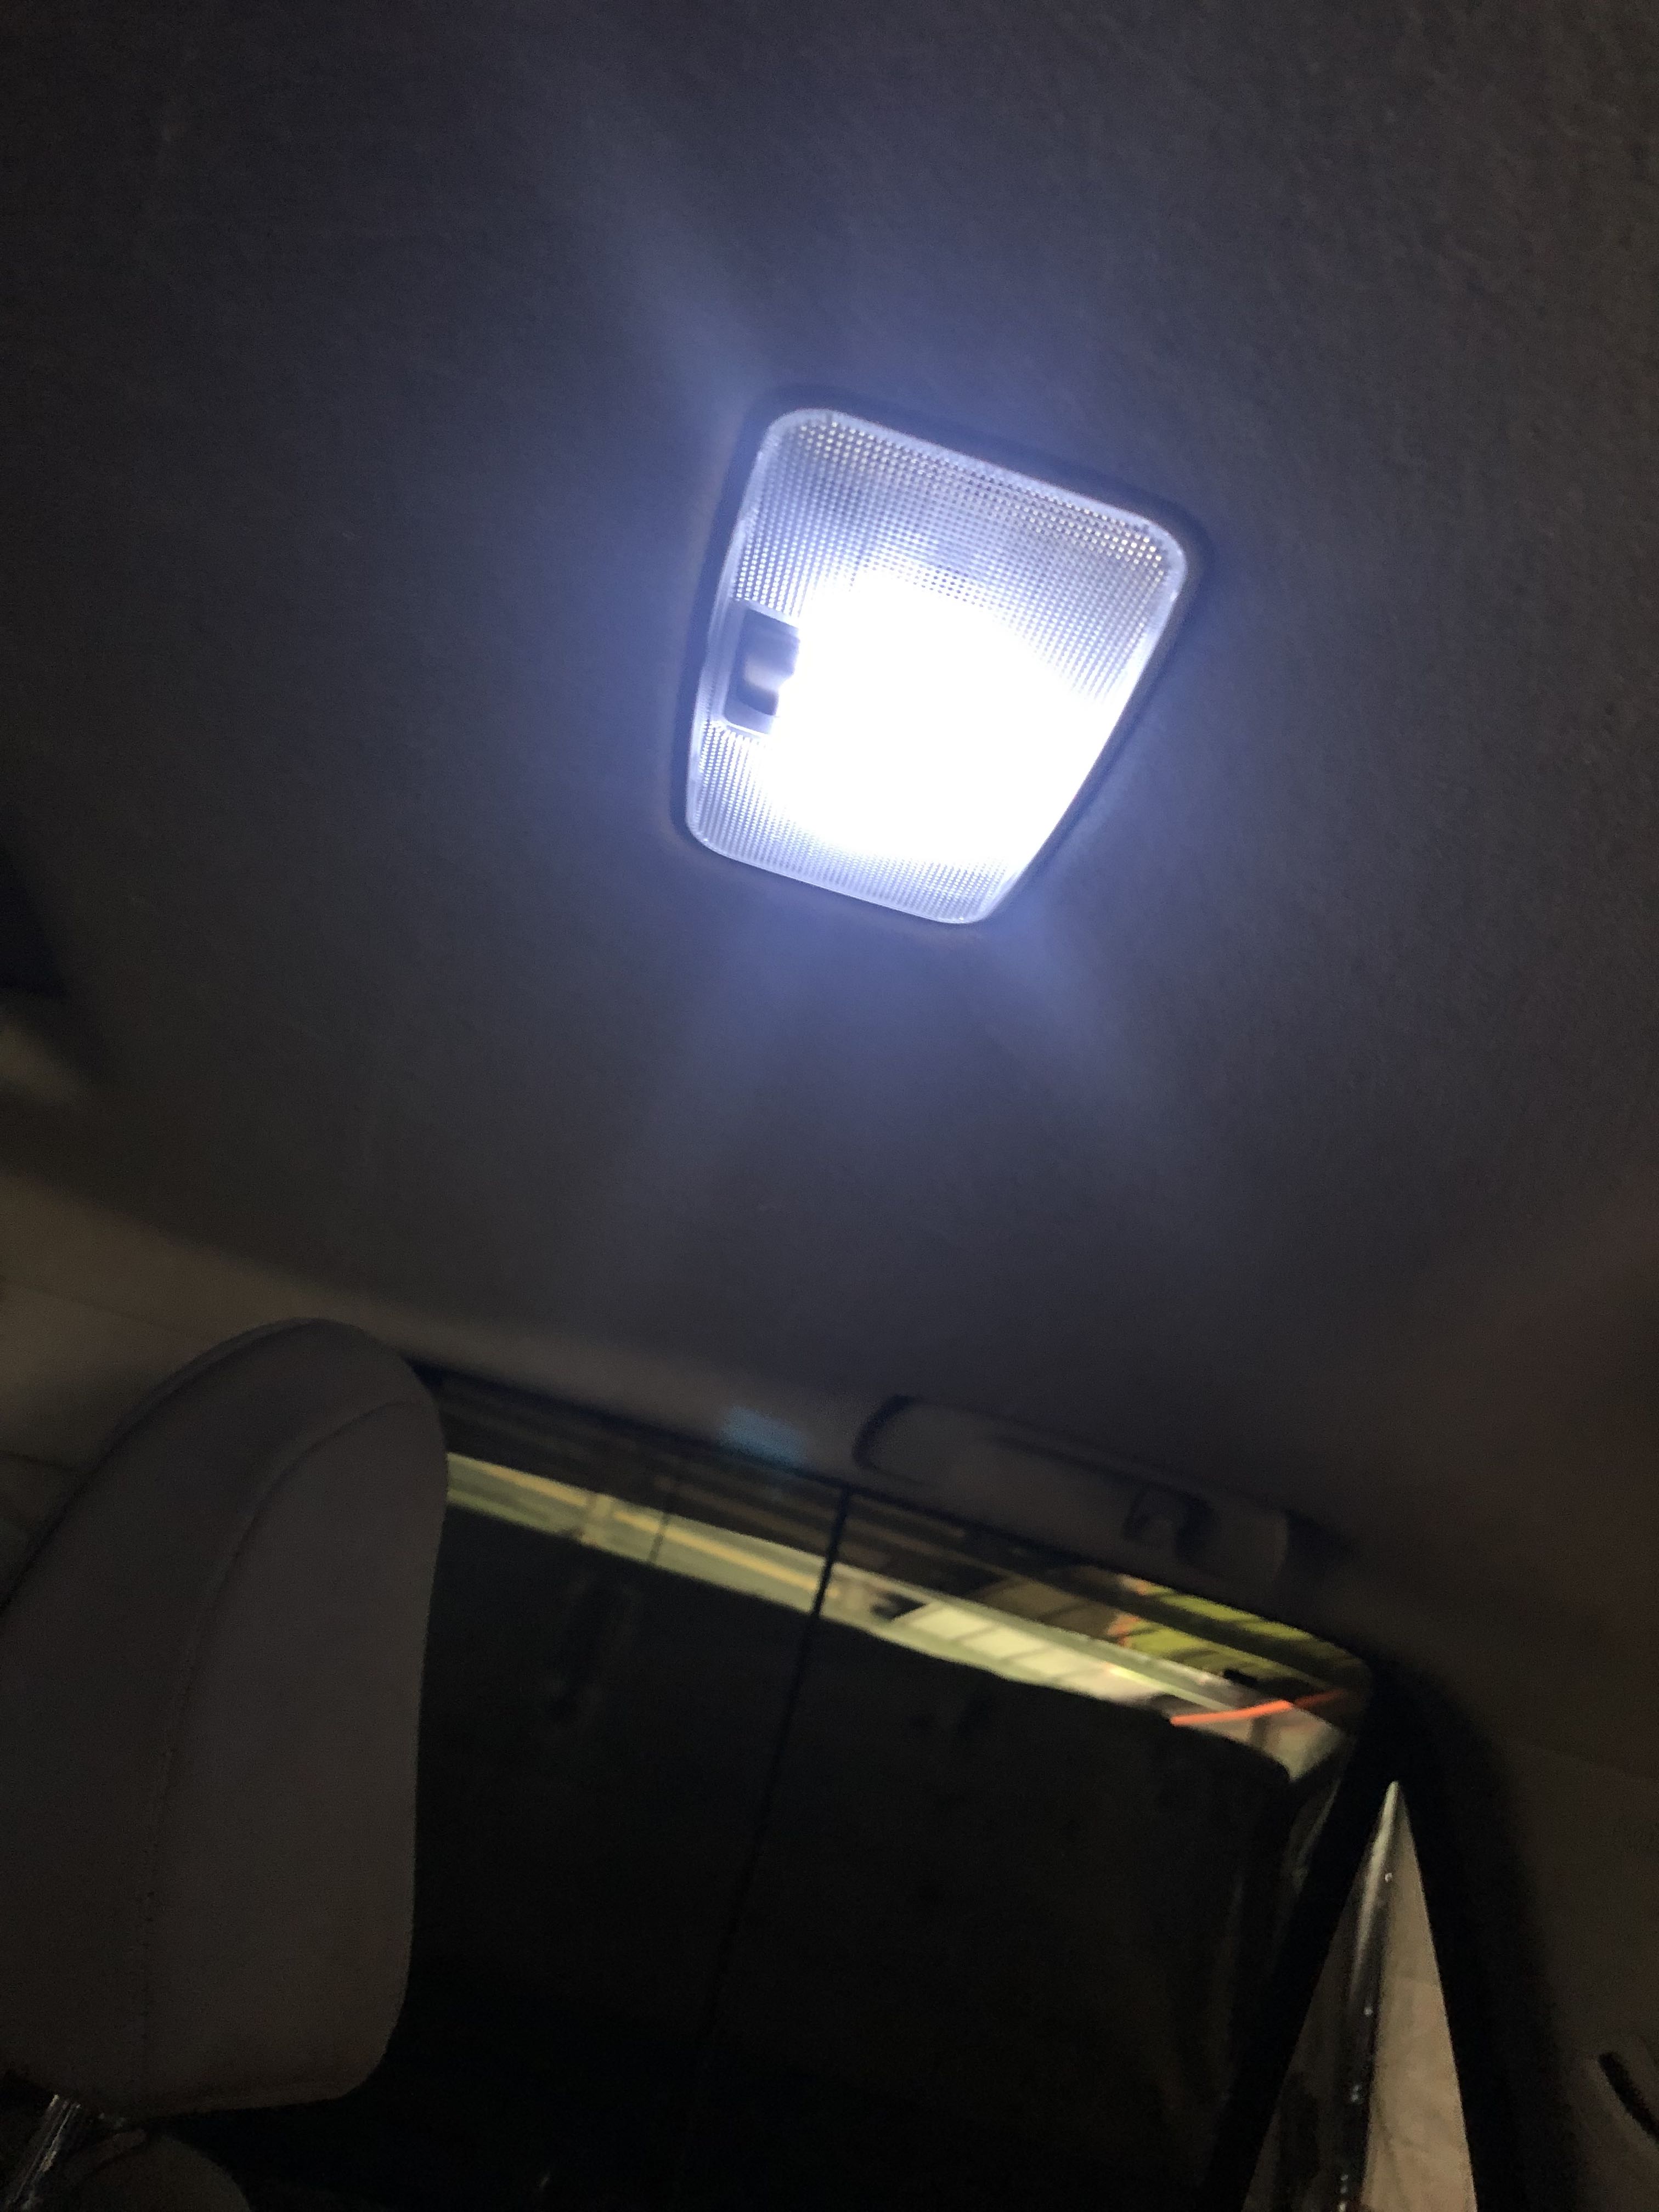
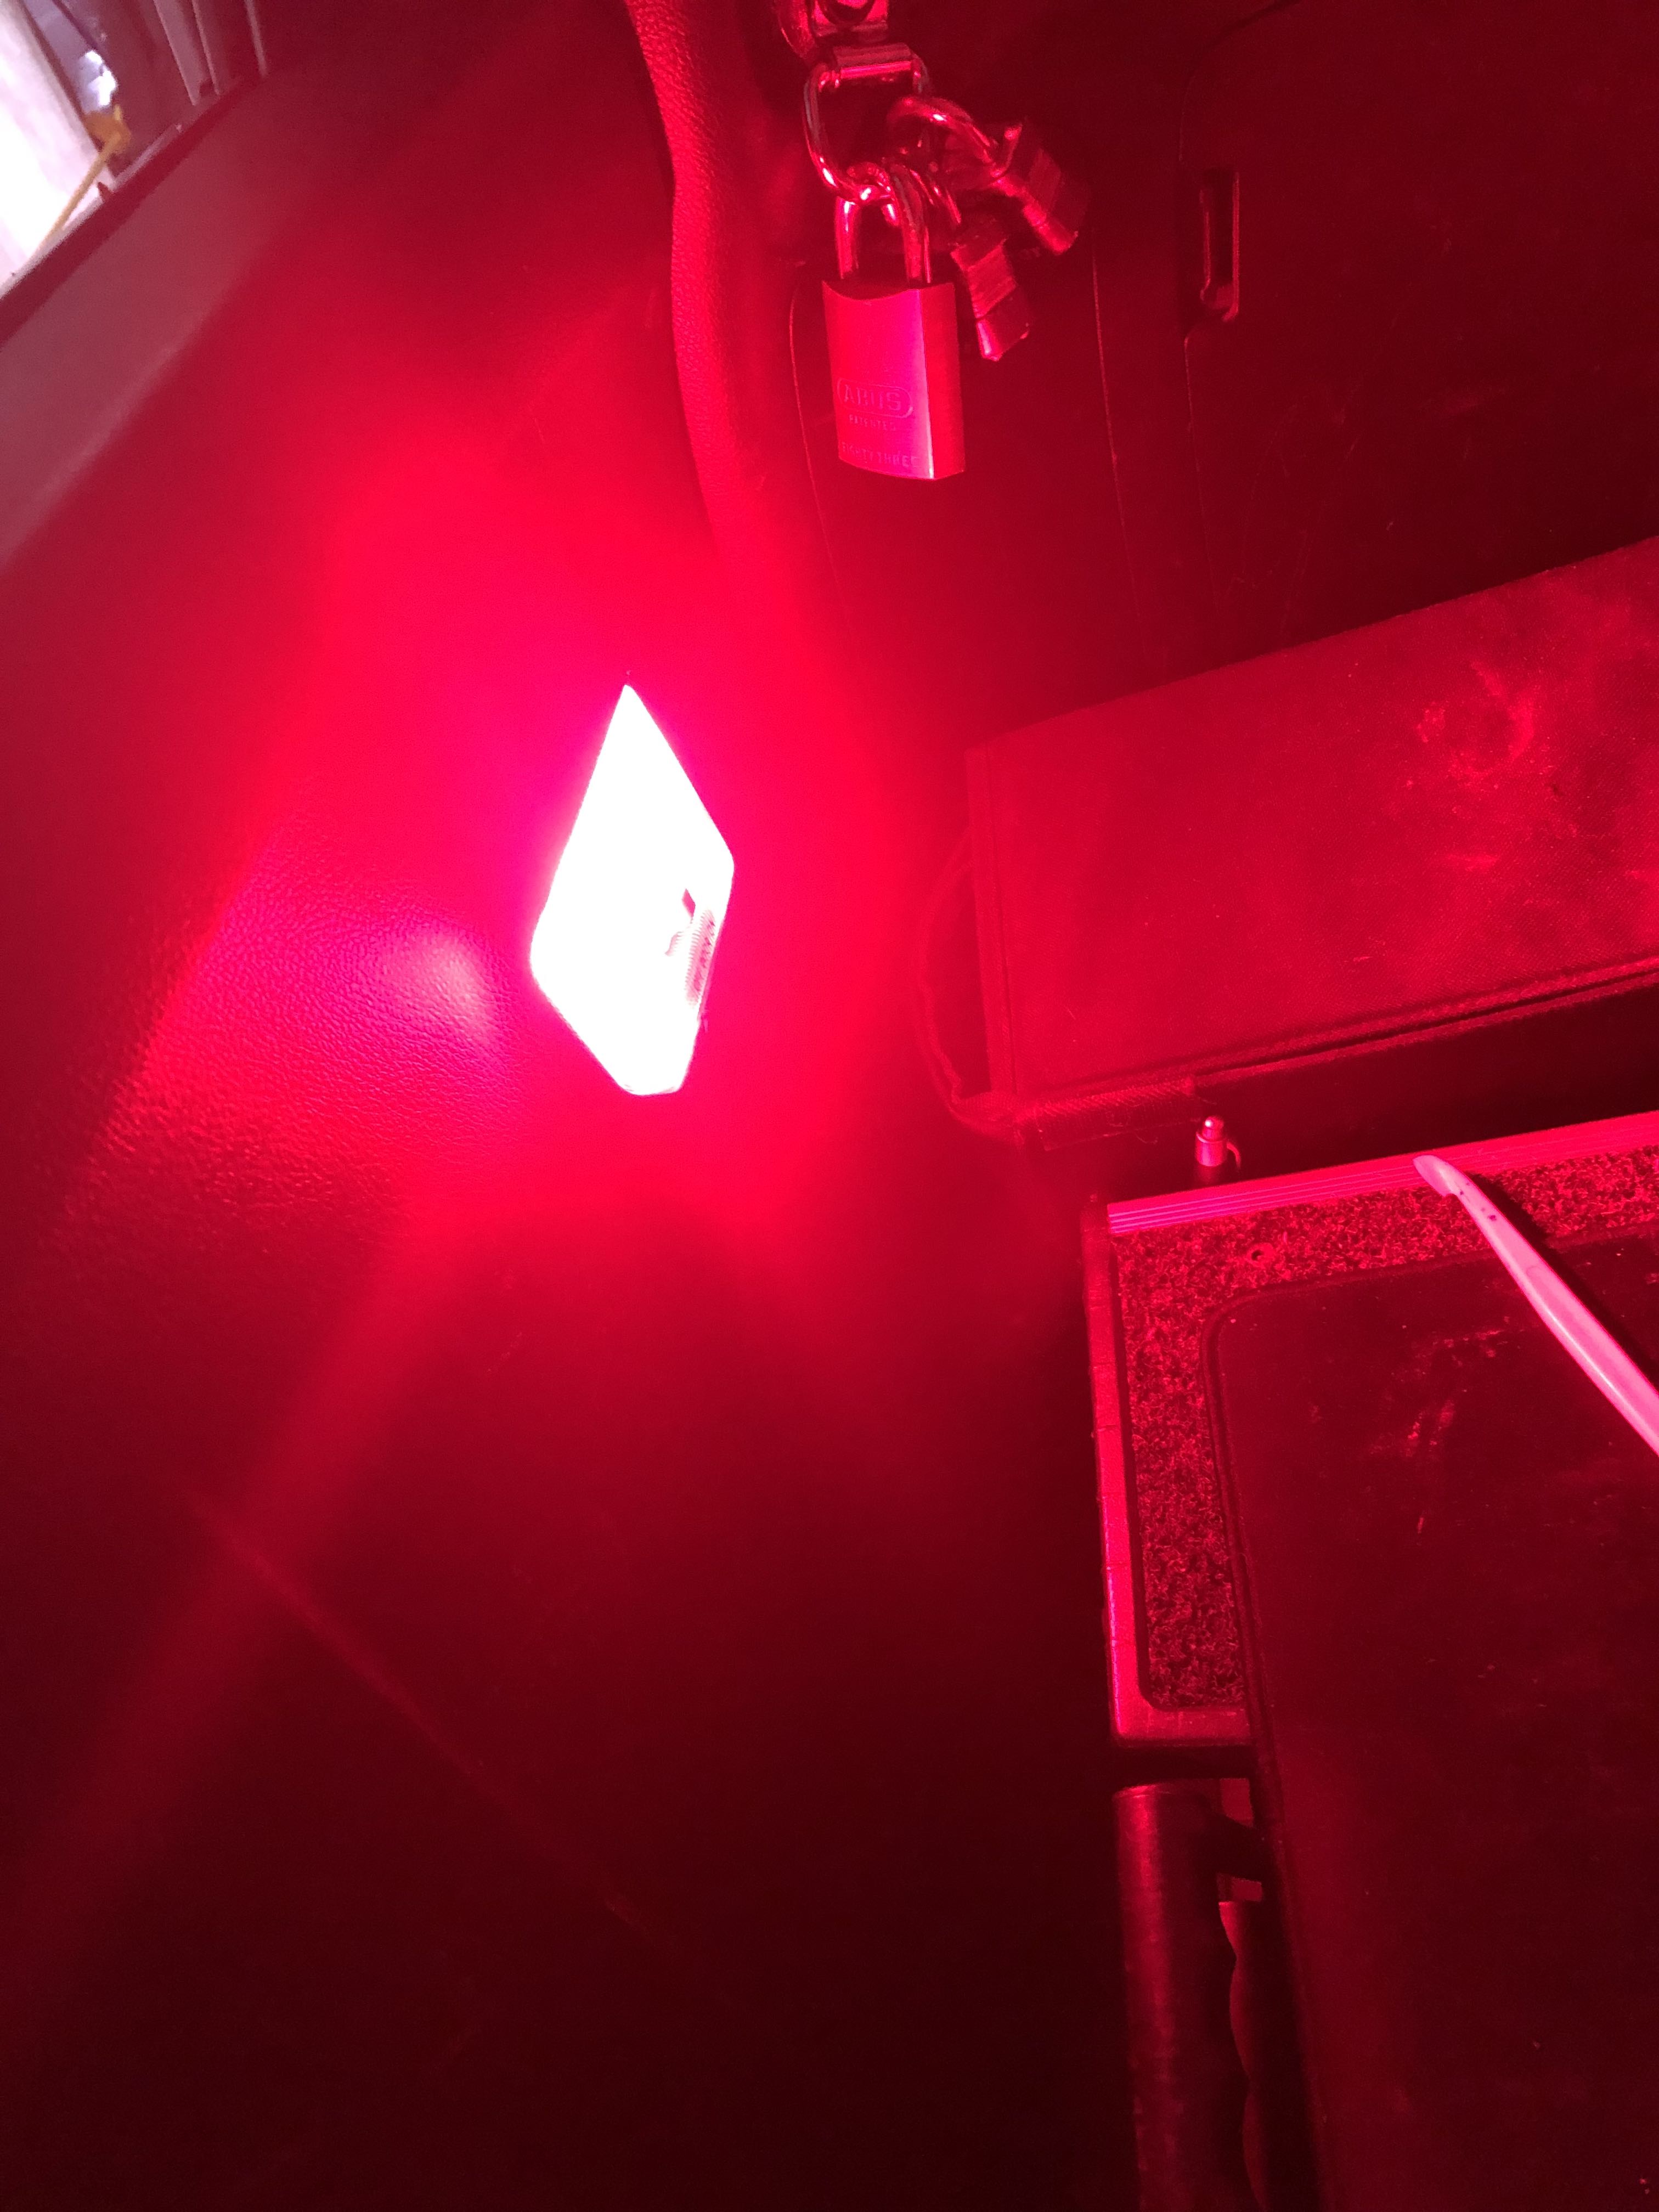
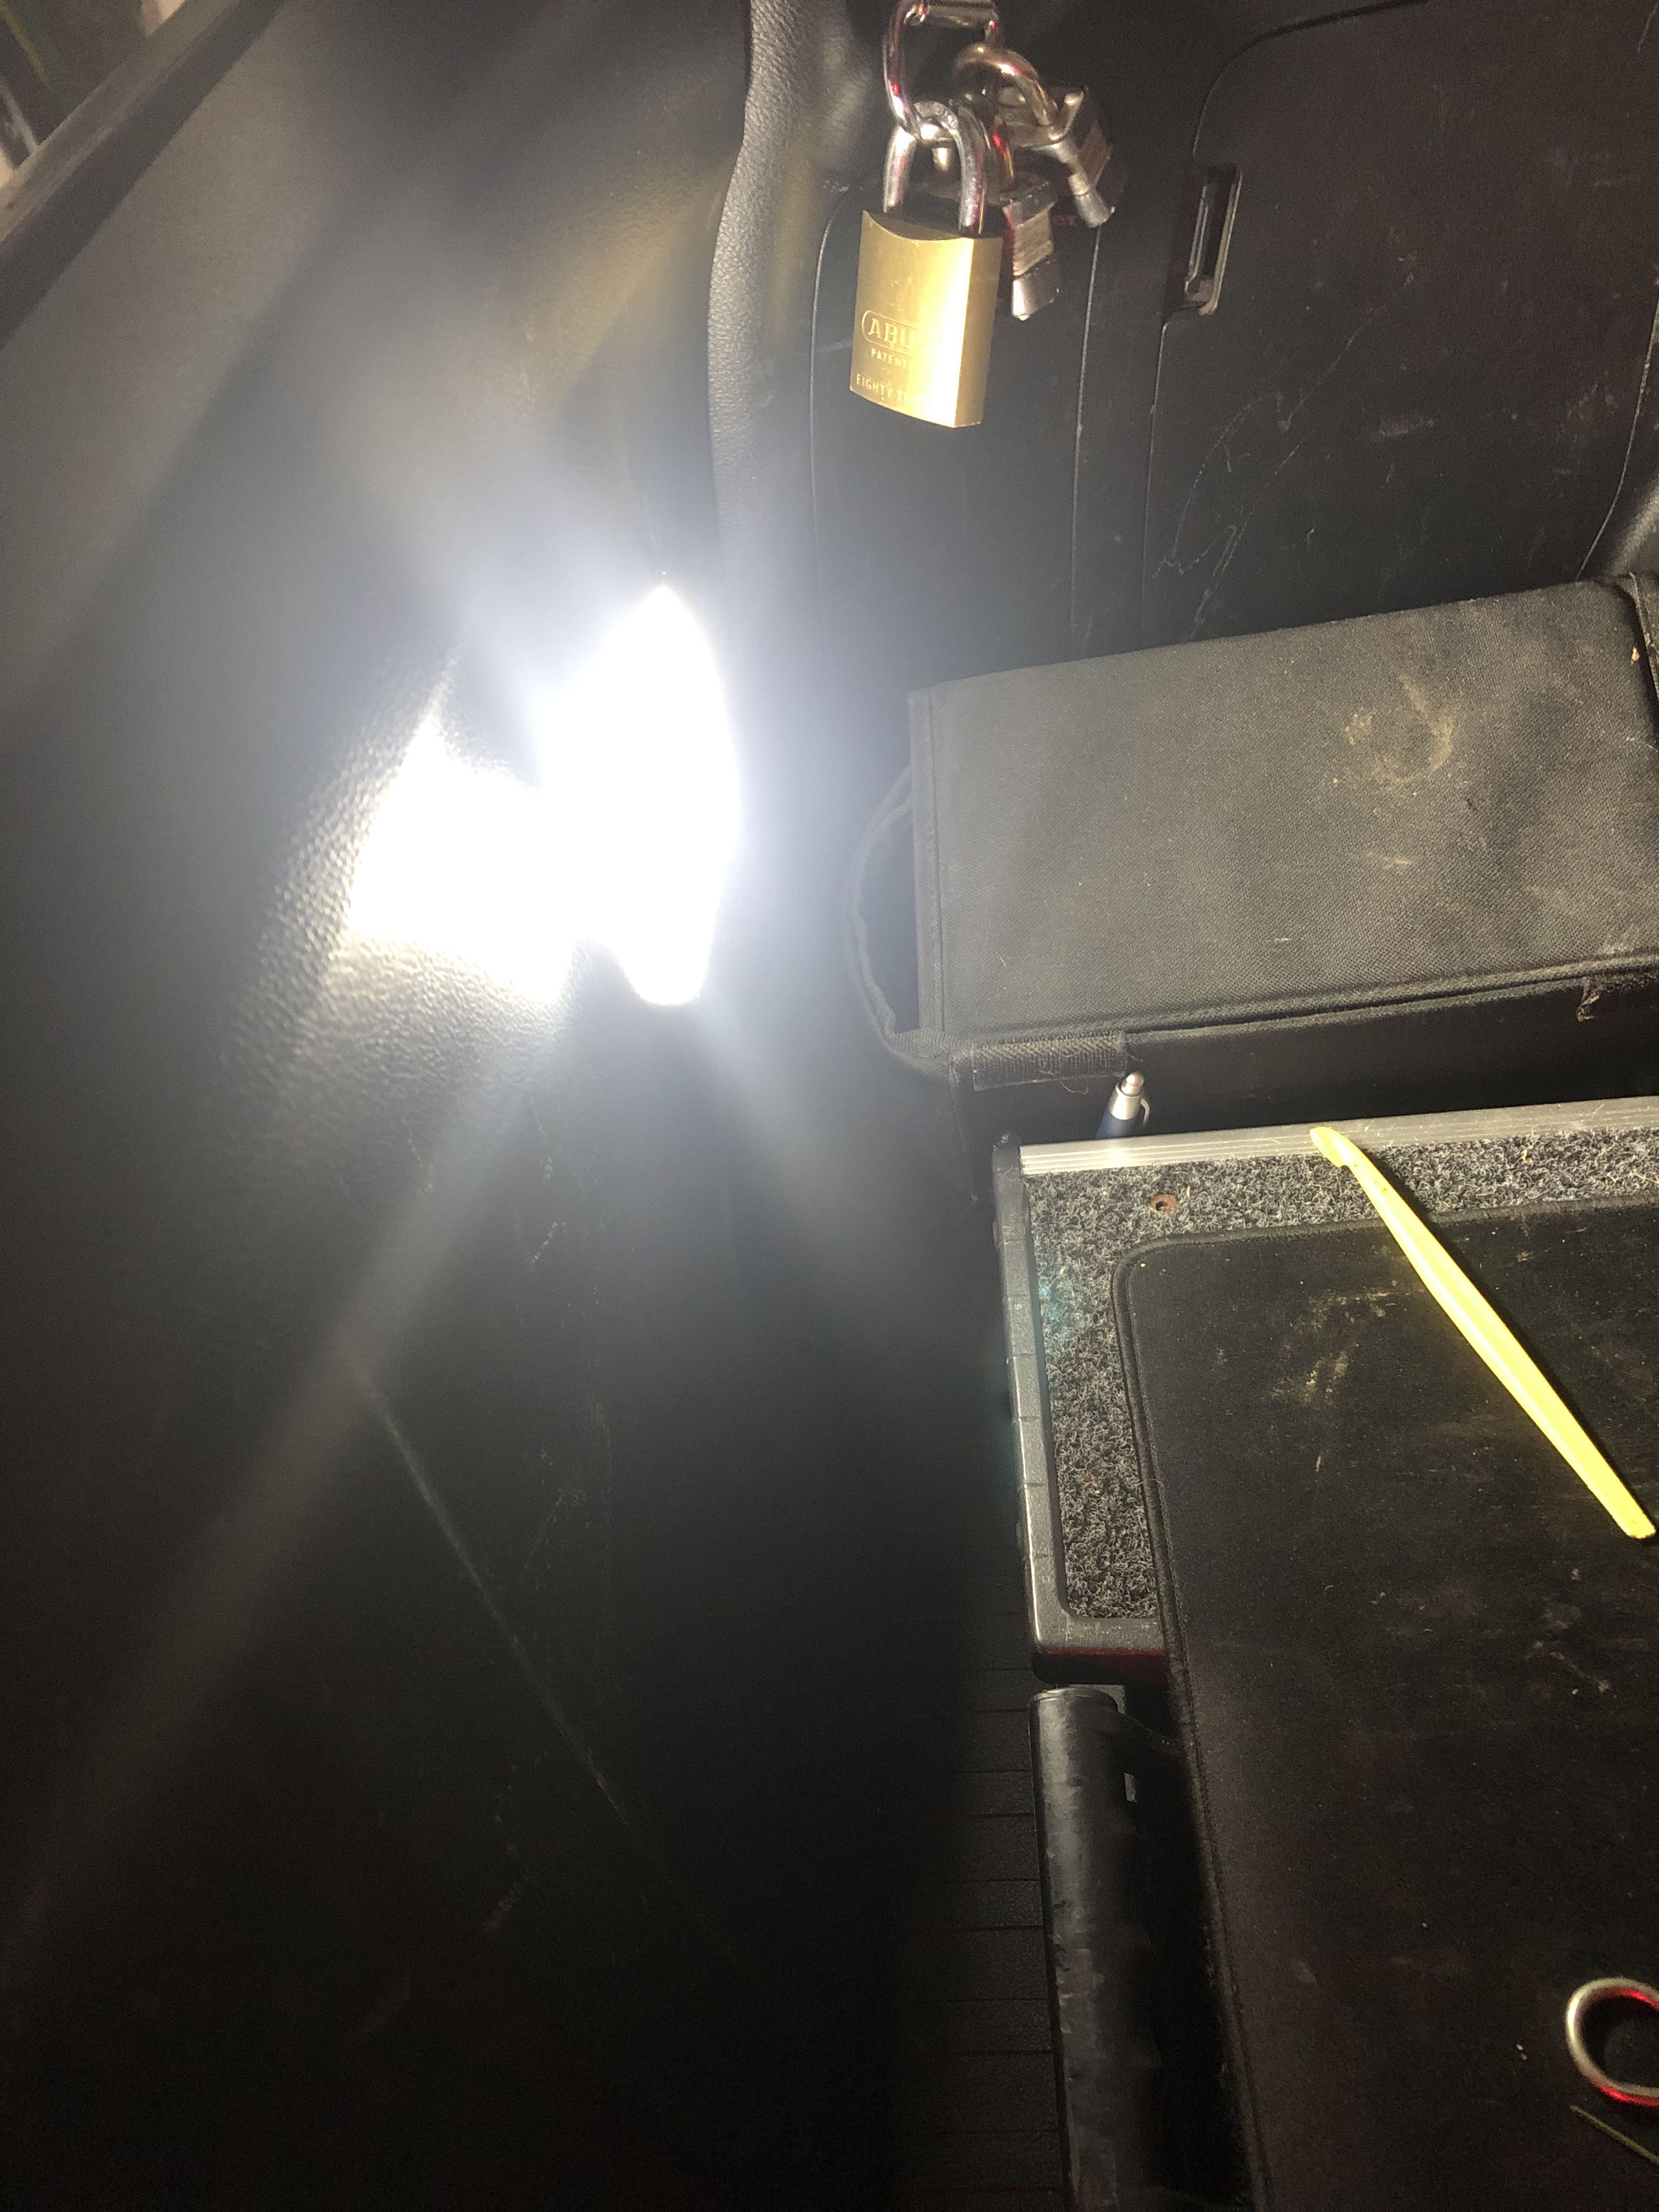
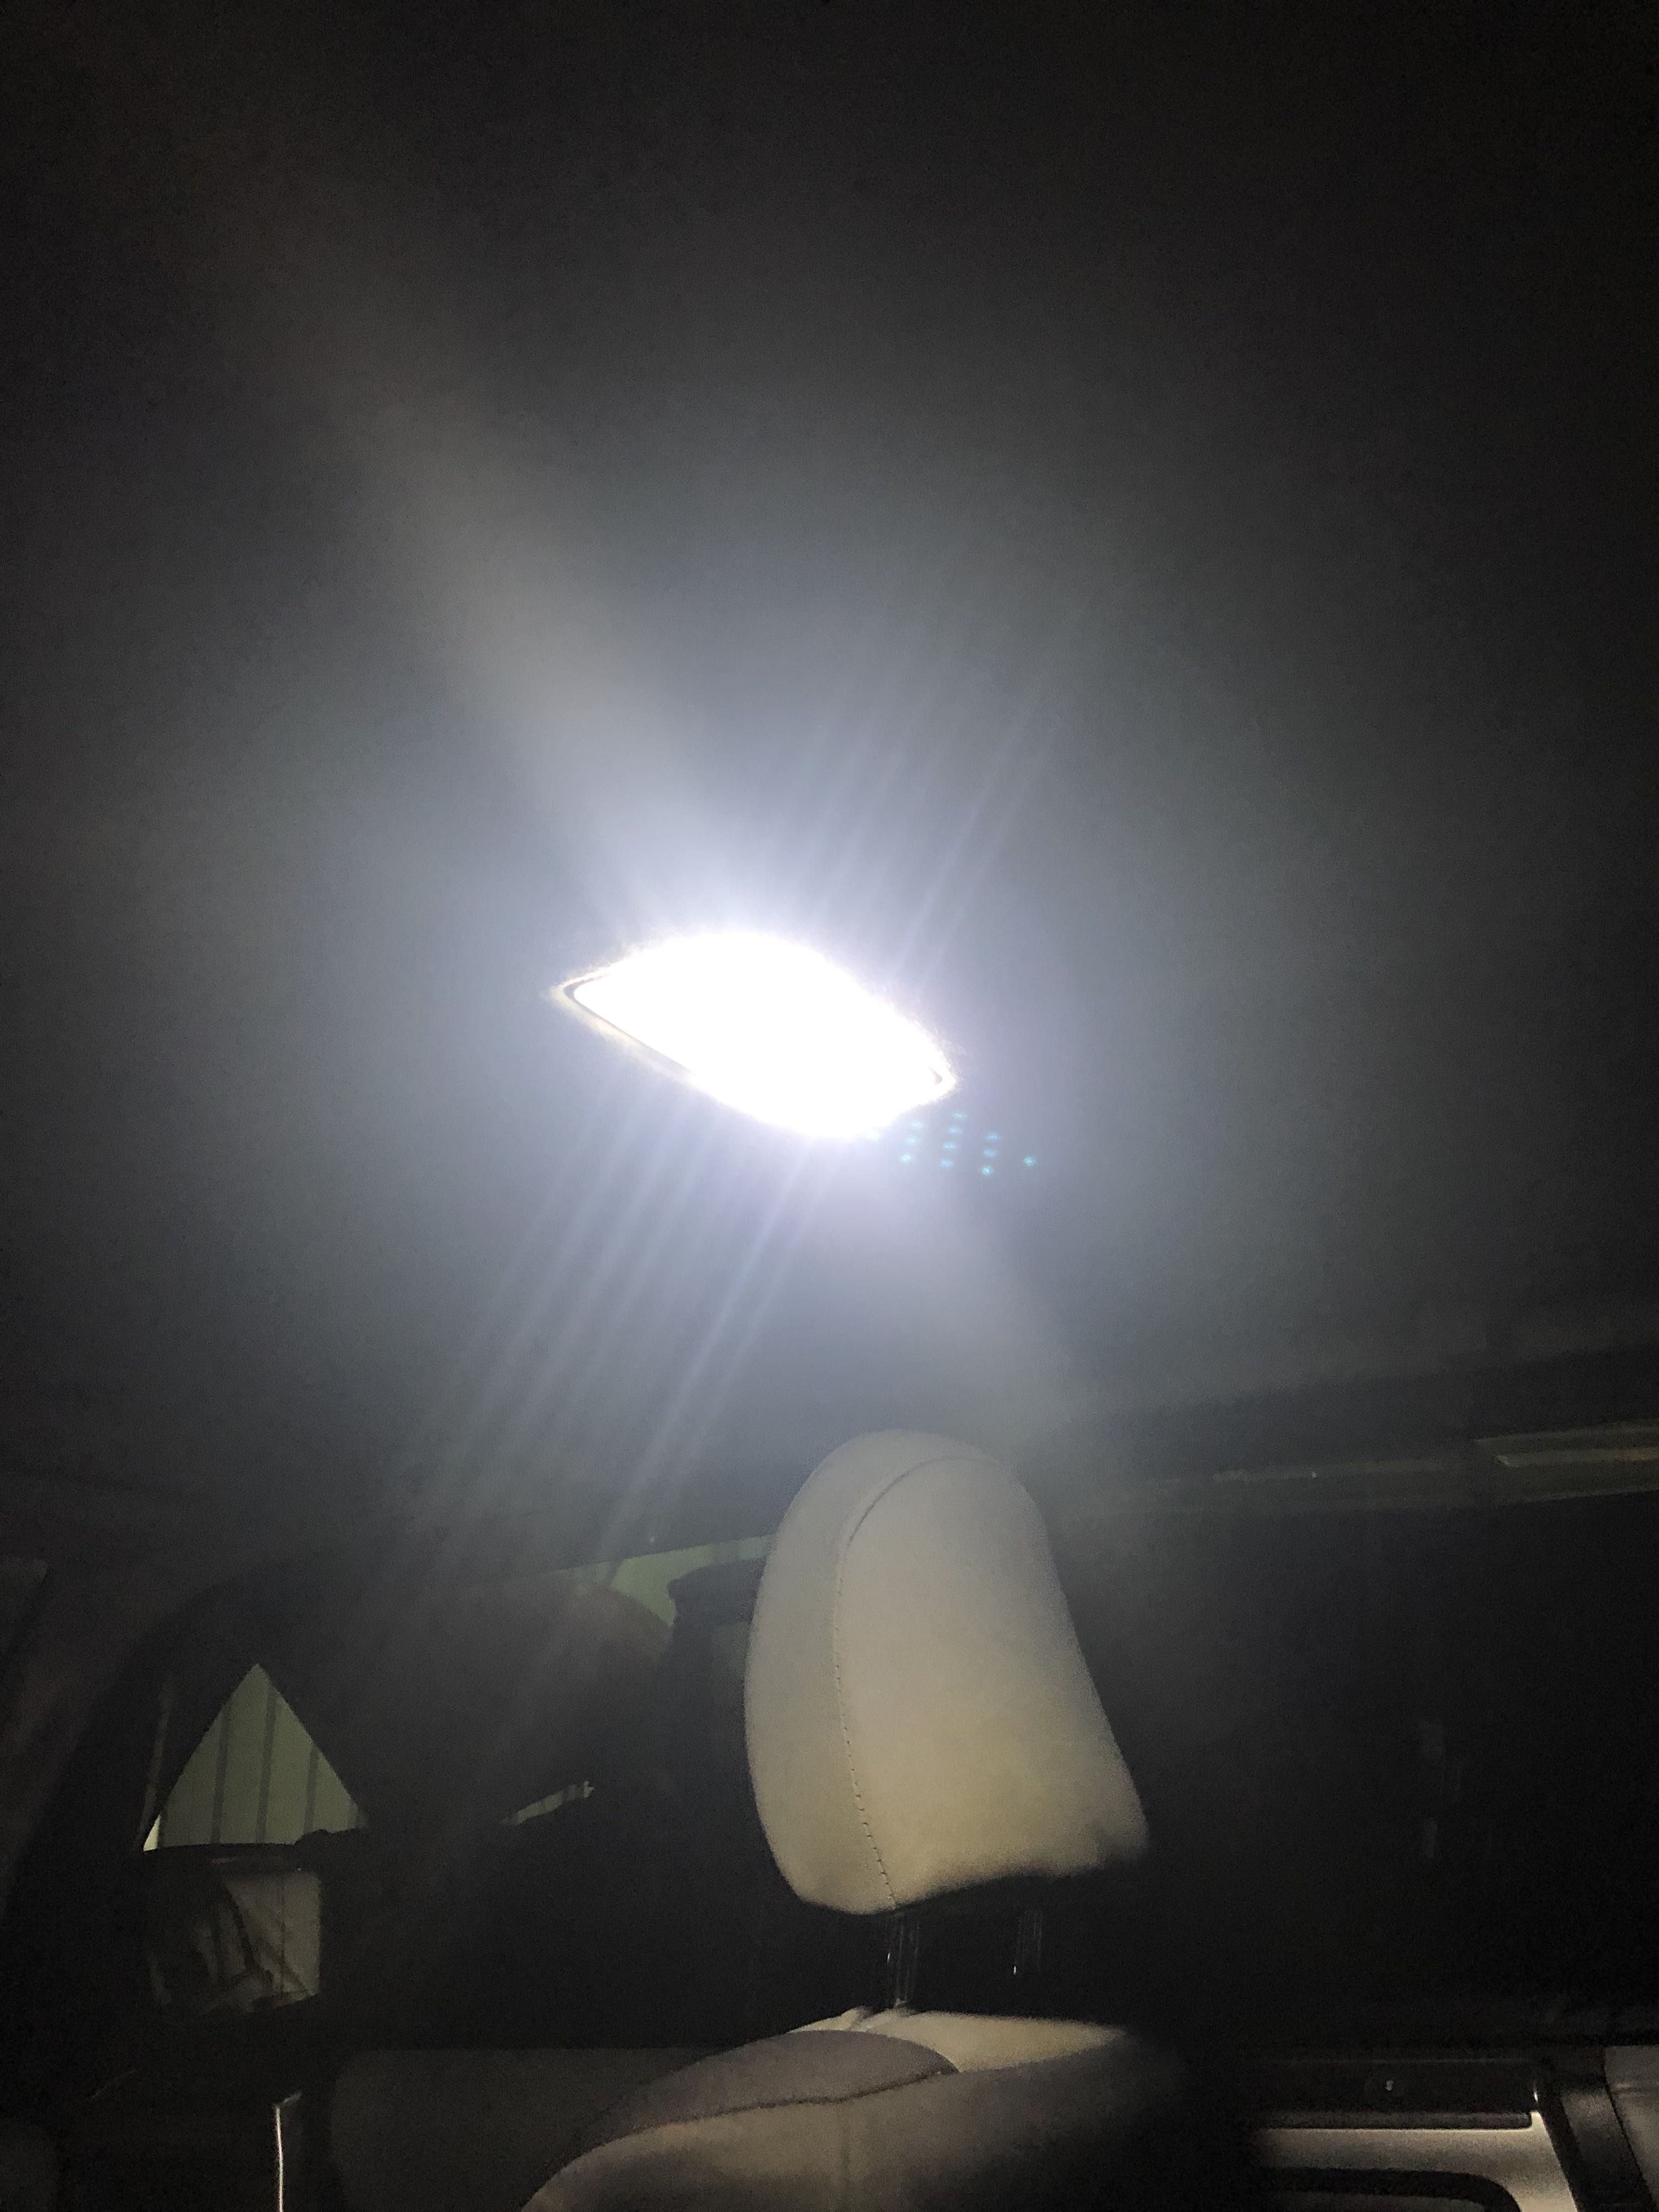
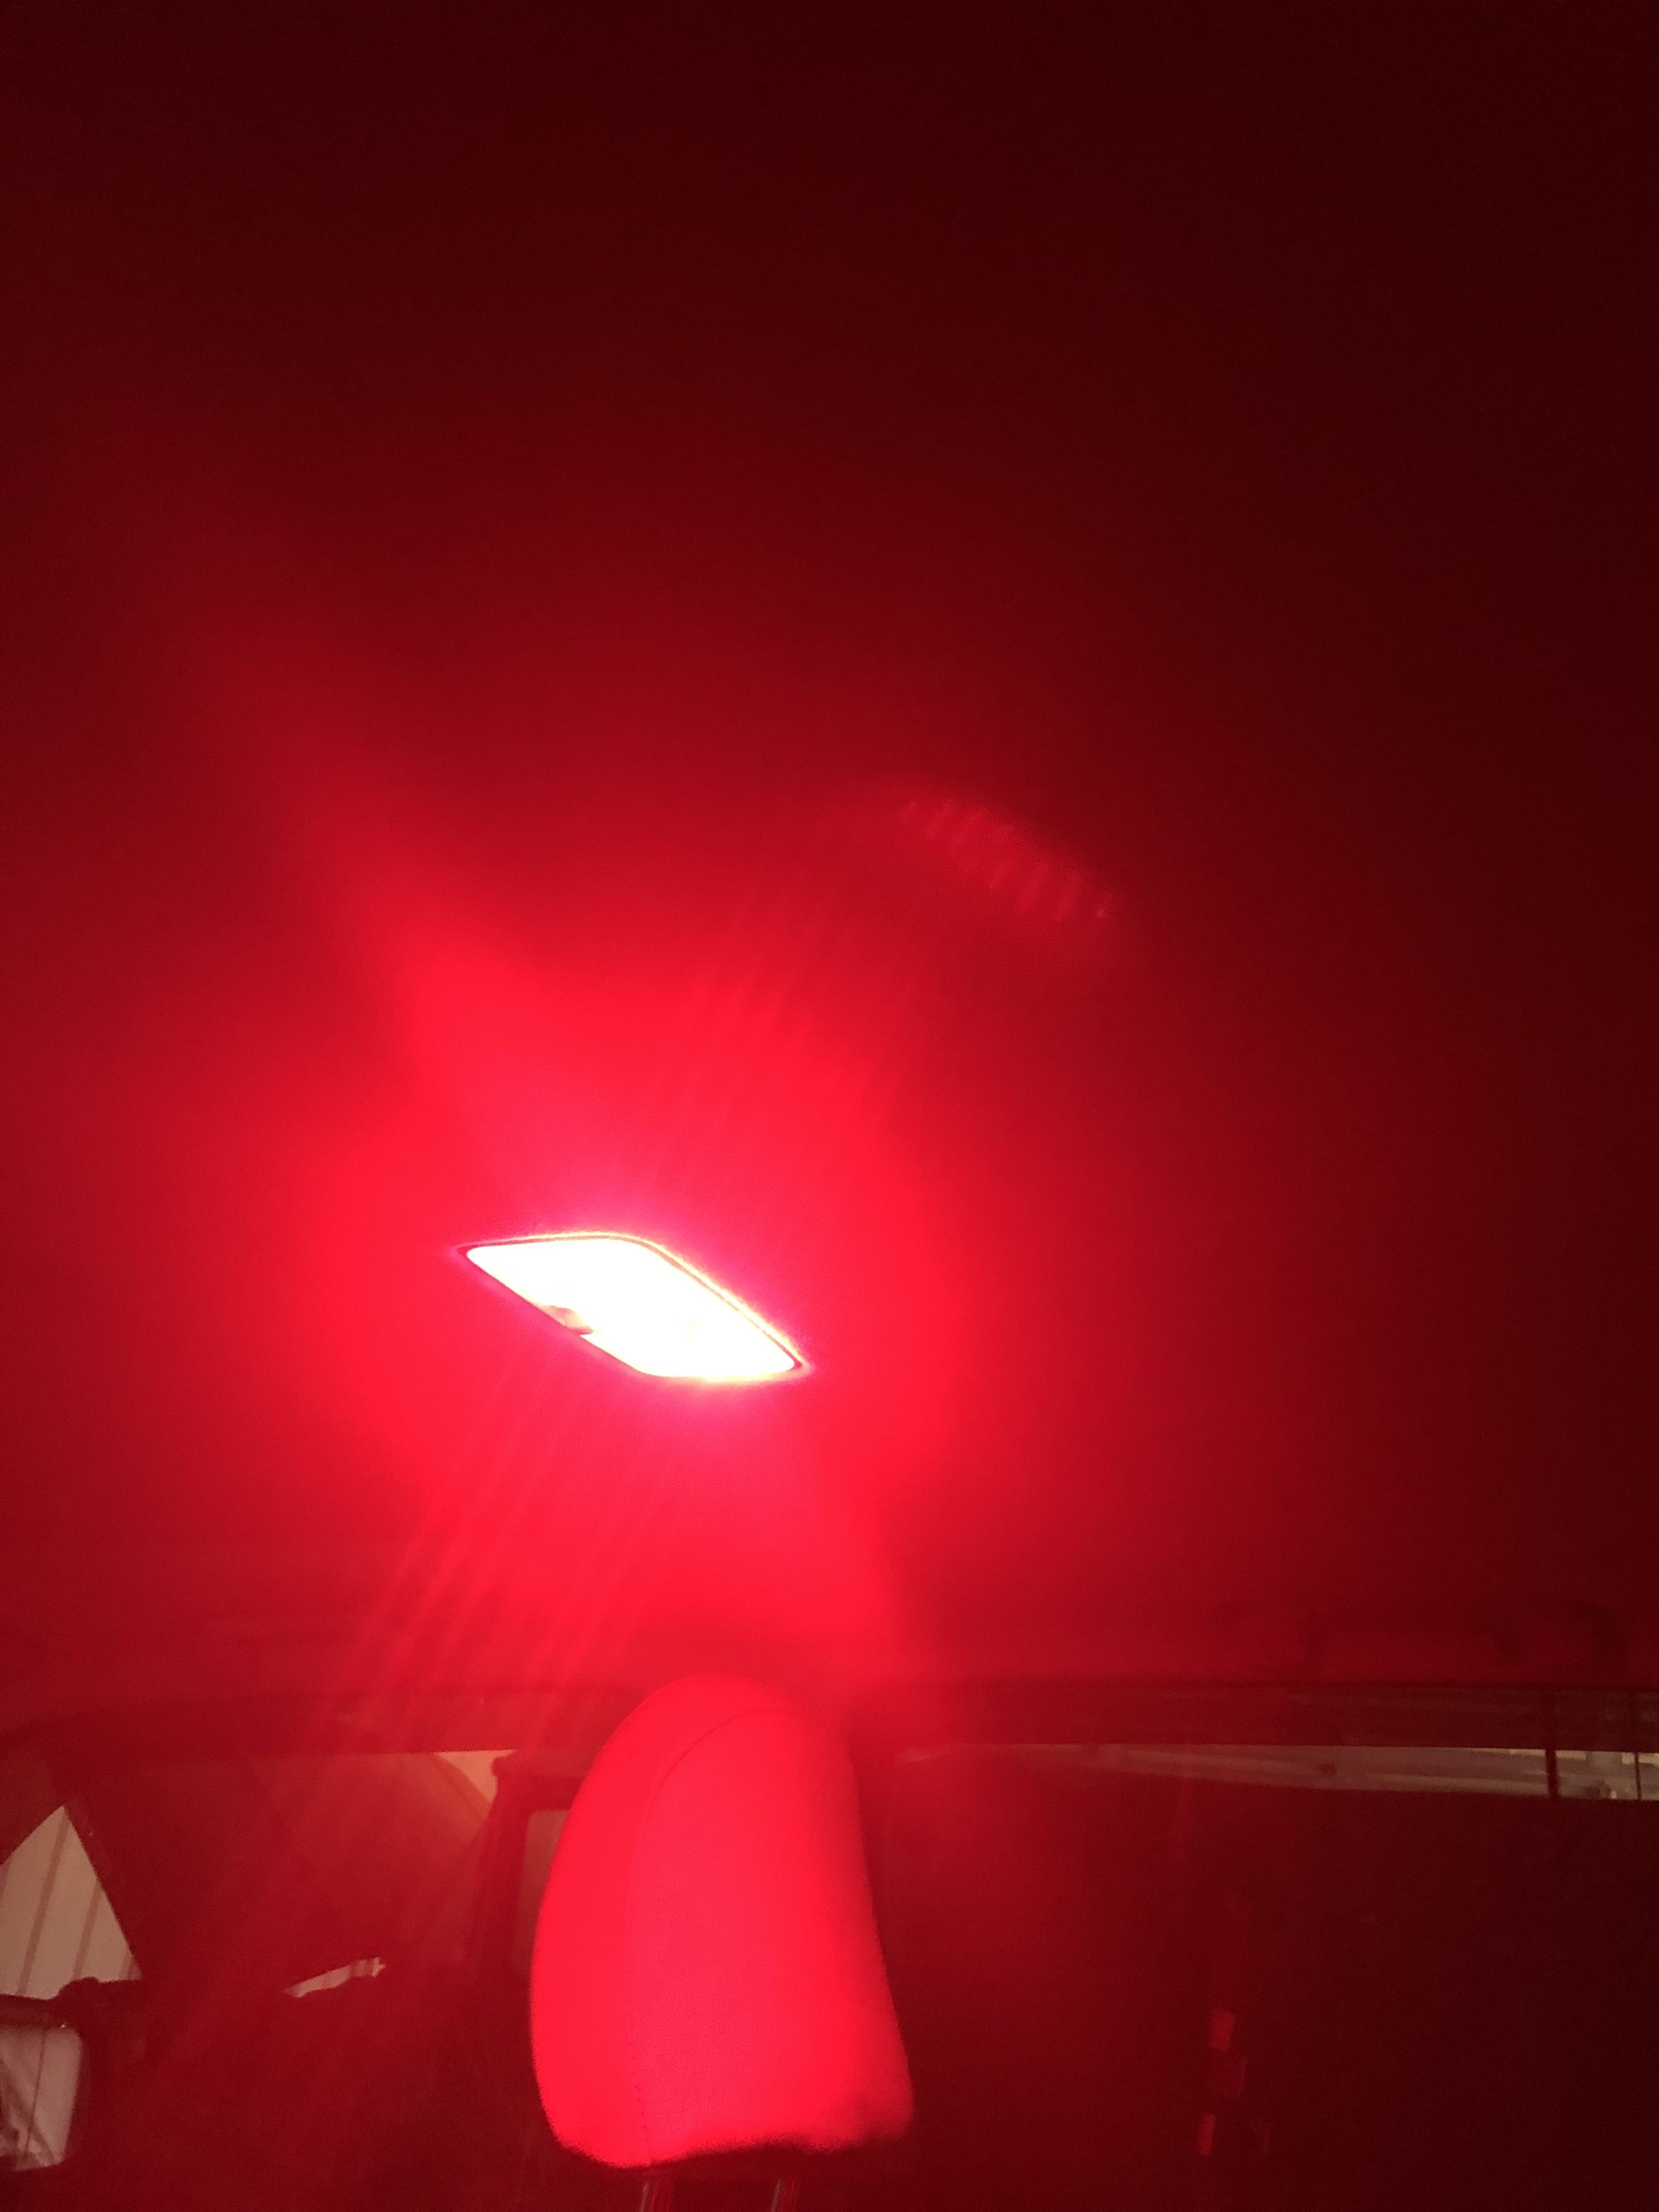
At this point only 4 hours in, I LOVE THESE. Not cheap, but it's the type of custom product that once they are gone no one will be making them again.
I decided that I couldn't take the chance on these going out of stock again.
These things are genius!
Having now caught the incurable LED fever........
I had to have these rear hatch lights.
And it didn't stop there, I also had to have the dome light.
To complete the trifecta, I also had to have the map light.
There is really no need to do an install write up on these, they come with a complete set of instructions, Install was easy, it took me about an hour for each item. The only reason it took so long was the drilling out for the switch. If I had it to do over I would just buy the standard white only , no red option and skip the whole red switch. Drilling the lenses is a pain in the ass. Here's a bunch of pics I took.
Here's a few before and after pics
At this point only 4 hours in, I LOVE THESE. Not cheap, but it's the type of custom product that once they are gone no one will be making them again.
I decided that I couldn't take the chance on these going out of stock again.
These things are genius!
Last edited:
nglayton
Senior Member
ARC Light LED follow-up
Just a quick follow-up in case you are thinking about this I have attached the install guides. These are the scanned instructions that you will receive with the purchase of the LED's. You can check them out to make sure it something you can do.
I would say, the biggest bang for the money is the rear hatch lights, then the map light and last is the dome light (unless you frequently have rear seat passengers, then this might be #1)
I spend more time with the hatch open in back than anyplace else and this really make a HUGE difference.
As for the ease of install, I would rank them in the same order
Easiest - Hatch lights
Hardest - Dome light
The dome light is the hardest for 2 reasons, first is you CAN'T just unplug the whole thing, take it out and do it on the bench. So you're working on it while it's hanging form the ceiling. Second is the space needed for the LED drive is at a bare minimum. It takes a bit of fiddling to get it in under the headliner etc.
Both of the hatch lights and the map light cluster are easily removed so you can mod them on a flat level well lighted bench.
The price is the same either way, but...... like I mentioned earlier, I would skip the red light, because drilling a hole for the switches is by far the hardest part to get right. I took about an hour per LED to install these and I still didn't get the holes exactly right. I'm not sure it even possible to get it perfect. I had 4 holes to drill and some are better than others, but some are way off. If I could buy just the lenses, I would try it again, but I don't think Toyota will sell just the lenses.
Just a quick follow-up in case you are thinking about this I have attached the install guides. These are the scanned instructions that you will receive with the purchase of the LED's. You can check them out to make sure it something you can do.
I would say, the biggest bang for the money is the rear hatch lights, then the map light and last is the dome light (unless you frequently have rear seat passengers, then this might be #1)
I spend more time with the hatch open in back than anyplace else and this really make a HUGE difference.
As for the ease of install, I would rank them in the same order
Easiest - Hatch lights
Hardest - Dome light
The dome light is the hardest for 2 reasons, first is you CAN'T just unplug the whole thing, take it out and do it on the bench. So you're working on it while it's hanging form the ceiling. Second is the space needed for the LED drive is at a bare minimum. It takes a bit of fiddling to get it in under the headliner etc.
Both of the hatch lights and the map light cluster are easily removed so you can mod them on a flat level well lighted bench.
The price is the same either way, but...... like I mentioned earlier, I would skip the red light, because drilling a hole for the switches is by far the hardest part to get right. I took about an hour per LED to install these and I still didn't get the holes exactly right. I'm not sure it even possible to get it perfect. I had 4 holes to drill and some are better than others, but some are way off. If I could buy just the lenses, I would try it again, but I don't think Toyota will sell just the lenses.
Attachments
Last edited:
90Duck
New member
I didn't know the OEM led foglights were even a thing until you posted about yours, and now I've gone and got myself a set. I plan on putting laminx film on them so I don't get the mis-matched led fogs/halogen headlight that lead you down that bunnyhole that I've been down with other cars.
nglayton
Senior Member
bunnyhole that I've been down with other cars.
AH YES, rabbit hole for sure. I was able to avoid it for so long with LED's....
I put myself in the more money than brains category on this one. Now I'm stuck.
I did buy some Morimoto 2Stroke LED's for high and lows beams finally.
I've installed them and just haven't had any night driving yet to even see how they look.
After that first mess I just hate to even look at them, but driving the wife's RAV4 that has LED as standard is so stunning I just had to have them in the 4Runner.
Last edited:
nglayton
Senior Member
Custom Made Engine Bay Storage Tray
This mod is not for everyone.
I fully understand the choices I made in regards to location, height, width, length, vibration, flexibility and any other pitfalls relevant to my choices.
I'm also fully prepared to yank it out if needed.
Ever since I installed my TRD CAI and removed all the baffles, there is this huge open area on my engine compartment.
I thought would be perfect for mounting a tray or a platform to hold stuff (more mods!)

Problem is there is no good way to support it from the firewall, so I had to resort to mounting it on the engine itself. Not ideal due to vibrations, but it was easy enough to do.
Here is a shot of the top of the head, over the spark plugs, you can see the 3 open mount points.

This mod is not for everyone.
I fully understand the choices I made in regards to location, height, width, length, vibration, flexibility and any other pitfalls relevant to my choices.
I'm also fully prepared to yank it out if needed.
Ever since I installed my TRD CAI and removed all the baffles, there is this huge open area on my engine compartment.
I thought would be perfect for mounting a tray or a platform to hold stuff (more mods!)
Problem is there is no good way to support it from the firewall, so I had to resort to mounting it on the engine itself. Not ideal due to vibrations, but it was easy enough to do.
Here is a shot of the top of the head, over the spark plugs, you can see the 3 open mount points.
Last edited:


nglayton
Senior Member
Next up was making the tray/basket that I was attaching to the top of it.
I wanted it to be wire mesh to allow heat through and visibility into the tray.
I thought this space would be bigger than it really turned out to be. I settled on 8" x8" and 4 inches high. And started cutting and welding the tray.


Here's the finished product........painted and installed.


I hate not having the stuff I need on hand when I need it. I plan on keeping a few things in this tray, extra oil, brake fluid, PS fluid, fuses, connections for the compressor, maybe a few tools. Etc.
It remains to be seen how much vibration and rattling I will get. But for now this is exactly what I was needed to store those extra small parts.
I wanted it to be wire mesh to allow heat through and visibility into the tray.
I thought this space would be bigger than it really turned out to be. I settled on 8" x8" and 4 inches high. And started cutting and welding the tray.
Here's the finished product........painted and installed.
I hate not having the stuff I need on hand when I need it. I plan on keeping a few things in this tray, extra oil, brake fluid, PS fluid, fuses, connections for the compressor, maybe a few tools. Etc.
It remains to be seen how much vibration and rattling I will get. But for now this is exactly what I was needed to store those extra small parts.
nglayton
Senior Member
How are those Roam boxes treating you, man? Also, what size are they?
The size is 105L, so far they are holding up pretty well. But I haven't used them on any serious trips yet. (This fall will be the real test)
The weird thing about that 105L size is the way the open endo style, but they both fit up on my gobi rack just right. I would have preferred a more traditional style opening like a cooler. But it's not a big deal. I load them up about 1/2 way before I put them on top, otherwise they are too heavy to lift fully loaded. I mainly keep just emergency gear/items in them so I don't have to get in and out of them a lot. Water proof is nice. I haven't used the bottle openers so I have no idea how that holds up under serious usage.
Last edited:
nglayton
Senior Member
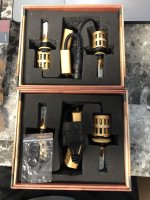
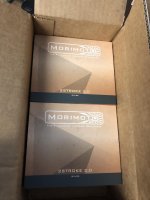
I finally got around to installing some quality LED headlights.
Morimoto 2 Stroke. Much better color match now with the LED fogs.
And yes, I re-aimed them after this pic.
Morimoto 2 Stroke. Much better color match now with the LED fogs.
And yes, I re-aimed them after this pic.
Attachments
Last edited:
nglayton
Senior Member
STech Switch System
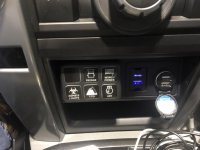
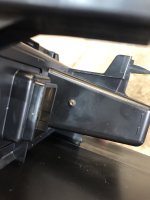
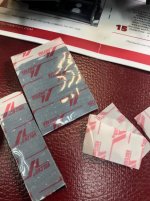
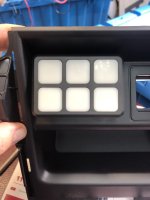
I also installed my STech POS switch system. Can't beat the price. Quality feels good, but will have to wait and see. It works great.
I attached all the photos I took during install, it's pretty easy.
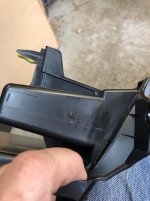
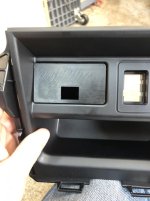
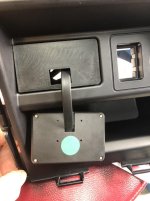
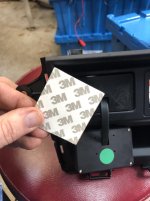
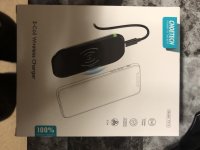
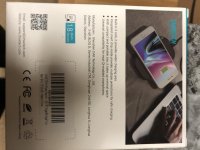
One thing I added as others have done/posted is wireless charging to the large cubby below.
Works like a champ, now I just toss my phone in there and forget about it!
I wish the pod control was thinner, better color choices, more labels, and a few other things like the wiring layout could be designed better.
For example the cable on the back of the pod is about 3 feet long and the cable from the relays is about 6 feet long, plenty of length to mount anywhere and still make to the cab.
In theory that's great, but if you ever want to move either one, you have to snake the whole cable back out of where ever you threaded it through. Major pain.
It would be better to have a 1 foot lead on each end and a 6 foot cable to connect between them.
Also when I ordered, they called me back and tried to up-sell me an additional 2 foot extension cable.(huh?) NO way you need this.
**Updated Info Post Here**
I also installed my STech POS switch system. Can't beat the price. Quality feels good, but will have to wait and see. It works great.
I attached all the photos I took during install, it's pretty easy.
One thing I added as others have done/posted is wireless charging to the large cubby below.
Works like a champ, now I just toss my phone in there and forget about it!
I wish the pod control was thinner, better color choices, more labels, and a few other things like the wiring layout could be designed better.
For example the cable on the back of the pod is about 3 feet long and the cable from the relays is about 6 feet long, plenty of length to mount anywhere and still make to the cab.
In theory that's great, but if you ever want to move either one, you have to snake the whole cable back out of where ever you threaded it through. Major pain.
It would be better to have a 1 foot lead on each end and a 6 foot cable to connect between them.
Also when I ordered, they called me back and tried to up-sell me an additional 2 foot extension cable.(huh?) NO way you need this.
**Updated Info Post Here**
Attachments
Last edited:
Similar threads

- Replies
- 0
- Views
- 2K

- Replies
- 3
- Views
- 4K


