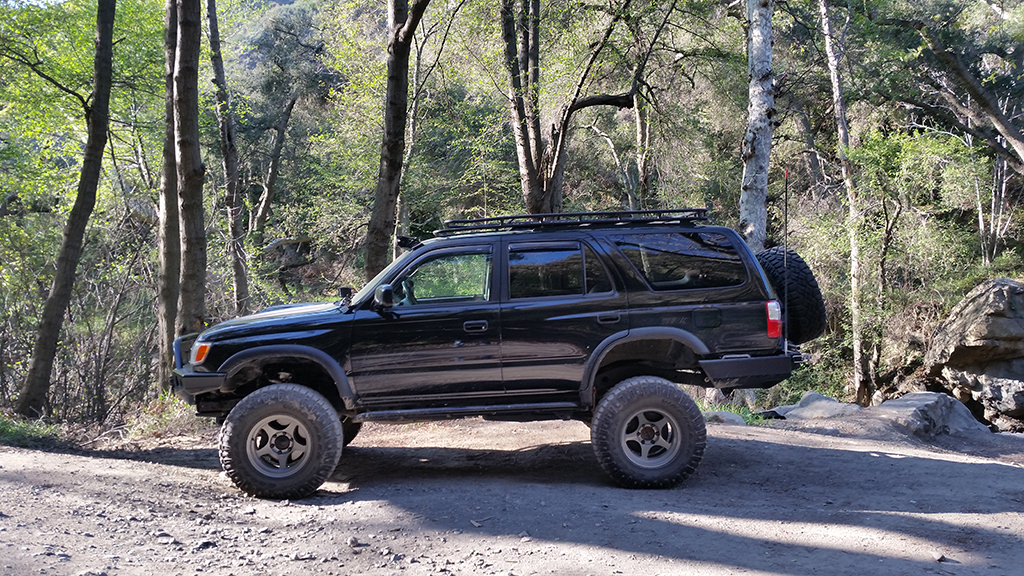
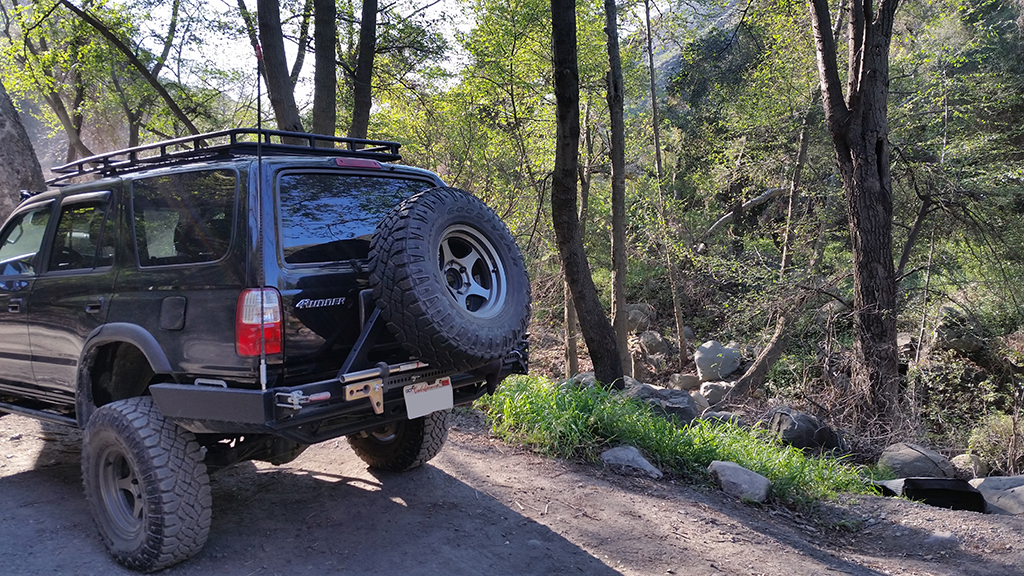
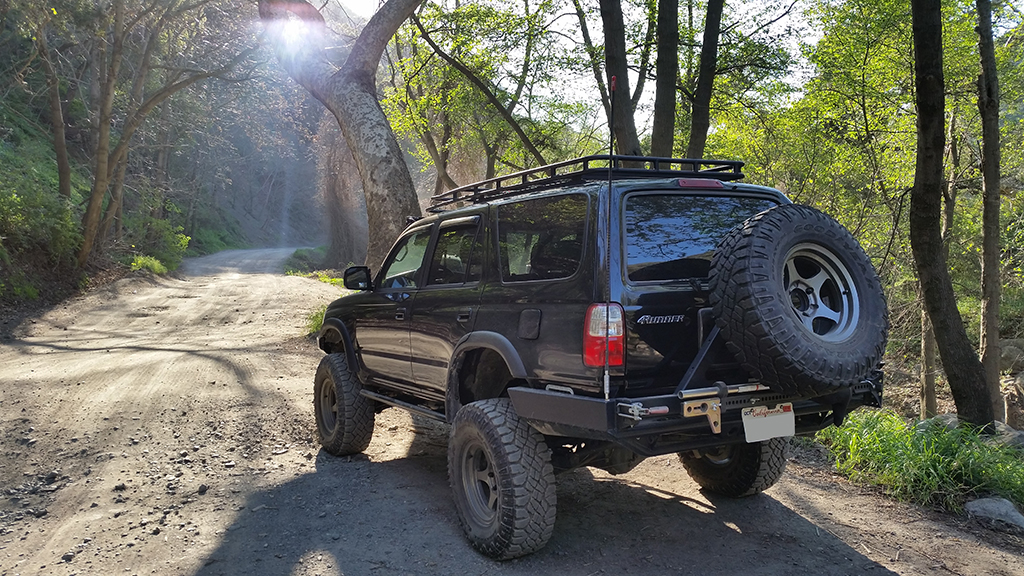
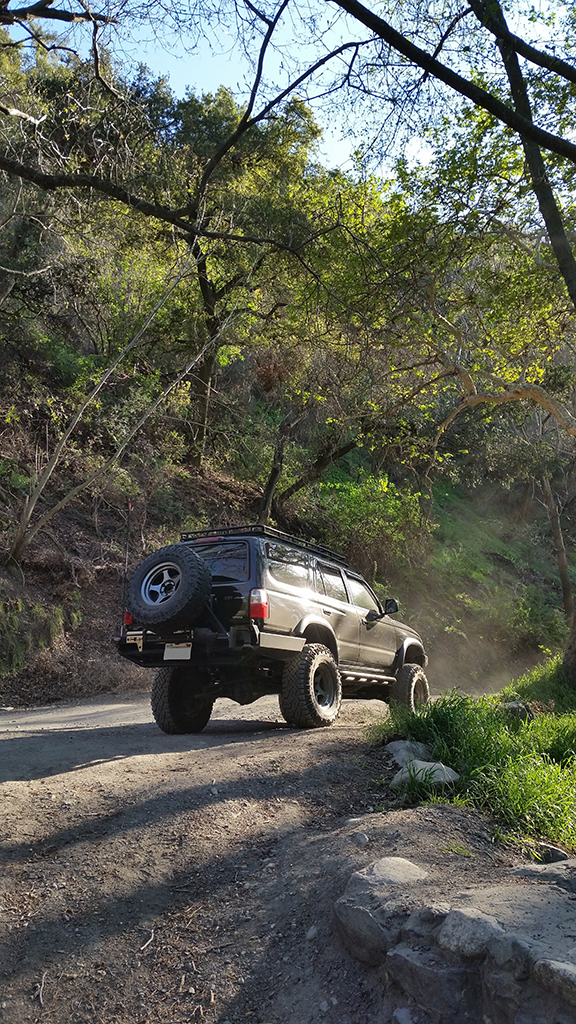
nihkon's 4Runner

So I guess it's time for some updates....

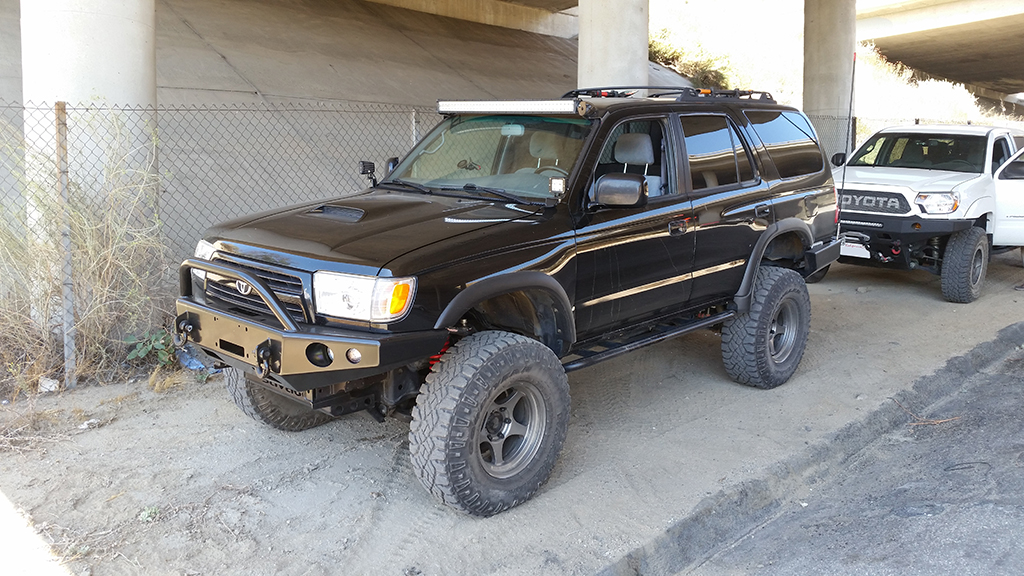
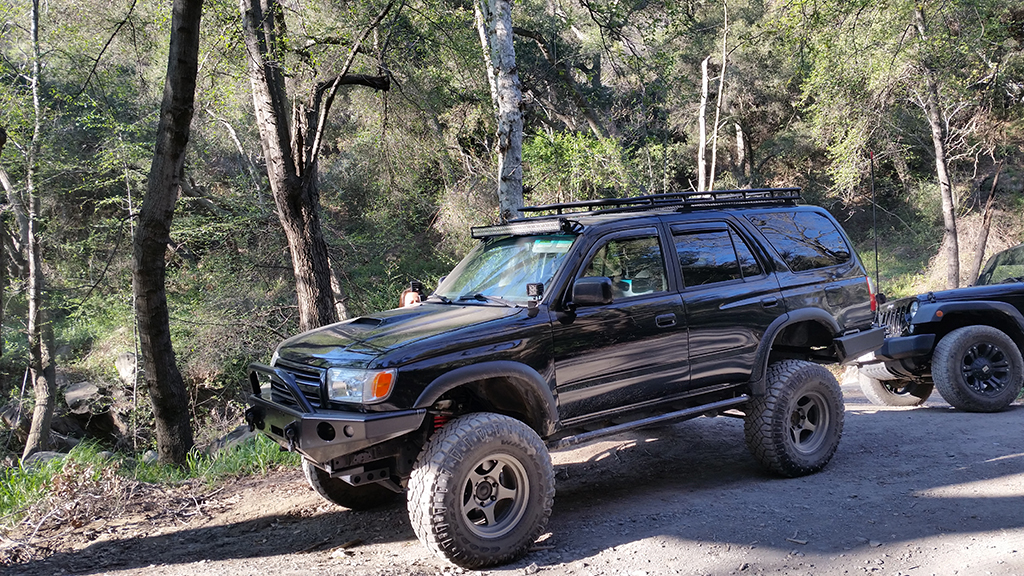
Here are a couple recent-ish photos (July 4th weekend), with some paddleboards strapped to the roof of my 4Runner:
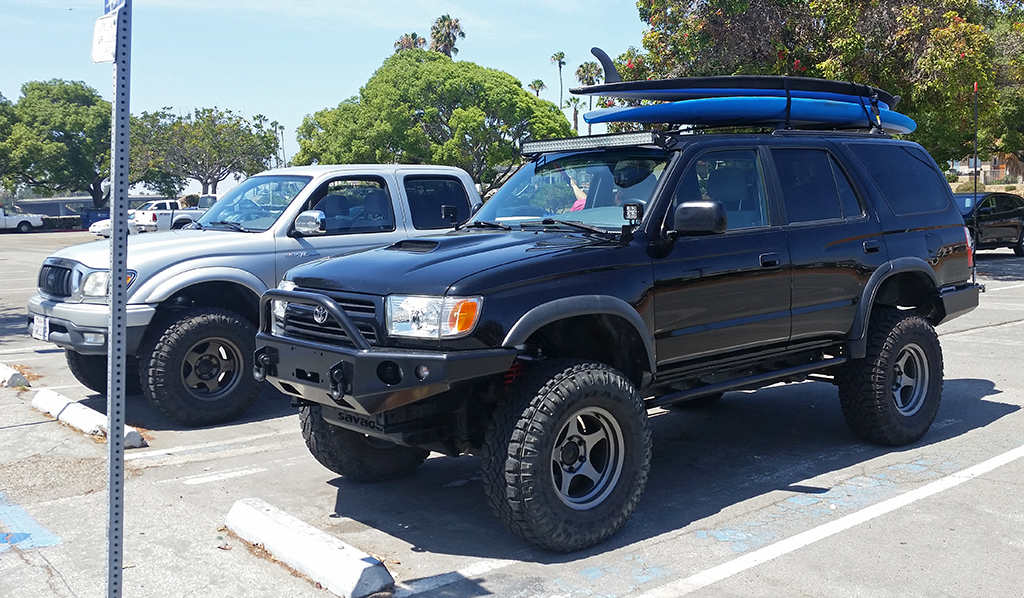
MB_01.jpg


MB_02.jpg


Replacing my front lower control arm bushings has been on my to-do list for quite some time. I finally got around to doing that job a couple months ago. I used the Energy Suspension polyurethane bushings...requiring me to burn/grind out the old rubber bushings, but retain their outer sleeves. It was a bit of work, but at least I got lucky with the cam bolts/sleeves...as they came out very easily. I had read lots of horror stories about getting those removed.

For the removal of the rear cam bolts/sleeves, I was able to gain enough room by unbolting the steering rack and letting it hang out of the way. I didn't take any photos during the installation (or even any of the LCA's with the new bushings in them), but here are a couple shots of the bushings and part numbers:
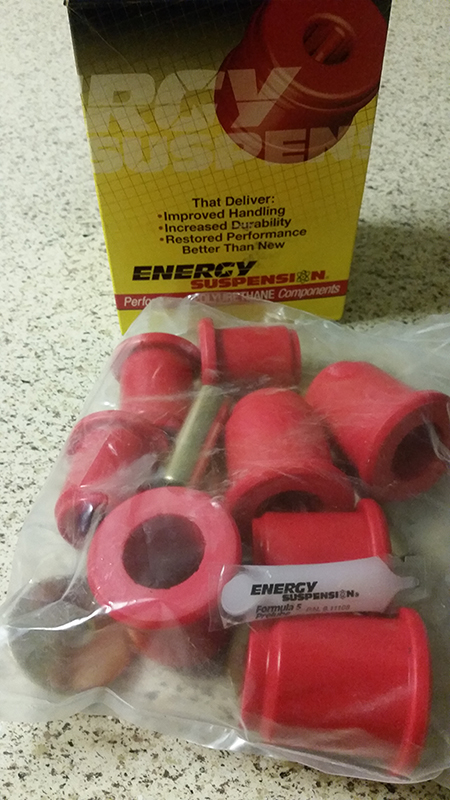
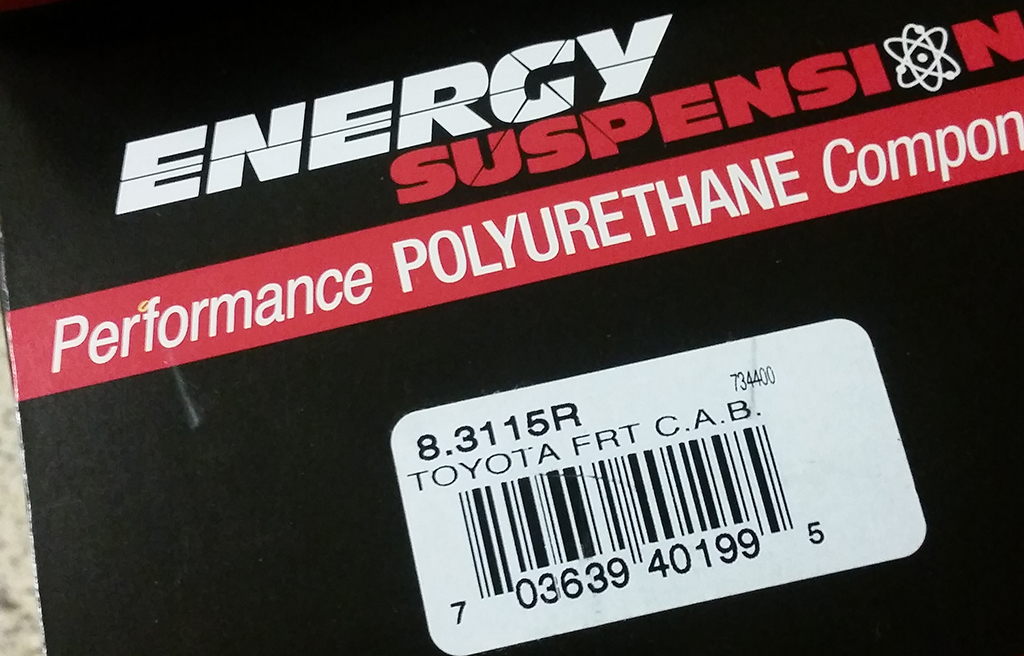
lcaBushings_01.jpg


lcaBushings_02.jpg


While I had the front end apart, I also replaced the lower bushings on the shocks. Mine had both failed and the bolts were basically floating around in there. Thanks to [MENTION=75445]4Running Daily[/MENTION] for providing the Bilstein part numbers for the bushings.
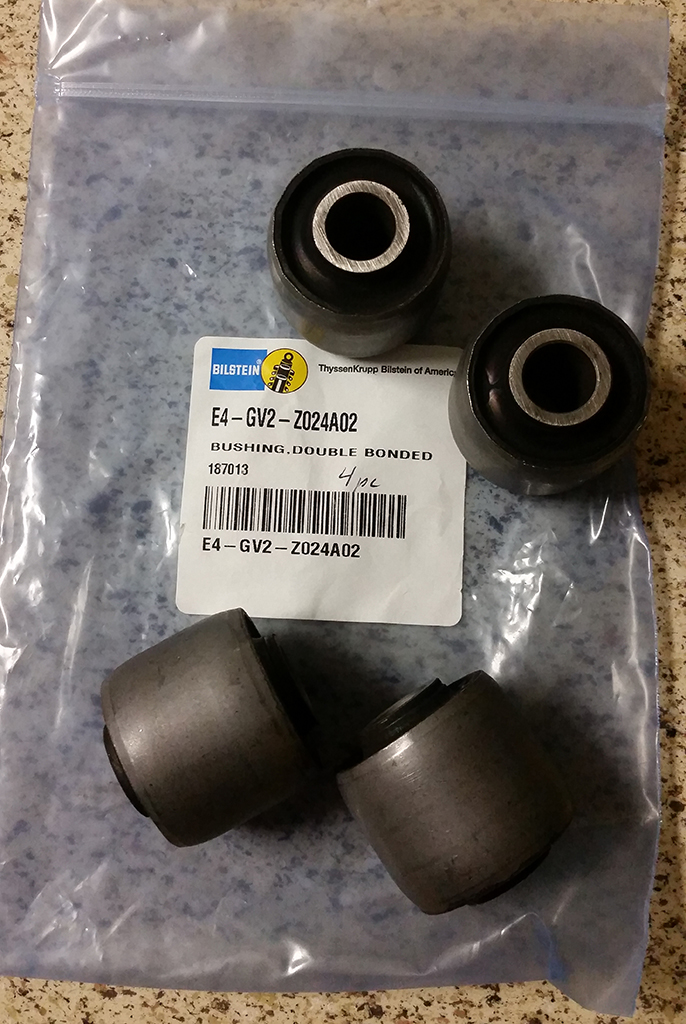
ShockBushings.jpg
 
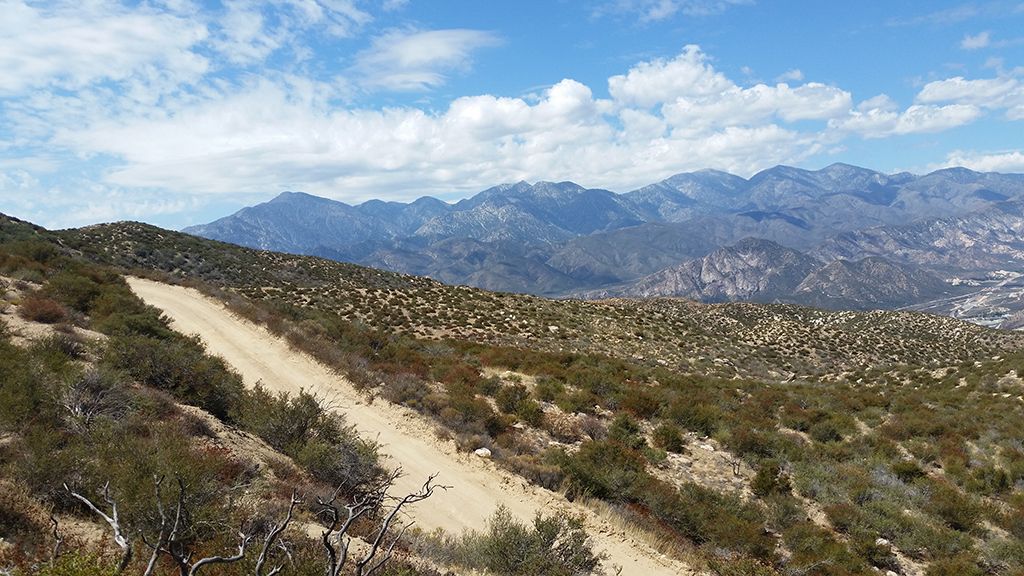
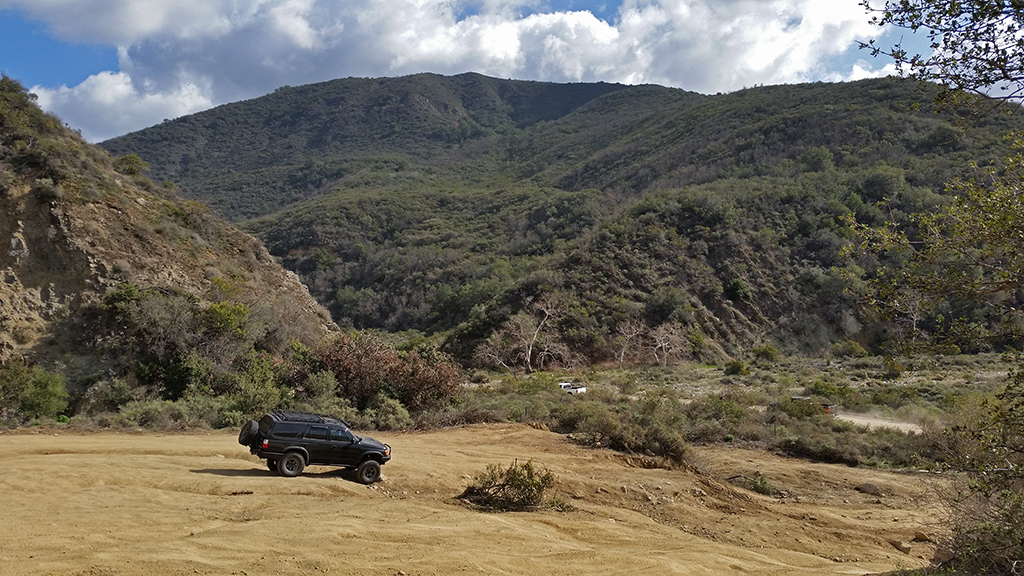
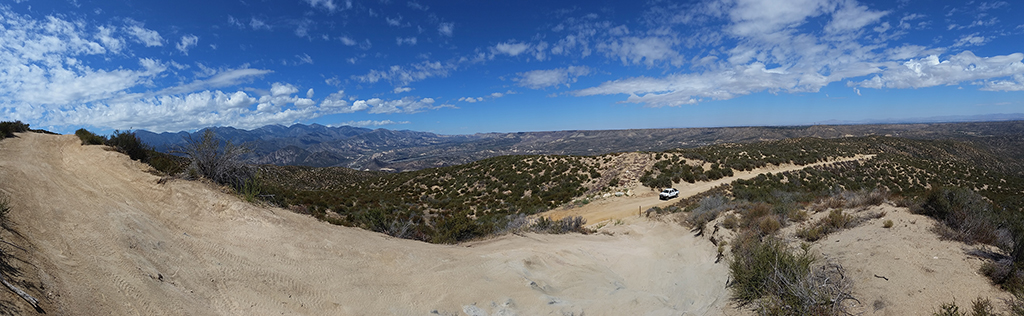
Here are a couple pictures from a recent offroad trip to Cleghorn: (Sorry, no action shots)

I love the scenery up here. So beautiful!
Cleghorn_9-6-15_01.jpg


Cleghorn_9-6-15_02.jpg


Cleghorn_9-6-15_03.jpg


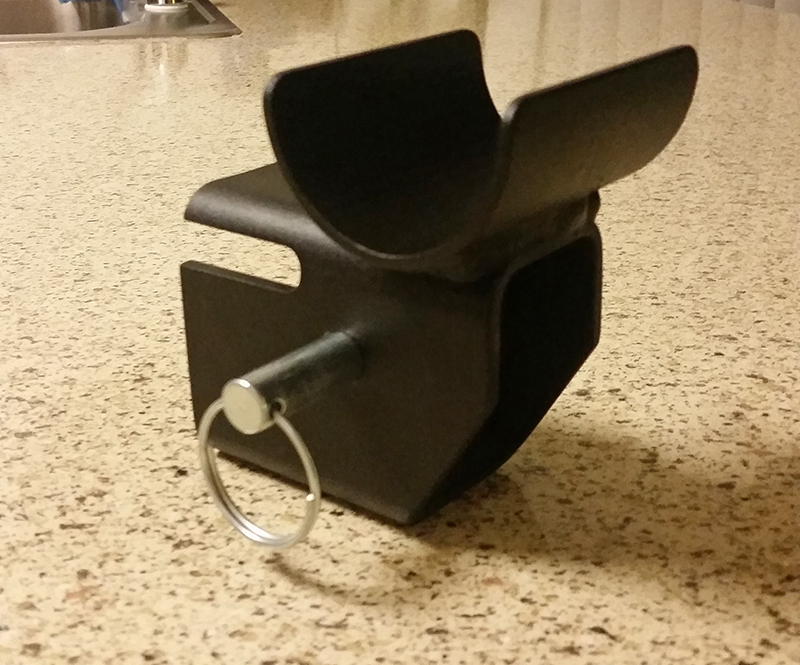
I recently picked up a couple items to add to my gear list. First up is an adapter for my Hi-Lift jack to fit on the sliders:

Hi-LiftAdapter.jpg


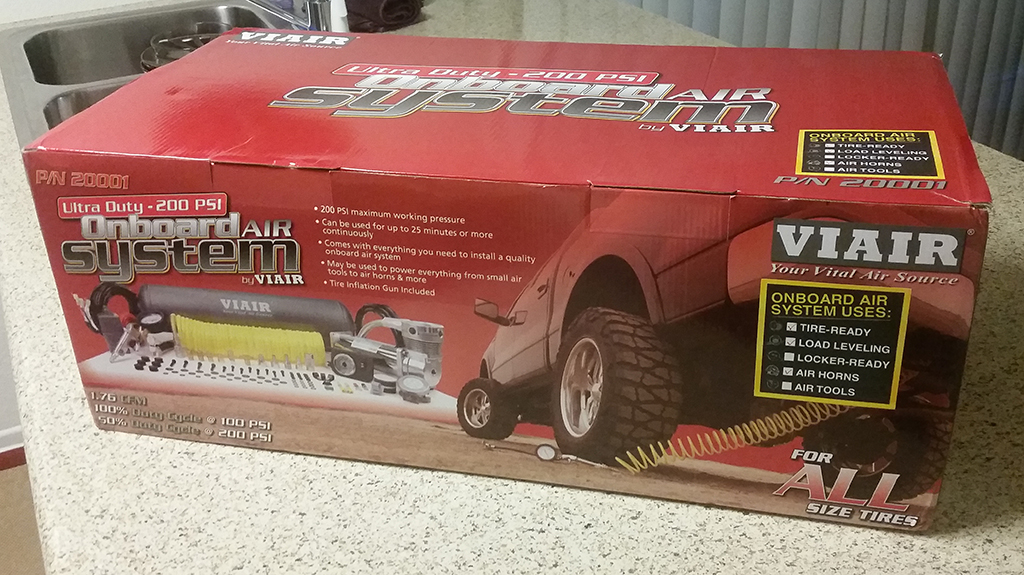
And here is my new on-board air system:
(Unfortunately, I won't have time to install it for quite a while)

OBA_01.jpg


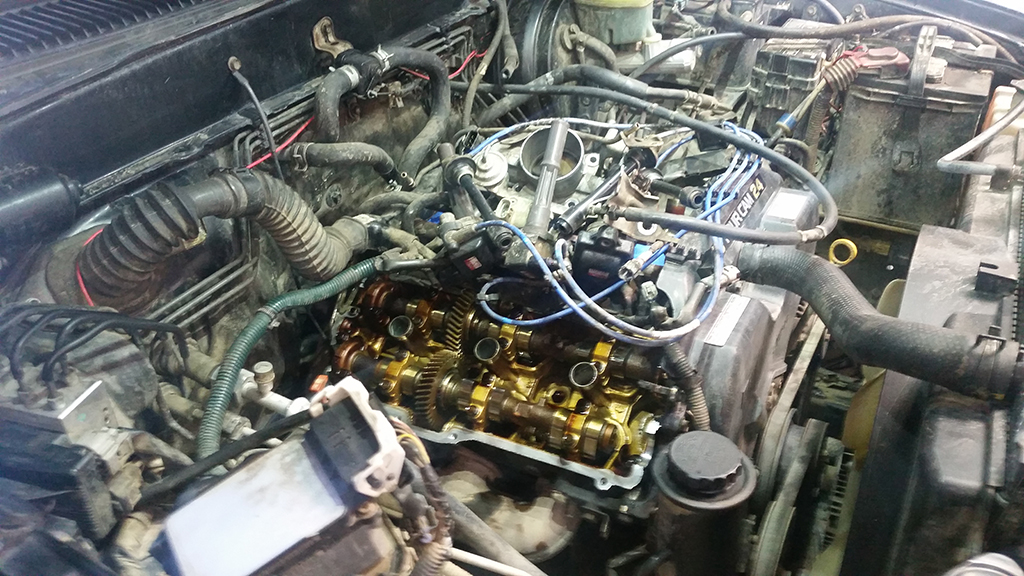
I've had a fairly bad oil leak from the valve covers for a long time now. I just haven't had the time to take care of it. Today was finally the day to take on that job.
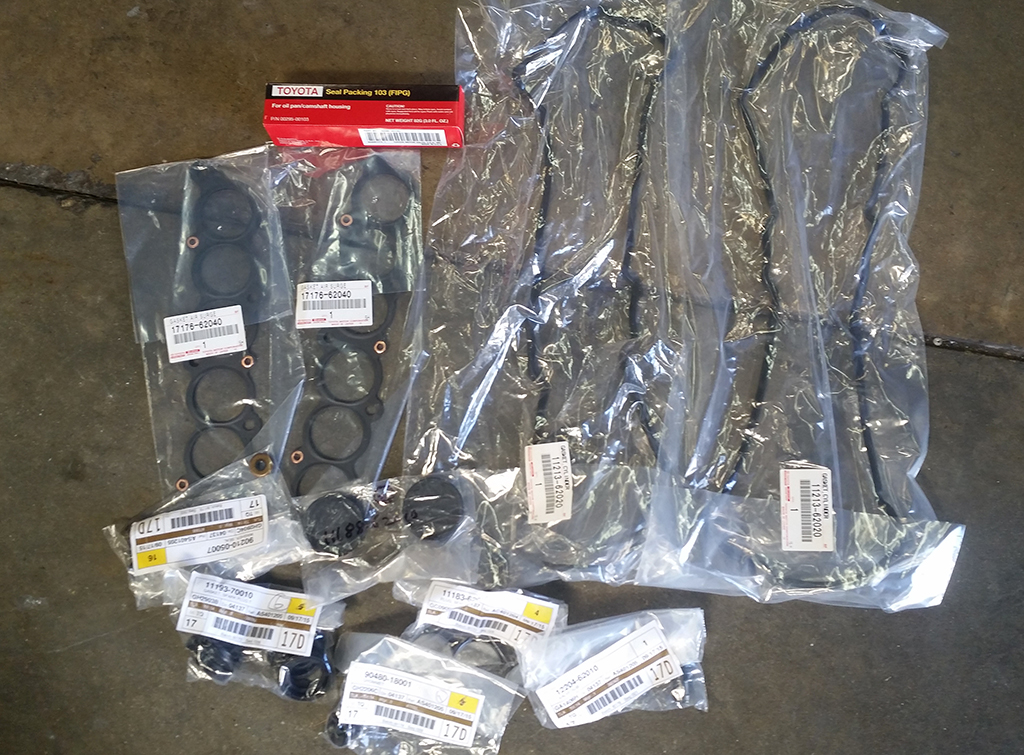
First off, it meant a trip to my local Toyota dealer for some parts:


vcg_01.jpg


Big thanks to @Jon for his write-up for this job. It came in handy:
http://www.toyota-4runner.org/3rd-g...e-cover-gasket-replacement-part-s-n-pics.html

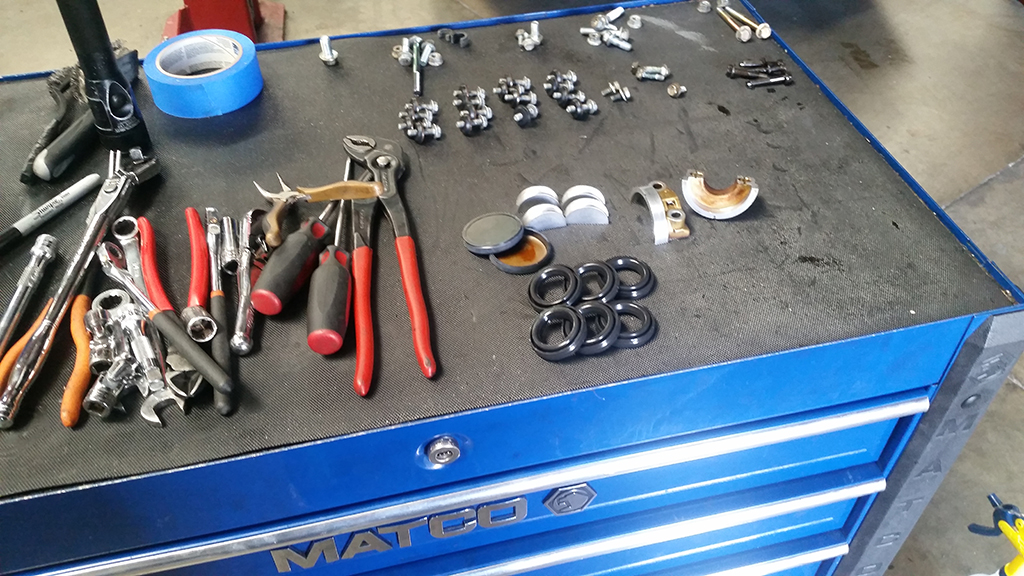
Here are all my nuts and bolts and some of the new parts (including new half-moons.)
vcg_02.jpg


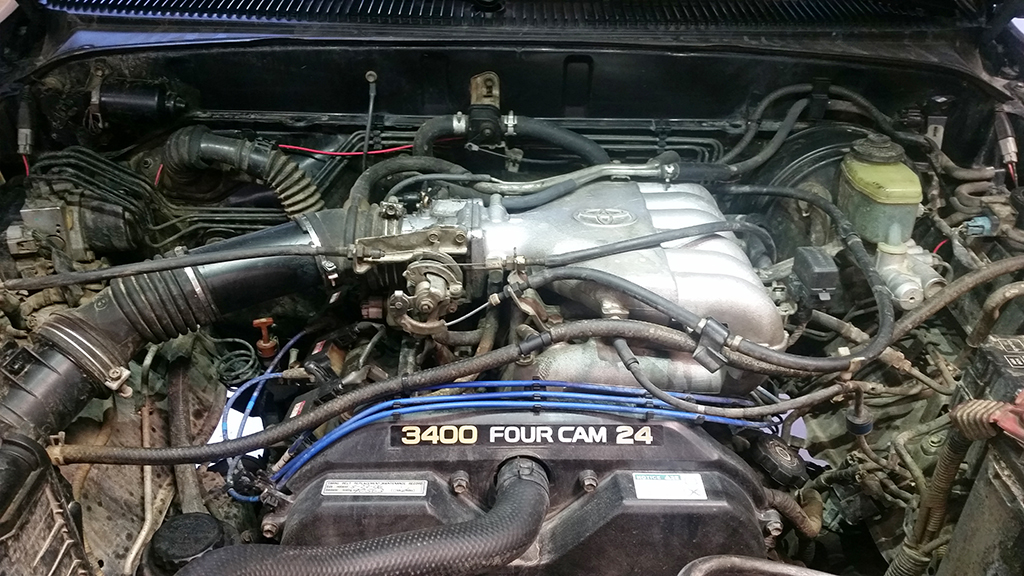
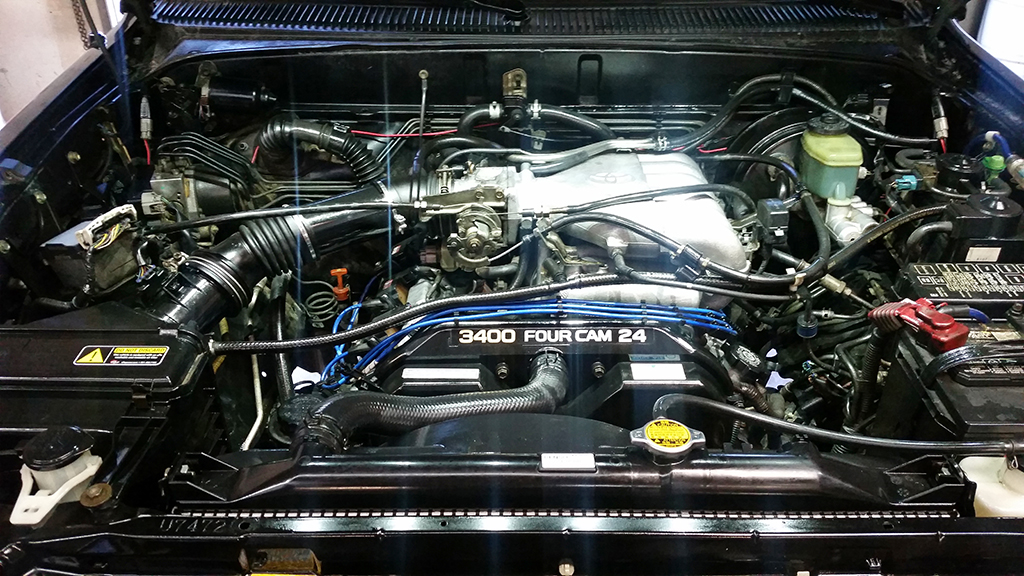
Here is my mega dirty engine bay, before starting on this project:

vcg_03.jpg


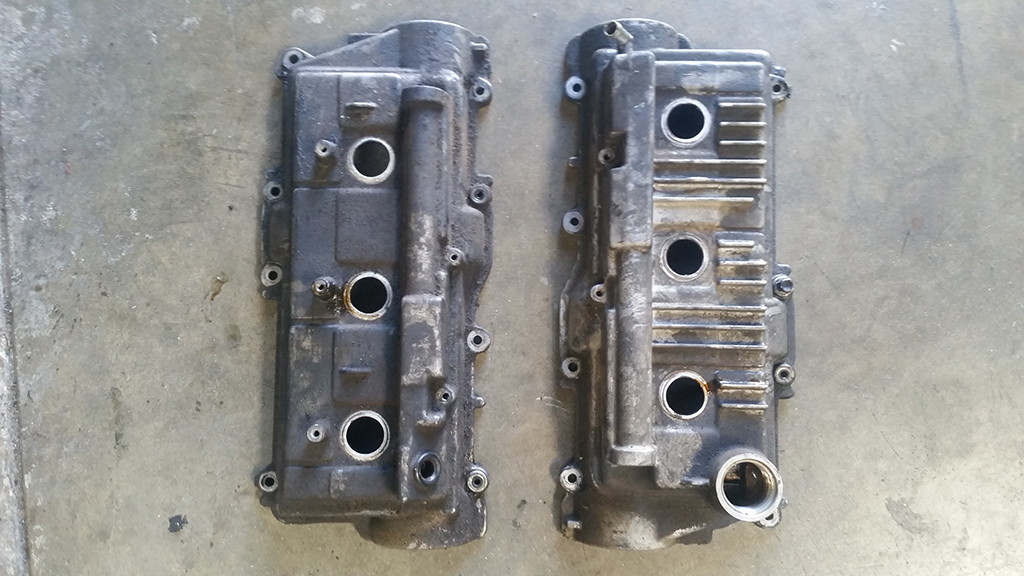
This photo shows how nasty my valve covers had gotten because of this oil leak:

vcg_09.jpg


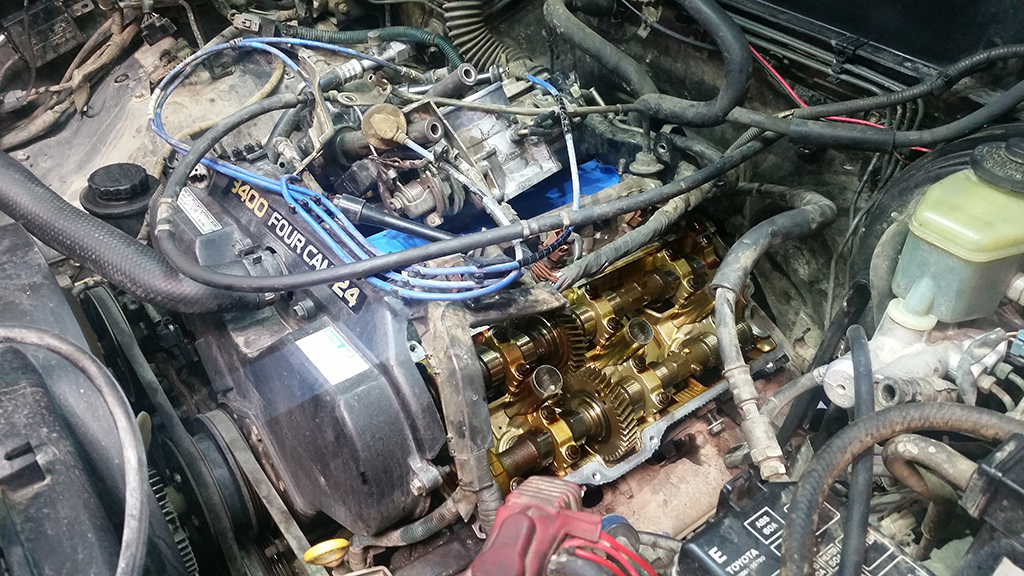
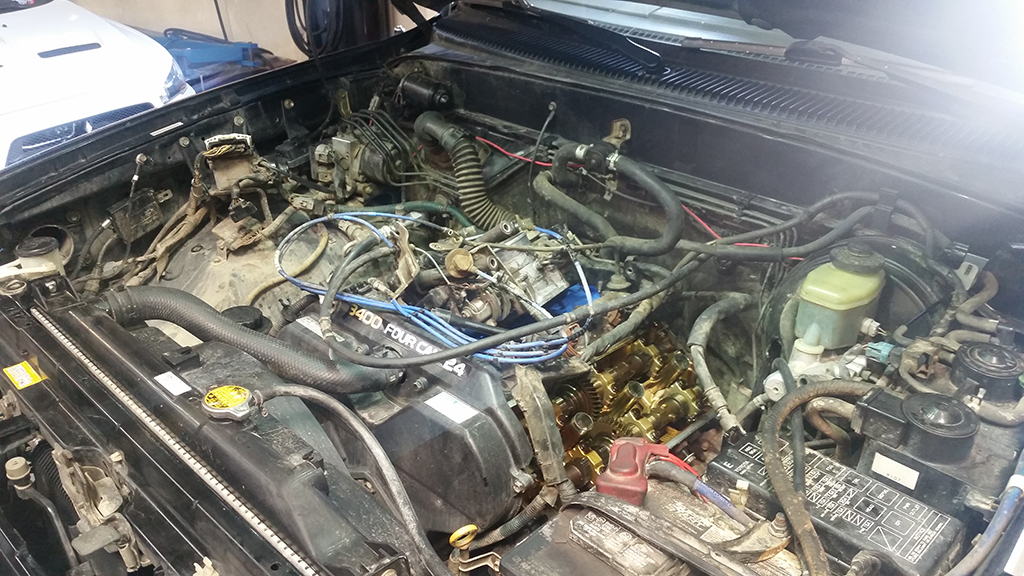
This is during the job. You can see that after I removed the upper and lower intake plenums, I just laid the throttle body down on the middle of the engine. By not removing the throttle body completely, it meant that I didn't have to drain/fill the coolant. I also left the plug wires connected to the coils and just pushed them up out of the way.
vcg_04.jpg


Another couple of shots with the valve covers removed:
vcg_05.jpg


vcg_06.jpg


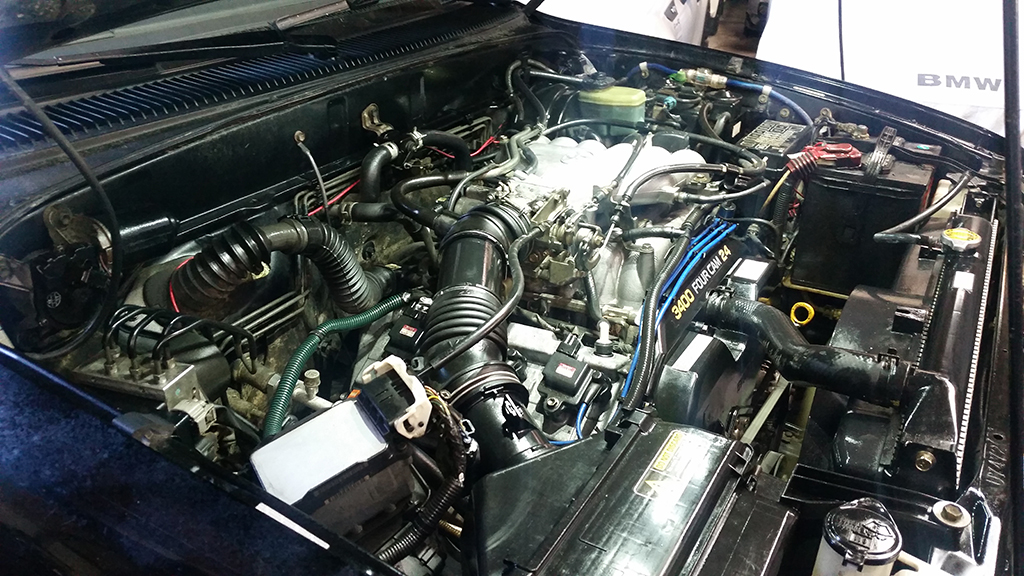
And here are a couple pictures after I got everything reassembled, and did a quick detail on the rest of the engine bay:

vcg_07.jpg


vcg_08.jpg
 
I checked it out in your CRX thread. I dig the wheels man!
Do you have many plans for the 4Runner?
QUOTE]

Thanks, they really made it look a whole lot better. Not much more, just keeping up on maintenance and enjoy it. I have a set of CL1 Recaros, I just need to get brackets and the adjustment knobs for one seat. I just put in an aFe intake last week.
 
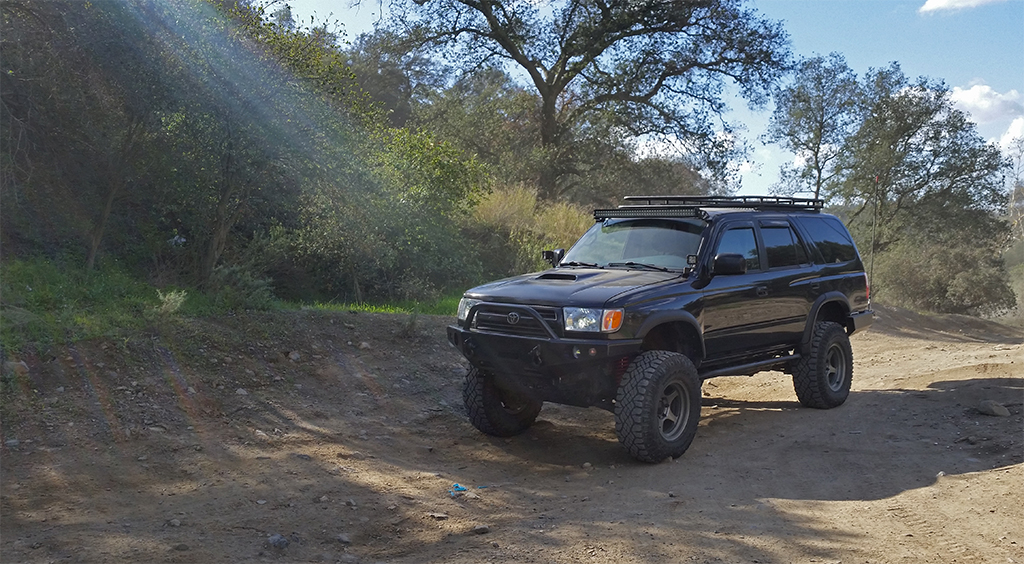
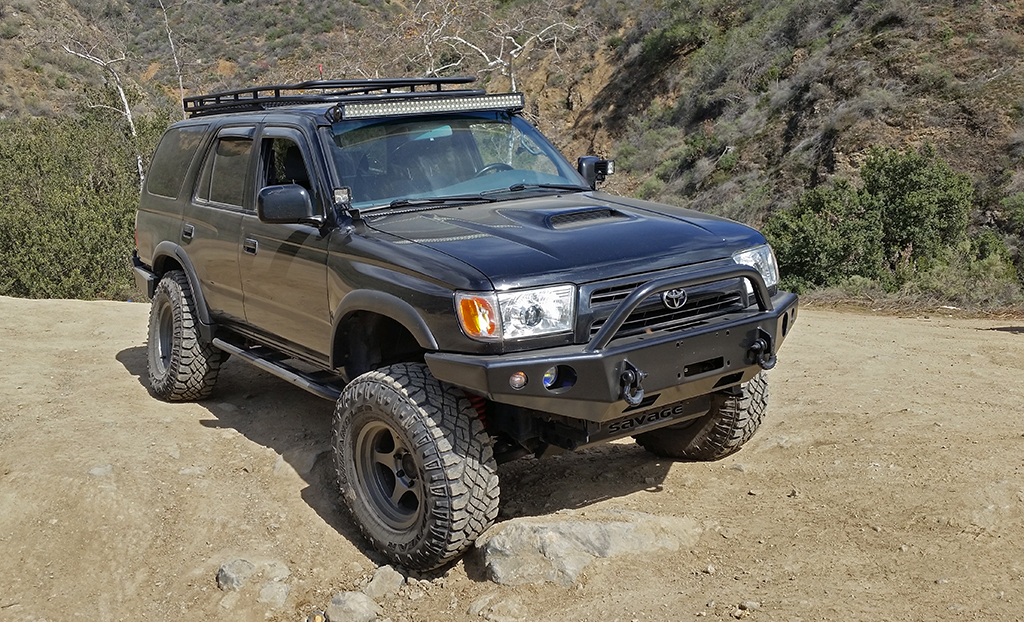
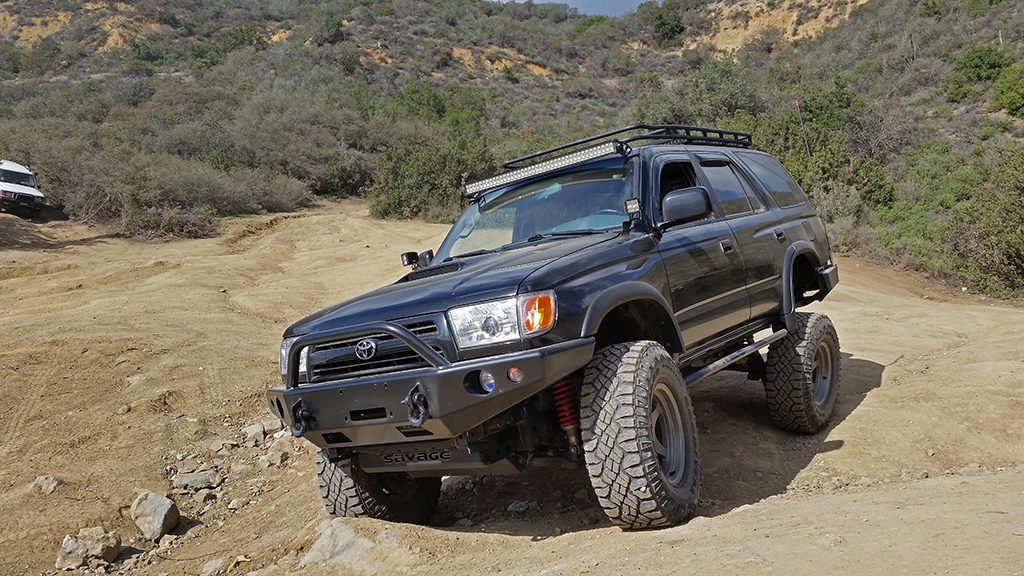
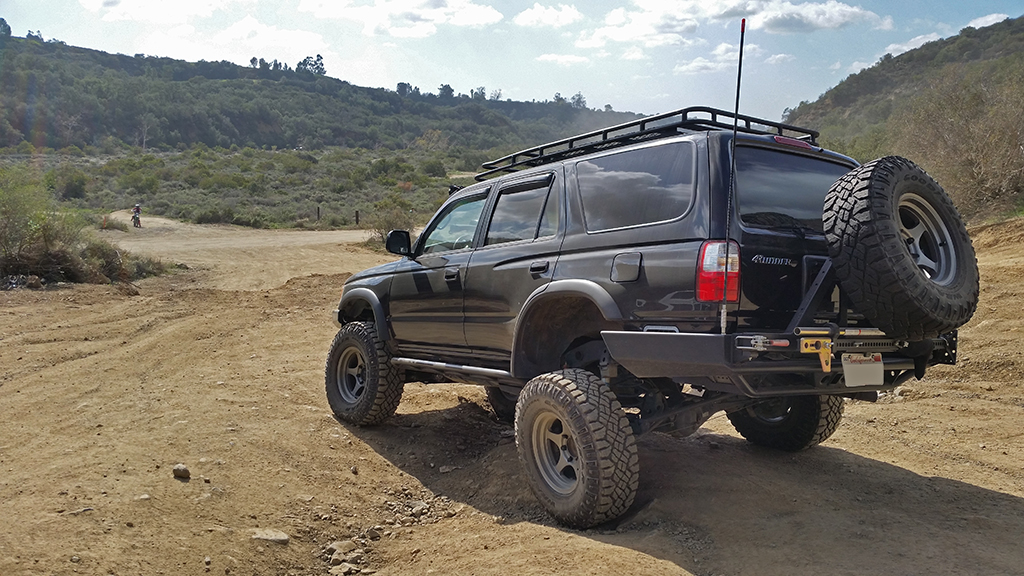
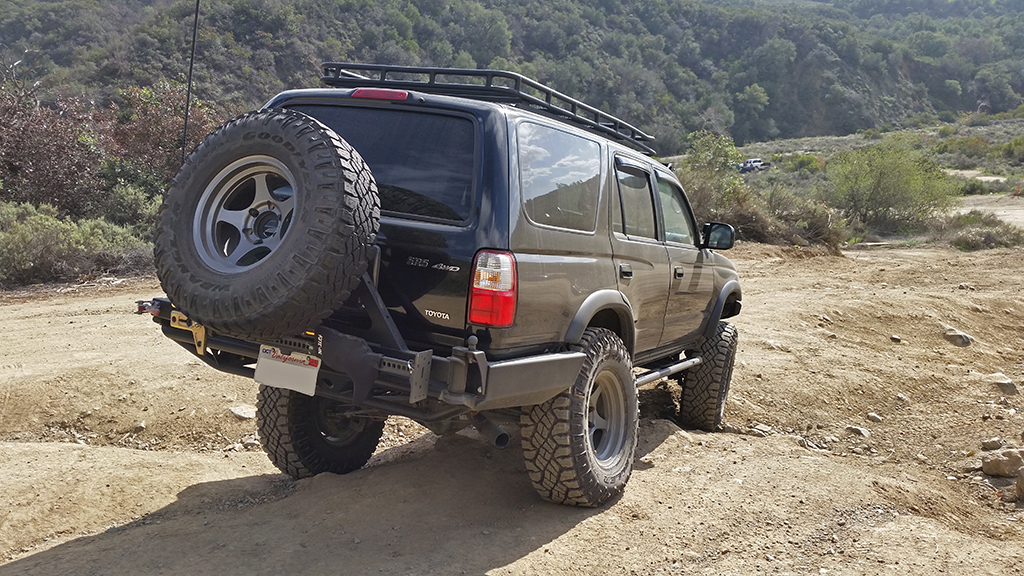
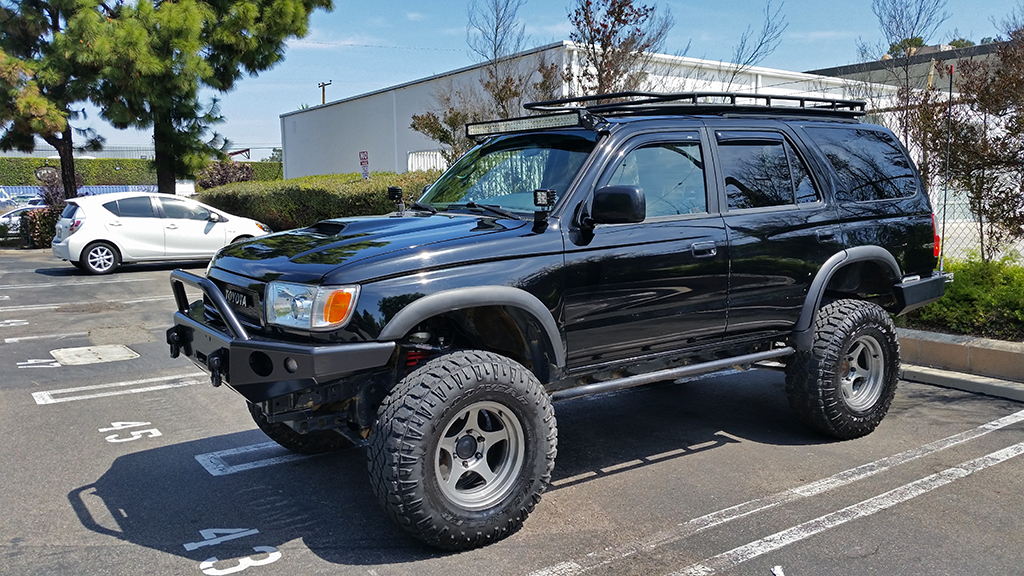
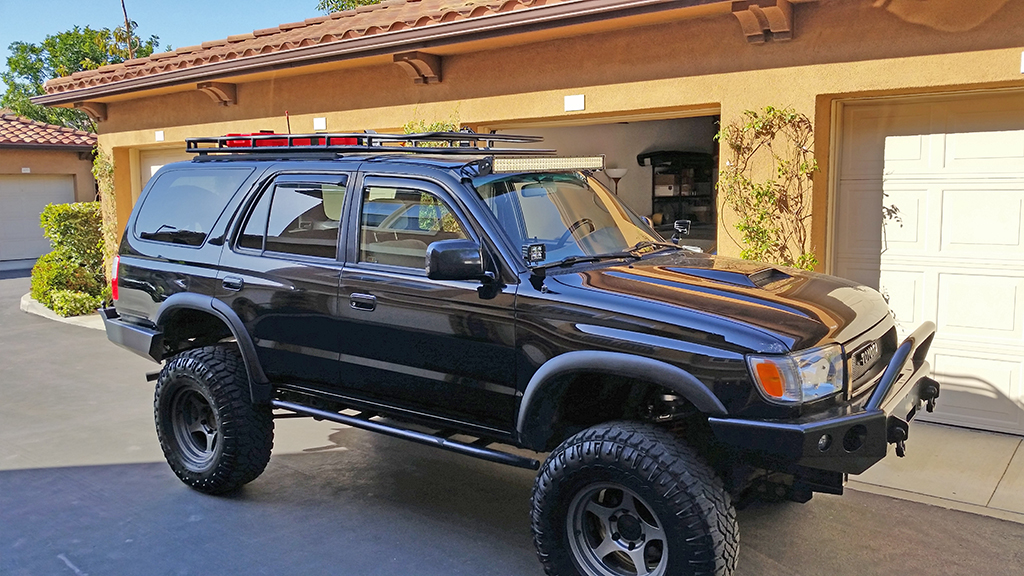
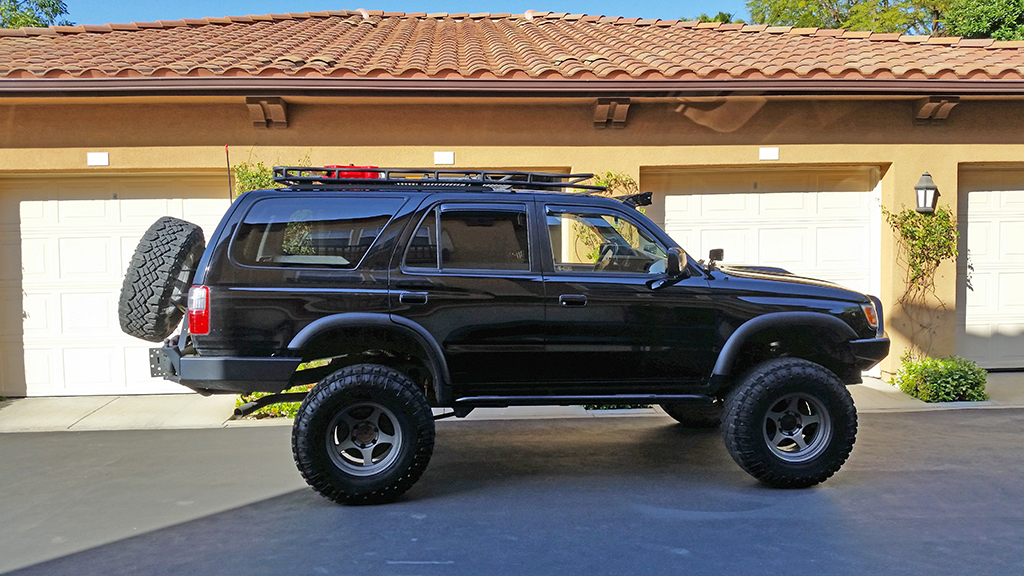
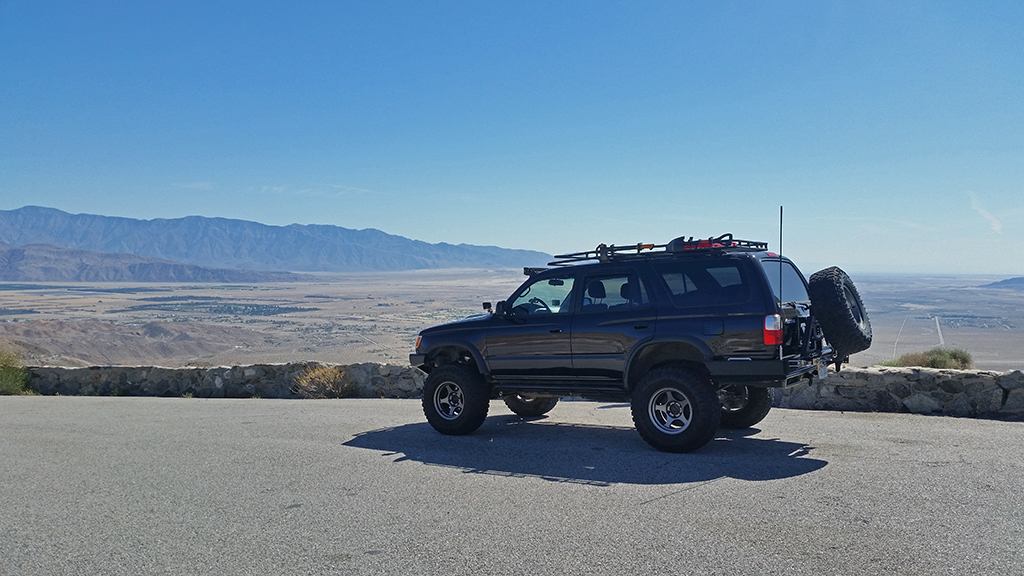
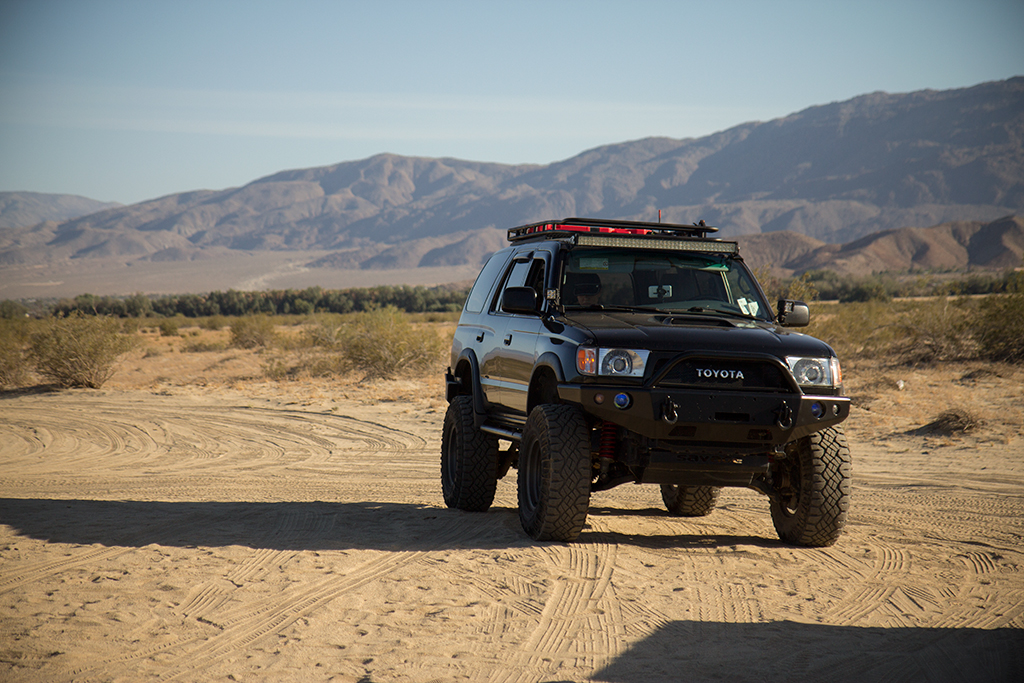
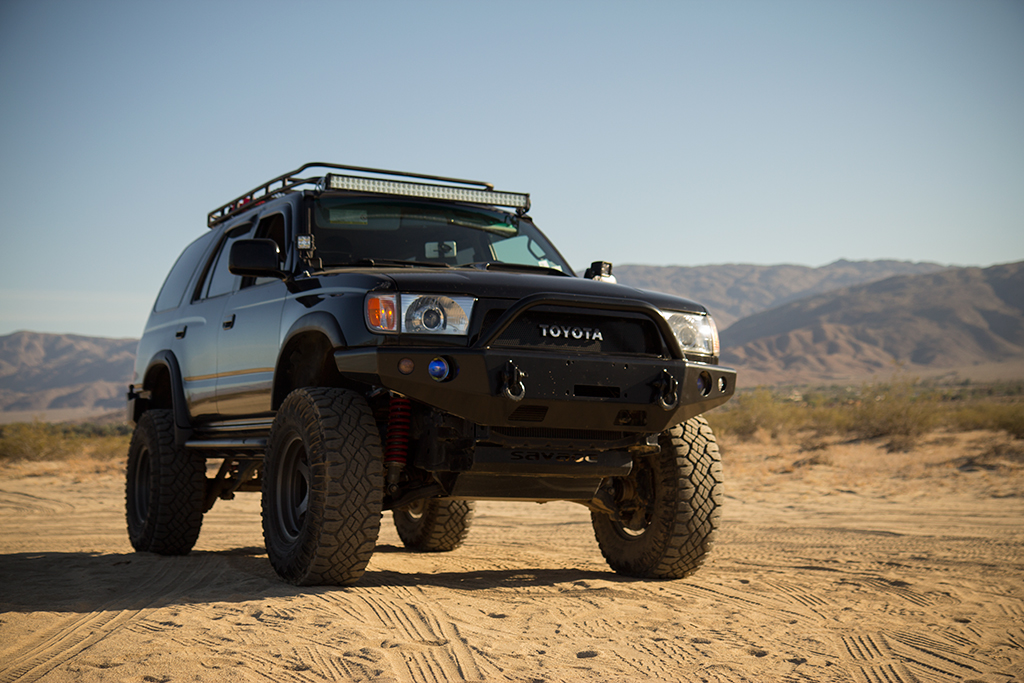
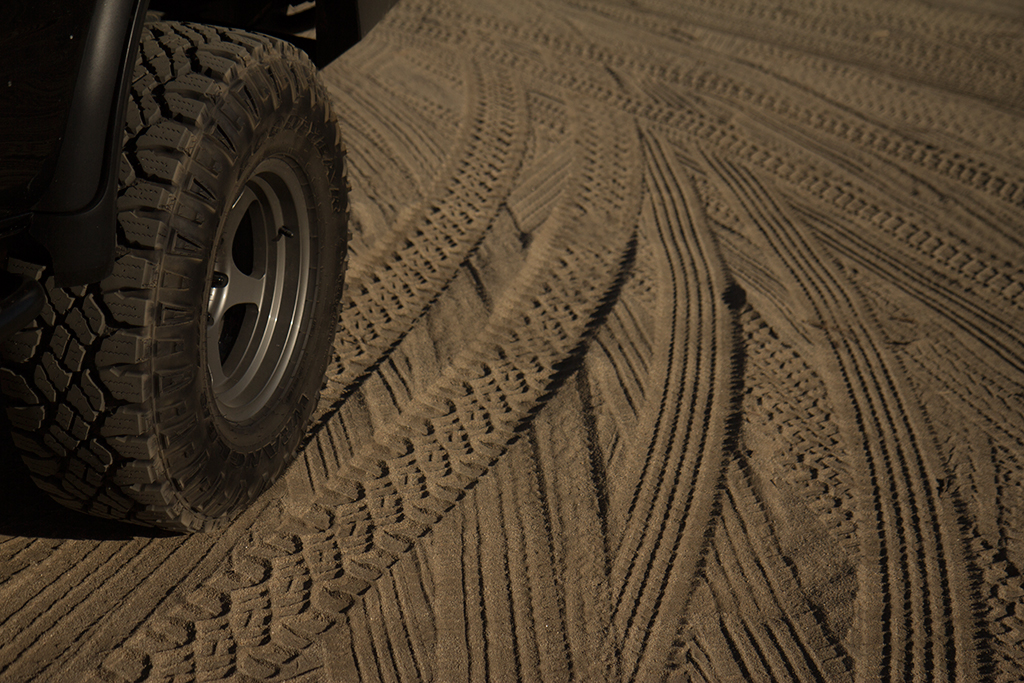
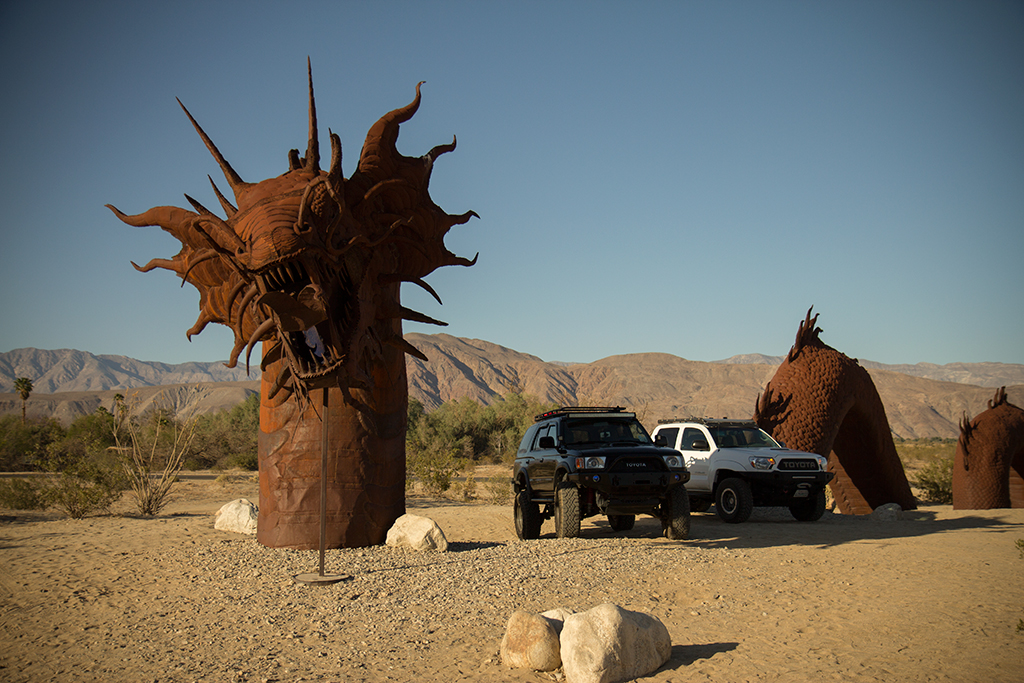
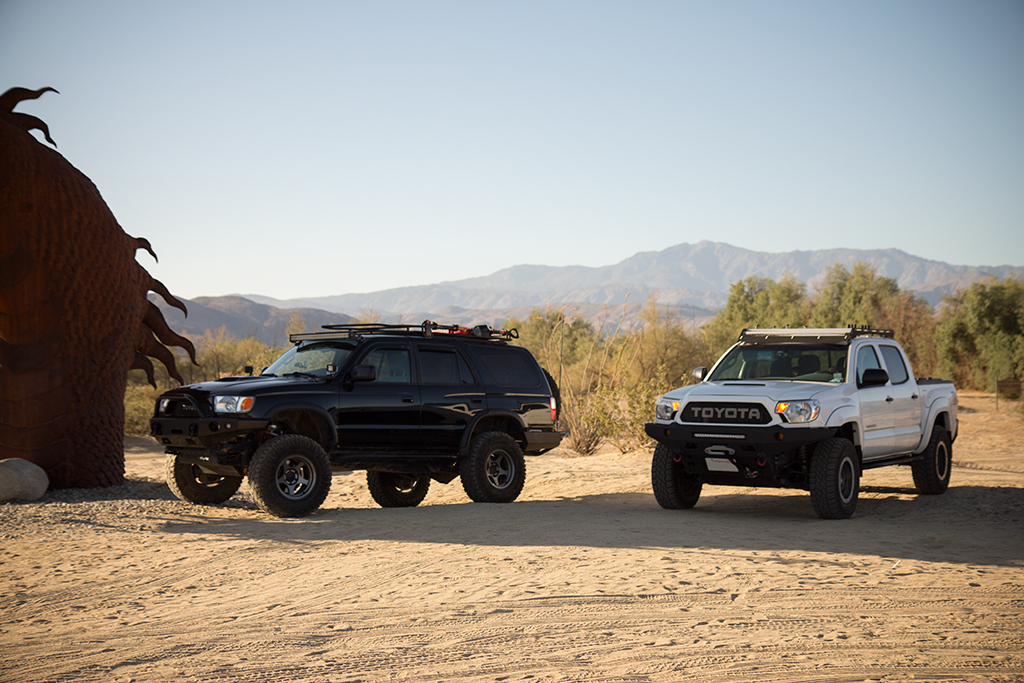
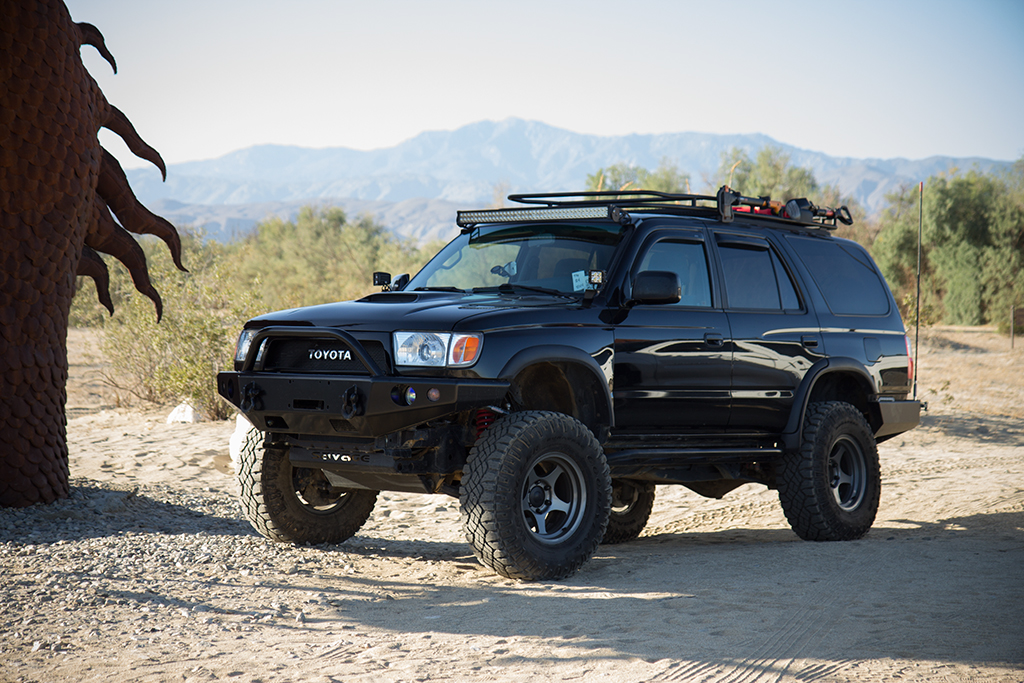
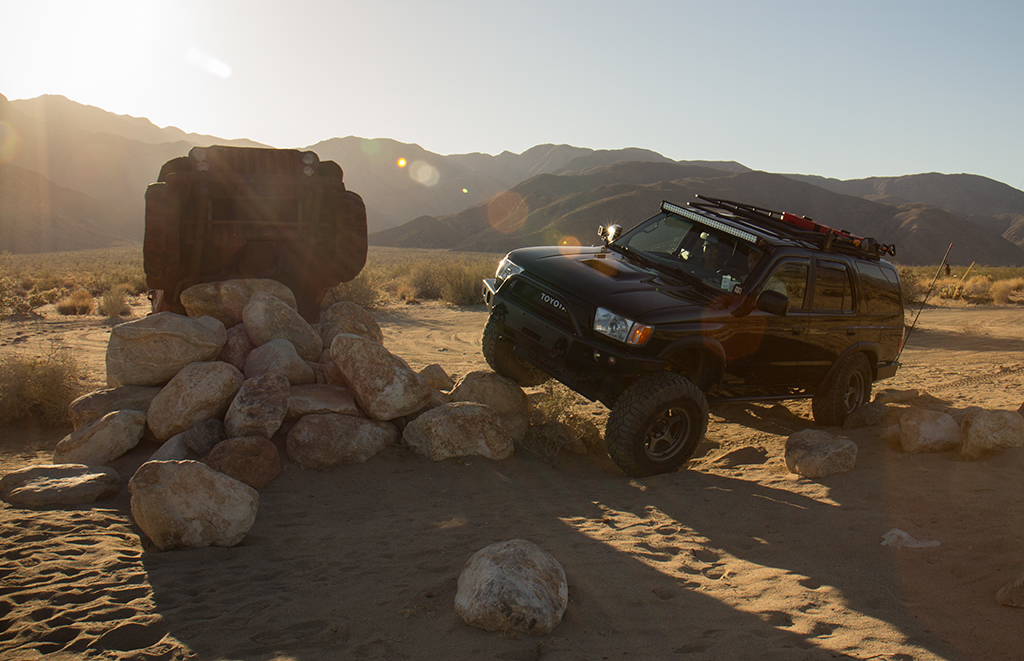
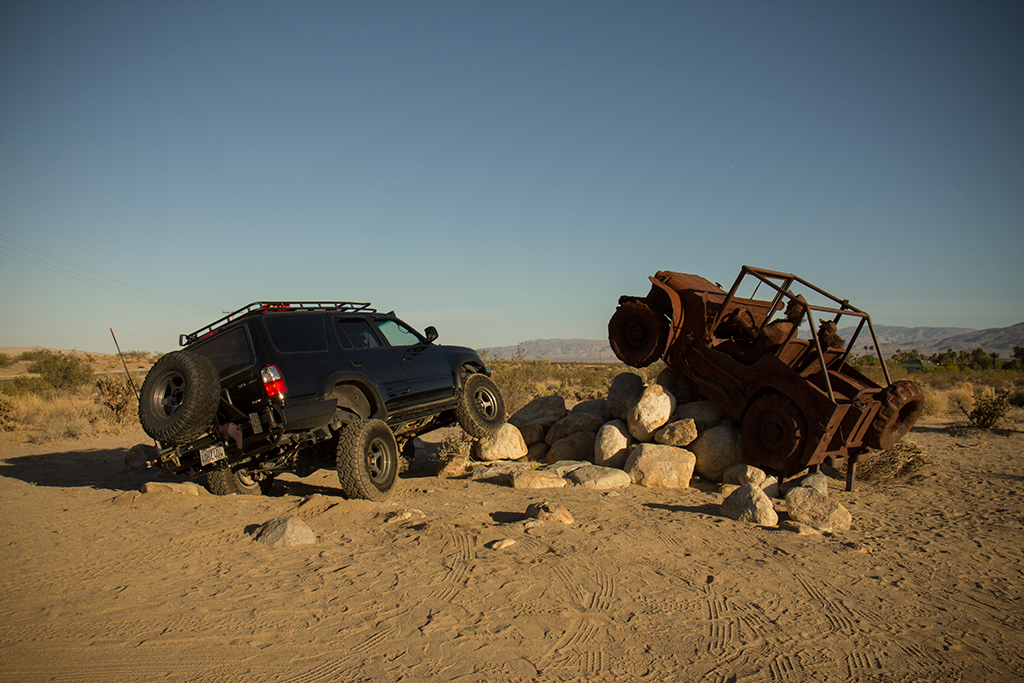
Since it's been a while since I've posted anything....here are a few pictures of my 4Runner from this past weekend:

tc_1-24-16_01.jpg


tc_1-24-16_02.jpg


tc_1-24-16_03.jpg


tc_1-24-16_04.jpg


tc_1-24-16_05.jpg


tc_1-24-16_06.jpg
 
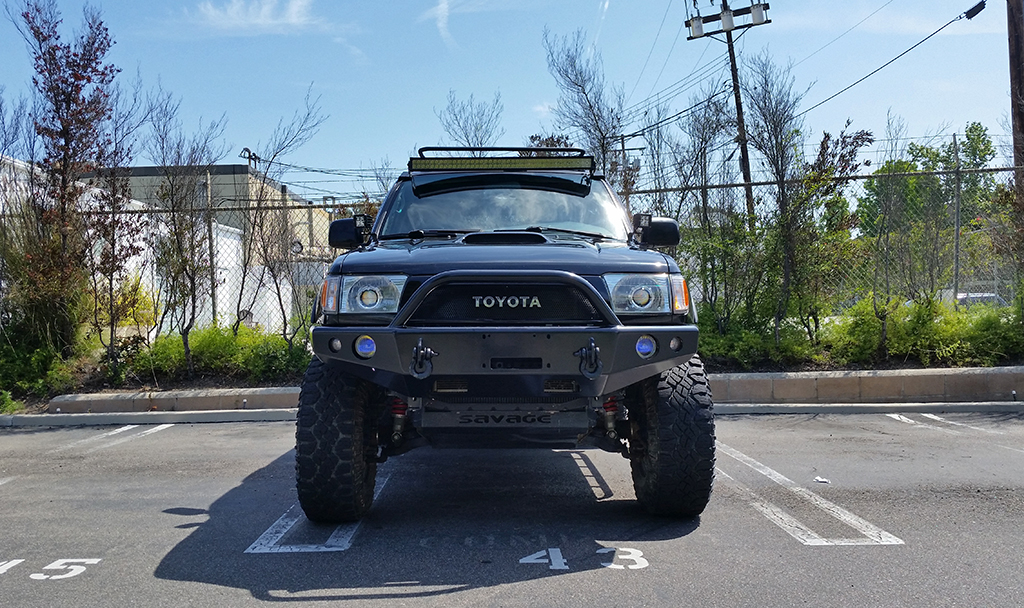
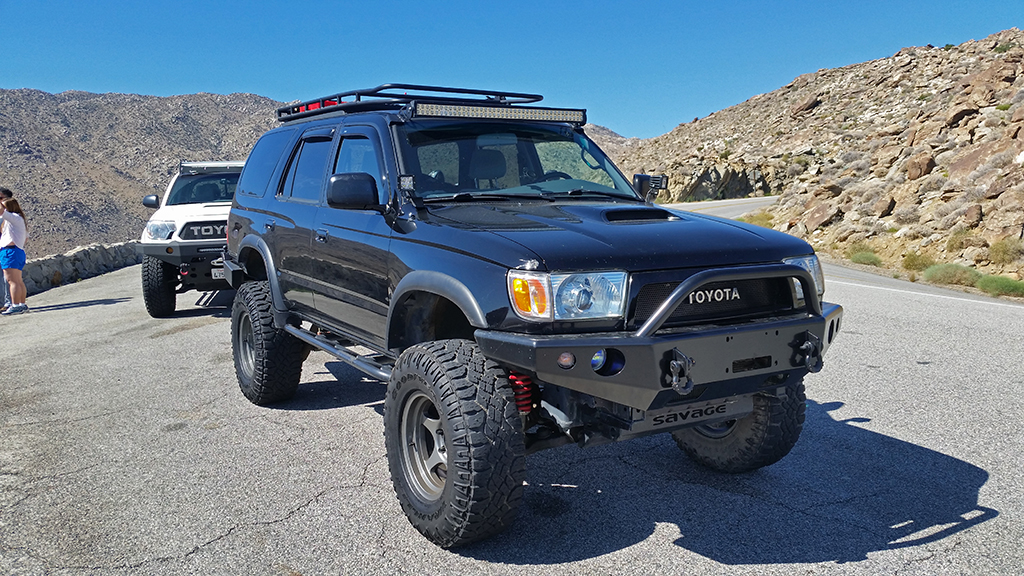
Very nice 4Runner and inspiring thread. I'd like the wheels and I've got small request for you. Have you got picture of the car taken from the front? I'd like to see how much those wheels are going out of the arches? I've got limited flares and I'm wondering which wheels to order, which offset. Also your wheels are now 33" (forgive dumb question, but I don't know what are the sizes yet :P)?
Thanks in advance.

___________
EDIT:
Never mind about the tire sizes, I've found good thread about it. :)
 
Last edited:
In Irvine?
Yup, he's in Irvine! I saw you post in his FS thread. Did you end up getting one from him too?

Very nice 4Runner and inspiring thread. I'd like the wheels and I've got small request for you. Have you got picture of the car taken from the front? I'd like to see how much those wheels are going out of the arches? I've got limited flares and I'm wondering which wheels to order, which offset. Also your wheels are now 33" (forgive dumb question, but I don't know what are the sizes yet :P)?
Thanks in advance.

___________
EDIT:
Never mind about the tire sizes, I've found good thread about it. :)
Thanks!
I'll see what I can do about finding a picture taken from the front. I'm sure I have one somewhere.
It sounds like you've found the info you need about tires....but yeah, mine are 33"
 
This is such a clean build. Great job.
Thanks man!

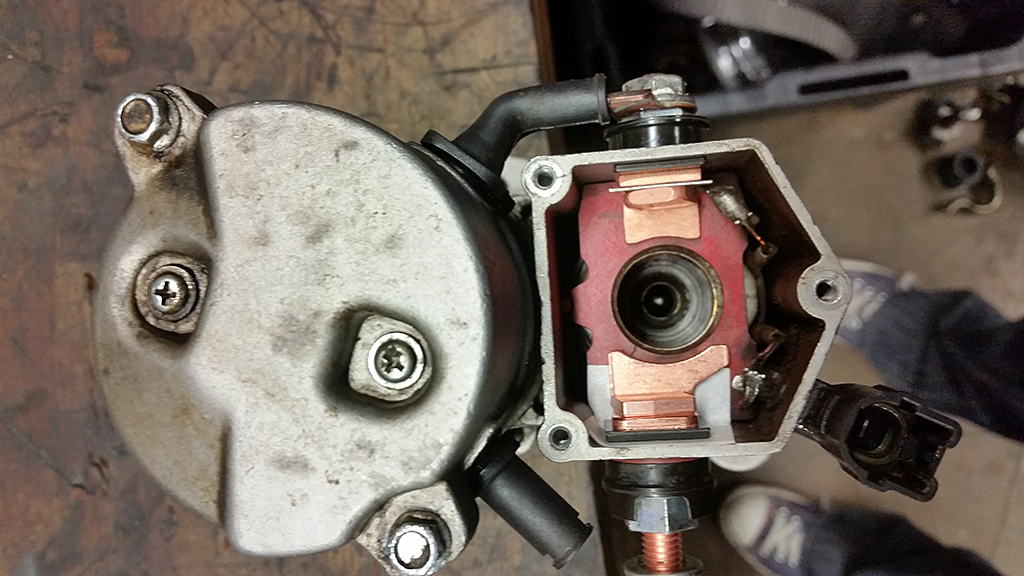
I recently had some starting issues. After some research, I decided to rebuild my starter. I used OEM parts, and followed this thread by @CoMarc

http://www.toyota-4runner.org/3rd-gen-t4rs/63228-another-starter-contacts-removal-thread.html

The things that were different for me were:
1. My 4Runner does not have that header bracket. So that was one less step!

2. Unlike most of the people in that thread above, I was able to fairly easily remove the starter from the engine bay. The trick.....remove the "D" brackets for the sway bar. With those removed, the sway bar rotates down, and gives room for the starter to wiggle out the bottom. Being able to do the rebuild on the bench was much easier than trying to do it in the engine bay.

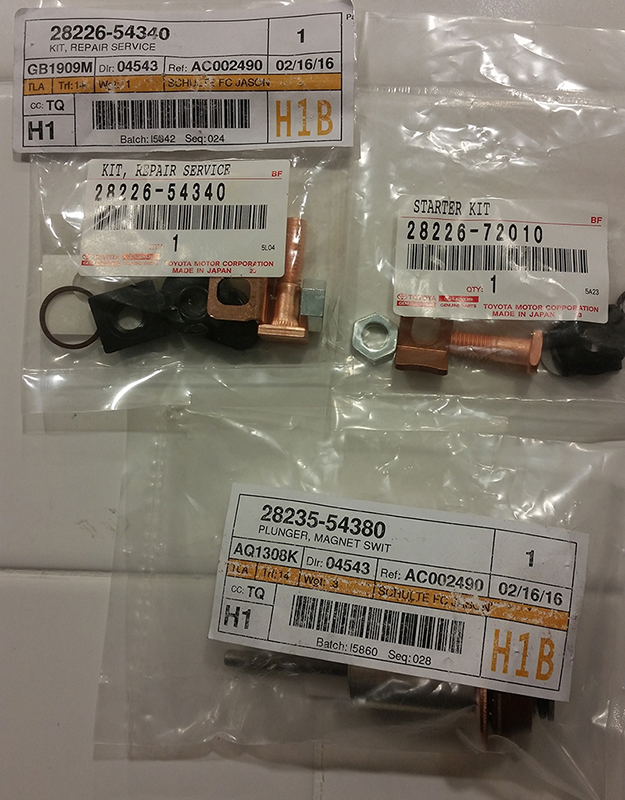
I ended replacing the contacts on both sides, as well as the "plunger." Parts numbers as follows:

starter_01.jpg


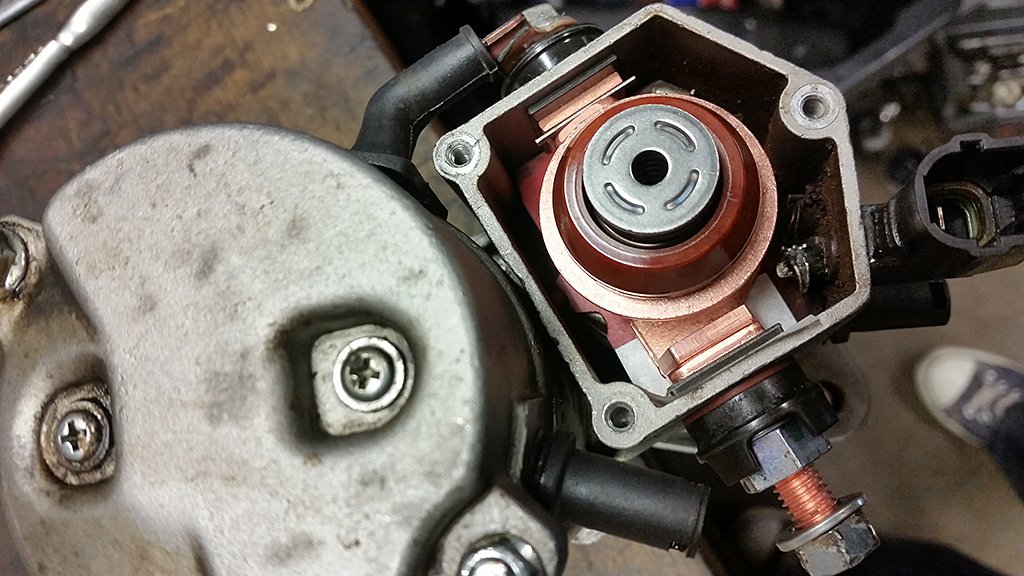
Here are a couple photos after doing a bunch of exterior cleaning and installing the new bits:

starter_02.jpg


starter_03.jpg


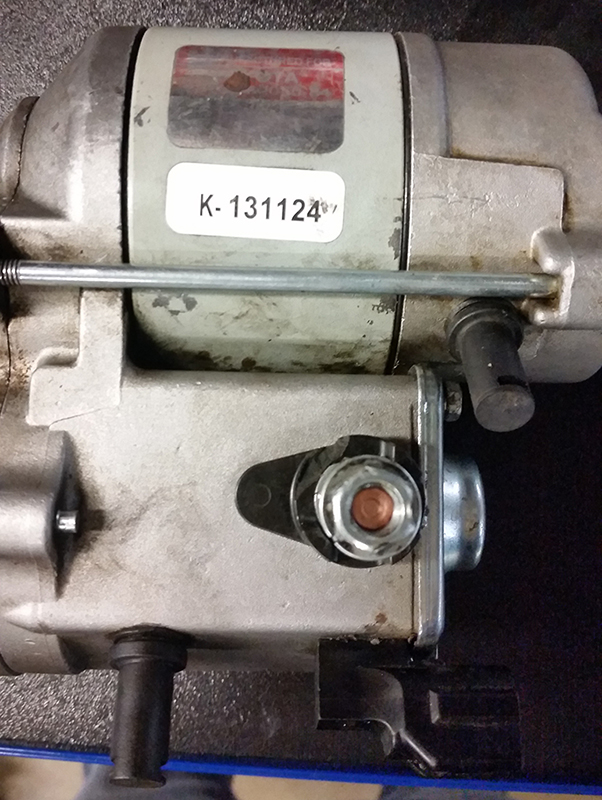
In the thread above, there was a lot of talk about "1.4k" vs. "1.8k" starters. I just took a chance and bought the parts above without knowing which starter I have. They ended up being perfect! After pulling the starter out and cleaning it up, I wasn't able to find a designation on mine.

starter_04.jpg


Lots of people talked about how hard this job is....but I found it to be pretty straight forward, and only took about an hour and a half (and that was including removing / reinstalling my skid plates, as well as doing some cleaning.) It starts nice and strong, every time now.
 
Just a little bit of an update....
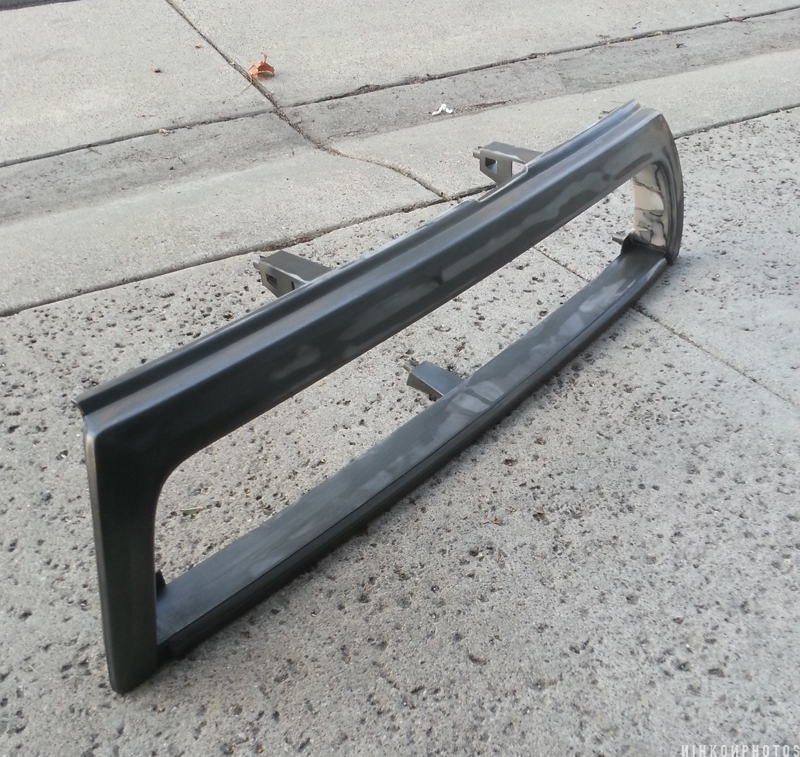
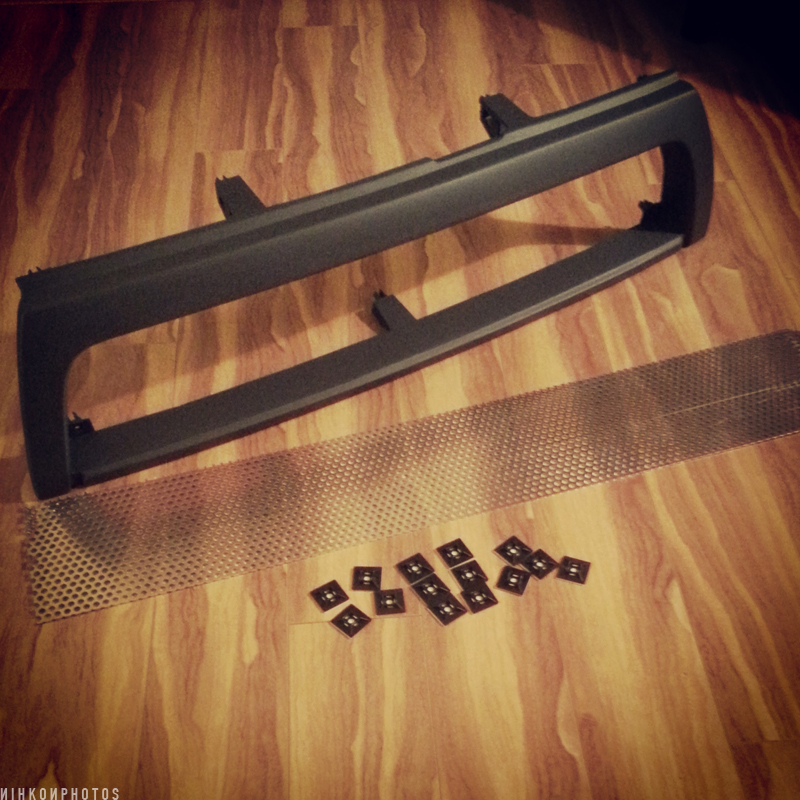
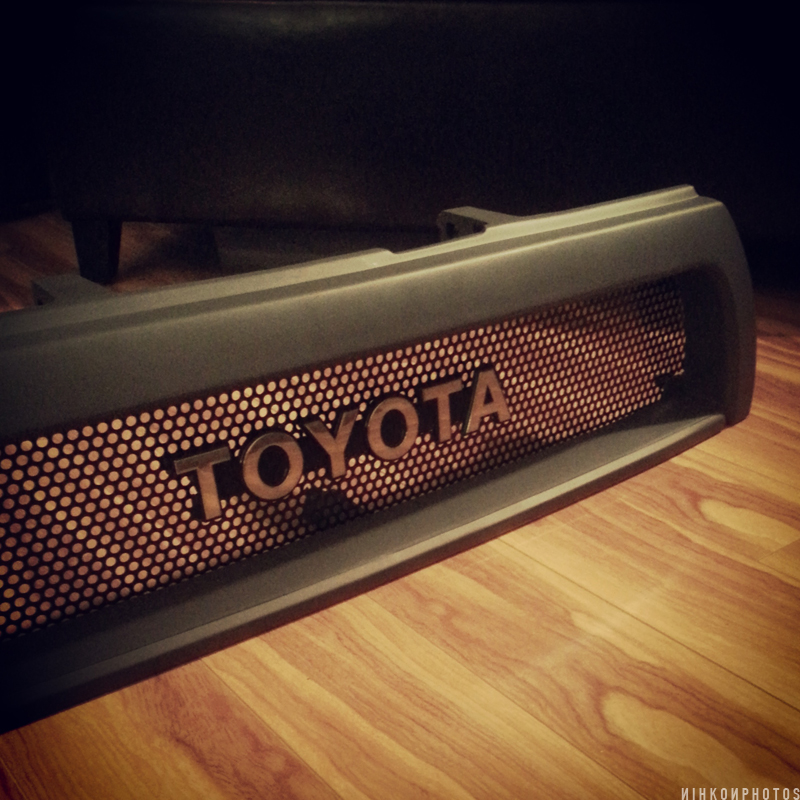
After stalling on the project for a couple of years, I finally finished my "satoshi" grill mod. I began this project around 2 years ago! I started off with an aftermarket grill (from autogeeks, I think?), the dremel'd out all the inner bits, just leaving the outer shell. Then it was time to use body filler to get rid of the holes left over. Then it was just a matter of cutting the mesh to fit, and painting it all. After painting it, I wasn't happy with how the body filled areas turned out, and I realized that I didn't go fine enough with the sand paper, and you could see some sanding marks through the paint. I wasn't in the mood to sand off all my paint and re-do the body filler, so I shelved the project, literally.

Here is how it looked a couple years ago, before paint:
satoshi_01.jpg


satoshi_02.jpg


satoshi_03.jpg


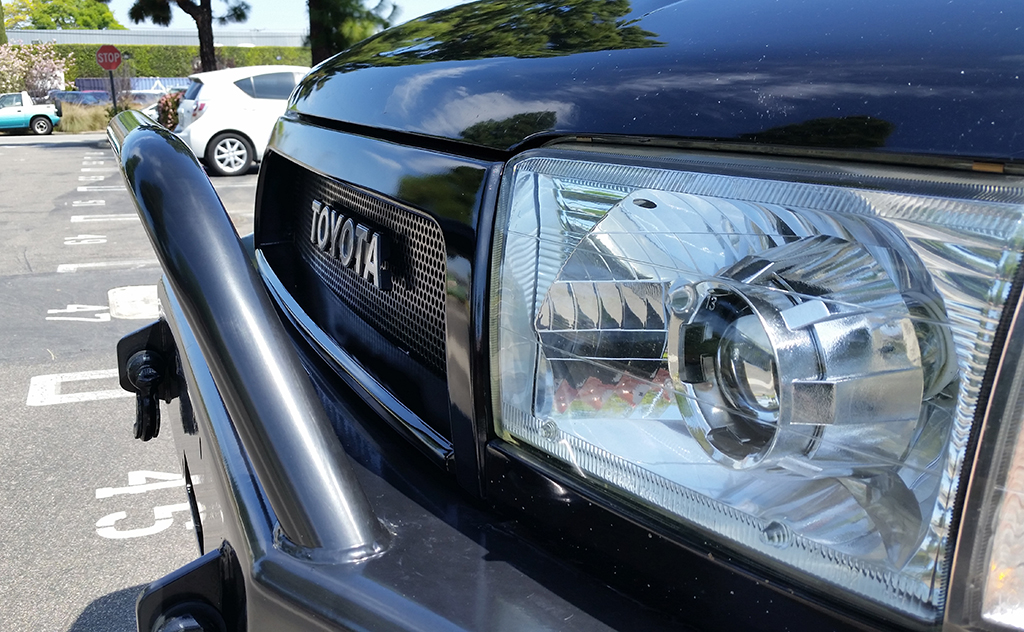
In the time since then, I moved twice...and that damn grill moved from garage to garage with me. A month or so ago, I decided to dust it off and sand it down and prep it for a second round of body filler, and lots of sanding. After that, I gave it about 4-5 coats of Toyota black paint, and then a bunch of coats of clear. During installation, I found out that the little round "nubs" on the back of the grill, that fit into the square holes in the truck....they were slightly too large in diameter, and I had to dremel them down a bit. It wasn't anything difficult, but it was unexpected. I guess that's the risk you take with aftermarket parts huh!

Anyway....here's how it turned out:

satoshi_04.jpg


satoshi_05.jpg


satoshi_06.jpg


Its funny....this was one of the first mods I wanted to do to my 4Runner when I first bought it. I picked up the parts pretty early on, and now....3.5 years later....it' finally on my 4Runner! lol

In other news....
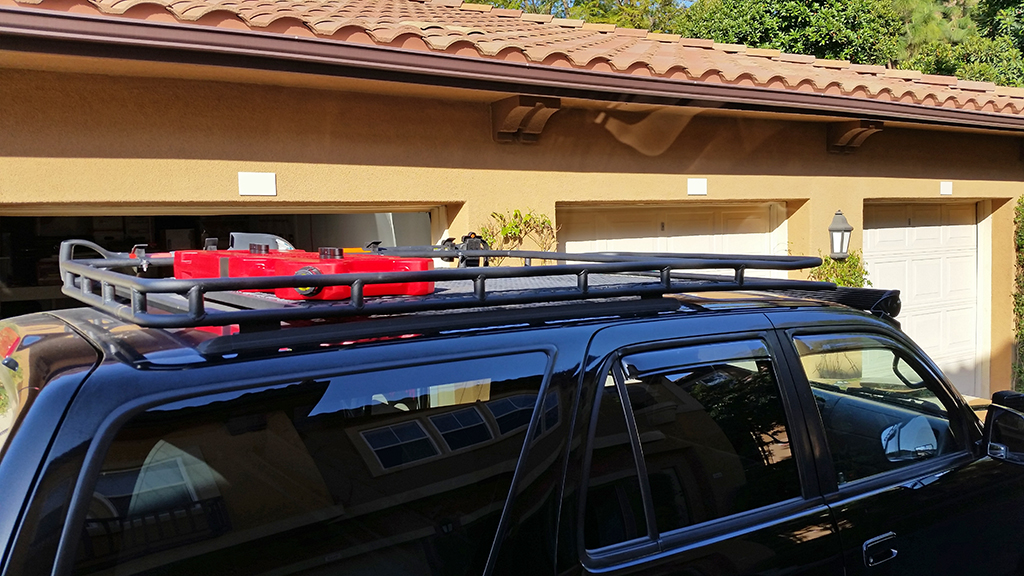
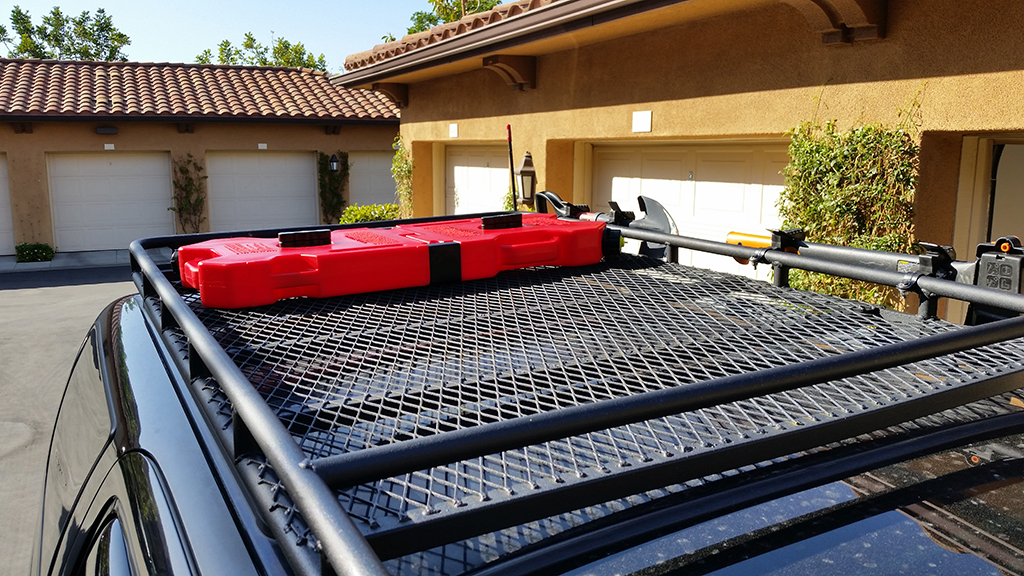
I picked up a couple Rotopax fuel tanks, and mounted them to the roof rack. Mounting was pretty straight forward, as you'd imagine.

rp_01.jpg


rp_02.jpg


rp_03.jpg


rp_04.jpg
 
Just a little bit of an update....

In other news....
I picked up a couple Rotopax fuel tanks, and mounted them to the roof rack. Mounting was pretty straight forward, as you'd imagine.

Awesome! What size packs did you use? I just ordered the same rack. Got to get some storage together for MOAB.
 

Members online

Forum statistics

Threads
278,304
Messages
3,554,041
Members
248,016
Latest member
Advally Service

Trending content

Back
Top