5 weeks later and there has been no settling what so ever!
Front are both 23" from center of hub to fender.
Rear are both at 24.5" center of hub to fender.
However, the running boards are dead level! This is what I was after even though there is a 1 1\2" difference front to rear.
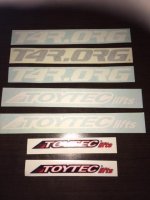
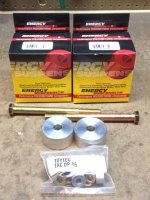
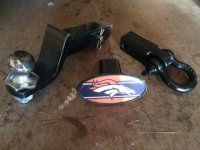
I received T4r.org decals from Momo and Toyteclifts decals from Toyteclifts in the mail today. I also stopped by Toyteclifts on my way home and picked a diff drop kit and F and R sway bar bushings.
Maintenance mods and some promo placement items getting put on my T4r next week. :dancin:
Installed the F. Sway bushings over lunch! :rockon:
Step 1) Removed skid plate
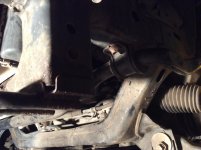
Step 2) Removed sway bar bushing bolts - I thought to take at least 1 pic here
Step 3) Removed old sway bar bushings
Step 4) Put grease on new sway bar bushings
Step 5) Installed new sway bar bushings
Step 6) Tighted sway bar bolts to 30 ft/lb's ... or so
Step 7) Reinstalled skid plate
DONE ... LOL
Spring break filled up with activities so doing what I can when I can.
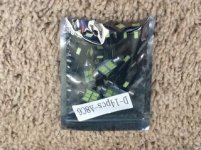
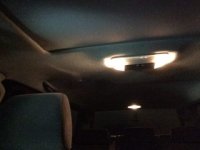
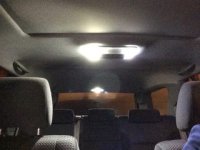
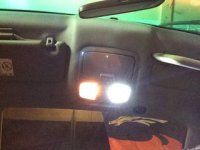
I installed my new $15.00 bag O' LED's today! Wow, what a transformation. Might be the best $15.00 I have ever spent on my runner!!! All in all it took about 30 minutes to do including the license plate lights and trouble shooting a door light that wasn't plugged in at all...WTF??
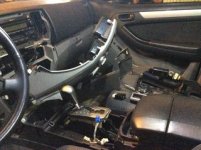
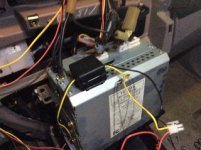
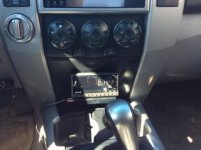
The LED's were so bright I thought I'd tackle another project I've been putting off for years!!! The removal of my OLD as dirt Sirius radio FM modulator!!! What a PITA, but once again I can thank T4R.org for helping figure out how to take the radio out!!!
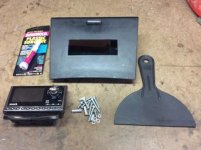
Next up is a mod to attatch my newer Sirius Sporster 5 so I can move it between cars. Hopefully before the family heads to Vail on Monday!
Thank you [MENTION=51779]zerowkul98[/MENTION] for posting a link on how remove the radio unit!!!
The removal of my OLD as dirt Sirius radio FM modulator!!! What a PITA, but once again I can thank T4R.org for helping figure out how to take the radio out!!!
Next up is a mod to attatch my newer Sirius Sporster 5 so I can move it between cars. Hopefully before the family heads to Vail on Monday!
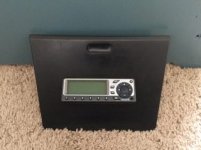
Out with the really old and in with the "sort of" portable newer. Replaced Sirius radio with another one, but is capable of moving between 2 cars! I plugged it in and even though subscription to this radio was cancelled 5 years ago it was still active!!!! Freebie means no transfer between cars! Sweet...
Turned out pretty well except for the glue explosion that got over the console door!!! Does anyone have ideas to get superglue off plastic?!?!? Oops...I've tried nail polish remover, a razor blade, warm soapy water, and rubbing alcohol so far.
Turned out pretty well except for the glue explosion that got over the console door!!! Does anyone have ideas to get superglue off plastic?!?!? Oops...I've tried nail polish remover, a razor blade, warm soapy water, and rubbing alcohol so far.
Had a crappy day and needed to do something quick and fun so I belly crawled under my T4R to assess what I needed to do to install 1" diff drop. Got things figured out and kept on going by installing the spacers for front and gas tank skid.
To my surprise this part of my day actually went better then planned! Now...next step is to install the diff drop. Maybe in another 2 weeks I'll have the time to do it and I'll lift her so I don't have to belly crawl! :bluejump:
I also found a diagram for front differential information: Torque spec, for front differential mounting bolts, is 101 ft lbs.