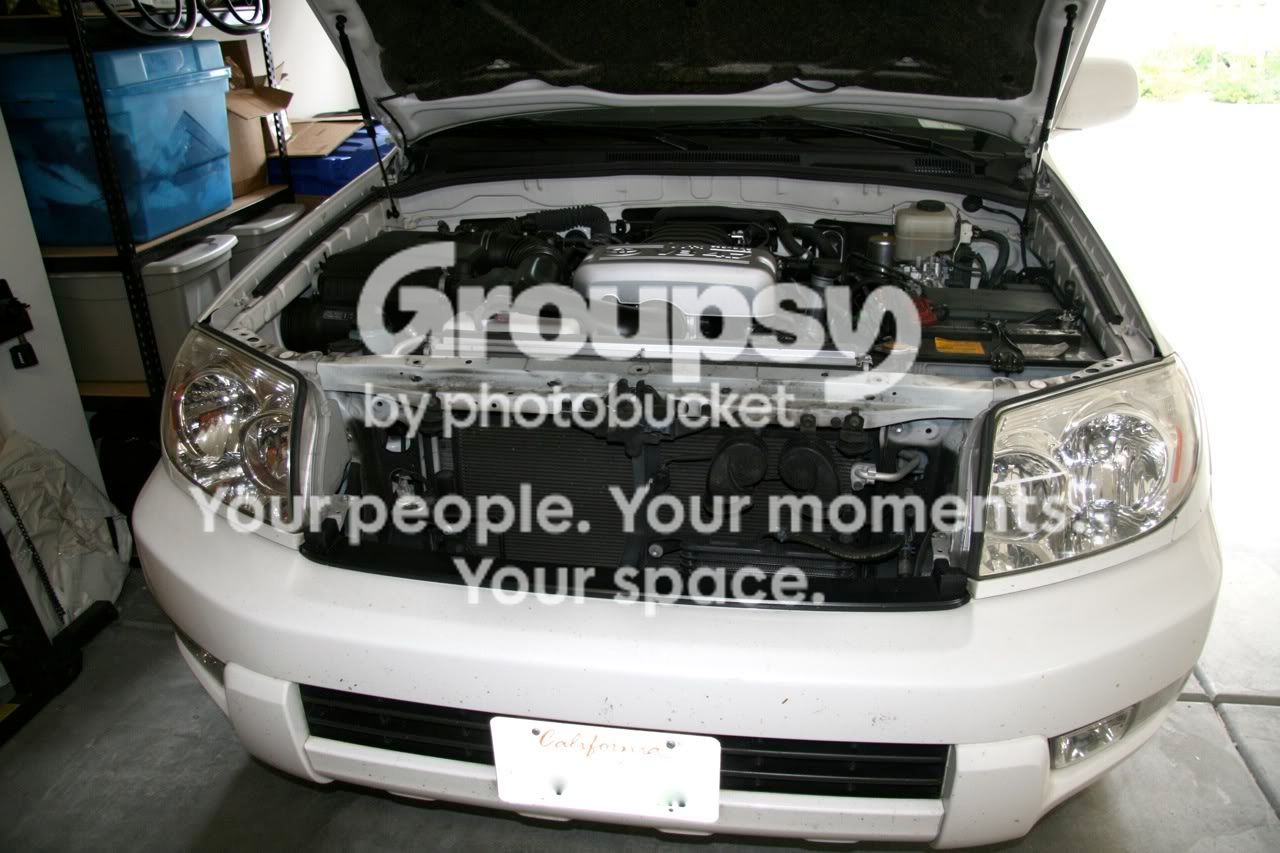
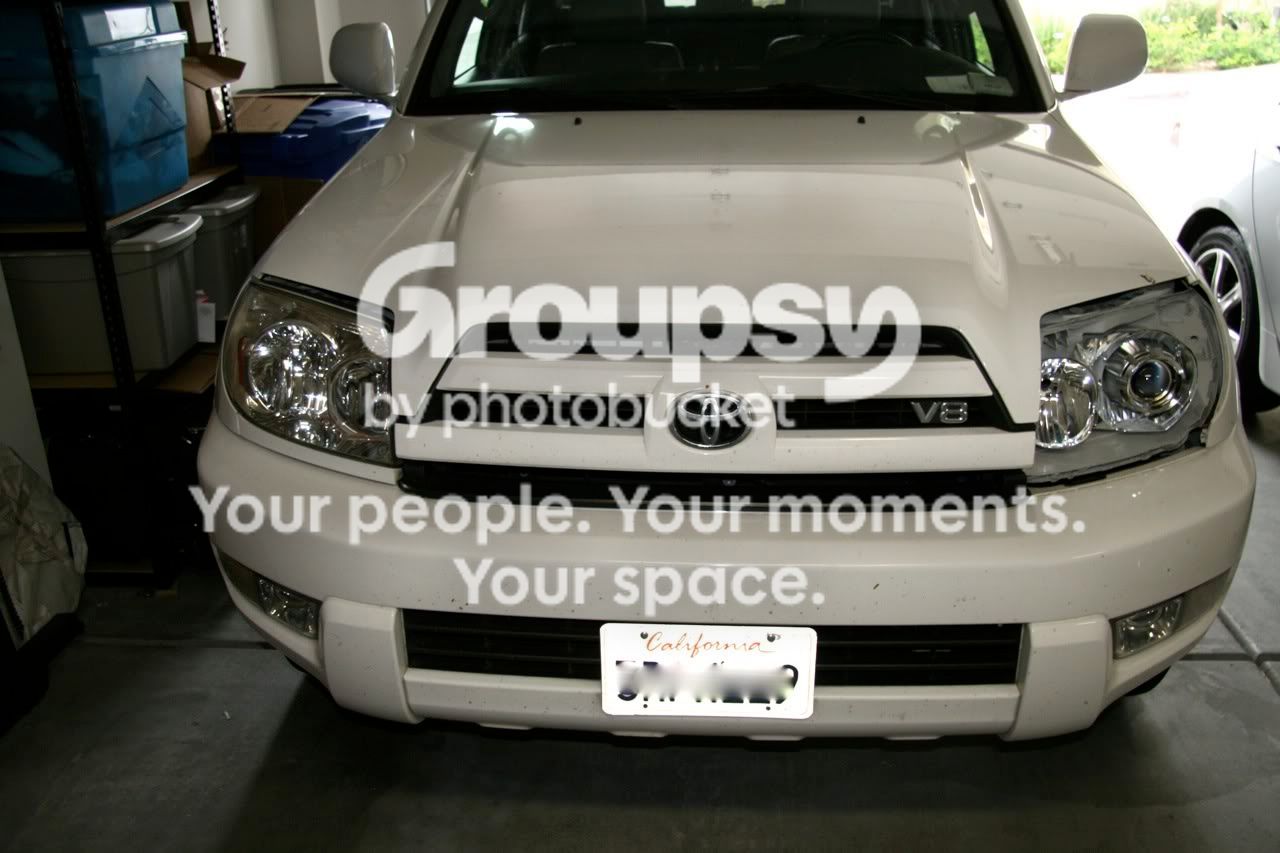
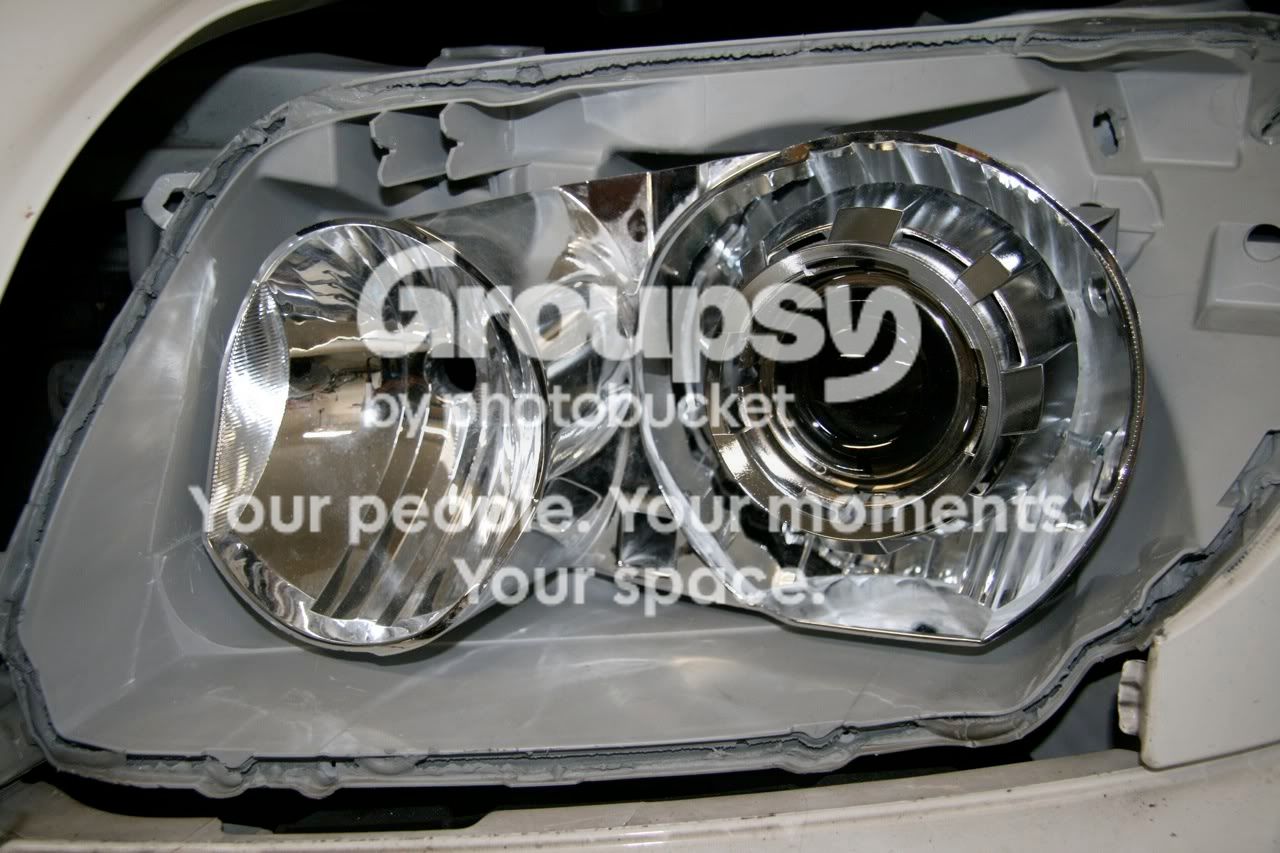
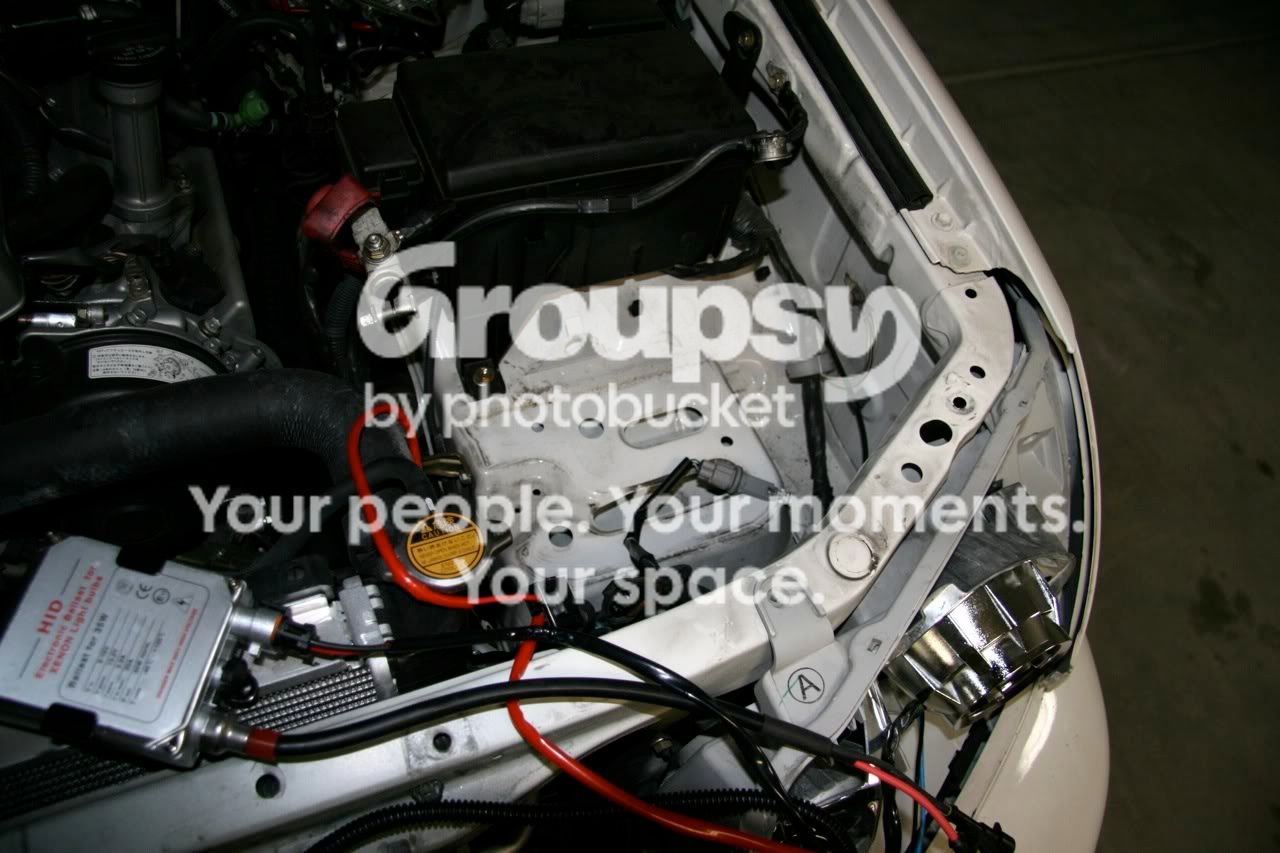
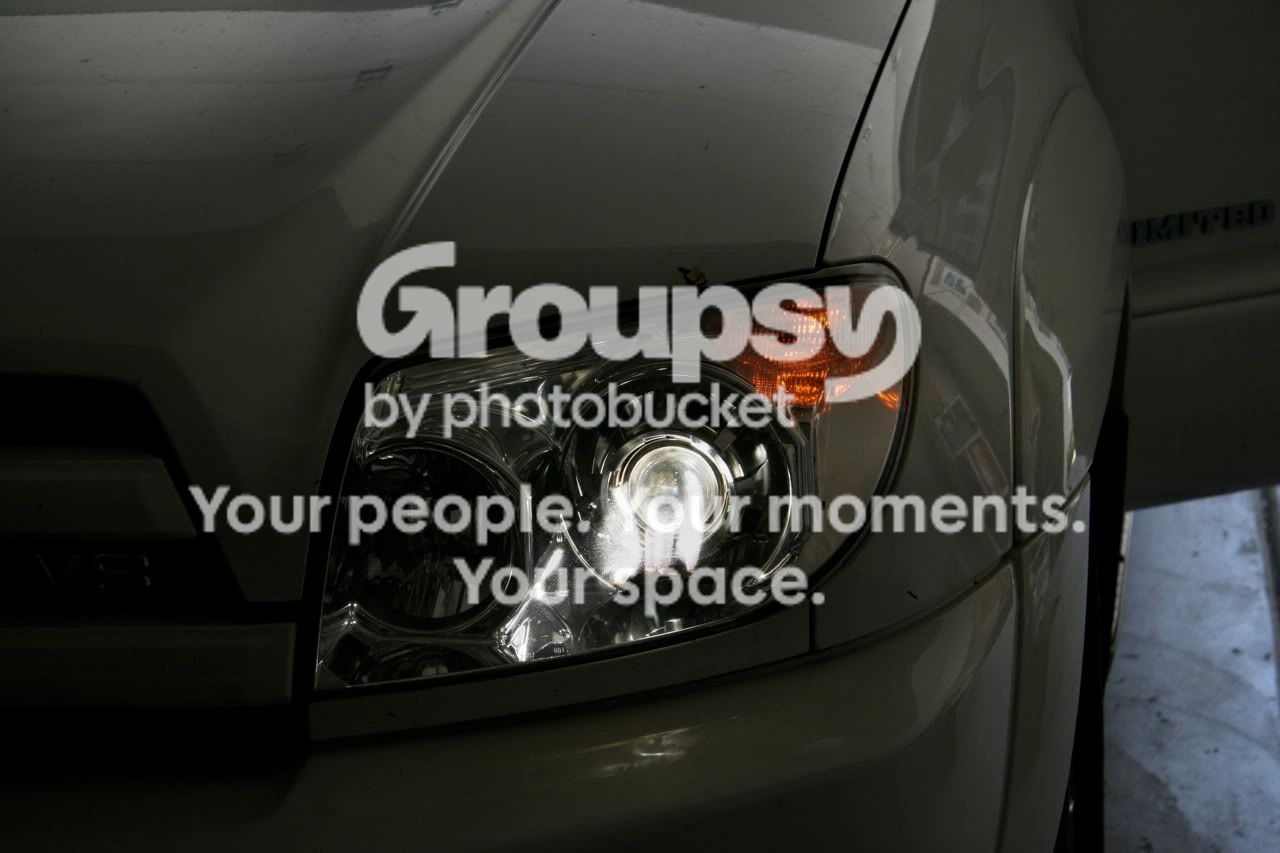
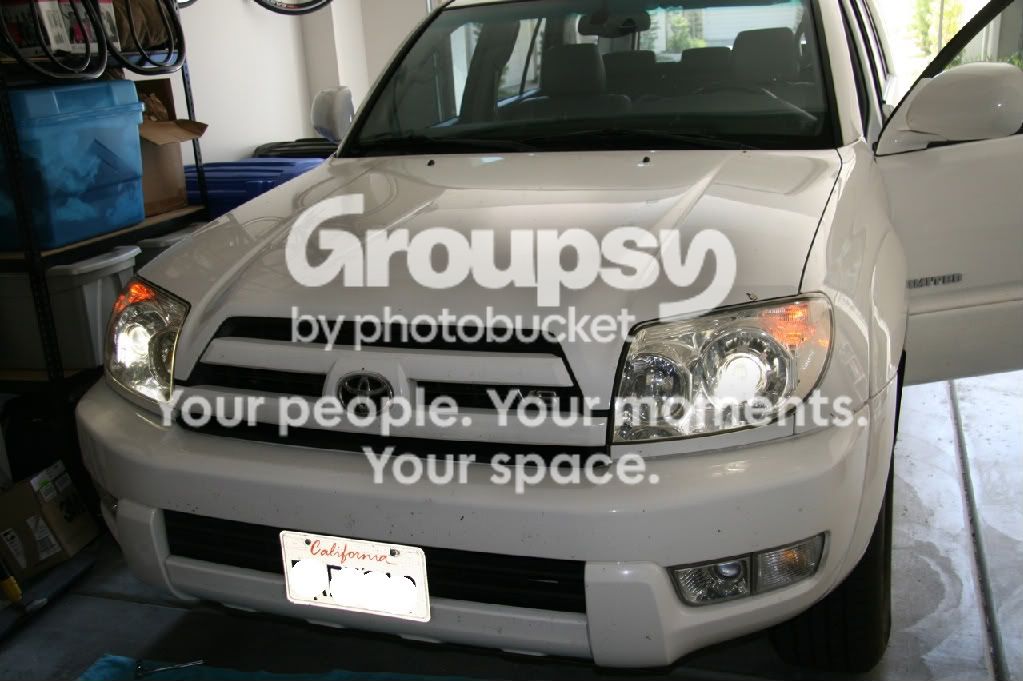
More pics of my retro...
so my TSX projector retrofit has been done for a few months. sorry for laggin on posting up my pics. i still don't have any output pics yet. i have yet to find a setting on my camera that shows the color at the cut off and just how bright these things are.
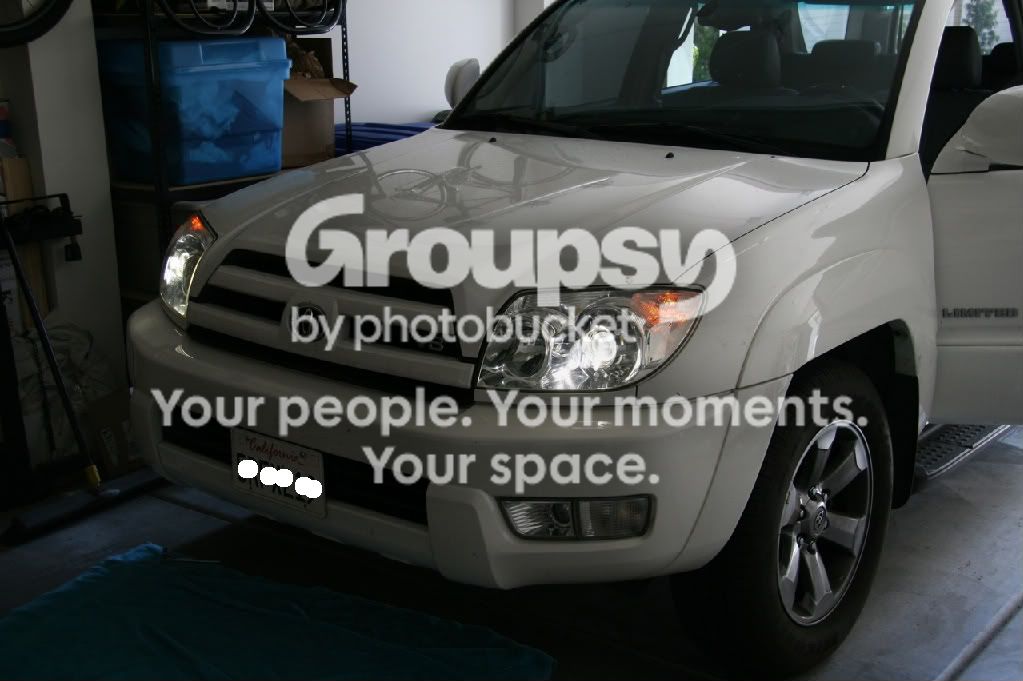
i'll say that these are AWESOME and i love seeing that super crisp line in front and to the sides while driving at night. i'm sure i would have been happy by swapping them out for the 06+ headlights. but i have a bit more pride in these knowing that i did it myself. it took me back to my teenage years of working on my '71 VW Bug.
i should have my fogs done in the next few weeks and will enjoy the extra light from that as well. just not sure if i should match the 6000K or go 3000K.
So just a quick run down again on what i used:
2005 4Runner Limited
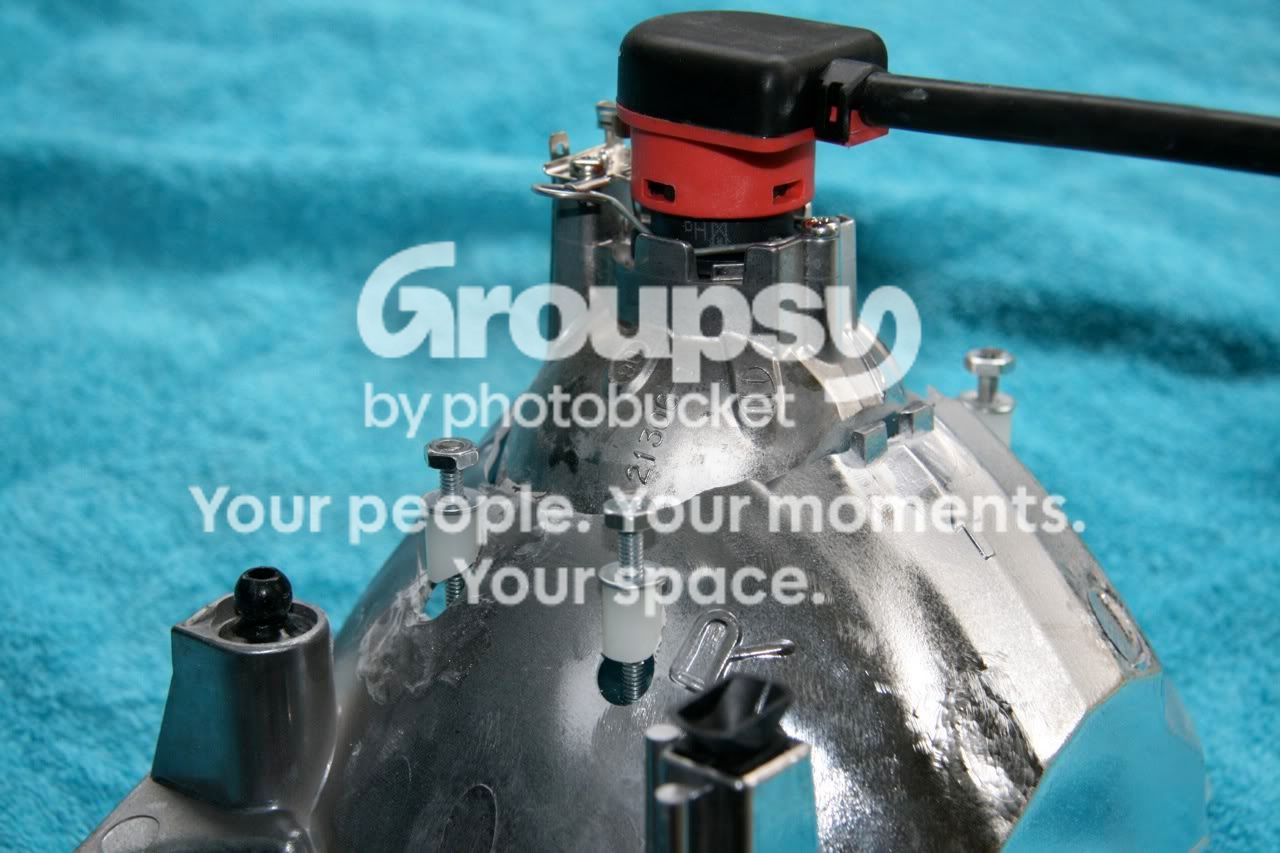
RDX projectors (same as TSX) with clear lenses
35W 6000K HID kit from a local shop w/ relay kit
Gatling Gun shrouds from retrofitsource.com
As mentioned before, this project took longer than i planned mostly due to a busy social schedule. i seldom had a full night where i could just work from 8pm to 2am. most of the time was spent adjusting and leveling the projectors in the housing before sealing up the headlight assembly. Baking, disassembly and cutting didn't take long at all. maybe an hour per headlight.
special thanks to paraordnance for the helpful emails. couldn't and wouldn't have done this without it!
while i was in there i removed the amber reflector. i also changed the amber turn signal bulb to a LED. it's a bit brighter but a more rich amber color. i like it a lot.
Here's a breakdown of the cost for the project:
RDX Projectores: $125
HID Kit w/relay: $100
Shrouds: $50
Clear Lenses: $50
Various screws, silicon, etc: $30
Dremel: $50
So, if you have the tools, it's about $350. I'm sure you could find better deals other places, but that's what it was for me. This is cheaper than buying the newer 06+ headlights considering you still have to buy the HID kit for them and the trim piece below the head light.
And now on the pics:
<p>
removing the trim pieces
<p>
temp fit on driver side...old headlight on passenger side
<p>
up close of temp fit
<p>
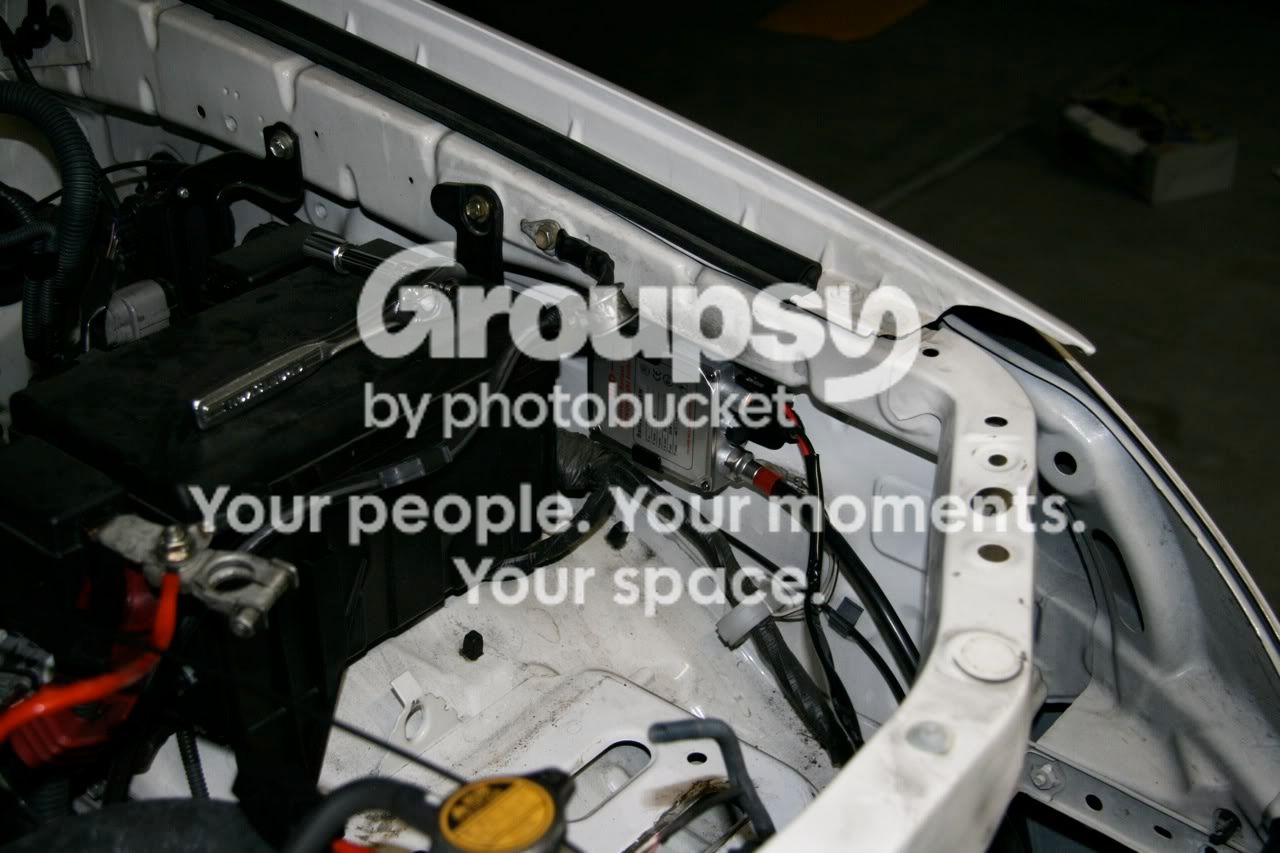
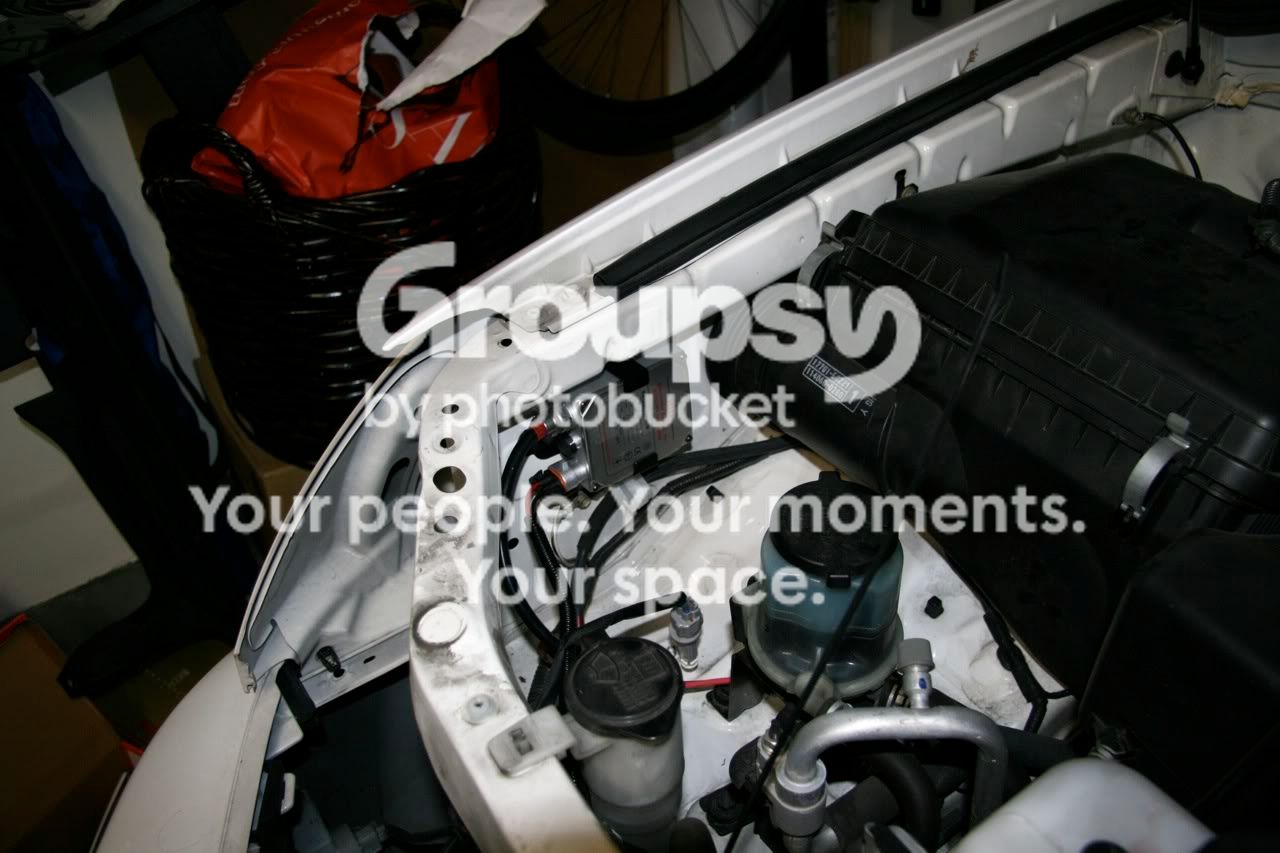
looking for a places to mount the ballast
<p>
driver side done
<p>
passenger side done
<p>
finalizing the fit and mount
<p>
and they are in!
<p>
<p>
<p>



 :
: