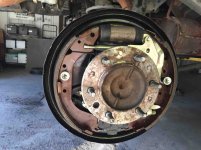
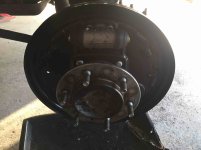
Rear Axle Seals: The Ultimate Information and Replacement Thread (3rd gen)

Here is my go on the axles seals. Job overall was cake, but a few tool issues caused it to be more of a pain in the arse than it should have been. Issues were overcome and I am better off now than I was with new customized tools. I do not go into all details of the job - just some highlight photos.

Lets start with the tool set. I bought these from a seller on ebay. Looked / are well made. Bit pricey, but worth it. These allow the quick and easy removal of the ABS ring, seal race / bearing retainer and bearing
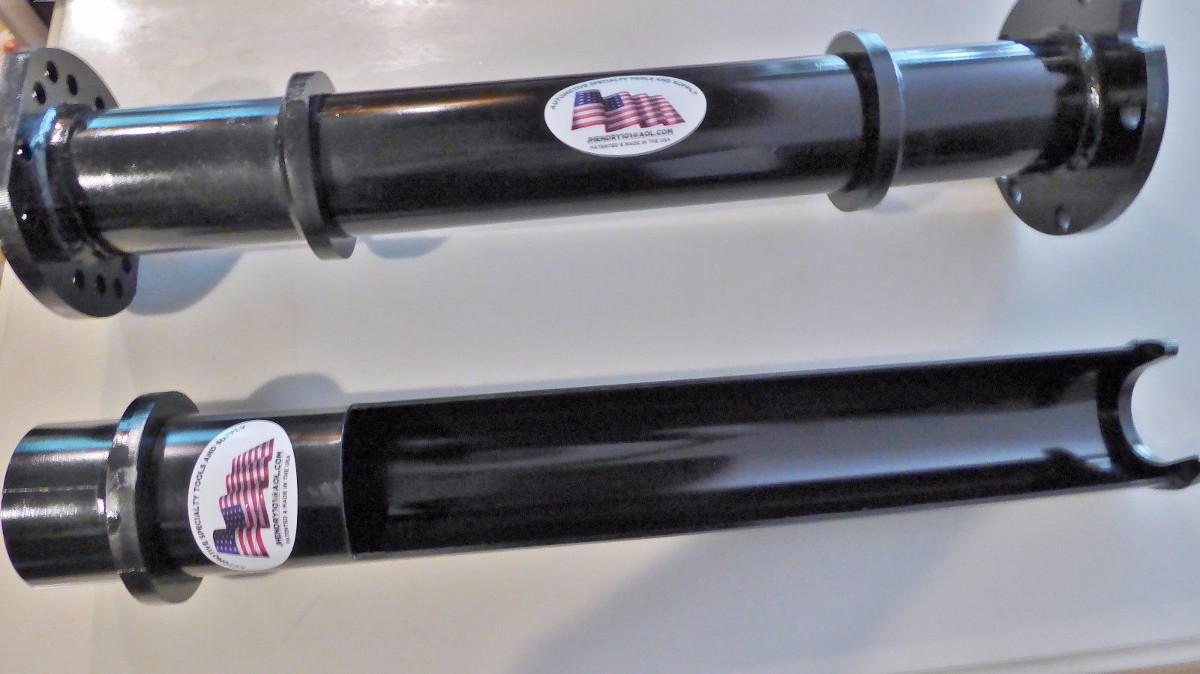
s-l1600.jpg


First, what started this whole mess.
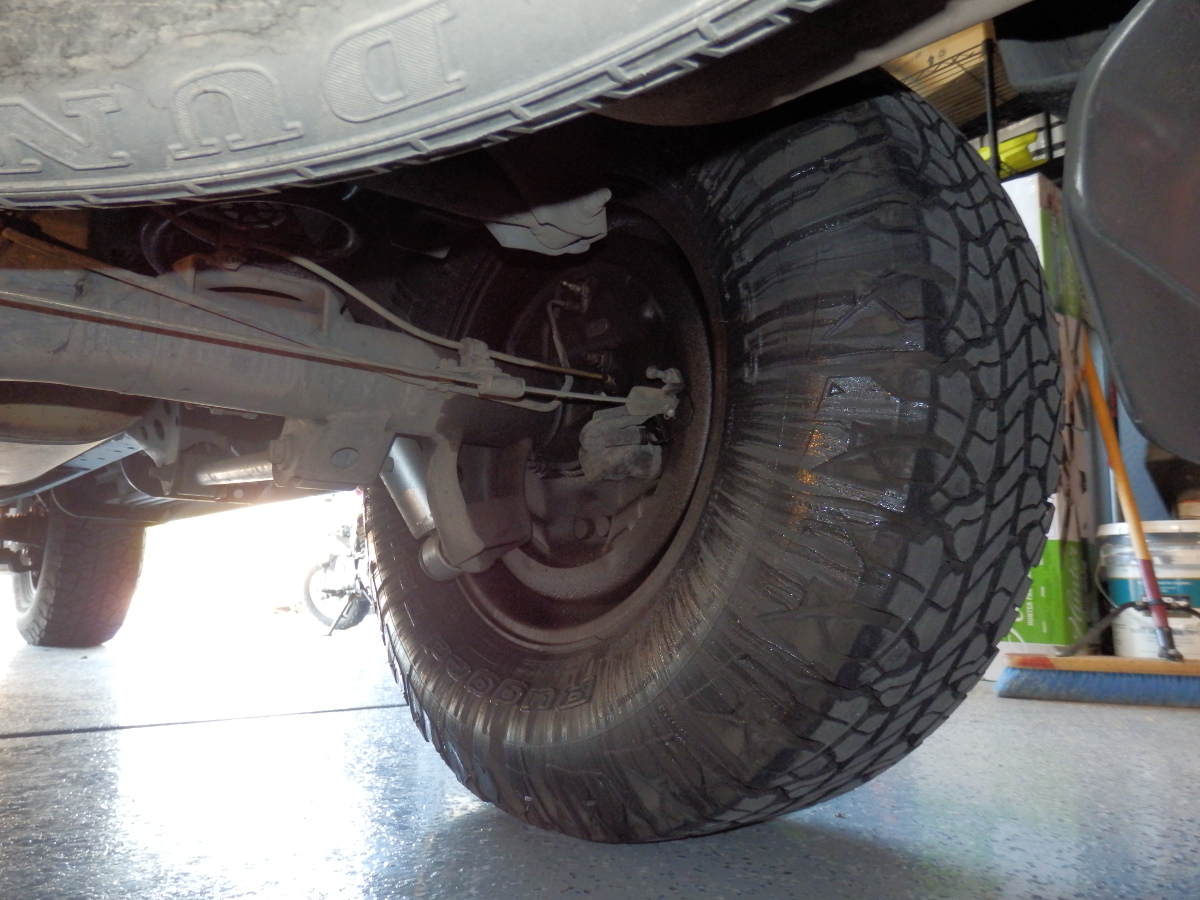
1.JPG


First up, axles pulled and went to use the ebay tool. Demmit... the horseshoe grabber thingy is to thick to properly grab the ABS ring. Had to use my chop saw and take about .125 off the thickness to get it to work. Told the seller about it and he promptly apologized and refunded a bit of the purchase price for the issue.
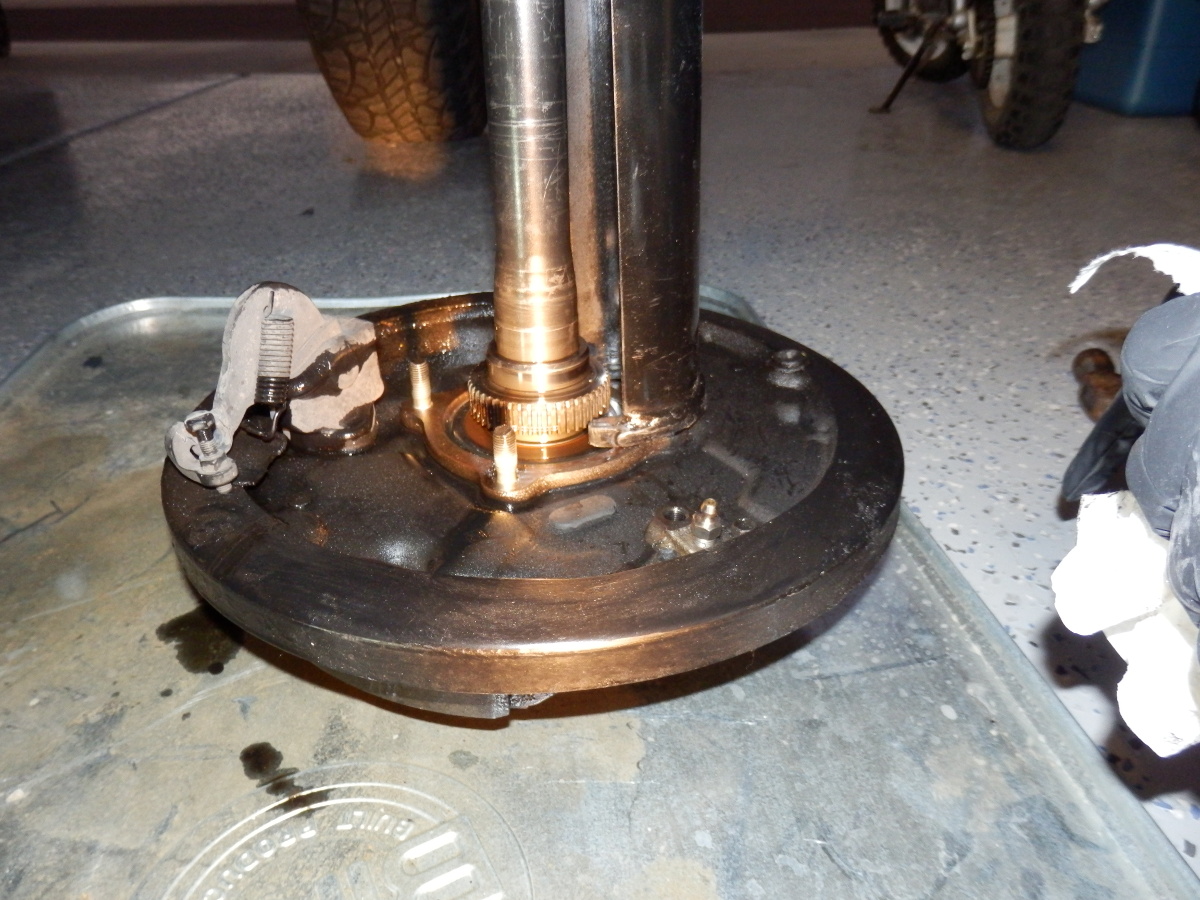
2.JPG


After taking the material off, the tool made short work of yanking things apart.
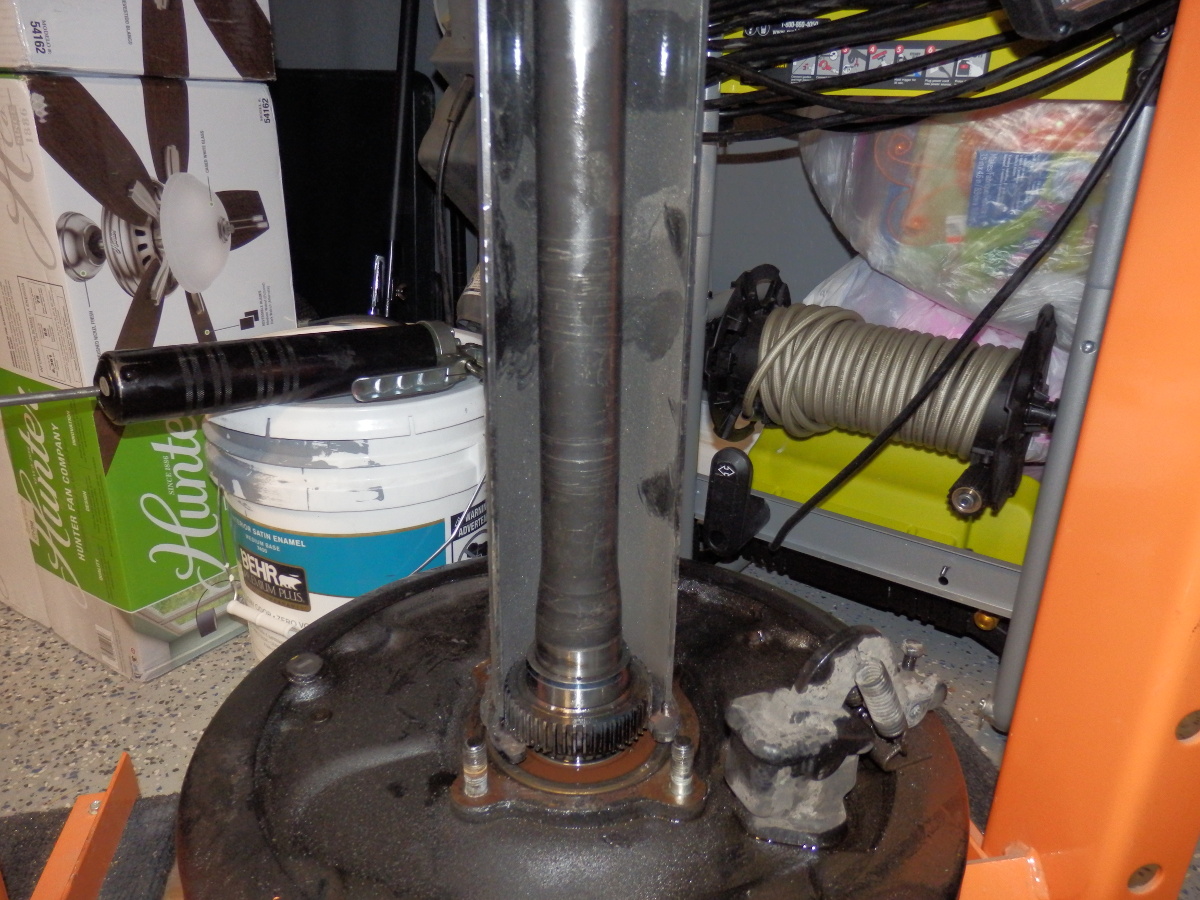
3.JPG


Another shot in the old press.
4.JPG


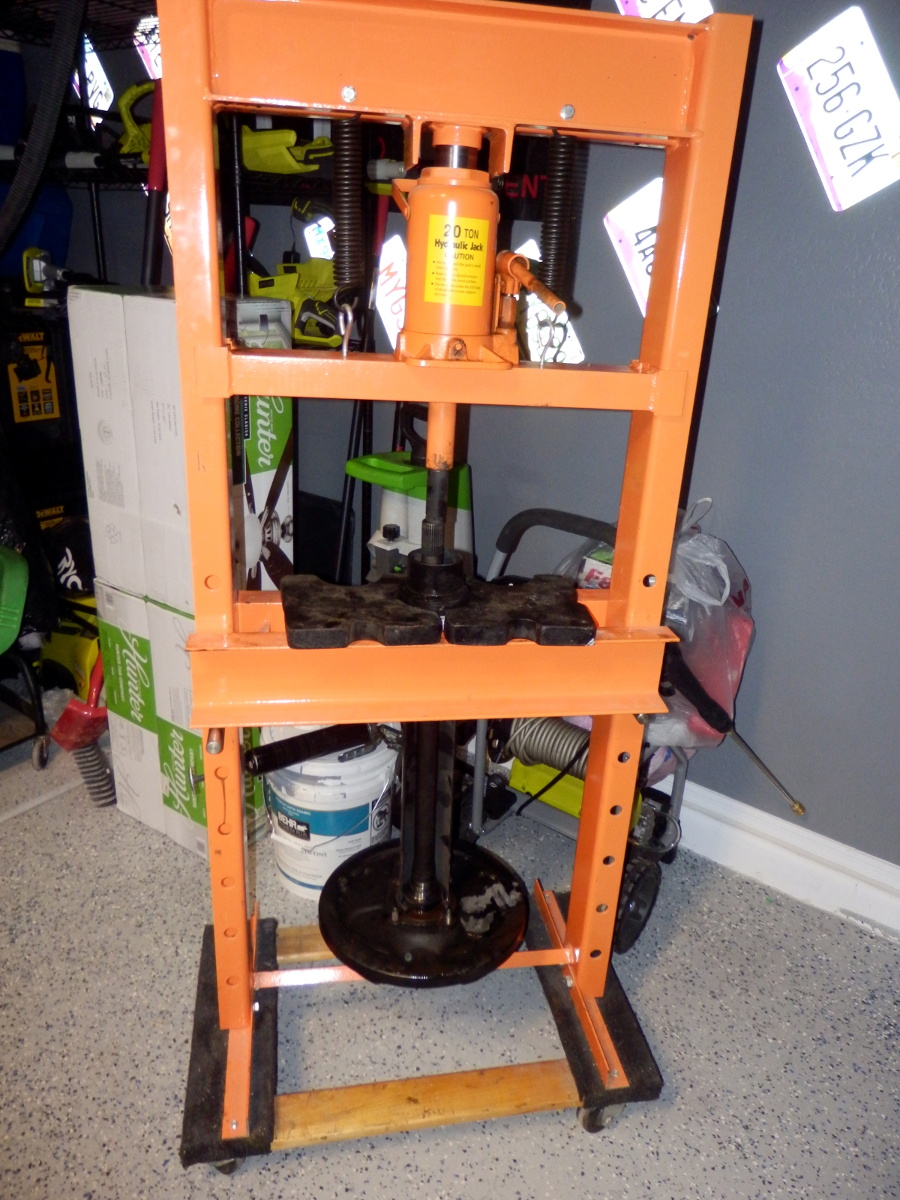
Next up, pressing the axle shaft out of the bearing. Which at the same time presses off the retainer ring (after removing the snap ring of course). I also had issues with this tool but it more came down to my 8-10 year old HF press. The opening on the press deck was only 4" This tool needed at least 5". So I had to cut the cross bars on the press deck to fit everything properly. This is not high pressure / stress work so it was not dangerous. I will be adding adjustment parts and tube later on to re-finish the deck and make it safe again.
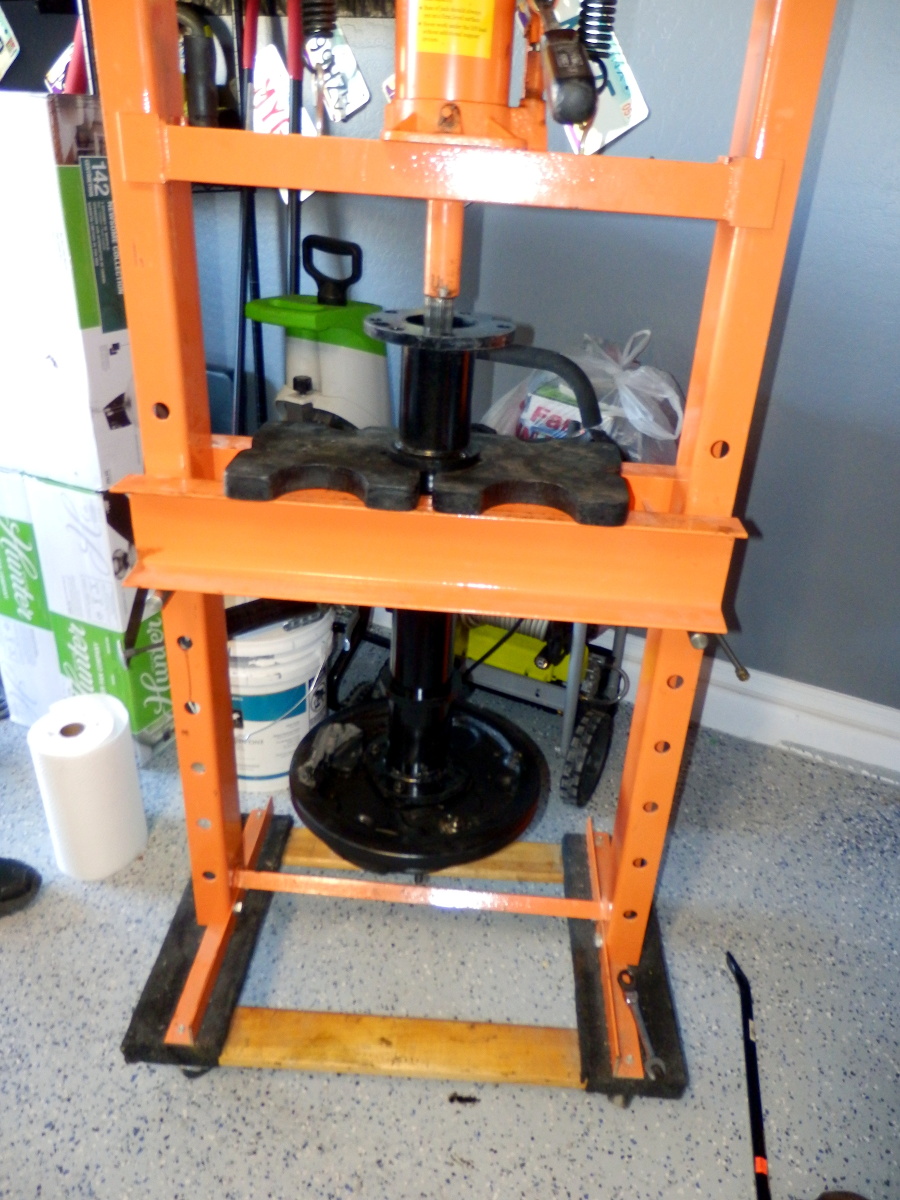
6.JPG


Found this steel tube at home depot. The thickest part of the axle shaft is 1.577 and this tube is about 1.6 ID! This is what I used to make a tool to press everything back together quick and easy.
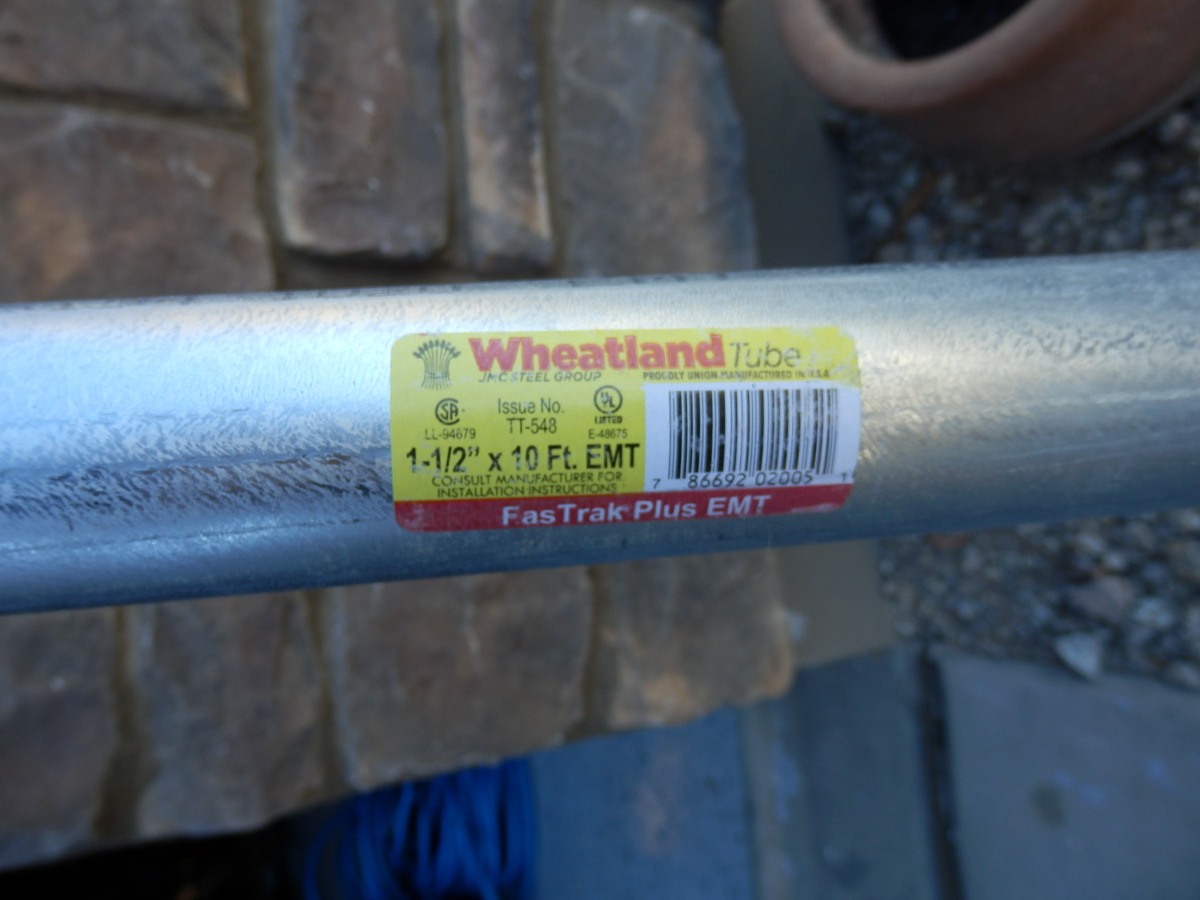
10.JPG


Now to put things back together.... Here is that tube I was talking about - cut to the length I needed. In my HF bearing race / seal driver set, I used the 44.5mm as a press cap on the tube. It was a flawless fit like it was made for it. You can see it on top of the tube Nice! Also notice the newly modified... press deck sitting on its sides at the bottom of the press. This allowed me to use the rotor mount trick below. Just to reinforce the statement... these little tricks are for low pressure press-work only like seals, retainers and such. Setting up the press as pictured for doing something high stress with the press decks sitting on the bottom legs is just stupid.
Reference tool: Search results for: 'seal driver'
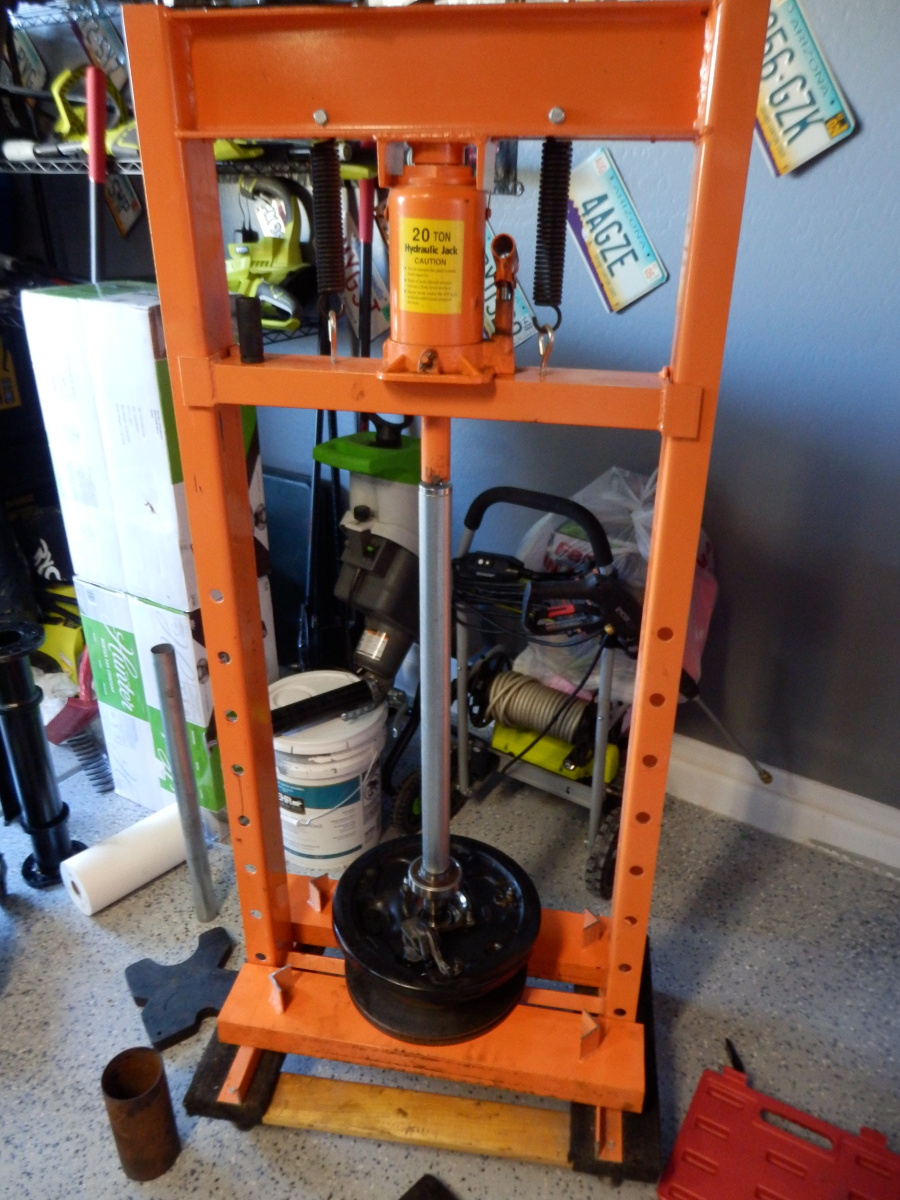
8.JPG


To support the whole assembly while pressing back together, I use an old 4runner rotor (never throw old rotors away, they make killer low pressure press tools for bearings and such!)
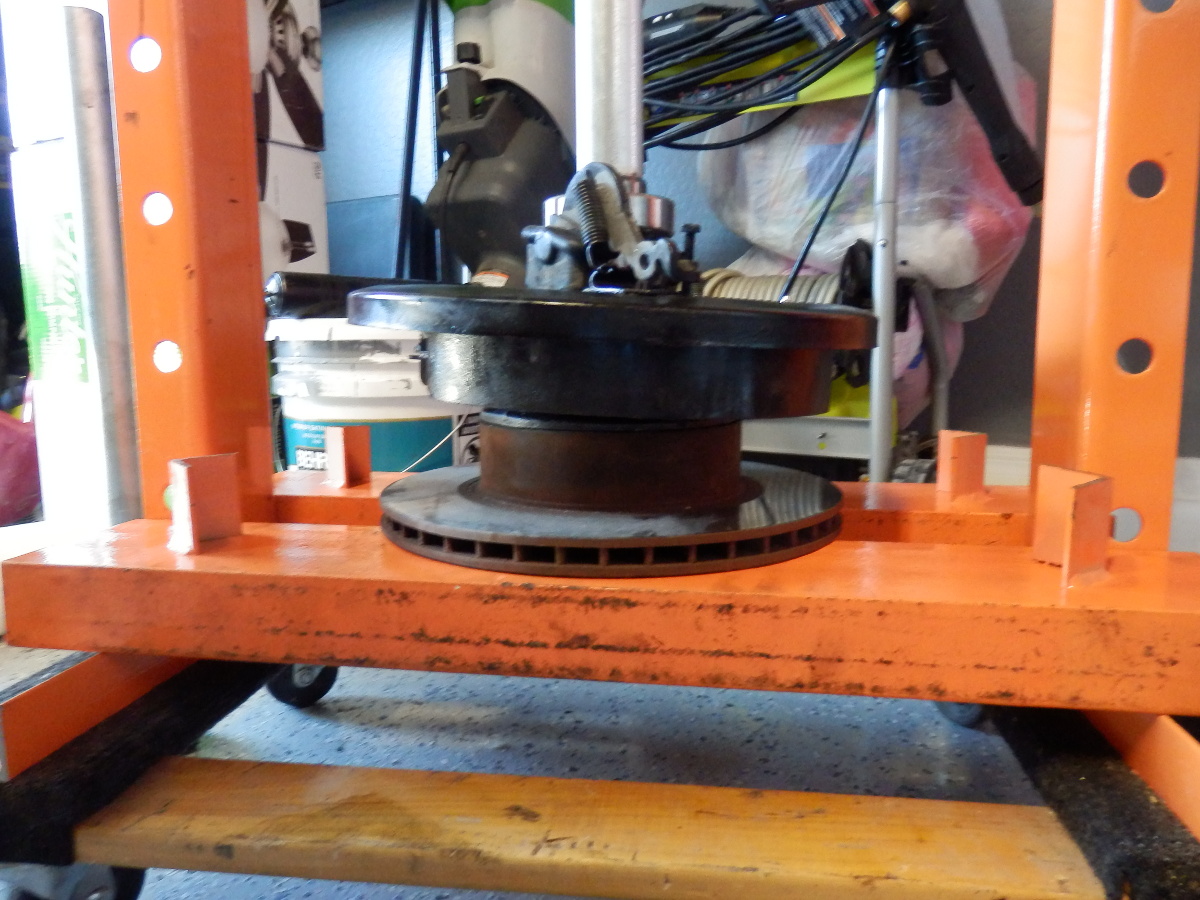
11.JPG


Setting the depth on everything. In this photo

- Bearing retainer pressed flush
- ABS ring pressed to 19mm (was best centered at 16mm)
- Seal race at 38mmish
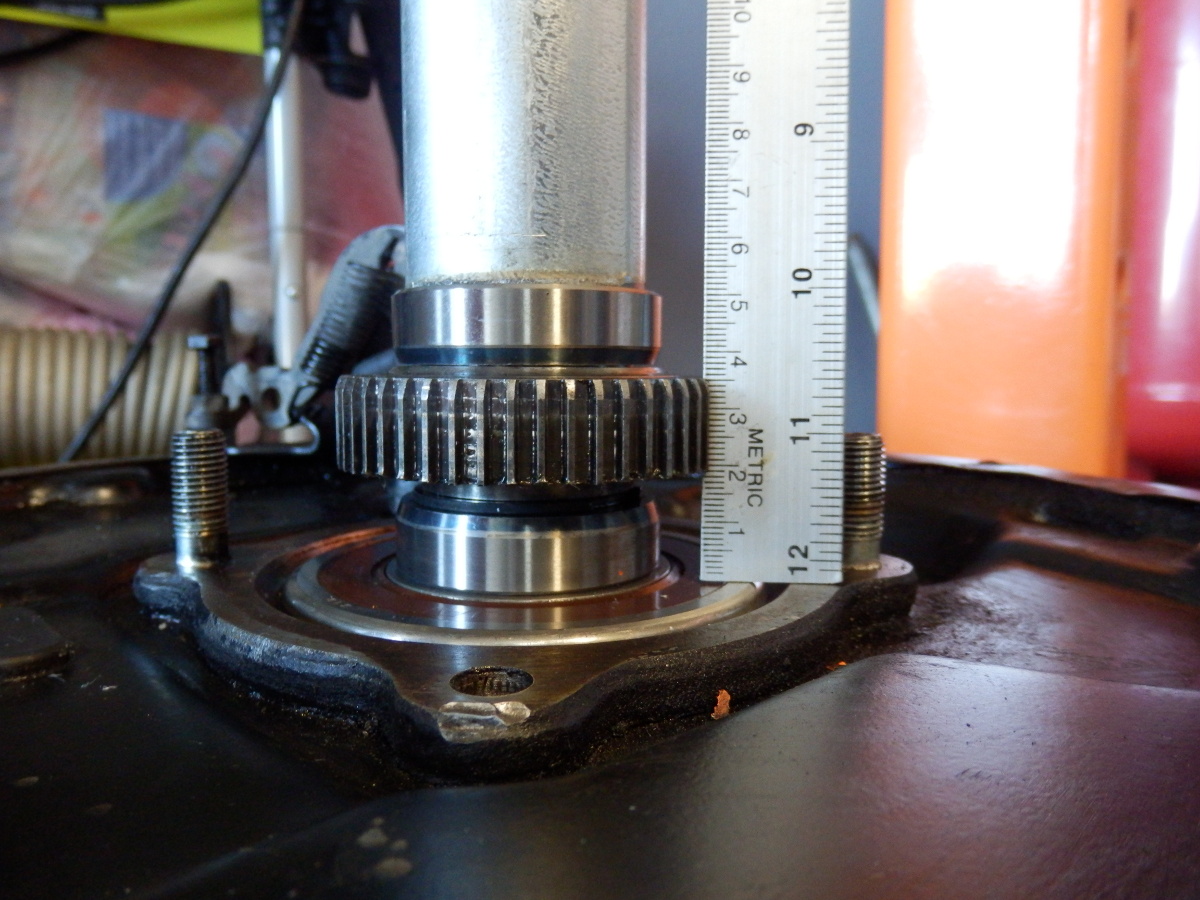
12.JPG


Here is a photo with the ABS ring at 16mm
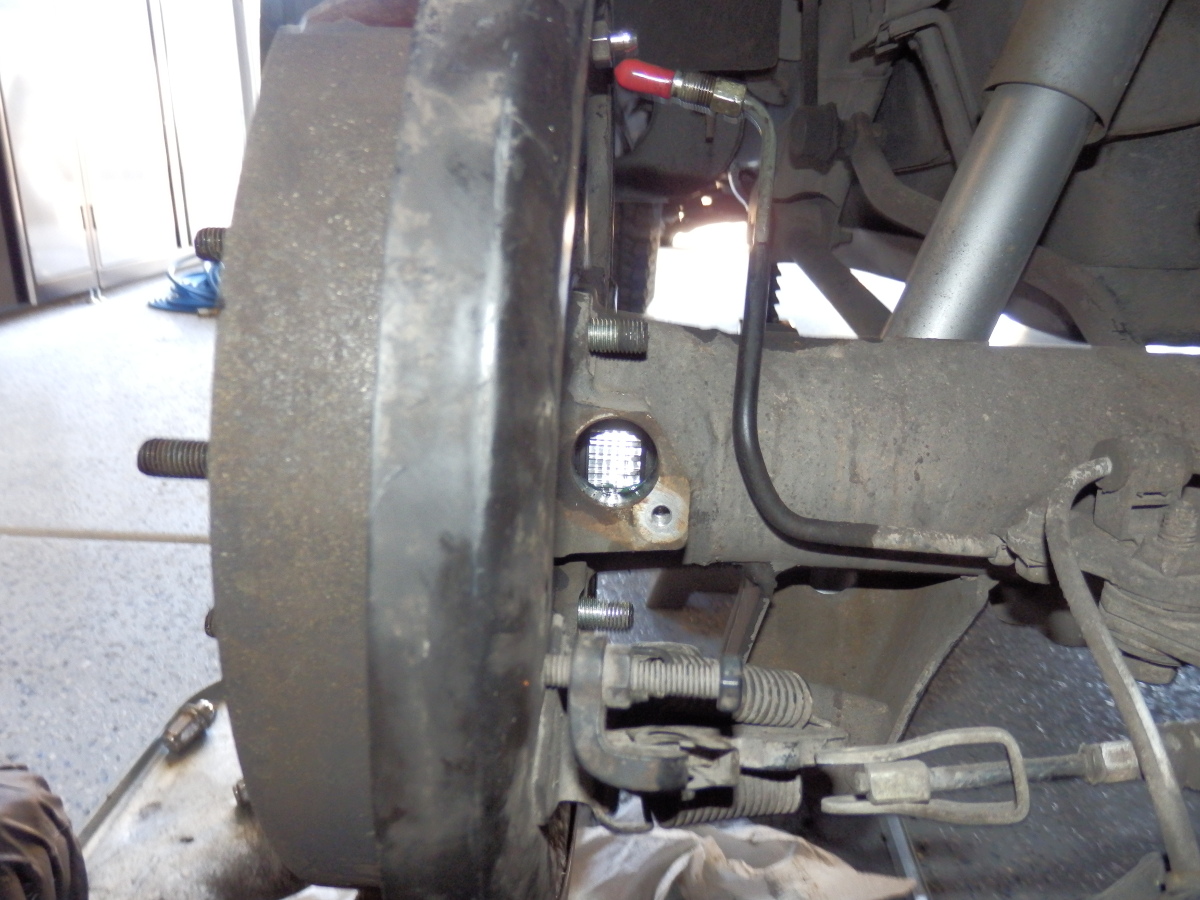
14.JPG


Quick grease test. This was not bolted up and the new o-ring pictured kept the housing from being flush - so in real world, this was close to centered on the grease test. Plenty good for me :)
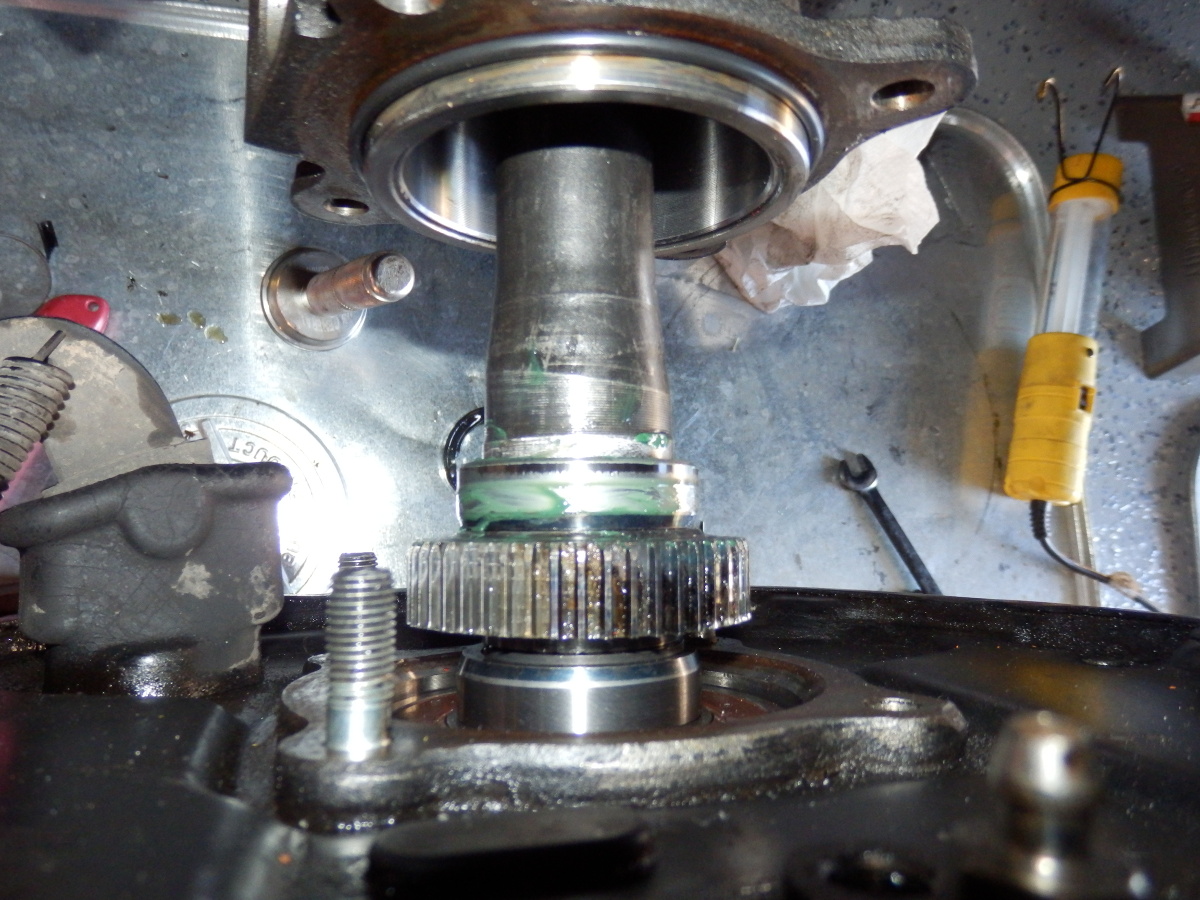
15.JPG
 
Last edited:
[MENTION=123173]Jhelms[/MENTION], any chance you have some close up photos of how you set up the tools to press the axle out of the bearing and retainer. It's hard to see from the pics you posted how the end near the bearing is positioned. Thanks.
 
[MENTION=123173]Jhelms[/MENTION], any chance you have some close up photos of how you set up the tools to press the axle out of the bearing and retainer. It's hard to see from the pics you posted how the end near the bearing is positioned. Thanks.

The large tube is bolted right to the bearing housing using the existing studs that bolt the assembly to the axle. You can see those studs in several other shots. I do not have any closeups.

Once bolted up, you can see how it is held in the press - then just use the press to push on the axle shaft and it will come out with little effort.
 
So how screwed am I?

One of the studs that attaches the hub to the axle housing broke off.

I need my truck for moving, I ship out for the army on the 31st!

FML :censored:
 
So how screwed am I?

One of the studs that attaches the hub to the axle housing broke off.

I need my truck for moving, I ship out for the army on the 31st!

FML :censored:

Beyond words NOT screwed at all lol. Just call the dealer and buy the studs or order them in. Just whack them with a hammer to knock them out towards the brake side
 
I had the (dis)pleasure of playing around with my rear seal today, after I fixed the broken serration bolts. http://www.toyota-4runner.org/3rd-gen-t4rs/227107-so-how-screwed-am-i.html

A slide hammer with 3 jaw puller worked perfectly. Once the jaws were adjusted outward and tight, it only took about 30 seconds of tapping to get the seal out.

Putting it back in, I used a bearing race and seal set.

Both rented for free from Autozone.

UZm9CgFh.jpg


$_35.JPG
 
Last edited:
I had the (dis)pleasure of playing around with my rear seal today, after I fixed the broken serration bolts. http://www.toyota-4runner.org/3rd-gen-t4rs/227107-so-how-screwed-am-i.html

A slide hammer with 3 jaw puller worked perfectly. Once the jaws were adjusted outward and tight, it only took about 30 seconds of tapping to get the seal out.

Putting it back in, I used a bearing race and seal set.

Both rented for free from Autozone.

UZm9CgFh.jpg


$_35.JPG

Ha, Ha, Ha! Beat you to it. I used the exact same tools when I did my rear bearings a few months ago. Best thing is that you can rent these tools for free.
 
They just went off special, but you can generally buy the same seal driver set from HF for $19.99 - $24.99. At this price - foolish not to own them for life. I have used the ever living hell out of this set - especially with my press.

10 Piece Bearing Race and Seal Driver Set


And for pulling seals, I use this set... Depending on the sale / coupon it runs around $20ish. Just the right size for most seals and easily configurable.
http://www.harborfreight.com/slide-hammer-and-puller-set-14-pc-62959.html
 
Last edited:
I finished putting everything back together last night, and as promised I want to pass along a few observations I made while re-installing everything.

First, something we all love, SAVING MONEY!!! When I took my axles in to get the machine work done, I found a few ways to save some bucks on parts.

1. 90520-36045, Snap Ring. These can be RE-USED by a competent mechanic. I brought the shop a new one, which they used, but I didn't need to. I could have saved $1.51 and skipped this part.

2. 42423-20010, Retainers. You need two of these per side, but they can re-use one of your existing ones per side. They must replace the two that the seals sit on because the surface must be perfectly smooth to ensure a good seal. The other two may get a few scuffs and scratches during removal, but it doesnt matter because the surface is not a sealing surface, so they can be re-used.. I saved myself $15.21 x 2 ($30.42) by having them re-use two of my existing retainers.

3. 90313-48001, Outer Shaft Oil Seal. Most shops don't replace these. It turns out they are more of a dust boot than anything, and do not provide any kind of seal for the gear oil or bearing. I brought them one, which they used, but I didn't have to. I could have saved another $4.45.

Also, I have just a few tips on the re-assembly process.

1. When installing the brake line fittings to the backing plate, you can't get a socket around the fitting in order to use a torque wrench. If you want to make sure you torque these accurately, you need a 10mm crows foot wrench to attach to your torque wrench in order to get ahold of the fitting.

2. The front, bottom bolt holding the backing plate/axle assembly to the axle housing flange is a tight squeeze for a torque wrench with a socket on it. I ended up using my regular ratchet and slipping a pipe over the end for some extra leverage. I coudn't get a torque reading doing it this way, but I tightened it until it felt about as tight as the other 3, which were torqued to the 48lb/ft. spec.

3. When you put your axles back in, you'll be tempted to spin them around to make sure they spin nice and smooth. when I did this I heard a noise that I thought was the bearings. It turned out it was the gears in the 3rd member making a little noise due to the low level of gear oil in the pumpkin.

4. When re-inserting the rear axles, just be careful you don't ding the new inner seal with the splines on the axle. Once you get the splines past the seal, there is a metal collar inside the axle tube that the axle can rest on to prevent it from resting on the seal itself. This makes putting the axles back in alot easier than I thought it would be.

5. The torque value for the brake line fittings is 11ft./lbs. Most torque wrenches don't go this low. I used a smaller wrench I have, but it only measures torque in in./lbs. Well, 11ft./lbs = 132 in./lbs. Done and done.

6. I went ahead and checked my breather plug. It's less than 2 months old and had no dirt, dust, or mud on it. I pulled it and tried blowing through it and I could, but it was very tight and just a tiny bit of air would blow through. I took a punch (screwdriver with a sharp pointed end), inserted it through the breather, and knocked the cap on the breather loose a bit. I was then able to blow a good volume of air through it quite easily, and when I tried to suck air back through it, it sealed up well and just let a tiny bit back in as it should. I think this will all but eliminate the possibility of a clogged breather plug down the road.

7. I bought some rear brake shoes from Autozone, their Duralast brand. Well, long story short, these shoes SUCK! They don't fit very well. There is a pin that retains several of the drum brake parts to one of the shoes. Not only do you have to drive this pin into the pad yourself, the spine of the duralast pads was too thick and the pin didn't extend far enough through the spine to attach the C-clips that retain the other parts.

I ended up buying a rear brake shoe kit from Toyota. The pins were already pressed in, it came with all new hardware, an the shoes fit perfectly. I guess that's why the Toyota shoes cost $68 Vs. $14 for the Autozone shoes.

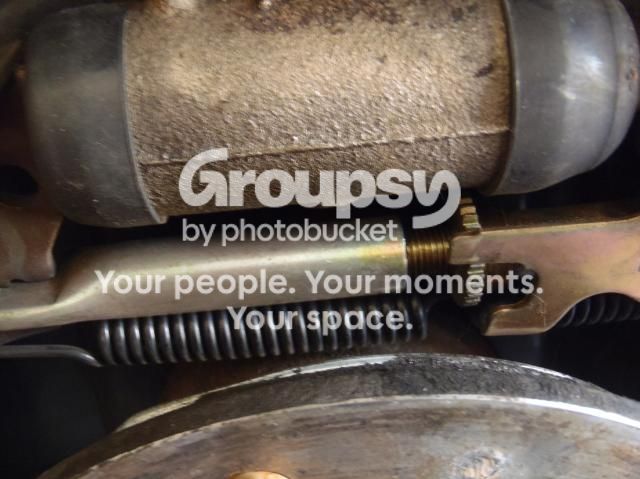
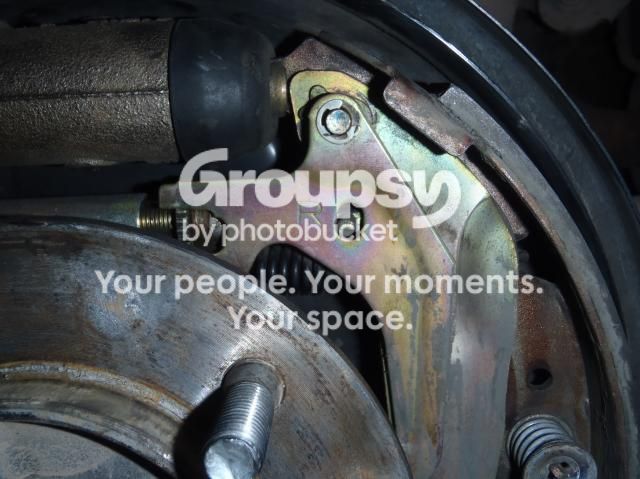
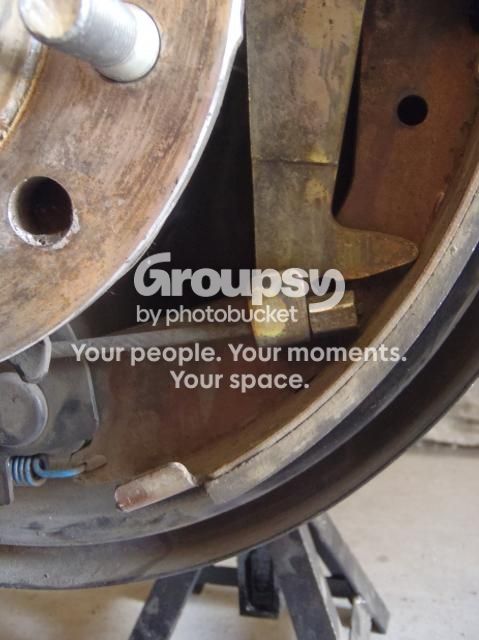
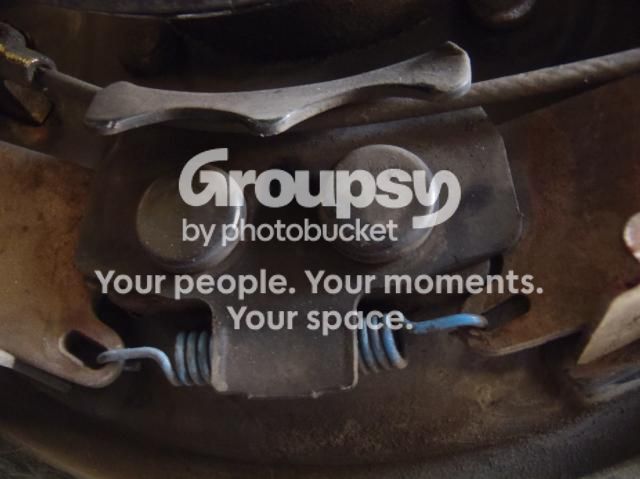
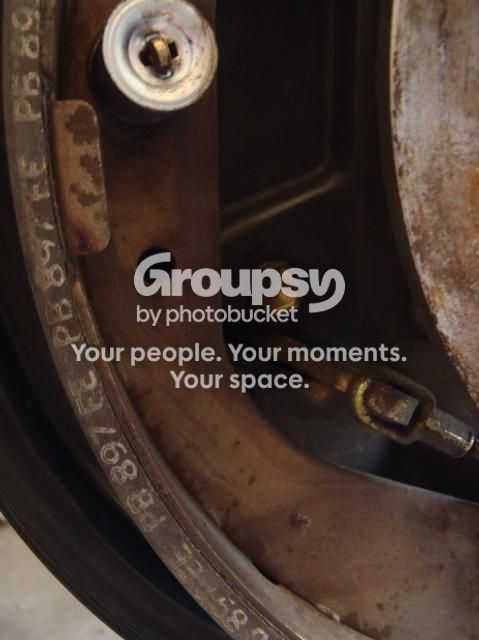
Here's a few close-up photos of the passenger side rear brake assembly (driver's is the same, but the shoe assemblies are on opposite sides), in case you decide to do your shoes as well, but forget to take pictures before you get it apart. I had both sides available for viewing when I did mine, so if I forgot where something went, I just went around and checked out the other side.

(P.S. Rear shoes & Drums are a P.I.T.A. compared to doing front brakes.)

6_zps582df067.jpg~original


5_zps4fc1c614.jpg~original


The pin I was talking about above is located near the top of the photo, just right of center.

7_zps84b457df.jpg~original


3_zpsf42d5408.jpg~original


4_zpse03091d7.jpg~original


2_zpsd296a6e4.jpg~original


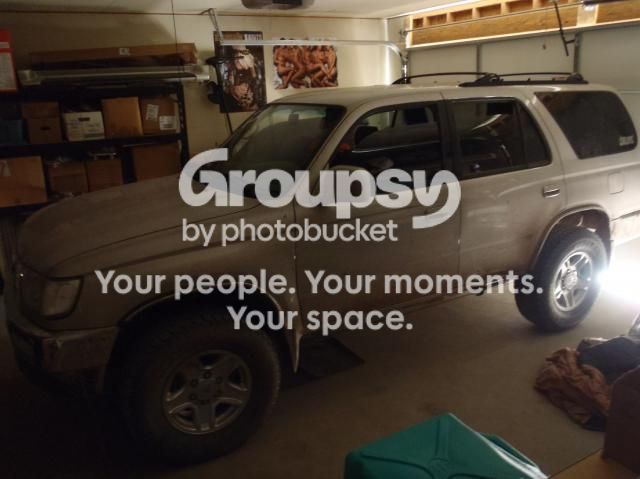
And finally, here's the Runner, all back together and ready for some more action!

1_zpse207e72d.jpg~original


My total cost of doing the job was $662.83. I was quoted over $1200.00 by my mechanic to do the same work, so my savings was about $538.00.

Considering it took me 16 hours in total to do the job (I really took my time to make sure I did it right, and that time includes removal, installation, bleeding the brakes, cleaning all the parts, topping off the diff, and cleaning up the garage when I was done), I'd say it paid off pretty well.

My math says:

$538.00 / 16 hours = $33.62 per hour. So I paid myself $33/hr. to do this job. Not to shabby if you ask me, plus I got some tools out of it that I can use, and some experience, which is of course invaluable. Sooner or later I'll have to do it on my fiancee's 4Runner, and I bet it'll take about 1/2 the time now that I know what I'm doing.

GOOD LUCK!
I agree with PaidTooMuch sticky please...
 
So I see a lot of guys are choosing to just replace the seals if the bearings are fine. If I chose to do this, since it just started leaking and doesn't seem very bad, what parts would I need just for the one side? And has anybody done this and had success?
 
So I see a lot of guys are choosing to just replace the seals if the bearings are fine. If I chose to do this, since it just started leaking and doesn't seem very bad, what parts would I need just for the one side? And has anybody done this and had success?
If they did, they are likely so cheap and flakey that they wont post it here. Why pay and take the time to do it twice, are you flipping the vehicle for profit? Just fix it right once. You'll spend more in the long run if you skimp. Anything worth doing is worth doing correctly the first time, imo.
 
So I see a lot of guys are choosing to just replace the seals if the bearings are fine. If I chose to do this, since it just started leaking and doesn't seem very bad, what parts would I need just for the one side? And has anybody done this and had success?


I just finish doing my rear seals and my bearings were ok i just replace the seals on both sides and i got both seals and two o-rings which u can find the parts numbers at the beginning of this page. I dont know how they are going to hold up but for now i just did the seal but im sure im going to be reporting back plus i clean the brake shows and decided to just replace the shoes since they were soap with oil. I hope i dont end up doing this job again to replace bearing! IMG_2346.JPGIMG_2346.JPGIMG_2350.JPGIMG_2349.JPG


Sent from my iPhone using Tapatalk
 

Attachments

  • IMG_2346.JPG
    IMG_2346.JPG
    87.7 KB · Views: 718
  • IMG_2350.JPG
    IMG_2350.JPG
    73.4 KB · Views: 894
  • IMG_2349.JPG
    IMG_2349.JPG
    103.4 KB · Views: 767
There has been quite a few in this thread that have chosen to go this route. So I wouldn't call them flaky or cheap. A few hours and 10s of dollars in parts isn't that bad of a temporary fix. Even if you only get 6 months out of it, and quite possibly a lot longer it's worth it IMO. I would rather do that now to the one side and have the time to get parts together, and shop around for the best deals. I normally would do the whole job. And I might still do that. Just wanted to get an idea from anyone else that has chosen to go this route. I just don't like having something leaking on the rig.
 
I just finish doing my rear seals and my bearings were ok i just replace the seals on both sides and i got both seals and two o-rings which u can find the parts numbers at the beginning of this page. I dont know how they are going to hold up but for now i just did the seal but im sure im going to be reporting back plus i clean the brake shows and decided to just replace the shoes since they were soap with oil. I hope i dont end up doing this job again to replace bearing! View attachment 224699View attachment 224699View attachment 224700View attachment 224701


Sent from my iPhone using Tapatalk
How long ago did you do this? Seals holding up?
 
If they did, they are likely so cheap and flakey that they wont post it here. Why pay and take the time to do it twice, are you flipping the vehicle for profit? Just fix it right once. You'll spend more in the long run if you skimp. Anything worth doing is worth doing correctly the first time, imo.

2f5813c6-3cfa-44de-a90c-2894086c87f5.jpg
 
I just finish doing my rear seals and my bearings were ok i just replace the seals on both sides and i got both seals and two o-rings which u can find the parts numbers at the beginning of this page. I dont know how they are going to hold up but for now i just did the seal but im sure im going to be reporting back plus i clean the brake shows and decided to just replace the shoes since they were soap with oil. I hope i dont end up doing this job again to replace bearing! View attachment 224699View attachment 224699View attachment 224700View attachment 224701


Sent from my iPhone using Tapatalk

Wholly balls that right side axle stub has the seal race pressed on WAY to far towards the hub side! That thing is never going to seal man!

You probably brought the truck from someone that had someone hack the seal together to get it sold or who knows... but I can say it is WAY out of spec just eyeballing it across the internets.
 
There has been quite a few in this thread that have chosen to go this route. So I wouldn't call them flaky or cheap. A few hours and 10s of dollars in parts isn't that bad of a temporary fix. Even if you only get 6 months out of it, and quite possibly a lot longer it's worth it IMO. I would rather do that now to the one side and have the time to get parts together, and shop around for the best deals. I normally would do the whole job. And I might still do that. Just wanted to get an idea from anyone else that has chosen to go this route. I just don't like having something leaking on the rig.

You are in Az just as I am - I do axle seals for not that much compared to a dealer or any other mechanics shop.

If you want to do most of the labor at home, I can press apart your axles, replace bearings and press them back together properly for not that much $.

In parts, all you really need are:
- OEM seals
- OEM Drum Shoes
- OEM axle o-rings
- And if your car is an AZ car and you do not plan to wheel heavy in water, the stock breather can be maintained - prepped so it never sticks.

All in all, not that much money in parts.
 
Last edited:
I did the breather extension mod & my axle seal isn't leaking any more. The old breather valve was rusted shut. I did a 72 mile round trip drive to work & no leak. Thank you 4runner gods! :bravo:


Sunday will be 3 weeks & still not leaking.:pray2:
 

Members online

Forum statistics

Threads
278,316
Messages
3,554,114
Members
248,016
Latest member
Advally Service

Trending content

Back
Top