Scramble's "Metallica Truck" Build Thread

I can't believe I've missed your build thread! Awesome that you're the original owner. Definitely not many of those roaming around these parts.

And it seems that my vote put you in the 5-star group too. That's too funny. Or maybe it only takes one vote. Lol.

HaHa, I suck at updating it so it's easy to miss. There's more original owners around than you think. Many are older than me & don't post much but there's a bunch of young guys that have one's handed down from family members.
Thanks for the vote! LOL Thats too funny that we put each other over the top. Definitely not one vote, I voted 5 stars for Unner & Rock Rat & it still took them a few more months to get theirs stars.

Looks good mike. Digging the blue. You should try and refurbish your old alternator. Maybe it’s just the brushes ? You can get OEM brushes for like $12. And have a back up alternator.

Another thing I read. Is OEM takes the most abuse vs a aftermarket. But I couldn’t back that up.

Thanks man, everyone does Red, I like to be different. :madgrin:
I threw that Alt in the recycling bin! LOL Quality Power didn't require a core & that thing was so corroded I never would have used it.
 
I have a blue house with a blue window
Blue is the color of all that I wear
Blue are the streets and all the trees are too
I have a girlfriend and she is so blue
Blue are the people here that walk around
Blue like my 4Runner, it's in and outside
Blue are the words I say and what I think
Blue are the feelings that live inside me

I'm blue da ba dee da ba daa
Da ba dee da ba daa, da ba dee da ba daa, da ba dee da ba daa

Back in highschool I remember someone singing this song as "I'm blue if I was green I would die..." Now I hear it every time I hear the song...

Thanks for the vote! LOL Thats too funny that we put each other over the top. Definitely not one vote, I voted 5 stars for Unner & Rock Rat & it still took them a few more months to get theirs stars.

Thanks for the 5 star vote haha. I noticed these stars just a couple weeks ago.

The blue looks good too, I like that it isn't red. :car:
 
OK, I believe you but I'll be there to say, "I told you so", next Oct. :love:

Update on the truck: :lightsaber:
I haven't wheeled it all summer & have three trips planed for Oct. Now my PS rear axle seal just started a minor leak & so is my oil filter housing. No drips in the driveway, they only leak when driving. I'm pretty pissed because all 3 trips are a 3hr drive into PA.
My rear diff breather plug is a rusted blob so I'm doing the Breather extension mod & hopefully that stop the gear oil leak. I'll need to order a gasket kit for the filter housing but I dont think I'll have the time to fix it before the first trip which is Oct 8th. It looks like it's going to be hard to get out with my Headers in the way. :mad::flame:

http://www.lcengineering.com/images/JP/3RZ_1019000_animation.gif

Great build man! I was going to tackle my oil filter housing leak last weekend but got stuck on the most efficient way to remove those three bolts. How did you tackle it?
 
Great build man! I was going to tackle my oil filter housing leak last weekend but got stuck on the most efficient way to remove those three bolts. How did you tackle it?


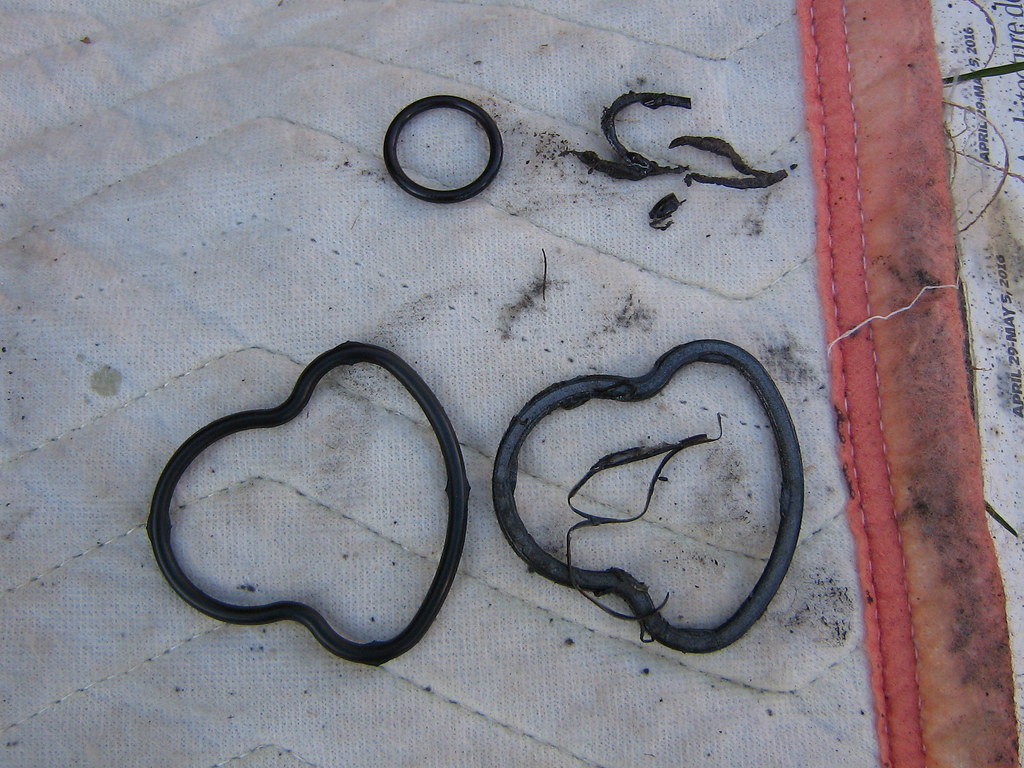
Thank you, she's a labor of love! The best way to go in is through the PS wheel well. I left the tire on but it might be easier with it off. It's hard to get a ratchet in there so I used some long extensions, a universal joint, 1/2" to 3/8" adapter for my 1/2" Impact. One of the bolt heads is right up against the oil filter housing so you have to use a 3/8" deep socket. 1/2" sockets are too fat to get in there. Make sure you scrape off all of the old o-rings. They shred & melt to the block & housing after 16-17 years.

EDIT: It looks like I left this repair out of my thread. I know I did it in the Spring or Summer of 2016. Strange because I date all of my folders. I will look for them & do a write up.

EDIT EDIT: Didn't leave it off, it's up next with my gear oil changes.
 
Last edited:
Thank you, she's a labor of love! The best way to go in is through the PS wheel well. I left the tire on but it might be easier with it off. It's hard to get a ratchet in there so I used some long extensions, a universal joint, 1/2" to 3/8" adapter for my 1/2" Impact. One of the bolt heads is right up against the oil filter housing so you have to use a 3/8" deep socket. 1/2" sockets are too fat to get in there. Make sure you scrape off all of the old o-rings. They shred & melt to the block & housing after 16-17 years.

EDIT: It looks like I left this repair out of my thread. I know I did it in the Spring or Summer of 2016. Strange because I date all of my folders. I will look for them & do a write up.

EDIT EDIT: Didn't leave it off, it's up next with my gear oil changes.

Thats what I was thinking. I'm gonna pick up an 1/2 to 3/8 adapter on my home and try to tackle it tonight. Thanks for the tips!
 
Aug 2016

So I'm driving home from work one night around midnight & my oil light comes on for the first time ever & I'm like WTF!? I pull over & check the stick & see no oil. Luckily there's there's a bunch of 24hr gas stations along Rt.17 in N.J. & it took 3.5qts. Nothing was leaking out the bottom so I drove home & put a big piece of cardboard under the engine. The next morning there was nothing on the cardboard, strange? Drove it to & from work for a few days checking the oil level & all looked fine. That Sat morning I got under the truck & noticed that the oil filter was soaking wet, I figured that I didn't tighten it enough or forgot to lube the gasket. I only started doing my own oil changes in 2015 & assumed it was my fault. I tightened the filter, wiped it down clean & drove it for a few more weeks checking my oil level everyday. The level was going down very slowly & the filter was wet again. I decided to change the filter because that looked like the problem plus the oil had 2 burnt qts in there with 3 good ones and what ever I topped off with along the way. I was using Wix filters at the time with whatever name brand was on sale, Quaker State, Valvoline etc. So after a few weeks & my oil level was still going down slowly, my filter was wet & still no drips in the drive way. I guess it was only leaking when driving. I Google searched this site & found nothing, there's not much 3RZ stuff here anyway. Then on a WWW Google search I found one small thread over on Yotatech that lead me to the Oil Filter Housing or Oil Filter Bracket, it's called both. According to the interwebs I was only the 3rd person to have this problem! LOL OEM Toyota parts last! It seems 16 years is around the limit for these o-rings & gasket because more 3RZ's are needing these replaced lately. Googling "Oil Filter Housing" or "Oil Filter Bracket" brought me to some really nice pics over on LCE's page so I could see what I was dealing with. OK, I really wasn't expecting to write a book, sorry. On to the pics.

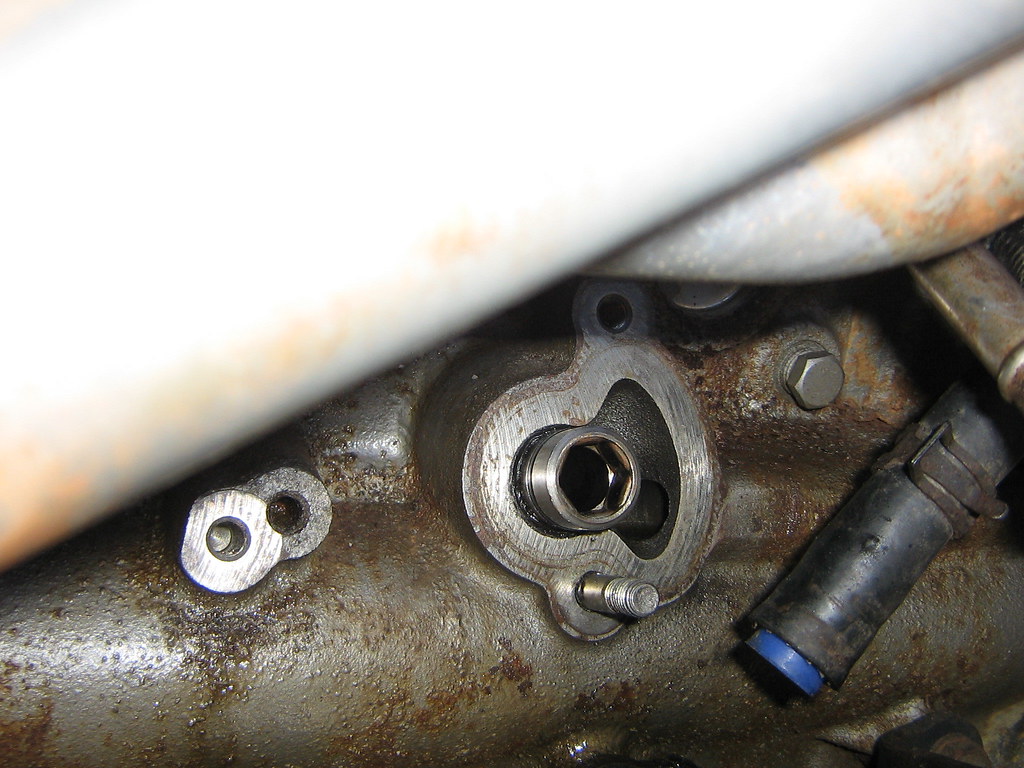
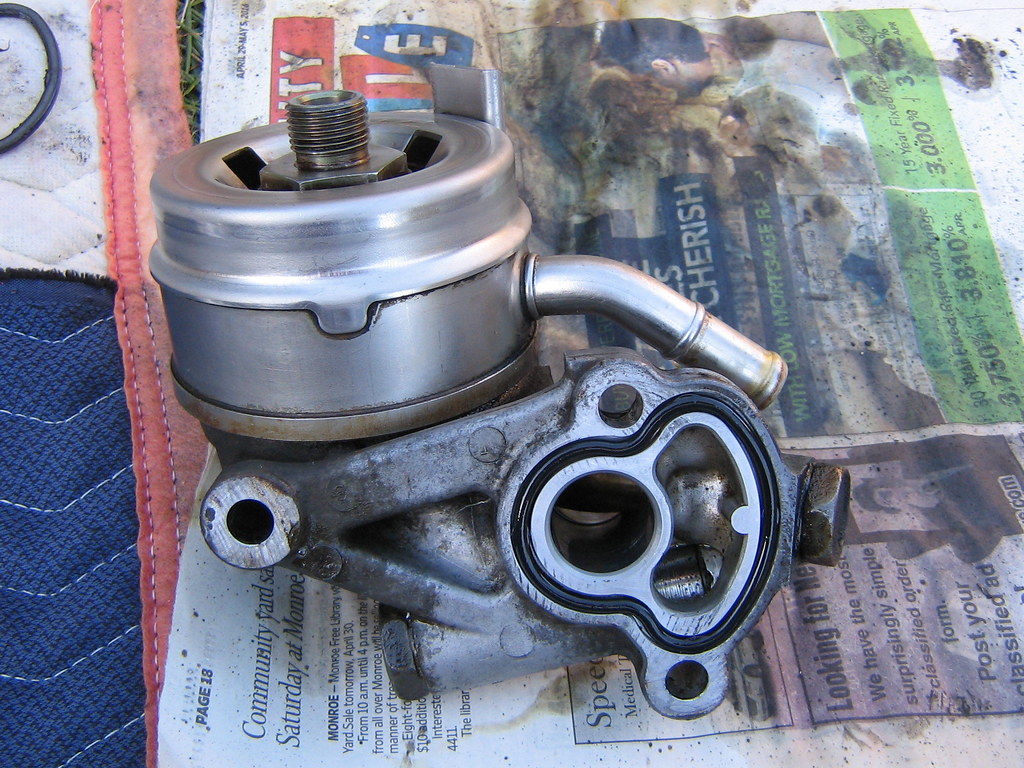
This is how the housing bolts to the block. I bought an assorted bag of silicone plugs for the coolant lines. They also work for plugging brake line's & are heat resistant enough for powder coating.
https://www.amazon.com/High-Temp-Si...8-1-spons&keywords=powder+coating+plugs&psc=1
115 by Mike Campbell, on Flickr

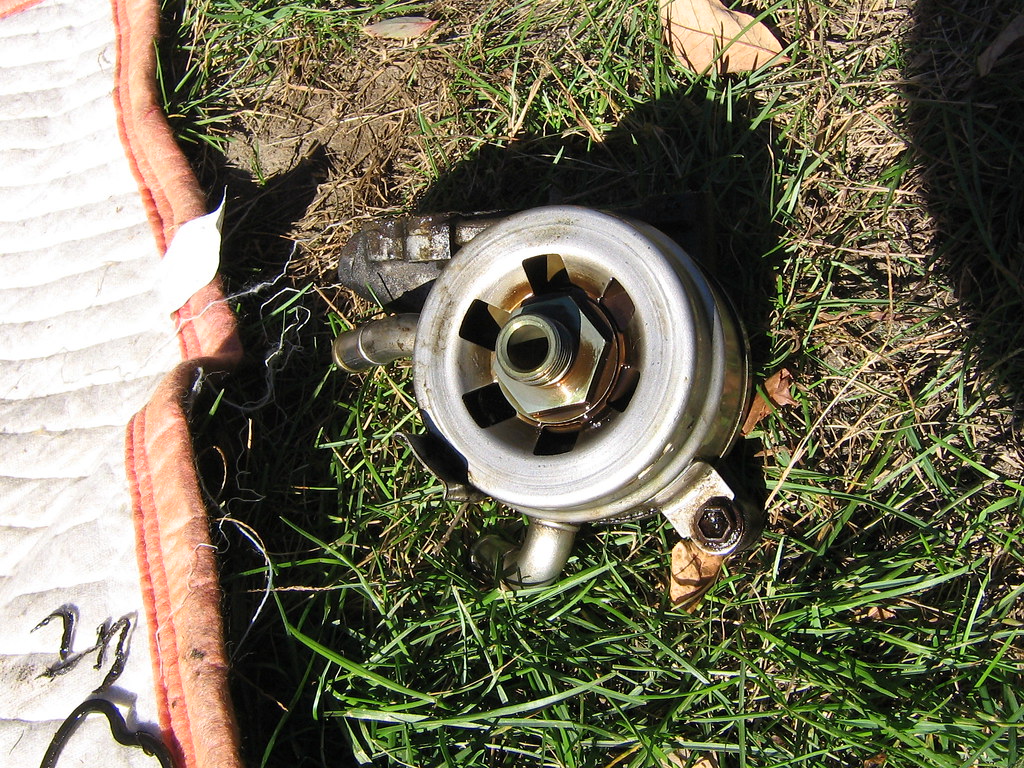
Filthy Housing removed.

117 by Mike Campbell, on Flickr

118 by Mike Campbell, on Flickr

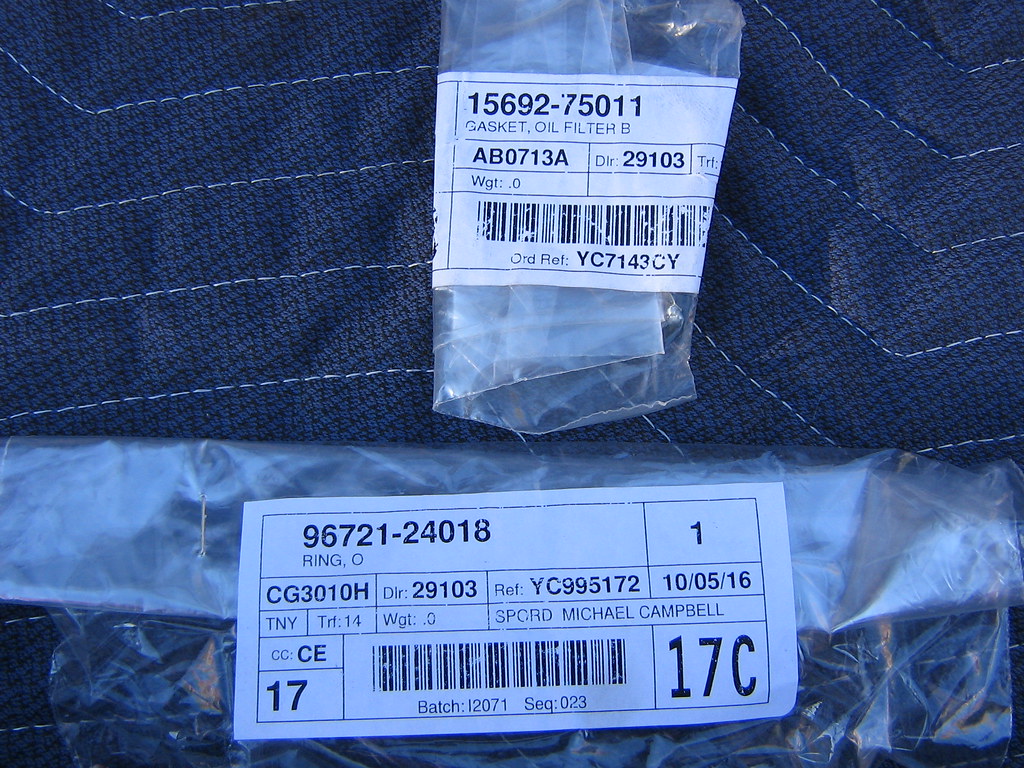
O-ring & Gasket part#'s.

119 by Mike Campbell, on Flickr

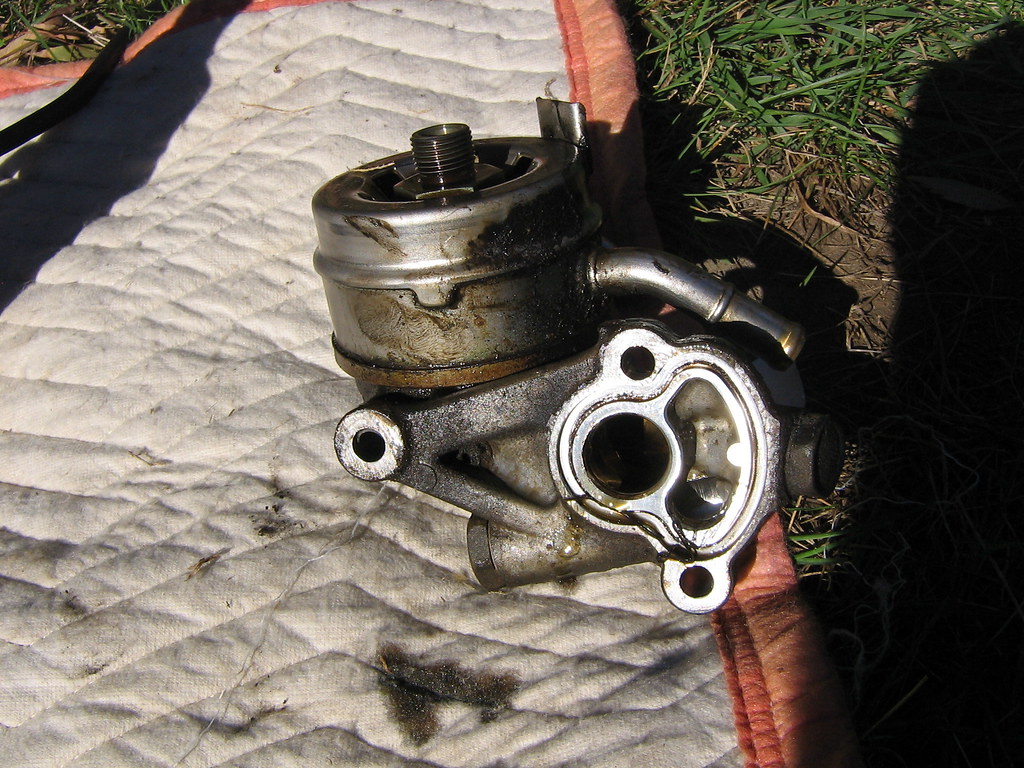
Old vers New.

120 by Mike Campbell, on Flickr

Cleaned up & ready to go back on.

121 by Mike Campbell, on Flickr
 
Last edited:
Wow, good to know! Might want to put this on the 3RZ preventative maintenance must-do list :police:

Is there any kind of gasket between the cooler (the cylinder) and the cast base it is connected to (that bolts to the block)?

Congrats! You're the first person to quote a bunch of pics in my build! Please delete.

I'm not sure, I didn't take it apart. See that big nut where the oil filter screws on? Loosen that & they should come apart. I would crack that nut while the housing is still on the block. I tried to do it in my hands but it was too tight. Or you could stick it in a vice.
 
Congrats! You're the first person to quote a bunch of pics in my build! Please delete.

I'm not sure, I didn't take it apart. See that big nut where the oil filter screws on? Loosen that & they should come apart. I would crack that nut while the housing is still on the block. I tried to do it in my hands but it was too tight. Or you could stick it in a vice.

Thanks for the feedback! I'll take a look at this when I tear into the oil filter mount sometime, probably at the next oil change.

Apologies for the sloppy post, I must have missed that when posting from my phone. I despise quotes that carry all the pics along with them too. My bad!!
 
Thanks for the feedback! I'll take a look at this when I tear into the oil filter mount sometime, probably at the next oil change.

Apologies for the sloppy post, I must have missed that when posting from my phone. I despise quotes that carry all the pics along with them too. My bad!!

No worries my 3RZ Brother!
 
That's interesting how the 3rz has the oil filter mount and oil cooler in the same spot. My 5vz has the oil cooler about 6" away from the oil filter mount. I had to replace my o rings this past winter.
 
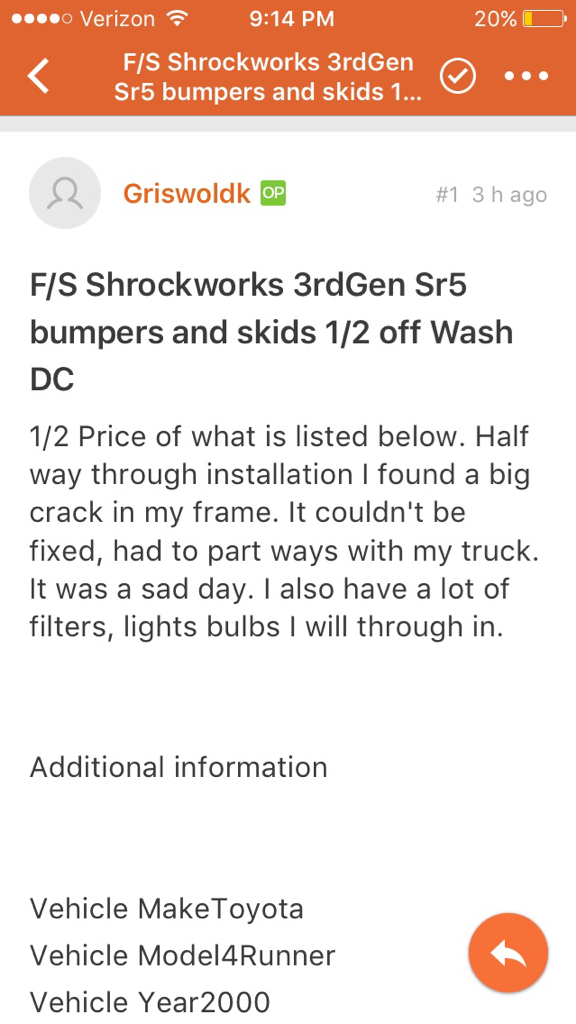
You were wanting a SW rear bumper correct?
94fb2d6d870cb8f22c42381c8b5c8327.jpg


Sent from my iPhone using Tapatalk
 
Good lookin' out! I dont think it has the tire carrier but thanks!
Sent him a message.


If he is serious about half price, that is a $450 rear bumper.
I would ask shrockworks if they would sell just the swingout since you are a previous customer as well


Sent from my iPhone using Tapatalk
 
That's interesting how the 3rz has the oil filter mount and oil cooler in the same spot. My 5vz has the oil cooler about 6" away from the oil filter mount. I had to replace my o rings this past winter.

I wasn't even sure the 5VZ had one until someone mentioned it recently.
 
Shrockworks group buy! :guitar3:

1996-2002 4Runner Rear Bumper #16263

SKU T4RN3-TRK
Price $1,521.00
Quantity 1 item(s)
Selected options
Tire Carrier: Rear Bumper with Tire Carrier
Bumper Width: Standard
Finish: Black Powder Coat
Fuel Storage: Add Single Jerry Can Mount
Clevis Shackles: None

Order info


Payment method Credit Card by Phone
Delivery Method
Subtotal $1,521.00
Discount $0.00
Coupon saving $228.15 (T4RGB2018)
Discounted subtotal $1,292.85
Shipping cost $199.00
Total $1,491.85
 
Aug 2016

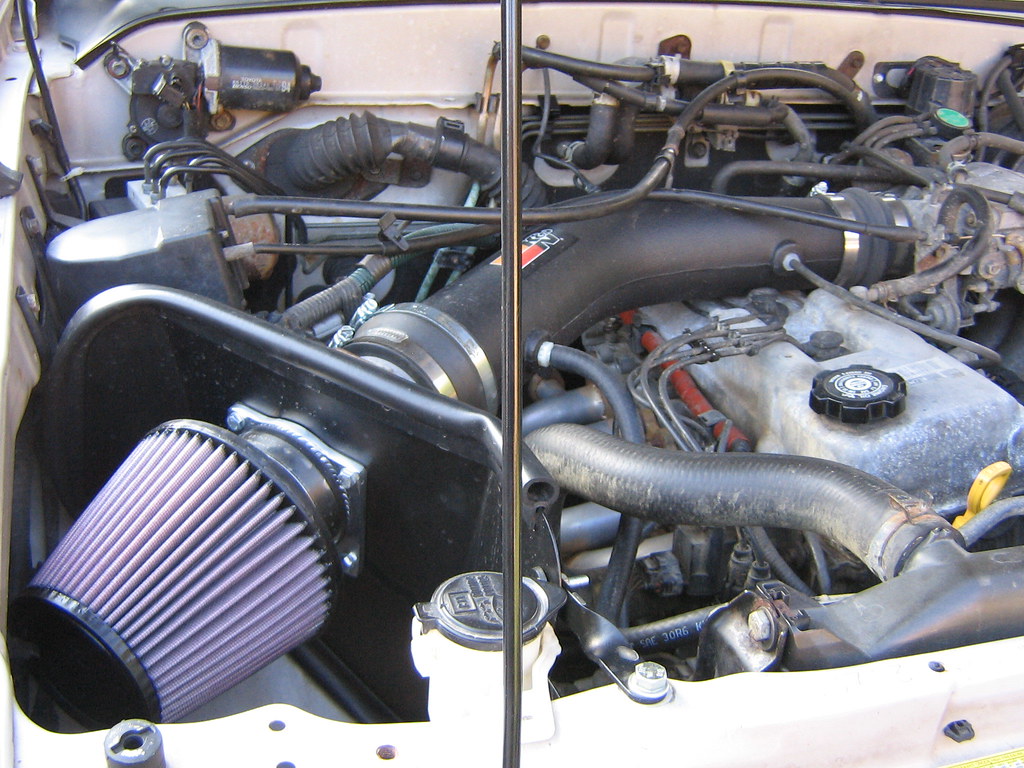
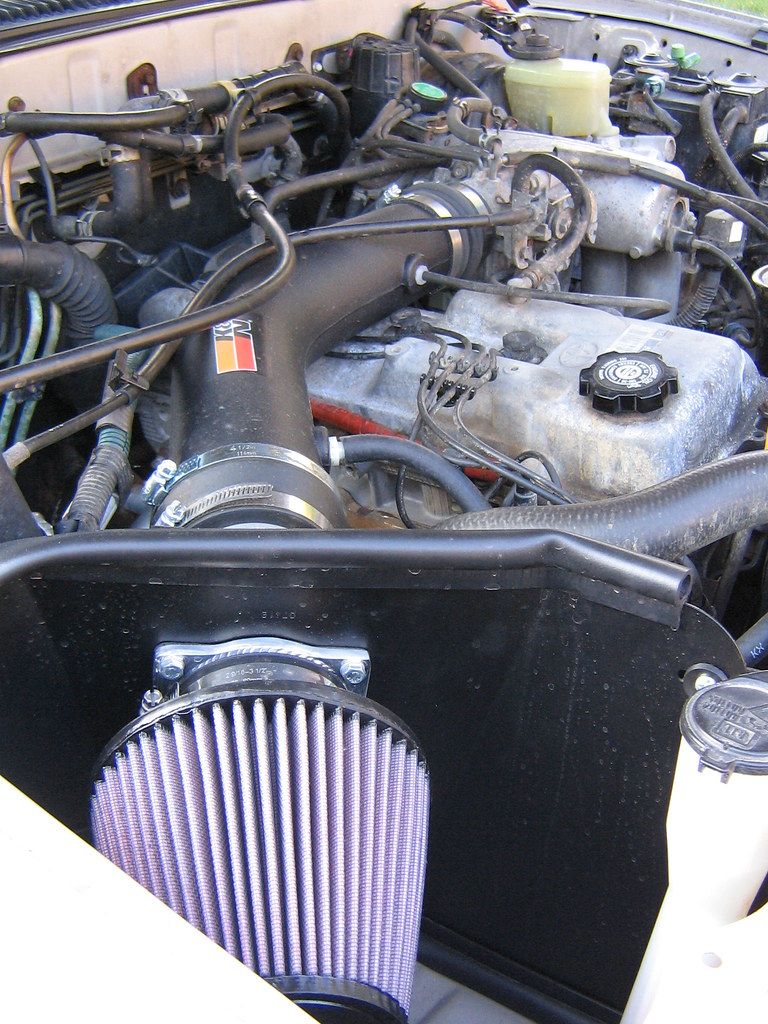
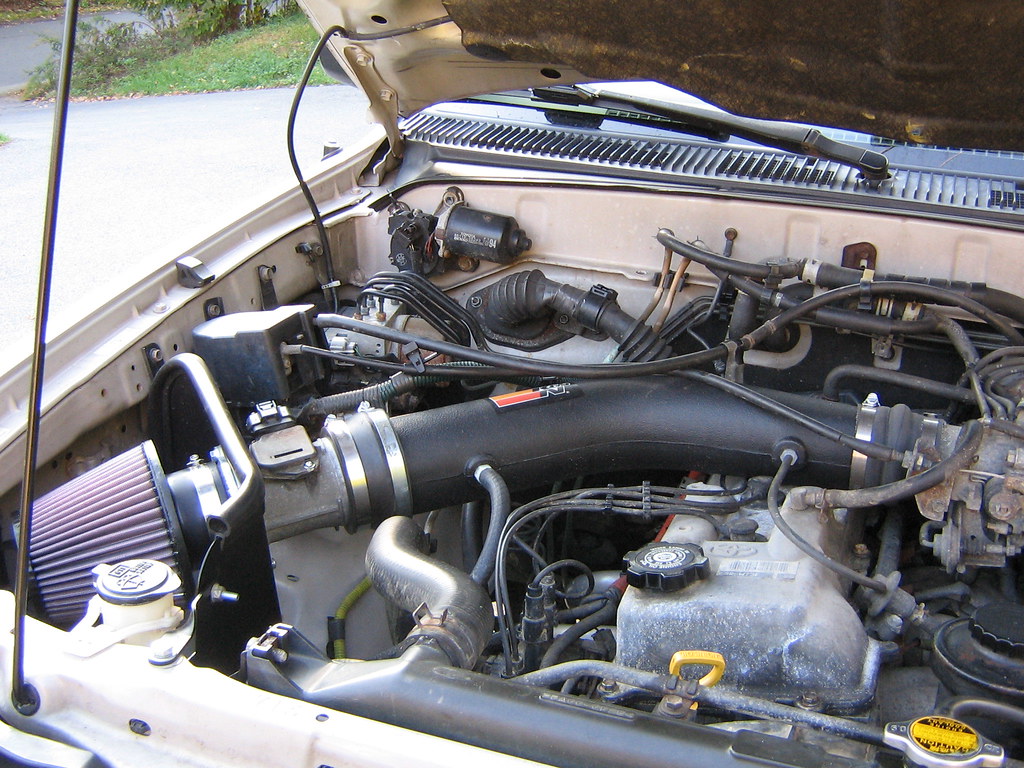
I picked up a K&N cold air intake from [MENTION=86041]Mc1337sauce[/MENTION] for a very good price. It was missing a few parts because he used them for his Turbo build but he was very specific on what was missing & was easily picked up at the hardware & auto parts stores. I also cleaned my MAF & Throttle body for the first time.

123 by Mike Campbell, on Flickr

124 by Mike Campbell, on Flickr

125 by Mike Campbell, on Flickr
 
September 2016

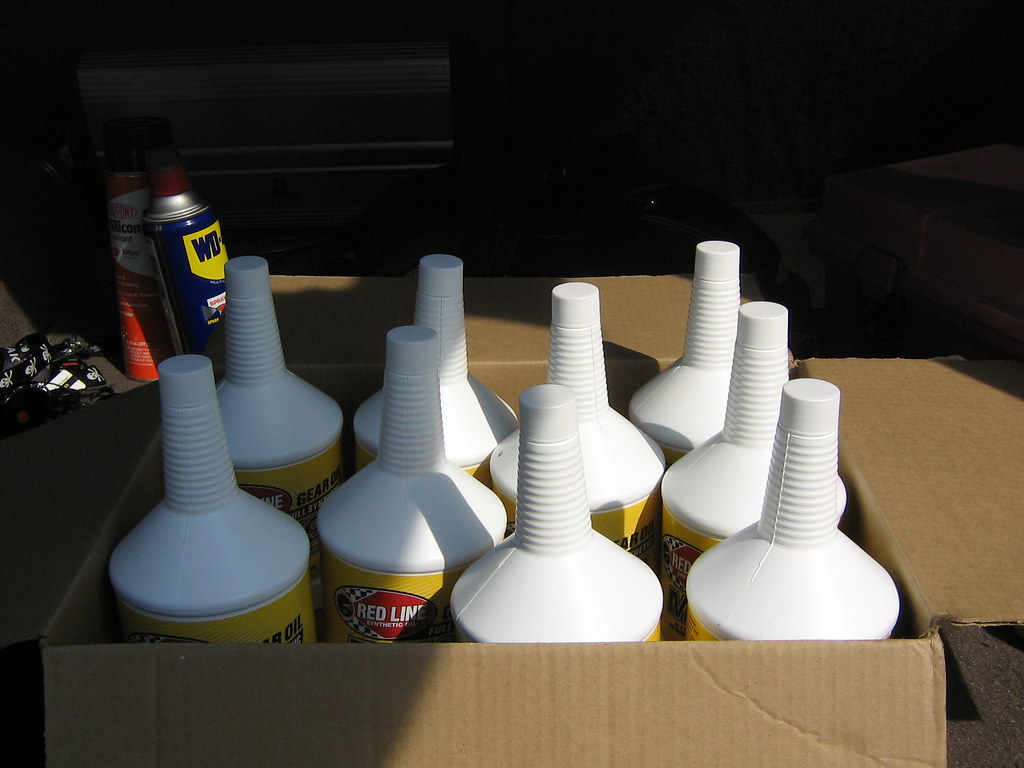
Shifting into 1st gear was getting a little sticky so after reading a few threads on the subject I decided that switching to RedLine MT 90 would be my first shot at fixing this. And it worked, it's been shifting fine ever since. Smooth as butter. I also checked my maintenance records & realized it's been a while since I did the TC & diffs too. Around 60K miles over due. Had them done at 30, 60 & 90K. Life was a lot easier when I lived on Long Island. I had a good mechanic down the block from work & would drop it off my on my lunch break & then pick it up at 5pm. I gave him the Toyota book & he would perform all the scheduled maintenance. When I bought a house upstate & had a long commute into Manhattan life just wasn't as easy or organized. LOL But now my job is a shorter commute & you fu@kers have me doing all of the maintenance myself!

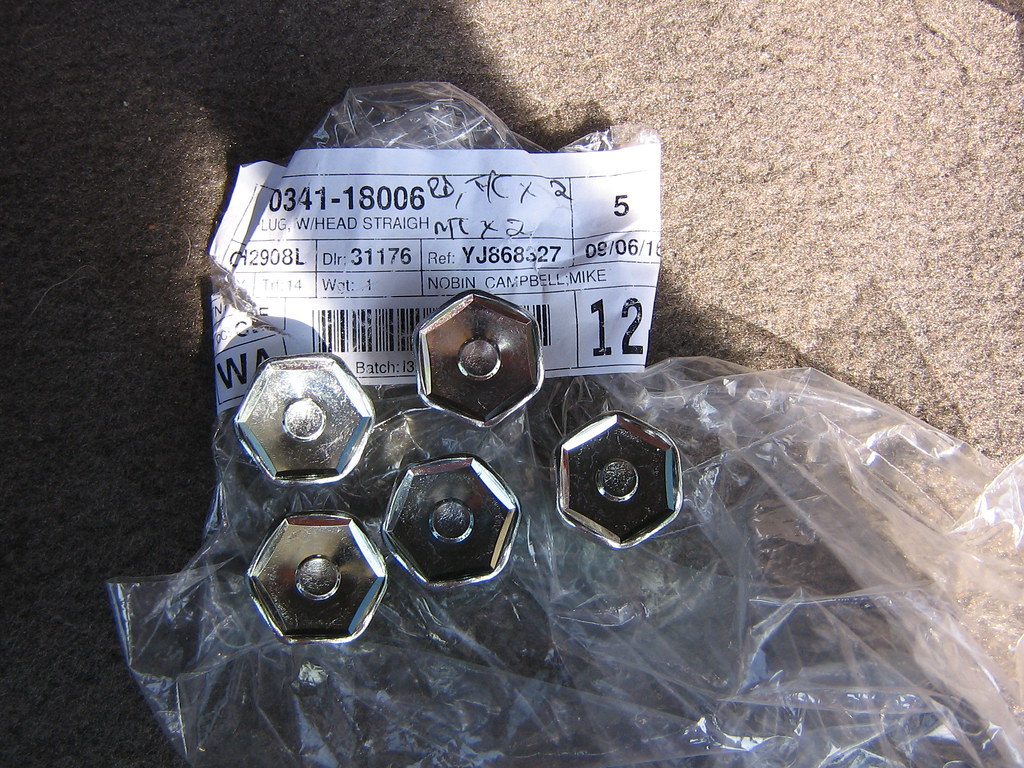
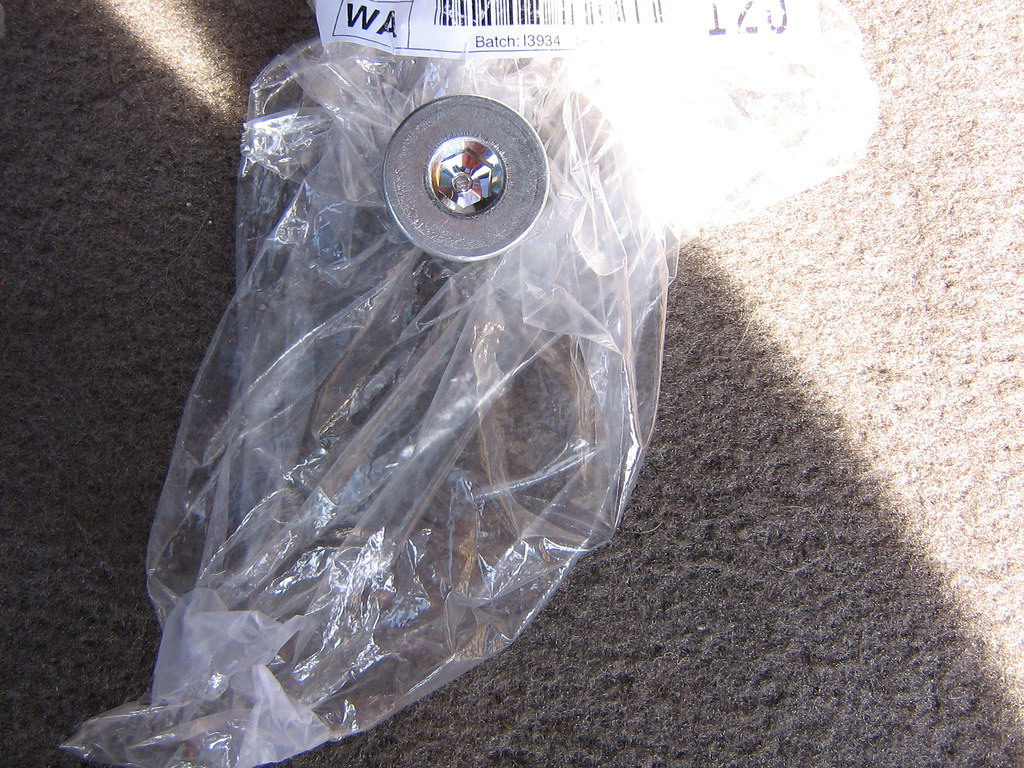
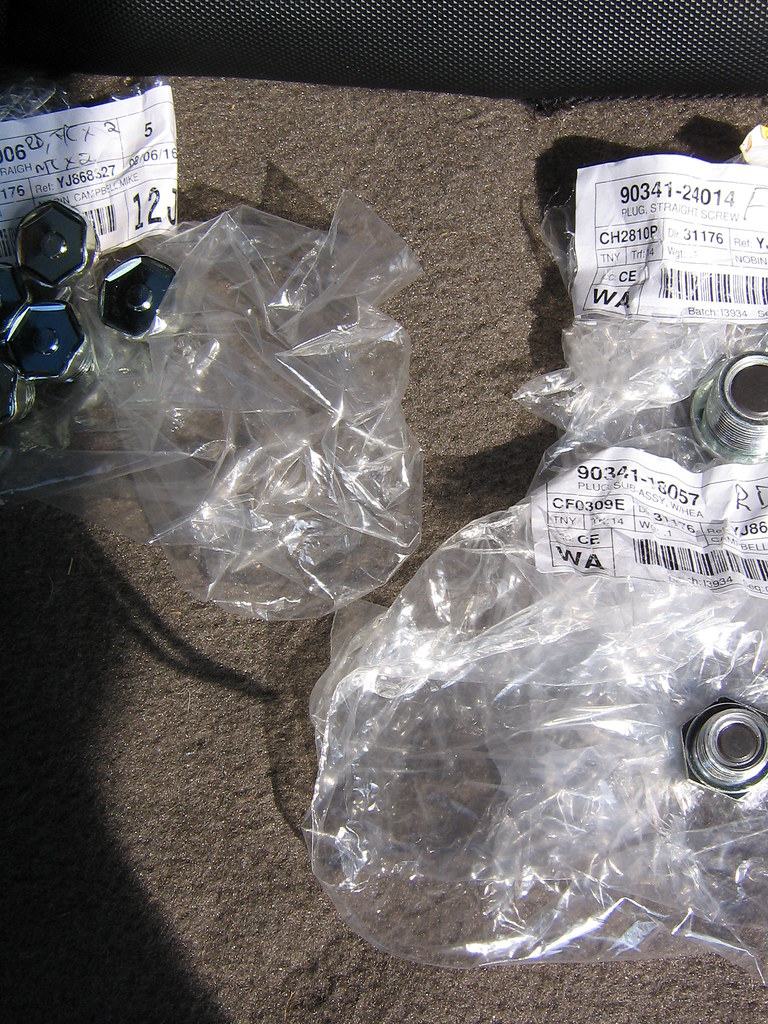
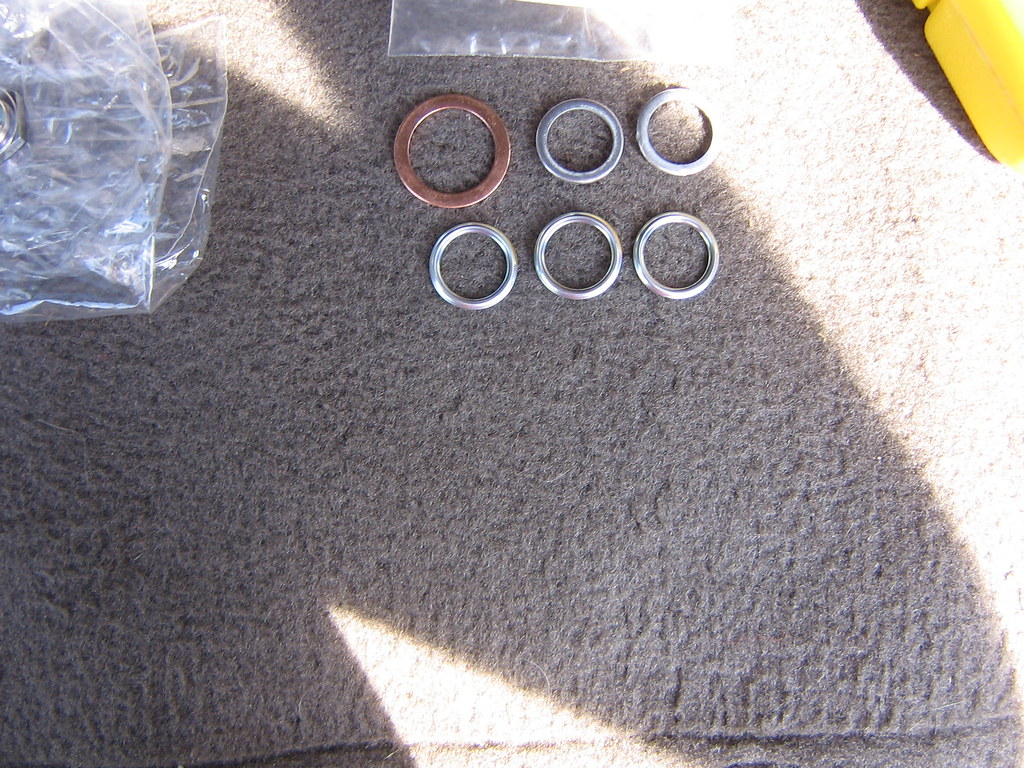
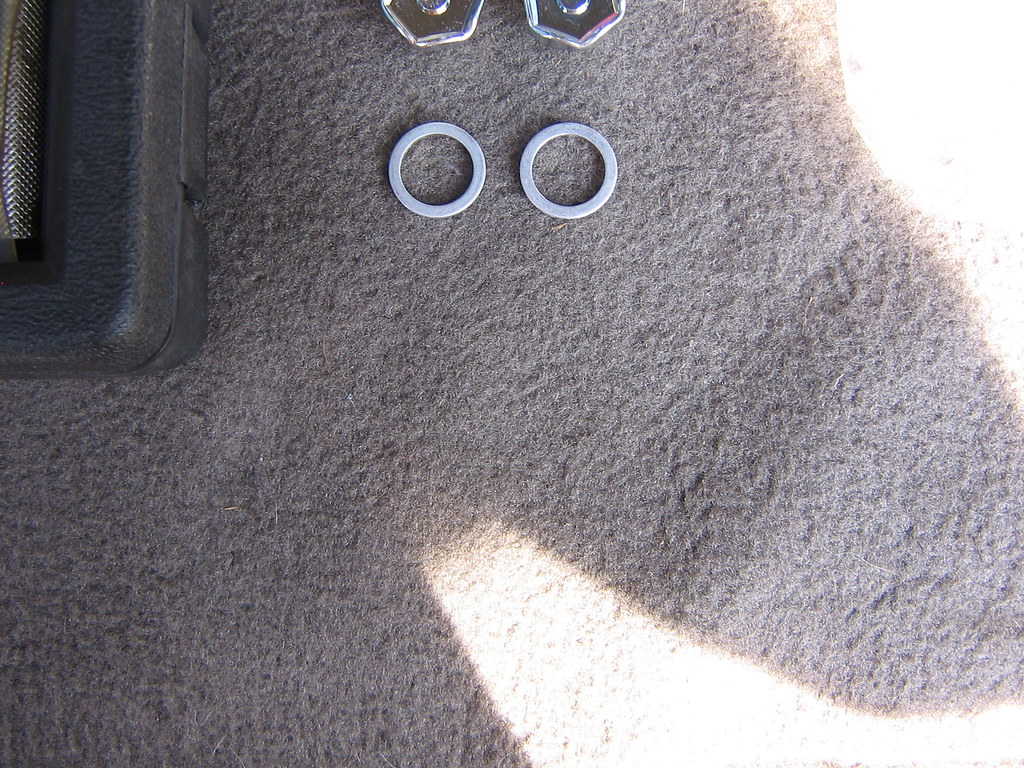
Almost everything you need is on Amazon except for the 2 MT crush washers & the fill & drain plugs. I bought all new drain & fill plugs because of the rust horror stories I've read on here but they all came off easily. The only one that was a little difficult was the front diff drain plug but a breaker bar took care of that. I did hit them all with WD40 a week before I started & then again the night before.

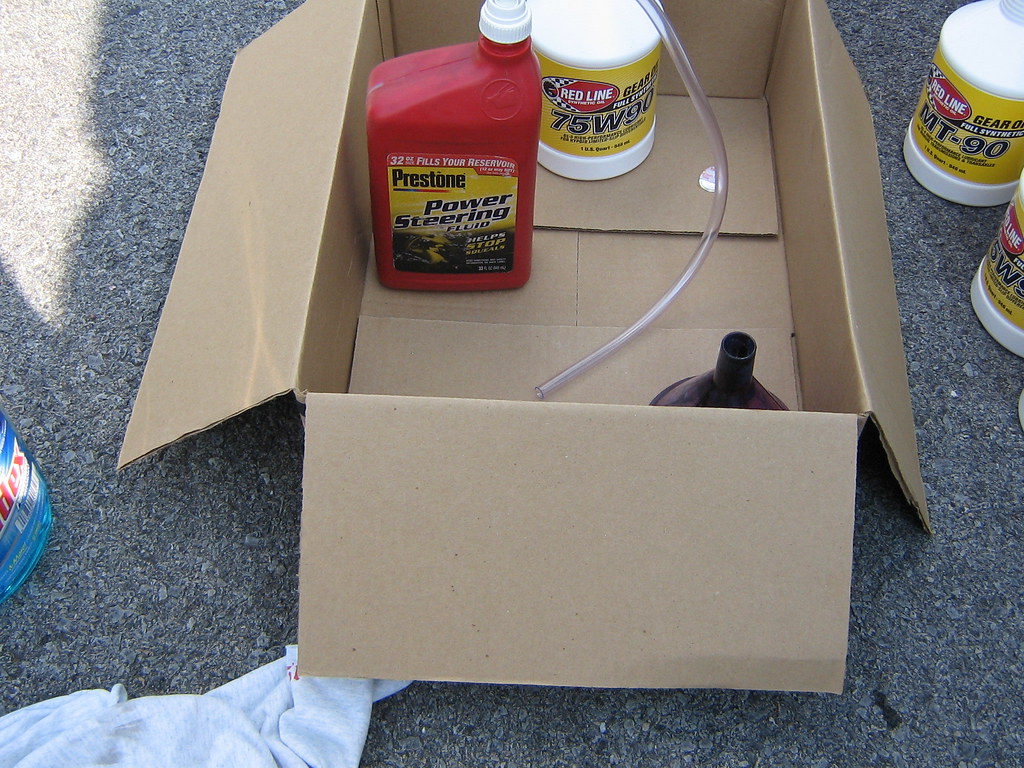
6 qts RedLine 75-90: https://www.amazon.com/gp/product/B000CPCBF0/ref=oh_aui_detailpage_o05_s00?ie=UTF8&psc=1

1 Metric Hex Bit Socket Set: https://www.amazon.com/gp/product/B00431HNWA/ref=oh_aui_detailpage_o05_s01?ie=UTF8&psc=1

3 qts RedLine MT 90: https://www.amazon.com/gp/product/B000CPCBEQ/ref=oh_aui_detailpage_o05_s02?ie=UTF8&psc=1

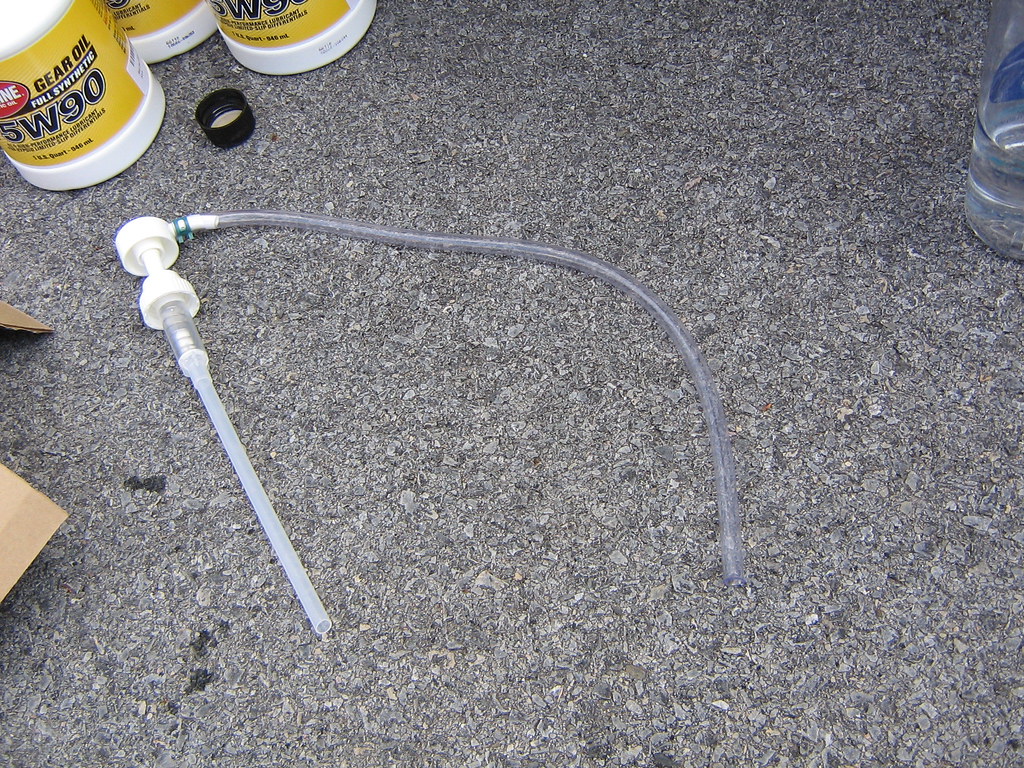
1 fluid pump: https://www.amazon.com/gp/product/B000BQW5LK/ref=oh_aui_detailpage_o05_s02?ie=UTF8&psc=1

1 GENUINE TOYOTA GASKET KIT FOR TRANSFER AND DIFFERENTIAL SERVICE https://www.amazon.com/gp/product/B017V4BAXI/ref=oh_aui_detailpage_o05_s02?ie=UTF8&psc=1

091 by Mike Campbell, on Flickr

The RedLine screw top isn't the standard size so I used an old PS fluid bottle.

Sorry about some of the pics below that aren't centered. I like to take pics of the bags so people can see the part#'s but it was really sunny that day & couldn't see the screen on my camera.

102 by Mike Campbell, on Flickr

100 by Mike Campbell, on Flickr

092 by Mike Campbell, on Flickr

093 by Mike Campbell, on Flickr

096 by Mike Campbell, on Flickr

097 by Mike Campbell, on Flickr

098 by Mike Campbell, on Flickr
 

Members online

No members online now.

Forum statistics

Threads
278,316
Messages
3,554,112
Members
248,016
Latest member
Advally Service

Trending content

Back
Top