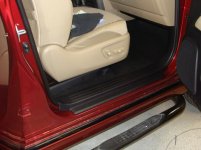
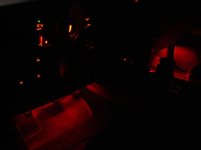
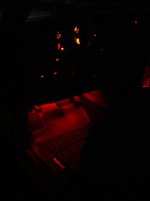
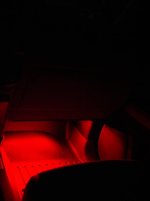
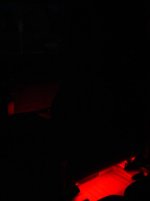
Modification: Interior LED Accent Lights
Pilot 14” LED light strips ($24.99 for a 2-pack, Pep Boys - you'll need 4 total strips to do front and rear footwells)
Add-a-Circuit
Also need: some speaker wire, small zip/wire ties, and switch if you want to turn them off
Difficulty Scale (1 to 10): Six (because I hate wiring stuff up, and I’m no good at it…but Antman’s involvement lowered this to a 3)
Sp8ball’s Personal Intimidation Factor (1 to 10): Five (mitigated to a “three” by Antman offering to help, but there’s the fear that it’ll look “ghetto”)
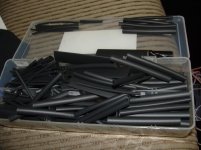
Install Time: 3+ hours, because Antman and I are getting to be good friends so we B.S. a lot, and we played with his daughters for a bit, and I had to clean up spilled heat wraps
Reason for Doing It: To do something fun that looks cool and no one else had done (that I know of…but if you have, post your pics!)
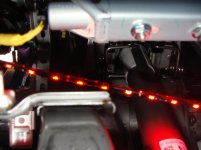
Benefit: Just to look cool, but also illuminates footwells at night. And red light doesn’t hurt your night vision.
Cons: Mrs. Sp8ball could approve, and simultaneously call you a dorky 16 year old.
Other Products Considered: Various LED light strips and bulbs...or just leaving things well enough alone.
_____________________________
Alright…this one isn’t going to fly with everyone. This one was definitely done for fun, and might not be something that everyone wants to do. I thought this might be pushing the limits of “good taste”, or might make it look too “ricer”, or may be the first one that got the ire of Mrs. Sp8ball to boil over a bit.
But…none of that happened. In fact, everyone I’ve shown it to (including people who think I’m weird for modding my truck) have found themselves surprisingly enthusiastic about it. I think it’s just “different” so people think it’s cool.
I found myself driving around and running errands all weekend after sunset – on purpose – just to bask in the glow of my latest mod. (and yes, I mean that
literally)
But at the same time, I’m going to install a simple switch this afternoon, mounted in one of my “blanks” by my left knee, to give me the ability to turn it off if it gets to be too much one day.
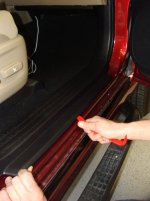
Mad props to Antman, again. I keep having crazy visions, but he’s the one who’s crazy enough to go “YES, we ABSOLUTELY can do that!”…and then invites me over, lets me use his garage, and then does 90% of the work. He says I’m brave to make my vehicle a “guinea pig” for him to play with, but I know it’s in good hands.
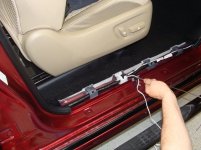
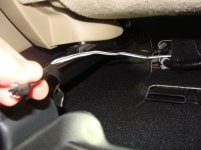
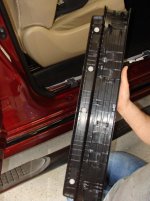
[Note: Last big post had Antman’s arms in it…this one has my hands. But I’m not working, you’ll notice – I’m doing things like “holding a part”, or “fishing a wire”. I barely helped at all, and instead held things and took pictures. I feel like an invalid or something. But I also don’t want to screw things up.]
[Note #2: I forgot my camera when I went to Antman’s house. So I called the lovely-and-beautiful Mrs. Sp8ball, and she packed our 6-week old in the car and drove the 1-mile stretch to deliver it. She even got out of the car to meet Antman. That showed me two things: (1) she wanted to know who this man was who was ripping the body moldings out of our truck, and (2) she is thinking this whole taking-pictures-and-putting-write-ups-on-the-internet thing has some value, if she was willing to deliver the camera.]
Again, this write-up is going to be picture heavy for the same reasons as before: A picture is worth a thousand words, and I have 30-some pictures to post (again). That’s 30,000+ words I don’t have to write.
So, let’s get started!
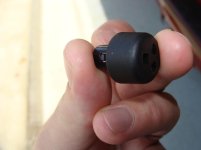
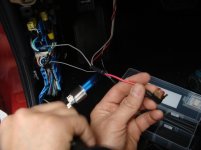
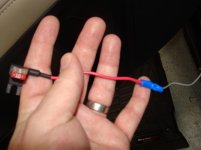
Get yourself an “Add-a-circuit” type connector to plug into your fuse and add another circuit.
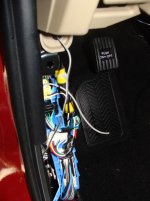
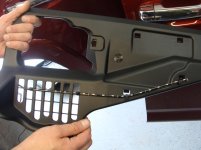
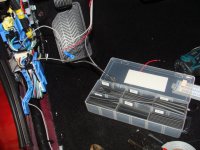
We wanted to have the accent lights only come on when the headlights were on, so we checked out the fuse box cover to get the lay of the land.
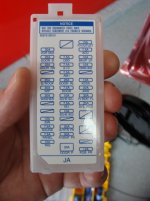
We decided to tap into the “Tails” fuse, because those only come on when the Parking or Head lights are on, which is what we wanted to do. And it has a 10A capacity, which fits with what our Add-a-circuit could handle.
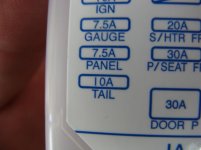
It should be noted that you can’t use your fuse box cover anymore once you connect the Add-a-Circuit.
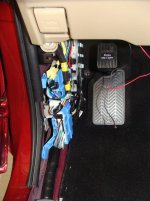
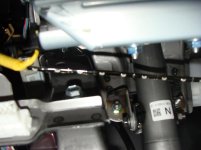
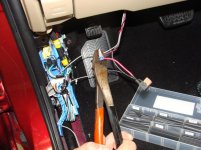
IMPORTANT: See that yellow-wrapped wire. Don’t mess with those. Don’t tie anything to them. Don’t cut them or work too harshly around them – they are your airbag wires.
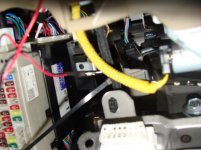
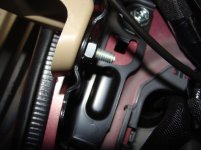
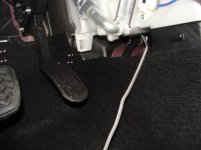
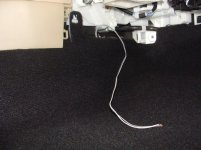
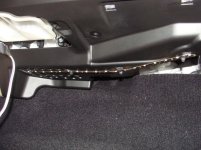
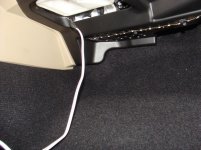
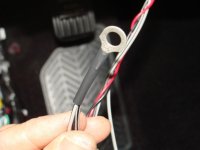
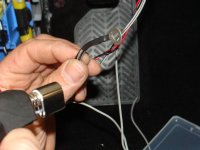
You will need a ground for your lights. The next two steps walk through using the location we identified for our ground.
.