sp8ball
New member
Modification: Door Handle Changeout (cont.)
DRIVER’S SIDE FRONT DOOR:
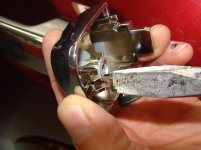
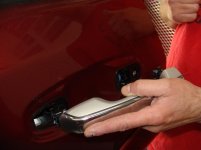
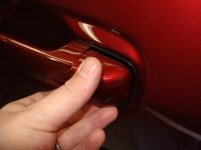
One small nuance about the front driver’s side door is the locking mechanism. We thought this might be a tripping point, but it really wasn’t. Following the same instructions as above, the locking mechanism and door handle cover just slide out as a whole unit.
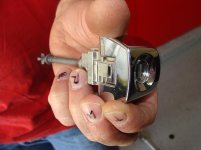
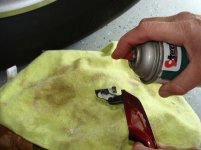
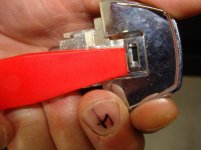
With some slight pressure on the tab, you can release the lock from the door handle cover, and paint it or reinstall your color-matched door handle cover.
REINSTALLING FRONT DOOR HANDLES:
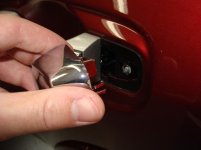
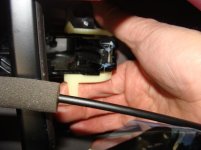
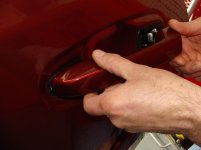
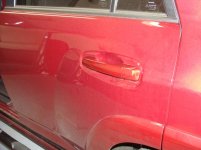
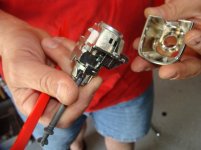
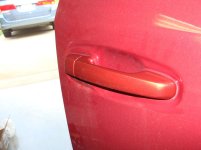
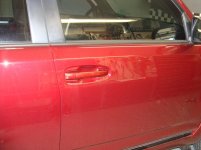
You literally just reverse the above process. Hit the new part with some grease on it’s pivot point (you’ll see the grease on the OEM ones when they come out). Slide the main handle into the door the opposite of the way you pulled it out. It’ll seat and give you a good indication that it’s in. Flip the yellow clip back towards the handle housing to secure it, and close up the plastic shield by pushing the adhesive back together. Put the door handle cover back in place, and secure with the Torq screw. Cover up that hole, and things should look like this:
REMOVING REAR DOOR HANDLES:
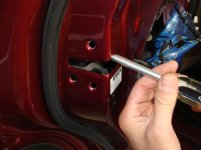
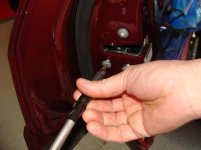
Both rear door handles will come off in an identical fashion, as there’s no locking mechanism with which you have to fiddle around. Again, the instructions are very similar to the front doors, but the door handle cover comes off differently.
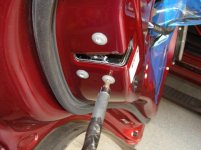
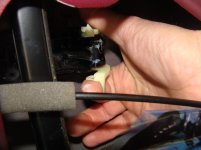
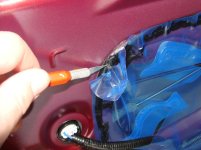
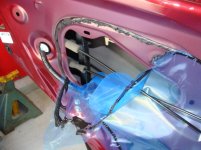
So, we’re once again going to cut into the adhesive (not the plastic) to reveal the inside of the door.
DRIVER’S SIDE FRONT DOOR:
One small nuance about the front driver’s side door is the locking mechanism. We thought this might be a tripping point, but it really wasn’t. Following the same instructions as above, the locking mechanism and door handle cover just slide out as a whole unit.
With some slight pressure on the tab, you can release the lock from the door handle cover, and paint it or reinstall your color-matched door handle cover.
REINSTALLING FRONT DOOR HANDLES:
You literally just reverse the above process. Hit the new part with some grease on it’s pivot point (you’ll see the grease on the OEM ones when they come out). Slide the main handle into the door the opposite of the way you pulled it out. It’ll seat and give you a good indication that it’s in. Flip the yellow clip back towards the handle housing to secure it, and close up the plastic shield by pushing the adhesive back together. Put the door handle cover back in place, and secure with the Torq screw. Cover up that hole, and things should look like this:
REMOVING REAR DOOR HANDLES:
Both rear door handles will come off in an identical fashion, as there’s no locking mechanism with which you have to fiddle around. Again, the instructions are very similar to the front doors, but the door handle cover comes off differently.
So, we’re once again going to cut into the adhesive (not the plastic) to reveal the inside of the door.