sp8ball
New member
Modification: Interior Door Handle LEDs, cont.
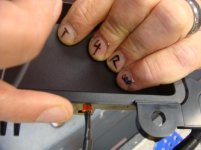
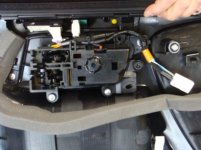
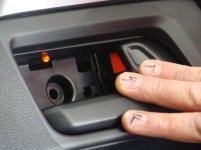
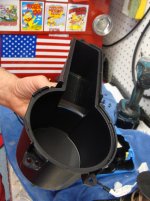
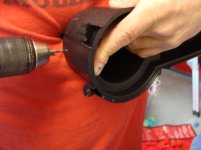
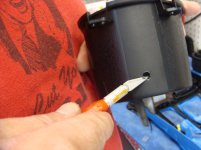
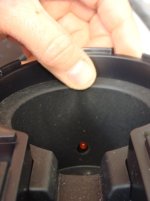
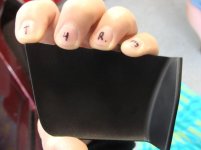
Here is the top of the interior door handle assembly. See that groove/slit just above Antman’s thumb? In the Limited, that’s the slit through which light cascades down onto the handle. This is where we’re going to drill our hole for our LED.
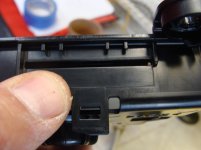
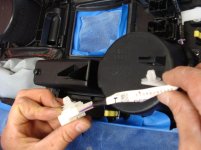
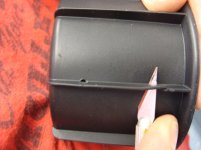
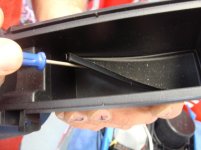
Here’s the plastic piece at the rear of the assembly, that also covers one of the three screws that you have to remove to take off the door panel. Have it handy, because your hole will need to be placed in such a way that it doesn’t interfere with the installation and seating of this piece back into its original location.
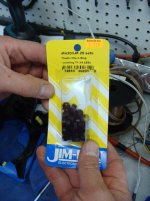
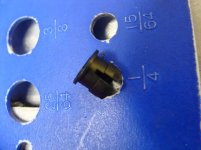
To seat our particular LED correctly, we need a 13/64 hole.
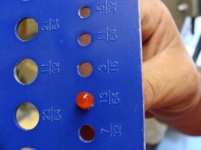
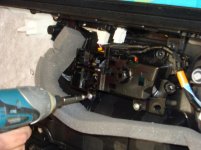
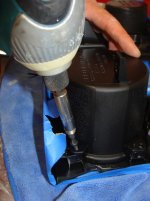
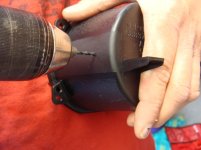
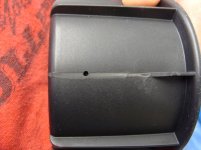
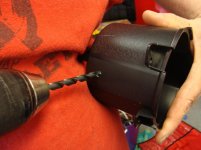
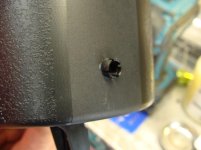
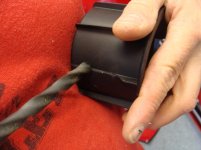
Drill the hole in the top of the door handle assembly, taking care about alignment and location. Don’t get it too close to the slit – or you will cause the LED to seat funny, and may crack the piece. Having the hole too close to the rear of the assembly may also interfere with the installation of the cover piece (shown two pictures earlier).
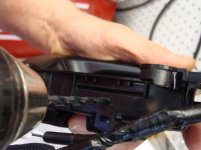
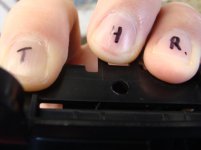
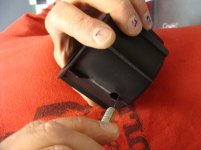
Insert the LED into the hole.
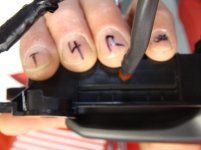
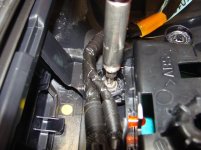
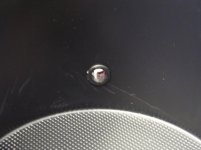
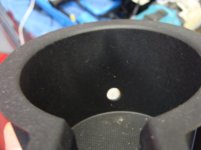
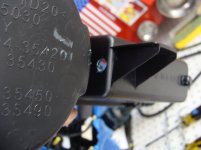
Looking inside the door handle assembly, look to see if there’s any excess/binded plastic that needs to be removed. We removed ours by gently cutting it away.
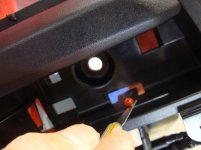
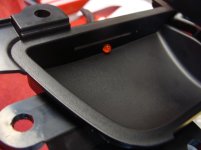
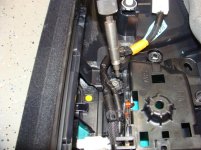
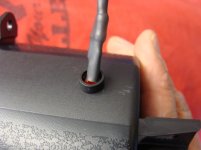
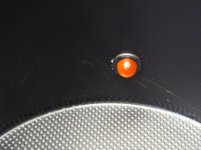
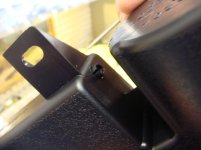
Installed and cleaned up!
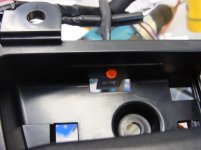
Here is the top of the interior door handle assembly. See that groove/slit just above Antman’s thumb? In the Limited, that’s the slit through which light cascades down onto the handle. This is where we’re going to drill our hole for our LED.
Here’s the plastic piece at the rear of the assembly, that also covers one of the three screws that you have to remove to take off the door panel. Have it handy, because your hole will need to be placed in such a way that it doesn’t interfere with the installation and seating of this piece back into its original location.
To seat our particular LED correctly, we need a 13/64 hole.
Drill the hole in the top of the door handle assembly, taking care about alignment and location. Don’t get it too close to the slit – or you will cause the LED to seat funny, and may crack the piece. Having the hole too close to the rear of the assembly may also interfere with the installation of the cover piece (shown two pictures earlier).
Insert the LED into the hole.
Looking inside the door handle assembly, look to see if there’s any excess/binded plastic that needs to be removed. We removed ours by gently cutting it away.
Installed and cleaned up!