The Grey Ghost Build Thread

Attachments

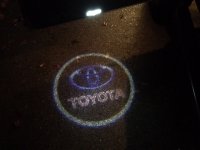
  • toy projector.JPG
    toy projector.JPG
    95.2 KB · Views: 1,361
Last edited:
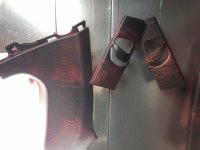
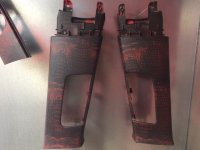
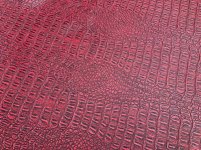
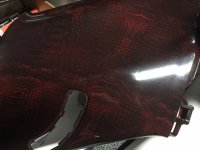
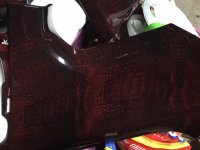
sneak peek at some interior plastic getting hydrodipped in red alligator skin pattern, no clear coat on them yet. Slowly getting rid fo that tacky tan colored upper interior pieces and headliner
 

Attachments

  • rear pieces1.JPG
    rear pieces1.JPG
    87.8 KB · Views: 1,337
  • rear pieces2.JPG
    rear pieces2.JPG
    102.5 KB · Views: 1,322
Last edited:
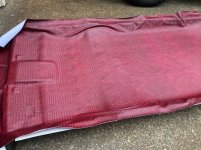
the headliner
 

Attachments

  • fabric layed 1.jpg
    fabric layed 1.jpg
    67.8 KB · Views: 1,346
  • pattern.jpg
    pattern.jpg
    99.7 KB · Views: 1,363
Last edited:
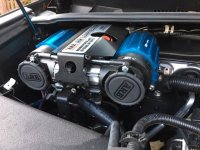
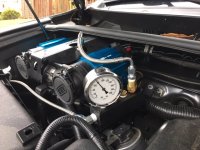
ARB compressor mounted, now need to plumb it and install air line fittings front and back

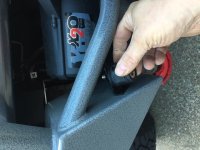
Here is a pic of where I think Im gonna mount my front quick connect fitting in bumper
 

Attachments

  • mounted.JPG
    mounted.JPG
    135.2 KB · Views: 1,364
  • frontfitting.JPG
    frontfitting.JPG
    123 KB · Views: 1,357

Attachments

  • mounted.JPG
    mounted.JPG
    126.4 KB · Views: 1,355
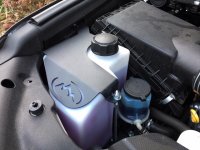
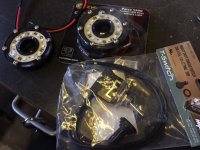
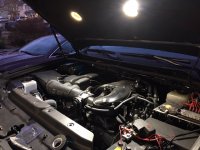
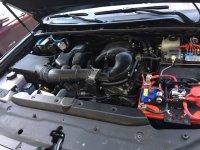
I installed a couple KC Hilites led's under the hood so I can fix stuff in an emergency at night or whatever. They are bright! I'm contemplating using these as extra rock lights in strategic spots under the vehicle too.

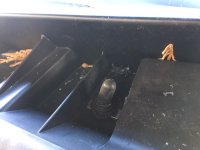
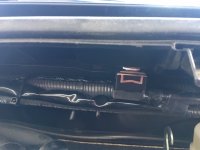
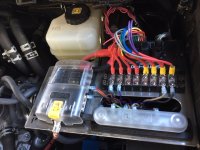
I ran the on/off switch and mounted it right on the cowl panel since its a waterproof switch with a rubber boot. and ran the wires to my add on fuse box next to my switchpods unit. I didn't wanna waste a fuse spot just for th hood lights since they are low amperage and would only be used for emergency fixes and such so added onto a fuse for another light on the vehicle.
 

Attachments

  • underhood lights2.JPG
    underhood lights2.JPG
    124.6 KB · Views: 1,307
  • underhood lights1.JPG
    underhood lights1.JPG
    115.8 KB · Views: 1,295
  • switch1.JPG
    switch1.JPG
    77 KB · Views: 1,224
  • switch2.JPG
    switch2.JPG
    80.8 KB · Views: 1,228
  • switches3.JPG
    switches3.JPG
    127.8 KB · Views: 1,231
Last edited:
Thanks for sharing, great build. Go me rethinking a couple of my mods.

Do you have a pic of the CB installed and the bracket? I have the same CB hanging out on my workbench. Any. problems with SWR and the Rago bracket? I cant get my SWR down. It is fully grounded with a 18' cable, 4' firestik and midland 75-822.
 
Thanks for sharing, great build. Go me rethinking a couple of my mods.

Do you have a pic of the CB installed and the bracket? I have the same CB hanging out on my workbench. Any. problems with SWR and the Rago bracket? I cant get my SWR down. It is fully grounded with a 18' cable, 4' firestik and midland 75-822.


Actually I ended up not doing CB and just using my HAM radio. The mounting plate is still installed behind the headliner in case I ever need to mount something on roof.

Im gonna see later if anybody wants to buy my Rago antenna bracket mount
 
Actually I ended up not doing CB and just using my HAM radio. The mounting plate is still installed behind the headliner in case I ever need to mount something on roof.

Im gonna see later if anybody wants to buy my Rago antenna bracket mount

Thanks, I just haven't found time to get my Ham license.
 
I also finished installing my air manifold for the compressor and plumbing lines. I havn't run a line to the rear yet.

But you can see how i decided to mount the front quick connect air fitting. I can just hook a hose up in front bumper and air up tires or whatever.
 

Attachments

  • manifold done.JPG
    manifold done.JPG
    127.4 KB · Views: 1,130
  • front air line.JPG
    front air line.JPG
    130.4 KB · Views: 1,112
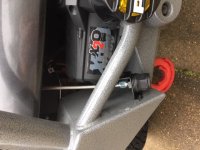
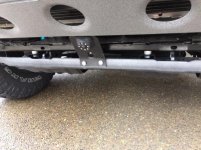
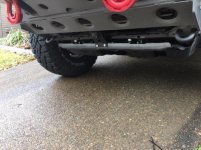
Installed a Summitview rock camera underneath front bumper so you can see over the edge of a drop off or rocks you might hit etc... running into the extra video input of my Kenwood headunit.

I went and bought some universal bracket at the local farm store, cut it down drilled some holes and bent an angle into it. I didn't wanna drill into my freshly powder coated bumper so i figured this was a good alternative. and easy to change or modify like when I get better skid plates later.

SummitView™ Rock Camera from Brandmotion
 

Attachments

  • camera1.jpg
    camera1.jpg
    58 KB · Views: 1,117
  • camera2.jpg
    camera2.jpg
    56.4 KB · Views: 1,096
Last edited:
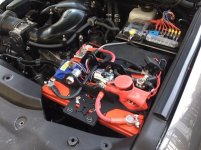
I also finished installing my Genesis offroad dual battery system today. It was a bear moving factory wire harness over to get things into position but finally finished it up.
It's a smart system so it disconnects the cranking battery if it drops below 12.7v when car is off. Then once you start vehicle once it sees the cranking battery above 13.7v it reconnects the second battery and starts charging both batteries again. So accessories can run off the secondary battery while car is off while still maintaining the cranking battery to start later.

Genesis Offroad Toyota 4Runner Dual Battery Kit

And yes I am aware of peoples opinion of weight with 2 batteries but you can see all the other corners under the hood are full with other things so this was the best thing to do I think. I talked to the owner and he says its never been an issue.
 

Attachments

  • done1.jpg
    done1.jpg
    52.4 KB · Views: 1,251
  • done2.JPG
    done2.JPG
    131 KB · Views: 1,275
Some of my interior trim pieces are done, finishing some sound deadening before I install them. Looking bad ass.
I don't care what the haters say lol
 

Attachments

  • rear done1.JPG
    rear done1.JPG
    94.1 KB · Views: 1,200
  • rear done2.JPG
    rear done2.JPG
    89 KB · Views: 1,201
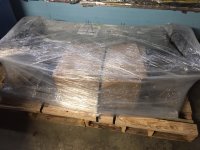
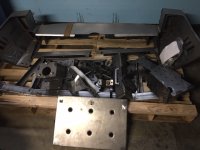
My C4 FAB rear bumper arrived today, about wore me out just unpacking it from the pallette LOL
Now to start sending pieces off to the powder coaters
 

Attachments

  • pallette wrapped.JPG
    pallette wrapped.JPG
    127.1 KB · Views: 1,157
  • pallette unwrapped.JPG
    pallette unwrapped.JPG
    98.8 KB · Views: 1,156

Members online

Forum statistics

Threads
278,307
Messages
3,554,048
Members
248,016
Latest member
Advally Service

Trending content

Back
Top