The Official 3rd Gen Dual Case, Dual Locked Thread

Piecing it together....if anyone is interested in the current MC Tacobox with Inchworm adapters, here you go...happy to take some measurements/photos before it goes in if anyone is interested.

6Dxicoml.jpg
 
Piecing it together....if anyone is interested in the current MC Tacobox with Inchworm adapters, here you go...happy to take some measurements/photos before it goes in if anyone is interested.

6Dxicoml.jpg

I'd like the thickness of the clocking adapter if you don't mind?
 
Hello all. Long time without a post, thought I'd drop some knowledge in here. Long post warning.

Before I get into it, I spent some time with [MENTION=28464]eimkeith[/MENTION] this weekend and he's on track for another good product for the crossmember. Very meticulous product development and design.

Cliff notes and recommendations:
[MENTION=91393]papabeach[/MENTION], I'll do my best to answer some of your questions.

1. Whatever mounts you use, use the same material for the entire drivetrain (engine, transmission, transfer case).

2. Personally, I always tried to have a mount for each case. I don't know if it's required, but it seemed like a good idea to me.

3. Absolutely use the RADesign triple stick. It makes the shifter situation so much easier and requires less cutting and less loss of interior "OEMness".

4. While I love FROR/Diamond Axle, I decided not to use their case mounted crossmember. I did use their skid plate to create my current crossmember. I've seen people on other forums questioning whether or not the case bolts should be supporting the loads of the drivetrain. I chose not to risk it. I also had to add a Heli-Coil to one of those rear case bolt holes recently due to thread degradation that was preventing me from reaching torque spec. I was afraid that it would strip out completely if I tightened it any more.

5. Rock Defense is probably the easiest overall if you're willing to or planning on cutting out the factory crossmember. It gives you the option to mount multiple cases and acts as a skid plate as well. You won't have any driveshaft interference issues. You will run into issues if you plan to clock your transfer case because the built in mount platform would be useless at that point. I also don't personally like the way it attaches to the frame, but it's effective.

6. My first couple crossmembers were designed off of Bud's. Not sure if his universal crossmember is still the same. They worked well if you're willing to cut and make other modifications, including clearancing your floor.

7. The plates welded to the back of the factory crossmember seem like a good simple solution, especially if you plan to use factory mounts. It's at least a good, fast starting point. Seems easy enough to do and can be easily changed in the future to any of the other designs because it requires no modification to the frame. This is also a good solution to use the skid plates you already have.

8. I'm not sure how or why you would combine a FROR crossmember with the factory crossmember or a plate added to the factory crossmember.

9. For the mounts, any of the HD style polyurethane bushing types are pretty much the same. Pick whichever one you like best. If you go with one of these, change your engine mounts to polyurethane as well. They will allow more vibration to be transferred to the body, but I've found that any noticeable increase is normally due to something else making contact that I didn't notice or overlooked. So if you get increased vibrations make sure you check for hard parts making contact first. I've had my sliders hitting the pinch weld under the rocker panels (lots of vibration), transfer cases hitting the floor, etc. I'm pretty sure the bushing I use for the engine mounts is Energy Suspension part # 3.1108. It's a Jeep transmission mount that will bolt to the factory engine mount location. You'll need 2, and they're normally available at your local auto parts store. Here's a picture of mine in the Tacoma.


10. You shouldn't have any increased vibrations from your driveshafts. Ideally, you won't touch your driveshafts until you have your transfer cases mounted. You need to know the exact measurements. Set your pinion angle 1 degree below your driveshaft angle to account for the slight pinion rotation under load. You'll probably require adjustable upper control arms if you want to make this process exact and easy. Either way, don't accept driveline vibrations. My catastrophic failure was due to a ceased joint in my rear driveshaft. Don't let a setup error destroy your joints.

11. I have Tom Woods driveshafts and modified factory driveshafts. If you have a local shop and your driveshafts are in good shape, it's generally easier to have yours modified. It should also cost less because they won't have to provide all the joints and flanges. Hardly anyone carries the metric tube, so expect a local shop to machine your factory joints to accept a standard size tube. You'll get faster turn around from a local shop, will be able to verify fitment, and will be able to have them resolve any issues. I had Tom Woods install the flanges on the wrong side of my custom driveshaft before, which required me to mail it back for correction. I've also had a local driveshaft shop modify a factory driveshaft. When I installed it I had horrible vibrations. I took it back and they rebalanced while I waited. They also came with me on a test drive to make sure the driveshaft was causing the vibration. With all that being said, I've done plenty of business with both Tom Woods and local shops and have good experiences with both.


Most of this information will be coming from my truck build, but will transfer over to the 4Runner.

Here's the series of stages I went through with my crossmembers.

Stage 1:

Flat belly, BudBuilt Clocking Ring, BudBuilt Skid Plates.
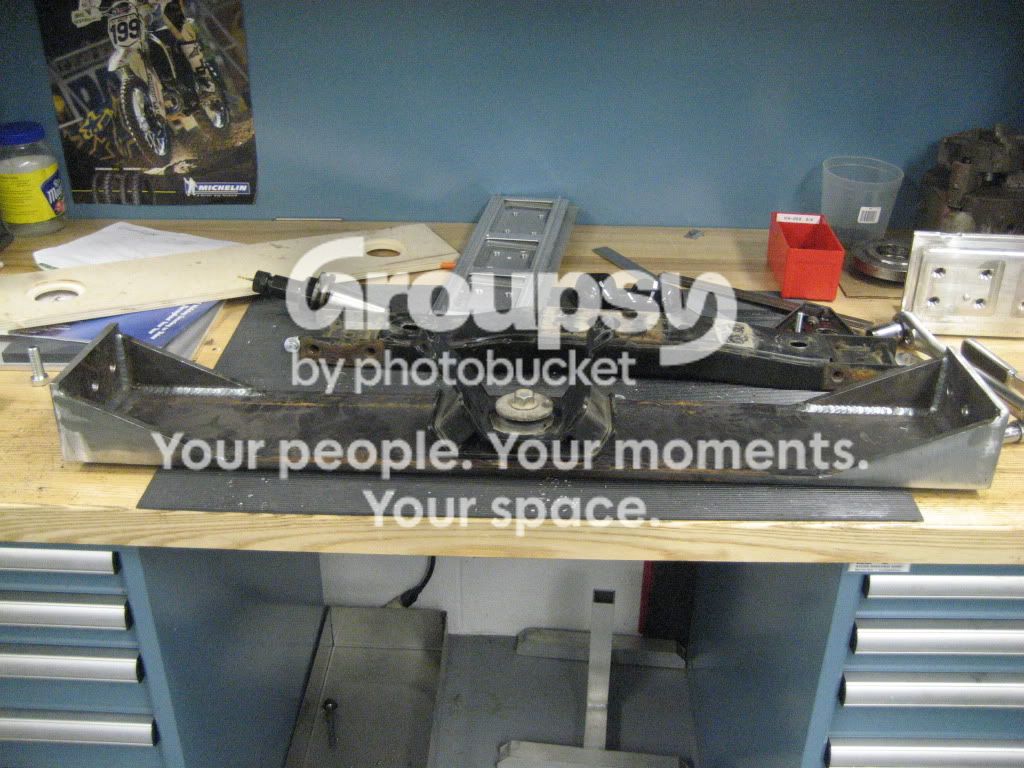


This setup worked great. Factory vibration damping with a completely flat belly. The only thing I didn't do that I should have is sleeve the frame with tubes to prevent the frame from "collapsing" as the mounting bolts were tightened. I ran this setup for a while until I had a catastrophic failure of my rear driveshaft that took the transmission and clocking ring with it.


Stage 2:

Flat belly, Inchworm Lefty, BudBuilt Skid Plates.

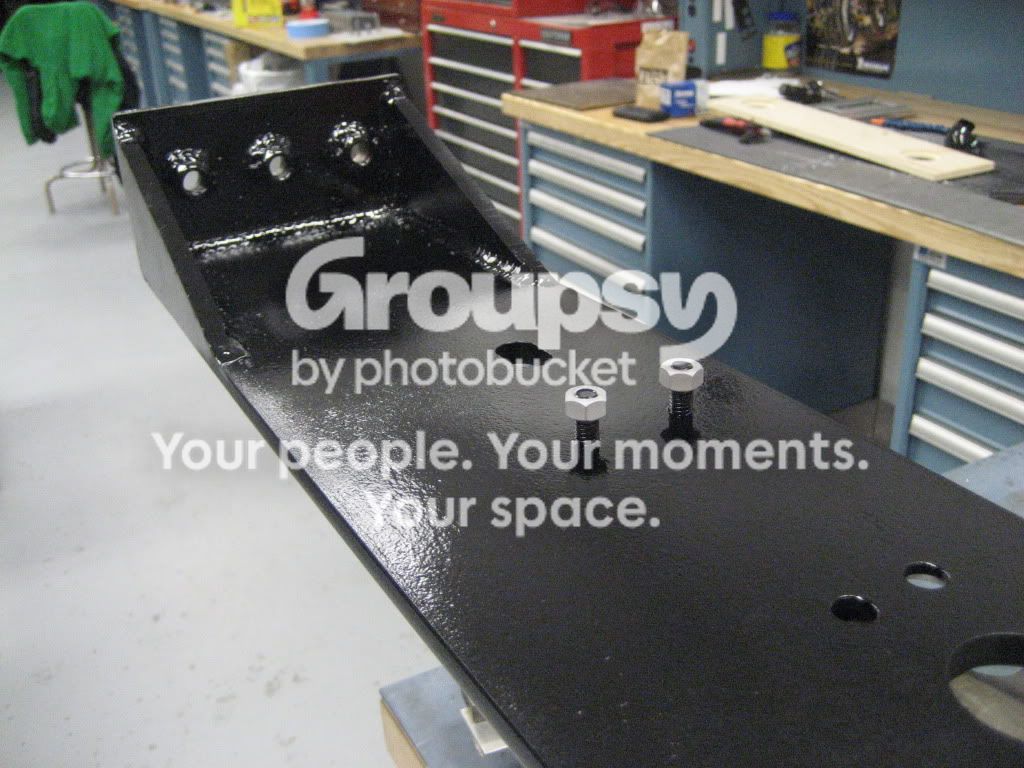
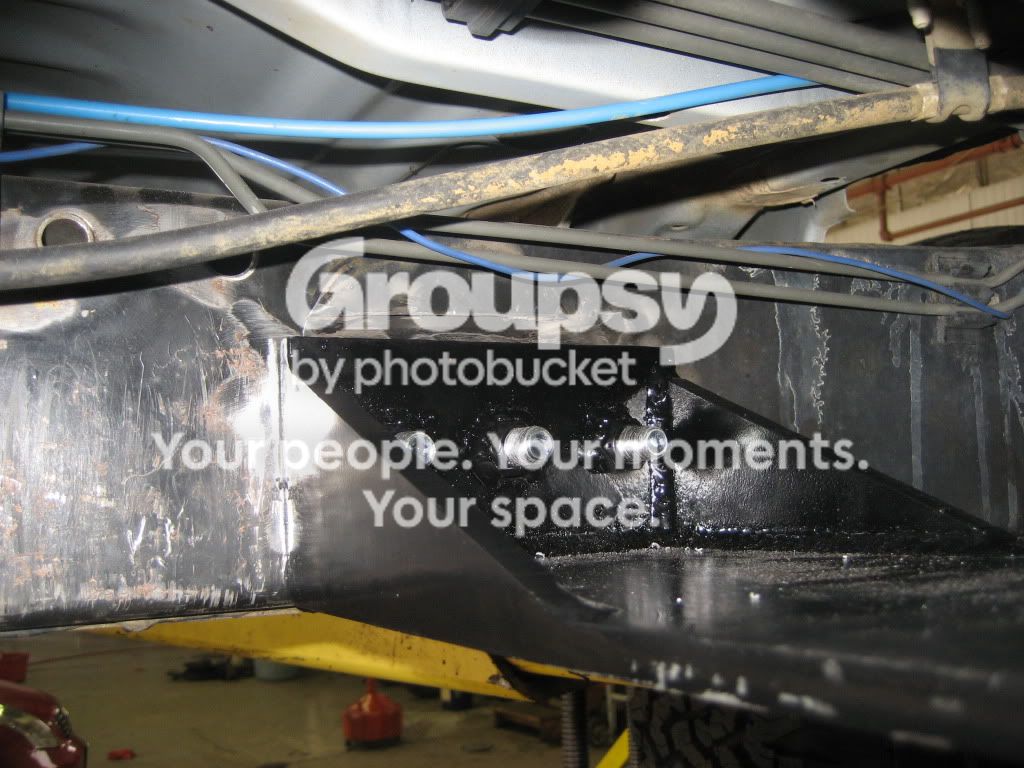
After my driveshaft failure that caused a bunch of carnage, I decided to go with a Inchworm Lefty instead of another BudBuilt Clocking Ring. For this change, I just welded an extension to my crossmember and added a HD style mount. I did have to modify the mount for the clearance I required.
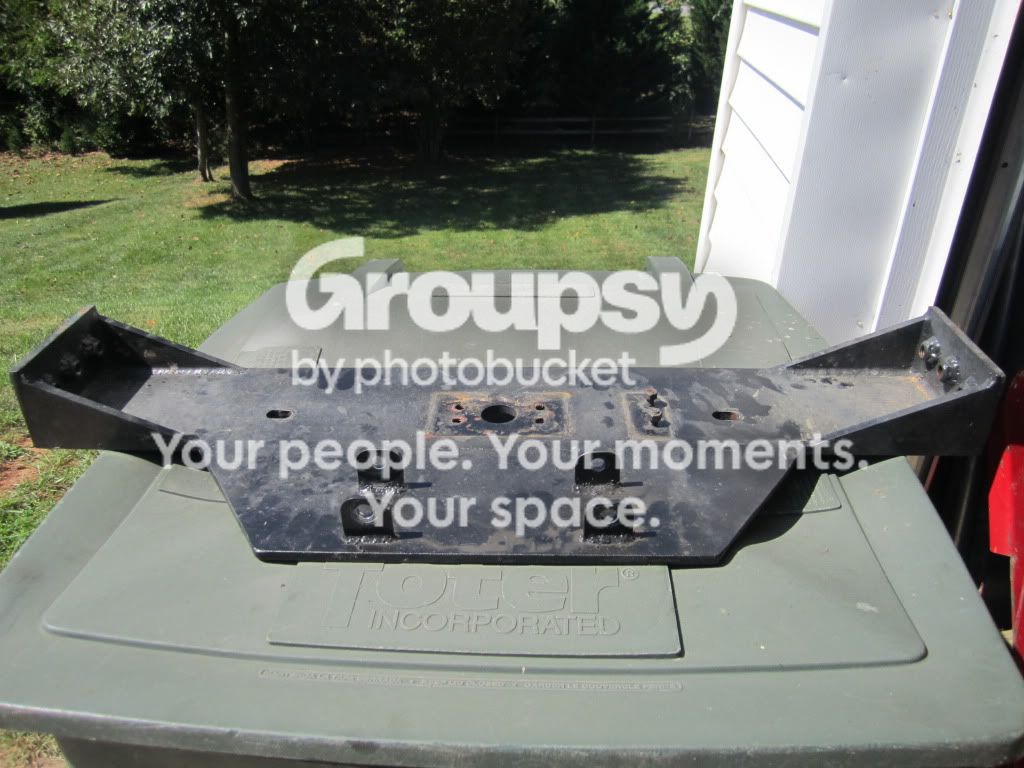
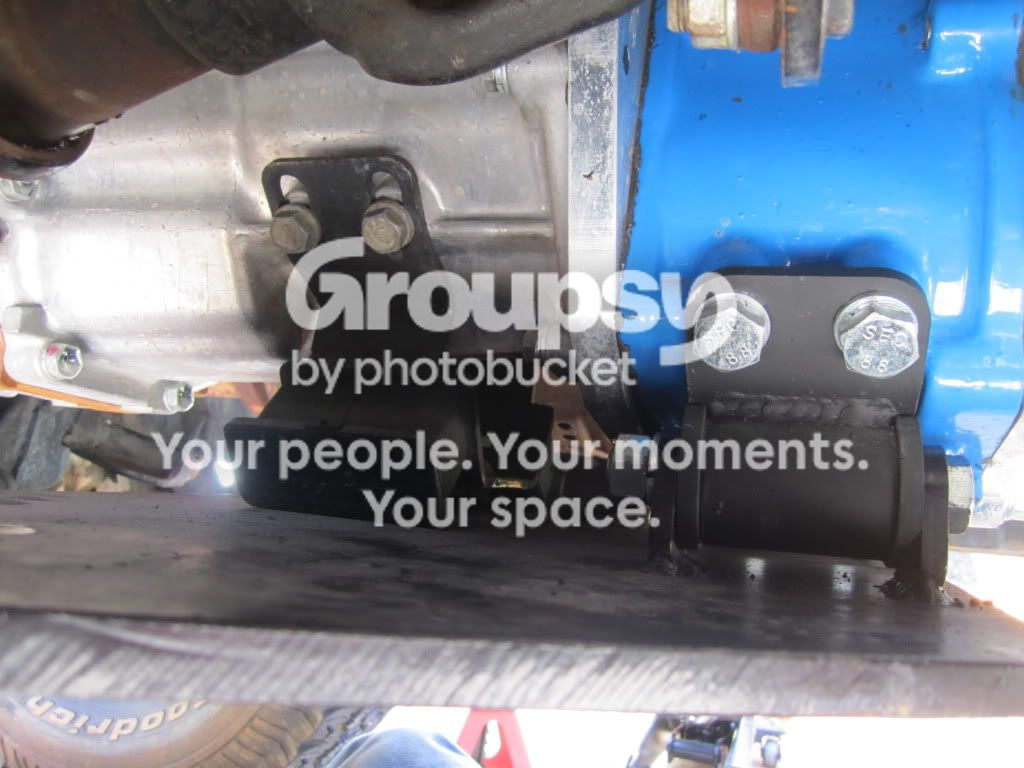
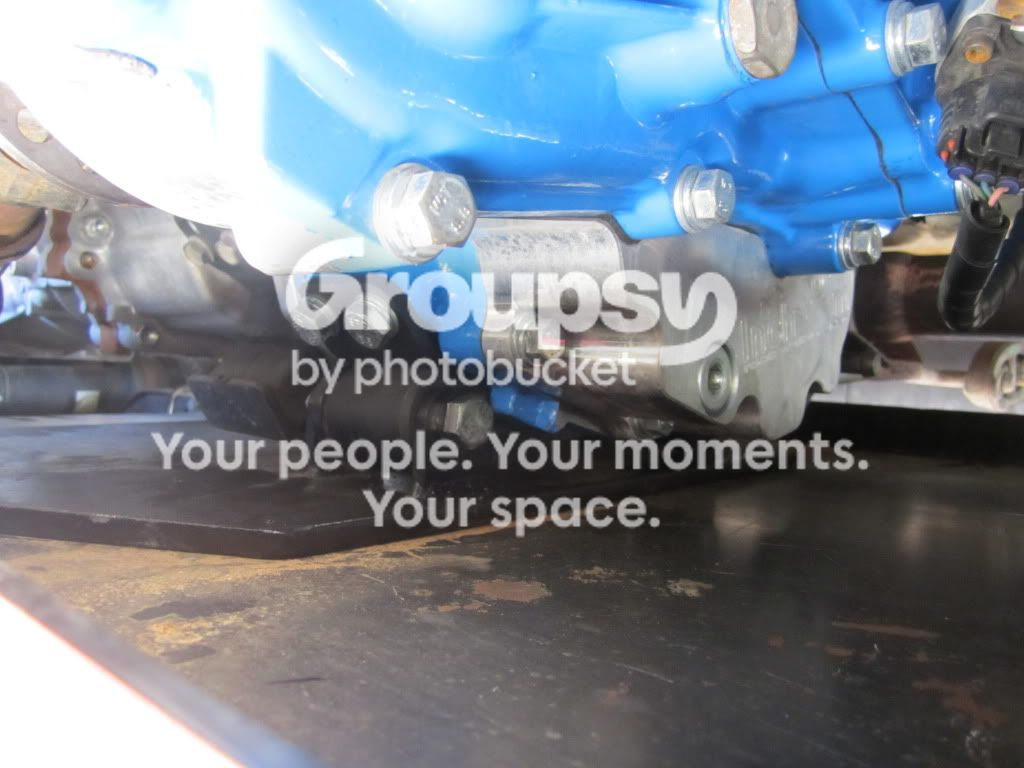
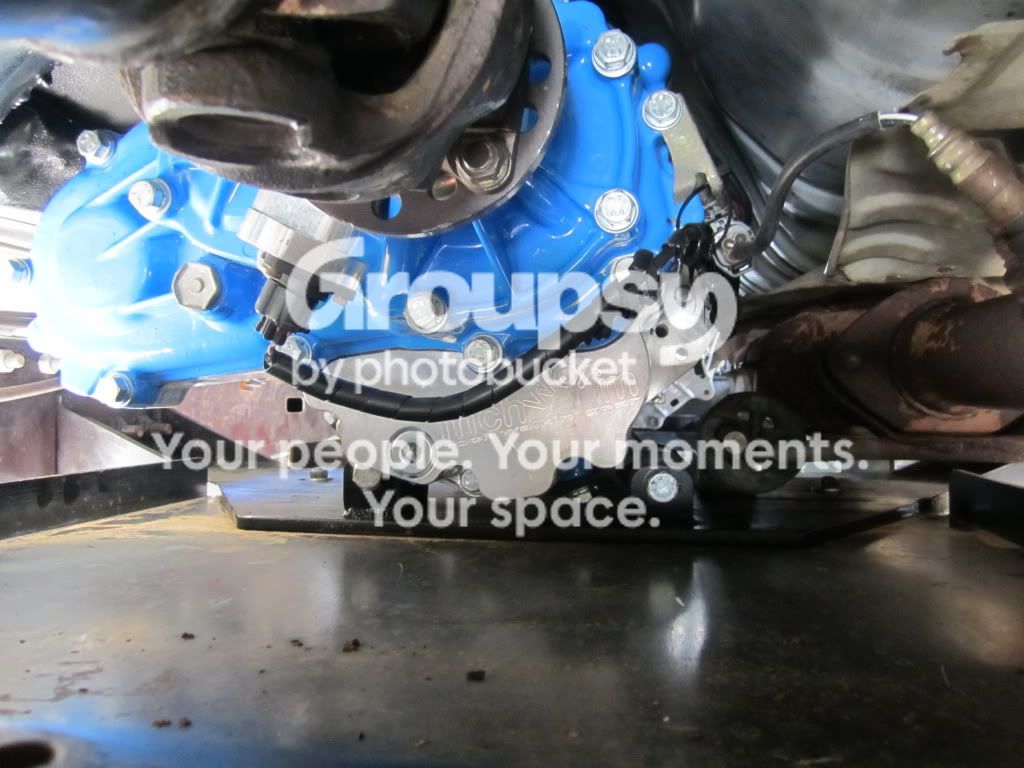


This also ran well and I kept it until I went with dual cases.

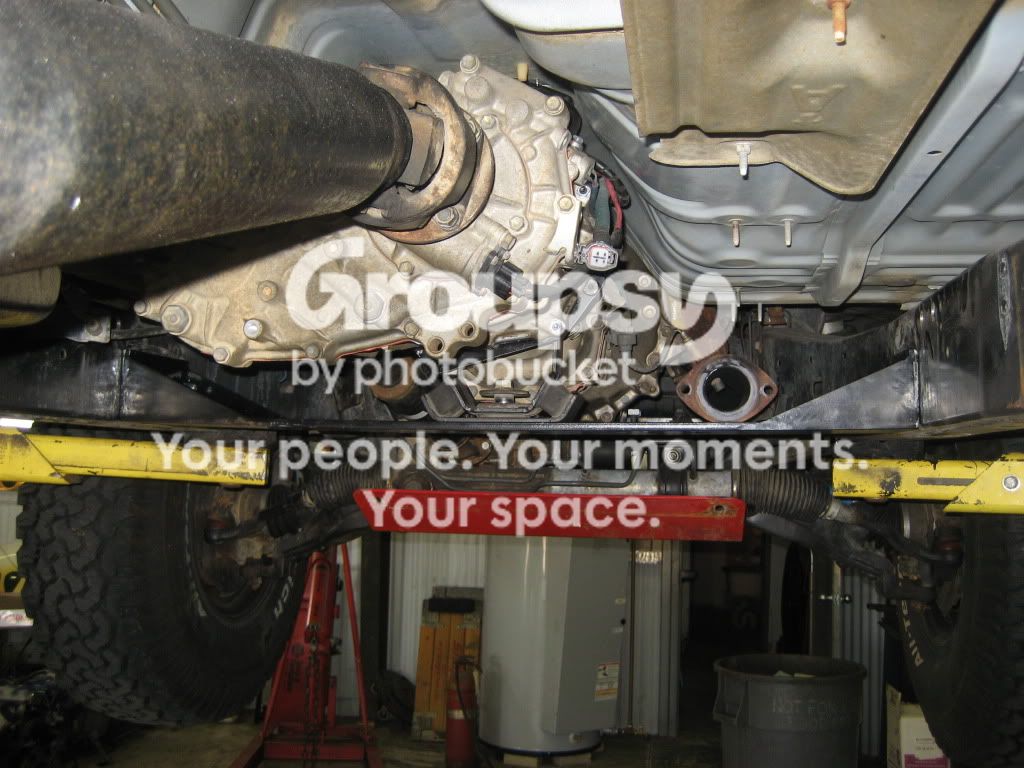
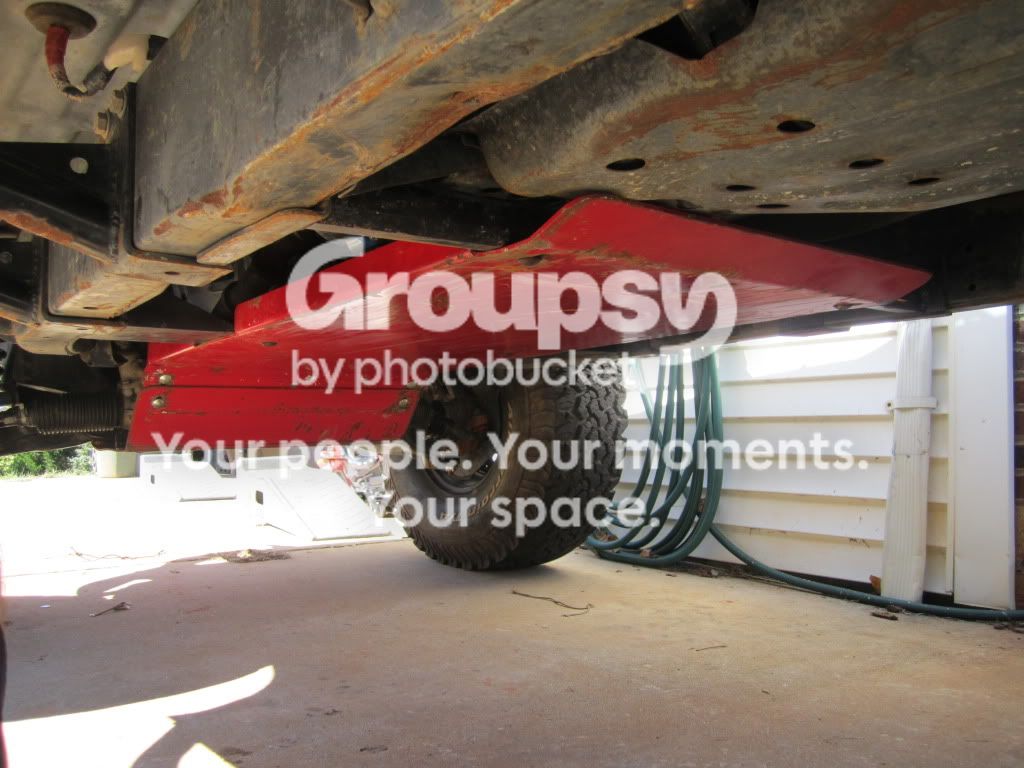
Of note, you have to run a clocked transfer case with both of these because when you bring the crossmember flat with the frame, the crossmember will block the front driveshaft. Clocking the transfer case raises the output flange high enough that the driveshaft will clear the crossmember. This picture shows the interference.
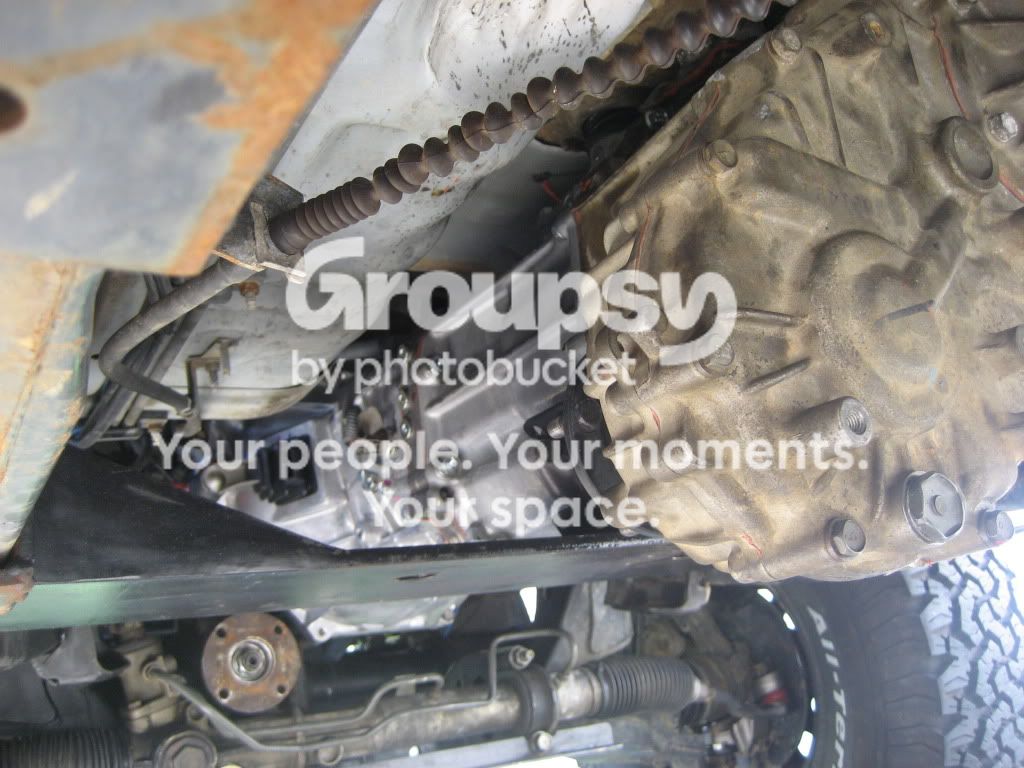


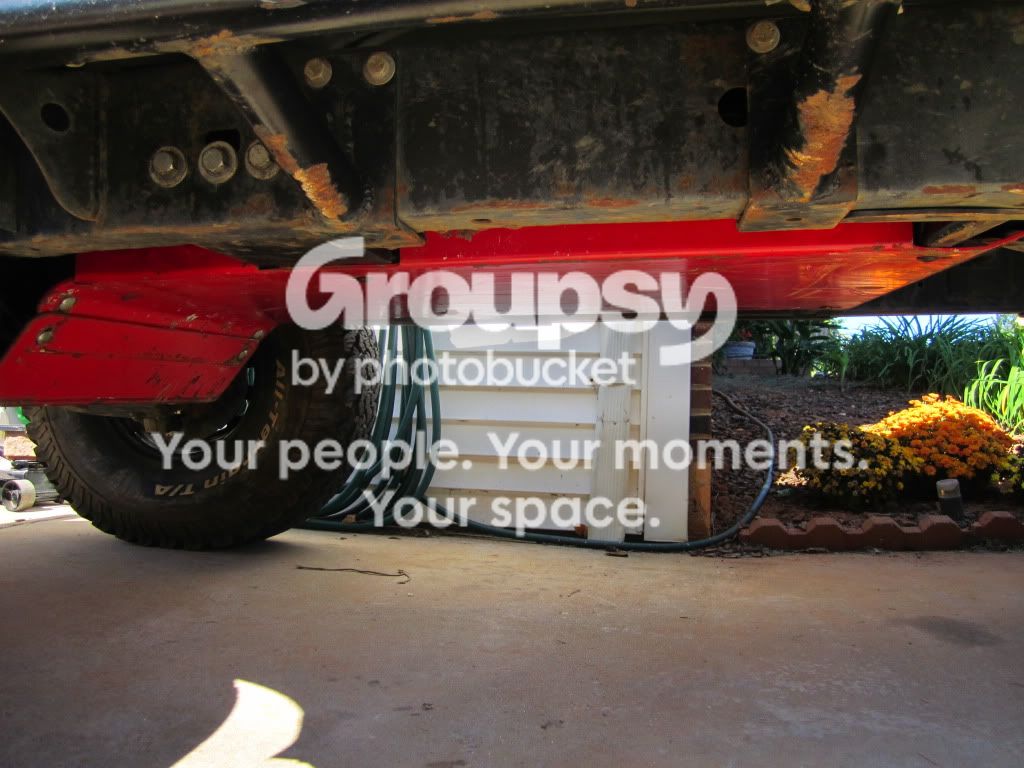
Here's a few pictures of the ground clearance I had while running these setups.


Stage 3:

Flat belly, dual cases, custom skid plate.

This was my first setup for my dual cases. While it worked well, vibration was increased and it was way too complicated. I was designed to support the drivetrain while also providing a mounting surface for the skid plate. It did those well, but it was very heavy and was a pain to work on. Also, the 1/4" UHMW skid plate warped due to the heat from the exhaust. Later I used a 1/8" aluminum plate bolted to a 3/16" UHWM bottom layer.


Stage 4:

Flat belly, dual cases, skid plate/crossmember combo.

This is what I'm running in the Tacoma now with a 3 link SAS and passenger side drop transfer case. It's simple and effective.


I also tried a mod last week for the adapter plate. I added a seal inside the extension tube for the transmission output shaft. This should seal the transmission and add redundancy for the seal Marlin provides. It also helps with aligning the cases during assembly without damaging the seal at the end of the extension tube by keeping the coupler aligned and in place. The seal is National part # 710611. It was a press fit in one of the extension tubes, but a slip fit in another. So I added some RTV to ensure it seals properly and stays in place.


Add RTV to the inside of the splined coupler on the transmission side. This will seal the inside of the coupler.


Tell us about the Tcase park brake!


Ok... Don't do it.

It's a pain in the ass to set up. No one makes a kit for the Lefty or clocked transfer case. As far as I've found, you can't buy the pads for the caliper separate, so you have to replace the whole caliper assembly. I've only been able to find it from AllPro and it's expensive. I was using a Tacoma, so I had a lot more cable length to play with using the dash parking brake handle. On the 4Runner you would have to figure out how to activate it from the center console handle. All in all it was a pain in the ass and didn't hold all that great when it was set up.

I do have the Mustang caliper parking brake working in my 4Runner though. That was much easier to get set up.
 
[MENTION=118207]midcoma[/MENTION], thanks for the detailed response, you have clearly have some experience and skills.
[MENTION=28464]eimkeith[/MENTION], here are some pics of measurements from my TacoBox

zZeecxgm.jpg
05IsbYam.jpg
arAZ4KTm.jpg
 
wait - [MENTION=91393]papabeach[/MENTION] did we miss a section?


Sent from my iPhone using Tapatalk Pro
 
Last edited:
Not sure I understand your comment? I have not installed yet if that is what you mean...piecing a few more things together...hopefully soon.

It looks like you missed one section when measuring - the reduction box side of the clockable adapter?
 
TG DTcase

Any one running the trailgear dual case opened there unit up and inspected everything after using it a bit?

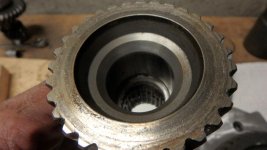
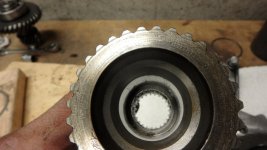
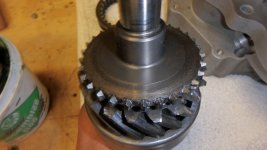
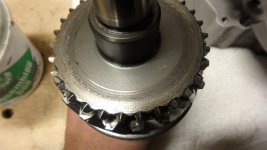
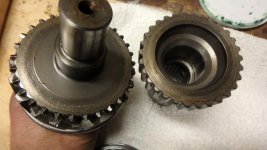
Last time i post about my TG case, I had gotten it back from TG, the popping out of gear issue had been resolved. After getting it back from TG my unit was leaking oil (I made sure to always keep it topped off) but i didn't want to have to pull it again right after just installing said, I waited until I had some other maintains to get done. I just pulled my TG case, found a 1/3" spot with no sealant, since i had to pull the case apart to reseal i went ahead and inspected the internals. My invoice said TG installed some type of shim kit while i was told the couple looked suspicious and was replaced... so while inspecting i found (the unit it's self was/is still working)

TG1.jpg

TG2.jpg

TG3.jpg

TG4.jpg

TG6.jpg

My thought is what every TG did to tighten the case tolerances to keep the unit from popping out of gear closed/tightened things to much...

So the reason I asked if anyone else has open and inspected there's is to c if anyone that didn't have a popping issue and the repair done is having the same wear or not, to help isolate the cause. From the 1st time i drove with the TG case installed (before the popping issue was repaired) there has always been a growling noise coming from the unit (this persisted after the repair as well), wondering if this could be the cause of the noise...
 

Attachments

  • TG1.jpg
    TG1.jpg
    129.8 KB · Views: 535
  • TG2.jpg
    TG2.jpg
    131.1 KB · Views: 536
  • TG3.jpg
    TG3.jpg
    127.6 KB · Views: 520
  • TG4.jpg
    TG4.jpg
    130.9 KB · Views: 519
  • TG6.jpg
    TG6.jpg
    130.5 KB · Views: 535
Getting closer. Dropped off my driveshafts and it was done in less than 24 hrs. So those are in. Gotta make the crossmember, drain and fill the cases, and do the in cab stuff like shifters (which I'm dreading)

Dumb question - do you have to modify the gas tank to run the dual cases?
 
Dumb question - do you have to modify the gas tank to run the dual cases?

Not a dumb question.

It depends on what transfer case you have. Some transfer cases are longer than others - if you have a multi-mode transfer case (found on '99-'00 limited models or '01-'02 models) then the gas tank will interfere. If you have a j-shift transfer case (found on '96-'00 non-limited models) then the gas tank will not interfere. I'm not sure about on the '96-'98 limiteds with the electronic 4WD button.
 
Not a dumb question.

It depends on what transfer case you have. Some transfer cases are longer than others - if you have a multi-mode transfer case (found on '99-'00 limited models or '01-'02 models) then the gas tank will interfere. If you have a j-shift transfer case (found on '96-'00 non-limited models) then the gas tank will not interfere. I'm not sure about on the '96-'98 limiteds with the electronic 4WD button.

Thank you, that is very helpful. I’m still shopping for my 3rd gen T4R. I want a manual J-shift transfer case (and 5-speed), so this just reinforces the t-case choice.
 
Thank you, that is very helpful. I’m still shopping for my 3rd gen T4R. I want a manual J-shift transfer case (and 5-speed), so this just reinforces the t-case choice.

The 5-speeds only came with j-shift transfer cases, so rest assured if you do get a 5-speed then you will be able to fit duals easily without worrying about the gas tank.
 
worrying about the gas tank.

Good excuse to relocate tank to the back,.

Dual case moving up list work in progress.

T_J, to anyone wants to chime in.
Shifting cases between gears with your length sticks takes how much ft/lb of linear force ? guesstimate.
You have access to say on bench or floor to setup grab stick at 2-3" stick length shift case what you think force needed is ?
Linear Actuator max is 145 ft/lb LF, shooting for 120-25 ft/lb working load. You think 120-25 doable for shifting ?
Push button linear actuator shifting in 70's Lexus drive train conversion cruiser had it. Why not in 3rd Gen, save a cup holder.
 

Members online

Forum statistics

Threads
278,316
Messages
3,554,111
Members
248,016
Latest member
Advally Service

Trending content

Back
Top