TonyB66's Ownership -> Build Thread (2000 Limited)

I think I watched your video 5 times and I now think I want to go that route. What lights did you use on your bumper for turn signals?
As far as I have been able to tell, Schrockworks uses a Hella 8947 turn signal housing:

06469670_0.jpg


It uses an 1157 dual filament bayonet style bulb. I used this switchback bulb:

https://www.superbrightleds.com/mor...d-tower-a-type-bay15d-retrofit-car/1915/4479/

I used this non-polarity sensitive LED in the corner lights, which is plenty bright:

https://www.superbrightleds.com/mor...d-tower-miniature-wedge-retrofit-car/206/923/

The turn signal 'bright' filament (amber) is wired like stock. The turn signal dim filament (white) is wired like the stock corner lights. The corner light power is connected like stock and the 'ground' side is connected to turn signal power instead of ground, like described above. So, other than wiring in the aftermarket turn signal, only 1 wire is different from stock.

The challenge here is finding a dual brightness 1167 (or 3157) type housing that will fit your bumper, I think. The shrockworks bumper uses a recessed mounting flange with 3 holes to mount the turn signals.

-Charlie
 
As far as I have been able to tell, Schrockworks uses a Hella 8947 turn signal housing:

06469670_0.jpg


It uses an 1157 dual filament bayonet style bulb. I used this switchback bulb:

https://www.superbrightleds.com/mor...d-tower-a-type-bay15d-retrofit-car/1915/4479/

I used this non-polarity sensitive LED in the corner lights, which is plenty bright:

https://www.superbrightleds.com/mor...d-tower-miniature-wedge-retrofit-car/206/923/

The turn signal 'bright' filament (amber) is wired like stock. The turn signal dim filament (white) is wired like the stock corner lights. The corner light power is connected like stock and the 'ground' side is connected to turn signal power instead of ground, like described above. So, other than wiring in the aftermarket turn signal, only 1 wire is different from stock.

The challenge here is finding a dual brightness 1167 (or 3157) type housing that will fit your bumper, I think. The shrockworks bumper uses a recessed mounting flange with 3 holes to mount the turn signals.

-Charlie

Very helpful information.

The Savage front bumper, being shipped today, has holes for 2" round marker lights. Roy confirmed this morning that the holes are over-sized to fit the larger diameter grommets. The markers I ordered and arriving today need a hole about 2 3/8", so I'm likely ok with physical fitment...

I guess we can't say dual filament with respect LEDs, so dual function it is. Your dual function 1157 LED is for turn signal and parking light. I guess you have three wires on them. Since mine is a two wire, it would be turn signal only.

With respect to the corner light, I don't see a dual function 194 as I'd otherwise might consider that option...

Good stuff. Thanks again.
 
With respect to the corner light, I don't see a dual function 194 as I'd otherwise might consider that option...

Good stuff. Thanks again.
The 1157 housing does have 3 wires.

194 bulbs (corner light bulbs) can be had in 2-color form, but with only 2 leads, the color is switched by swapping the polarity of the connections. I like the look of amber in the corner lights, so I didn't go down this route. You just need a bulb that lights up with power applied in either polarity.

-Charlie
 
It has been a little while, so I figured I'd provide an update. Although nothing has been completed, there's been a fair amount of busy work around the holiday schedule.

I know this is a hectic time of year for UPS, FedEx and the like, but it was particularly bad with respect to the delivery of the Stubbs HD-SKO sliders. They finally arrived, a couple days late, along with the Savage order of front and rear bumpers. They had to use a non-UPS truck due to the size of the items. I cleared a spot in the garage for the the mass of metal.

i088Z3c.jpg


The box barely captured in the lower right corner is the rear bumper swing-out.

Being that I'm on the schedule of a local weldor on the 26th, I got busy with test fitment of the sliders.

Jack-able jack stands once again, really nice to have.

KVZXSx9.jpg


Per Richard's recommendation, I'm doing the 3/8" gap between the support legs and rocker panel pinch weld. Had some scrap wood trim that I taped onto all four legs, which can be seen here.

MclYz9e.jpg


In this current state, the rear door clears by at most 3/16".

R0IBRtR.jpg


With that, I'm not going to trim or bend back the pinch weld to get the sliders higher, as it would be for very minimal gain.

The scab plates bases are generally right at the bottom of the frame rails.

pUER3JM.jpg


That's the Lil' Skip's gas tank skid right next to where that scab will be burned-in. I'll lower it a little when these get welded-up...

I then a used a pair of 11R clamps to make sure the scab plates are flush to the frame. Can't do so on the rear two legs due to the gas tank...

7o9V2L4.jpg


After some front/back positioning, I got the slider exactly where I want it. To help with welding day positioning and to aid in replication on the other side, this should help.

fWrhGKo.jpg


MUT6AKB.jpg


I then traced the scab plates with a Sharpie.

SGPUPti.jpg


The day before these get welded, I'll remove paint on and around the traced scab plate lines...

12IoTNE.jpg


I then did the same for the passenger side. On that side, the rear door lightly rubbed on the top of the slider. I got it positioned though, and all four scab plates traced onto the frame. Definitely not doing anything with the rocker panel pinch welds as the doors then become problematic. With the test fitting done, I next began to prep them for the self etching primer. Needed to remove some labels and some minimal residue.

hJUvH1F.jpg


I then found a way to suspend them for spraying all sides at once. As you can probably tell, I put some masking tape around the legs right near the scab plates. These will stay bare metal for the weldor's ground clamp.

n68YxrF.jpg


Being squeaky clean, on a pretty warm winter afternoon, the self etching primer was applied, then on the other.

8TOylnx.jpg


Di7jwcL.jpg


I let them dry overnight, sanded them with 400 grit, then wiped them down with distilled water, which we have on tap.

I realize there are better paints, but I decided upon the regular off-the-shelf Rustoleum flat black found almost everywhere and has been sold forever, and likely will continue to be.

Vic34t9.jpg


OQMqfcT.jpg


With those drying in the sun on another warm afternoon, I spent over 2 hours unwrapping and cleaning the bumpers.

IQGz8dk.jpg


Total weight, 82.5 lbs

nFOmoad.jpg


Total weight, 84.8 lbs

cb0srk0.jpg


Total weight, 45 lbs

Before I forget, the sliders are 32.6 lbs each.

I remembered to check the marker lights I purchased to be turn signals, and they fit well. Actually, it was such a snug fit, it was tough to remove.

ZEQP8Me.jpg


With the high temps falling below 60 starting tomorrow, priming and painting of the bumpers will need to need to be done another way, likely in the garage or outside under some tent-like "structure" with a heater.

On Christmas day I'll remove paint on the frame where the scab plates will get welded. I'll do the same for the PCK. I already removed the bar. I guess not ok to drive without the panhard bar?
 
Last edited:
This is just my opinion but I strongly suggest you consider (if you haven't already) spending the $150-ish to get the front bumper powder coated. My front bumper ARB powder coat has held up 10 years now and my rear Savage powder coat has held up about 9 so far. You won't get that kind of last out of any rattle can. Perhaps a professional paint mix yes but rattle can no. I assume you are considering the DIY paint job. I painted my rock sliders with rattle can primer and paint them after about 2 years they looked like crap AND I live in San Diego.
 
Last edited:
This is just my opinion but I strongly suggest you consider (if you haven't already) spending the $150-ish to get the front bumper powder coated. My front bumper ARB powder coat has held up 10 years now and my rear Savage powder coat has held up about 9 so far. You won't get that kind of last out of any rattle can. Perhaps a professional paint mix yes but rattle can no. I assume you are considering the DIY paint job. I painted my rock sliders with rattle can primer and paint them after about 2 years they looked like crap AND I live in San Diego.

Understood and appreciated Brian. Had powder coating before on a different vehicle, and while it was clearly much tougher than spray can paint, it too needed touch-up. I always have a can or two of that spray paint on hand for any touch-up.

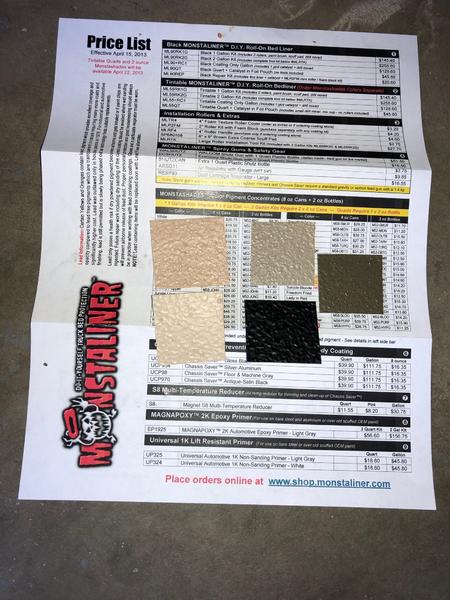
Also, since I plan to go the MonstaLiner route at some point, I might then consider to do the bumpers as well, and sliders.

tonyb66-albums-misc+photos-picture51521-img-5045.jpg


tonyb66-albums-misc+photos-picture51247-monstaliner-colors-interest.jpg


For those who care, I updated post #525 (previous page) with weight figures for the bumpers, swing-out and sliders.
 
Last edited:
Powder coating scratches off easily in an impact (rock, Uber, etc) especially if not prepped well. Half the cost of powder coating is the prep and setup.

Given the abuse skids and sliders are prone to see, powder coating is temporary, and expensive, and will need to be touched up when scraped off - might make more sense on bumpers but $$$$

Sent from my Pixel XL using Tapatalk
 
Mike, good to hear from you.

Just got a couple more rattle cans today actually. The Home Depot has them at $4.25. Just over one can got both sliders done (multiple coats)...

Sliders and PCK were welded-up yesterday. I'll provide a more detailed update soon.
 
Understood and appreciated Brian. Had powder coating before on a different vehicle, and while it was clearly much tougher than spray can paint, it too needed touch-up. I always have a can or two of that spray paint on hand for any touch-up.

Got it. I only mentioned it because I have had my sliders on the truck since 2009 or 2010 and during that time I properly painted it twice then the third time a few years had gone by and I was getting rust and corrosion on the paint (again). That is when I said f-it and had them powdercoated. --> Maybe I'm just unlucky and it is the salt in the air here in SD.

You are very thorough with the pictures. Great job documenting.
 
Thanks Brian. Some more details to follow...

First, done are:

sliders
PCK
Poly bushings for the panhard bar
e-brake extension

On Christmas day, after fun with the kids in the morning, I got some pre-weld prep work done.

TQluA1a.jpg


qiytNaa.jpg


CsiY0un.jpg


CrCpMGY.jpg


The PCK fitment is superb.

With bare metal and everything squeaky clean, Wes at One Off Customs in Morgan Hill made fast work of the sliders and PCK.

UwM68m2.jpg


f7zhyxh.jpg


7kHaMQ3.jpg


While he was switching sides on the sliders, I removed the panhard bar. The Lil' Skip's gas tank skid was an issue (too close to the frame). I felt it might be so I lowered it a little before heading over to the shop. It was still not low enough so I needed to remove a few bolts. Otherwise, all went pretty fast...

Photo limit, so continued in the next post.
 
Last edited:
Wes had welded on the inside of the PCKs, I suppose to make for a stronger weld.

l30UpgH.jpg


iOMyy5L.jpg


The drawback though is that the bottom hole is no longer an option because the weld doesn't permit the end of the bar past it. I'm not lifted yet, so I had planned to use the factory locations for a few weeks. I contemplated grinding that weld with a Dremel (carbide bit), but decided that it wasn't worth the hassle.

I rigged this up to open the top a little.

XbEz4yP.jpg


Oh, before that, self-etching primer, a light sand and paint. It was getting a little cold, so I used a heat gun sparingly...

qTiTrQr.jpg


rmYBsvW.jpg


bOlcfTl.jpg


iNaRGrh.jpg


Actually, in that photo just above one can see the fuel tank skid dropped so it wouldn't get welded on accident...

Got busy on the panhard bar. Glad I dug-out the press from our move to this house. It has come in handy a few times.

L16gp9O.jpg


upZdSC9.jpg


TziQzy0.jpg


Cleaned up, primed and painted.

u9F4s0h.jpg


1XjObGa.jpg


These came while the paint was drying...

7IPuuTJ.jpg


ES's prelube is good stuff, but sticky as heck!

1MJjZq3.jpg


I'll get a shot of the sliders later, but here's the rear, with parking brake extension installed.

r8UomHP.jpg


I decided to hold-off on the bumpers a bit longer as I thought it prudent to do the auxiliary transmission cooler beforehand so bumper removal won't be needed later. The B&M 70266 (20,500 BTU) will be coming next week...

I already put my front bumper on Craigslist. Looks pretty easy to remove...

Speaking of CL, I sold the spare tire crank for 25 bucks.
 
Last edited:
Wes had welded on the inside of the PCKs, I suppose to make for a stronger weld.

l30UpgH.jpg


iOMyy5L.jpg


The drawback though is that the bottom hole is no longer an option because the weld doesn't permit the end of the bar past it. I'm not lifted yet, so I had planned to use the factory locations for a few weeks. I contemplated grinding that weld with a Dremel (carbide bit), but decided that it wasn't worth the hassle.

I rigged this up to open the top a little.

XbEz4yP.jpg


Oh, before that, self-etching primer, a light sand and paint. It was getting a little cold, so I used a heat gun sparingly...

qTiTrQr.jpg


rmYBsvW.jpg


bOlcfTl.jpg


iNaRGrh.jpg


Actually, in that photo just above one can see the fuel tank skid dropped so it wouldn't get welded on accident...

Got busy on the panhard bar. Glad I dug-out the press from our move to this house. I has come in handy a few times.

L16gp9O.jpg


upZdSC9.jpg


TziQzy0.jpg


Cleaned up, primed and painted.

u9F4s0h.jpg


1XjObGa.jpg


These came while the paint was drying...

7IPuuTJ.jpg


ES's prelube is good stuff, but sticky as heck!

1MJjZq3.jpg


I'll get a shot of the sliders later, but here's the rear, with parking brake extension installed.

r8UomHP.jpg


I decided to hold-off on the bumpers a bit longer as I thought it prudent to do the auxiliary transmission cooler beforehand so bumper removal won't be needed later. The B&M 70266 (20,500 BTU) will be coming next week...

I already put my front bumper on Craigslist. Looks pretty easy to remove...

Speaking of CL, I sold the spare tire crank for 25 bucks.

Yea trans cooler/radiator/timing belt/trans filter is my next big maintenance overhaul.. curious to see how the 70266 fits compared to the 70264.
 
Yea trans cooler/radiator/timing belt/trans filter is my next big maintenance overhaul.. curious to see how the 70266 fits compared to the 70264.

Two dimensionally, it's the size of sheet of paper. A quick mock-up indicates that it should fit.

While I was pretty much going to incorporate it with the factory cooler, I'm now giving serious thought to a bypass install.
 
Really excited to see it all buttoned up. Gonna look and perform great!

Alex, thanks for the confidence vote!

Wish this was my only project these days, but I remain busy on the house. Spent like three hours today putting away Christmas/holiday decorations too...

What few times I drive the Runner, I still get compliments on your rack.

I'll be cleaning-out the frame rails at some point soon. Once done, I'll paint the interior with Eastwood's internal frame coating aerosol spray. It's still 15 bucks a can...

https://www.eastwood.com/eastwood-internal-frame-coating-14oz-aerosol.html

As noted in this thread (https://www.toyota-4runner.org/3rd-gen-t4rs/266778-endoscoping-3rd-gen.html#post3200423), rust looks to be minimal. I will blow and/or vacuum out what I can, and possibly do a high pressure wash afterwards...

With the time I had on the 4Runner, I got the front bumper cover and grille off.

XRLF9W7.jpg


As can be seen, I temporarily mounted the 2" round turn signals for now, using zip ties, and ensured that they work properly. The cardboard is 8 x 11 inches in size and is a mock-up of where I think I'll locate the B&M 70266 ATF cooler.

As I've done in the past, the front bumper cover, with lights (turn and fog), weighs just about 36 lbs. I'll weigh the metal bumper itself later when I remove it, but I'll guess about 25 pounds. If so, the Savage front bumper will make for a net gain of about 23 pounds (it weighs 84 lbs). Not bad at all.

I want a nice grille. I've seen a few of interest, and just can't decide. Also, the price, some $300 and up. Dang. I don't want this to hold me up with what limited time I have, so I did a quick sand/scuff today and painted the factory one...

6bWUwtg.jpg


That's it until I get busy on the transmission cooler, maybe over the weekend.
 
Last edited:
Awesome progress! $25 for the spare tire crank handle is cray cray but whatevs lol

Before I go researching, what paint did you use on the frame components after welding?

While I was pretty much going to incorporate it with the factory cooler, I'm now giving serious thought to a bypass install.

Not recommend
 
Last edited:
Awesome progress! $25 for the spare tire crank handle is cray cray but whatevs lol

Before I go researching, what paint did you use on the frame components after welding?

Not recommend

Thanks Mike. Happy New Year! Man, the same $4.25 Rustoleum flat black at THD that I've used on everything else, including the grille above...

Note, I first cleaned up the welds and bare metal with rubbing alcohol, then used an etching primer, lightly sanded, cleaned again, then paint...

What's your concern with bypassing? The only one that I have is that the ATF can be too cool possibly... I most recently read this massive thread.

B&M 70268 SuperCooler Transmission Cooler Install on a 3rd Gen
 
Last edited:
With the grille off, I thought I'd look into addtional turn signal options, making use of that space below the headlights.

SZYR3kn.jpg


lvaQSfn.jpg


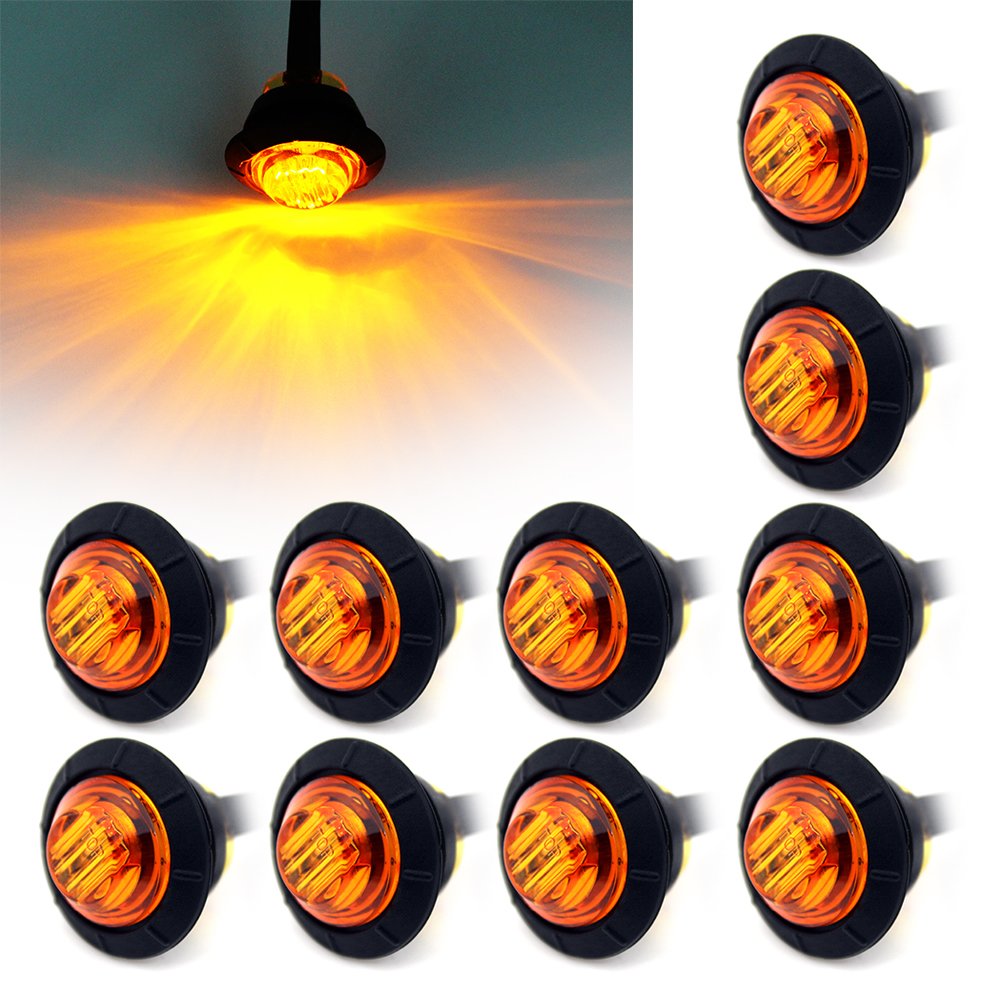
I realize of course SRQ Fabrications has a very neat offering. With a 2+ week wait, 100 or so bucks, I'm thinking something like this for 10 bucks or less...

61YfmKesiNL._SL1200_.jpg


10 pack:

https://smile.amazon.com/gp/product...c_title_dp_4?ie=UTF8&smid=A1B2SF9J2WBIQS&th=1

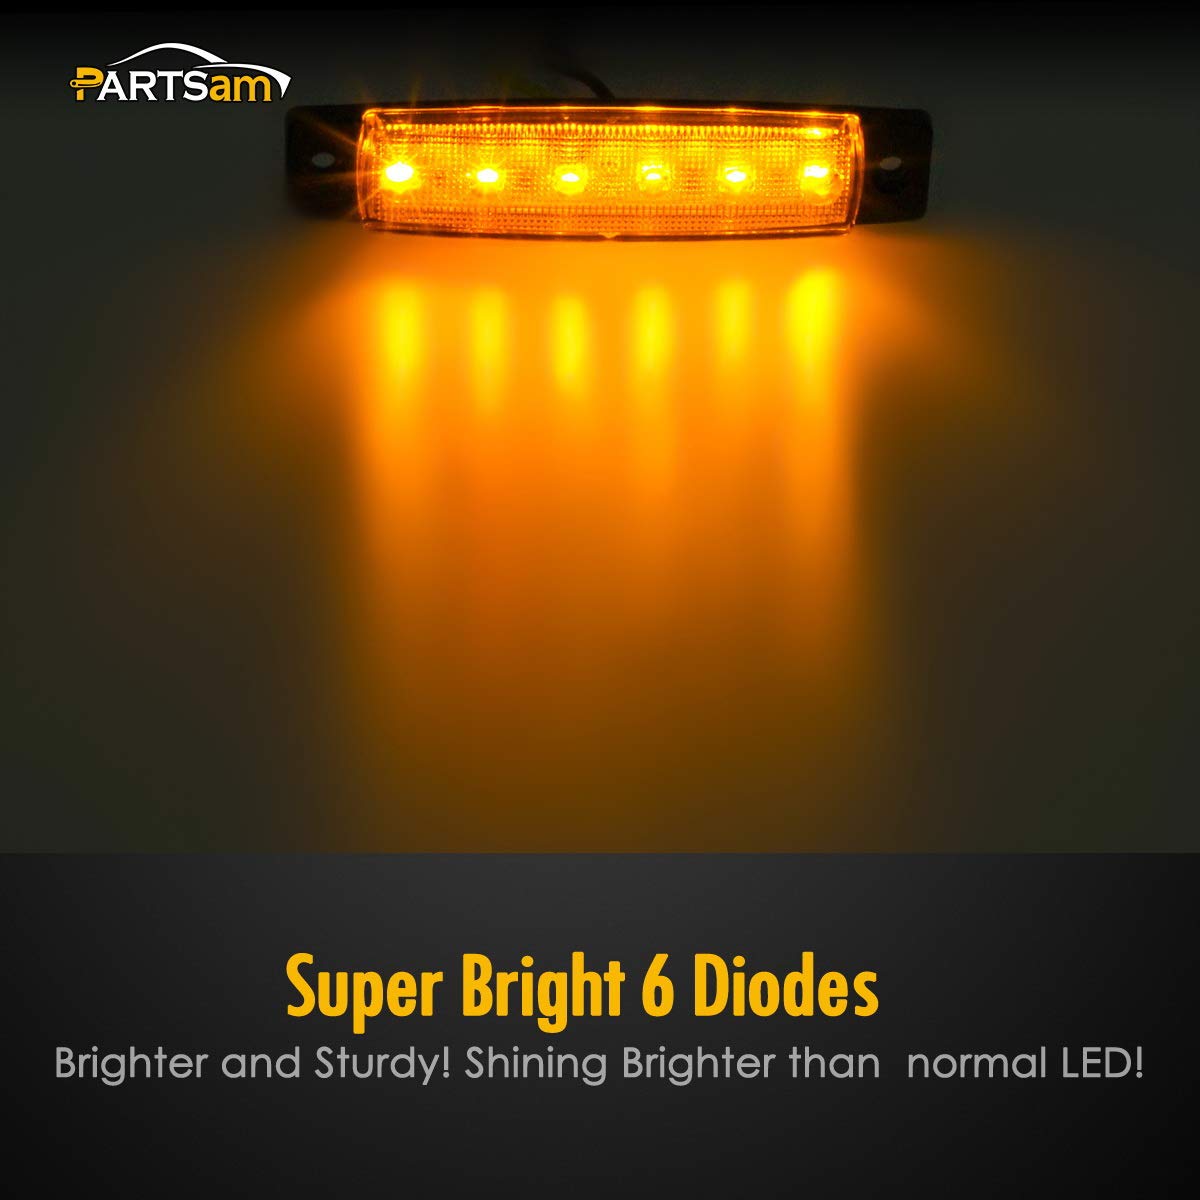
I imagine the SRQ product uses something like these.

718jWEolY7L._SL1000_.jpg


https://smile.amazon.com/gp/product...c_title_dp_6?ie=UTF8&psc=1&smid=A9B93WR44O7HV

More holes to drill, wires to consolidate and connect...

The first light choice is rated IP67, easier to install and replace when needed, so that is the lean. I'd have eight extra, for the 4Runner or trailer...
 

Members online

Forum statistics

Threads
278,316
Messages
3,554,120
Members
248,016
Latest member
Advally Service

Trending content

Back
Top