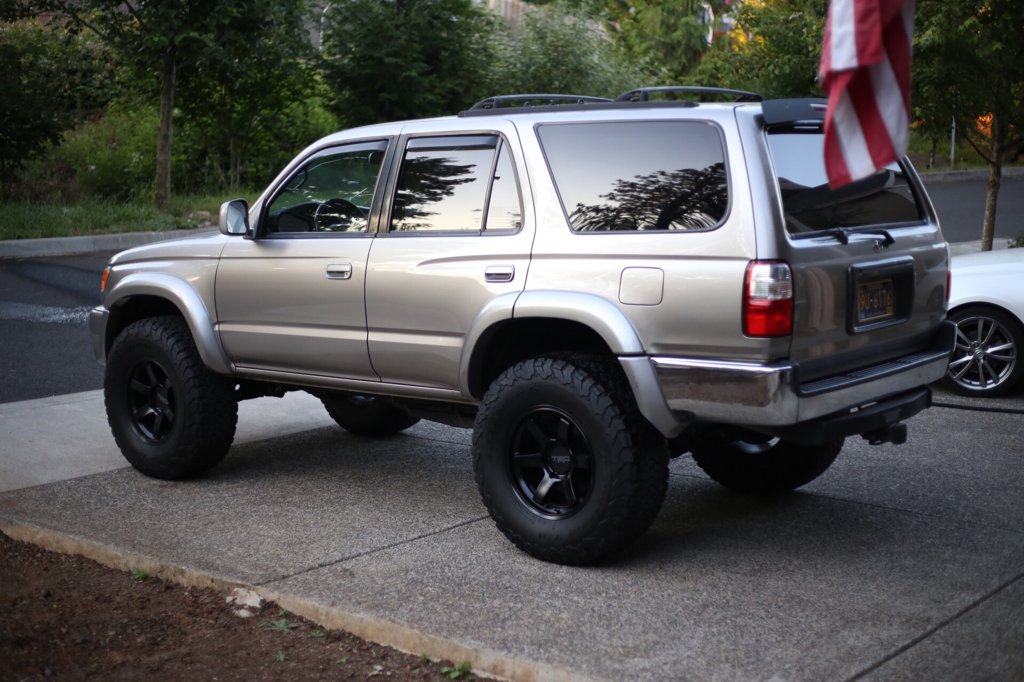
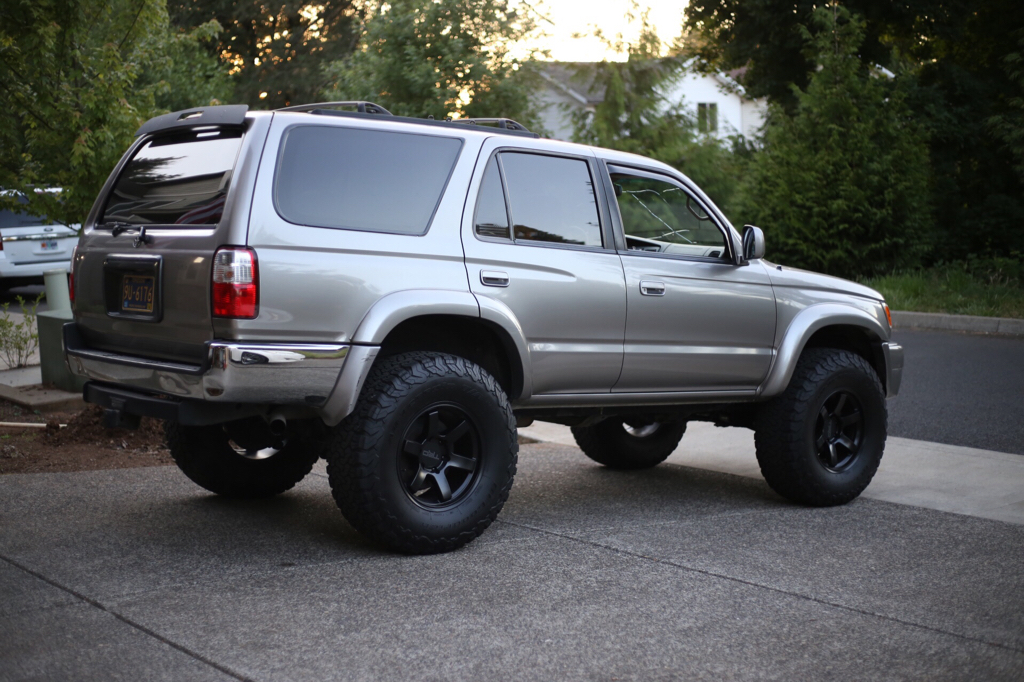
Tyler James Inc's Ultimate '01 SR5

Photos are kind of mixed up, cause the wife took the camera mid-project.
e23163923b1bec6fe61ac685cab2a7be.jpg

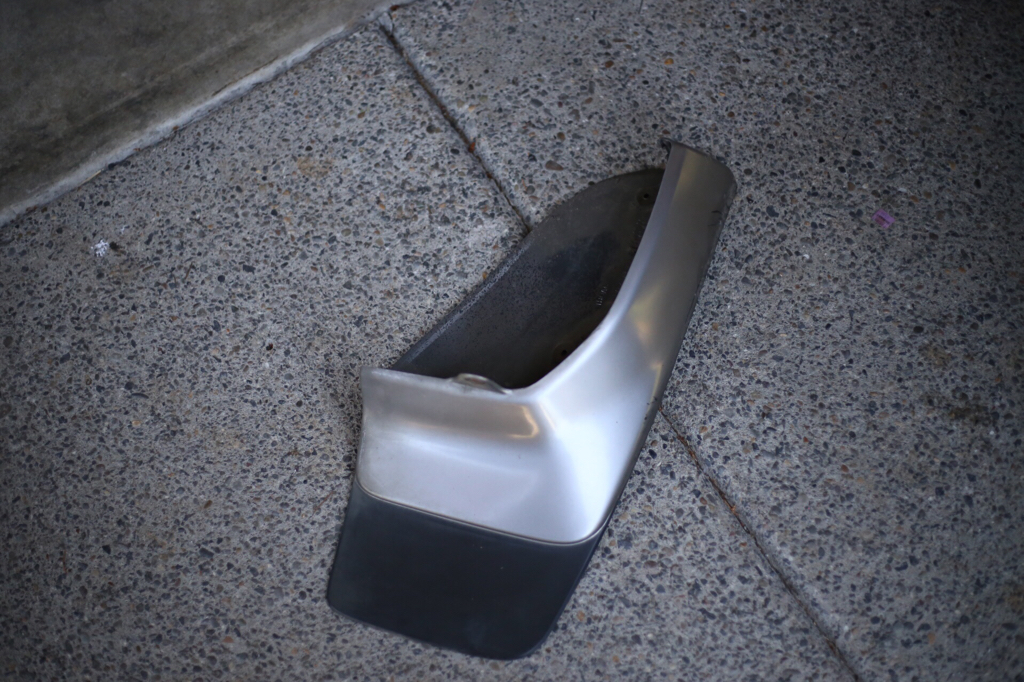
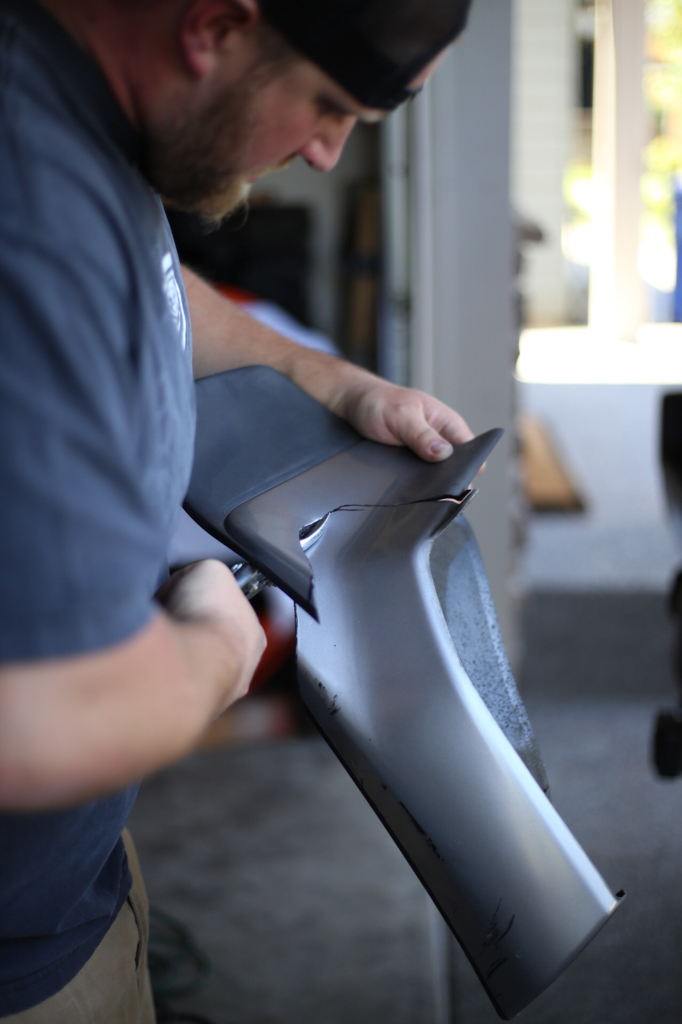
Anyway, I marked my cuts to follow the lines of the bumper/flare, and used tin snips to cut it.
e9b89144c9a83ab9d24ac1582e5f1eb3.jpg

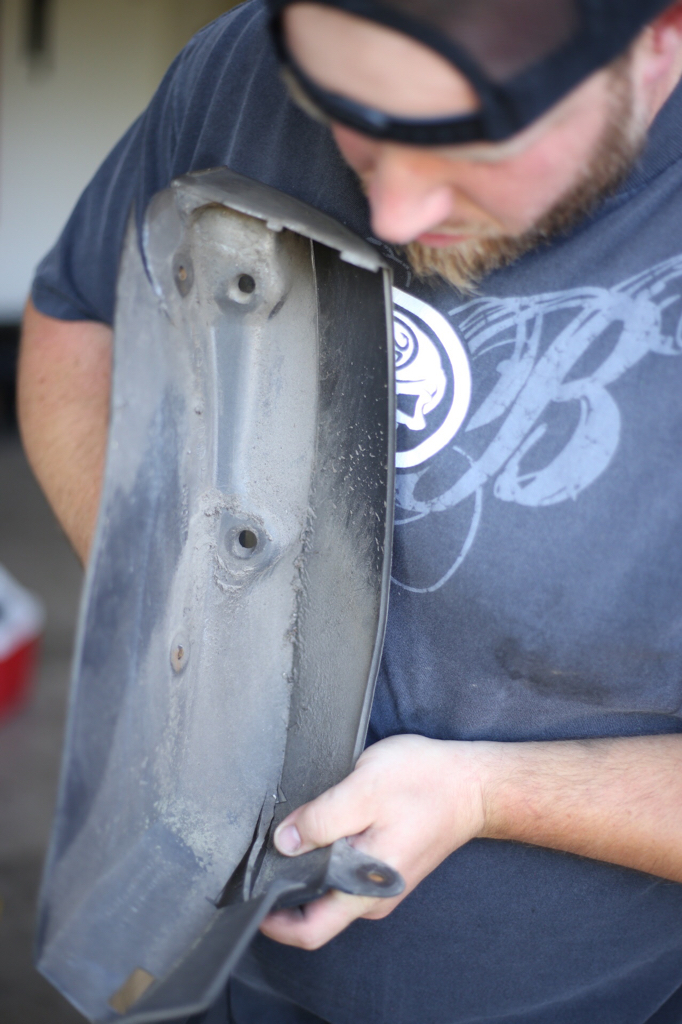
I used a knife to cut the seam where the splash shield meets the flare.
5a4d876f779c4c327764041ba9550230.jpg

Then I sanded all the edges to make them nice and smooth. Turned out great to me!
5e83883b53988a9caf6c0b57b32627c0.jpg

Before-
2ece6e440b34cac4879c98a10314b277.jpg

After-
724ac299114a4ba98049f13cd844bb13.jpg

a951eced357e9bc95fb65b9b0551dea3.jpg

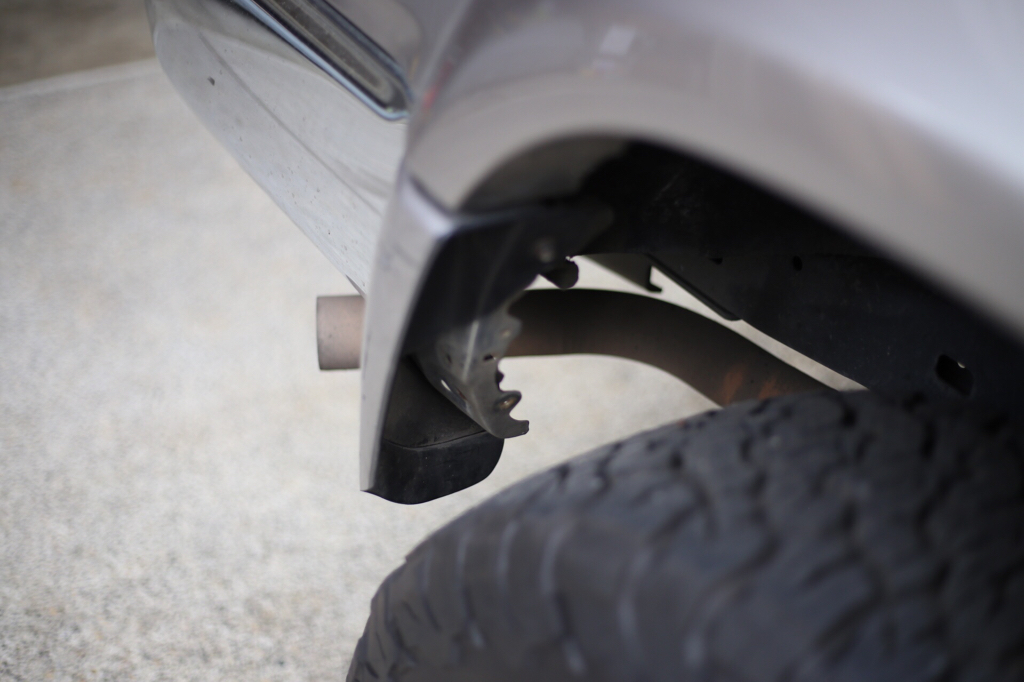
Still gotta cut the bumper on the passenger side-
de3d5319fb43ccbd6411519d27bbcc52.jpg

Drivers side is "done", but it's pretty rough looking on the back side. I think I'm gonna take the support brackets off the back, and make them look finished instead of hacked off.
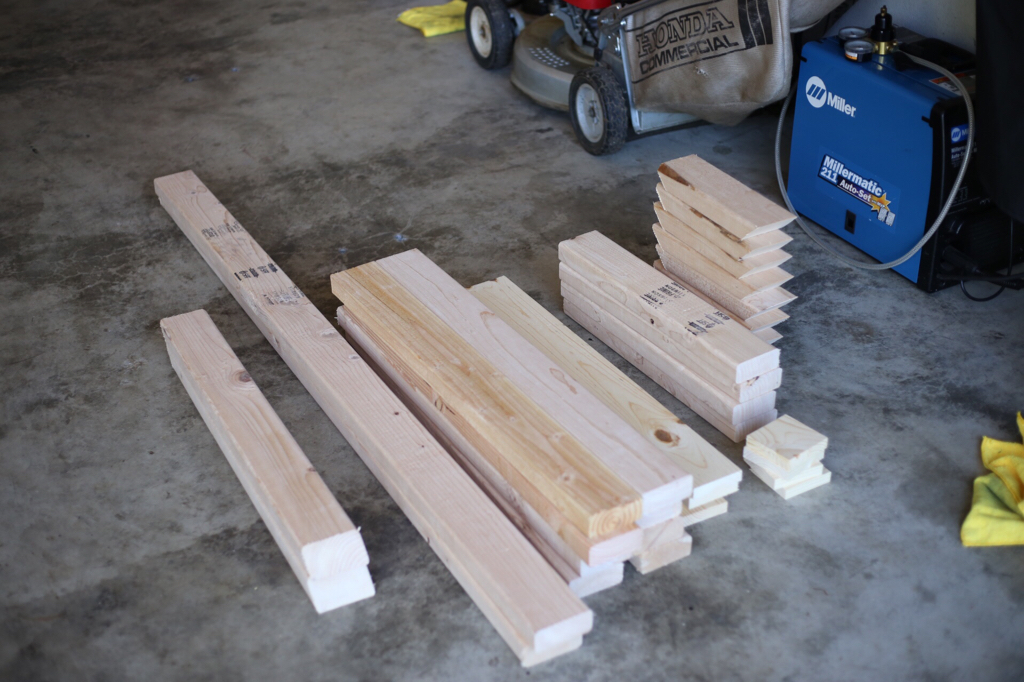
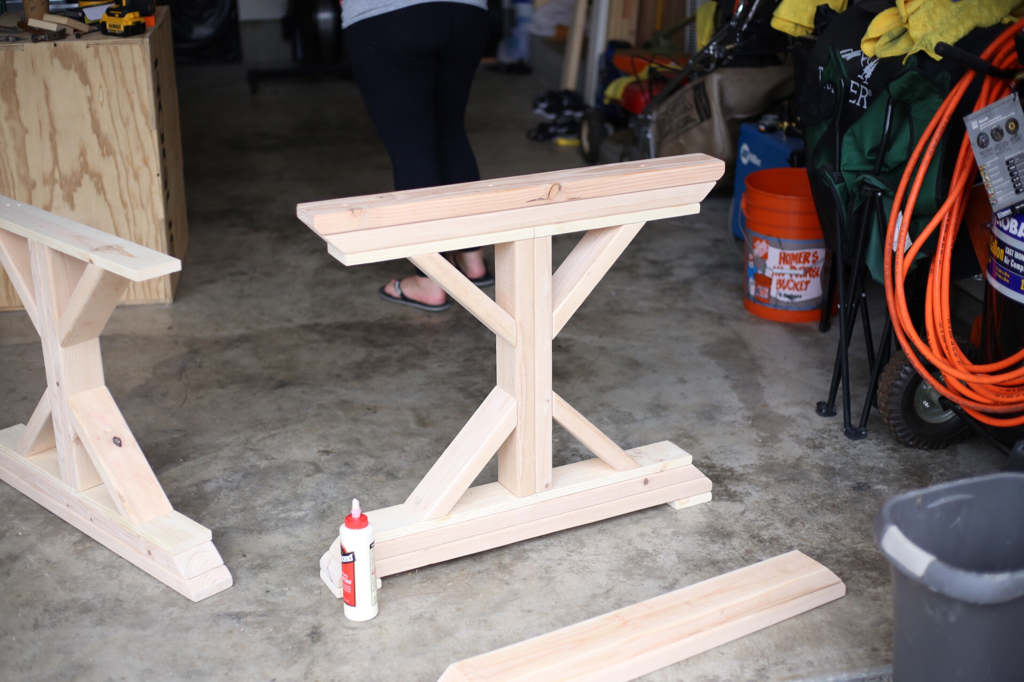
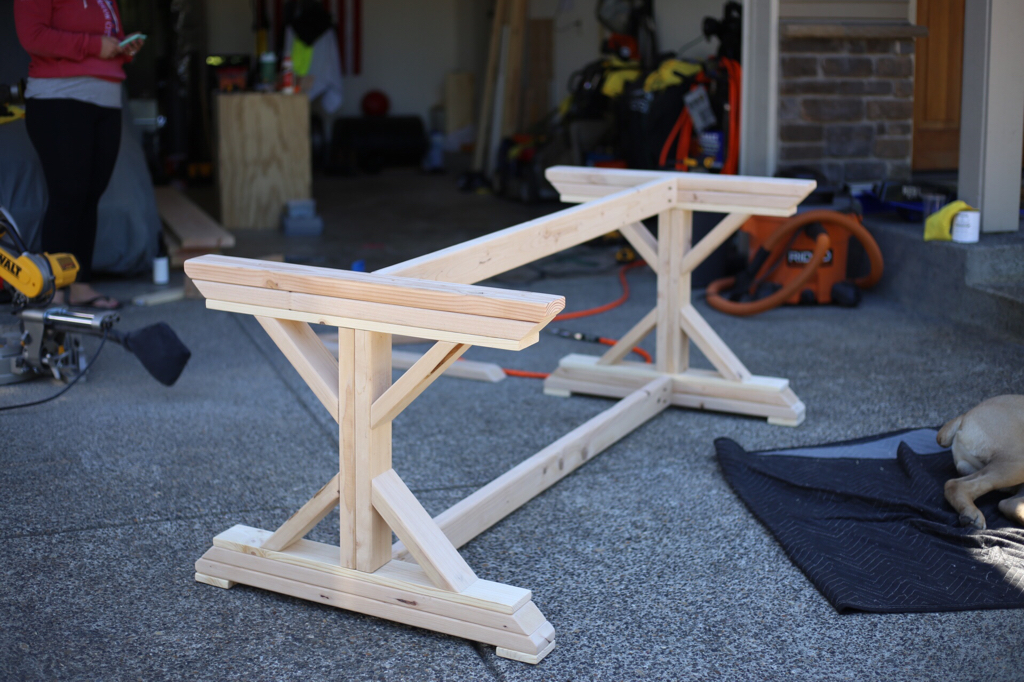
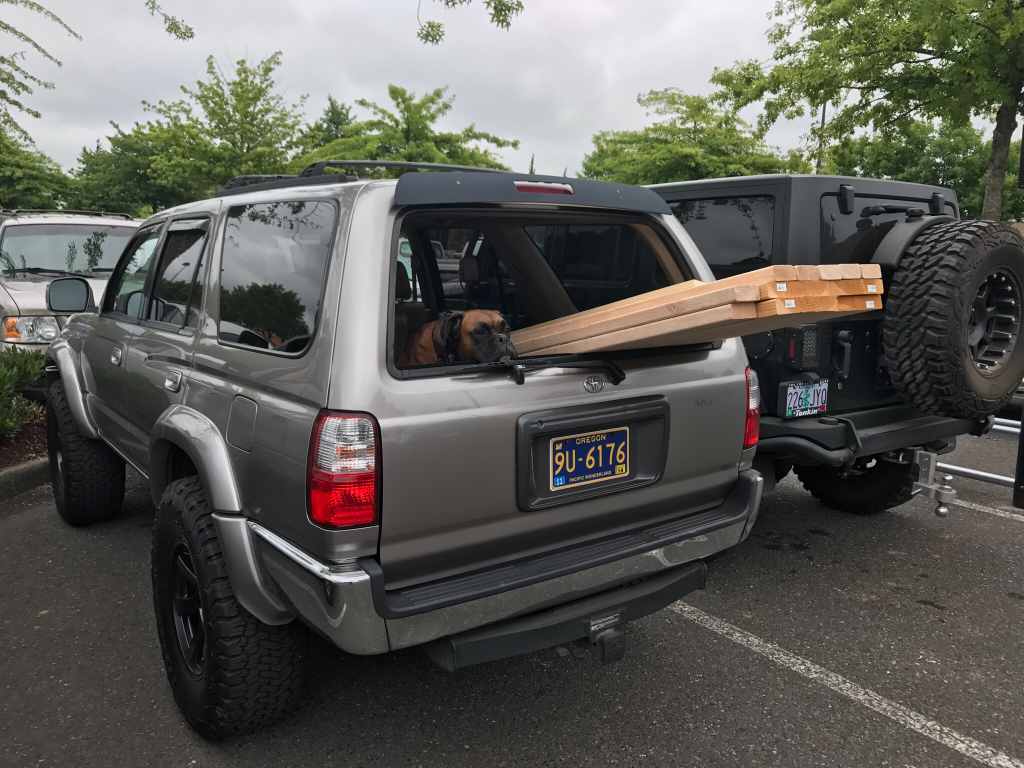
4-day weekend plans include a new kitchen table build!
71ef1df46593859a9786f4ec9169bd65.jpg
 
4-day weekend plans include a new kitchen table build!

Gotta love the honey do lists. I just got done with adding new drip irrigation to my back yard. My wife loves plants but really dislikes watering them. 4 Zones, countless heads, and 8 hours of my weekend. That's cleared me for the next 3 days though. Off to Armstrong Canyon tomorrow.
 
Some assembly required!
Good job with the fenders. If you move it forward would you do it via adjustable control arms? Would the panhard need modification?
Haha Exactly.
Thanks man! I think I would be building my own arms, and using those to dial it in a little. I want to build new arms either way. I haven't looked much, but I need to find Johnny Joints that are the right width for the Toyota mounts. For the little bit it would move forward, I wouldn't be worried about the panhard.
We'll see. I'm really not too good at getting stuff done on my rig, to be completely honest [emoji23] Trying to conjure up the motivation to get the panhard brackets on right now, but weed eating the green space across the street sounds like more fun. Haha
 
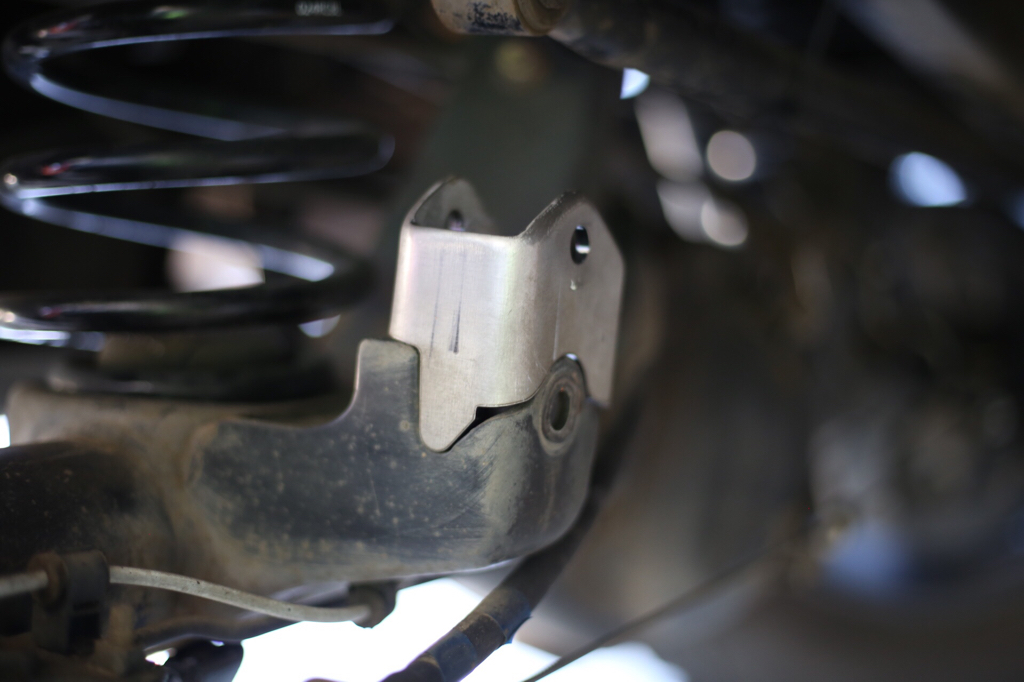
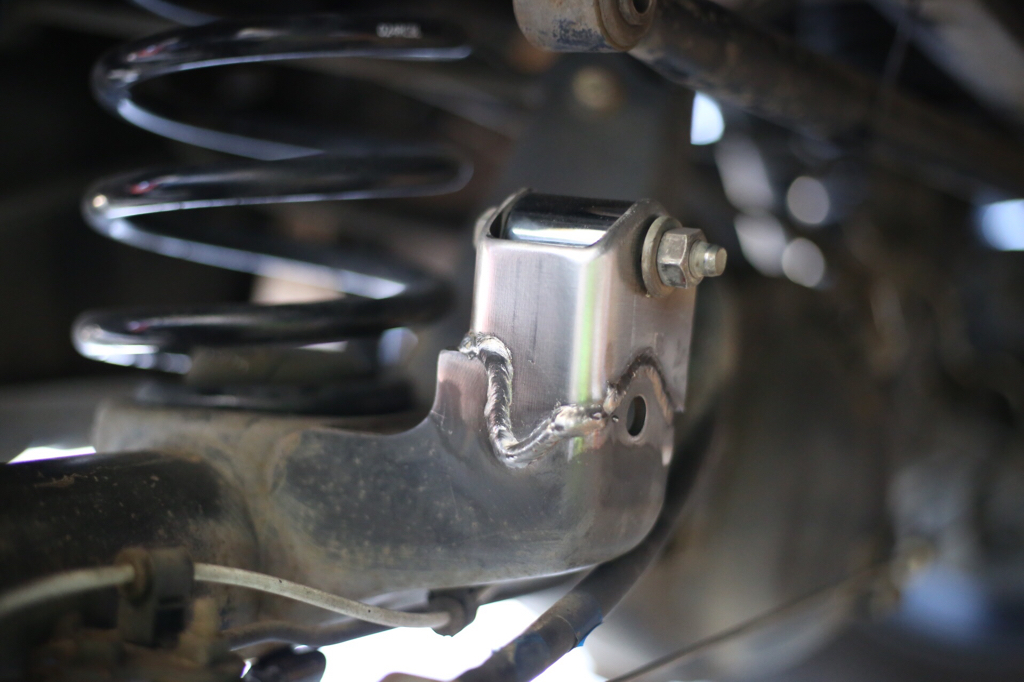
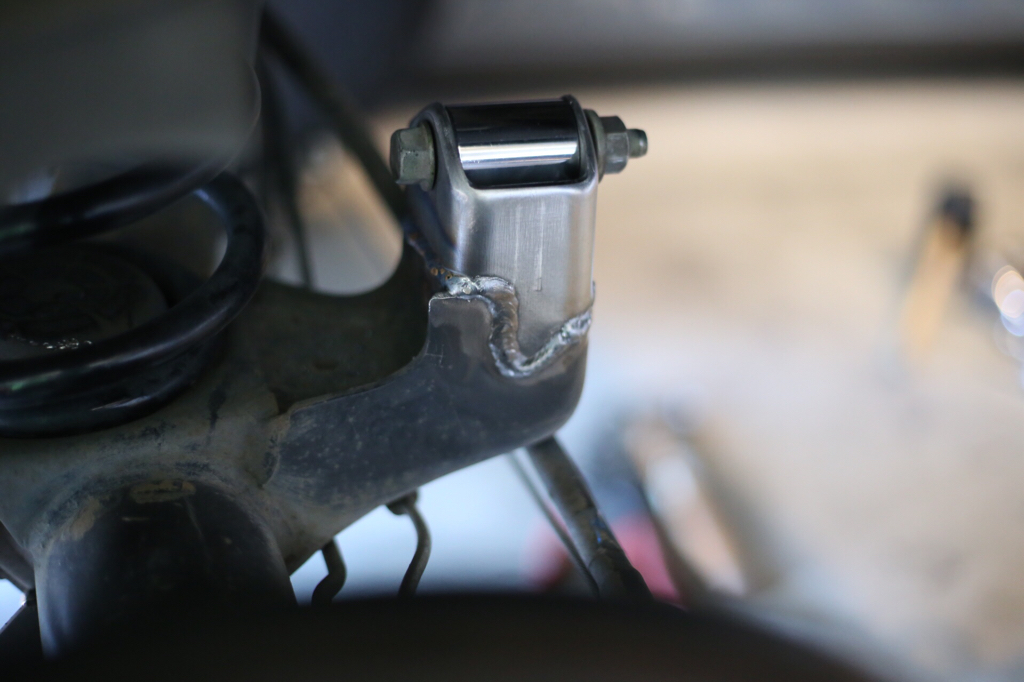
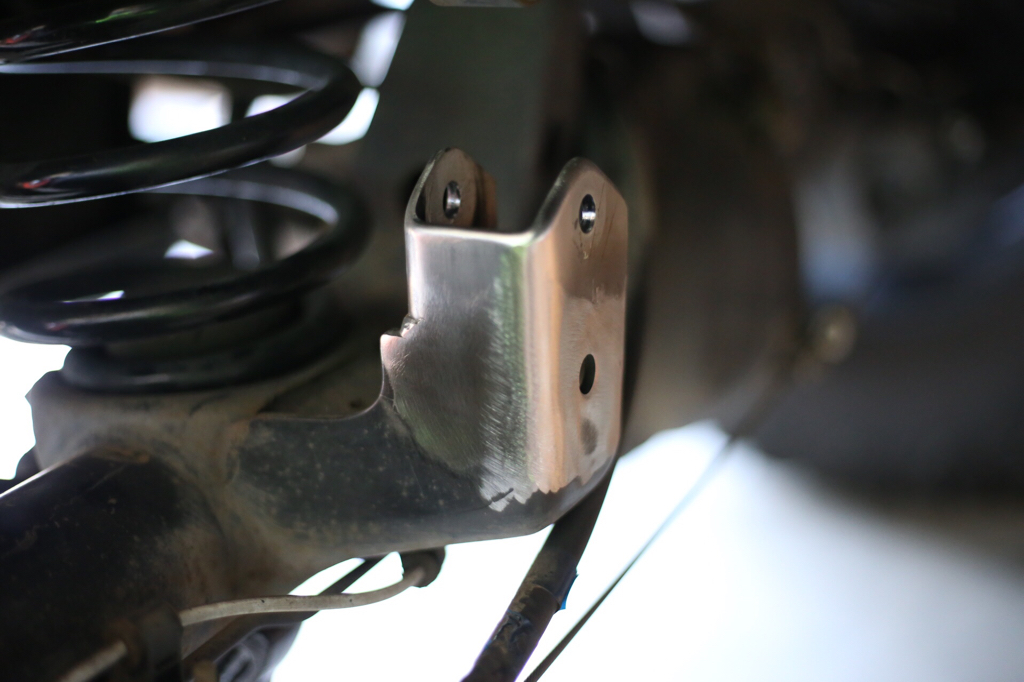
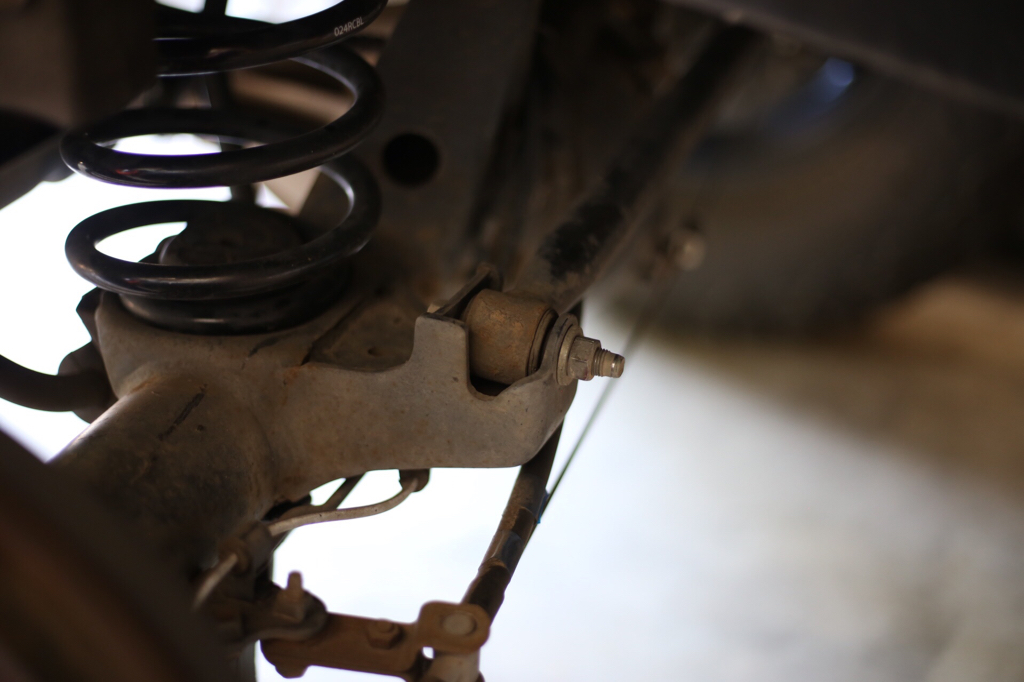
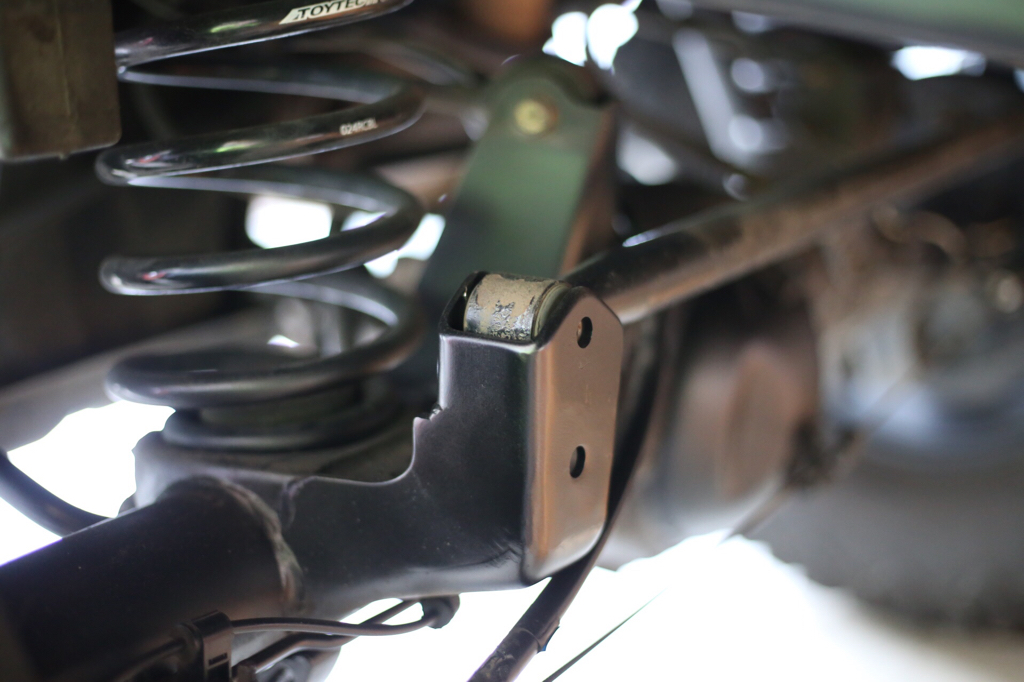
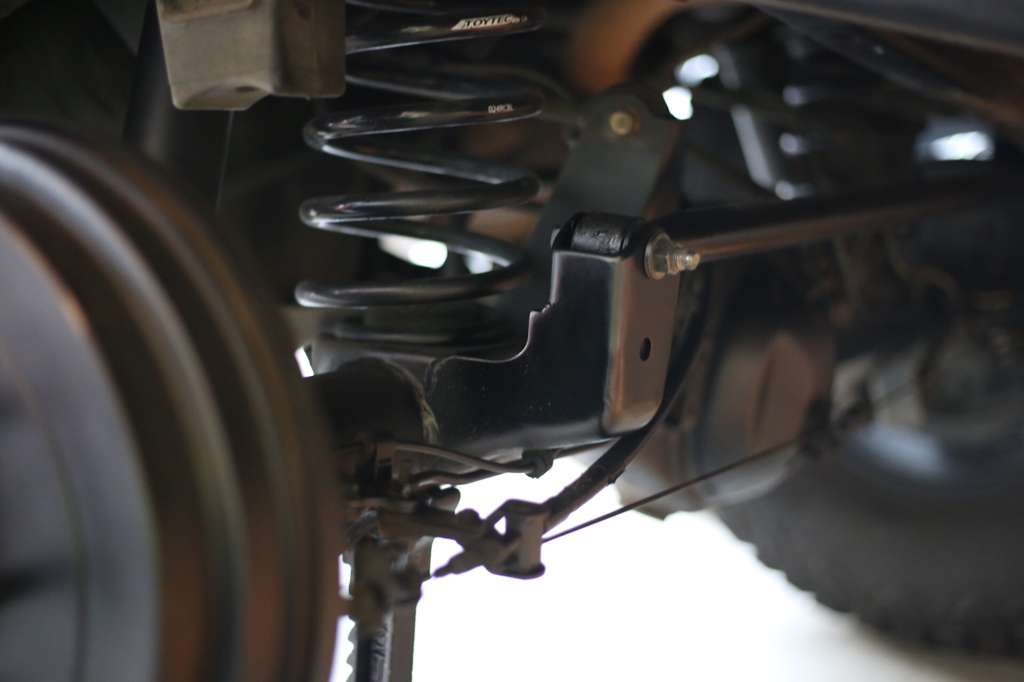
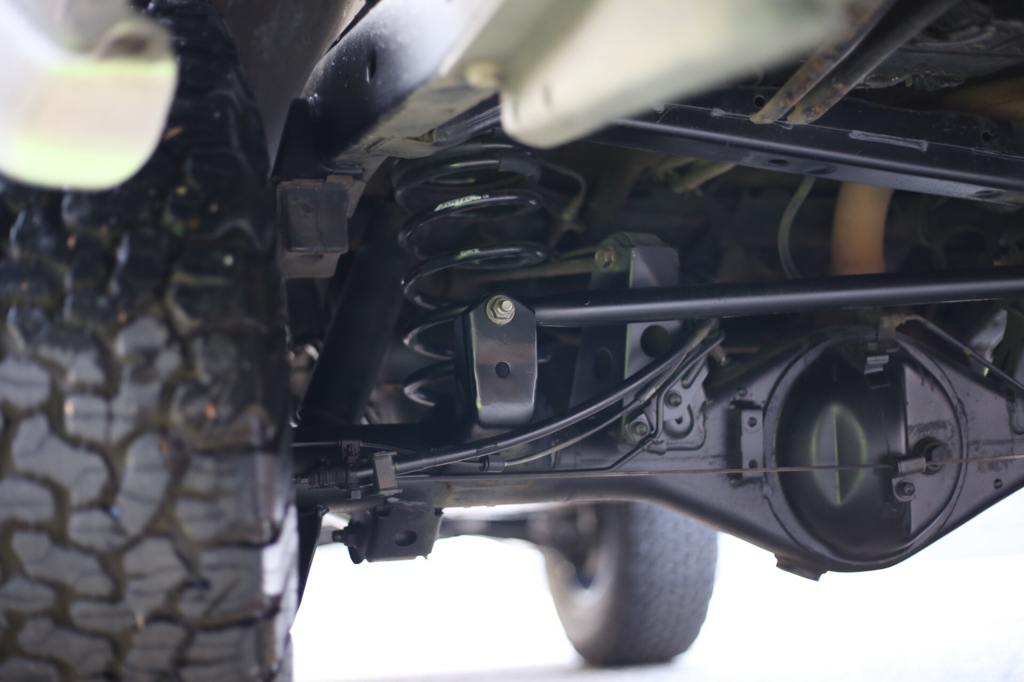
Got my axle-side panhard kit welded on!
6c985455d658615046ceb0ec3e03bdcf.jpg

898ca95a33ee5e126334c9536b12327f.jpg

428d70873e62059148183f2dc2fe9e7e.jpg

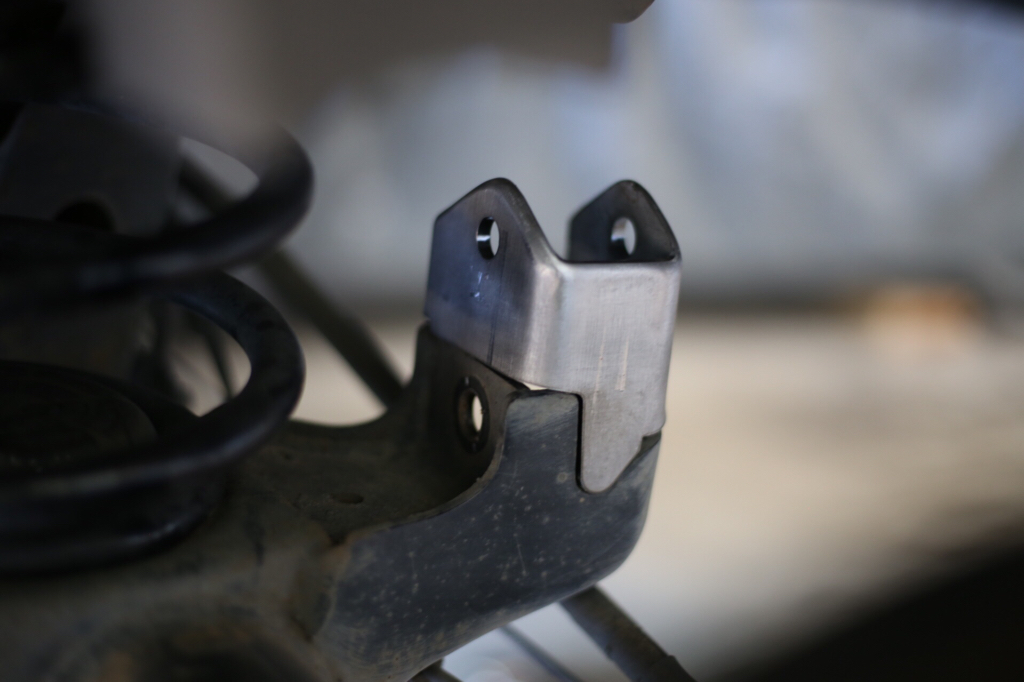
Used a socket to keep the tabs spread. Once I welded the outside edge, I used a hammer to do some massaging to make the new bracket line up perfectly with the existing mount.
24634a4a3a48c09497797c600a561c2c.jpg

My welds don't suck, but I really wanted it to appear stock, and it turned out exactly how I'd hope it would!
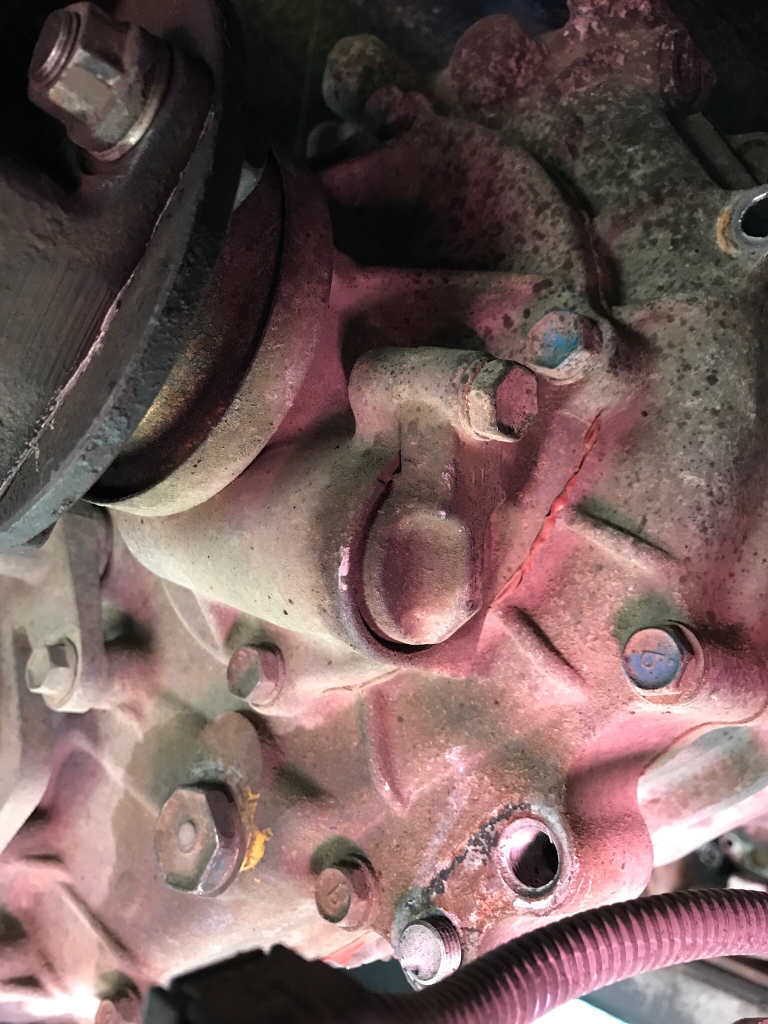
1b20cc796ac4e1de84897004a53c1533.jpg

Before
e78bb3771263f79c1b2f559086a5183c.jpg

After
9b19eb1d08fbf88ee6c9bdfcb32076ae.jpg

Gross
22453a70fa6ee4e6a92b8ff6ebbe0844.jpg

Nice
7961b037bd982fedeace057559d26b48.jpg

I like it [emoji5]
0442e94a00f5dcb2e1b9deea3a475905.jpg

d9c4aedde7e96db636656bff1861ea5a.jpg

bb227e0c5d30f14e4a3c7a9f9ba04c05.jpg
503b83f43d82b09d1cef2a650f468660.jpg

Probably won't get to the frame-side tomorrow. I think it's table building day tomorrow [emoji12]
 
I shortened my WB about 1/2" to make a little extra room. Might go for another 1/4" once I tub the upper wheel well to keep the tire off the plastic fuel neck cover any more. At only 1/2" the effects on the PH bar isn't noticeable and 1" probably won't be much either.
 
How did you clean and paint everything so fast? What did you use for cleaning and paint? Mine has wax all over everything which does nothing to prevent rust but just makes it a PITA to clean for painting. I have a sandblaster and now the challenge is to use it without p!ssing off the neighbours. I was going to use SEM Rust Trap over any rust-exposed areas, which is expensive, and then SEM trim spray paint over everything afterwards.
 
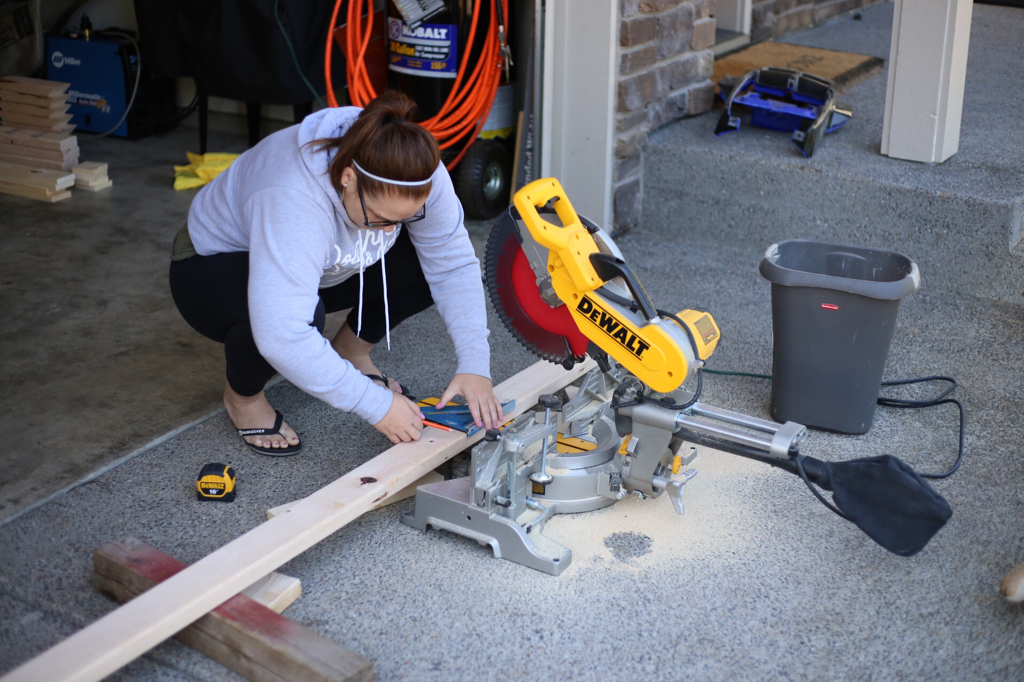
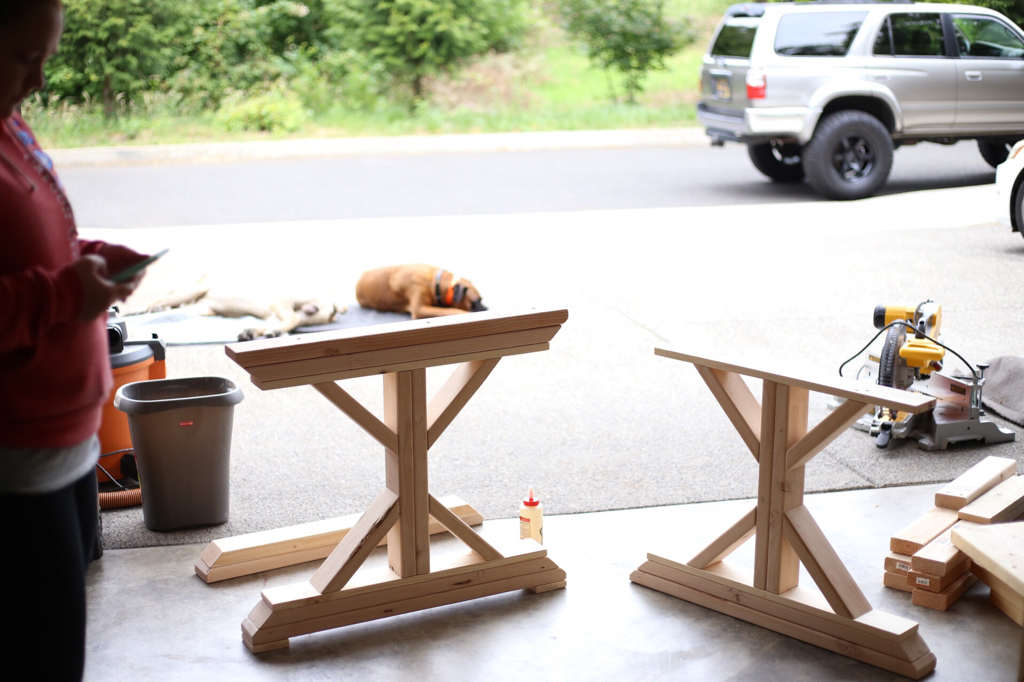
Nice man. Those legs are looking good. Do me a favor though and tell your wife you don't need to use a square when your using a compound sliding miter. Is that a dual bevel DeWalt? It looks so clean. Wish mine looked like that but with 100 cuts a day they get dirty quick. lol
 
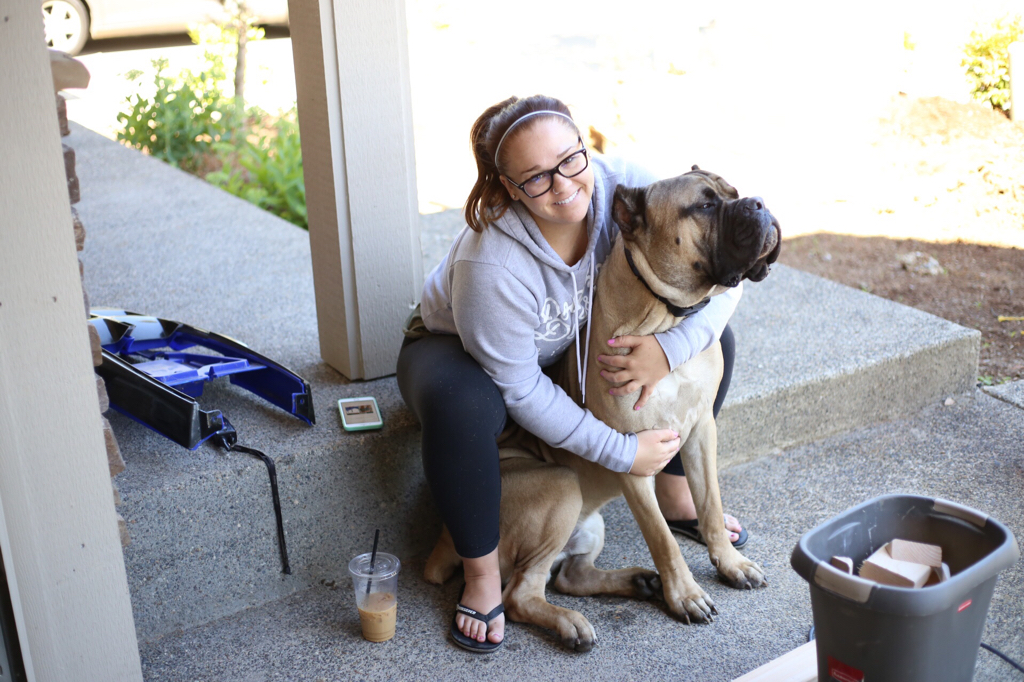
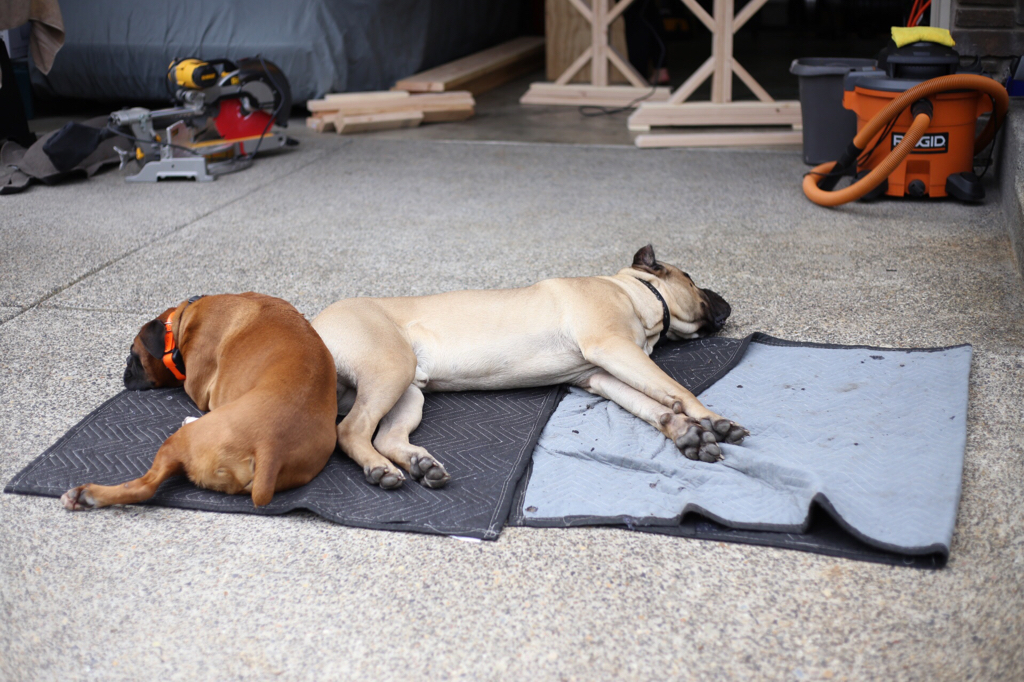
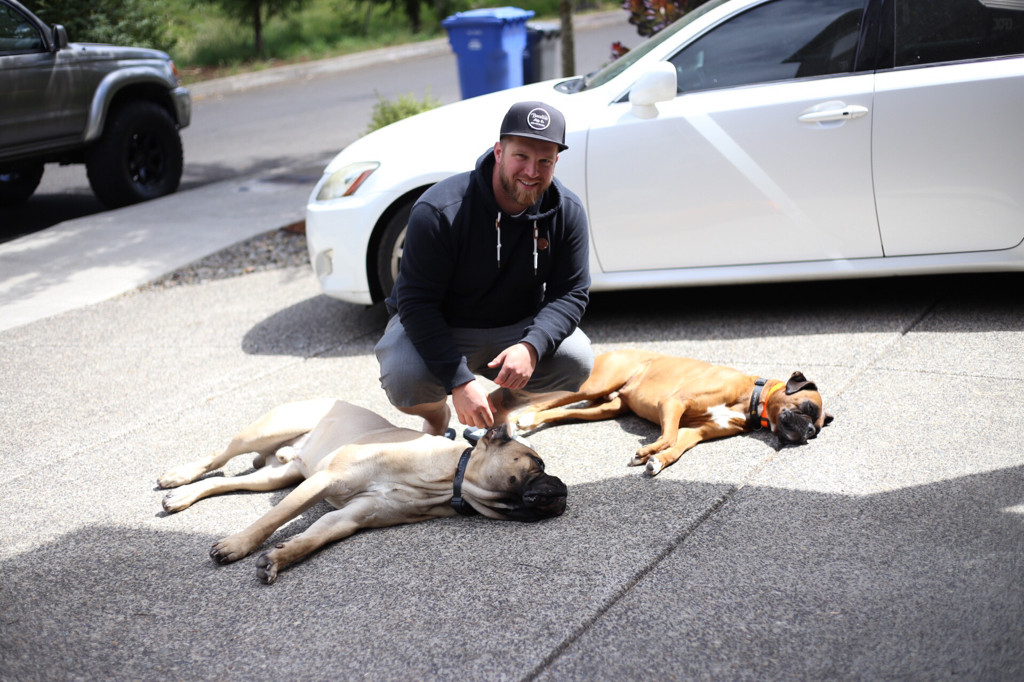
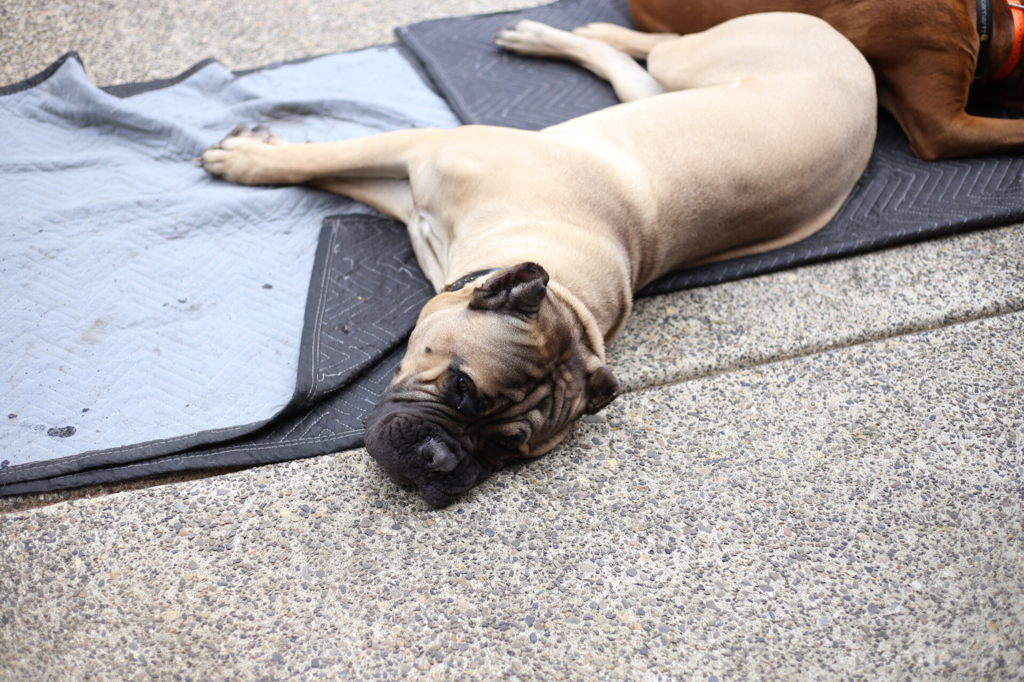
Love the dogs. Nothing beats doing work around the house an having the dogs lay in the driveway all day.
 
Nice man. Those legs are looking good. Do me a favor though and tell your wife you don't need to use a square when your using a compound sliding miter. Is that a dual bevel DeWalt? It looks so clean.
Thanks man! If you make 100 cuts a day, you don't really have any question about it being a dual bevel, do you? [emoji12]
Haha yeah, she knows she doesn't need to use a square. I actually gave it to her to use, as it makes it easier to line the blade up with your mark- if you aren't super familiar with using the saw. In the past, I usually make the cuts, so she is still getting comfortable with the saw. She wants to start building things on her own to sell, so she's made 90% of the cuts on the table so far [emoji1360]
We've built our king size bed frame, night stands, entry table, end table, coffee table for her parents, and entertainment stand for her aunt- so we're getting better and better as we go. It's a lot of fun working together on projects, and we enjoy doing the same things, so it works out well [emoji5]
I like to keep my stuff in good shape, so I vacuum(blow off, wipe down, whatever it takes) everything after our projects. I don't think that's probably reasonable when you use the tools on a daily basis! I know my impacts and drill motors at work don't look like the ones at home [emoji23]
a5d697fb3e21dd02a4a9fca6fdf47ba9.jpg
 
Love the dogs. Nothing beats doing work around the house an having the dogs lay in the driveway all day.
Seriously; nothing beats it! I like getting out and going to the river every now and then, but I'm really a homebody. I love hangin out with my people(2-4 legged "people") at home, havin people over to drink beer and eat good BBQ is always a good time too.
 
bracket looks great welded on i need to get mine soon

table is looking awesome
Thanks man!
I'm hesitant to even do the drop bracket, because that's gonna lower my roll-center, and the bar isn't too far off-flat as it is. I'm sure I will. I had both on my '97, and that thing cornered like a dream.
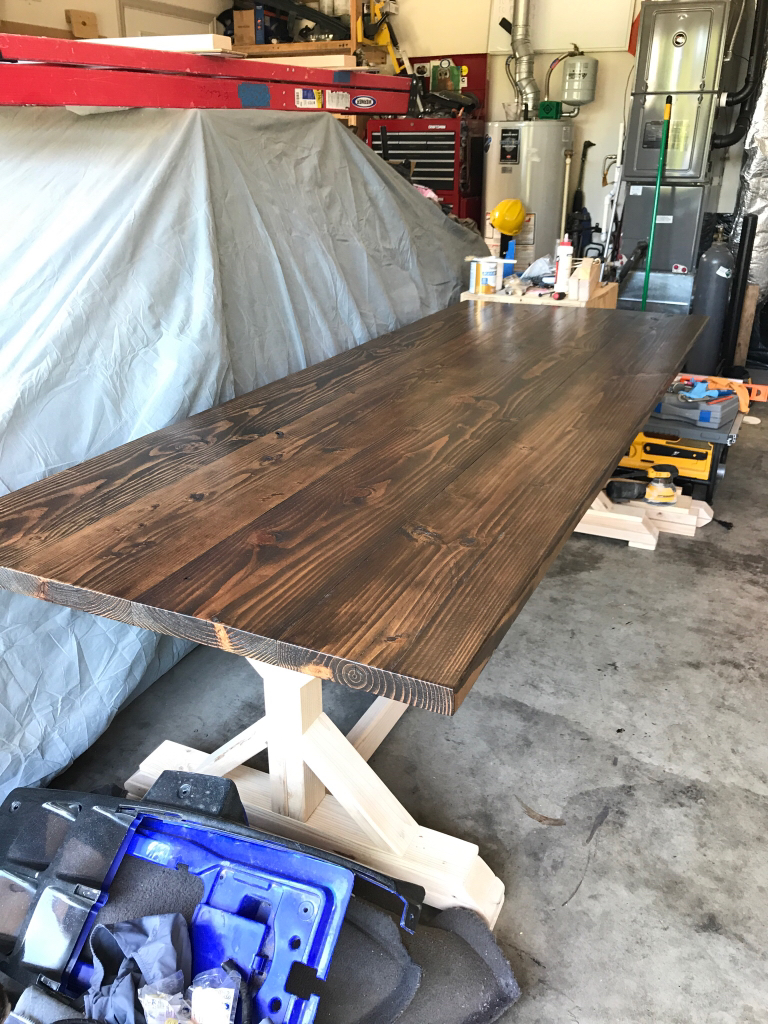
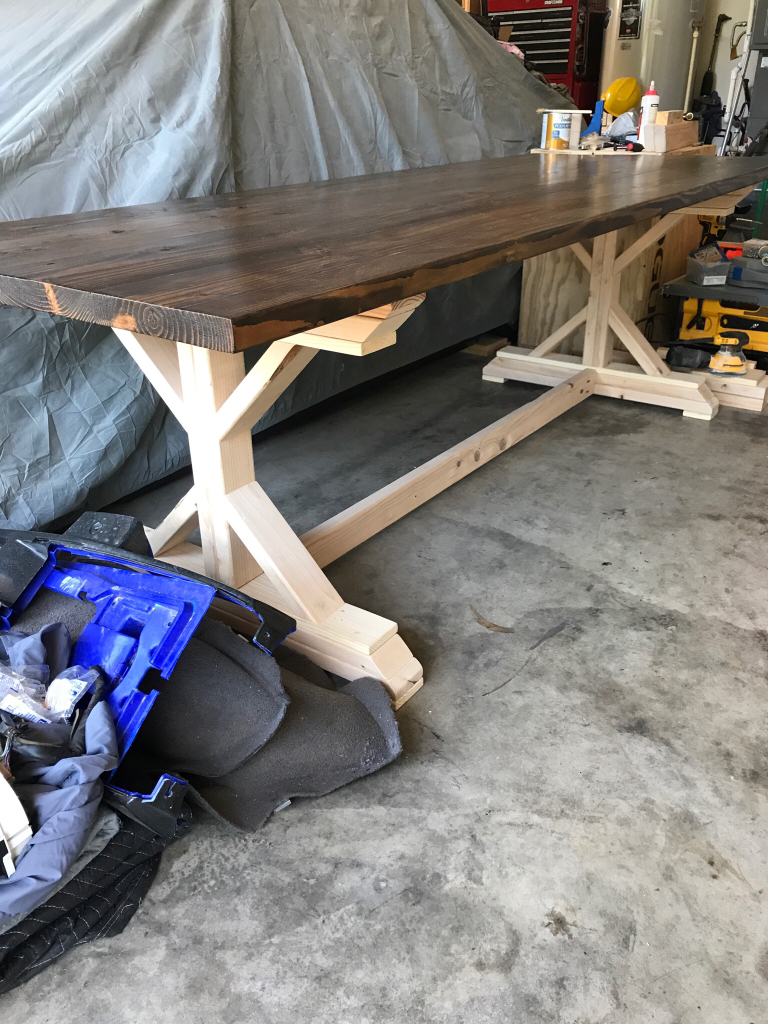
The table is coming along. The wife decided she didn't want crumb-catchers on the table top, so we ripped the boards on a table saw... that was interesting. [emoji30]
Those brackets look amazing. I've never seen anyone grind them smooth. That reminded me of this guy

Hahaha oh that's funny.
Thanks Jeff. I just thought it would look better all smoothed out, and I'm super happy with how it came out. The transition from the outside to around the front needs a little work, but when I swap shocks or coils, I'll get in there and re-work it a little. It's pretty tight with the coil in there. Some guys were worried about the "butt-weld not being strong enough", and that's just ludacris. There isn't THAT much force on the bracket in the first place, and with proper prep, that weld is PLENTY strong for the forces applied. Anyway, enough rambling [emoji23] Thanks [emoji12]
 
Last edited:
Those brackets look amazing. I've never seen anyone grind them smooth. That reminded me of this guy

39e9600d8c997b8e314d2d55e290254d.jpg
 
Table looks great. What are you using for a top?
Interesting I never replied to you; I came here to mention you! Thanks a lot, it's been fun.
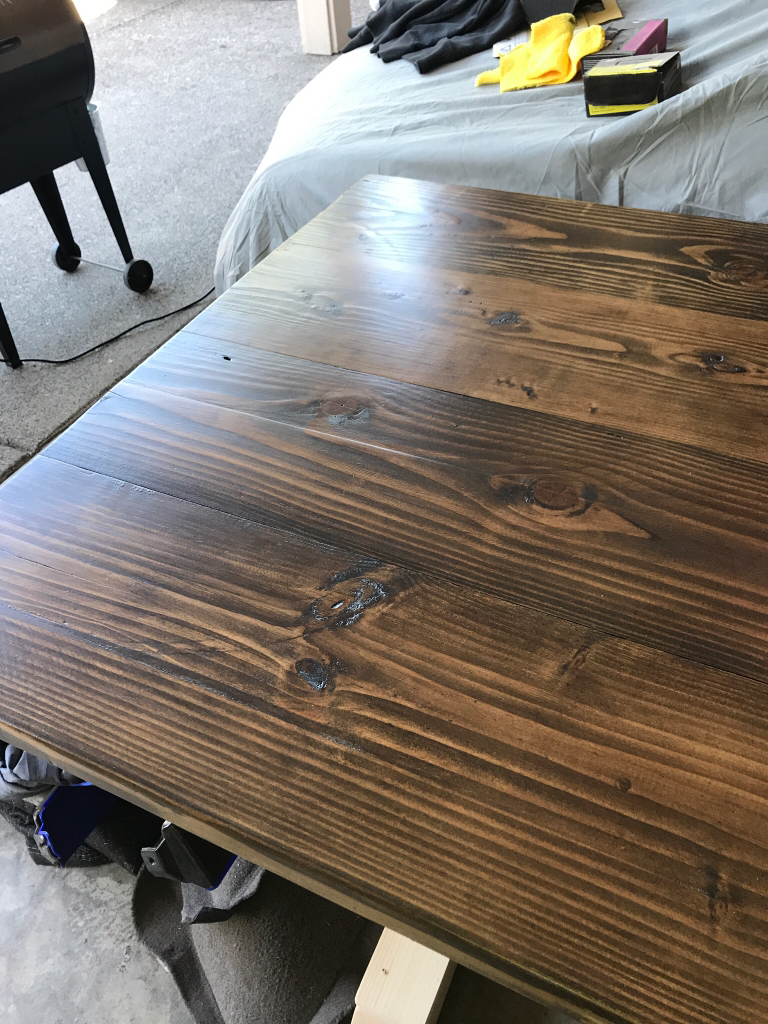
Just using 2x10" common board for the top. We ripped all the edges- except the outside two edges- so there wouldn't be bad crumb-catching valleys! Worked out pretty well. Got it stained and 3 coats of poly last weekend-
029b839c4524e06983a66ad1082bda65.jpg

63c78c9518535d2a862ea2078d5239fa.jpg

ce246be92c753e9f14b1179f4c930a2b.jpg

Hopefully we can get the base painted this weekend! [emoji1374]
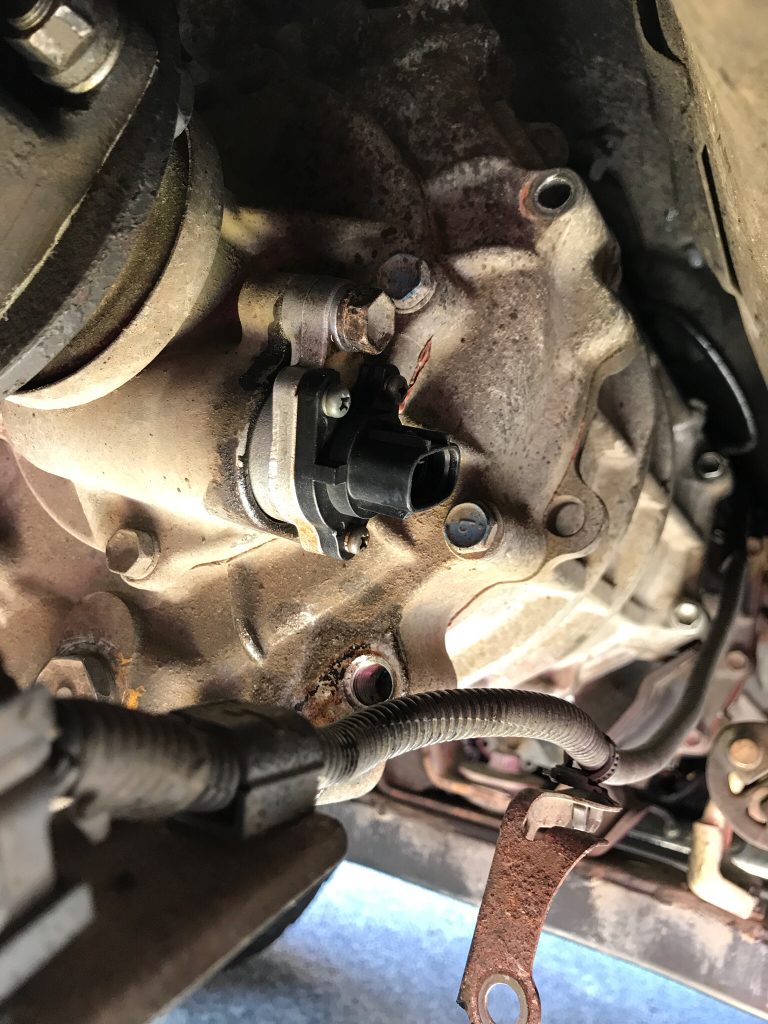
In other news, I got a VSS from the homie [MENTION=135317]rkntoy[/MENTION]- for the first piece of my non-ABS swap puzzle- today!
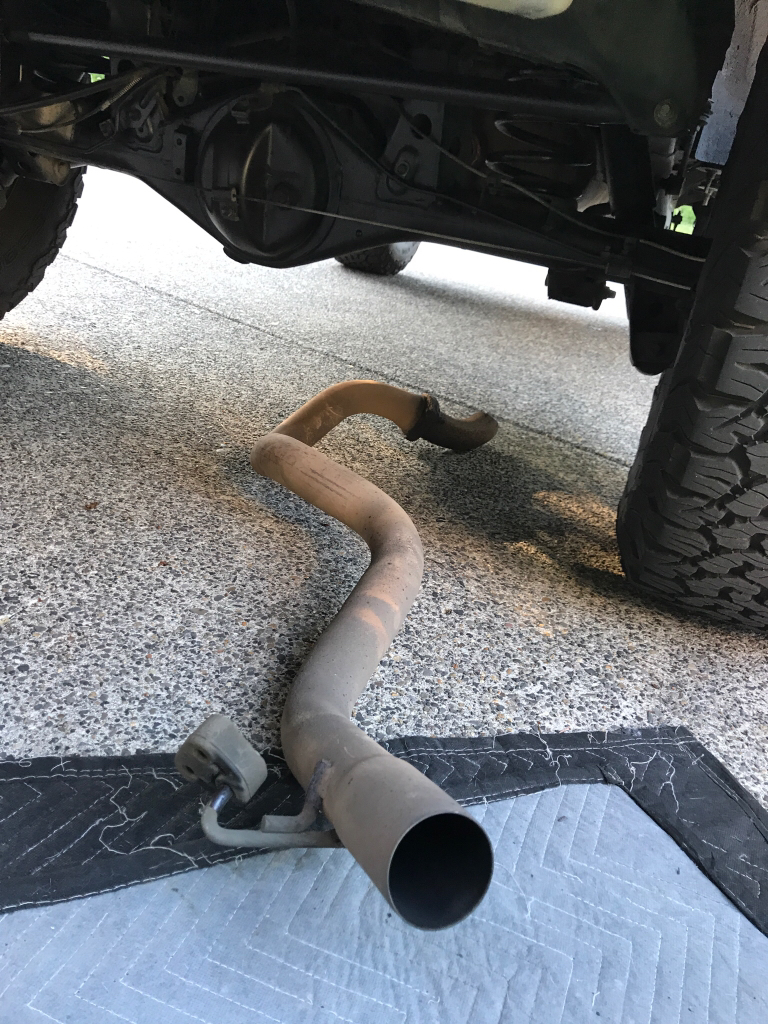
13a311dfec2069ca35eb7c6b8d665e62.jpg

f95429649f69222712dac4266c1daa37.jpg

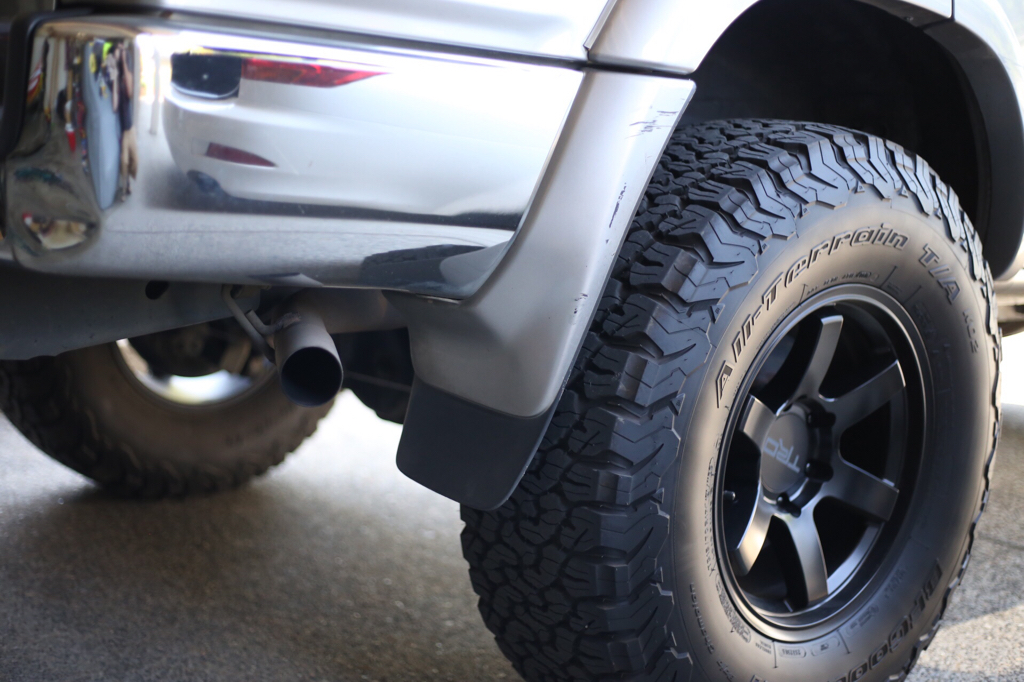
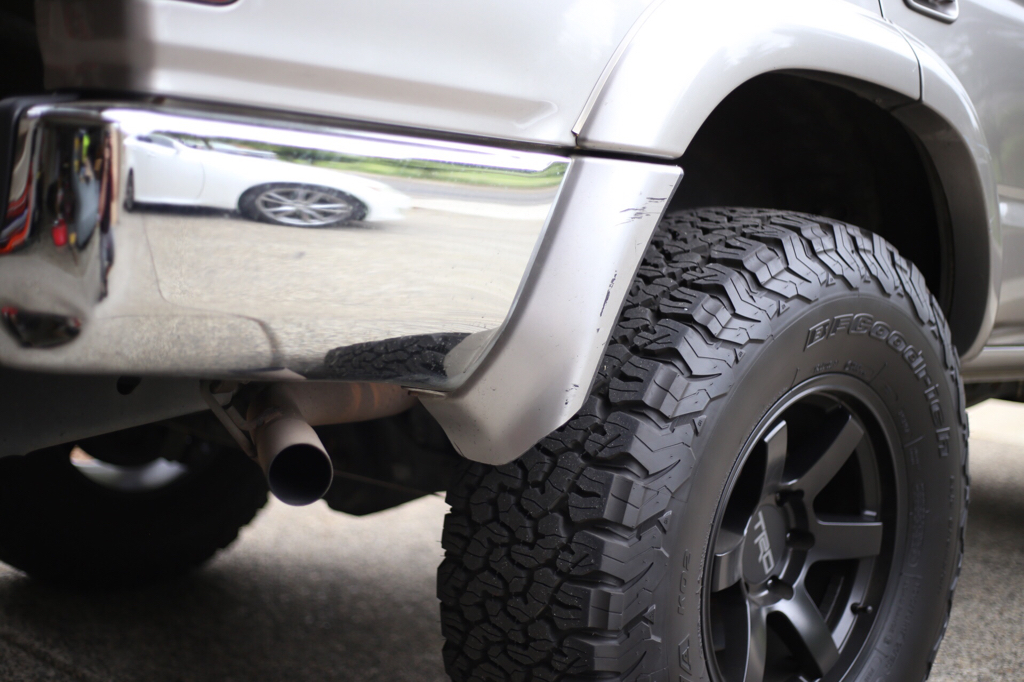
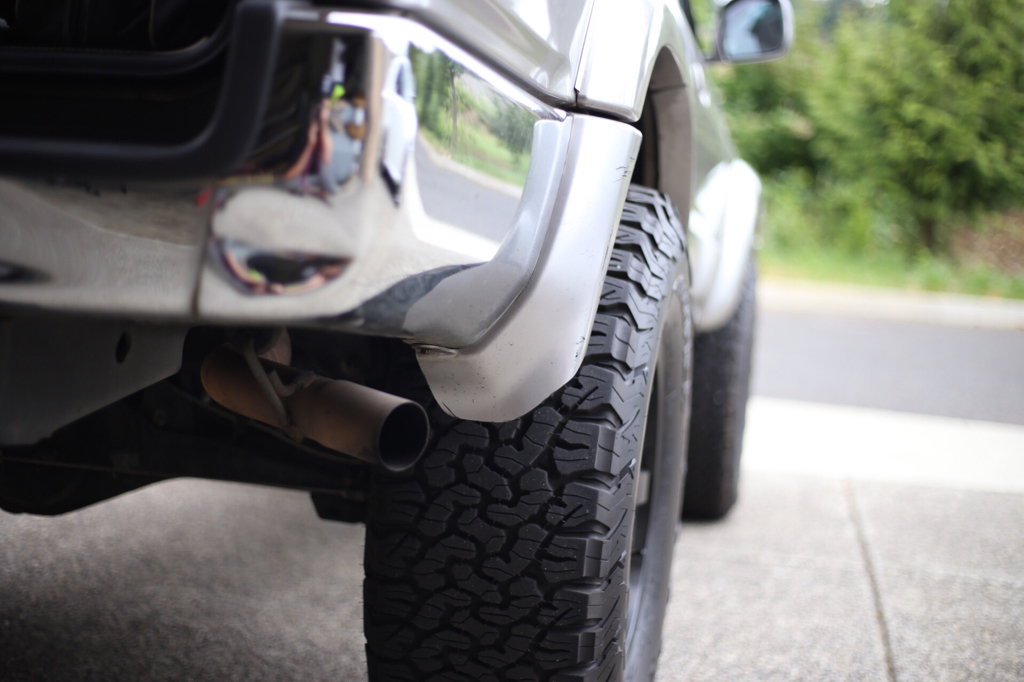
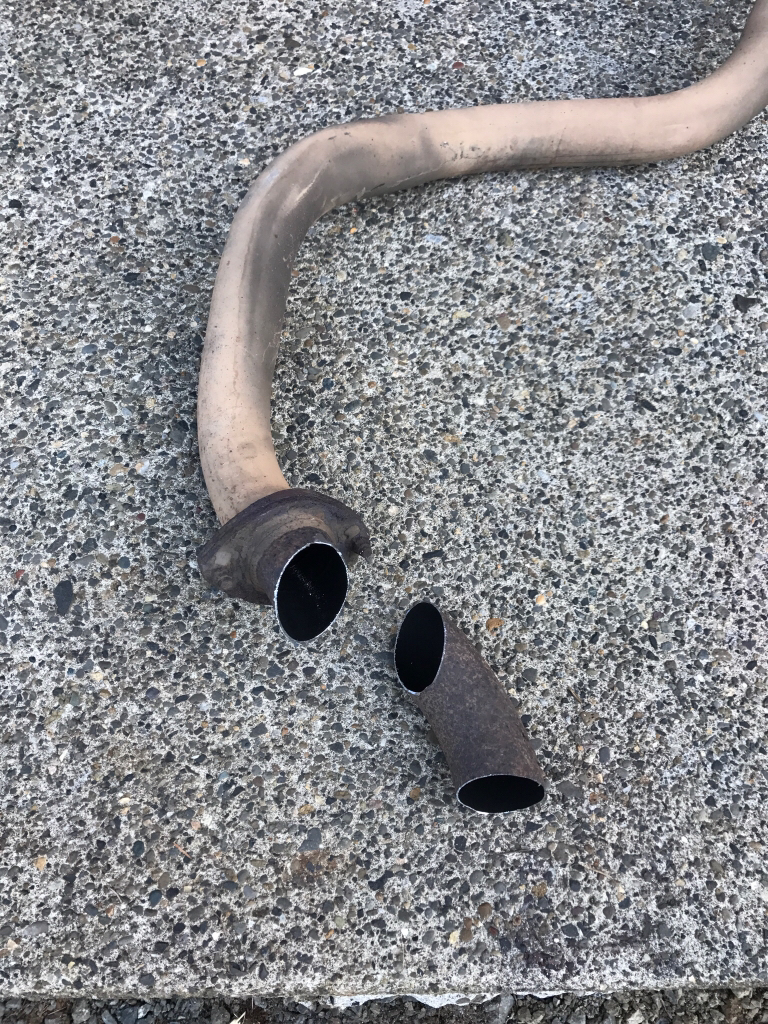
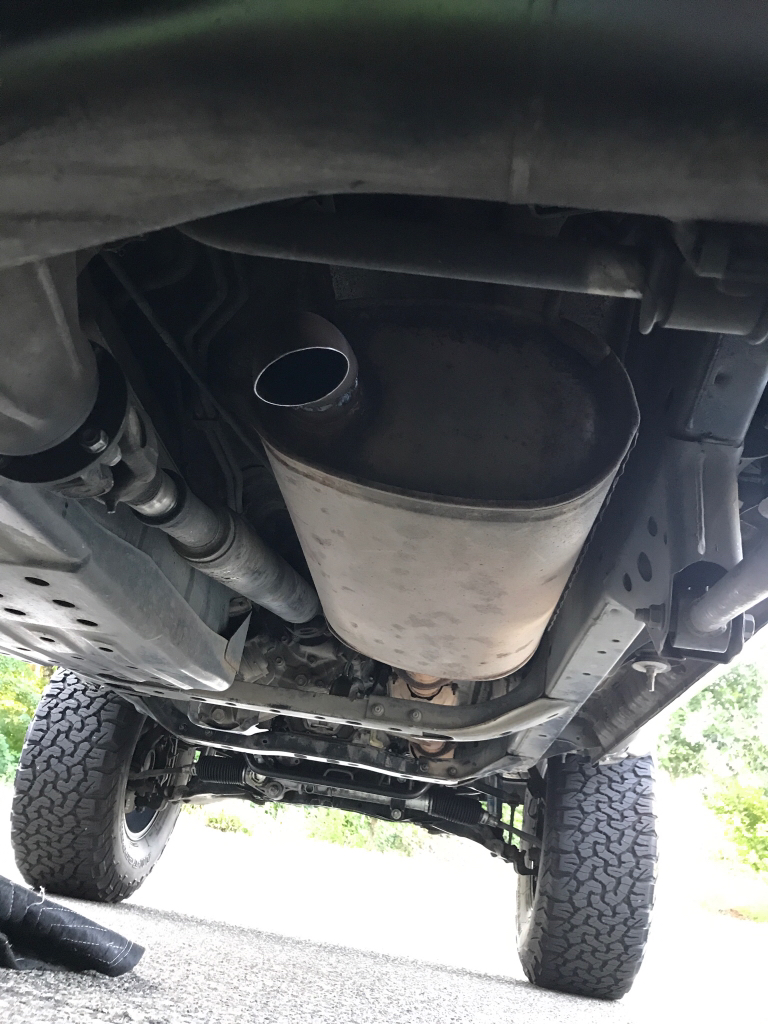
Also starting another little project. I'll explain more once I get more into it, but for now- the tailpipe was in the way.
9eddcccf94fd31984876c03cc2c70357.jpg

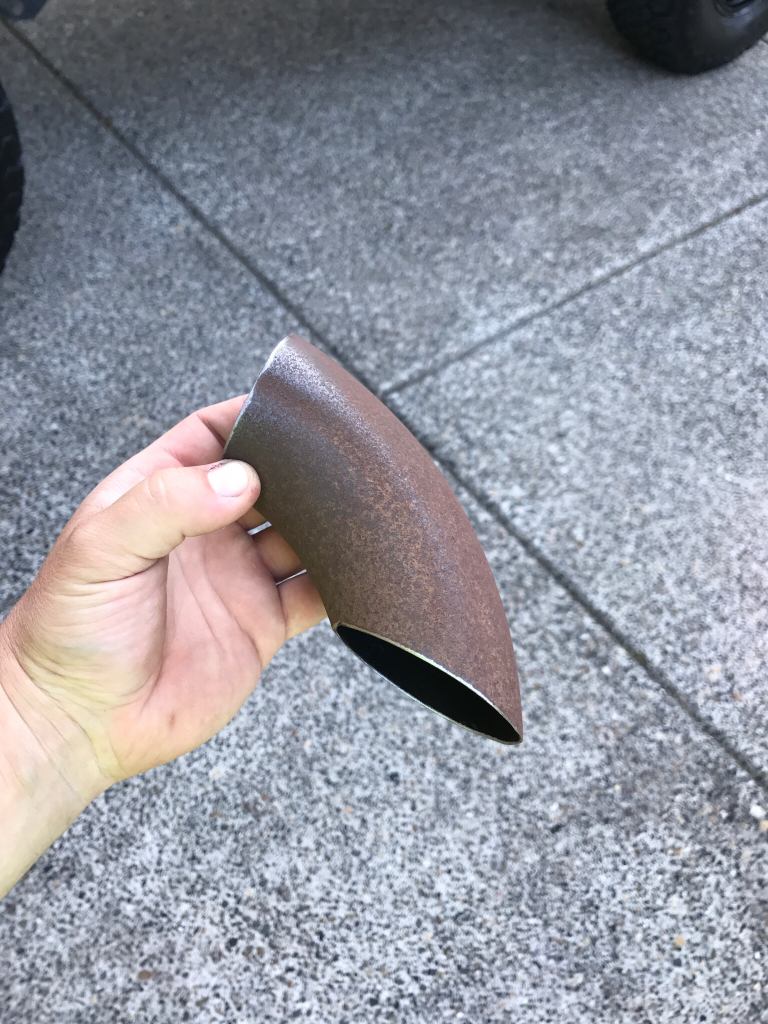
Chopped a piece to make a turndown for what-
703899f2c774706e1e905ce78f579f06.jpg

61dc75b8fea6c671fa4f67ed951dfdb1.jpg

1712b31e8789010e4b8c5dfb495d28d0.jpg

Sorry for the crappy pics. I don't like getting the nice camera out when I'm doin dirty things([emoji15]).
That's all for now [emoji1365]
 
Just using 2x10" common board for the top.

That thing looks pretty sweet. I've got two bed platforms that I've built from 2x12 doug fir. One king size and one queen size. Total material cost 40 bucks. Total time from start to finish 8 hours. What's Ikea want for some POS MDF platform? 120 bucks.

Mine will last damn near forever and are much cheaper. Just like your table. I actually really like the look of doug fir once it's sanded and stained.

Did you blind screw the top from the underside?
 
Oh awesome [MENTION=143526]theesotericone[/MENTION] (what does that mean, anyway?)! It's so rewarding to build things yourself! We built our bed too- but not out of doug fir! That's sweet. Yeah, I hate IKEA. They make it way too easy to buy decent looking dressers and shelving and crap!
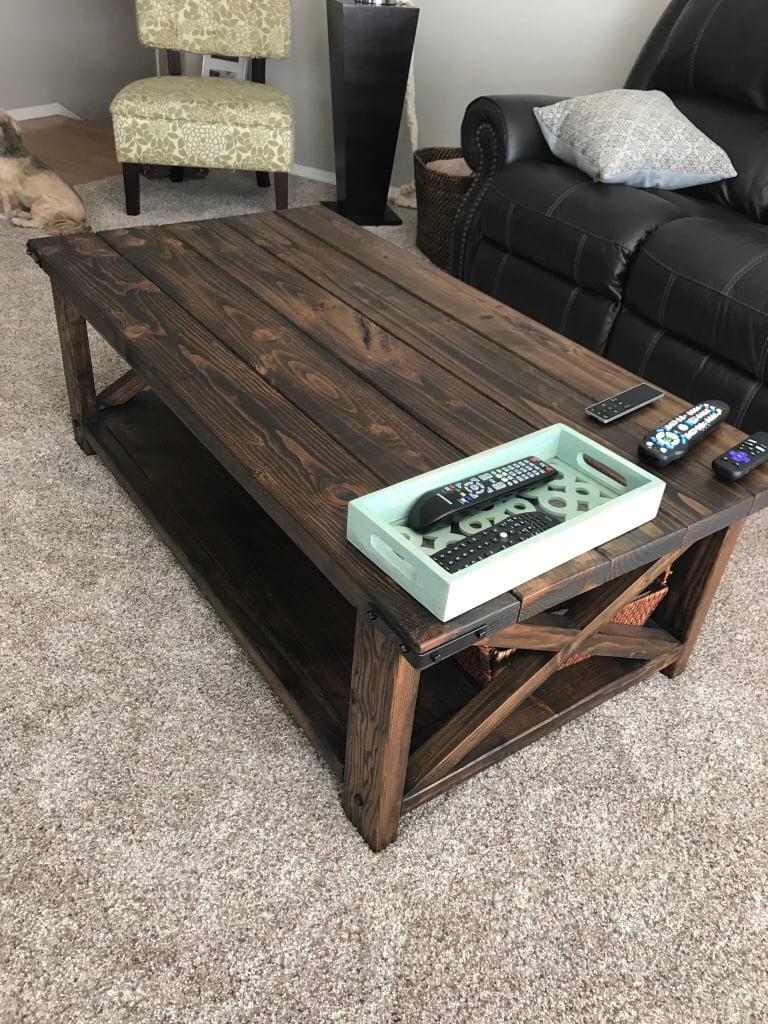
Yeah, we have a pocket hole jig we use a lot. Super cool, and not expensive at all. The most recent project was a coffee table for the in-laws-
ed1b6e483947cb8414a3395cc9d9e110.jpg

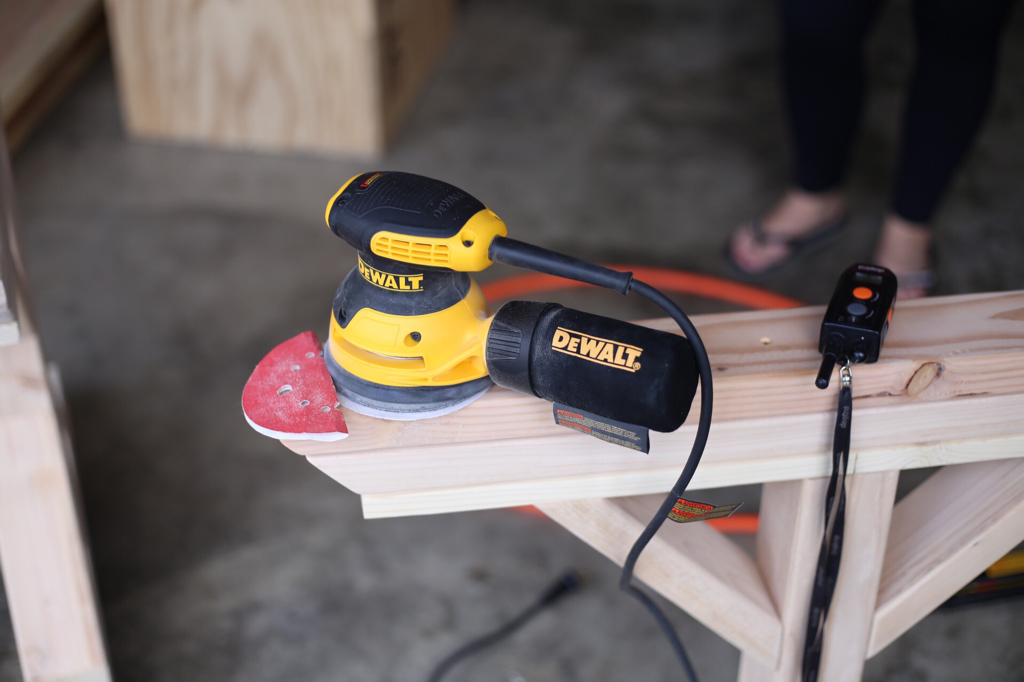
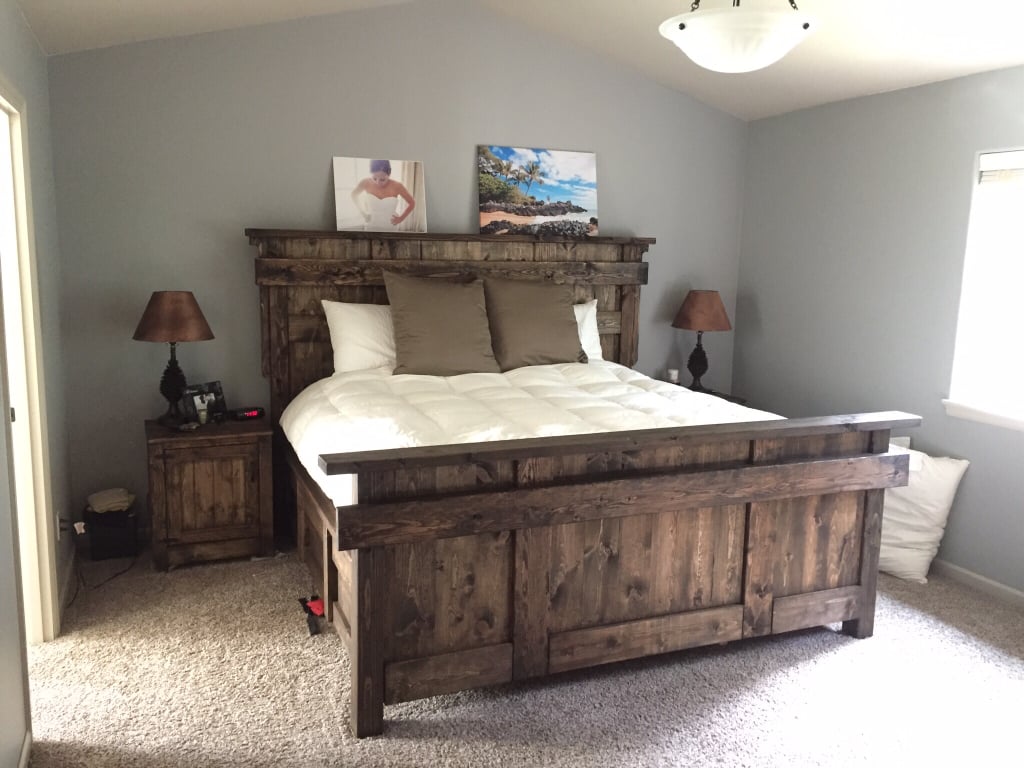
Our king bed frame was a pretty amateur project early on. We didn't even have an orbital sander at that time. Well, no sander at all. Turned out nice, but we'd like to sell it and build another. That thing is HEAVY.
b742f9954accfcf49d24d2f4e6a51462.jpg
 

Members online

Forum statistics

Threads
278,316
Messages
3,554,110
Members
248,016
Latest member
Advally Service

Trending content

Back
Top